TSX: 2006 tsx pwp audio build.
 06-30-2010, 02:25 PM
#1
Instructor
Thread Starter

Join Date: Oct 2008
Age: 34
Posts: 201
Likes: 0
Received 0 Likes
on
0 Posts
2006 tsx pwp audio build.
Well last night as some of you guys know i started on my stero. didnt quit think everything through(disconecting 12V), all in all radio working now.
Anyhow im some what of an audio guy, and plan to compete abit since im on an audio team. My plans were too add in my after market alpine , while retaining the factory one. Some might ask why im keeping factory well i want the hands free kit and dont want to pay 200 bux for the one for my h.u. Reason for using after market ALOT CLEARER and a bit louder, adjustabilty, mp3,usb, ipod control, and the 4V out for front, rear, and sub, and also the cool factor.
Ill link the page, and post of updates on this part so ppl can go through quickly. If you guys want some diy for some things let me know. ill prob end up showing, and explaining things anyways of whats going on, and tips for someone trying to do this.
So far..........
1. t harness created.
2.radio tested and everything working.
will get pics, and video in later when i get home.
__________________
 06-30-2010, 04:06 PM
#2

you can get around a lot of the issues you are dealing with by installing a JBL MS8. It will integrate the factory, output a hot signal with Logic7 and 8ch's of processing, with auto-tuning and manual tweak capability.
Its the shiz.
Its the shiz.
06-30-2010, 09:44 PM
#3
Instructor
Thread Starter
Join Date: Oct 2008
Age: 34
Posts: 201
Likes: 0
Received 0 Likes
on
0 Posts
i kno. and i like the bit one better :P
even if i do the ms8 or anyother signal processor i still have to have something to play my mp3 cd and the usb(see the part where i choose the h.u)
even if i do the ms8 or anyother signal processor i still have to have something to play my mp3 cd and the usb(see the part where i choose the h.u)
06-30-2010, 11:59 PM
#4
Instructor
Thread Starter
Join Date: Oct 2008
Age: 34
Posts: 201
Likes: 0
Received 0 Likes
on
0 Posts
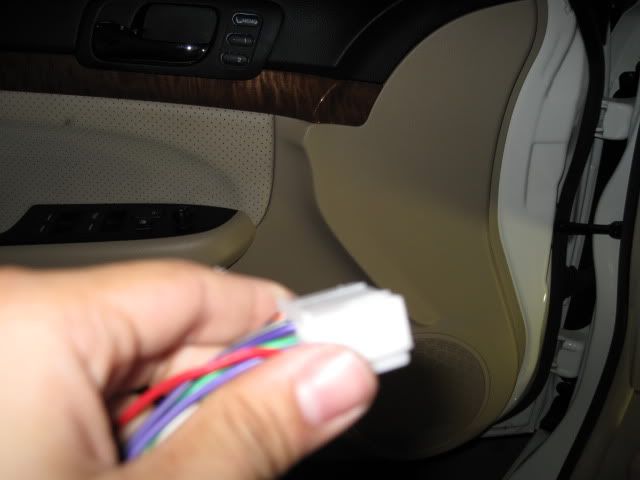
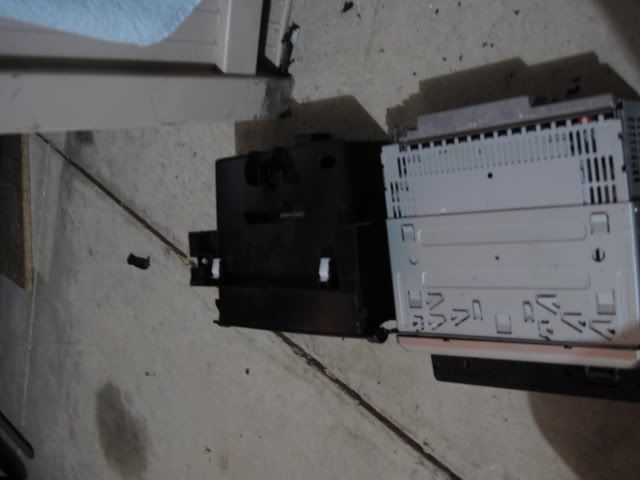
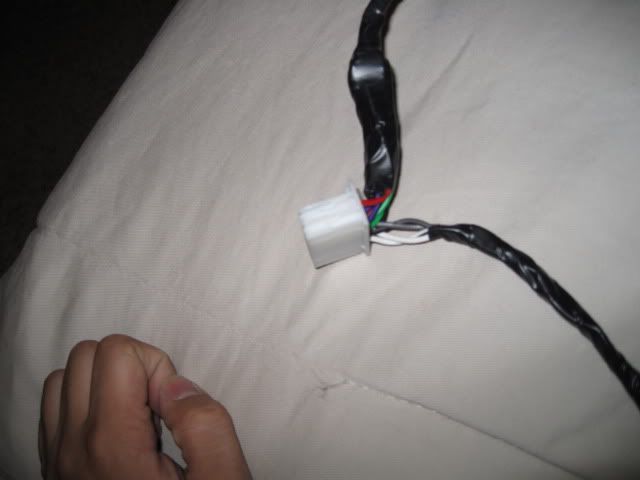
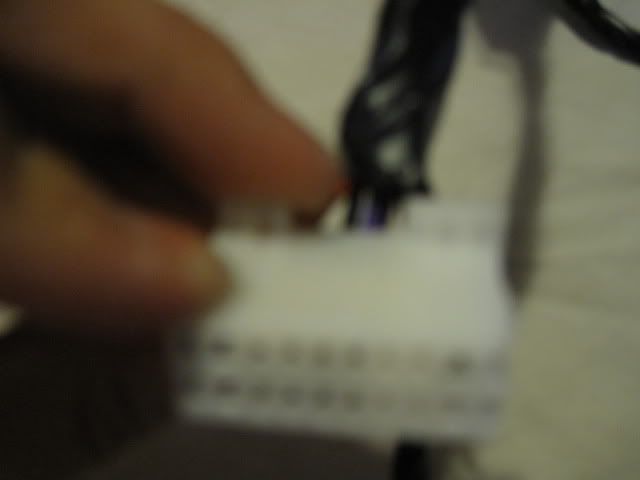
so here are some pics from last night....
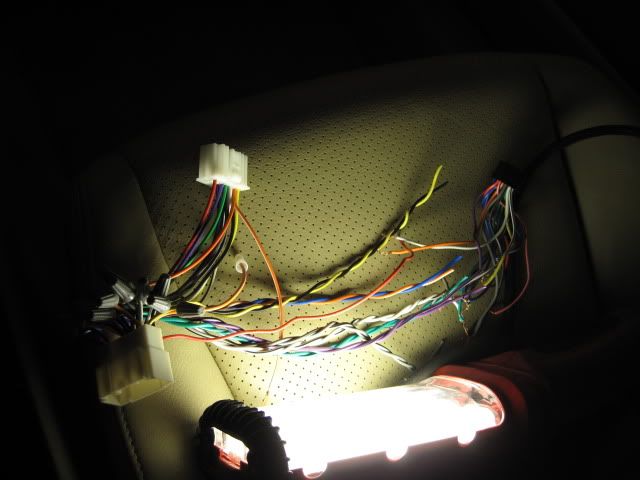
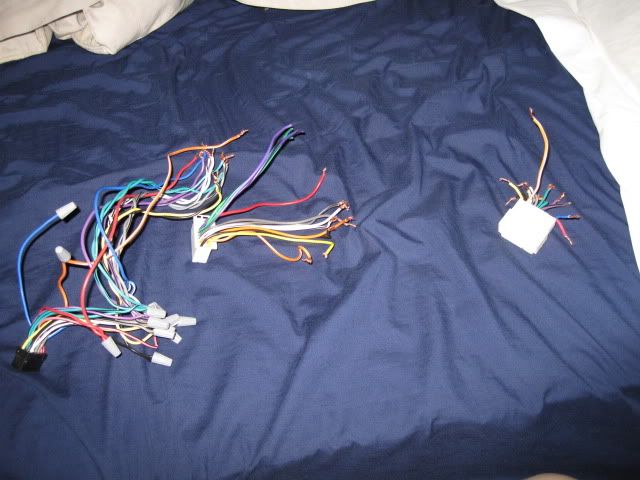
from left to right to the bottom
male white end goes to the factory radio, black male goes to my h.u, and white female goes to the factory radio harness

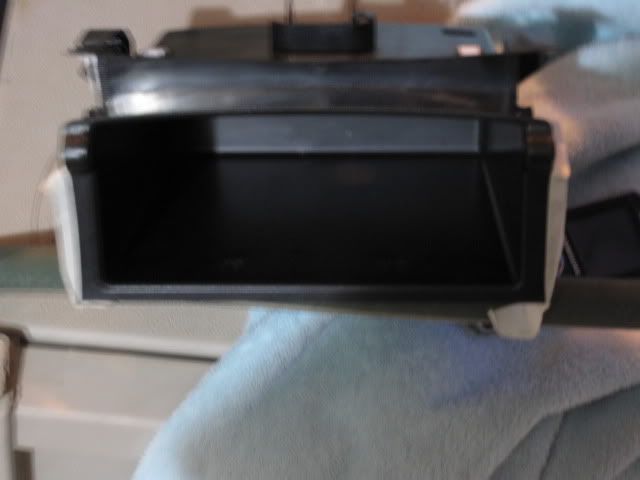
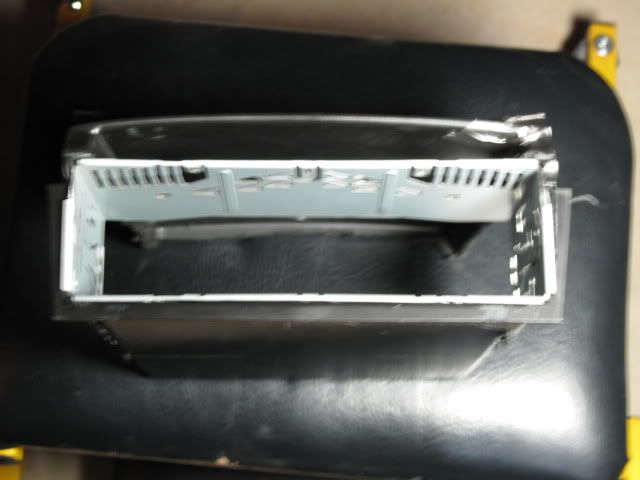
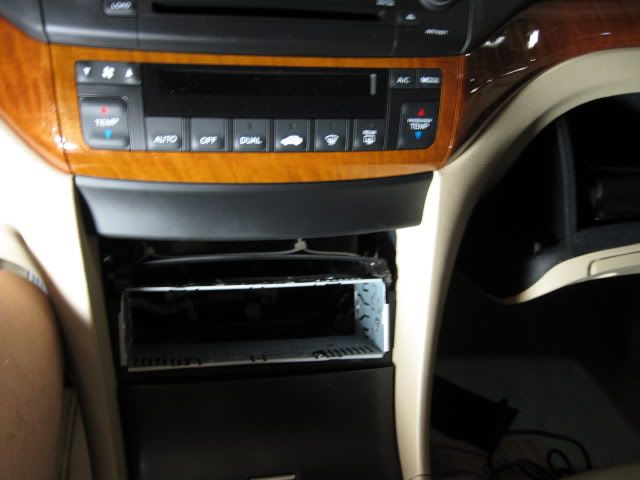
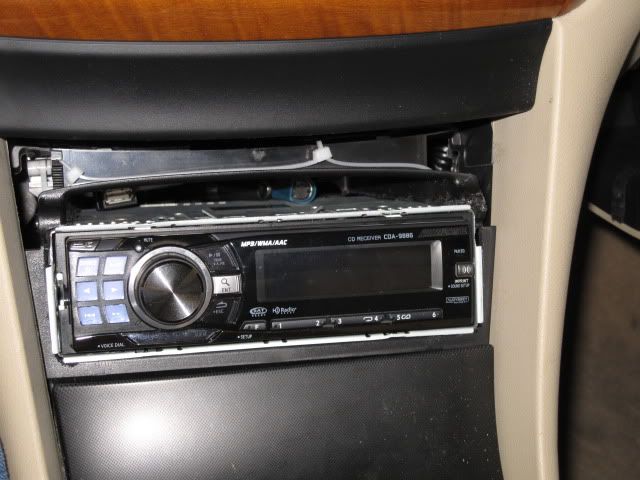
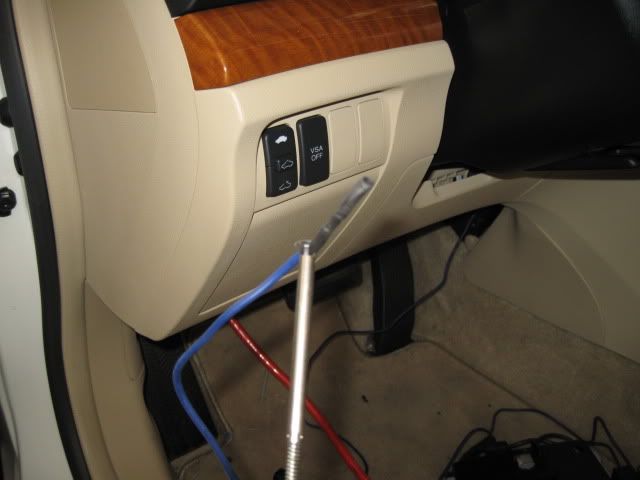
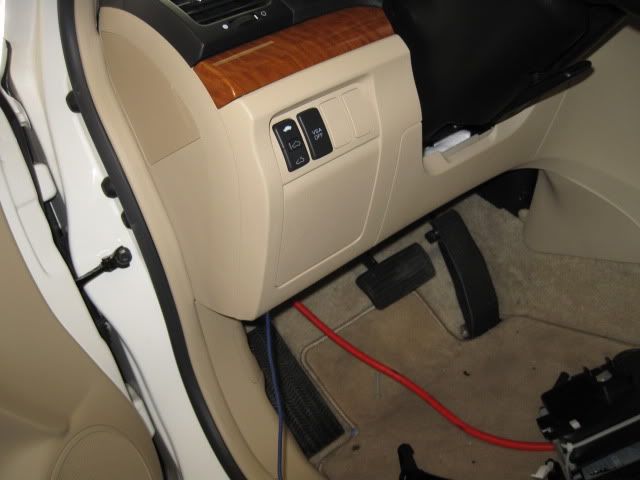
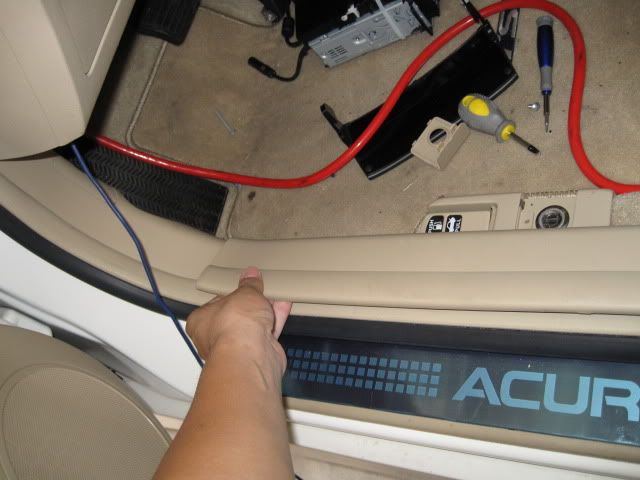
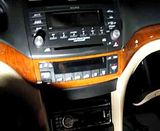
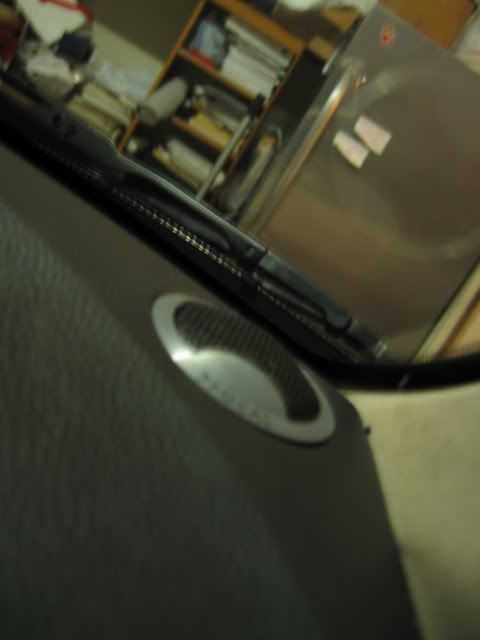
the location of where the h.u is going
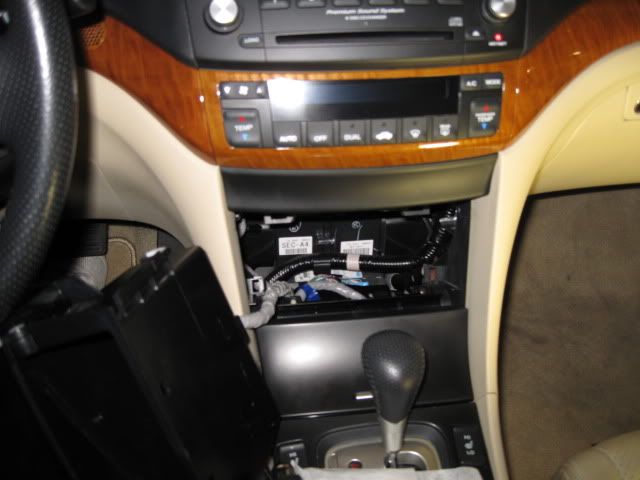
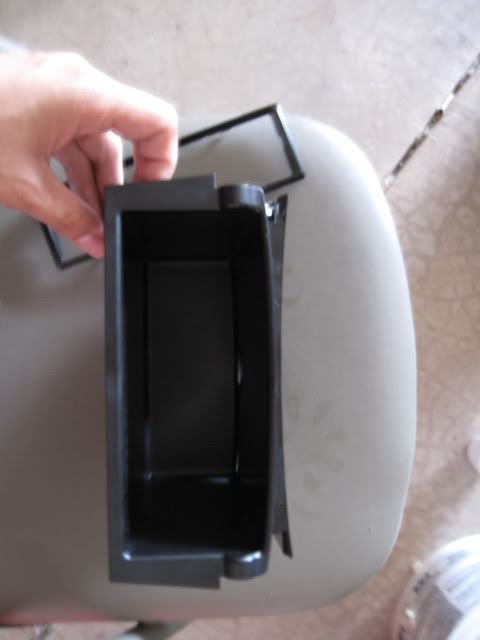
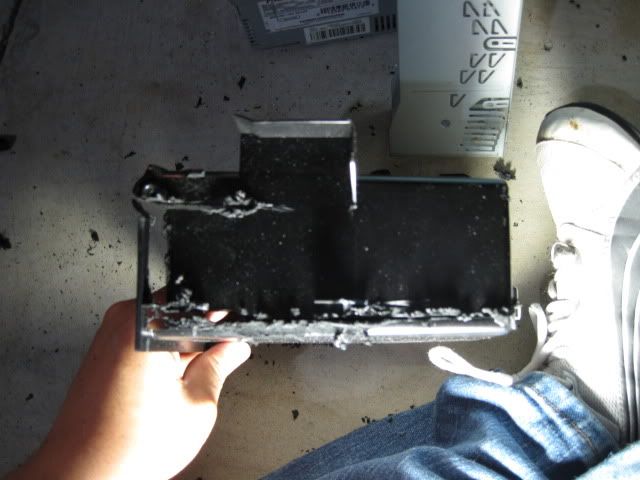
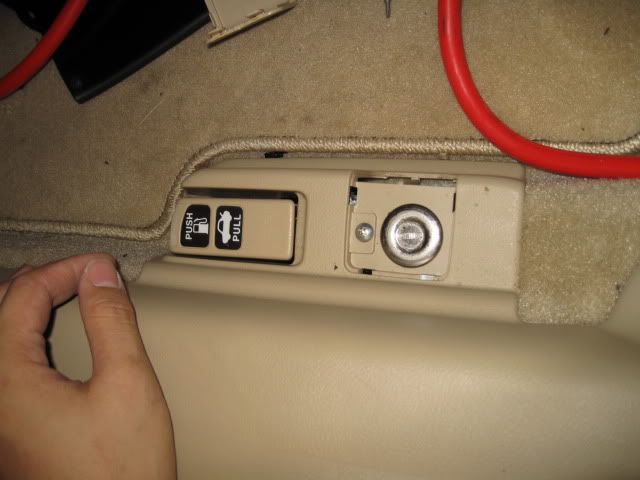
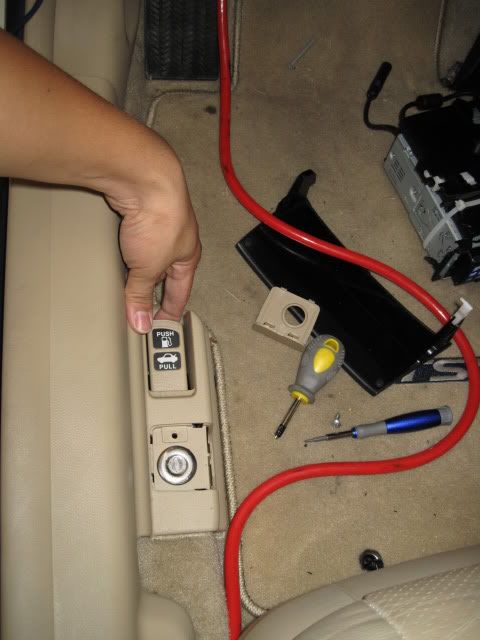
cubby removal
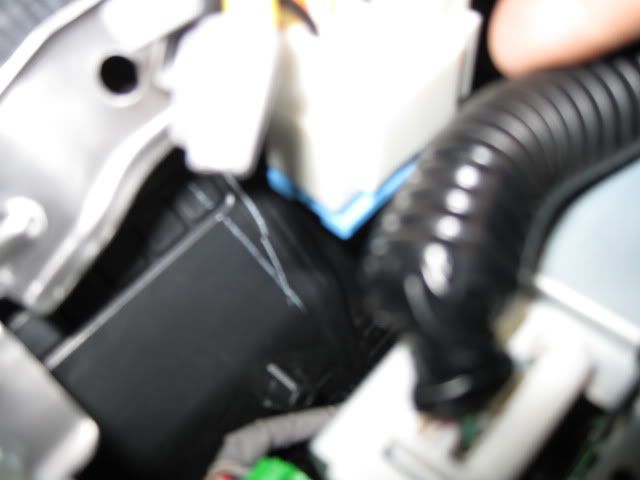
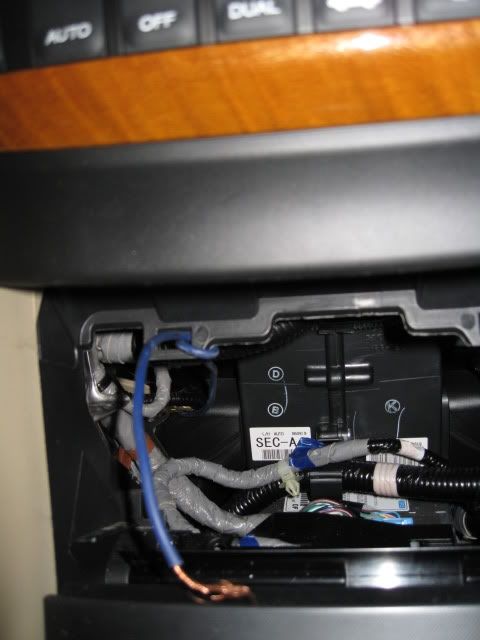
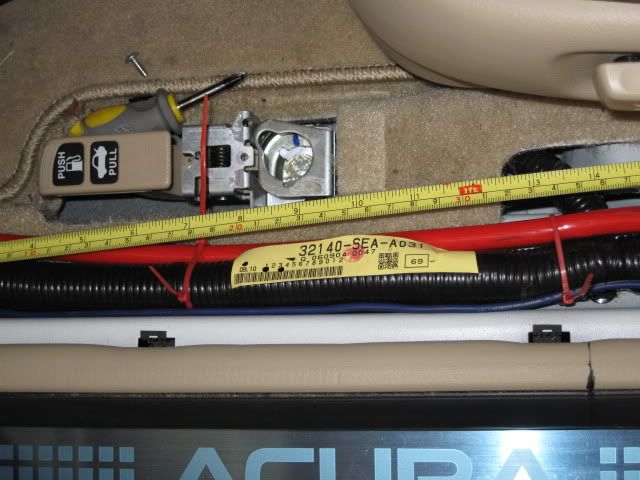
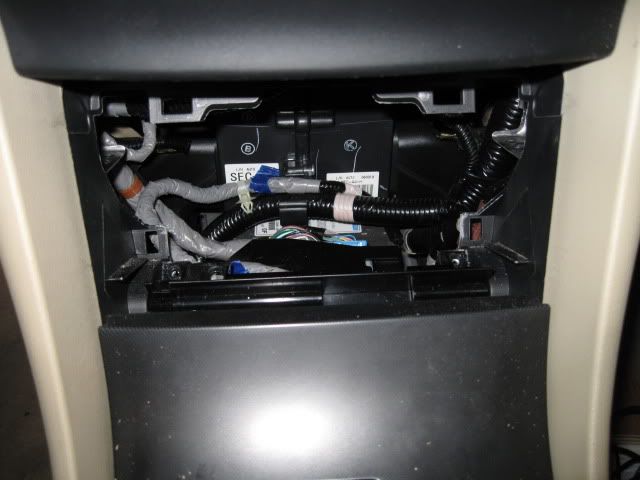
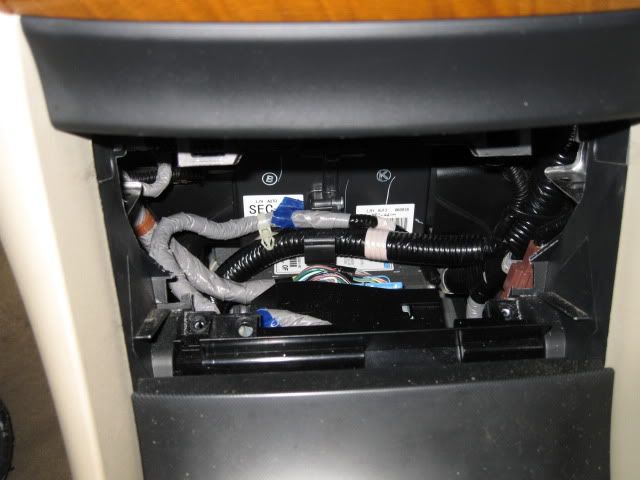
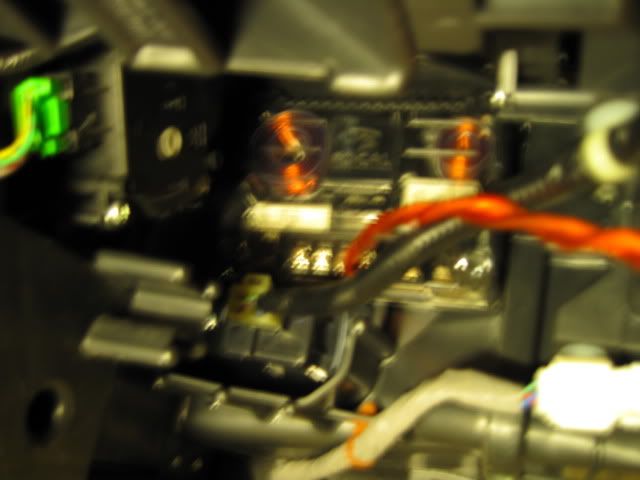
blue factory radio harness we want to get
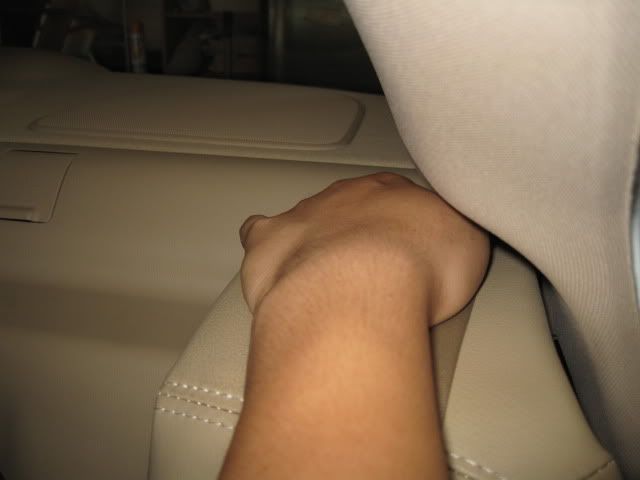
*note to get this from the cubby area your going to use two hands hopefully... make sure the cubby is all the way out. might help if the lower is removed as well... any how onto getting out ull push the pin in an pull the wire back a bit. it should stay out for you to get your other hand in there so you can wiggle it out.
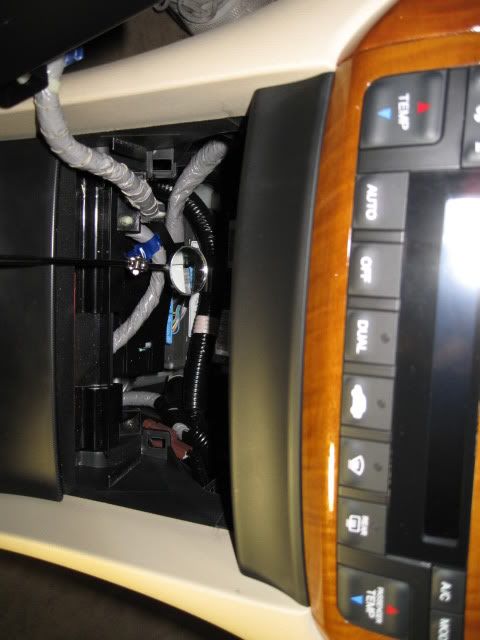
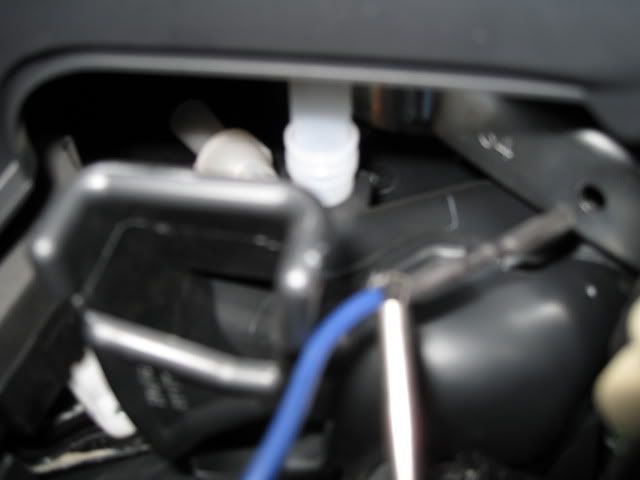
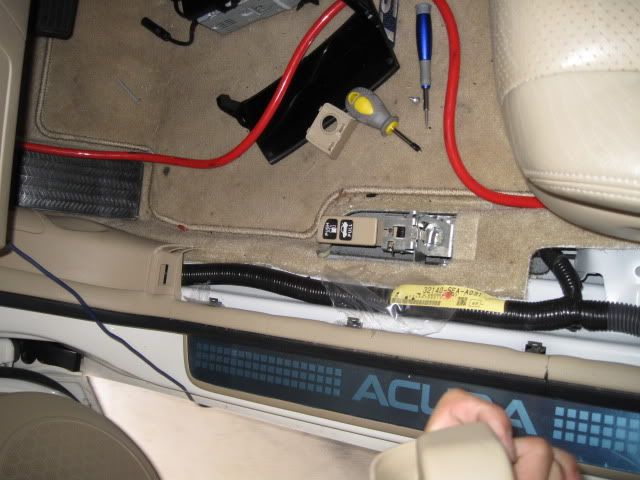
better idea for you guys where it is at. You can sorta see it in the mirror. the other blue harnless is the amp wire
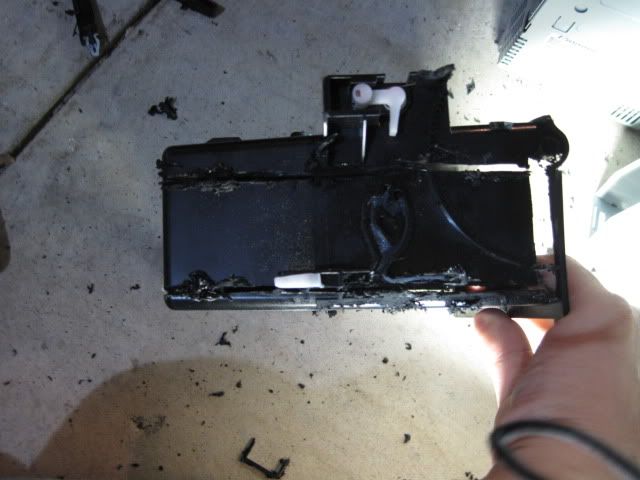
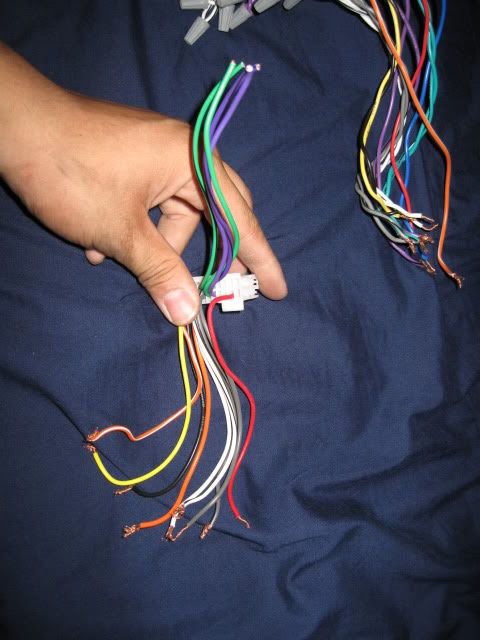
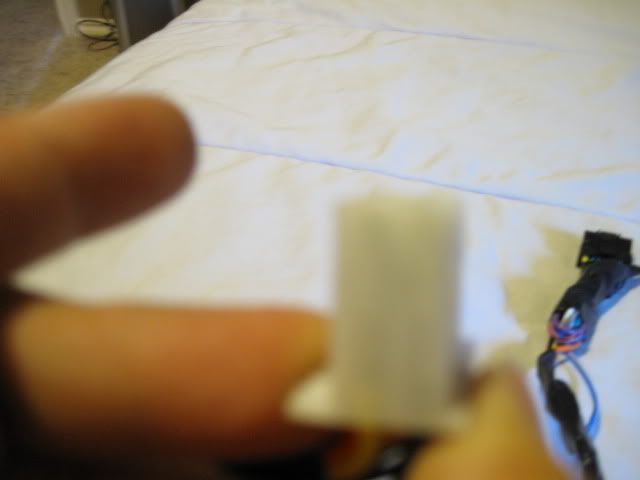
the cuted down male white conecter
I actualy ended up cutting more then just the top groove off. Also had to cut the entire bottom piece out (yes even the push clip), and also a good chunk of the outer side part of the harness.
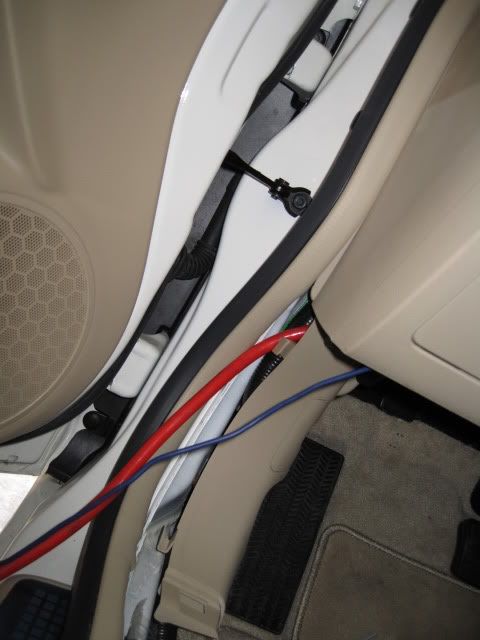
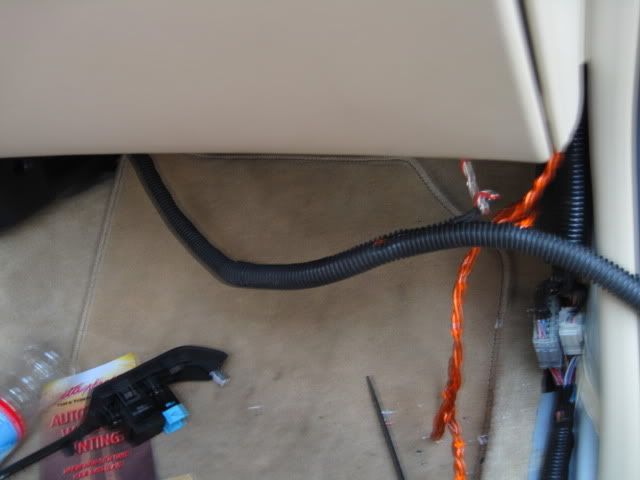
coneceting the female end. as you can see in the pic i did go through the cubby. i thought it would be eassier.... if you guys can see there a metal frame that runs across the cuby there is a some what of an opening that will help u get the harness up there.
*note you will have to push the o.e harness out of the way a bit casue you cant really move it away. go all the way up make sure the wires are on the left side , then begin to insert the white male conecter..
*note 2 make sure u disconect the interior fuse light, or disconect the battery when you do this.....
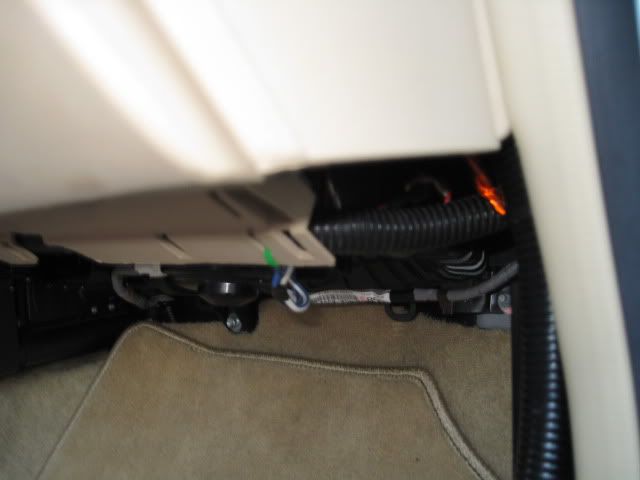
then conect the o.e harness to the white female conecter.
*note make sure u look at the harness , and see where the pin part of the o.e harness is so you can make this step eassy try and use two hands for this...
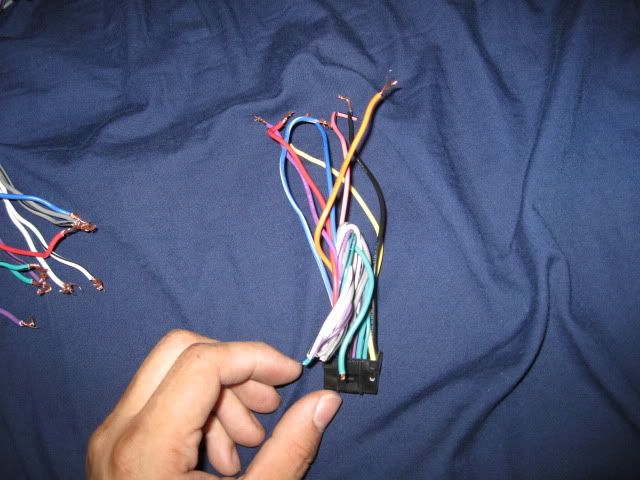
pull out the end where you are going to conect the aftermarket h.u conecter too
from left to right to the bottom
male white end goes to the factory radio, black male goes to my h.u, and white female goes to the factory radio harness
the location of where the h.u is going
cubby removal
blue factory radio harness we want to get
*note to get this from the cubby area your going to use two hands hopefully... make sure the cubby is all the way out. might help if the lower is removed as well... any how onto getting out ull push the pin in an pull the wire back a bit. it should stay out for you to get your other hand in there so you can wiggle it out.
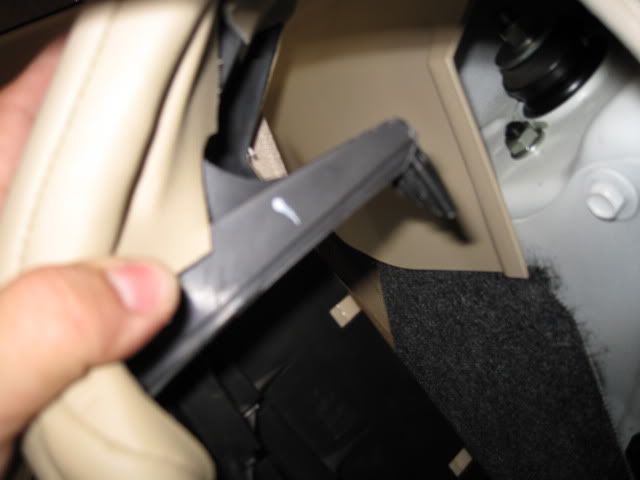
better idea for you guys where it is at. You can sorta see it in the mirror. the other blue harnless is the amp wire
the cuted down male white conecter
I actualy ended up cutting more then just the top groove off. Also had to cut the entire bottom piece out (yes even the push clip), and also a good chunk of the outer side part of the harness.
coneceting the female end. as you can see in the pic i did go through the cubby. i thought it would be eassier.... if you guys can see there a metal frame that runs across the cuby there is a some what of an opening that will help u get the harness up there.
*note you will have to push the o.e harness out of the way a bit casue you cant really move it away. go all the way up make sure the wires are on the left side , then begin to insert the white male conecter..
*note 2 make sure u disconect the interior fuse light, or disconect the battery when you do this.....
then conect the o.e harness to the white female conecter.
*note make sure u look at the harness , and see where the pin part of the o.e harness is so you can make this step eassy try and use two hands for this...
pull out the end where you are going to conect the aftermarket h.u conecter too
07-01-2010, 12:00 AM
#5
Instructor
Thread Starter
Join Date: Oct 2008
Age: 34
Posts: 201
Likes: 0
Received 0 Likes
on
0 Posts
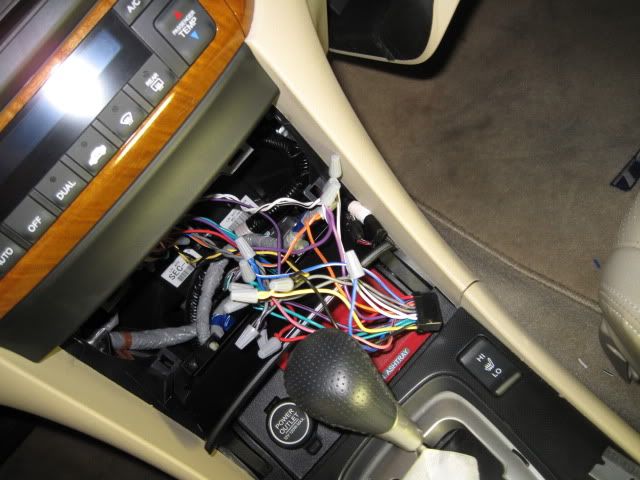
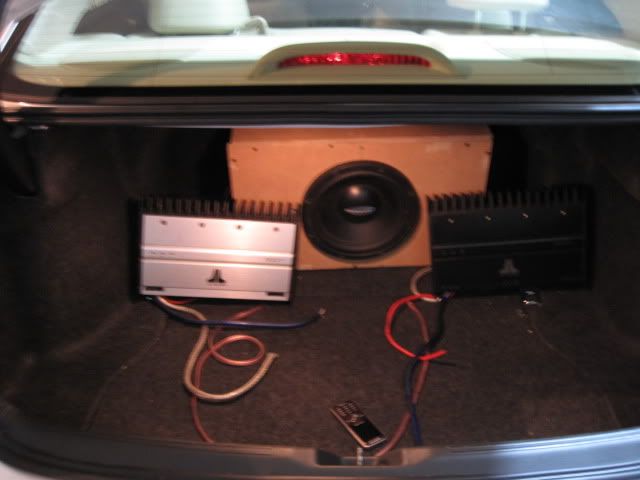
the overall mess i created.
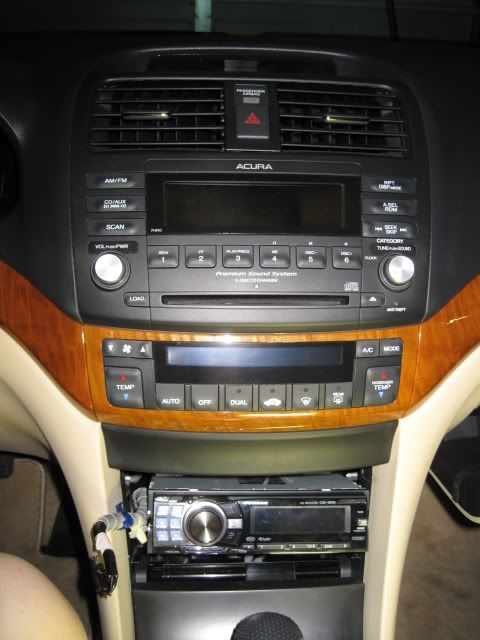
an idea of where the radio going to be
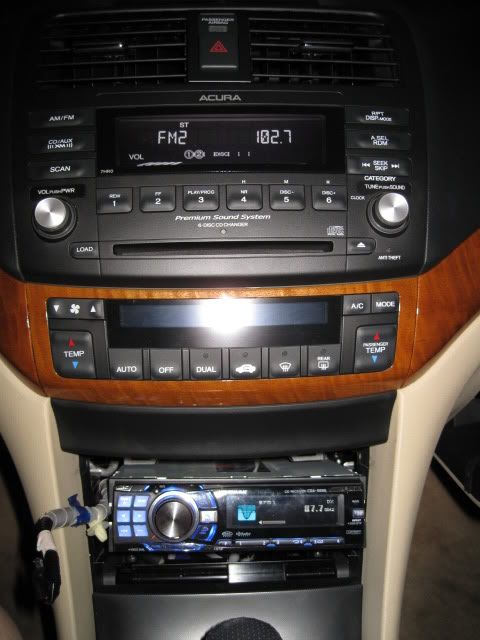
all powered on.
thats all that has been done so far ...
umm if anyof you guys plan to do this. there are many ways. if you want fastly done remove the trim. if you are affraid youll scream your head off trying to get the conecter out
PLEASE disconect battery, or fuse when doing this.... other wise ull freak out like i did.
over all this part took me about 2 hours. yes two hours. shaved little by little of the harness off took some time it is snug in there tho. another time consumer was the factory harness taking out.
if any of you guys need more info feel free to contact me...
07-01-2010, 09:10 AM
#6
Senior Moderator
Regional Coordinator
(Mid-Atlantic)
Regional Coordinator
(Mid-Atlantic)
iTrader: (6)
interesting project, can't wait to see more
07-01-2010, 01:28 PM
#7
Instructor
Thread Starter
Join Date: Oct 2008
Age: 34
Posts: 201
Likes: 0
Received 0 Likes
on
0 Posts
me too!! but likely nothing going to get done for awhile. im house sitting with a fren tryin to get some money to get somethings.... i do have alot of the gear i do need tho.... need to solve a issue i notiec ....
Trending Topics
07-01-2010, 05:39 PM
#8
Instructor
Thread Starter
Join Date: Oct 2008
Age: 34
Posts: 201
Likes: 0
Received 0 Likes
on
0 Posts
well here is the video of the two working!!!!
some issue i realize are i should of just ran the rca to the harness...., but thats what i get for doing this at 2am!!!!! i even had the cables ready to how it should of been -.-.
anyhow im going to fix this little issue later
some issue i realize are i should of just ran the rca to the harness...., but thats what i get for doing this at 2am!!!!! i even had the cables ready to how it should of been -.-.
anyhow im going to fix this little issue later
 07-02-2010, 12:12 AM
#12
Instructor
Thread Starter
Join Date: Oct 2008
Age: 34
Posts: 201
Likes: 0
Received 0 Likes
on
0 Posts
07-06-2010, 11:06 AM
#13
Instructor
Thread Starter
Join Date: Oct 2008
Age: 34
Posts: 201
Likes: 0
Received 0 Likes
on
0 Posts
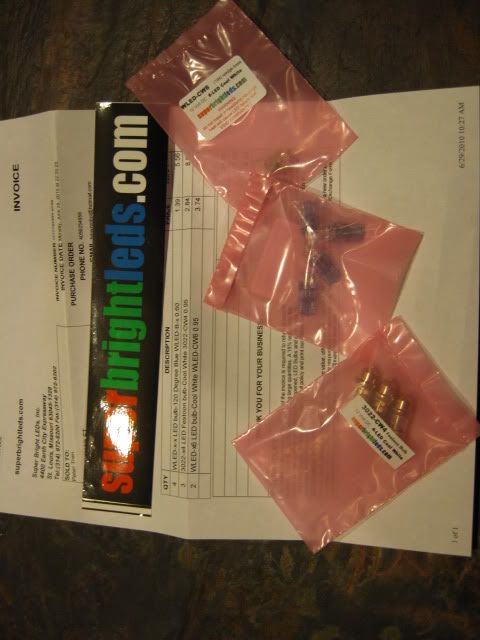
soo started working on the din last night sorta messed up.... led came in as well..
my led white domelights blue in door
door removed
mskin area off thats not to be cut.... this is the begging of the mistake measure twice!
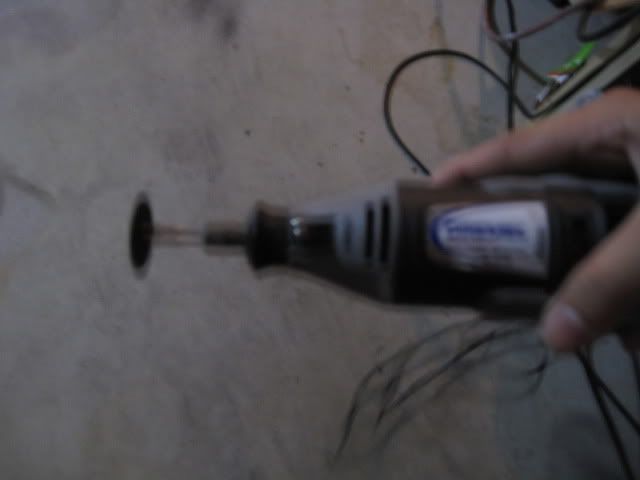
dremel with cut off wheel
cutting the mark area off
broke out the cut off pieces...
mock up size comparison to a old h.u i had layin around
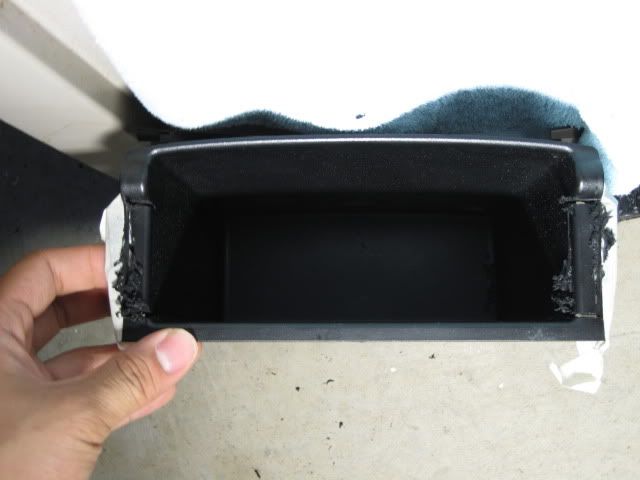
the major screw up. didnt pay attention and ended up cutting though the hole thing...
lucky i didnt do the same on the other side
rear cut out
my led white domelights blue in door
door removed
mskin area off thats not to be cut.... this is the begging of the mistake measure twice!
dremel with cut off wheel
cutting the mark area off
broke out the cut off pieces...
mock up size comparison to a old h.u i had layin around
the major screw up. didnt pay attention and ended up cutting though the hole thing...
lucky i didnt do the same on the other side
rear cut out
07-06-2010, 11:06 AM
#14
Instructor
Thread Starter
Join Date: Oct 2008
Age: 34
Posts: 201
Likes: 0
Received 0 Likes
on
0 Posts
right side cut out
everything cut out
while dremle cools down instaled led
http://s32.photobucket.com/albums/d2...t=IMG_1114.jpg
plate led

one map light on
door
din
yes that is ducktape. an no its not going to stay there.
one Biffe Mother Fer.lol
various other stuff
Last edited by bmwproboi05; 07-06-2010 at 11:09 AM.
 07-06-2010, 11:40 PM
#16
Instructor
Thread Starter
Join Date: Oct 2008
Age: 34
Posts: 201
Likes: 0
Received 0 Likes
on
0 Posts
Today is short an simple just a test fit of the h.u, and how it fits. apparently i need to sand down the rear of the din as i thought, also need to make it a bit better here an there.however im thinking about making the unit more "flush", but will see about that.
also ran 4ga monster wire. this is a tempoary wire.
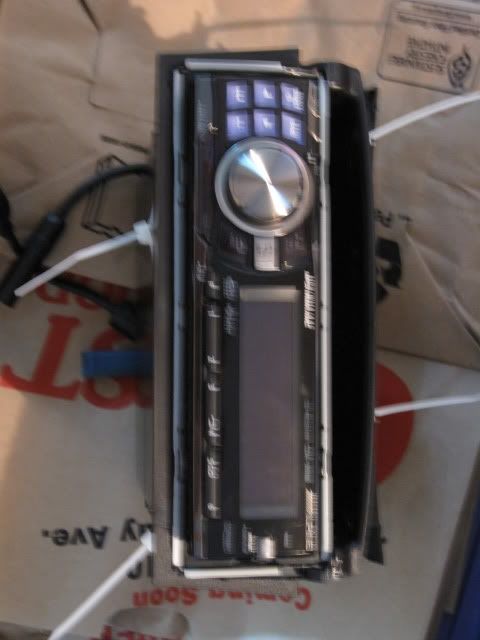
h.u in . yes those are zip ties, and they may be stayin there do to my goof.
the messed up side epoxed up abit...
cleaner side
side. as you can see how much the face plate stick out... id like to emlinate this by shoving it in a bit, but that will be some other time..... MAYB!!!! casue i think i jsut figred it out while typing this.lol
close up
mock up fit. (yes i know the door is missing.)
with that done i began running the monster
going in from driver side
going throught the firewall with all the o.e wire. yes there is another hole you can use that will be eassier, but i didnt want to.
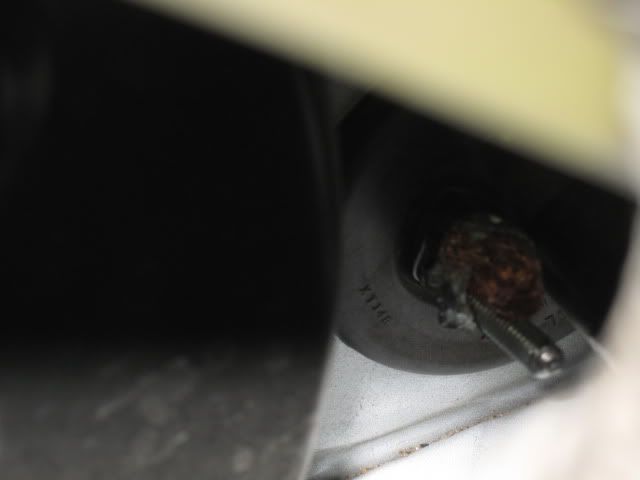
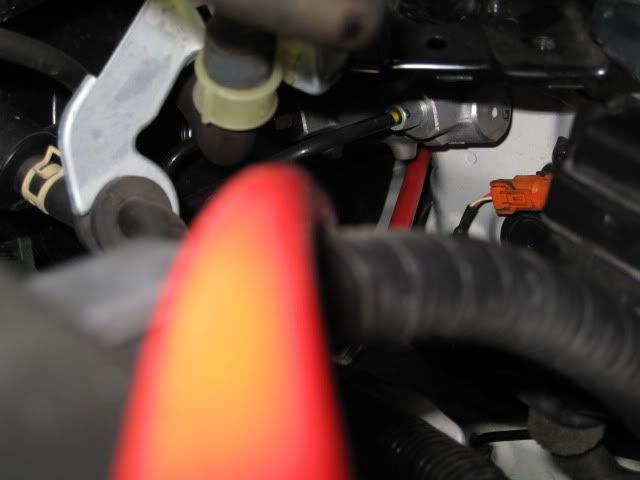
looky who poped there head out of the other end.
Yes that is a lag bolt.
how i got the wire in was first i used a fat phlips screwdriver, then taped the lagbolt to the wire an shoved it in. many ways to do this you choose what works for you
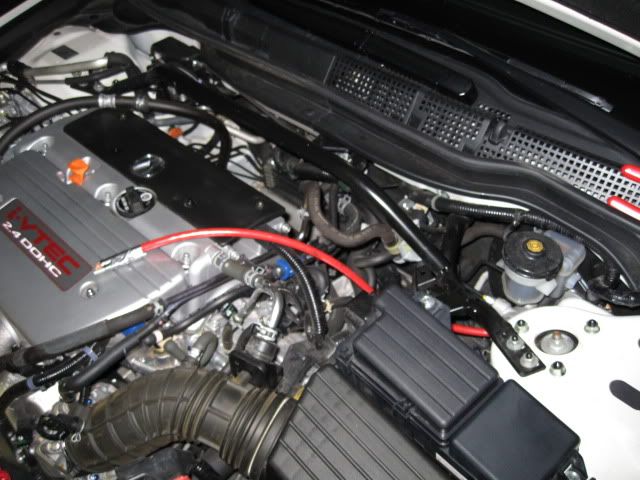
eassiest way to get the wire out from this location is not right above it but from the side, and not next to the master cylinder.... look at the pic closer i reach from the side of the engine in. you may have to shove the wire in a bit more to get a good grip, and this does require force.
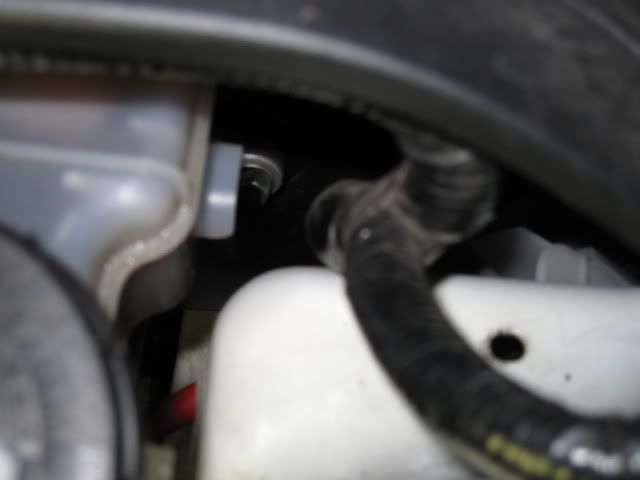
as you can see in this pic i pulled towards the engine..
also ran 4ga monster wire. this is a tempoary wire.
h.u in . yes those are zip ties, and they may be stayin there do to my goof.
the messed up side epoxed up abit...
cleaner side
side. as you can see how much the face plate stick out... id like to emlinate this by shoving it in a bit, but that will be some other time..... MAYB!!!! casue i think i jsut figred it out while typing this.lol
close up
mock up fit. (yes i know the door is missing.)
with that done i began running the monster
going in from driver side
going throught the firewall with all the o.e wire. yes there is another hole you can use that will be eassier, but i didnt want to.
looky who poped there head out of the other end.
Yes that is a lag bolt.
how i got the wire in was first i used a fat phlips screwdriver, then taped the lagbolt to the wire an shoved it in. many ways to do this you choose what works for you
eassiest way to get the wire out from this location is not right above it but from the side, and not next to the master cylinder.... look at the pic closer i reach from the side of the engine in. you may have to shove the wire in a bit more to get a good grip, and this does require force.
as you can see in this pic i pulled towards the engine..
07-06-2010, 11:41 PM
#17
Instructor
Thread Starter
Join Date: Oct 2008
Age: 34
Posts: 201
Likes: 0
Received 0 Likes
on
0 Posts
wire running straight across after wards bend it around youll get it through, or run it to where you desire.
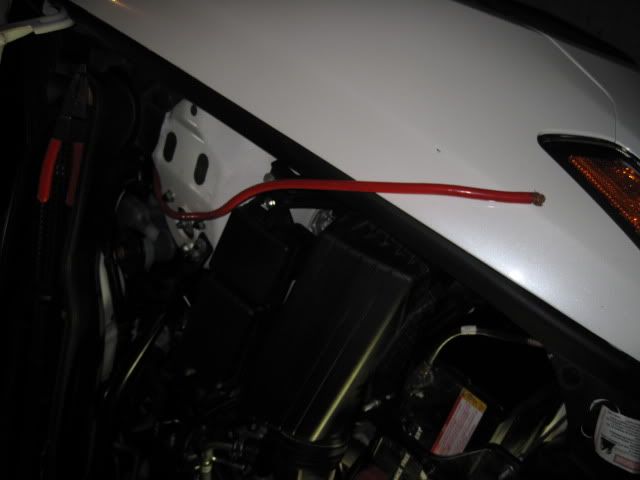
wire ends here for now.
stay tuned. working on a new harness..THIS HARNESS IS FOR PPL WHO DONT GIVE A D ABOUT THE FACTORY AMP AND ARE HAVING THERE OWN AMP TO POWER THE COMPONETS ..etc
07-08-2010, 12:44 AM
#18
Instructor
Thread Starter
Join Date: Oct 2008
Age: 34
Posts: 201
Likes: 0
Received 0 Likes
on
0 Posts
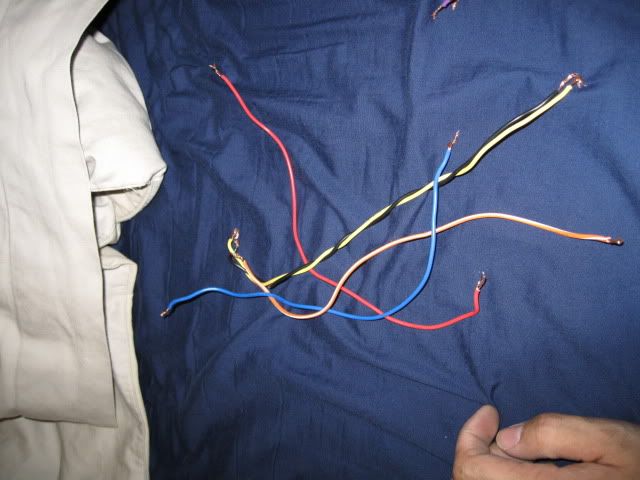
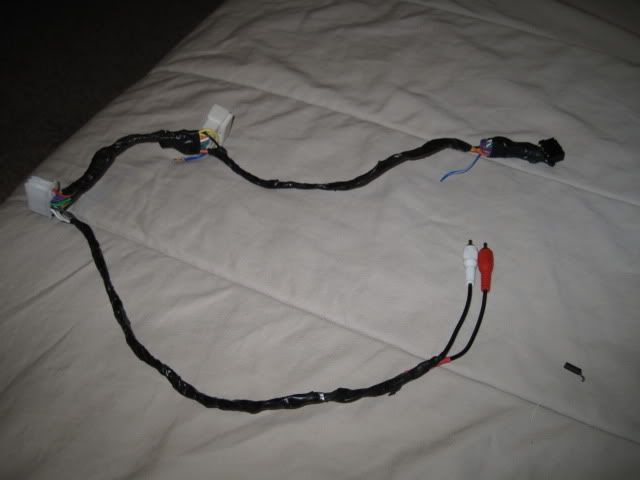
Well anyways got the din going in okish, and got some wires ran, and re did my wireharness

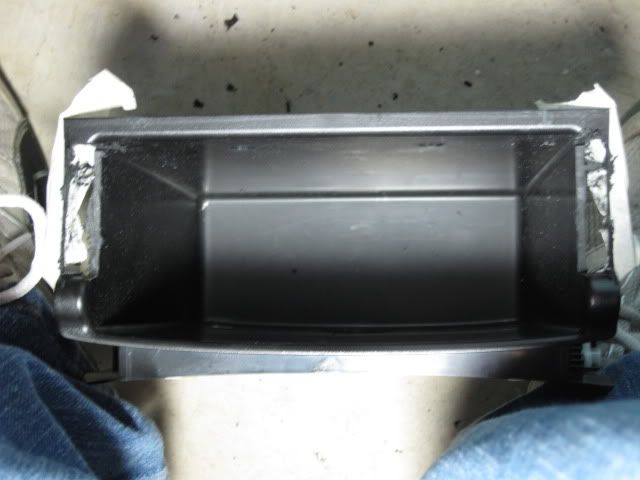
cage fits in ok. some opening issue of lower tray due to my over cut.
h.u went in fine..
now to the wireharness remake. for those who ahve not removed the o.e harness i have found an eassier way of removing it. use one hand to push the clip an the right side of the clip at the very edge push out. then the you can let go of the clip once u feel it move out on the right then push the left then pull out simple! reach from behind the black shrouds!
took the old harness apart
male end into factory unit. removed unesarry wires.i.e rear speakers . kept the red,yellow,illumnation, dimmer, ground,ignition , and two front speaker lead out for my aux set up
h.u harness bending back all the spk wire, and the ant.wire
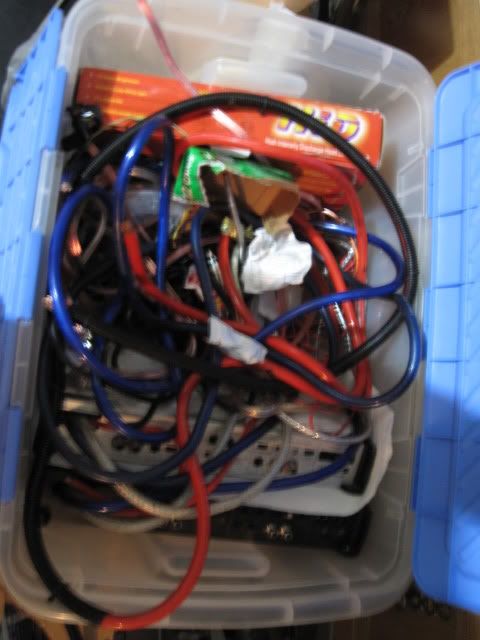
extention wire that are being used.
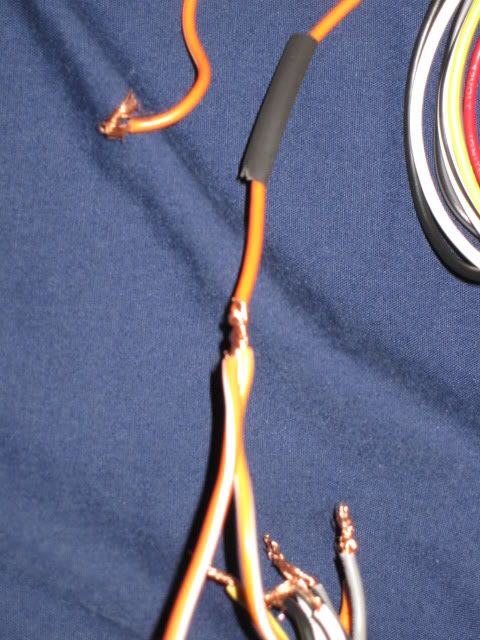
conecting the three wires back, and this is where i solder. for you lazy ppl you can heat shrink here , use a buttconecter with heat shrink your choice.
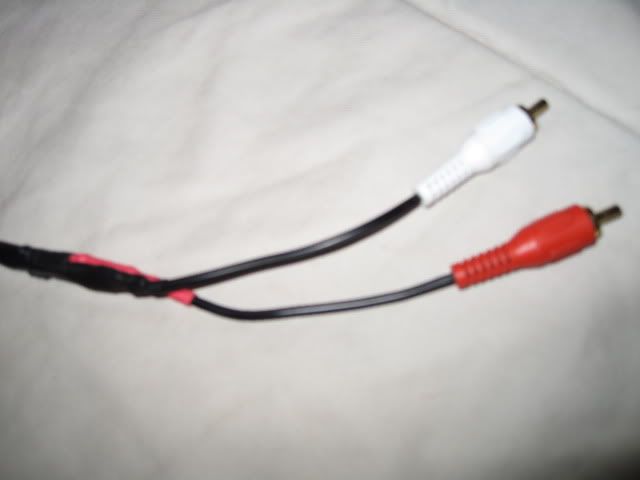
rca end created
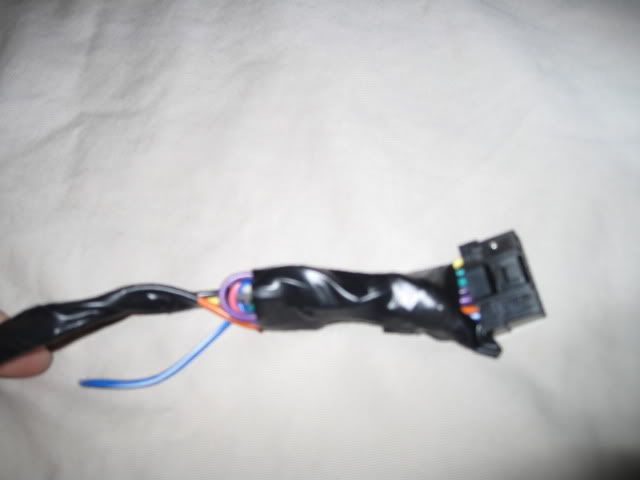
h.u end
male end to factory h.u
cage fits in ok. some opening issue of lower tray due to my over cut.
h.u went in fine..
now to the wireharness remake. for those who ahve not removed the o.e harness i have found an eassier way of removing it. use one hand to push the clip an the right side of the clip at the very edge push out. then the you can let go of the clip once u feel it move out on the right then push the left then pull out simple! reach from behind the black shrouds!
took the old harness apart
male end into factory unit. removed unesarry wires.i.e rear speakers . kept the red,yellow,illumnation, dimmer, ground,ignition , and two front speaker lead out for my aux set up
h.u harness bending back all the spk wire, and the ant.wire
extention wire that are being used.
conecting the three wires back, and this is where i solder. for you lazy ppl you can heat shrink here , use a buttconecter with heat shrink your choice.
rca end created
h.u end
male end to factory h.u
07-08-2010, 12:44 AM
#19
Instructor
Thread Starter
Join Date: Oct 2008
Age: 34
Posts: 201
Likes: 0
Received 0 Likes
on
0 Posts
o.e wire conecter
looks nicer eh? for those who want to bypass the fact h.u an go with all after you can do it this way useing the rca outs!!! or for your factory with aftermarket equiment!
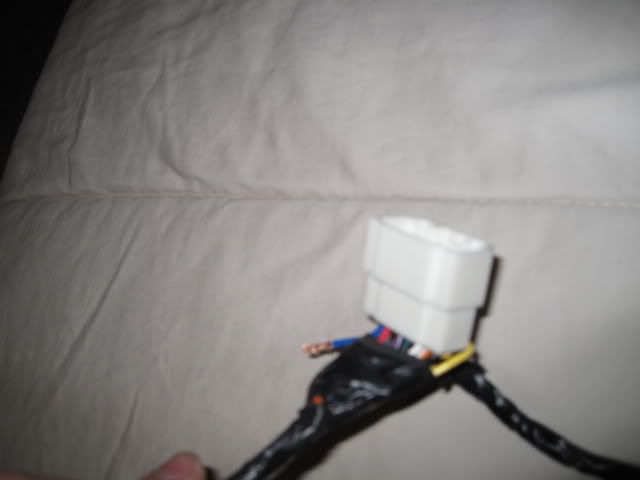
decided to show you the close up of how i had to modify the conecter
left side
bottom
unmody side. note how flat to top is.
onto running wires!!! yeah....
tieing the remote wire on so i dont over yank it...
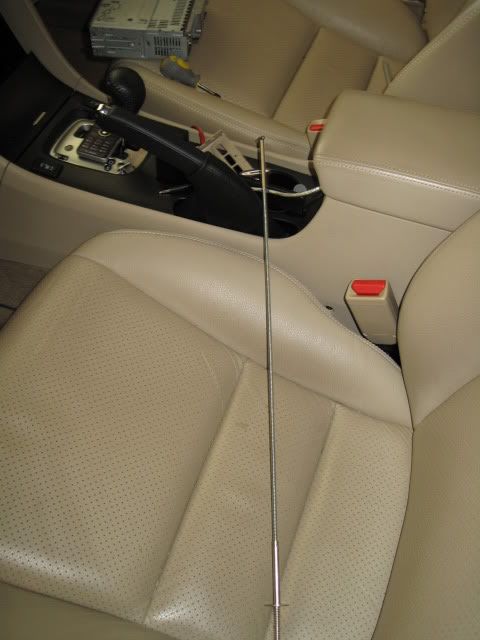
very handy tool...
clamped on
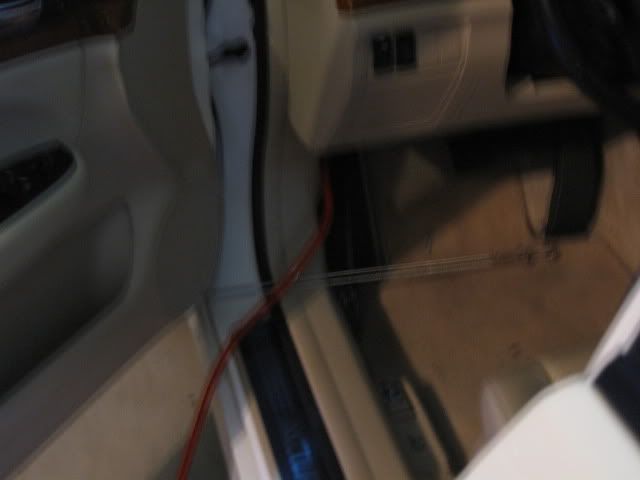
running though the left side of center concle under drive dash
out the other side..
07-08-2010, 12:45 AM
#20
Instructor
Thread Starter
Join Date: Oct 2008
Age: 34
Posts: 201
Likes: 0
Received 0 Likes
on
0 Posts
popping off the cover

at the edge on the right u can see a hole where youll stick a screw driver in this will be on the bottom...
pull up till you hear a pop
slide forward
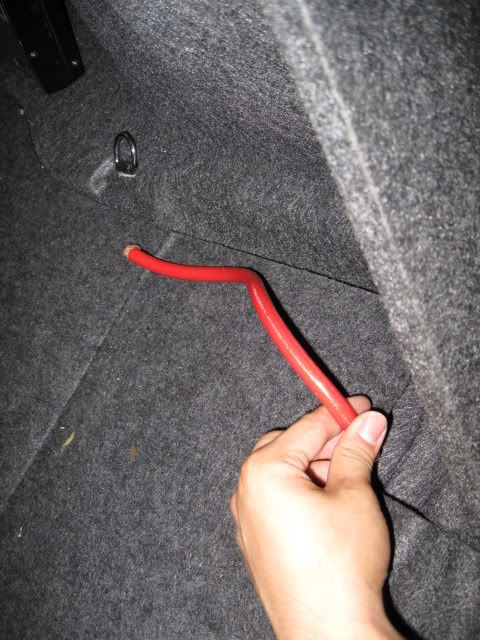
pull side wheater strip off an then get the wires running down the side kick pannle eassest part!! do the same with remote wire
down an zip tied every 5-7 inch you dont really need to zip tie.
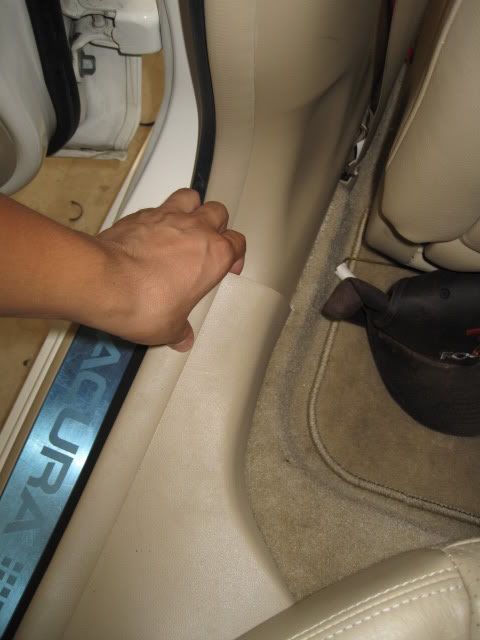
pull the rear pannle up
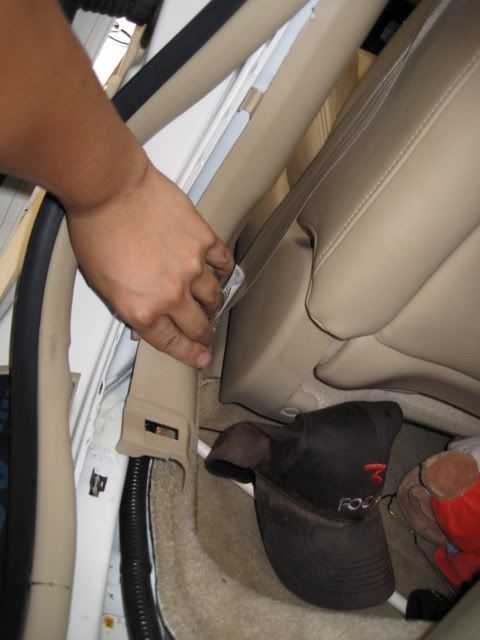
pull strip out, and push out there a clip
i told you there was a clip do the other side so you can slide the power wire though.
07-08-2010, 12:45 AM
#21
Instructor
Thread Starter
Join Date: Oct 2008
Age: 34
Posts: 201
Likes: 0
Received 0 Likes
on
0 Posts
pull the upper side bolster up from the top here a pic of the clip to give you an idea you can stop at this point an run it rest of the way. also eassier way to undo suspension
unbolt 10mm
power wire ran and also the remote not shown tho
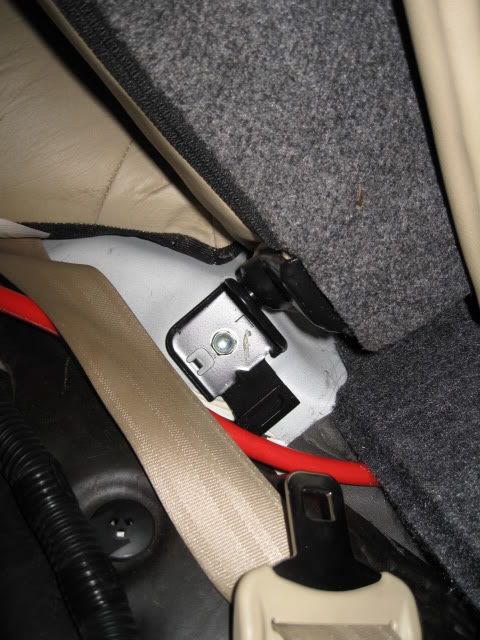
lets ground here!

ten min of sanding....
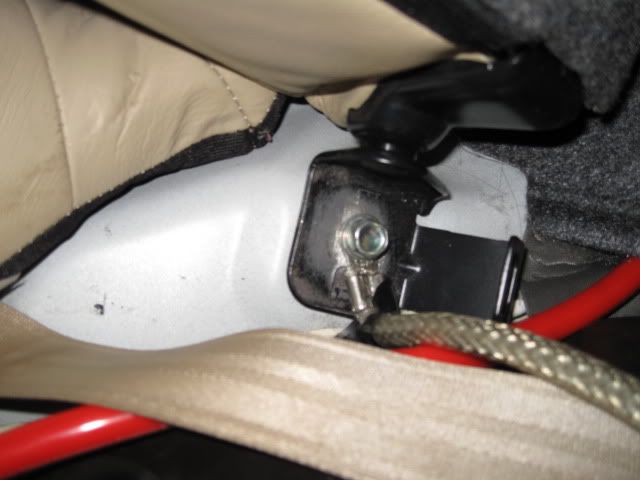
bolted in. may move the ground later...
after this well do reverse order ! and your done for this part.... video up tomorrow im tired
07-08-2010, 09:01 AM
#22
Instructor
Thread Starter
Join Date: Oct 2008
Age: 34
Posts: 201
Likes: 0
Received 0 Likes
on
0 Posts
forgot about these pics.... on how i fix the fitment issue...
see those tabs at the bottom.
once again a slight over due on the right side.....
here the video guys. lol sounds like i dont know what im talking about, and i called the ac unit a radio.
see those tabs at the bottom.
once again a slight over due on the right side.....
here the video guys. lol sounds like i dont know what im talking about, and i called the ac unit a radio.
07-13-2010, 12:00 PM
#23
Instructor
Thread Starter
Join Date: Oct 2008
Age: 34
Posts: 201
Likes: 0
Received 0 Likes
on
0 Posts
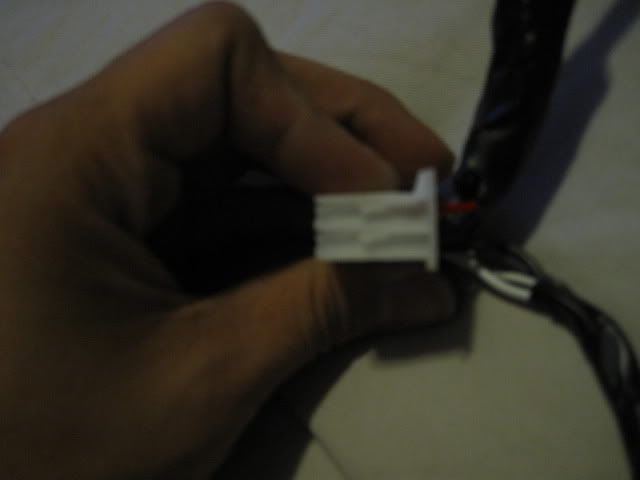
So today or well sunday i got the stearing wheel remote working . I used the wires and pin from the rear audio. So basicly i repined a part of the harness..
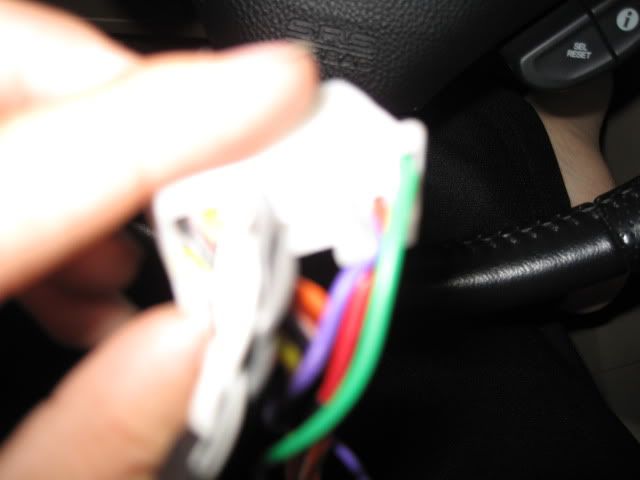
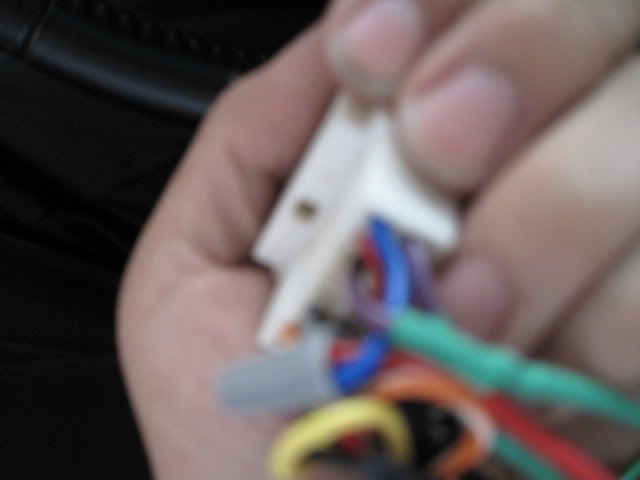
purple and green new wires.
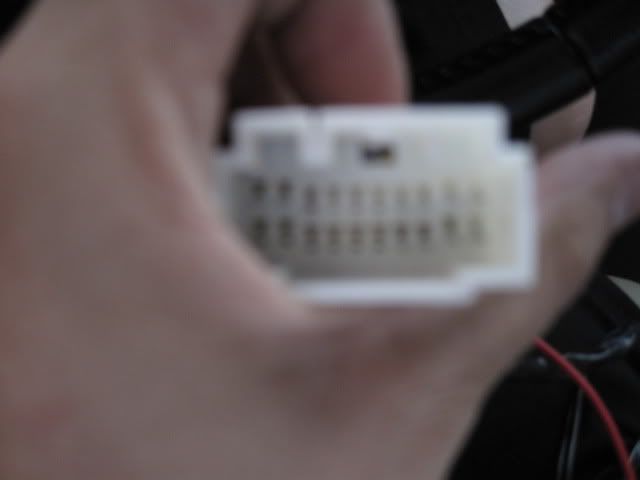
pin 3 and 11. aka left of the red, and all the way to the end on top on right side. this is a view from when its pluged in.
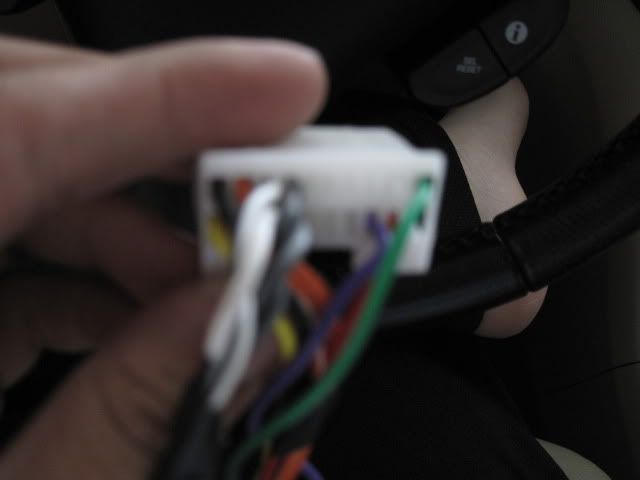
green wire at the end. note how i over cuted it in the begging will make this part somewhat hard
dont know if you can see but the entire middle is gone. lol took all the pins out looks nicer
side pic
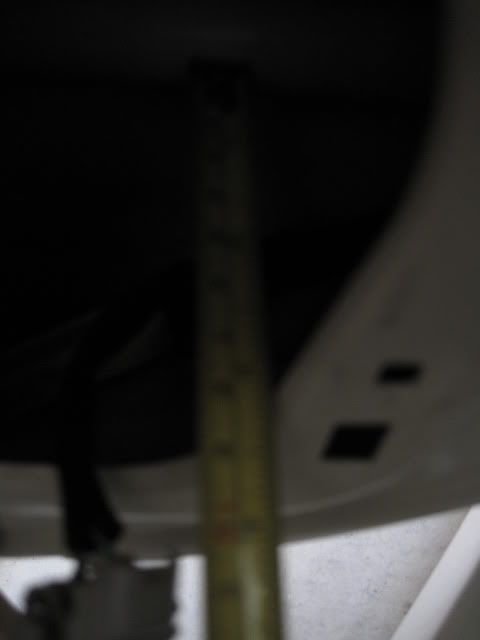
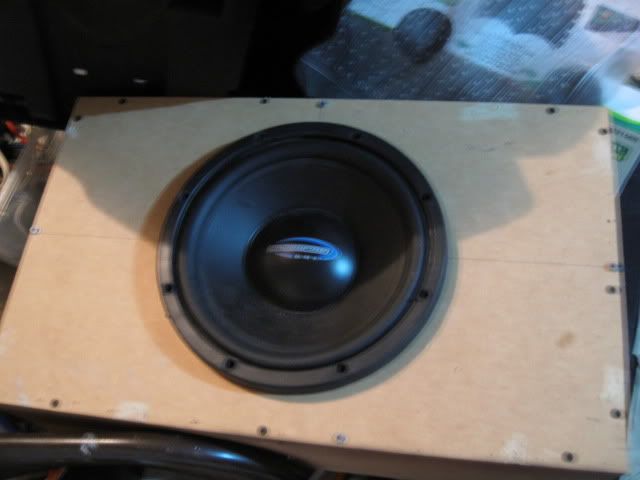
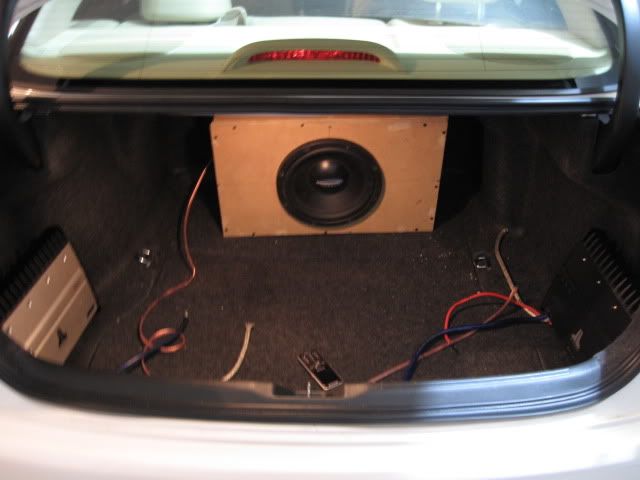
depth to rear brace 3 1/4. subtract in 1 to be able to clear the window. most speakers will fit with a baffle
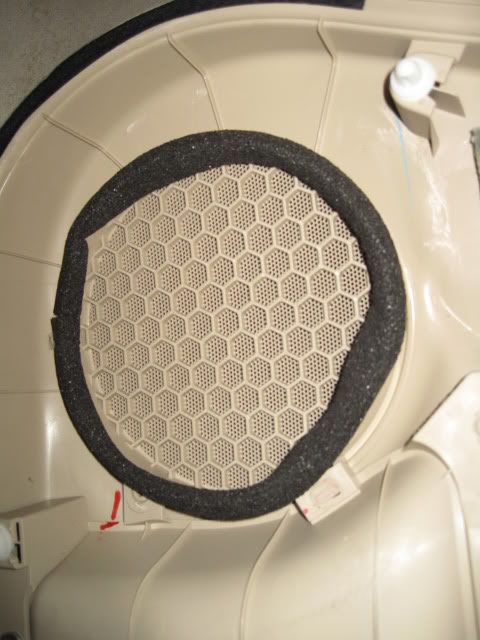
mine doesnt... so i cut the pastic to the edge
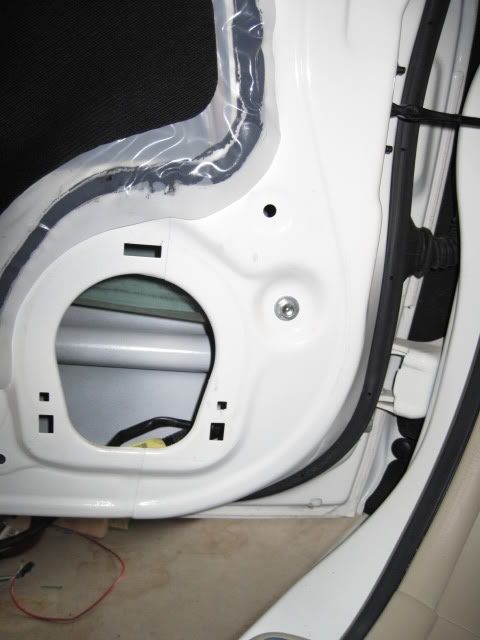
the ugly hole
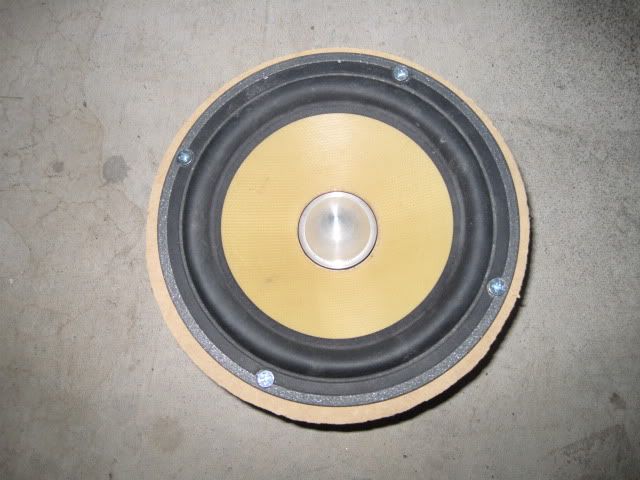
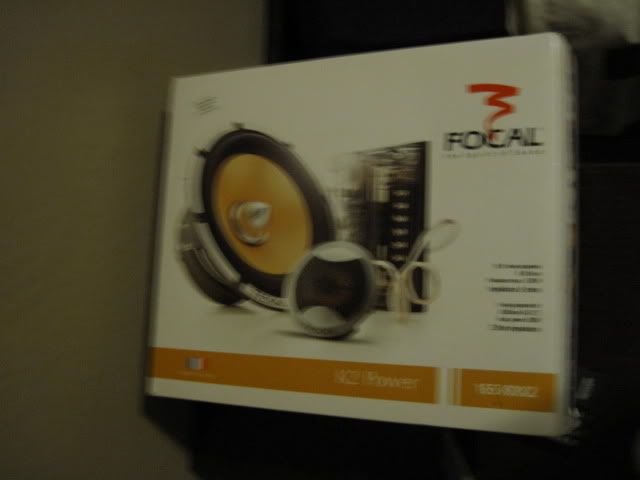
test fit with focal k2p

nearly 1 inch spacer.
purple and green new wires.
pin 3 and 11. aka left of the red, and all the way to the end on top on right side. this is a view from when its pluged in.
green wire at the end. note how i over cuted it in the begging will make this part somewhat hard
dont know if you can see but the entire middle is gone. lol took all the pins out looks nicer
side pic
depth to rear brace 3 1/4. subtract in 1 to be able to clear the window. most speakers will fit with a baffle
mine doesnt... so i cut the pastic to the edge
the ugly hole
test fit with focal k2p
nearly 1 inch spacer.
07-13-2010, 12:01 PM
#24
Instructor
Thread Starter
Join Date: Oct 2008
Age: 34
Posts: 201
Likes: 0
Received 0 Likes
on
0 Posts
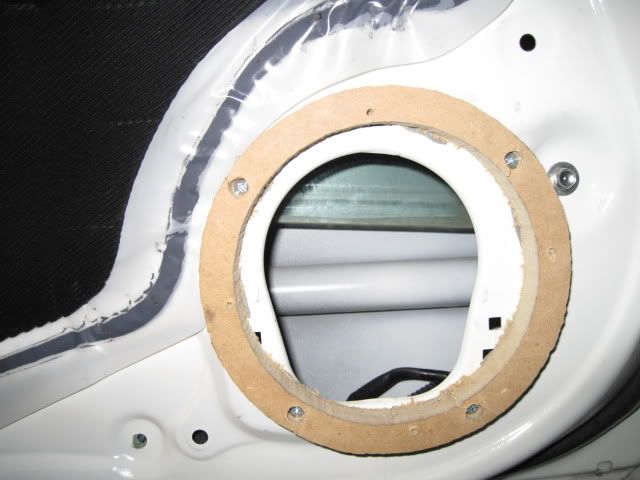
lag bolted in. used double sided tape to stick it up with the k2p in to determin the spot.
k2p semi fit 1/4 gap.... sadly krx basket is wider
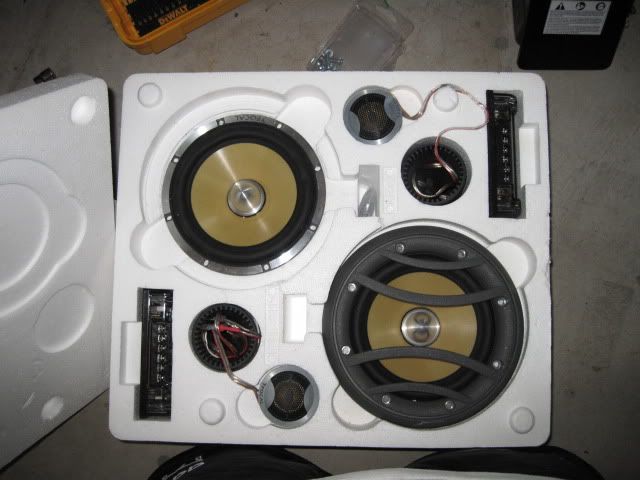
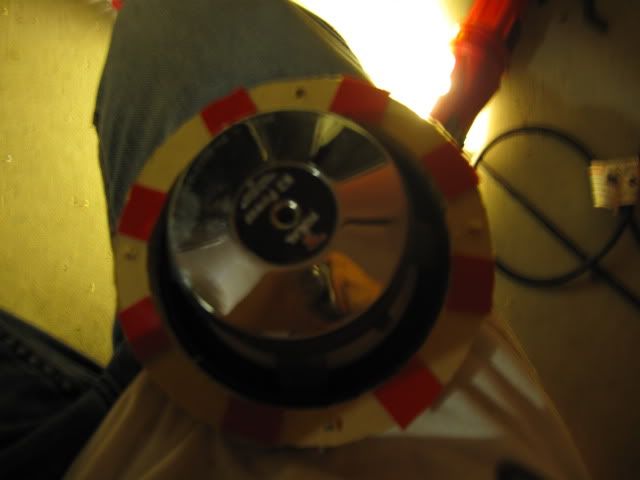
speakers i had in my honda and got AN amazing deal from a dealer youd shoot your self if you ddint buy it.

krx fit after cutting the door open a bit. will take a pic of the cutting when i do the other side
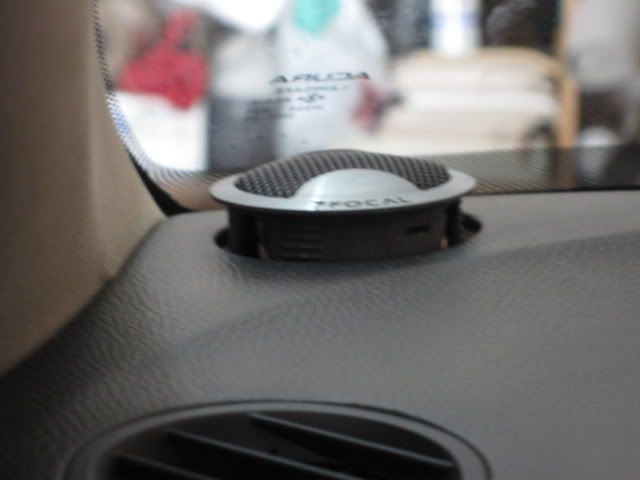
tweet not raelly fitting
07-13-2010, 12:18 PM
#25
Senior Moderator
Regional Coordinator
(Mid-Atlantic)
Regional Coordinator
(Mid-Atlantic)
iTrader: (6)
I've seen some blurry pics in my day, but you win the award for the blurriest audio pics i've seen on here, congrats 
All kidding aside, work looks great, can't wait to see it all finished
All kidding aside, work looks great, can't wait to see it all finished
07-21-2010, 11:30 PM
#27
Instructor
Thread Starter
Join Date: Oct 2008
Age: 34
Posts: 201
Likes: 0
Received 0 Likes
on
0 Posts
sorry for not updateing .... friday had my wisdom removed and yeah.... anyway here somewhat of what i did before then... instal may be delayed a bit due to me being on pain killer for the achs and what not, and my uncle in the hospital
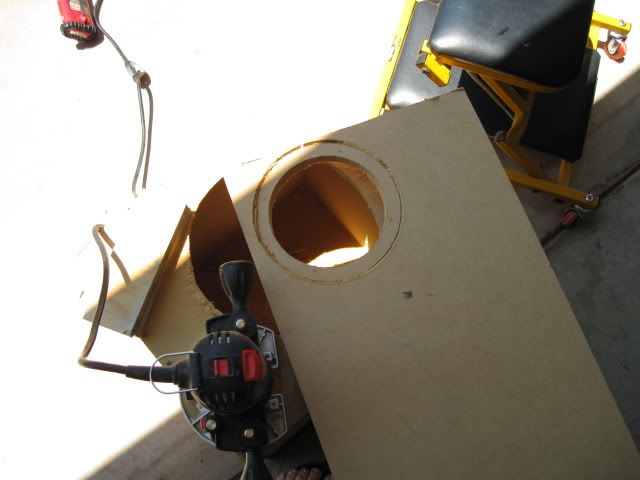
free style baffle
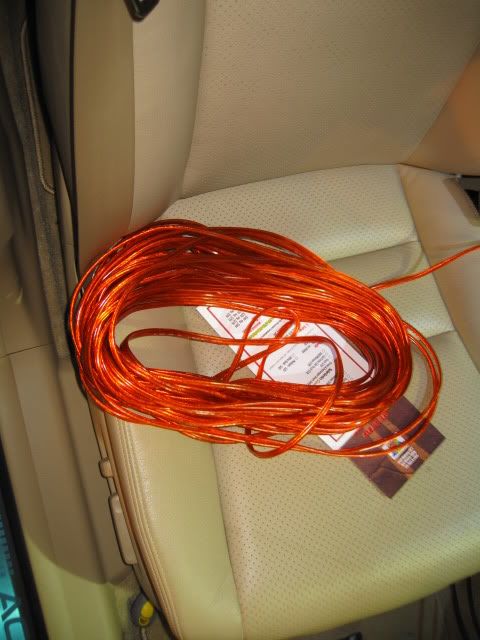
16 ga hooker audio wire from advantage audio in norman
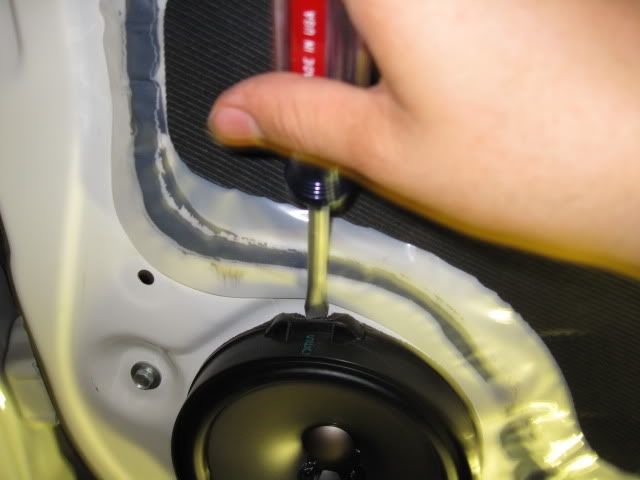
removing the stock speaker reqiure a flat head push down there.
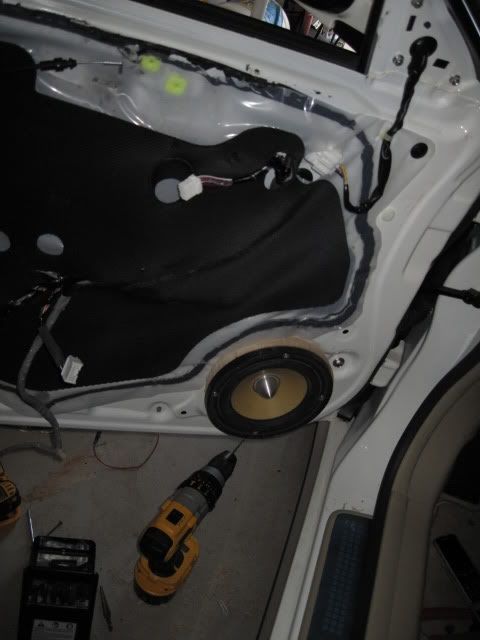
focal k2p mounted, and thedouble sided tape on the back(to find the best area to mount the woofer)
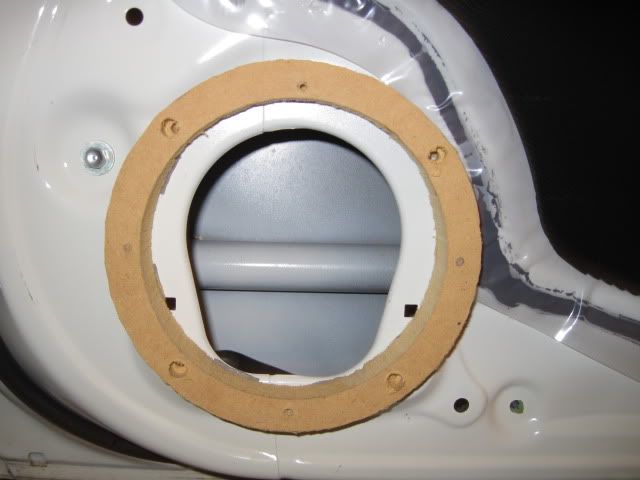
baffle where it needs to be with no holes drilled yet .an thats the part that i left off from doing driver side onto the tweet.
after shaving down a bit of the foam back
the final resting/ cutting for now
crossover mounted. may relocate drivers crossover here as well on the adjaent side.
wire shroud
tucked away before i put the plastic "dampner" on

and the xmod i bought lol.
free style baffle
16 ga hooker audio wire from advantage audio in norman
removing the stock speaker reqiure a flat head push down there.
focal k2p mounted, and thedouble sided tape on the back(to find the best area to mount the woofer)
baffle where it needs to be with no holes drilled yet .an thats the part that i left off from doing driver side onto the tweet.
after shaving down a bit of the foam back
the final resting/ cutting for now
crossover mounted. may relocate drivers crossover here as well on the adjaent side.
wire shroud
tucked away before i put the plastic "dampner" on
and the xmod i bought lol.

Thread
Thread Starter
Forum
Replies
Last Post
navtool.com
5G TLX Audio, Bluetooth, Electronics & Navigation
31
11-16-2015 08:30 PM
navtool.com
1G RDX Audio, Bluetooth, Electronics & Navigation
1
09-25-2015 05:15 PM