3G TL (2004-2008)
Sponsored by:
Sponsored by:

DIY Illuminated Door Sills

Thread Tools
 
Search this Thread
 
Old 12-13-2014, 09:23 AM
  #41  
Instructor
iTrader: (1)
 
godfather18's Avatar
 
Join Date: Aug 2011
Location: Maryland
Age: 39
Posts: 247
Received 12 Likes on 10 Posts
Originally Posted by eaf
You put manufacturing order right there, on ponoko.com, pick 1.5mm clearly acrylic P3 sheet, they'll cut it following the design and send the result to you.
Do i just click on but design files?
Old 12-13-2014, 10:51 AM
  #42  
Starcraft II addict
iTrader: (1)
 
Buda's Avatar
 
Join Date: Oct 2006
Location: Olathe, KS
Age: 48
Posts: 1,173
Received 91 Likes on 51 Posts
Originally Posted by godfather18
I went on the site to buy the acrylic pieces but it's only for the design for $10 and not the actual product. How do I order the actual acrylic sills?
Buy the design files
Click on My Ponoko Account in upper right
Click on My Designs
Select Acura TL 3G Illuminated Sills
Then that will allow you to purchase the actual product.
Old 12-13-2014, 11:01 AM
  #43  
Instructor
iTrader: (1)
 
godfather18's Avatar
 
Join Date: Aug 2011
Location: Maryland
Age: 39
Posts: 247
Received 12 Likes on 10 Posts
Originally Posted by Buda
Buy the design files
Click on My Ponoko Account in upper right
Click on My Designs
Select Acura TL 3G Illuminated Sills
Then that will allow you to purchase the actual product.
Thanks for clearing it up for me!! Really appreciate it!
Old 12-14-2014, 12:39 AM
  #44  
Burning Brakes
 
4drviper's Avatar
 
Join Date: Sep 2011
Posts: 1,138
Received 78 Likes on 61 Posts
Nice! It would be perfect (for me) if I could find where to buy those "light diffuser" boards for LED backlight. Thank you for great OP
Old 12-14-2014, 07:49 PM
  #45  
Team Owner
iTrader: (2)
 
Steven Bell's Avatar
 
Join Date: Jan 2008
Location: Kansas City, MO (Overland Park, KS)
Posts: 36,545
Received 6,470 Likes on 5,162 Posts
Buda, how are you coming along with these?
Old 12-15-2014, 12:59 PM
  #46  
Starcraft II addict
iTrader: (1)
 
Buda's Avatar
 
Join Date: Oct 2006
Location: Olathe, KS
Age: 48
Posts: 1,173
Received 91 Likes on 51 Posts
Originally Posted by Steven Bell
Buda, how are you coming along with these?
Haven't had time to work on them yet. I drove to Cape Girardeau over the weekend to buy a hardrop for my S2000 otherwise I would have done them over the weekend.
Old 12-15-2014, 01:05 PM
  #47  
Registered Bunny
 
polobunny's Avatar
 
Join Date: Nov 2014
Location: Montreal
Age: 36
Posts: 8,307
Received 1,073 Likes on 892 Posts
eaf, what's the total cost in material of this project? Not trying to be cheap or anything, but I like illuminated door sills a lot and would like to budget ahead.
Old 12-15-2014, 02:11 PM
  #48  
Race Director
iTrader: (8)
 
guitarplayer16's Avatar
 
Join Date: Mar 2010
Location: ON, Canada
Posts: 10,766
Received 2,316 Likes on 1,690 Posts
I'm also curious to the total cost of materials.

Took a quick glance and figured it's somewhere around $200?
Old 12-15-2014, 02:23 PM
  #49  
Registered Bunny
 
polobunny's Avatar
 
Join Date: Nov 2014
Location: Montreal
Age: 36
Posts: 8,307
Received 1,073 Likes on 892 Posts
Originally Posted by guitarplayer16
I'm also curious to the total cost of materials.

Took a quick glance and figured it's somewhere around $200?
That's what I figured too, time not included. $10 for the design is definitely affordable, props to eaf for doing all the legwork.

I have not checked for ponoko shipping to Canadians, but I imagine it would be possible to find another supplier if needed.

One thing I'm scared is to mess up the di-noc though. I can totally see myself making it shrink too much.
Old 12-15-2014, 02:54 PM
  #50  
Starcraft II addict
iTrader: (1)
 
Buda's Avatar
 
Join Date: Oct 2006
Location: Olathe, KS
Age: 48
Posts: 1,173
Received 91 Likes on 51 Posts
Ponoko - Design Files $10
Ponoko - Acrylic Sills $46.55 (shipped to KS)
Amazon - Weld on and Applicator $13.09 plus tax (have prime so no shipping cost)
Etsy - EL Tape $54.42 shipped
Mcmaster - Copper tape $14.31 (shipped) There are cheaper options

Total so far is $138.37.

I already have the vinyl so I don't have a cost for that. Also I already have other supplies like the wiring, taps, and such.
The following users liked this post:
polobunny (12-15-2014)
Old 12-16-2014, 08:30 AM
  #51  
eaf
Advanced
Thread Starter
 
eaf's Avatar
 
Join Date: Apr 2008
Posts: 75
Likes: 0
Received 24 Likes on 10 Posts
Originally Posted by polobunny
One thing I'm scared is to mess up the di-noc though. I can totally see myself making it shrink too much.
That will hardly happen, it doesn't shrink that much. But don't apply heat after you cut out letters and before you glued the two pieces together. Otherwise it will definitely mess up the small details, and the letters won't be flat anymore.
Old 12-16-2014, 01:00 PM
  #52  
Starcraft II addict
iTrader: (1)
 
Buda's Avatar
 
Join Date: Oct 2006
Location: Olathe, KS
Age: 48
Posts: 1,173
Received 91 Likes on 51 Posts
If you are concerned about the di-noc peeling/shrinking then use the 3M 94 Primer which is made to help the vinyl bond better to the surface at the edges.

Amazon.com: 3M Tape Primer 94 1/2 Pint 8oz For Vinyl Di-Noc: Automotive Amazon.com: 3M Tape Primer 94 1/2 Pint 8oz For Vinyl Di-Noc: Automotive
Old 12-17-2014, 01:30 AM
  #53  
Race Director
iTrader: (8)
 
guitarplayer16's Avatar
 
Join Date: Mar 2010
Location: ON, Canada
Posts: 10,766
Received 2,316 Likes on 1,690 Posts
I'm really considering this.

I'd like to somehow take your template and change it to my liking.
Don't know if that's possible.
Old 12-17-2014, 07:49 AM
  #54  
eaf
Advanced
Thread Starter
 
eaf's Avatar
 
Join Date: Apr 2008
Posts: 75
Likes: 0
Received 24 Likes on 10 Posts
Originally Posted by guitarplayer16
I'm really considering this.

I'd like to somehow take your template and change it to my liking.
Don't know if that's possible.
Sure, once you have downloaded it, use Inkscape to make any changes you want.
Old 12-17-2014, 01:30 PM
  #55  
Starcraft II addict
iTrader: (1)
 
Buda's Avatar
 
Join Date: Oct 2006
Location: Olathe, KS
Age: 48
Posts: 1,173
Received 91 Likes on 51 Posts
Originally Posted by eaf
Sure, once you have downloaded it, use Inkscape to make any changes you want.
I may have to play with that as well for the future. There are some changes I would consider making too.
Old 12-17-2014, 09:38 PM
  #56  
Team Owner
iTrader: (2)
 
Steven Bell's Avatar
 
Join Date: Jan 2008
Location: Kansas City, MO (Overland Park, KS)
Posts: 36,545
Received 6,470 Likes on 5,162 Posts
^^^ Sean, I can't wait to see these in person.
Old 12-18-2014, 02:38 AM
  #57  
Cruisin'
 
Eros168's Avatar
 
Join Date: May 2009
Location: British Columbia, Victoria
Posts: 16
Received 2 Likes on 2 Posts
mad props for showing us how its done definitely nice DIY for our 3rd gen.
Old 12-19-2014, 01:13 PM
  #58  
Starcraft II addict
iTrader: (1)
 
Buda's Avatar
 
Join Date: Oct 2006
Location: Olathe, KS
Age: 48
Posts: 1,173
Received 91 Likes on 51 Posts
Thinking about making a DIY video on putting these together and installing them if the OP is alright with that. I have 3 of the four acrylic put together and the vinyl on them. Was going to tape doing the last one.
The following users liked this post:
sockr1 (12-19-2014)
Old 12-20-2014, 12:41 AM
  #59  
Race Director
iTrader: (8)
 
guitarplayer16's Avatar
 
Join Date: Mar 2010
Location: ON, Canada
Posts: 10,766
Received 2,316 Likes on 1,690 Posts
Originally Posted by Buda
Thinking about making a DIY video on putting these together and installing them if the OP is alright with that. I have 3 of the four acrylic put together and the vinyl on them. Was going to tape doing the last one.
Why would he not be okay with that?

If he's the type of person not to be okay with that, he wouldn't be the type of person to write up a DIY for others.
Old 12-31-2014, 06:03 PM
  #60  
Burning Brakes
iTrader: (1)
 
screaminz28's Avatar
 
Join Date: Feb 2007
Age: 44
Posts: 1,217
Received 281 Likes on 190 Posts
Big shout out to eaf on this. I just got my EL tape in (in blue) to do this and can't wait for the acrylic to show up so I can start. I ordered SimCarbon vinyl which I don't know if I care for yet - it is a bit too black. I also ordered some silver for another project, if I like it better, I'll use it. Here's how the blue tape looks:


Blue EL tape from lightkraft - not illuminated, no flash


Illuminated, camera flash, ambient light off


Illuminated, no flash, ambient light on


Illuminated, no flash, no ambient light
Old 01-27-2015, 09:01 PM
  #61  
Burning Brakes
iTrader: (1)
 
screaminz28's Avatar
 
Join Date: Feb 2007
Age: 44
Posts: 1,217
Received 281 Likes on 190 Posts
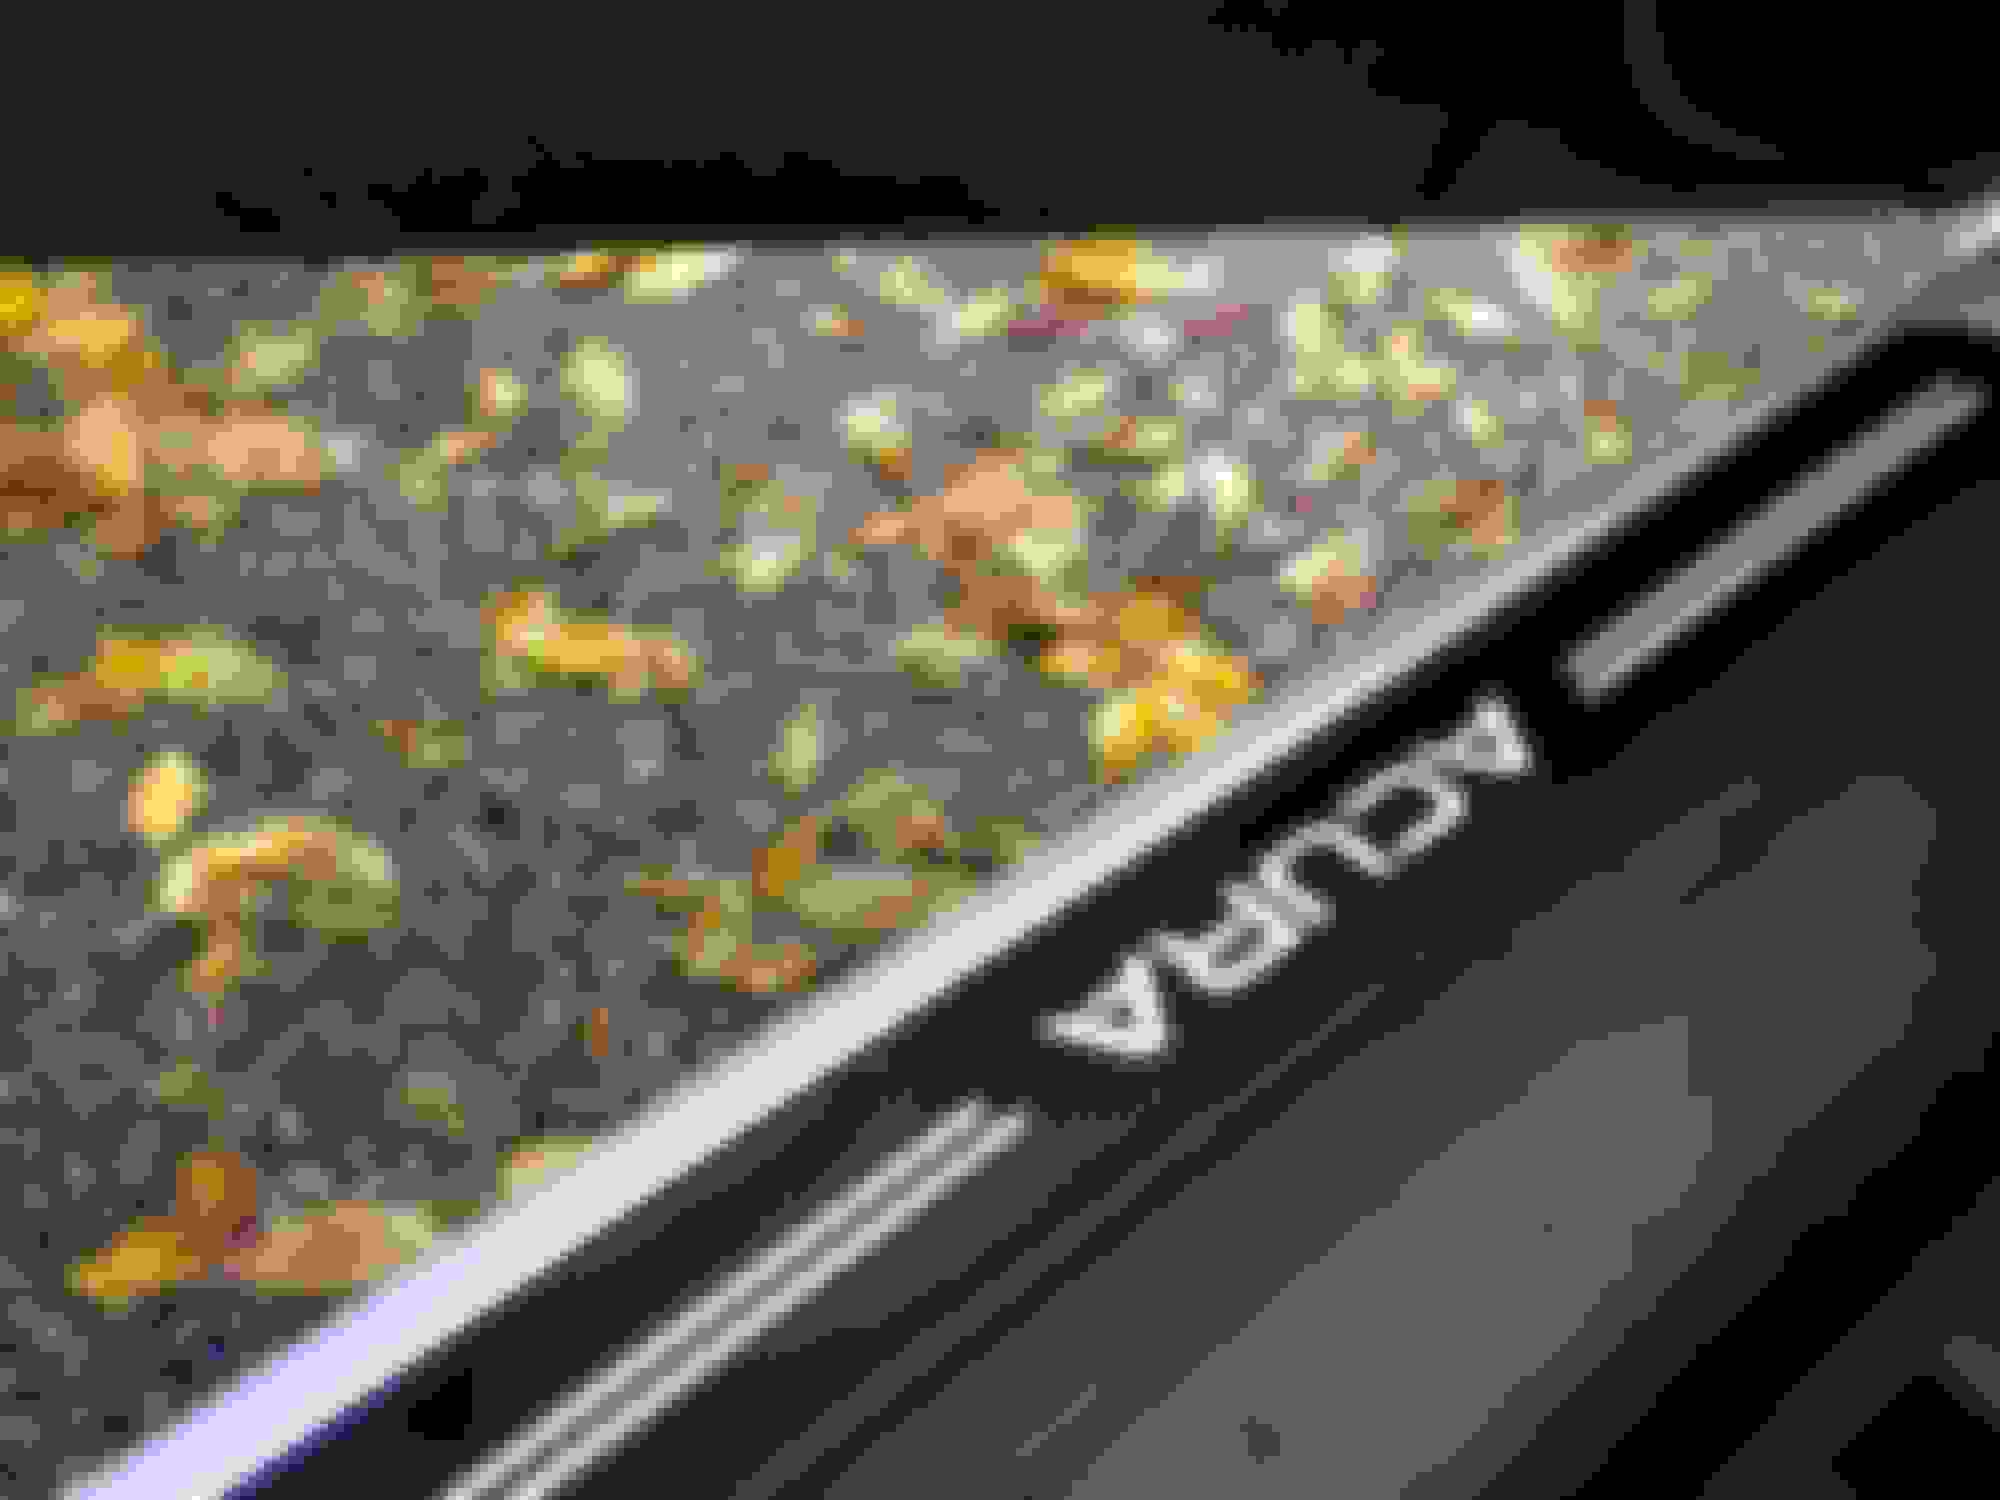
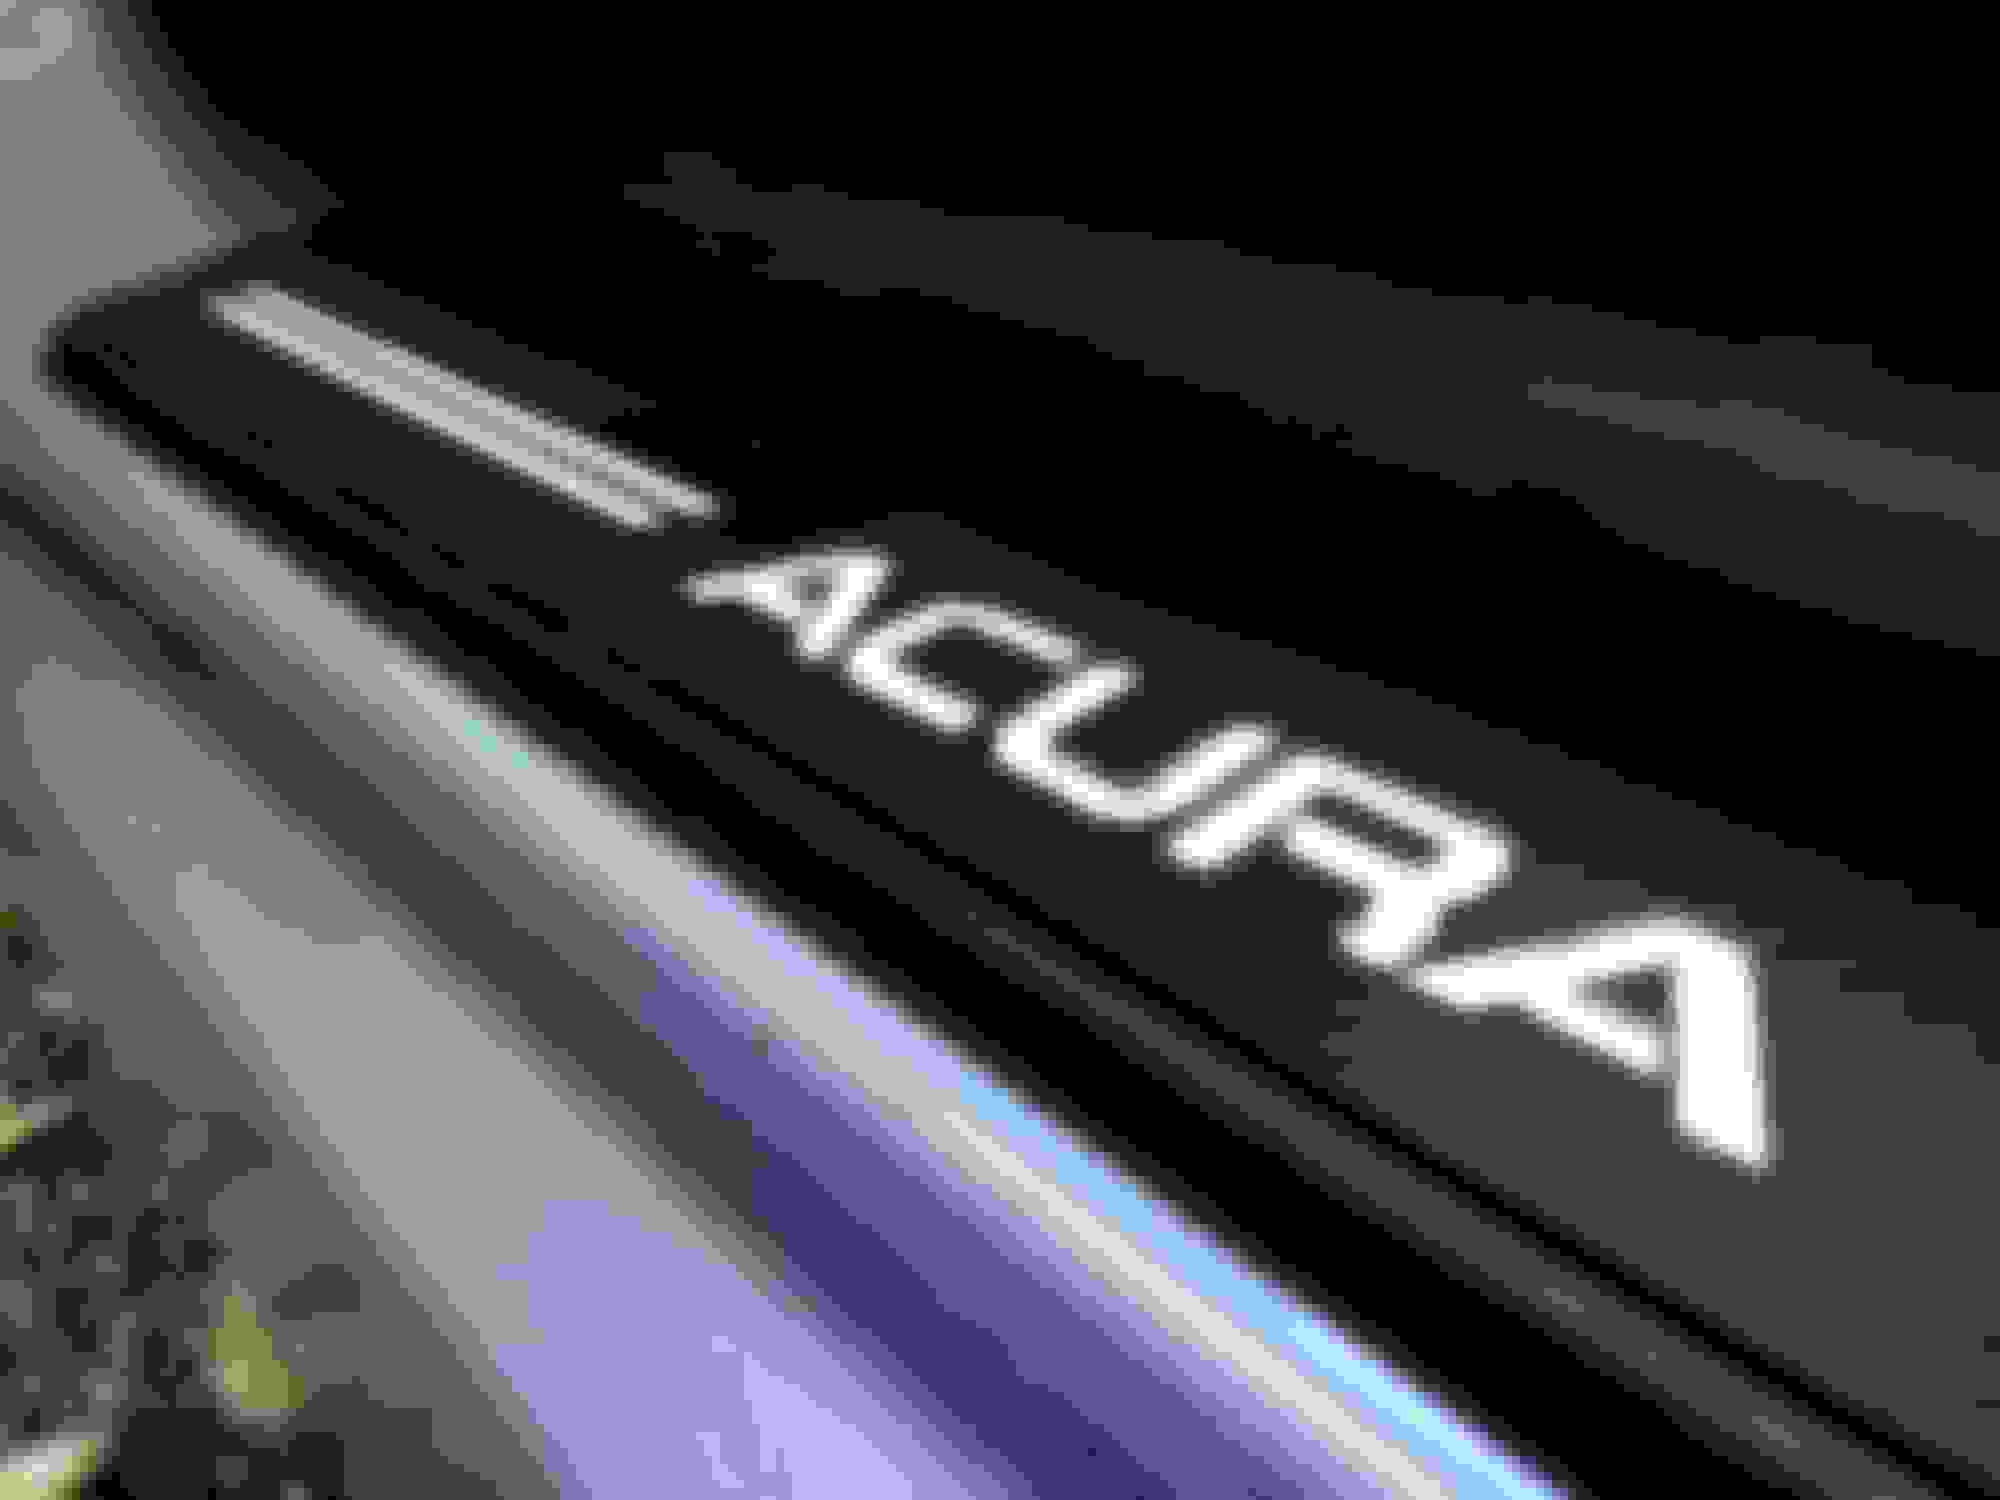
Finally got my acrylic in and started working on them. I wish the camera showed how nice the blue glows, but without any glare or brightness. Its very unlike neon, which the picture seems to resemble.


The following users liked this post:
blk 3g type s (01-27-2015)
Old 01-27-2015, 09:19 PM
  #62  
Team Owner
iTrader: (2)
 
Steven Bell's Avatar
 
Join Date: Jan 2008
Location: Kansas City, MO (Overland Park, KS)
Posts: 36,545
Received 6,470 Likes on 5,162 Posts
^^^^ Love it!
Old 01-28-2015, 02:28 PM
  #63  
Three Wheelin'
iTrader: (2)
 
aIRpeACE's Avatar
 
Join Date: Apr 2011
Location: Philly, PA
Age: 38
Posts: 1,273
Received 95 Likes on 80 Posts
good diy. but i dont think most people here are as handy as you are.
Old 01-28-2015, 02:34 PM
  #64  
Suzuka Master
 
truonghthe's Avatar
 
Join Date: Jun 2008
Age: 36
Posts: 7,952
Received 1,687 Likes on 1,303 Posts
if you can mass produce these, i guarantee you will be another vendor here for AZ community.
Old 01-28-2015, 07:13 PM
  #65  
Team Owner
iTrader: (2)
 
Steven Bell's Avatar
 
Join Date: Jan 2008
Location: Kansas City, MO (Overland Park, KS)
Posts: 36,545
Received 6,470 Likes on 5,162 Posts
^^^ Good idea.....
Old 01-29-2015, 03:45 AM
  #66  
Burning Brakes
iTrader: (1)
 
screaminz28's Avatar
 
Join Date: Feb 2007
Age: 44
Posts: 1,217
Received 281 Likes on 190 Posts
Originally Posted by aIRpeACE
good diy. but i dont think most people here are as handy as you are.
Nah, its all really plug and play. eaf did the hard work with the design files.

I'm far from gifted creatively, and mine are coming along just fine. If you can apply a sticker, know how to quirt glue and caulk, and just a little bit of soldering, this is an easy project.

Not to mention I keep telling my wife that I need some black caulk, lol. Reminds me of an SNL skit I crack up just thinking about. I'm such a child, lol.
Old 01-29-2015, 07:57 AM
  #67  
Registered Bunny
 
polobunny's Avatar
 
Join Date: Nov 2014
Location: Montreal
Age: 36
Posts: 8,307
Received 1,073 Likes on 892 Posts
Originally Posted by screaminz28
Nah, its all really plug and play. eaf did the hard work with the design files.

I'm far from gifted creatively, and mine are coming along just fine. If you can apply a sticker, know how to quirt glue and caulk, and just a little bit of soldering, this is an easy project.

Not to mention I keep telling my wife that I need some black caulk, lol. Reminds me of an SNL skit I crack up just thinking about. I'm such a child, lol.
"I NEED SOME BLACK CAULK!"

I was riding the subway not long ago and I had a stiff neck, I told my girlfriend "My neck hurts". She gave me a dirty look and pointed with her eyes at a few black men sitting not far.
Old 01-29-2015, 10:42 AM
  #68  
Three Wheelin'
iTrader: (2)
 
aIRpeACE's Avatar
 
Join Date: Apr 2011
Location: Philly, PA
Age: 38
Posts: 1,273
Received 95 Likes on 80 Posts
^ lol
Old 02-18-2015, 09:38 PM
  #69  
5th Gear
 
Mazdawg(Mikey)'s Avatar
 
Join Date: Feb 2015
Posts: 5
Received 0 Likes on 0 Posts
Couldn't you just cut a piece of acrylic the size of the aluminum and leave it solid, get some vinyl decal material cut so that the word "Acura" and the bars are cut out of it and the light will shine thru that? That would eliminate the need for stacking the material.
Old 09-24-2018, 02:52 PM
  #70  
Instructor
 
RxWorld's Avatar
 
Join Date: Mar 2013
Location: Wisconsin
Posts: 194
Received 47 Likes on 19 Posts
Just about to finish this project up. Shout out to the OP for an awesome write up. Does anyone know by chance the rationale for sanding the bottom of the sills before install?
Old 09-25-2018, 08:52 AM
  #71  
eaf
Advanced
Thread Starter
 
eaf's Avatar
 
Join Date: Apr 2008
Posts: 75
Likes: 0
Received 24 Likes on 10 Posts
Originally Posted by RxWorld
Just about to finish this project up. Shout out to the OP for an awesome write up. Does anyone know by chance the rationale for sanding the bottom of the sills before install?
To diffuse light
Old 09-25-2018, 03:43 PM
  #72  
Instructor
 
jon.mar27's Avatar
 
Join Date: Dec 2015
Location: FL
Age: 32
Posts: 144
Likes: 0
Received 4 Likes on 4 Posts
Originally Posted by dwilliams92
you should mass produce these! I'd buy a set lol

nice job though! Looks good!
x2
Old 09-29-2018, 01:45 PM
  #73  
Tycoon
 
robowarrio's Avatar
 
Join Date: Apr 2014
Location: Virginia
Age: 43
Posts: 184
Received 26 Likes on 22 Posts
Originally Posted by RxWorld
Just about to finish this project up. Shout out to the OP for an awesome write up. Does anyone know by chance the rationale for sanding the bottom of the sills before install?
Please post pics once done! Looking forward to seeing how it turns out!
Old 10-10-2018, 04:00 PM
  #74  
Instructor
 
RxWorld's Avatar
 
Join Date: Mar 2013
Location: Wisconsin
Posts: 194
Received 47 Likes on 19 Posts
2018 update!

2018 UPDATE!

Thanks again to eaf for the awesome write-up! I just completed this. I had a couple of thoughts and updates below

1) I did NOT have to do any desoldering or use copper tape. The EL Tape from Lightkraft on etsy now comes with leads attached to BOTH sides of each strip of EL tape. The wires coming off the tape were not bulky at all so I was able to use those ones. (I still drowned stuff in caulk underneath just in case)
2) If I did it again I might try to find a black caulk that was a sealant AND an adhesive instead of straight silicone caulk. Silicone does have adhesive properties but I had issues attaching the sills to the plastic bases. I ended up putting silicone around the EL tape then dabbing a bit of epoxy on the far edges to really bond it well to the base.
3) I put both inverters in the area above the area where the front passenger feet would be

Overall sorta a lengthy process but very satisfied with results!


The following users liked this post:
mercurymusic (04-07-2022)
Old 10-10-2018, 04:22 PM
  #75  
Safety Car
iTrader: (8)
 
EvilVirus's Avatar
 
Join Date: Apr 2011
Location: Houston
Posts: 4,227
Received 1,120 Likes on 893 Posts
That looks good
Old 10-13-2018, 12:10 PM
  #76  
Burning Brakes
 
wusty23jd's Avatar
 
Join Date: Apr 2015
Location: Grand Rapids, MI
Posts: 1,212
Received 232 Likes on 160 Posts
Superb!
Related Topics
Thread
Thread Starter
Forum
Replies
Last Post
Mike734
2G RL Tires, Wheels & Suspension
4
12-10-2021 01:25 PM
tsx_boy
1G TSX Performance Parts & Modifications
4
12-13-2019 08:33 PM
mlody
5G TLX (2015-2020)
85
12-04-2019 02:11 PM
soupi
2G TSX Audio, Bluetooth, Electronics & Navigation
14
11-15-2015 11:15 AM
chiu0nthls
3G MDX (2014-2020)
3
09-28-2015 03:46 AM


Quick Reply: DIY Illuminated Door Sills


All times are GMT -5. The time now is 01:54 PM.