When you click on links to various merchants on this site and make a purchase, this can result in this site earning a commission. Affiliate programs and affiliations include, but are not limited to, the eBay Partner Network.
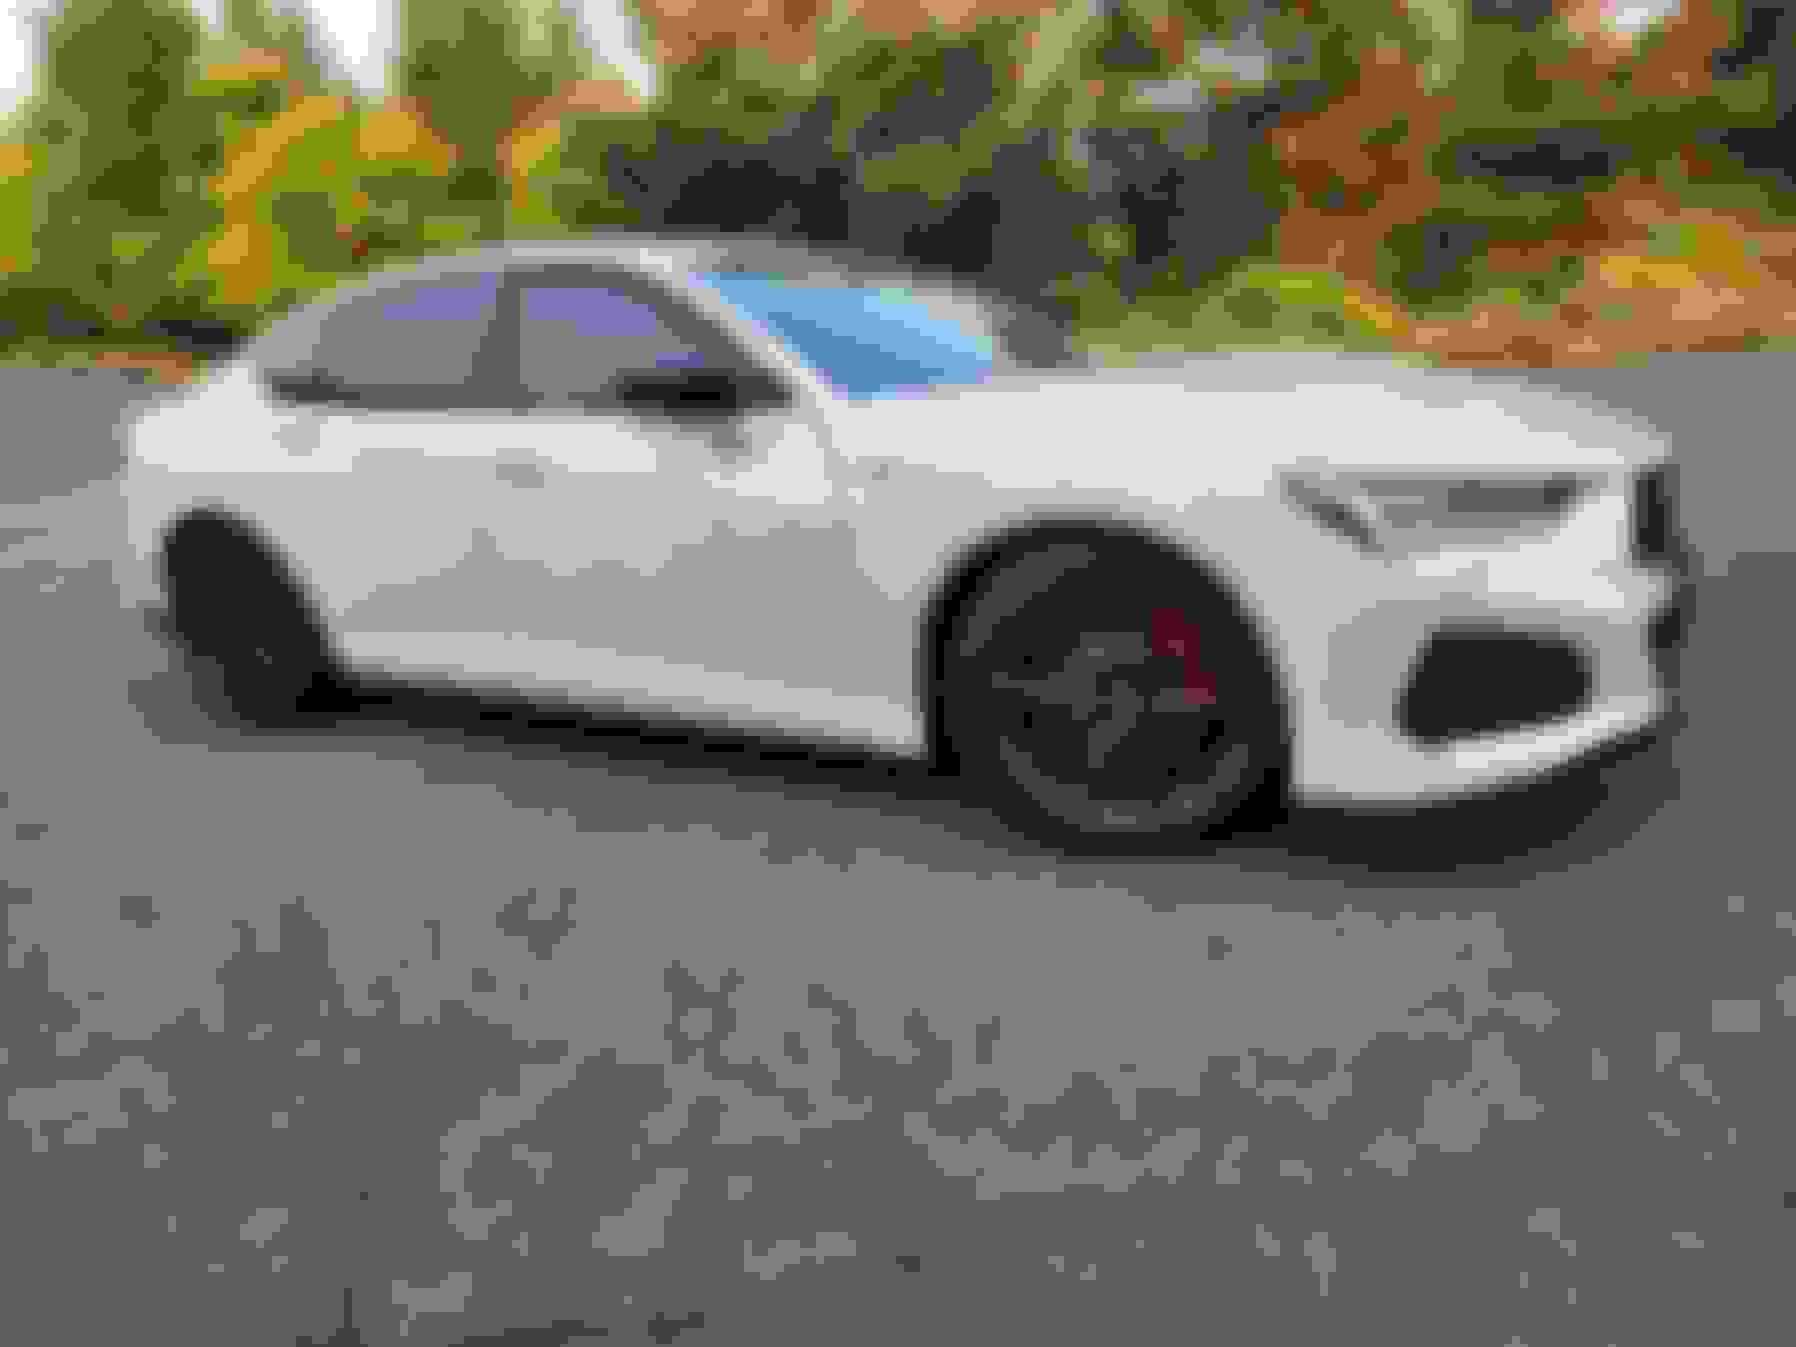
In my opinion, the TLX Type-S is the best looking vehicle on the road today. I will eventually own one of these at some point, as well. What surprising feature have you found to be more useful than you could've imagined before ownership?
In my opinion, the TLX Type-S is the best looking vehicle on the road today. I will eventually own one of these at some point, as well. What surprising feature have you found to be more useful than you could've imagined before ownership?
The driver assist system is amazing. The lane keep assist and adaptive cruise control work so much better than they did in my 2018.
What did you use to spray them with and did you drop the mufflers or spray them as is?
No need to drop the mufflers, but it would be easier to get the top of the tips if you did.
I used: Dupli-Color DE1635 Engine Enamel Spray Paint with Ceramic - Semi-Gloss Black - 12 oz Aerosol Can
I cleaned off any tar or crap stuck to the tips. Then used 120 grit sandpaper to give it a little texture. Then rubbing alcohol to clean off the dust and any other remining dirt. Then tape it up. I only did 2 light coats and still had to catch a few drips. Go as slow as possible. Very very light coats. 10-20 mins between coats. Wait at least a few hours before driving.
No problem - that's the main reason I wanted to make this thread, just to share info and let others see what weird stuff looks like on these cars. Red taillights for example, I'm glad I tried it and now others can see what it looks like before doing it yourself. If I saw pictures before I tried it I wouldn't have wasted my time But hey, maybe someone else see this and is like...this is it...this is perfect...I'm doing it!
Very nice! I did the same thing on my exhaust tips and the paint has been holding up well.
How are you liking the intake?!
My black tip brother
I love the intake! At first I thought it might be a little too much, but I am really enjoying it. That combined with the Boomba bypass valve is a really great combo. I just added that a few days ago, highly recommended! I love going around a slow driver and just dumping an ear full of turbo noises as I pass
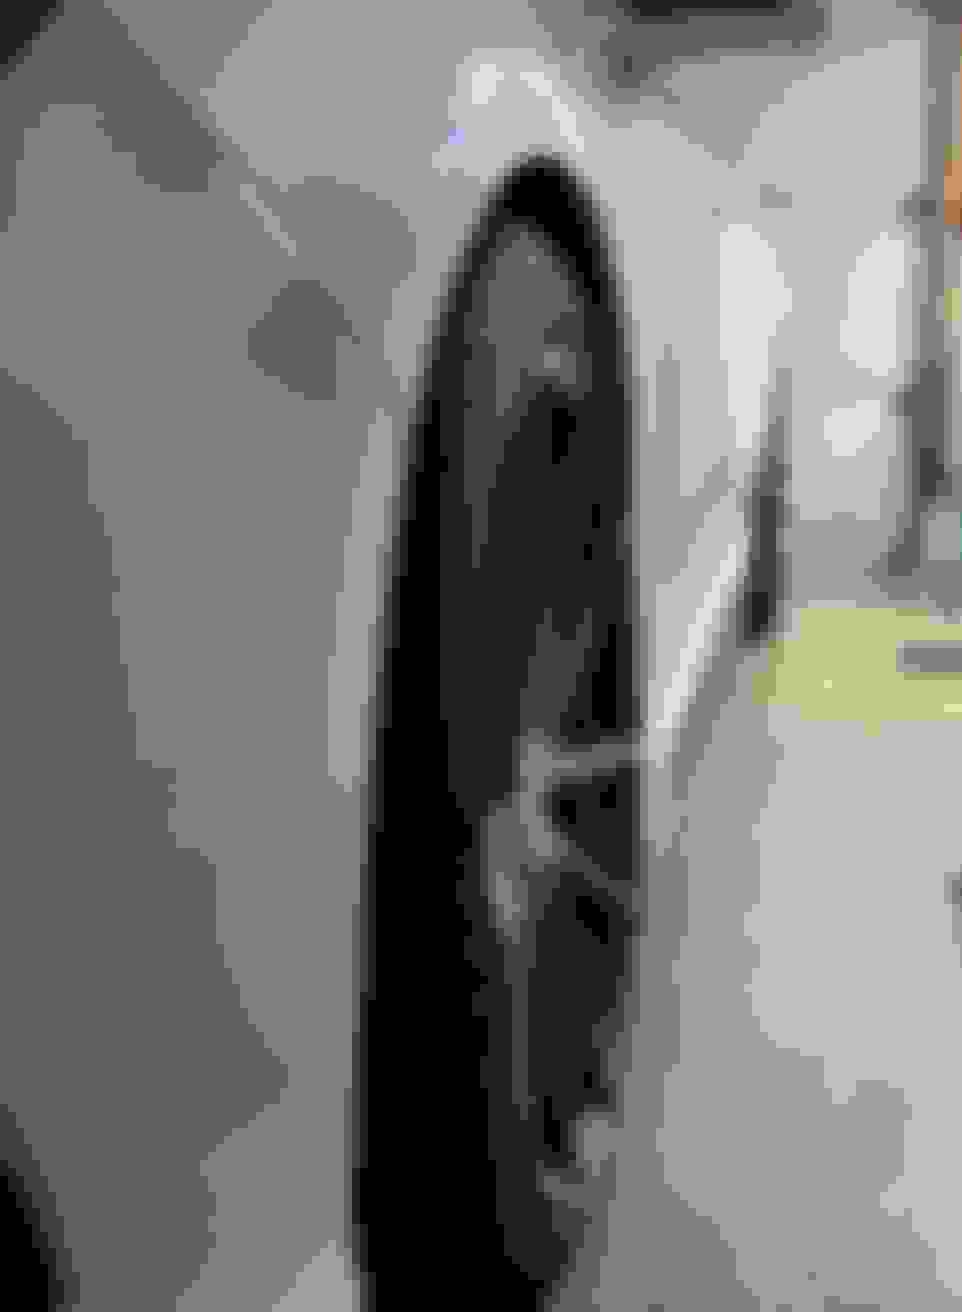
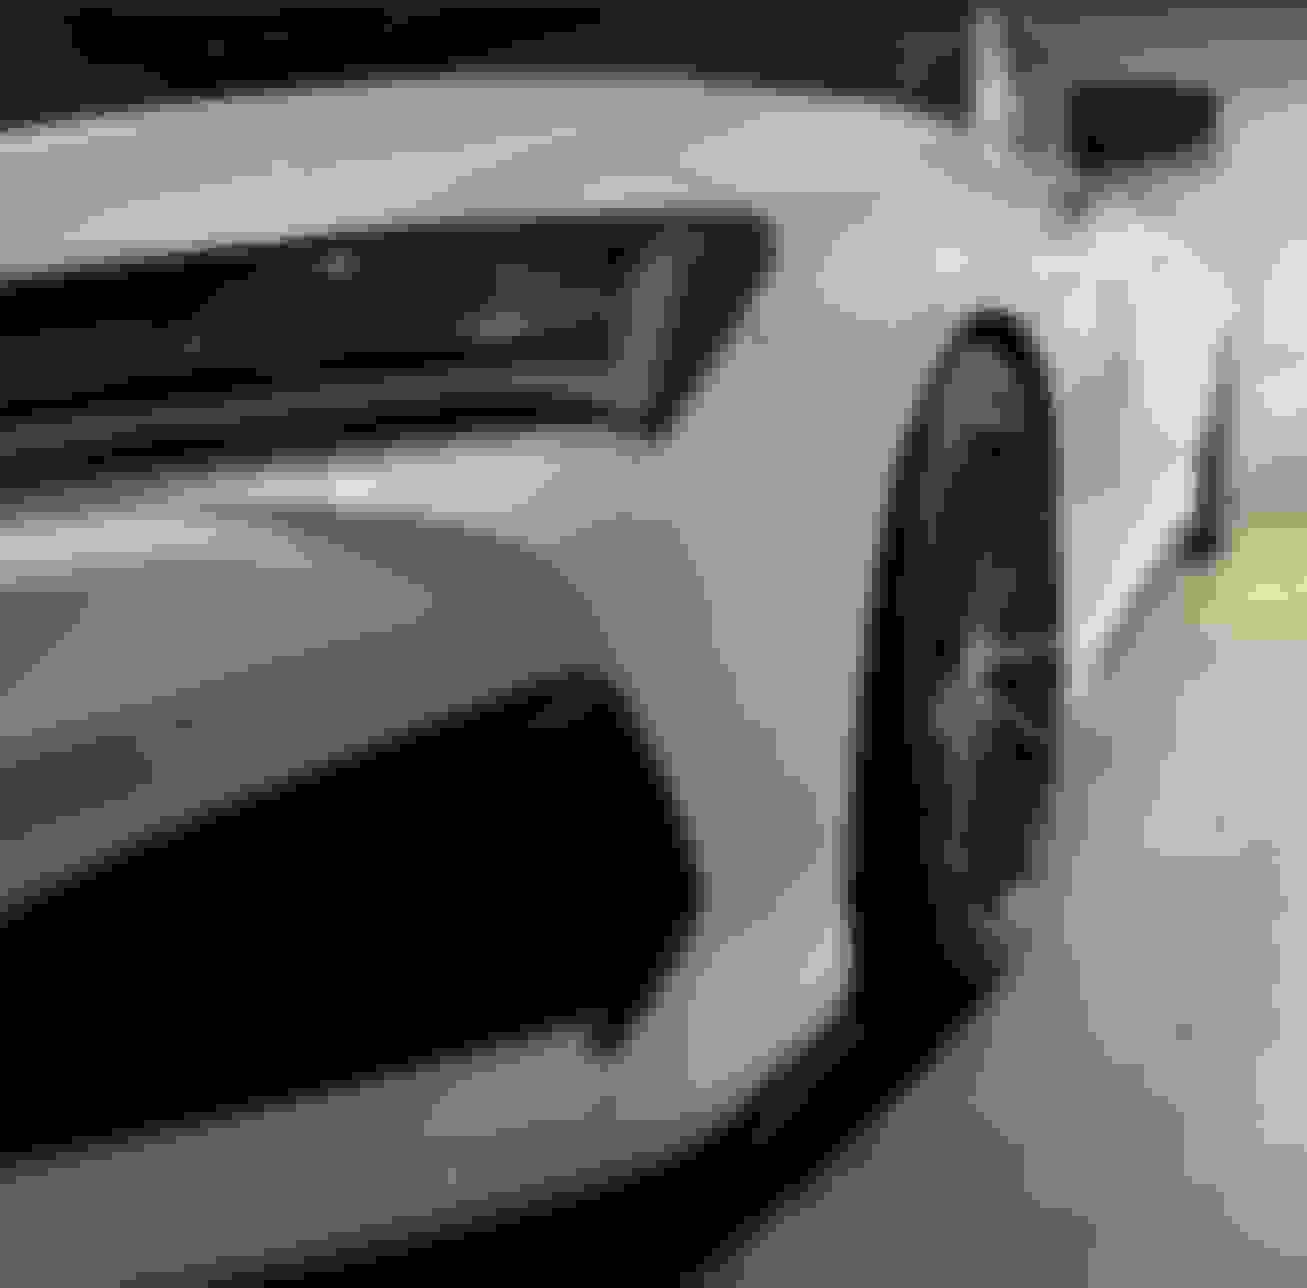
Did "Light Smoke" on the tails, but they still look pretty dark. Did a little darker on the front shield and tinted the type s emblem on the front grill. One day I'll get black chrome emblems...one day. Also added front license plate after careful consideration. I hate it, but whatever.
Side note, the owners manual says it's a very bad thing to put any residue or film on the front shield. I haven't had problems with ACC or anything, so
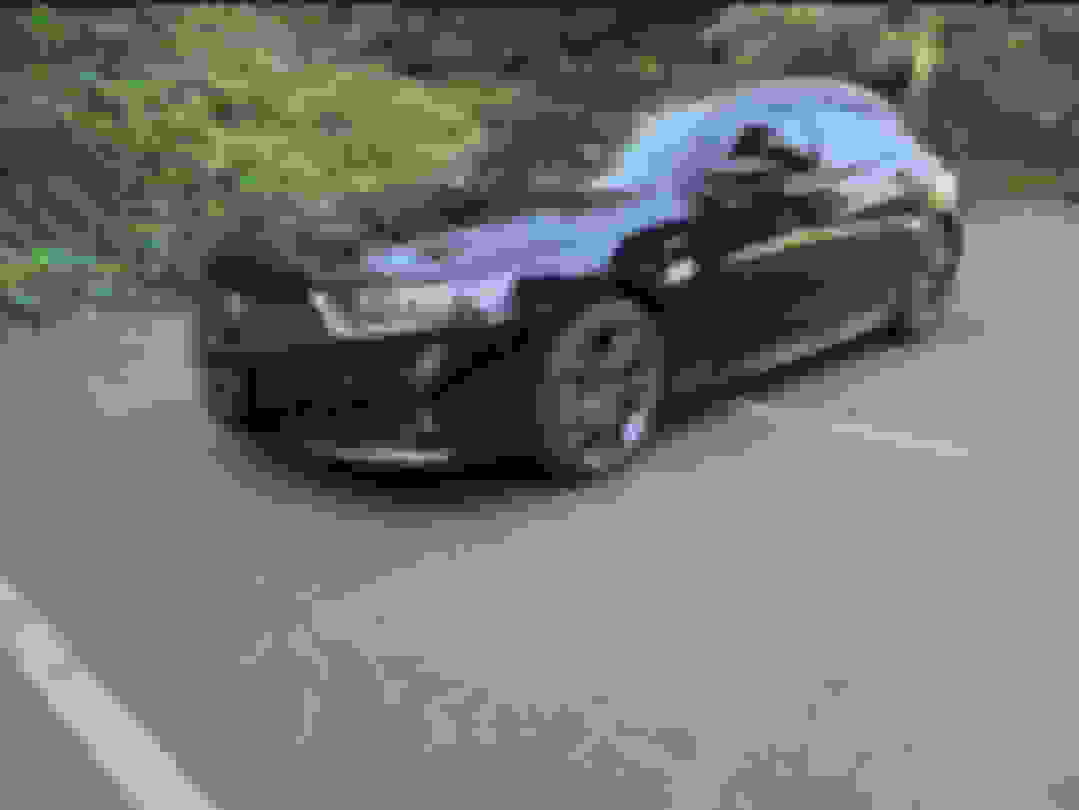
Unplanned mod: smashed the front lip (passenger side) on a higher than normal parking block. You can see it is deformed a little bit. I had to press it back into shape and then sanded it down a little and hit it with some touch up paint. Lesson learned, I hope.
I love the intake! At first I thought it might be a little too much, but I am really enjoying it. That combined with the Boomba bypass valve is a really great combo. I just added that a few days ago, highly recommended! I love going around a slow driver and just dumping an ear full of turbo noises as I pass
Did the boomba valve add any extra spice to the audio?! I like sounds haha. I will have to order one now that you have highly recommended it.
Did the boomba valve add any extra spice to the audio?! I like sounds haha. I will have to order one now that you have highly recommended it.
Nice, you'll love it! It totally changes the sound of the car when coming off the throttle. The stock bpv with the hps intake reminded me of a wastegate venting to atmosphere. The boomba makes it actually sound like a more traditional turbo blowoff. There's a decent amount of fluttering sounds too. Funny enough, the loudest sounds come from when I give it like 25% throttle and let off quickly. I've gotten a few looks like "what the hell was that noise? Did I just run over a bird?". I've used it to get people's attention at green lights instead of honking at them. I'm not sure if that comes off more aggressive than a honk, but it works, hahaha!
Install was literally three 8mm bolts and replace the stock tube. Removing the stock tube took the bulk of the 15 mins to install. My only complaint was they were out of stock on all colors except red. I'm half tempted to just blast it with the black engine paint used on the exhaust tips, but it is really nice anodizing and I'd feel a little bad. I've got some audio clips I'll upload soon.
In my search to eliminate all chrome I took a shot at tinting the rear A emblem. If you have ever looked into how to install the oem black A emblem, you will see why I wanted to try this first (you have to separate the panel from the inside of the trunk and it's a mess).
Let me start by saying I knew zero about applying tint up until about a month ago. I started with tinting side markers with straight lines and now I was able to knock out this oval emblem in 10 minutes. What I'm trying to say is don't be scared to try yourself. A roll of tint is like 15 bucks. Worst case you try it and it's horrible and you take it off. No harm done. A tint shop would probably charge $50+ to do this. I'm not a penny pincher, but I do get a lot of enjoyment on saving money through DIY.
Anyway, if this falls off after the next wash, I won't be sad. Spoiler alert, it's not going to. Applying a little heat really locks the tint into place. I'm very pleased with the results. Inside I know I'm a ricer for doing this, but until you get up close, you can't tell it's been tinted. I actually like this more than the straight black emblem that blends into the black background. This gives it a little chrome brightness to stand out from the background and avoids looking like just a black dot on the truck. I tinted the entire area and then cut out everything around the chrome.
That looks really good. I plasti dipped mine black. I wanted the black chrome ones but couldn�t justify the price to change all the emblems. $1200CAD 😮 from the dealer installed. I didn�t even think of tinting. Looks great👍🏻. Keep the mods coming.
Ah dude that boomba valve I'm definitely going to order. Thank you for the video clips showing the difference between with and without. I keep rewatching the 2nd clip and i giggle each time haha.
Ah dude that boomba valve I'm definitely going to order. Thank you for the video clips showing the difference between with and without. I keep rewatching the 2nd clip and i giggle each time haha.
Haha! Glad you enjoyed it! Let me know what you think once you get one installed!
I'm not happy with the "gloss black" sh-awd vs the "black chrome" TLX. The TLX badge looks mostly chrome in pictures. In person it's a lot darker looking - I like it. But I think I ordered the wrong sh-awd badge. There is a lot of junk for sale out there. Be careful what you buy!
Here's a daytime picture. Notice how light the tint is on the tail lights. They are a lot darker in low light.
figure out what Type S badges are going where. They aren't all the same size. Even different years had different sizes.
heat gun
painters tape
fishing line
wd-40/goo gone + cloth
Tape off all the ends and angles.
Heat up old badges. Use fishing line to saw through the adhesive. Don't pull up. Keep pushing into the trunk so you are getting off as much sticky crap off the paint as possible. A little bit of goo gone in a towel removes the left over quickly. Clean the area. Dry.
You can remove the new badges so the top of them is stuck to the clear plastic film. Then Just match it up between the tape lines and hold in place. I hit it with the heat gun for a couple seconds and pressed again another 10 seconds.
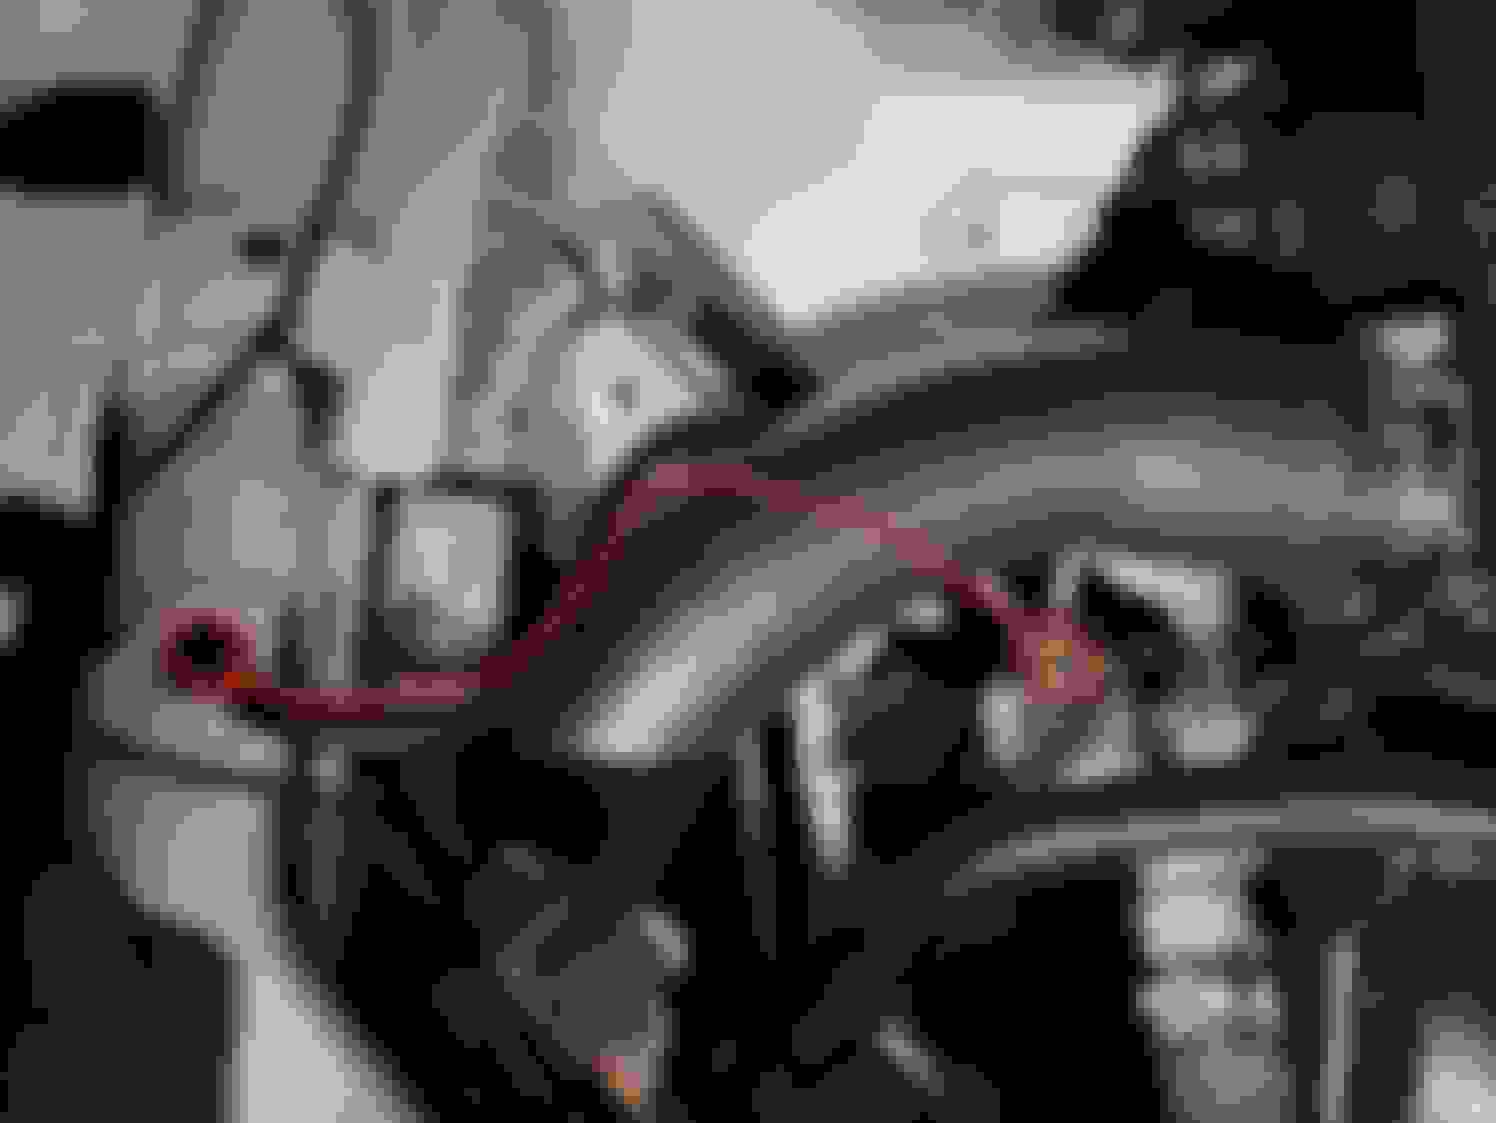
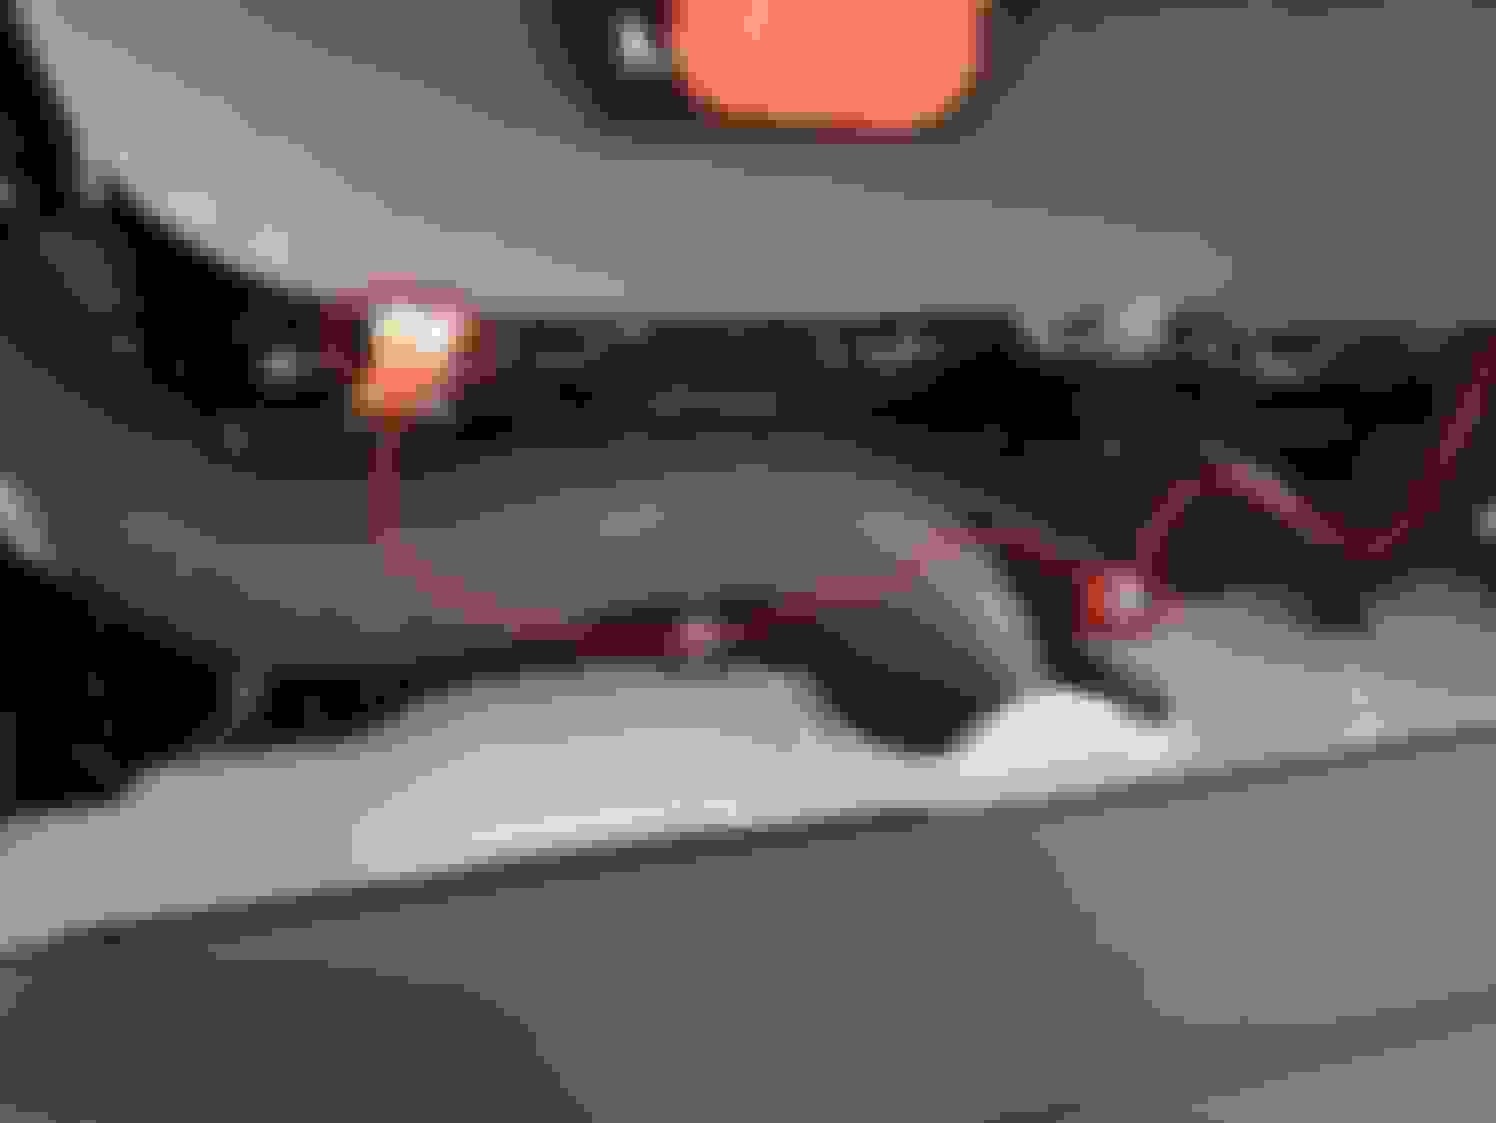
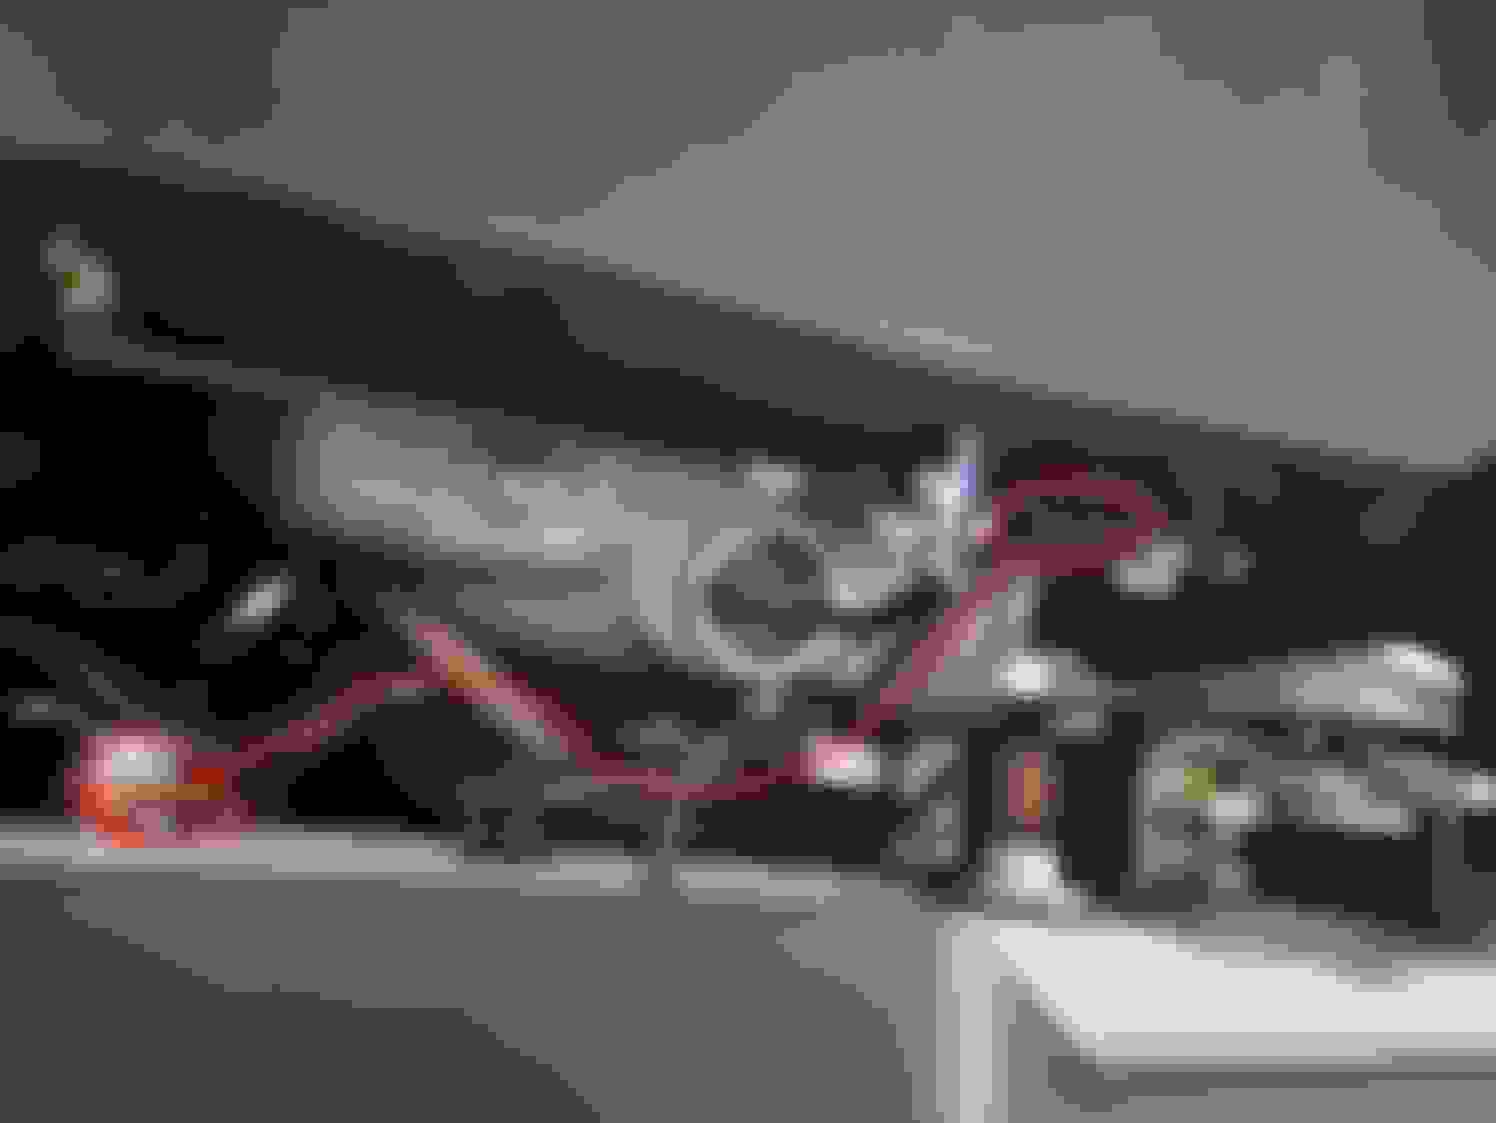
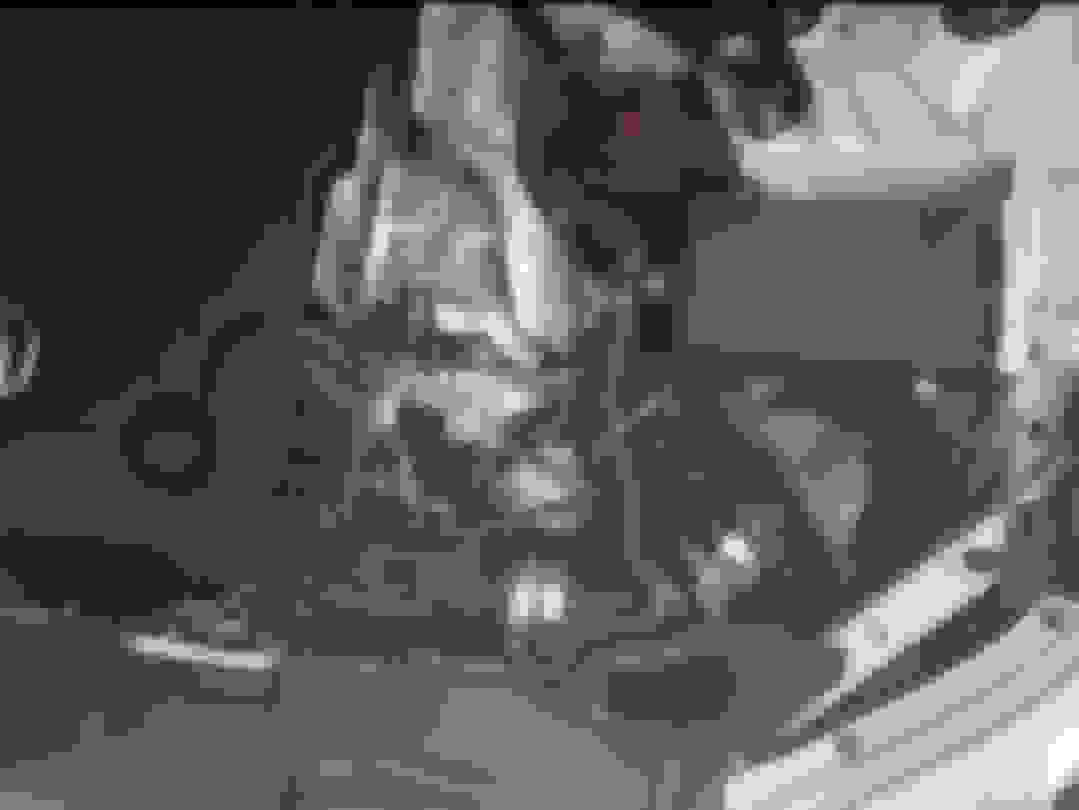
Added some extra grounding in the engine bay. Saw others talking about this on other online platforms and how great the results are, so I figured I'd give it a shot. Added one to the passenger side motor mount. Two to both sides of the top of the valve cover. There's another that is recommended on the transmission, but it's a pain to get to, so I thought I just try the first 3 and see if I can notice any difference.
Threw together some cables with parts in the garage. Couldn't find my crimping tool, so I just smashed the ends with a vice, which turned out not to be the best idea...but whatever, I'll redo them later.
As for the results, there was a noticeable difference the first time I floored it. Nothing major, it just felt like I was pushed back in my seat a little more than before. The major difference was in audio - specifically the bass. The audio just seems more sharp and bass is harder hitting. The best way I can describe it is there's less reverb in the bass. It's on or off. Less of the echoing kind of sound you get with bass.
I was trying to convince myself it's all placebo effect, but I can't. This is now on the top of my list for recommended mods. Hope others try this out and validate my findings!
In this picture you can see the stock grounding on the motor mount under the one I added. The ground that is used from factory is so thin. Mine is close to double the size and I'm only using 8 gauge copper wire. I can't figure out why they don't do more grounding from the factory. There's no downsides to it. Clean power is good power!
In other news my side skirts are scheduled to delivered tomorrow. Cannot wait!
That�s very interesting. I also see and hear people taking about grounding upgrades and see the kits for sale but never really thought about doing it. I am thinking about it now tho thanks to you.
That�s very interesting. I also see and hear people taking about grounding upgrades and see the kits for sale but never really thought about doing it. I am thinking about it now tho thanks to you.
Please give it a shot! You won't be disappointed! It's super cheap if you make your own cables too. Lowe's or HD should have what you need. After I redo my cables I'll take some better pictures to show where each is connected.
First one on top of the factory ground - 10mm, out to the frame - 14mm
For the 2nd and 3rd. You probably only need one of them, but still haven't added one to the transmission yet, so I have it as a 2nd one on the engine for now.
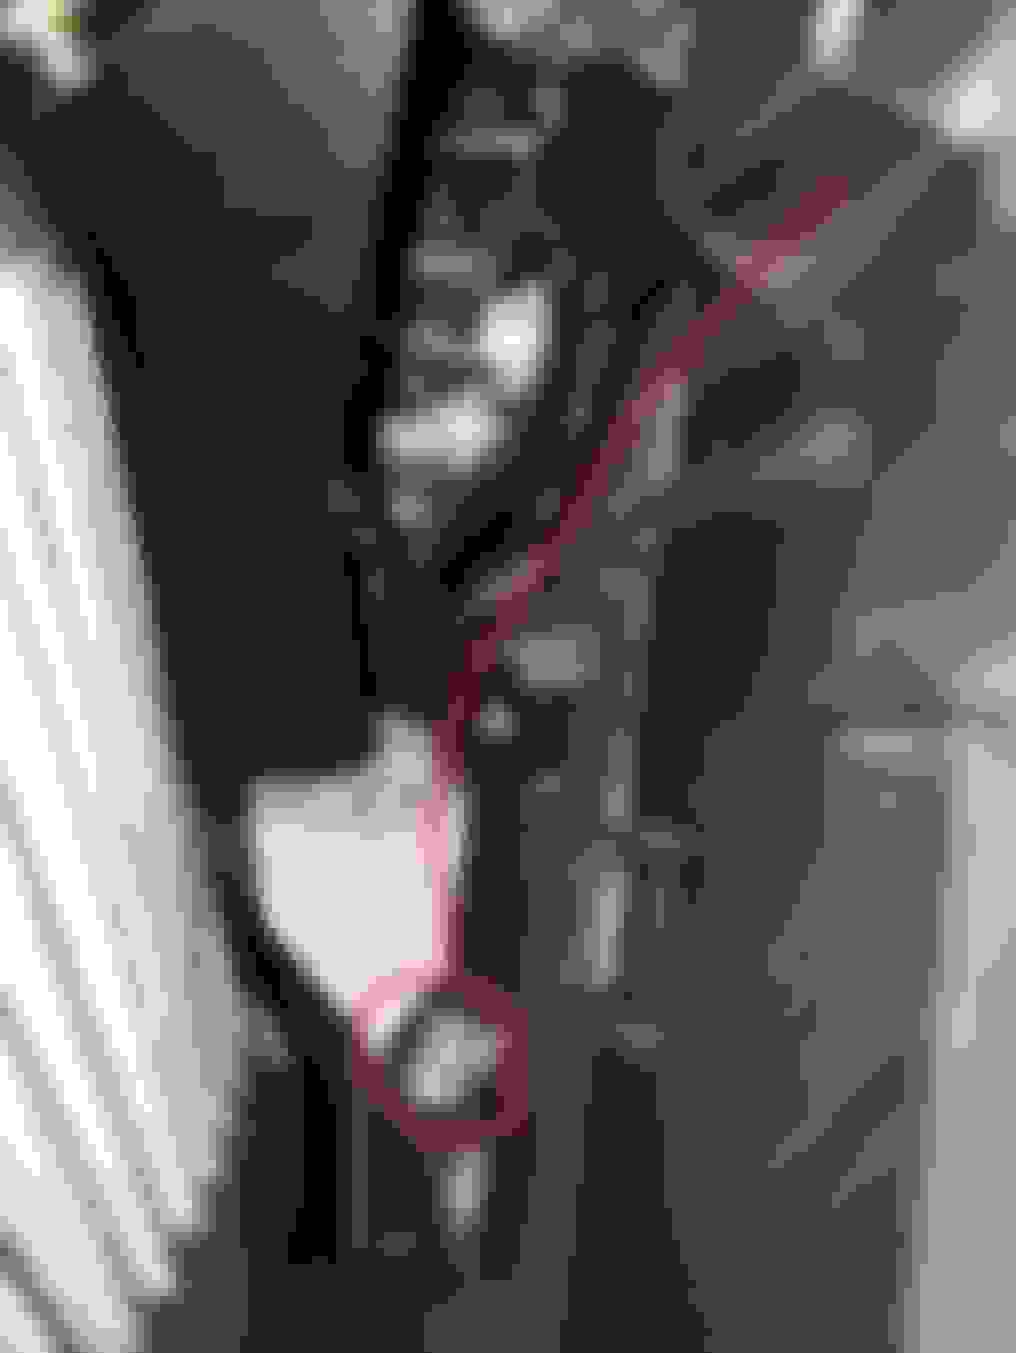
If you pop off the engine cover. There are 2 little black brackets with 10mm bolts on them on the left and right side. You can see the left one without taking the cover off.
Then both of the engine wires are going to the front black bracket, next to the radiator hose
Make sure to zip tie/secure the wire to something, especially if it's a little too long.
If your engine bay is dirty, use a wire brush and make sure the bolts and the connections to the grounds are nice and clean
This is 4 gauge wire. I ordered a box of terminals in different sizes. The frame screws need a bigger one, so it's handy to have different sizes.
Total cost was probably 30 bucks, if you have the crimping tool.
Did the transmission ground tonight. Forgot to take pictures until just about the last bolt was back on so I tried to get some pictures from above. Won't drive it until tomorrow, so we'll see if it makes anymore of a difference.
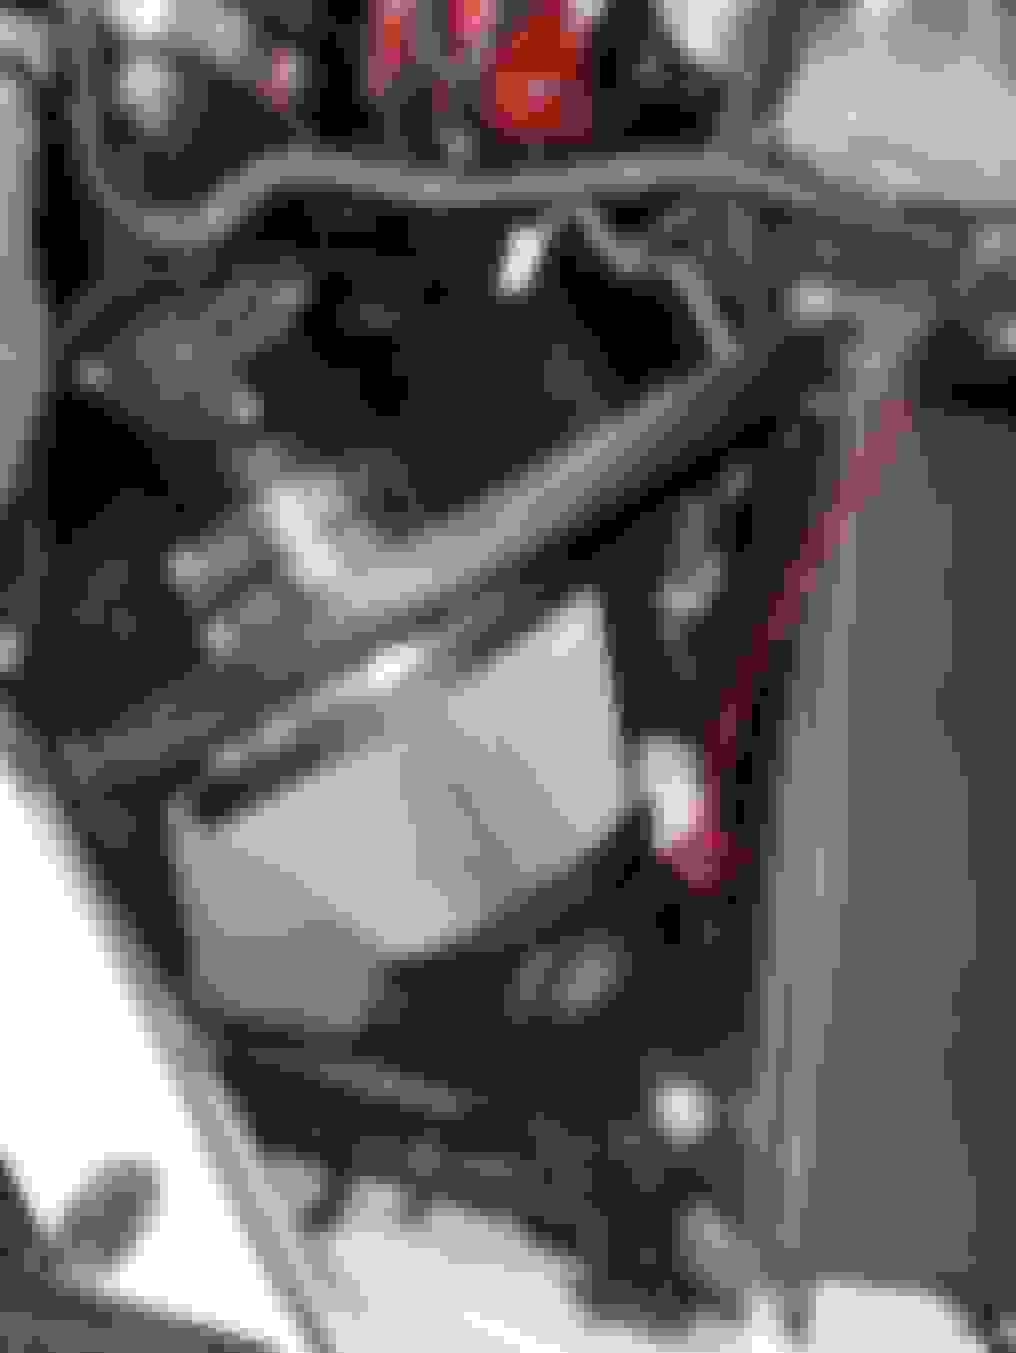
First, there's no way to do this without taking out the airbox/intake. You will also need a 10mm socket that bends at different angles to get to the trans bolt.
Both bolts are mounted to the same black tab thing that was on the engine grounds.
First pic: The fuse box is on the right. 10mm bolt on the black bracket. This one screws into the frame, but it doesn't hurt to try to scrape off some of the black paint so you get a cleaner contact. It's a little harder to do the other side.
More of a top down perspective.
Bottom of the pic, is the other side of the fuse box from the first pic. It's pretty much straight down from there. You'll see the silver bolt on a black bracket. Undo the bolt. Try to scrape off some of the balck paint if you have enough room.
The car doesn't seem to drive any different...maybe a little bit more direct shifts under full throttle, hard to explain, but minor differences.... or maybe just some yummy placebo pills?
What did change without a doubt again was the stereo. Holy shit. I have all treble and bass are left in the middle of their ranges. I put the volume up to 10 and that alone is enough to feel vibrations from the bass. That was not the case before, without a doubt. It was an immediate difference I could tell as soon as music came on. Same amount of change from adding the first grounds. Doing all 3 locations at once will shock you how much a difference there is in audio.
Great info I can�t wait to try. The stereo part is good enough for me to want to try it.
Did the stereo get better with first ground upgrade or only with all the points upgraded?
Yes, the first 3 I put on made a huge difference in sound quality. Really only need one on the engine though. The first 2 are very easy to install (one motor mount, one engine). Those 2 made a good difference in throttle response and power. Plus the audio was noticeably cleaner/louder. The trans wire really took the audio quality to a whole new level. I'm honestly blown away. I'm sure I will blow a speaker if I turn it up all the way.
Do yourself a favor and record some audio before the install. Play the same song at the same volume level after installed and record it. Compare the 2 recordings. There should be a major difference, even recording through your phone.
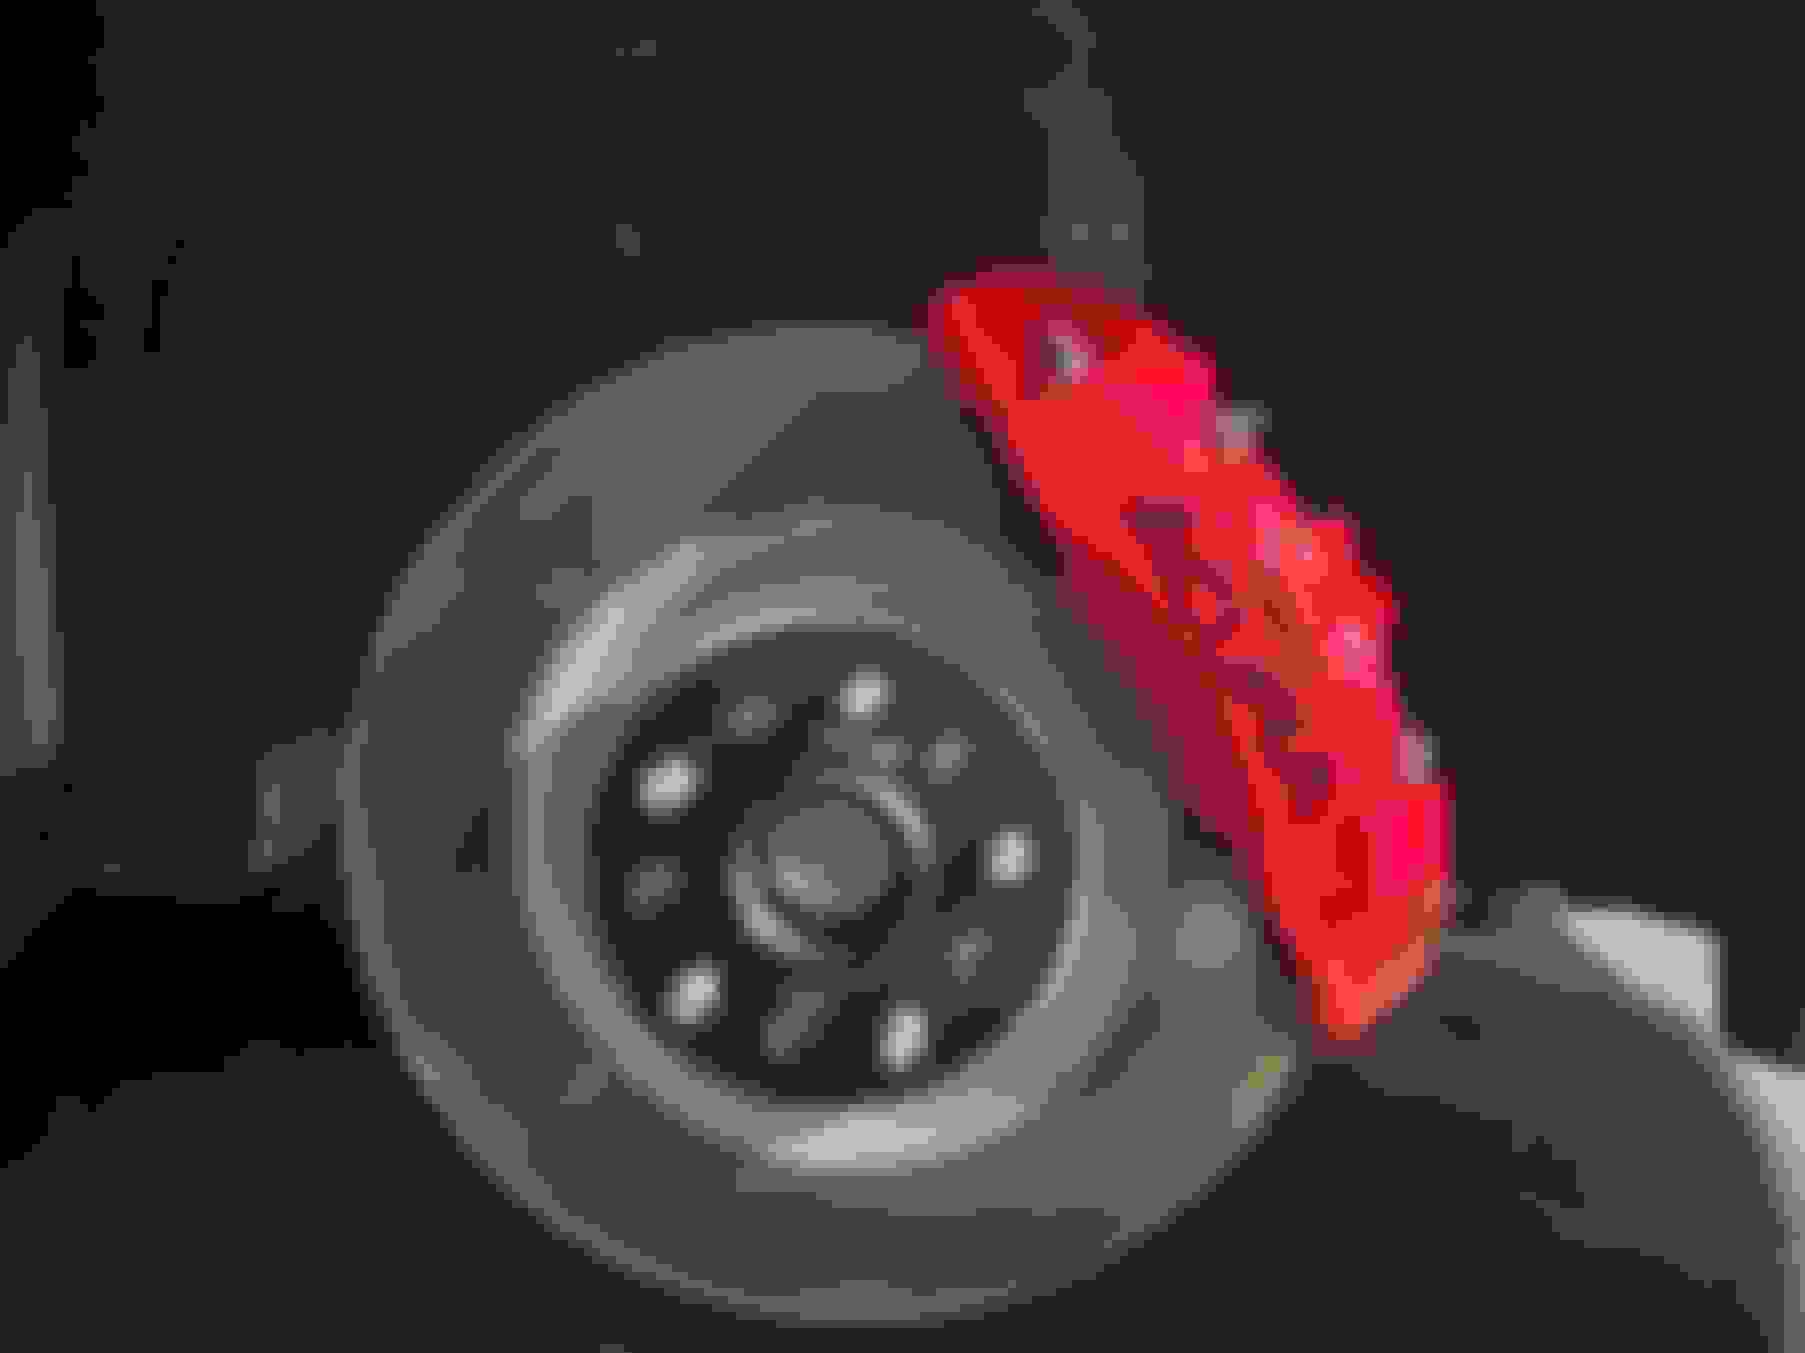
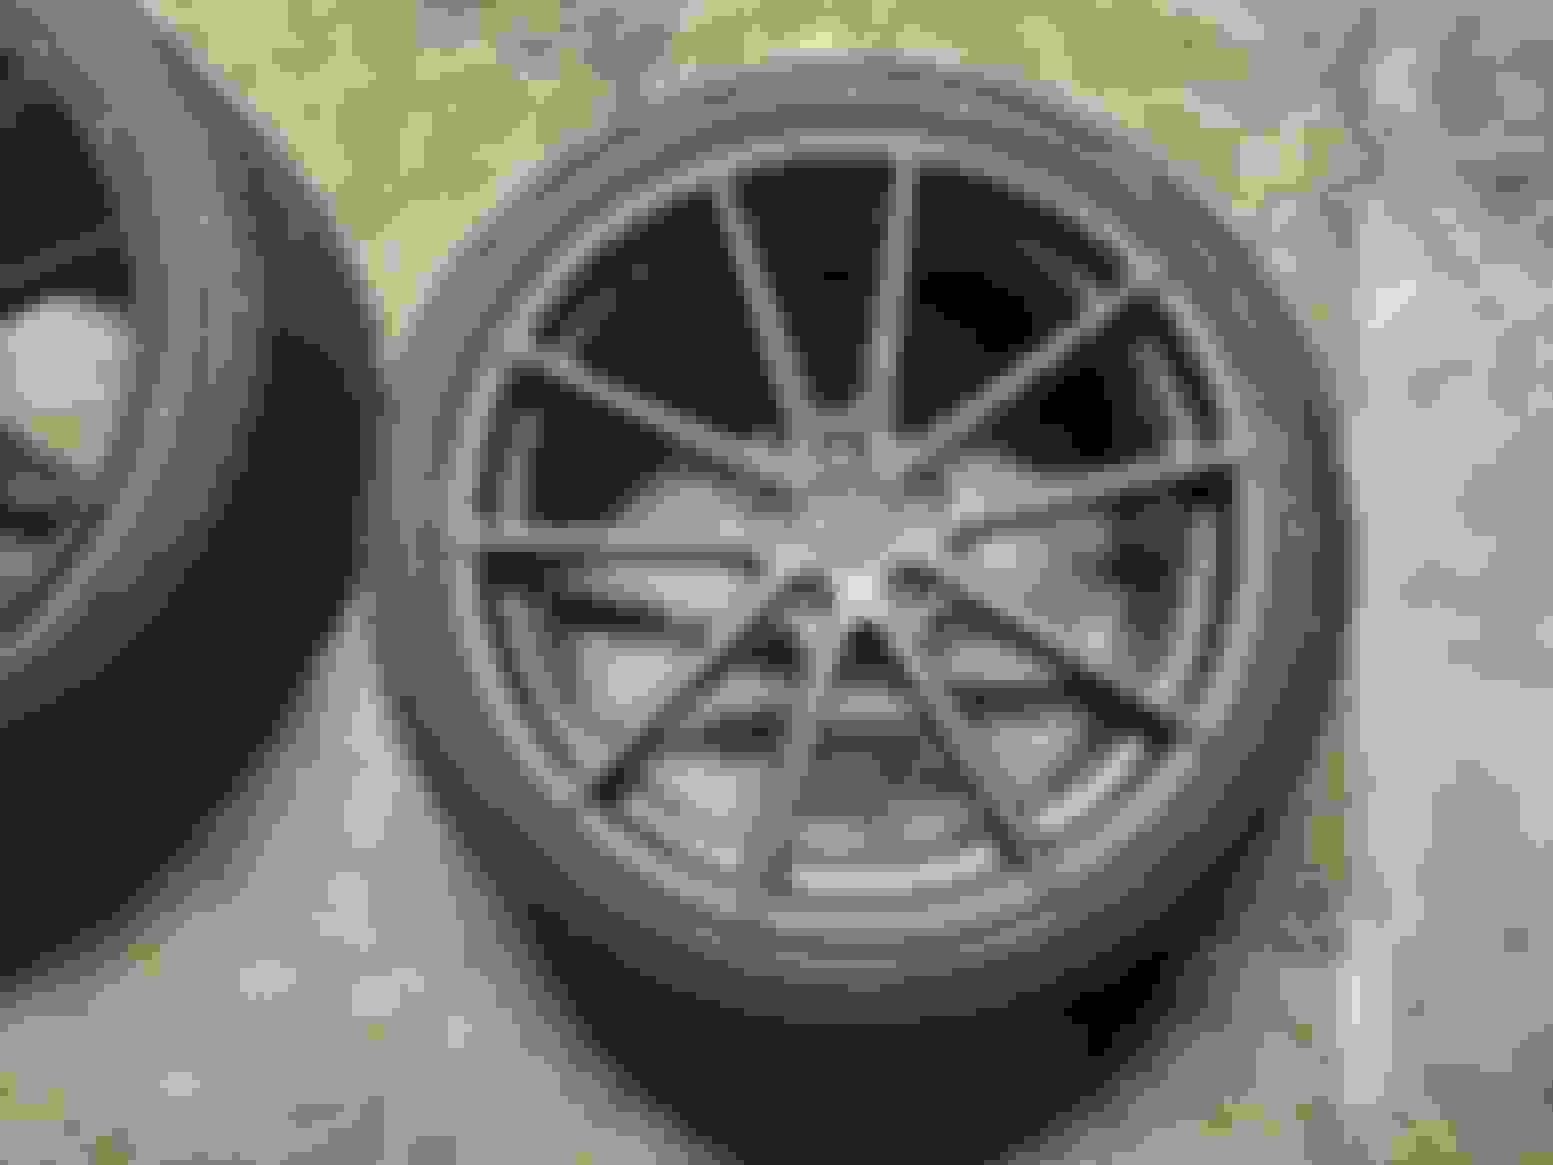
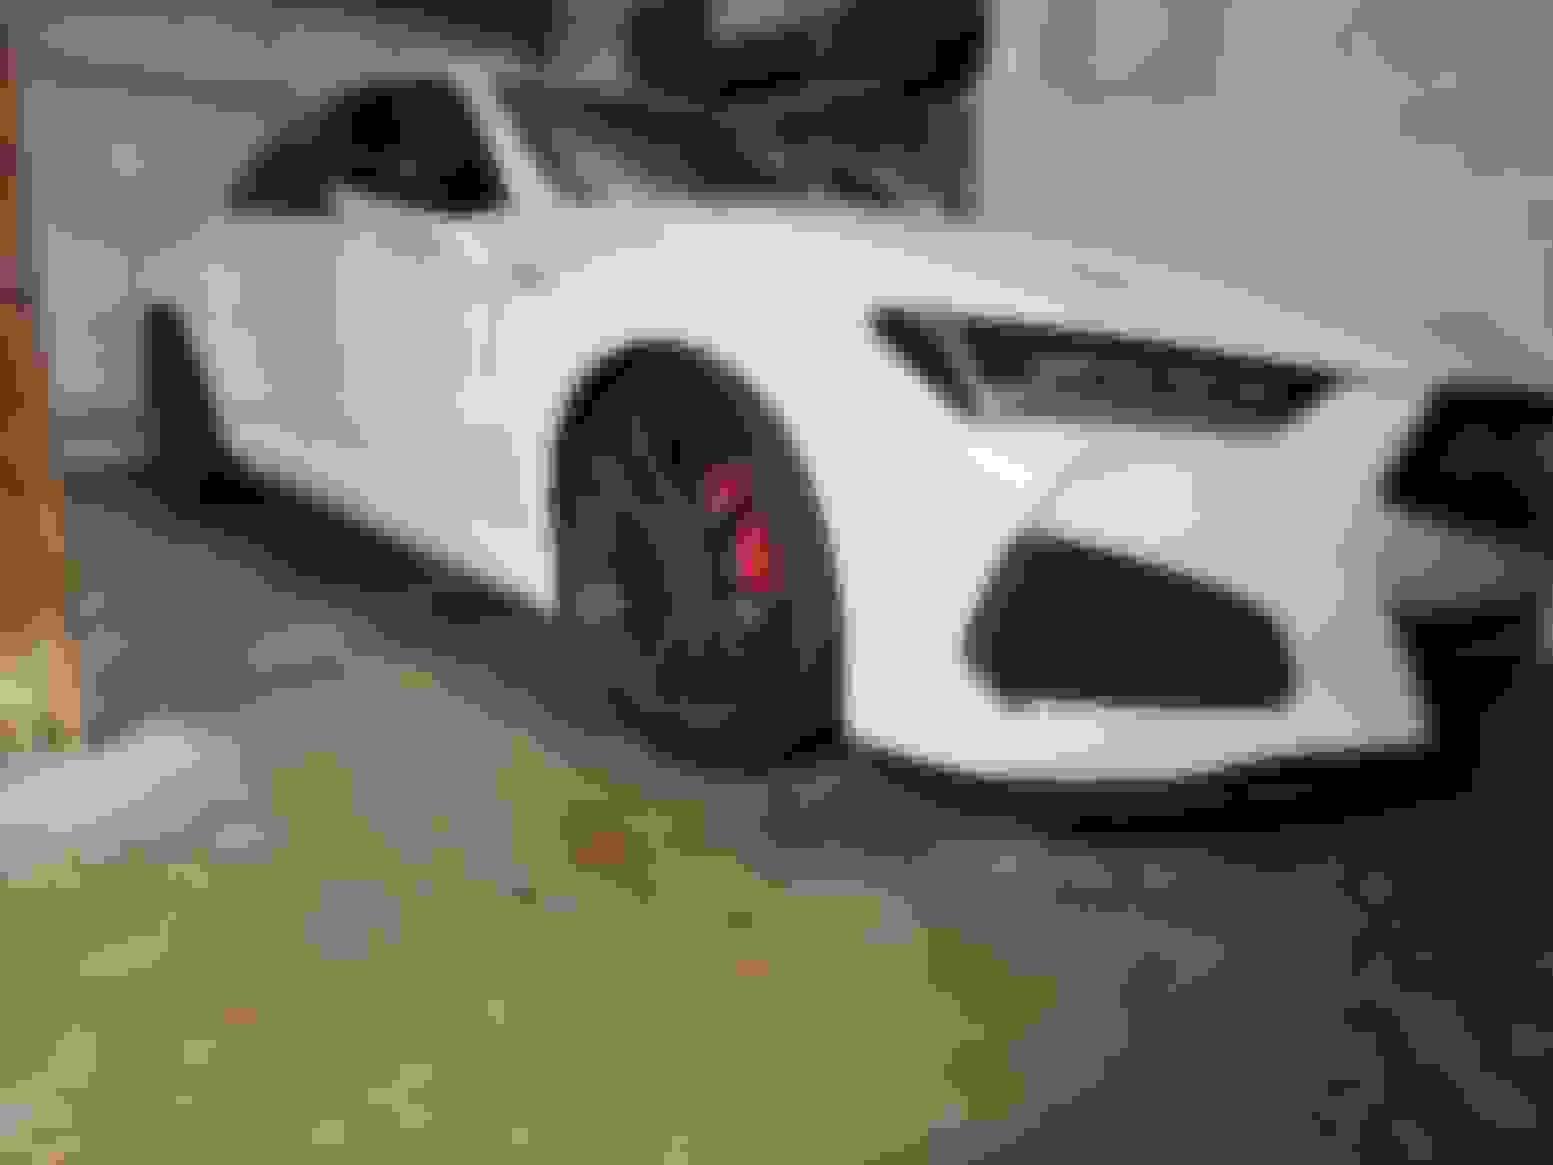
Put on 10mm spacers on the front and back tonight. I think only the fronts needed them, but I'm happy with how the rear looks now.
One thing I want to mention that is unrelated to the spacers - Proper torque on lug nuts. No shops do this for the most part. They just hit it with the impact wrench and move on. Doing it by hand without a torque wrench is probably even worse. This can easily lead to warped rotors, if all the lugs are torqued down differently, or too much or too little. This is just one of those things that bothers me if I think about it, so I always do it myself. Anyway, point is, buy a torque wrench for like 100 bucks and a matching socket set and then you can do it yourself very quickly.
On with the spacers.
Here's a before angle.
Since they are only 10mm I was hoping I'd have enough thread left to get a good grip. I think they sold them up to 12mm without the replacement studs.
I'm going to take it easy test driving around and then check torque to make sure nothing is moving. There was a decent amount of thread still left, but still makes me worry a little.
After:
The front wheels are now flush with the top of the fender. The rear sticks out a little bit, but gives it more of a wider look from behind. Haven't had time to go somewhere nice to take pictures during sunlight hours. Hopefully this weekend. It's hard to get a good angle in the garage. Looking at it how it is now, I don't think I would have been a fan of the 25mm or 27mm? h&r spacers. That's too much unless the car was slammed on the ground.

 08-20-2023, 05:53 PM


 But hey, maybe someone else see this and is like...this is it...this is perfect...I'm doing it!