When you click on links to various merchants on this site and make a purchase, this can result in this site earning a commission. Affiliate programs and affiliations include, but are not limited to, the eBay Partner Network.
Adding Power Folding Mirrors to 2019 Acura TLX A-Spec using OEM Advance parts.
Power folding mirrors conversion/swap/add
Firstly, this is at your own risk. Second this is for 2019 A-Spec v6 awd. I do not know for sure this same set up will work for every year in our generation. Or that the colors will be the same. If you encounter a way-off situation, I will try to help. It wouldn't hurt to familiarize yourself with your own vehicle's wiring before full sending.
Parts list below, these parts were ordered and priced in late 2021 and early 2022. I'm sure things have changed and I hear there are delays on Acura parts. I'm including the price for reference as some people I've spoken with recently were curious. Some of these parts prices varied 5-25% when checking multiple different sources. (I ordered from OEMAcuraParts because their prices were competitive but they're local to me, easier to do returns or exchanges was the thought)
Mirror AssemblAssembly *NH883P*(R.C.) (Platinum White Pearl)
*these part numbers are individual to your car's color which is why I left the full description above. Your paint code (NH883P for me) is inside the driver door on the sticker.
Power Folding Mirror Switch:
35190-TX4-H21 - ADV - $36.84
Mirror Sub-Harnesses:
32758-TZ3-A10 - ADV - $43.42 driver side
32759-TZ3-A10 - ADV - $36.07 pass side
Power Window Switches:
35750-TZ3-C11 - ADV - $134.63 driver side
35760-TZ3-C11 - ADV - $107.05 pass side
Door Jamb Harness(/es):
32752-TZ3-A22 - ADV - $49.81 pass side
32751-TZ3-A22 - ADV - $61.29 driver side***
***this is not required and it does not plug in at the door jamb. However, I used mine to build my driver side mirror adapter and source pins that I added. It is not required but it really saved me in the end as I needed additional pins and built an adapter. Plastic Pry Tools, screwdrivers, wire, electrical tape, solder or pre filled solder shrink tubes, a small Phillips screwdriver will come in handy later, patience, and time.
This is not a 1hr job. As far as I could find, nobody before me had done this job so I got to make many mistakes and find out all of the stuff you should avoid. I have a 50pc depin kit for wiring harnesses and I was unable to easily or reliably depin the harnesses in question. I'm not sure if I should recommend having a better depin tool/method but I'm open to verified suggestions from anyone that does this and has great success with the depin part. I've depinned various Honda harnesses going back to obd0 and never struggled like I did with these. My smallest depinning tools still seemed too big. I tried makeshift tools like SIM ejector pins and male molex jumper leads, I was defeated.
My suggestion is to start with the passenger side because you will be changing both harnesses in the passenger door and it takes some time. For clarity, the subharness mentioned is the harness that goes inside the door panel and up to the mirror connector. The subharness plugs into the Window Switch and a few other lights and sensors. Behind the door panel but not behind the metal. The door jamb harness is on the inside of the metal frame. It plugs into the window regulator, speaker, and a plug for something else.
To remove the door panel, it's 3 screws and multiple clips. There are two screws behind an access pop-out behind the door open handle. Flathead to pop the panel cover off and two phillips behind it. There is another phillips where the "close" grab handle is located. To access it, you need to pull the rubber up (not too far or too hard. I used flat head to pry a corner up and grabbed it gently. It feels like it could tear) and remove the single screw. Slowly lift up and start paying attention to every connector. Disconnect them as you go. It's not easy to mix them up but it is easy to forget them and have to remove the whole panel again.
To release the Power Window Switch plug, there's a small white tab you need to press and then it hinges up/down. Everything else is a normal squeeze connector. To access the door jamb harness inside the door frame, you will have to tear the existing plastic+glue up slowly.
I started at the bottom and did not remove it entirely, just the bottom half and the side to get my arm in and feel around. You will be replacing this whole harness to the door jamb. I was unsuccessful at removing this harness without breaking 4 white plastic clips. The new part has them already on so it's a matter of finding any leftovers if you break them out so you don't hear them rattling later. Pay attention to where the other clips (black) are, they're all manipulated by hand and come out clean but you'll want the new harness to clip back in the same spot. The reason this is crucial is because the window will run into the harness if you don't clip them back in where they go.
To access the door jamb connector, you will pop it out with a flathead and need to close the door partially to get it to slide out at an angle. It's a standard squeeze plug but it's very limited room to get it disconnected. When you connect the new Advance door jamb harness at the door jamb connector, you will notice there's two plugs but the existing one only has one plug. This is normal. I imagine that second plug is the wiring for the cameras underneath the mirror. (Which will not be used in this DIY but maybe one day they can be integrated also).
The passenger side subharness is pretty straightforward, everything has clips that come out fairly easy and go back in good. To access the passenger side Power Window Switch is borderline criminal or I'm doing it wrong. I needed to remove several screws, wedge a pry tool in to squeeze the bottom of these white clips and try to push. I did not get the whole thing to pop out and easily get to the screws. This is hard to explain but you will understand what I'm saying when you get there. A short screwdriver may be ideal. I was able to push the panel that holds the switch out, just far enough to get ahold of the 4 mounting screws for the switch itself.
Install the new Advance switch, put everything back together and install the passenger side mirror. When you have Advance Mirror, Power Window Switch, Door jamb harness and subharness all installed and connected on the passenger side, you are done with that side.
If, like me, you notice the Auto Roll Up/Down no longer works, you will need to reset the switch. You roll it all the way down and hold the button down for 3-4 seconds after it's down. Do the same going up and hold it for 3-4 seconds after it's up and it will reset and work again. I experienced this with both switches, however the driver side switch Auto worked on every other window, just not the passenger side.
Now we head to the driver side. On this door, you do not want to install the door-jamb harness as the second connector is different and will not fit. It may be ideal to build something custom for that second connector but I chose to keep the original A-Spec driver side door jamb harness in place. You will install the Advance subharness (the smaller one that goes to power windows and a few sensors), Mirror, Power Window Switch, Mirror Switch, just like the other door.
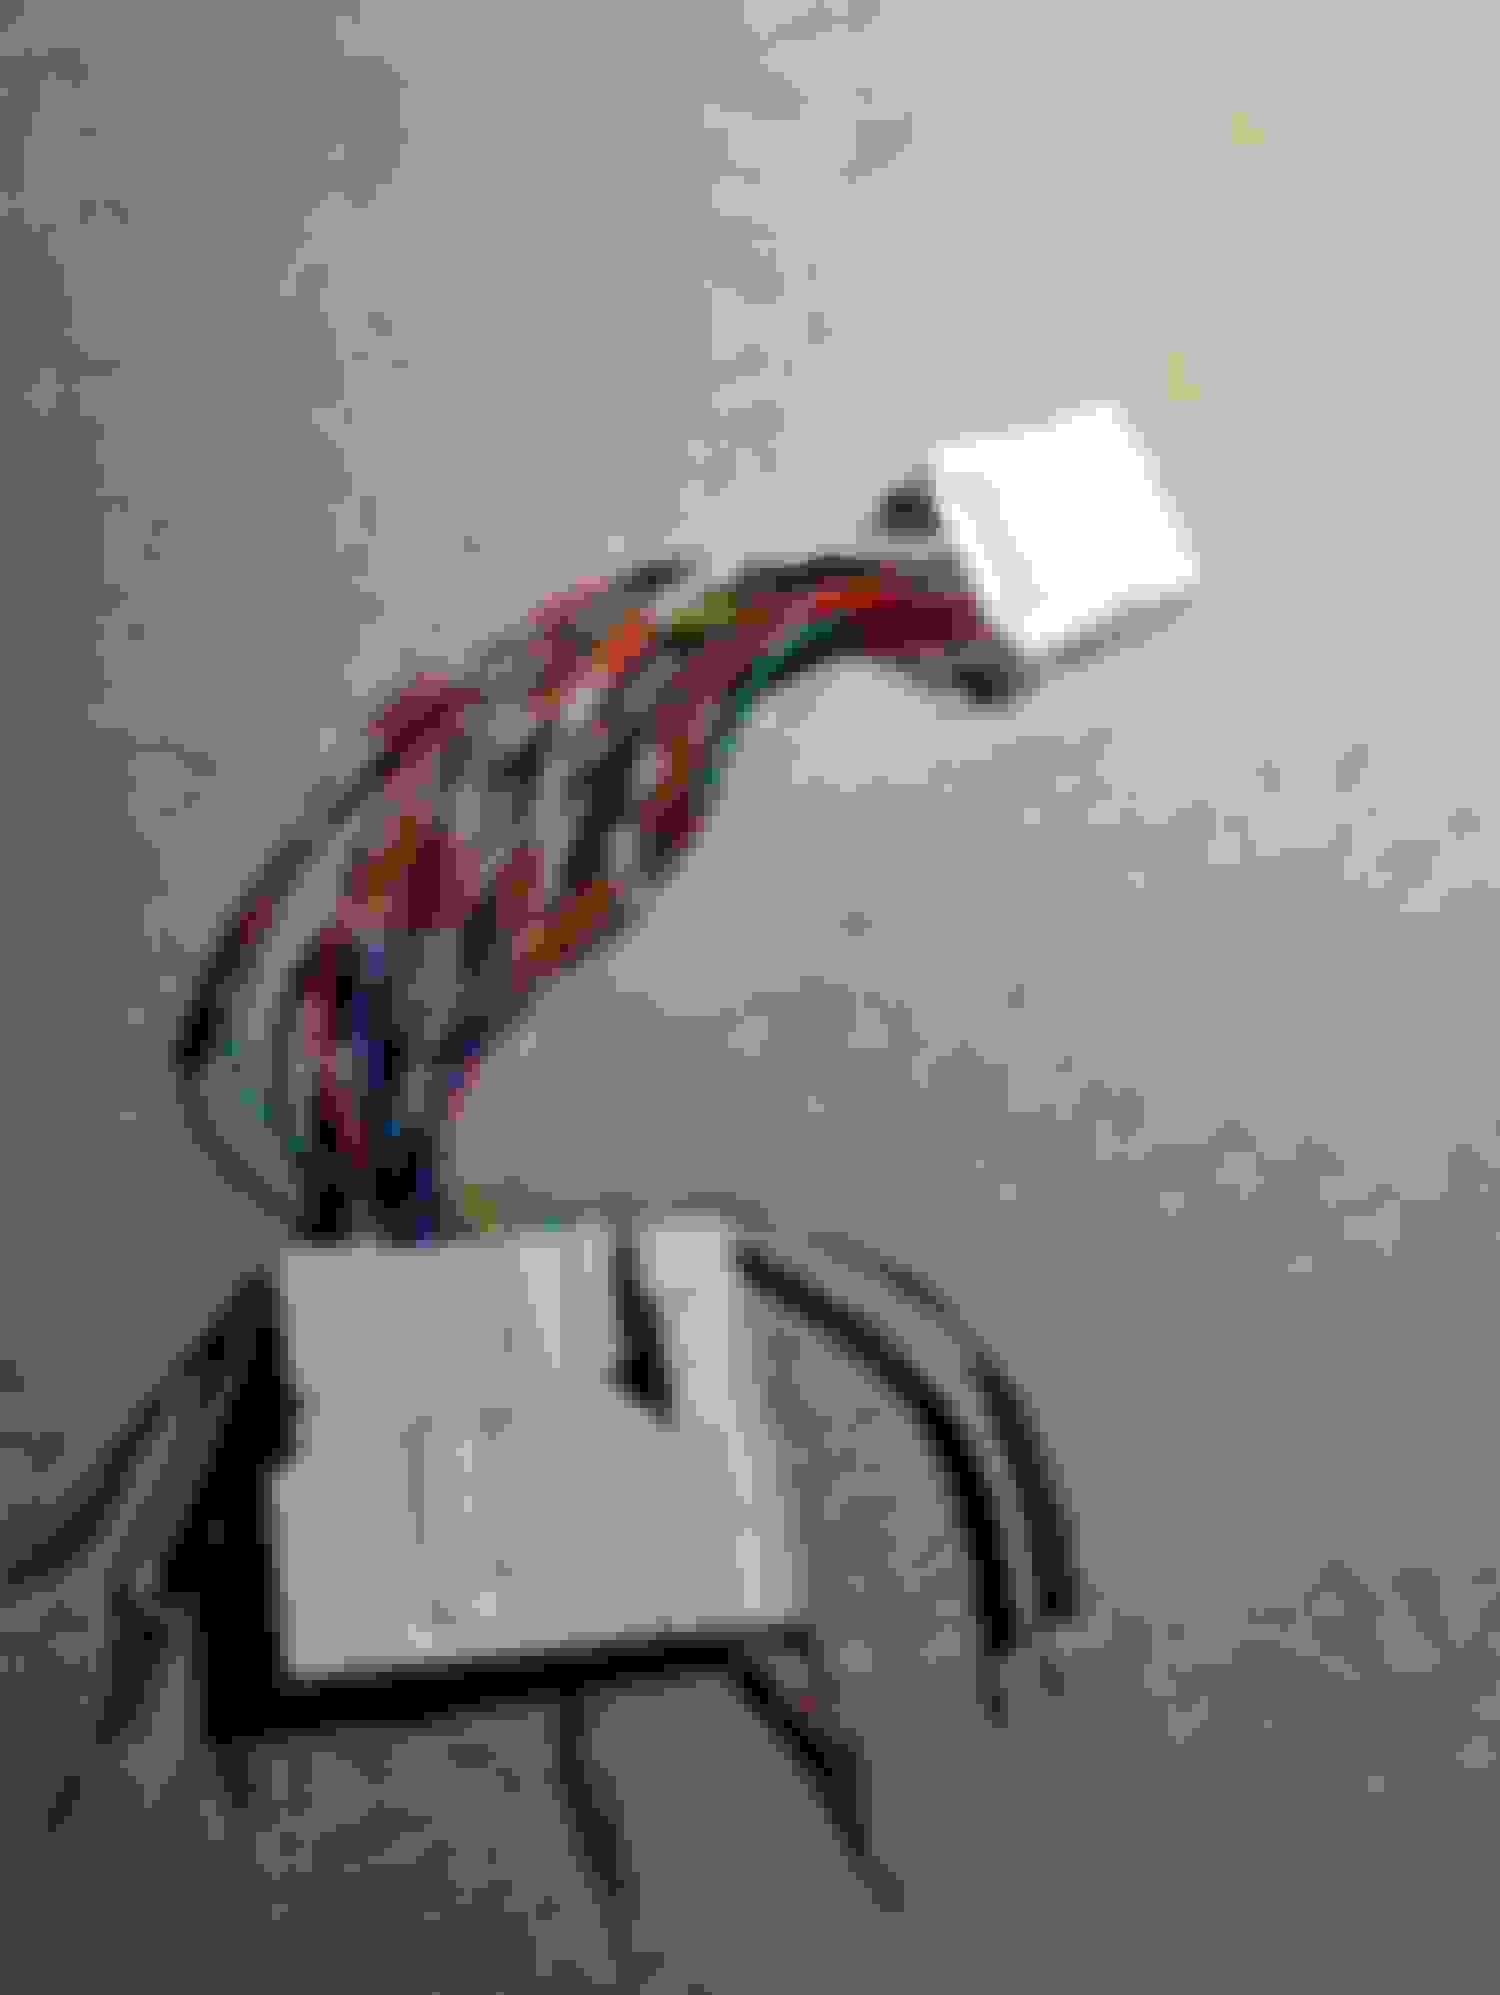
The differences are now apparent. The Advance Mirror uses a 20 pin connector and the A-Spec uses a 16 pin connector. There are different ways to handle this. I tried to use individual molex jumpers but they're just slightly too big to get 4+ next to each other. After failing at depinning the 16 pin A-Spec mirror harness and breaking one of the pins off inside, I decided to make my own adapter to go from 20 pin to 16 pin.
I sacrificed my A-Spec Driver side mirror harness AND my Advance driver side door-jamb harness to achieve this. I already sacrificed it to get a replacement pin for the one I broke and had no plans to return the item anyway so it came in clutch for me. I did NOT want to cut my A-Spec 16pin connector off but it was my best option at the time. Now I have an A-Spec mirror without a plug.
IF you decide to cut your A-Spec mirror plug off, be SURE you leave yourself several inches or wire on the pigtail. When you visually compare the 20 pin and 16 pin connectors, you can see which wires are repeated and I wanted to keep them in their same orientation for my adapter. You may want to depin and repin them in the 16 pin connector (ideal if you can get them depinned) or you may want to cut and join. Or if you ordered the driver side door-jamb harness for some reason and want to build an adapter, that works too.
The goal is to get the existing 11 wires used for the mirrors, connected again where they go, and then add 2 more wires for folding. There is room in the 16pin harness for 2 wires if you have pins and got it depinned. I added 2 to mine but you could also cut and or splice them, and then splice into the 2 fold wires on the 20pin mirror connector. Whatever route you choose, go ONE WIRE AT A TIME. There are some white looking wires that you could mix up and the harnesses do change colors at the next connection very often. This part took me hours but had I cut or spliced them being lazy, it wouldn't have been too long. I was just being particular in hopes of making it easier for everyone in the future. I didn't really hit that goal for this connection yet.
Once you have that situation sorted out, you only need to run 2 more wires. I added pins to my 16pin connector (see pic) but you don't have to do that. You just need to get 2 wires from the Advance window switch plug up to the 2 wires at the mirror for folding. In my case, they were Dark Orange-ish and Dark Orange-ish+black. They're in the corner of the 20 pin connector together having a party.
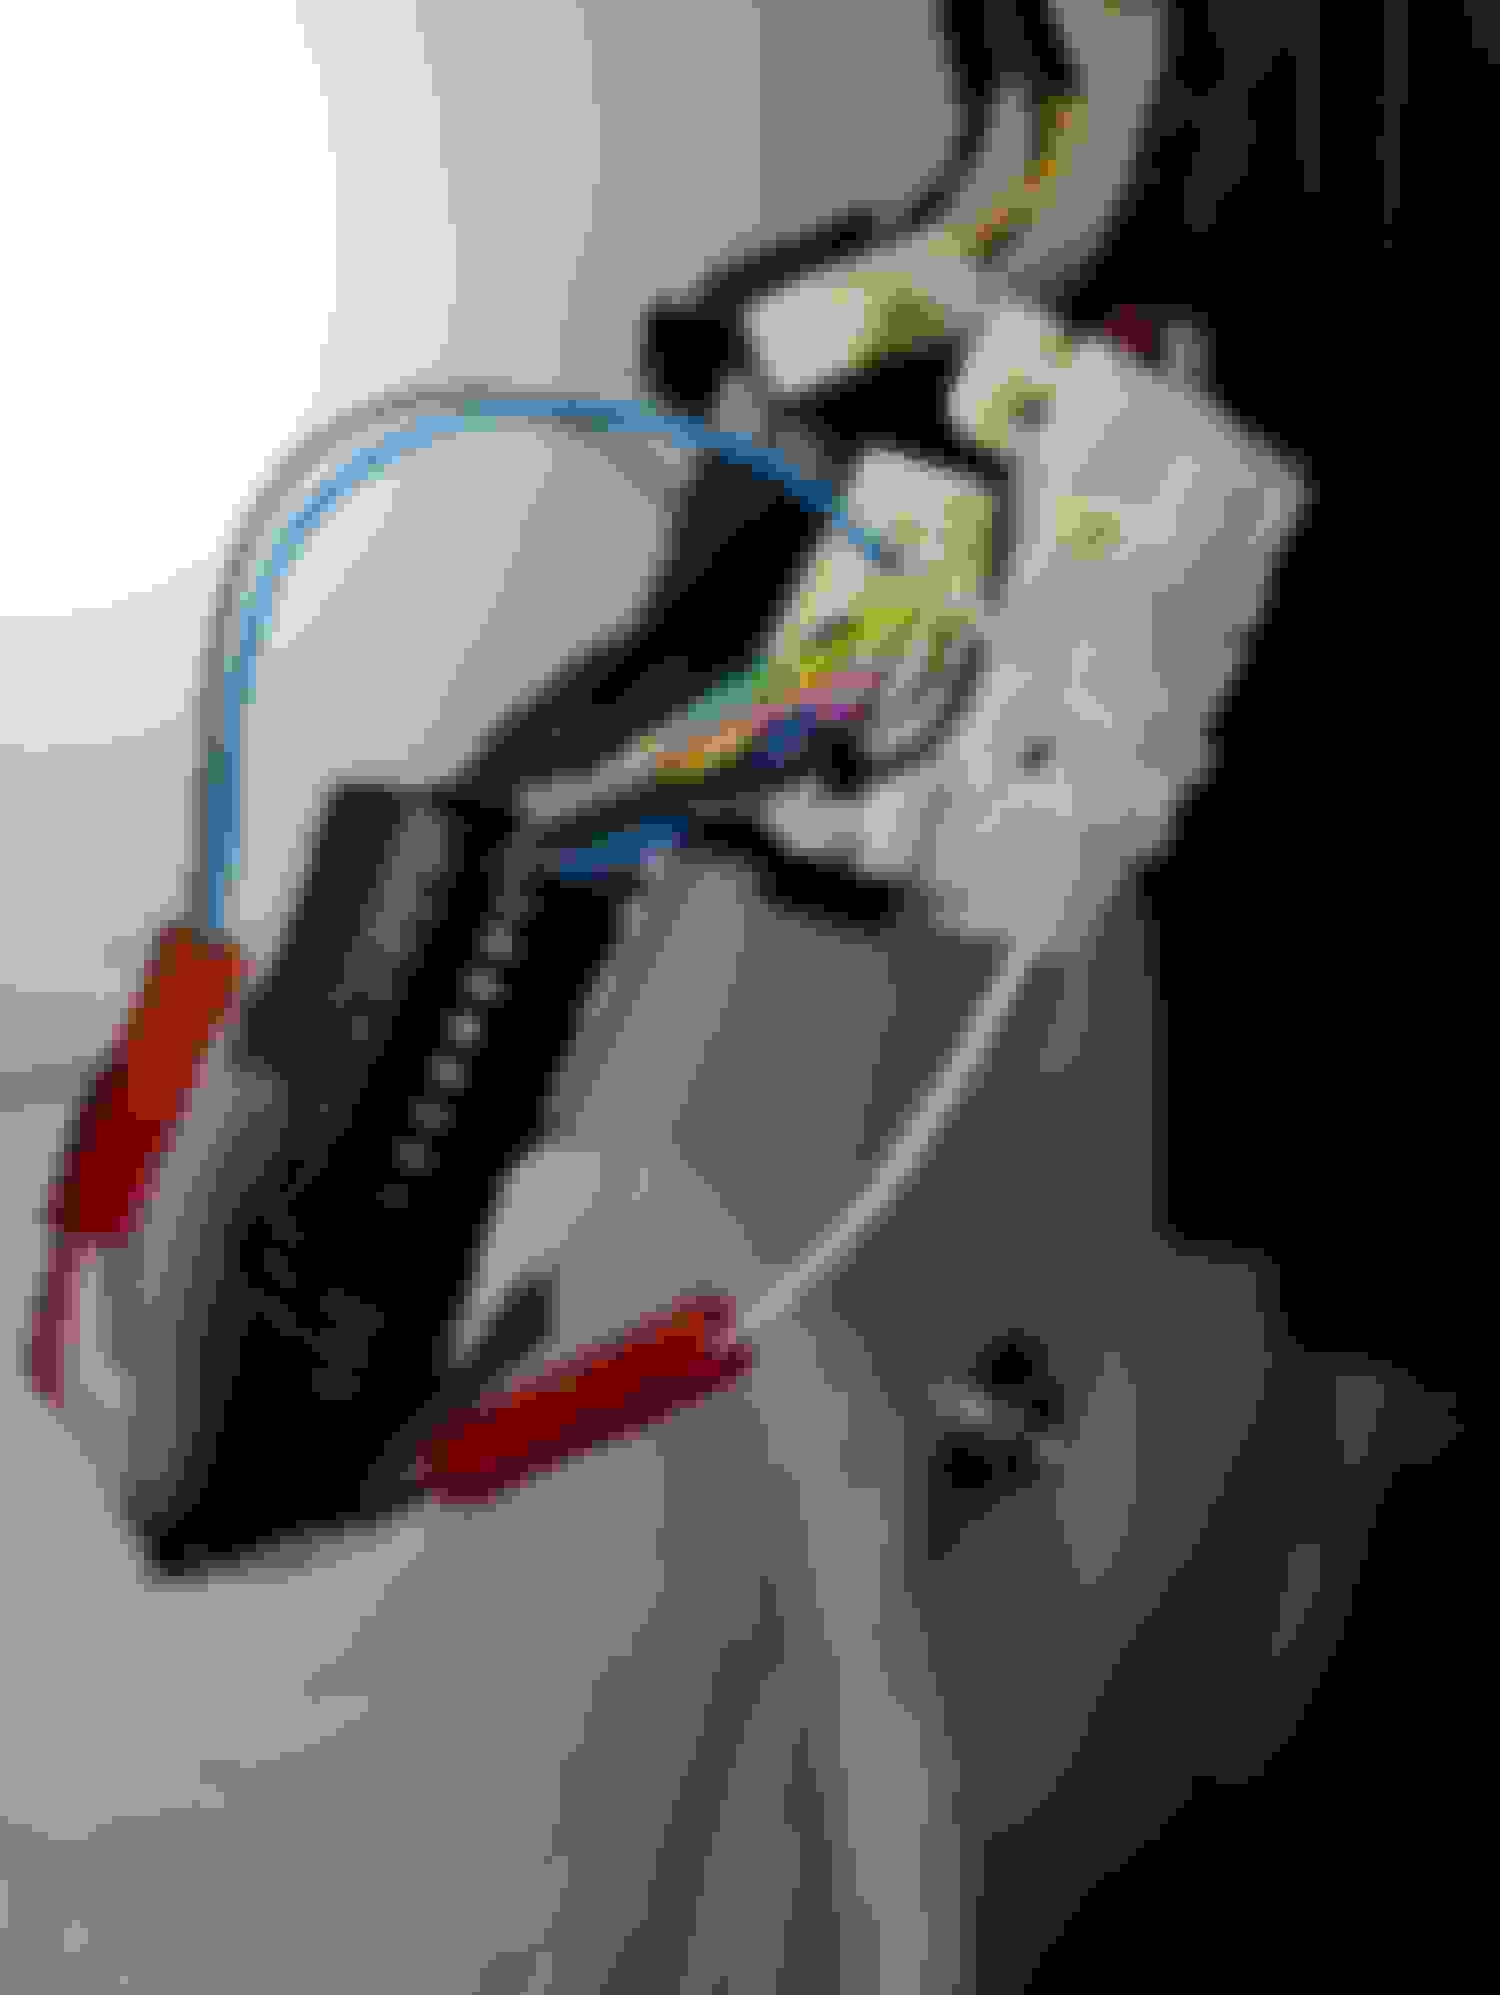
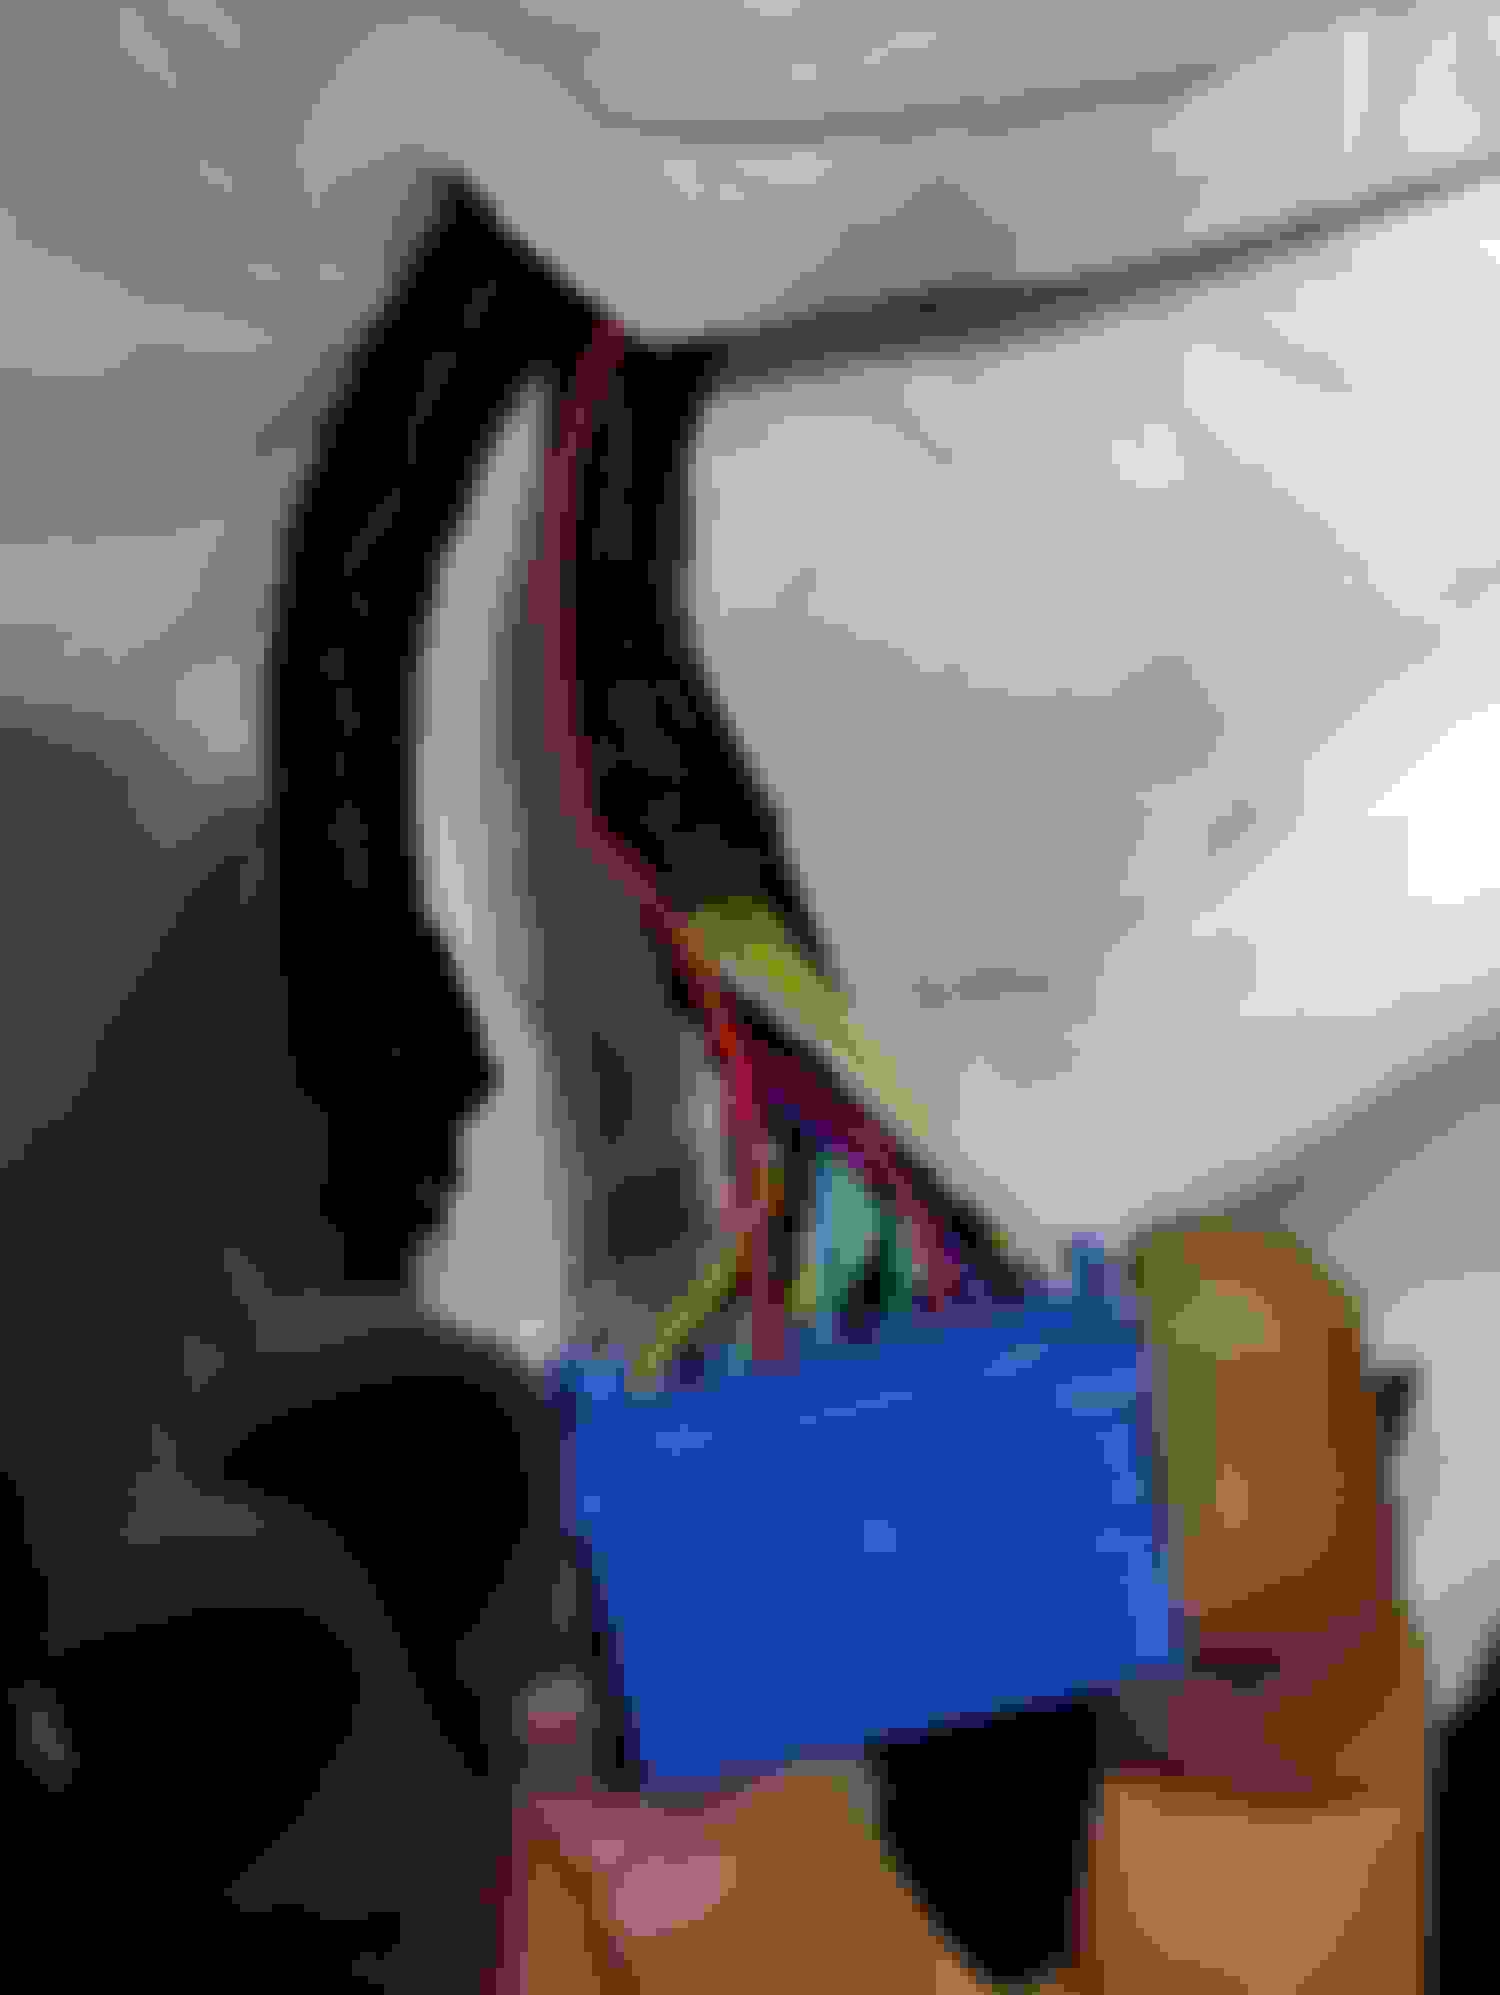
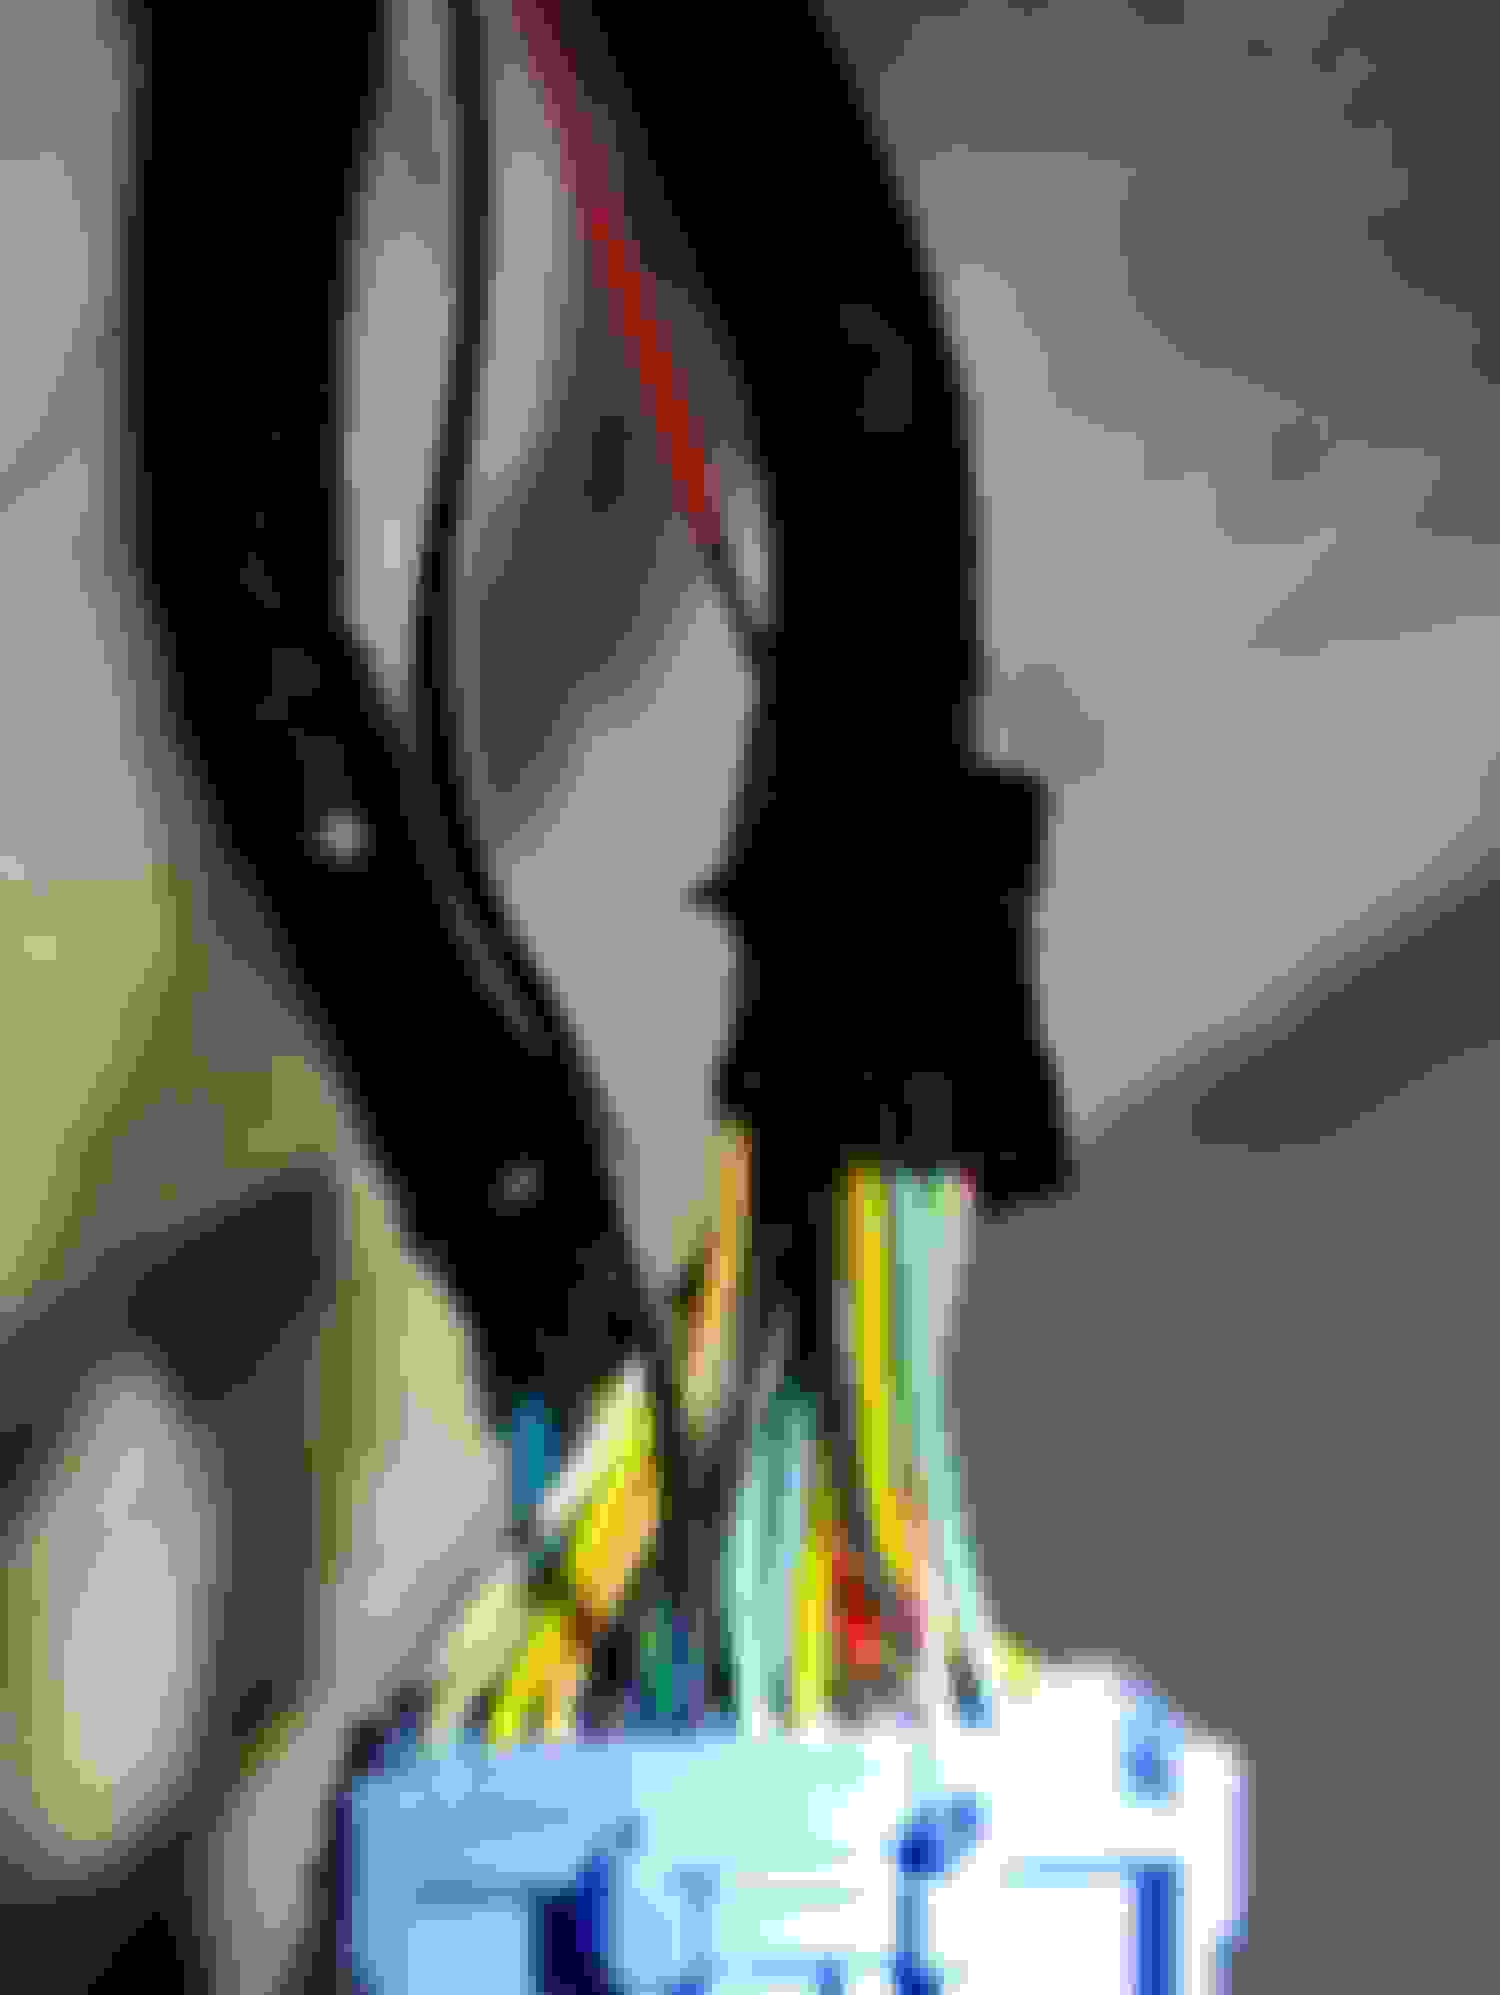
Ok, so which 2 wires do we tap? You'll be looking at the Blue connector on the subharness. You'll see a white wire and a gray wire. They are not having a party, they're on separate rows. I will show a picture of where they are on the connector. You can use something like a high quality T-Tap (posi taps and posi locks are excellent) or you can add pins up to the connector. I did T-Taps first and then added pins when I went back to clean it up. I added male and female pins to each connection so my adapter would work.
The goal is to get the white wire and gray wire up to the 2 Orange-ish wires for the folding. At the blue connector from the power window switch side:
The gray wire is between BLACK and LIGHT GREENISH goes to the CORNER Orange-ish+black wire of the 20 pin mirror connector.
The white wire that is in between BLUE and a LIGHT GREENISH goes to the "second" Orange-ish wire of the 20 pin mirror connector.
If you mix these up, no damage will occur. They will just work opposite of how you want them to. In fact, if they are behaving opposite of how you expect, switch them around and see, maybe I took bad notes 😂.
I'm not going to explain exactly where to put your pins if you decide to use pins instead. I think you'll be able to figure it out your own way and there's room in the 16pin connector to pass it thru, whether it's cut, adapted, or depinned and repinned. Turn the car on, off, on and press the button. If you turn the car on and they're not working, try turning the car off and on again. There seems to be some timing for the key fob. Same for locking the car and having them automatically fold.
They may not fold in if the car automatically locks itself or it's a long time between car off and lock time. Don't give up on them, try again. If you did something wrong, as I did many many many times during this episode, the fuse is under hood "back up" 10a red. If you do something much worse, sorry friend.
I should mention I don't want to use pin numbers or colors but feel like colors is the safer option this time. I don't know what might happen if you count pin 5 different than I count pin 5. I know there's a standard but if one of us doesn't adhere to that standard, it's no fun. I'm trying to use color, placement and logic to guide.
If it sounds complicated, sorry. It's not bad. But, it IS a job. This is a few hours most likely. If I remember additional things, I'll post again. I will try to help anyone out that's undertaking this. The hard part is done now.
We know it's 100% doable with all OEM parts, no external relays are needed, and we know exactly which wires are used for folding the mirrors. While it's not fully plug and play at this time, someone could make a driver side door jamb adapter. Then we would need the Advance driver's side door jamb harness and it would be like the passenger side but with one adapter in the driver door jamb. That is TOTALLY doable by hand as well ... but not by these hands.
If I didn't mention it, the mirrors are detected by the infotainment system and you will have the options for them in the menu. Auto close or manual.
I want to say thank you to Acurazine, TLXforums, youtube and reddit. While none of these resources had everything, many of them were helpful in some way. Acurazine users really motivated me to finish this and I probably would still be testing continuity if it weren't for 18TLXAspec dropping off the diagrams. That really helped me after I manually tested continuity and checked voltage on a hundred pairs of wires, I went back and looked at it and immediately understood the logic. Now, who is going to wire up the cameras for us? 🤔
I have ordered some parts from Aliexpress to make a custom adapter easier and avoid cutting or splicing. If they end up fitting and working out well, I'll share links and part numbers below in another post. It will be weeks before they arrive.
I will attach my set up and adapter below for reference. IGNORE THE COLORS
Where I ran my pins, you may do otherwise If pinning^ If pinning. Ignore black/red color. They mean nothing to me
Cheaper solution to PFM using Aspec door harness and add Auto Dimming to side mirrors
A user from Reddit (youPPLnvrHappy) used this guide to install his power folding mirrors and wanted to add a few things. He did his without using the advance door harnesses.
He used the advance mirrors, switch and both window switches, then ran the 2 wires up from the window switches to the mirrors. He was also unable to depin the mirror harness and ultimately ended up cutting/tapping. This is for those who want to do it cheaper than I did and are comfortable adding a couple wires in on each side. You wouldn't need the subharness or door harness. You would just need the mirrors, mirror fold switch, both power windows switches and some wires/pins to go from the window switch up to the mirror. Potentially cutting off $2-300 in harness costs. And yes, they're recognized by the infotainment still, the infotainment gets the "has folding mirrors" signal from the window switch and it's carried over the A-spec wiring as is.
(I had someone ask me why I didn't try that. There's a couple reasons: 1) I didn't know anything. We had no reference material and conflicting part numbers and diagrams. 2) I did mention this as a potential but I wasn't sure if there were multiple wires running voltage to/from the door jamb harness into the door or subharness that aided or controlled the mirrors, and if infotainment would recognize them. 3) Even tho I did manually track a lot of wires with a voltmeter to eventually achieve the mirrors folding, without any solid info to go on at the time, I wanted to make it as close to plug and play as possible, which made replication of the advance doors most logical and I had already ordered those parts well before starting anyway.)
While he was doing the swap, he pulled the 2 auto dimming wires from the rearview mirror and ran 4 new wires, tapping at the rearview and running them to each side mirror thru the door jamb. That activates the automatic dimming for all of the mirrors at the same time. I have a concern about my rearview auto-dimming at all because of heavy tint. He said it works for him thru 35% tint. I haven't done mine yet but my tint is much darker than 35/65.
As for his vehicle: "adding the automatic dimming, run two wires from the rear view to each side mirror. They connect to Black&Red and Brown&Black at the mirror harness. Violet (or purplish) is for puddle lights."
I haven't gone looking for how tucked away the camera control module is yet but I may get to that one day now that it's cooled down. Got rear ended pretty good so I need to get that handled first.
The diagrams posted above have the wires used for cameras. The plan is to see if we can add the wires from one mirror into the existing a-spec camera control module/processor and then activate it with a switch. If the existing a-spec can take multiple cameras and process them for display in the infotainment screen, we would have the option of adding a separate switch to activate them or switching out the infotainment bottom part that has a physical OEM button for the 360� view. First we will (maybe/hopefully/eventually) find out if the existing a-spec camera processing unit can handle multiple signals or not.
Like other things, there's some conflicting information with this when it comes to part numbers. We found two part numbers, one for A-Spec and one for Base. Some sites don't differentiate for the Advance so it may be that the module is the same for Advance and A-spec but I don't want to assume that until I know for sure.
It appears to be tucked up pretty good by the diagram description of removal. If it's too deep in the dash or requires removing the whole dash to test the idea, I won't do it. Definitely not going to promise it'll get done like I did with the folding 😂. But if I can get to it with a somewhat reasonable amount of effort, I'll give it a go.
As for the power folding mirror connectors and AliExpress parts. I received a bunch of connectors. It appears as tho we can make custom harnesses to go from 20->16pin or vice versa, with connectors that are similar to ours, with pins and wires already in them. One connector would need some minor Dremel work to allow the clip to lock in fully. I will do a more detailed explanation on that if it's needed or I get around to documenting it later. The cost to make a custom conversion jumper harness would be like $10 in AliExpress connectors. Again, will update more on that later with part numbers and modifications made if I get to that or if it's needed before then, I can share part numbers.
With this guy's new info, now we know it can work with less parts and money, and have auto-dimming functional as well. That's what this is all about 🥳🎉. Sharing info for the future guys who want to embark on this expensive but fun idea.
I did invite him to post his findings here but said I would come add them in a few weeks if he didn't and here we are so shout out to Redditor \@youPPLnvrHappy for sharing his findings with us

 06-05-2023, 10:38 PM