When you click on links to various merchants on this site and make a purchase, this can result in this site earning a commission. Affiliate programs and affiliations include, but are not limited to, the eBay Partner Network.
After having all the parts sitting in my project room for about a year, I finally found the time to overhaul the suspension and drivetrain. I replaced all four shocks and struts with Eibach Prokit and Koni Yellows, replaced the bushing that the front damper fork mounts to, front wheel bearings, lower control arm ball joints, front sway bar end links, both axle assemblies, front wheel hubs, and all related hardware that is shown to be needing replaced in the service manual. This was quite the task, it ended up taking me about 3.5 weeks to complete everything, including about a week of waiting for additional parts after I had already started. The single biggest issue was popping the ball joint off the lower control arm, followed by pressing the lower ball joint out of the knuckle.
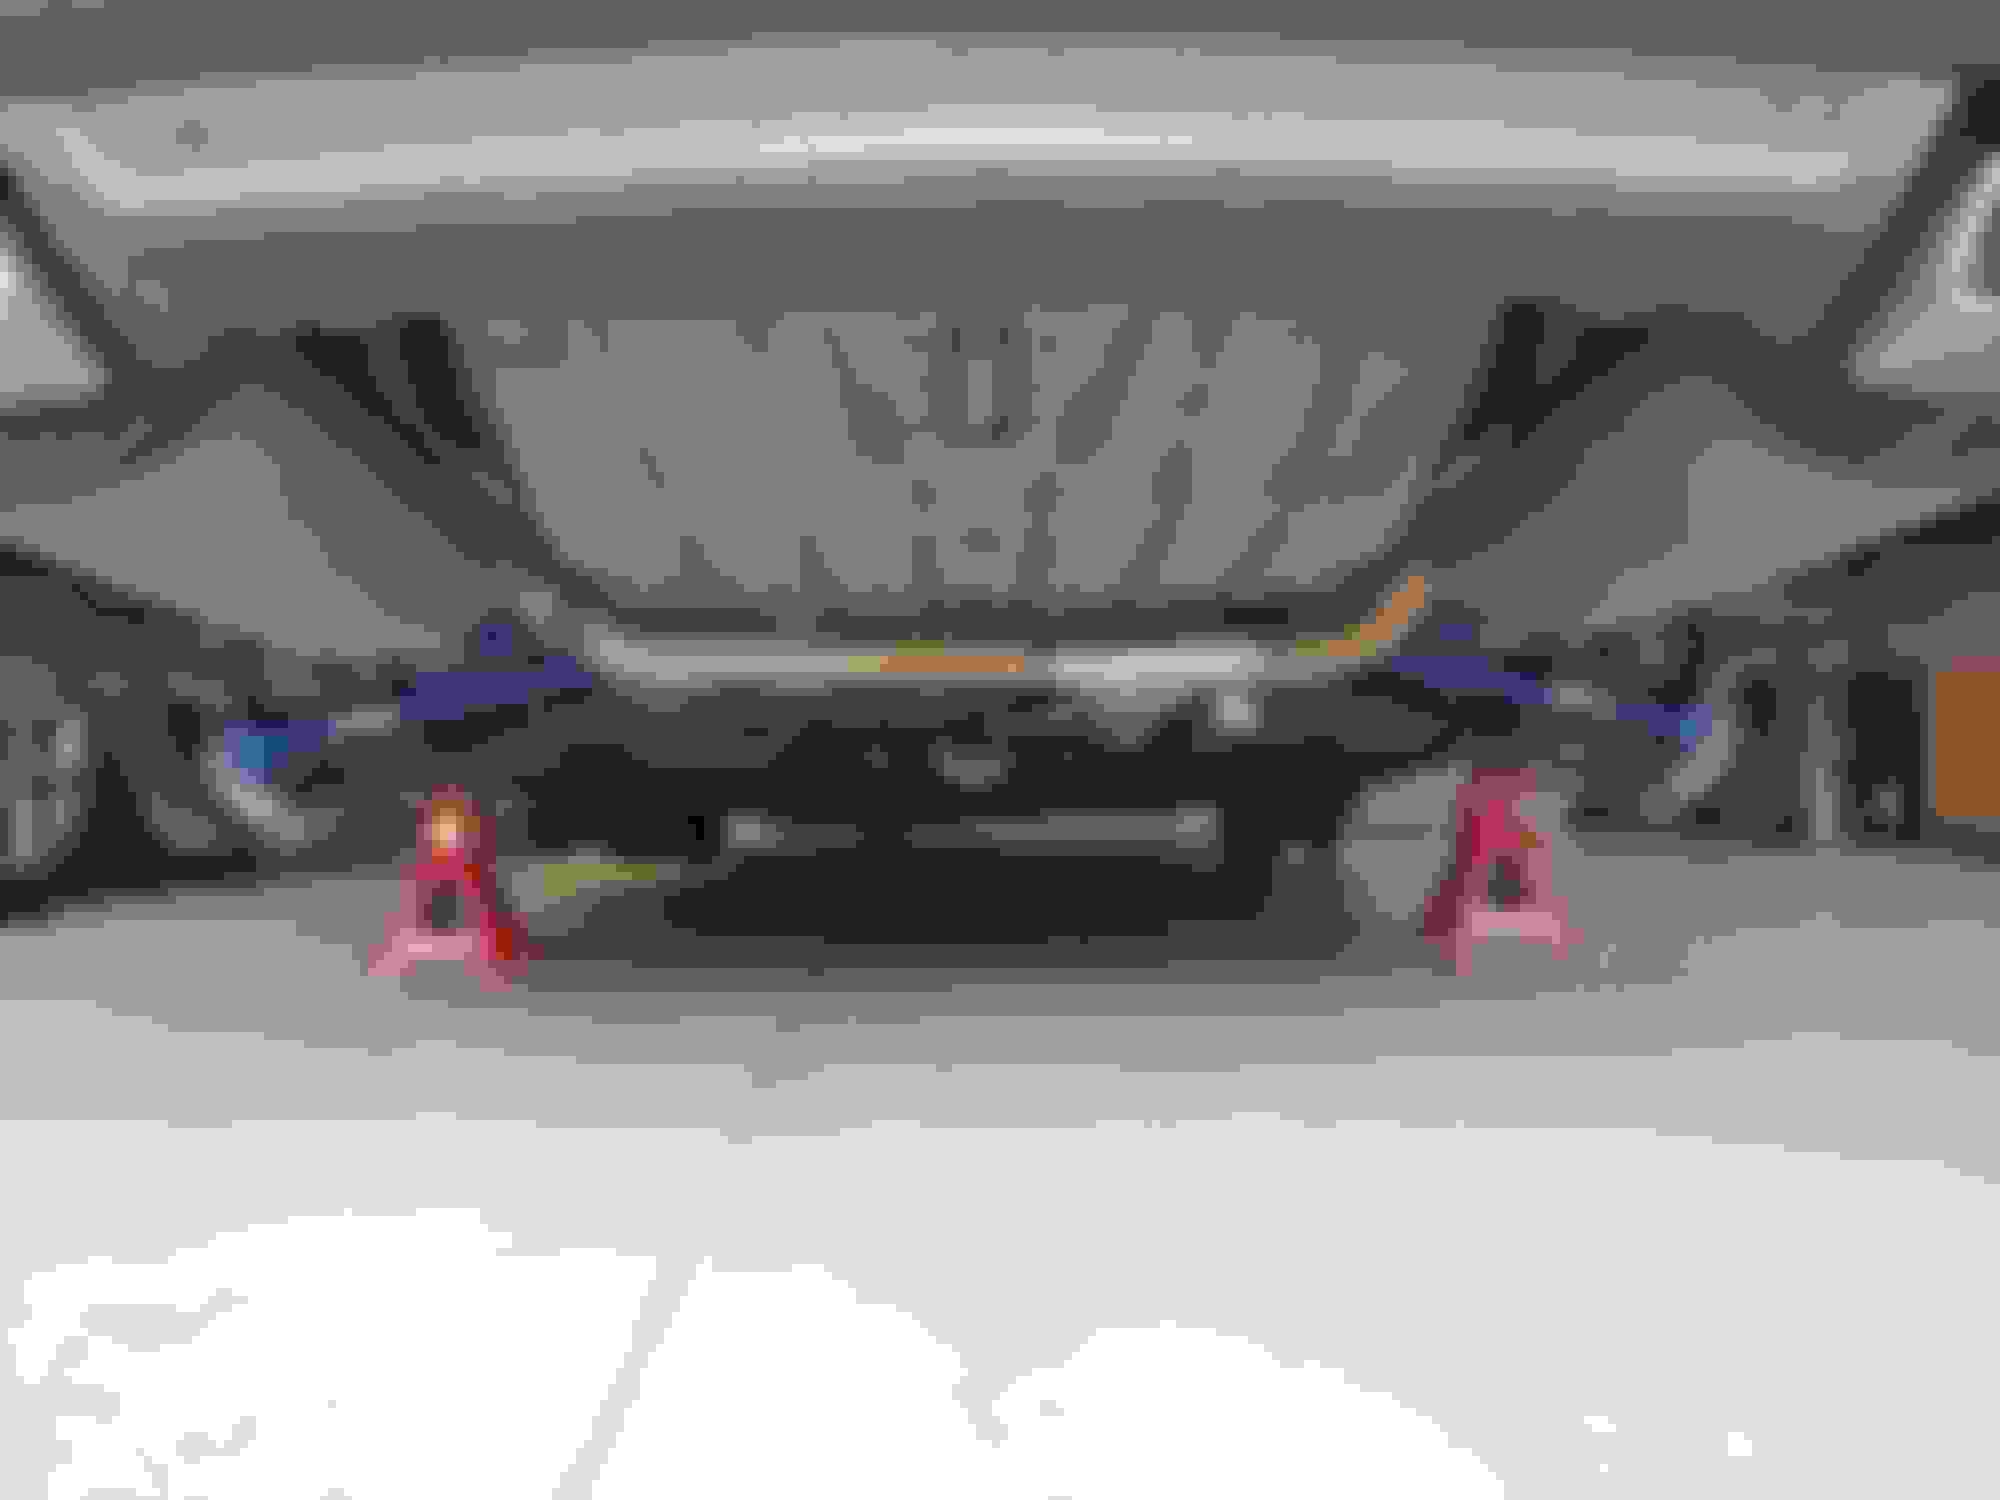
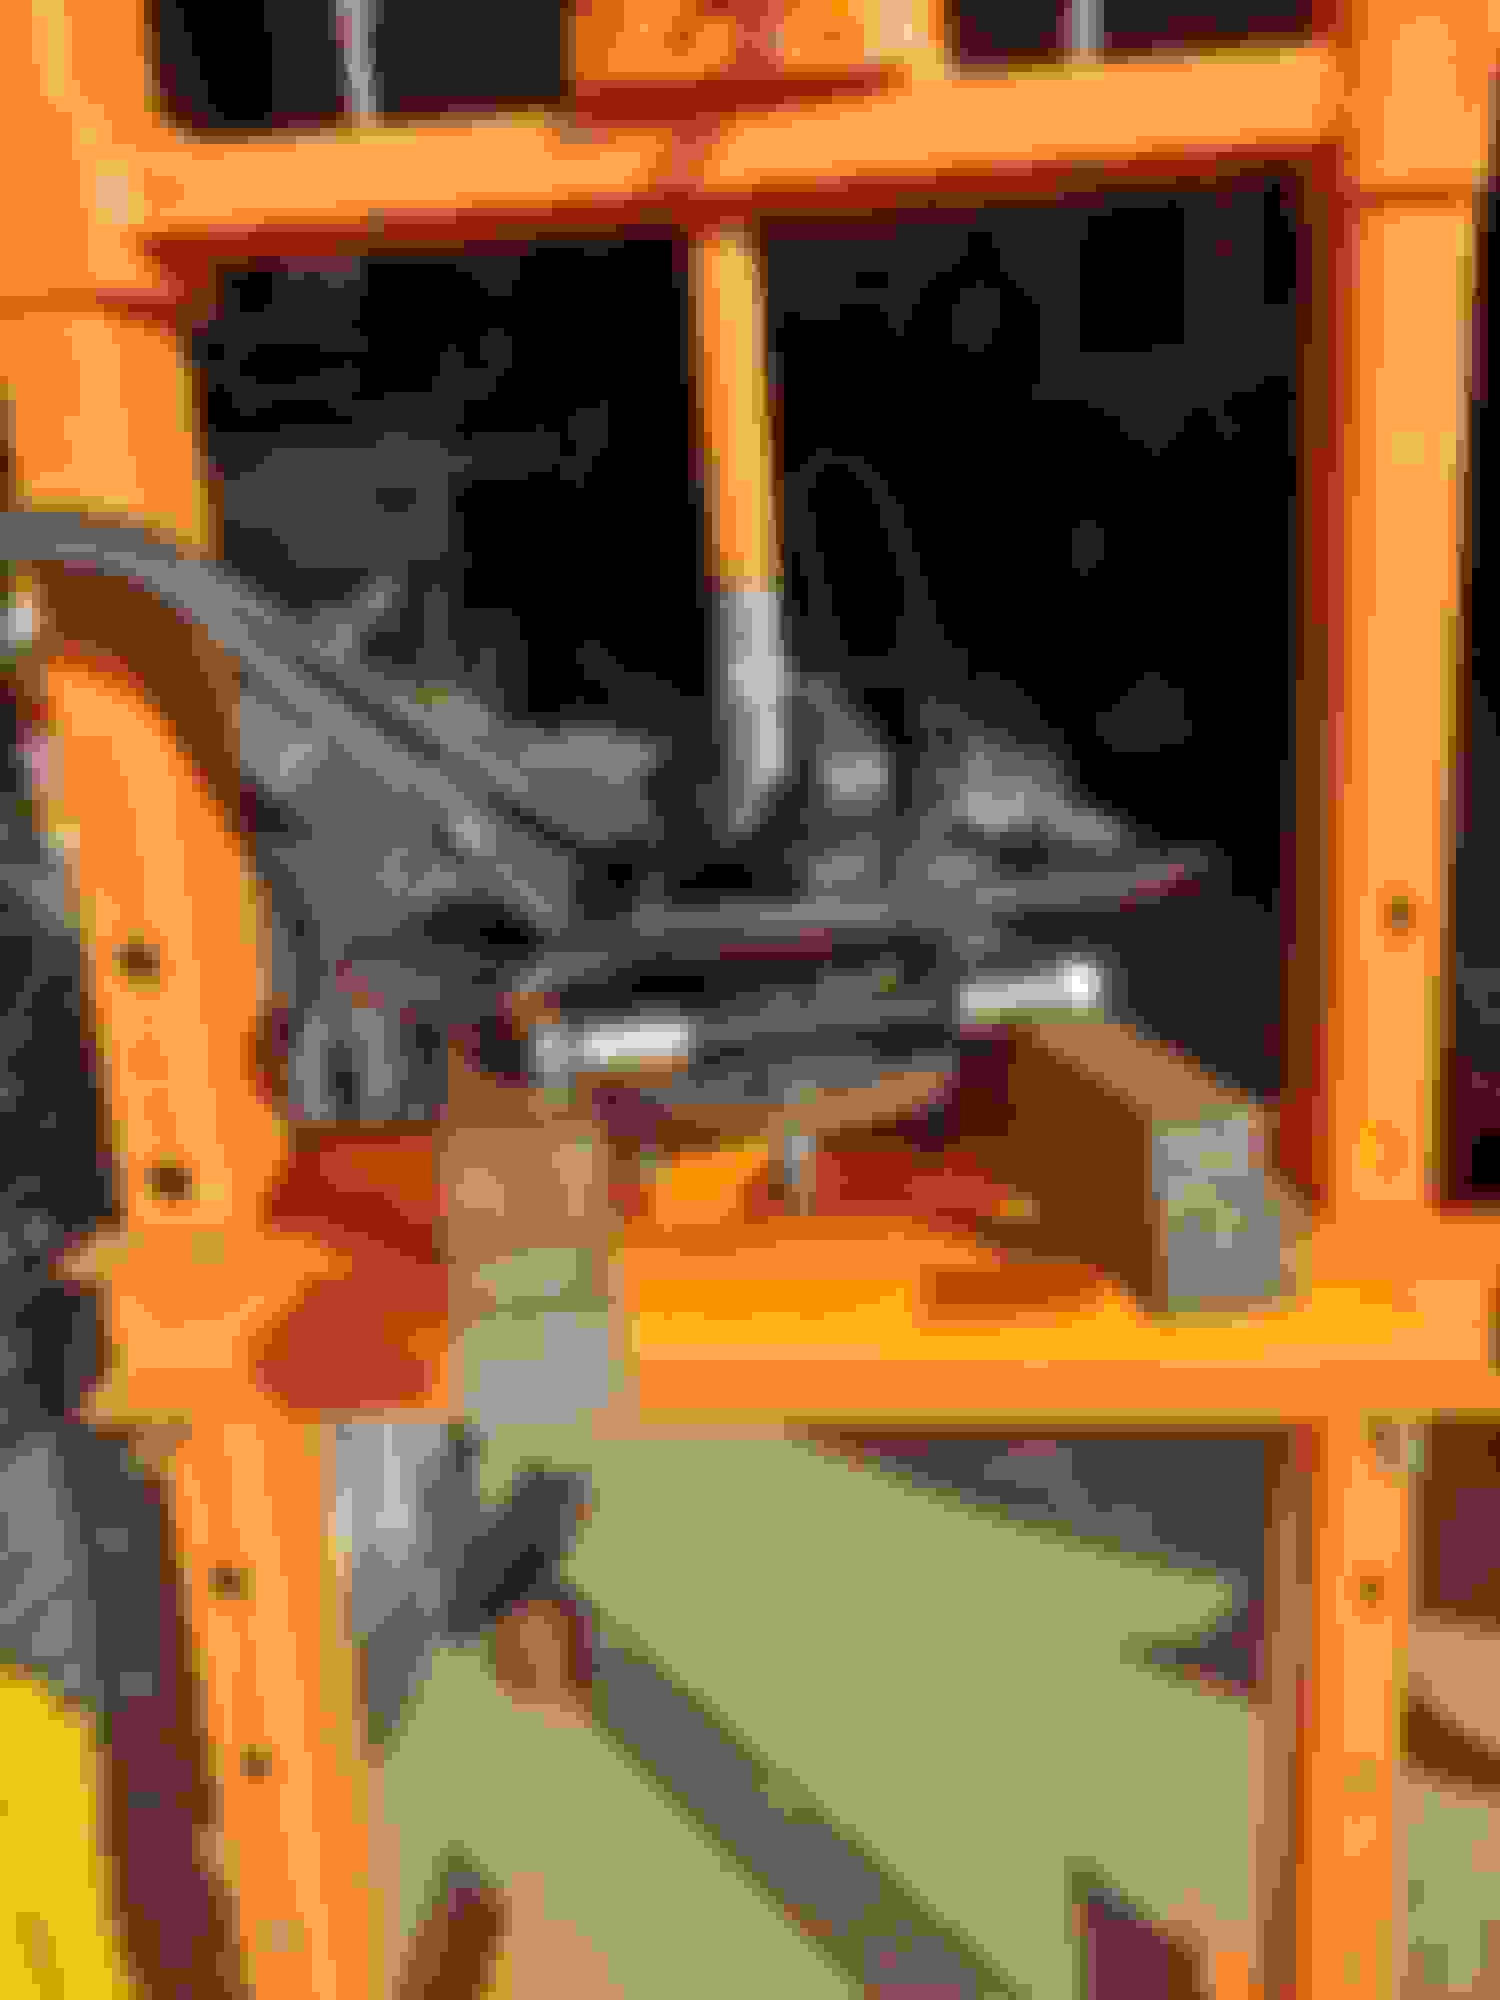
My car up on stilts ready for operation:
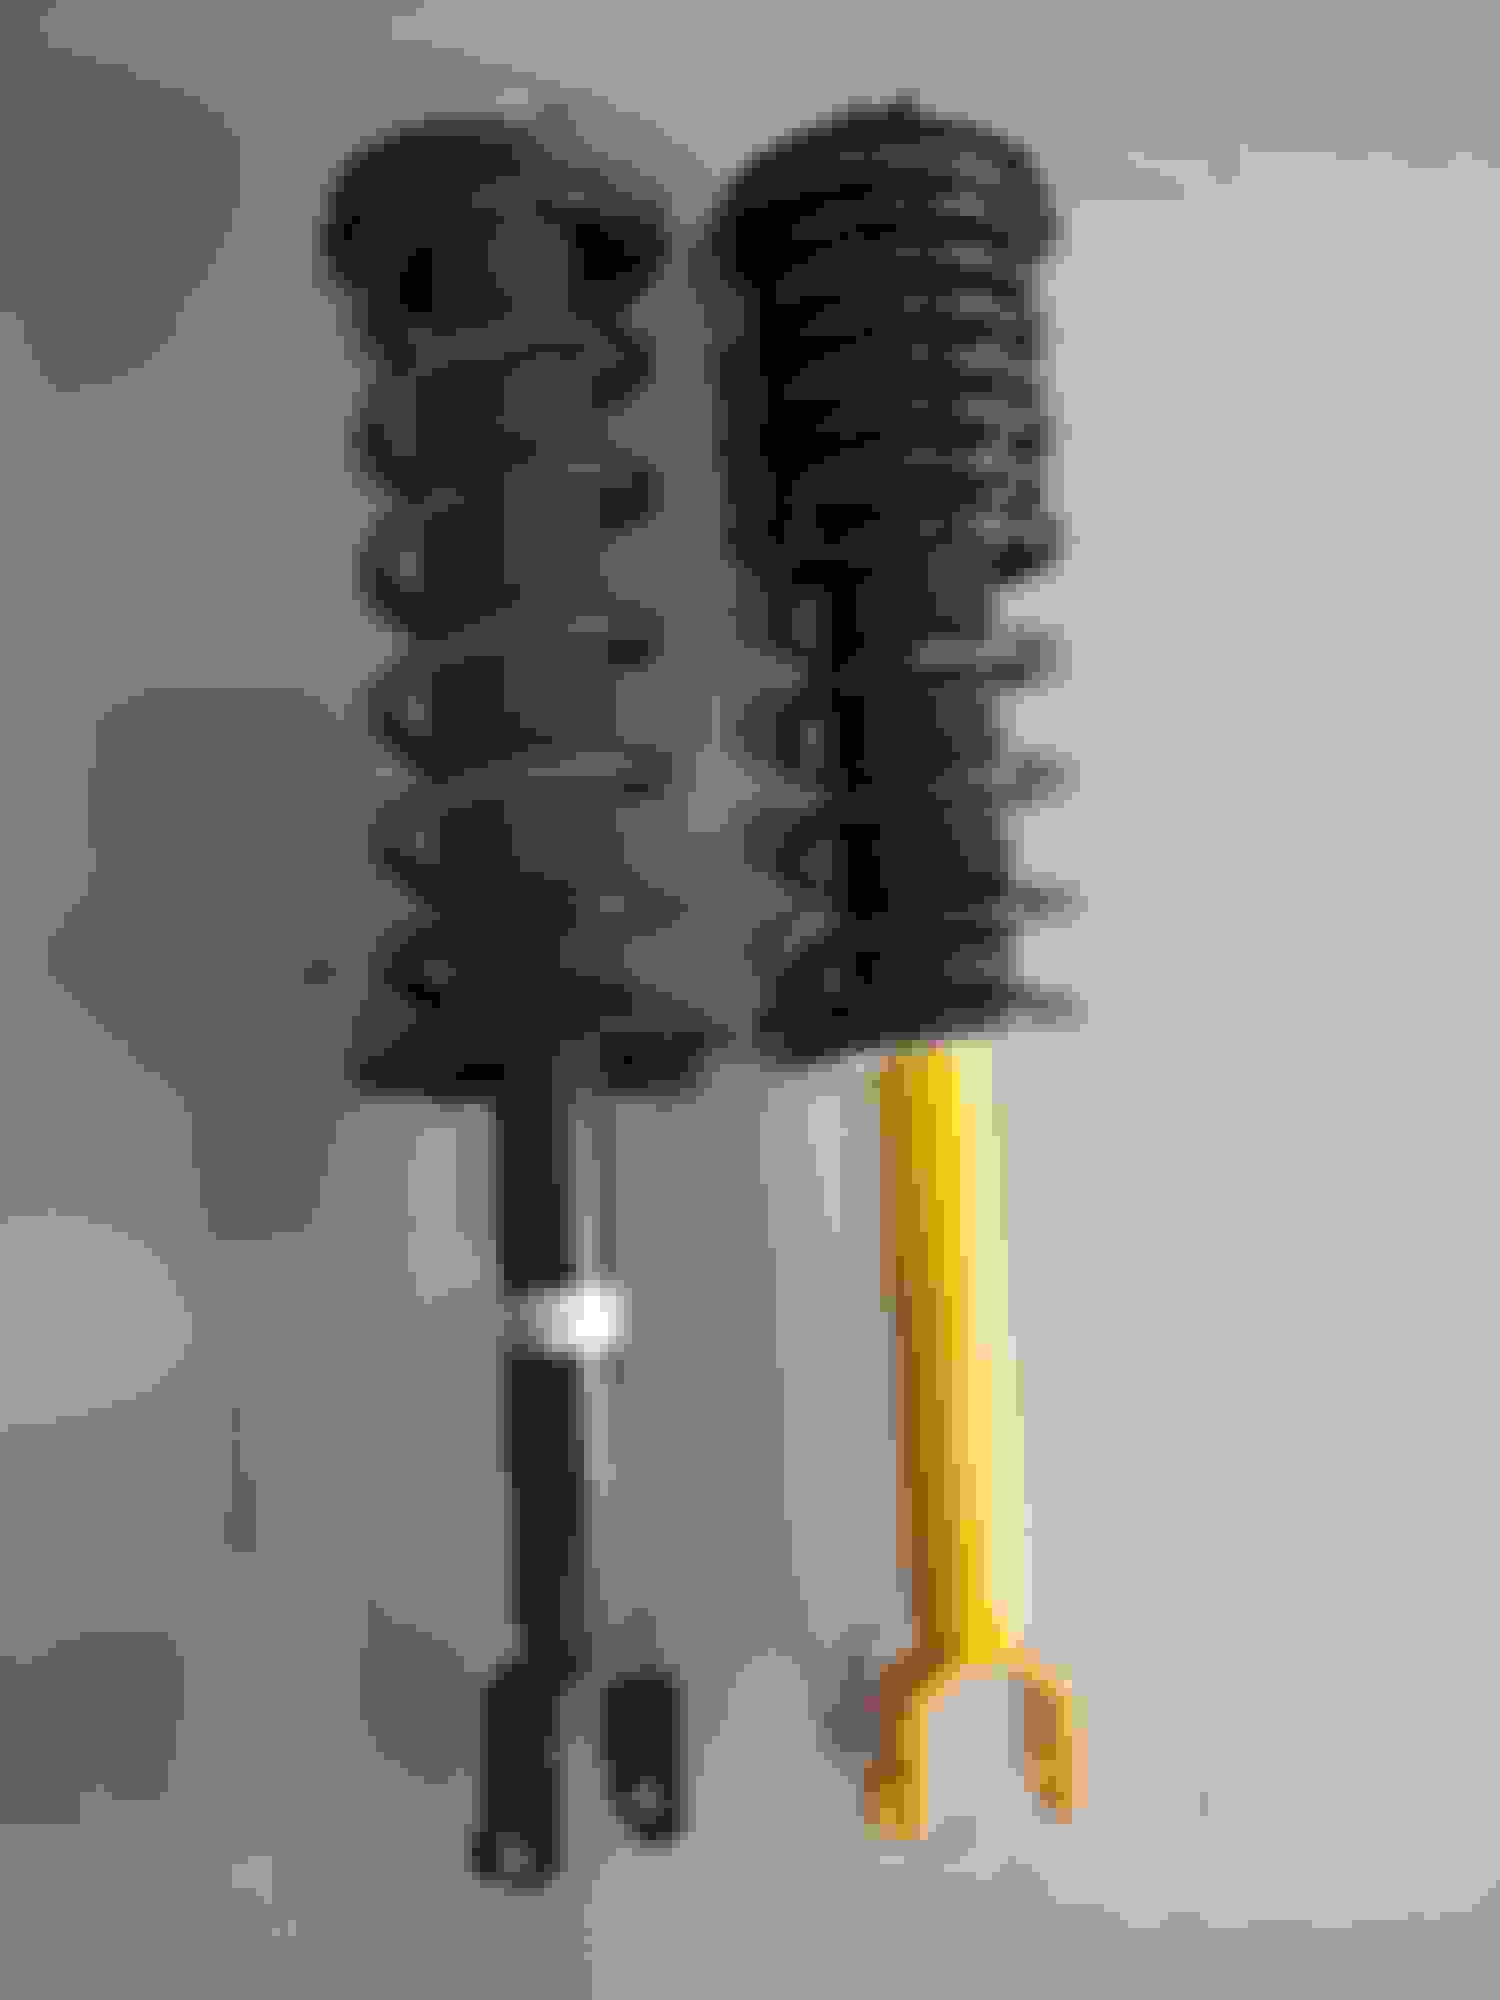
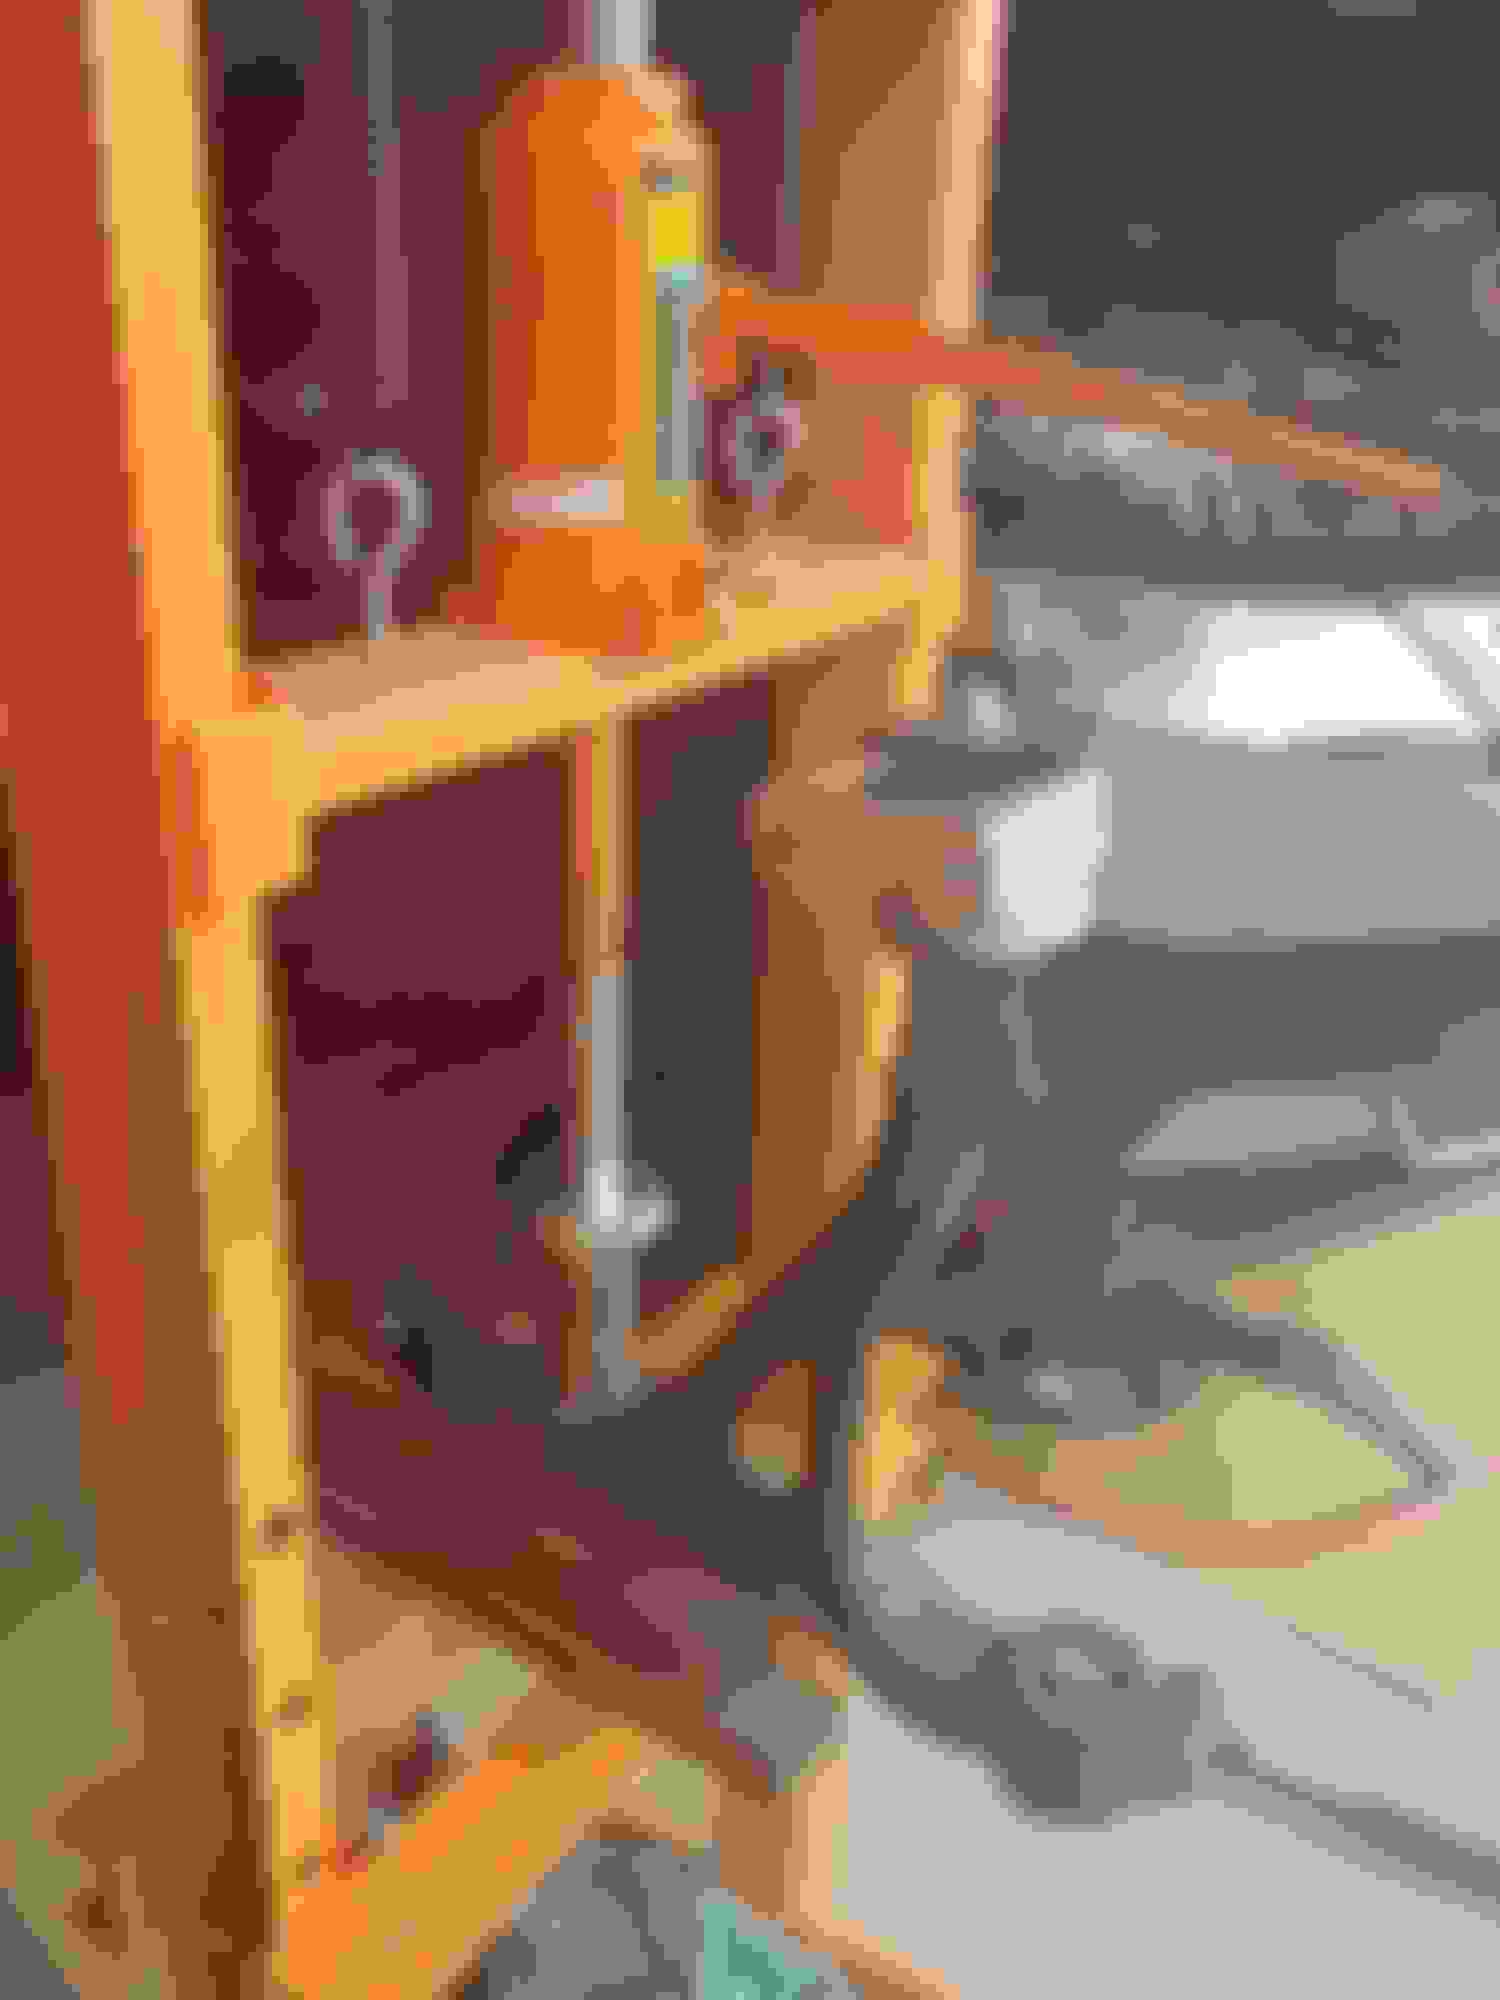
Shiny new springs and struts! 3 out of 4 OEM struts were leaking after about 127,000 miles on the odometer:
The rear was cake, not much going on here. Remove the bolt from the bottom of the strut, remove the 2 nuts on the top hat, yank it out and slap the new one in:
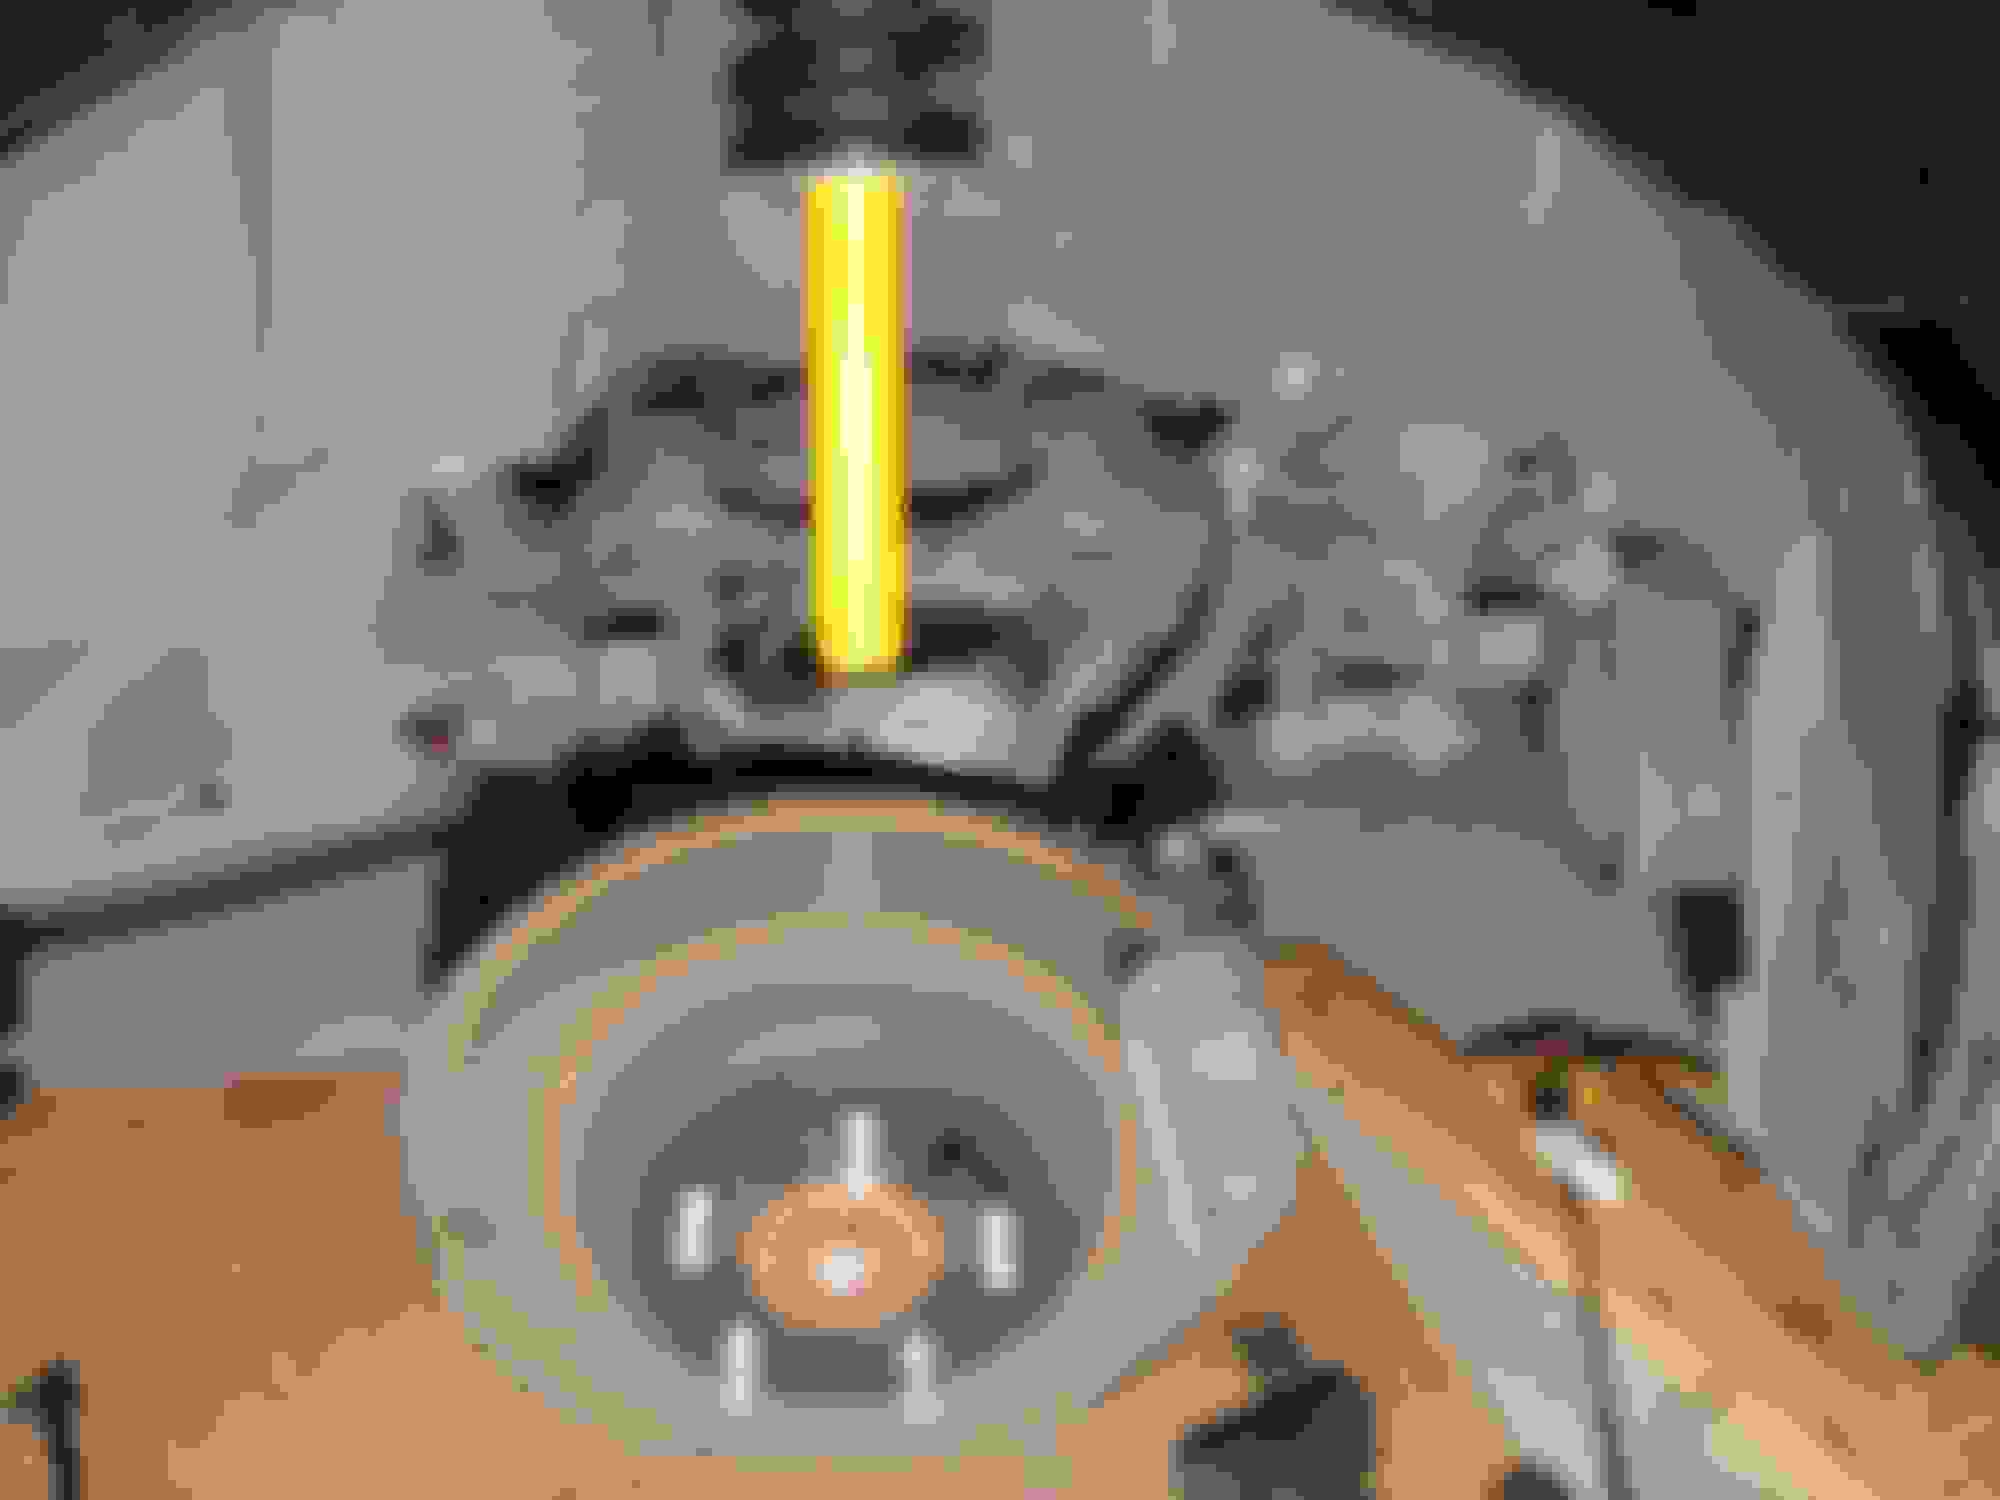
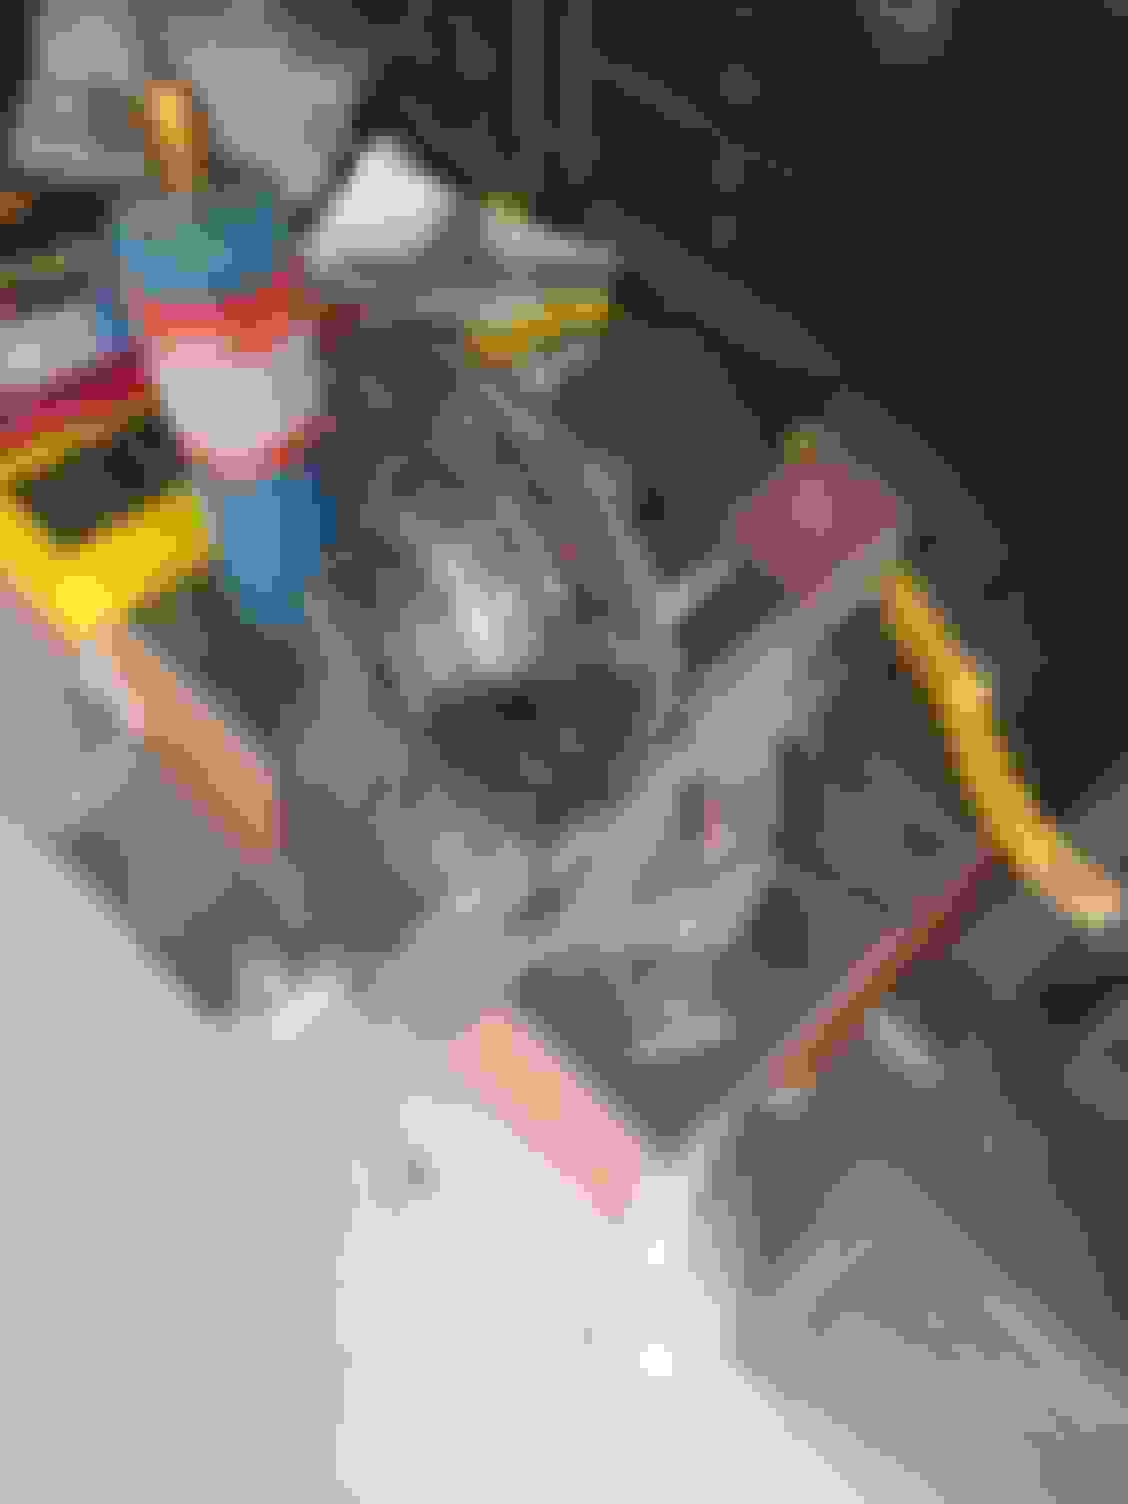
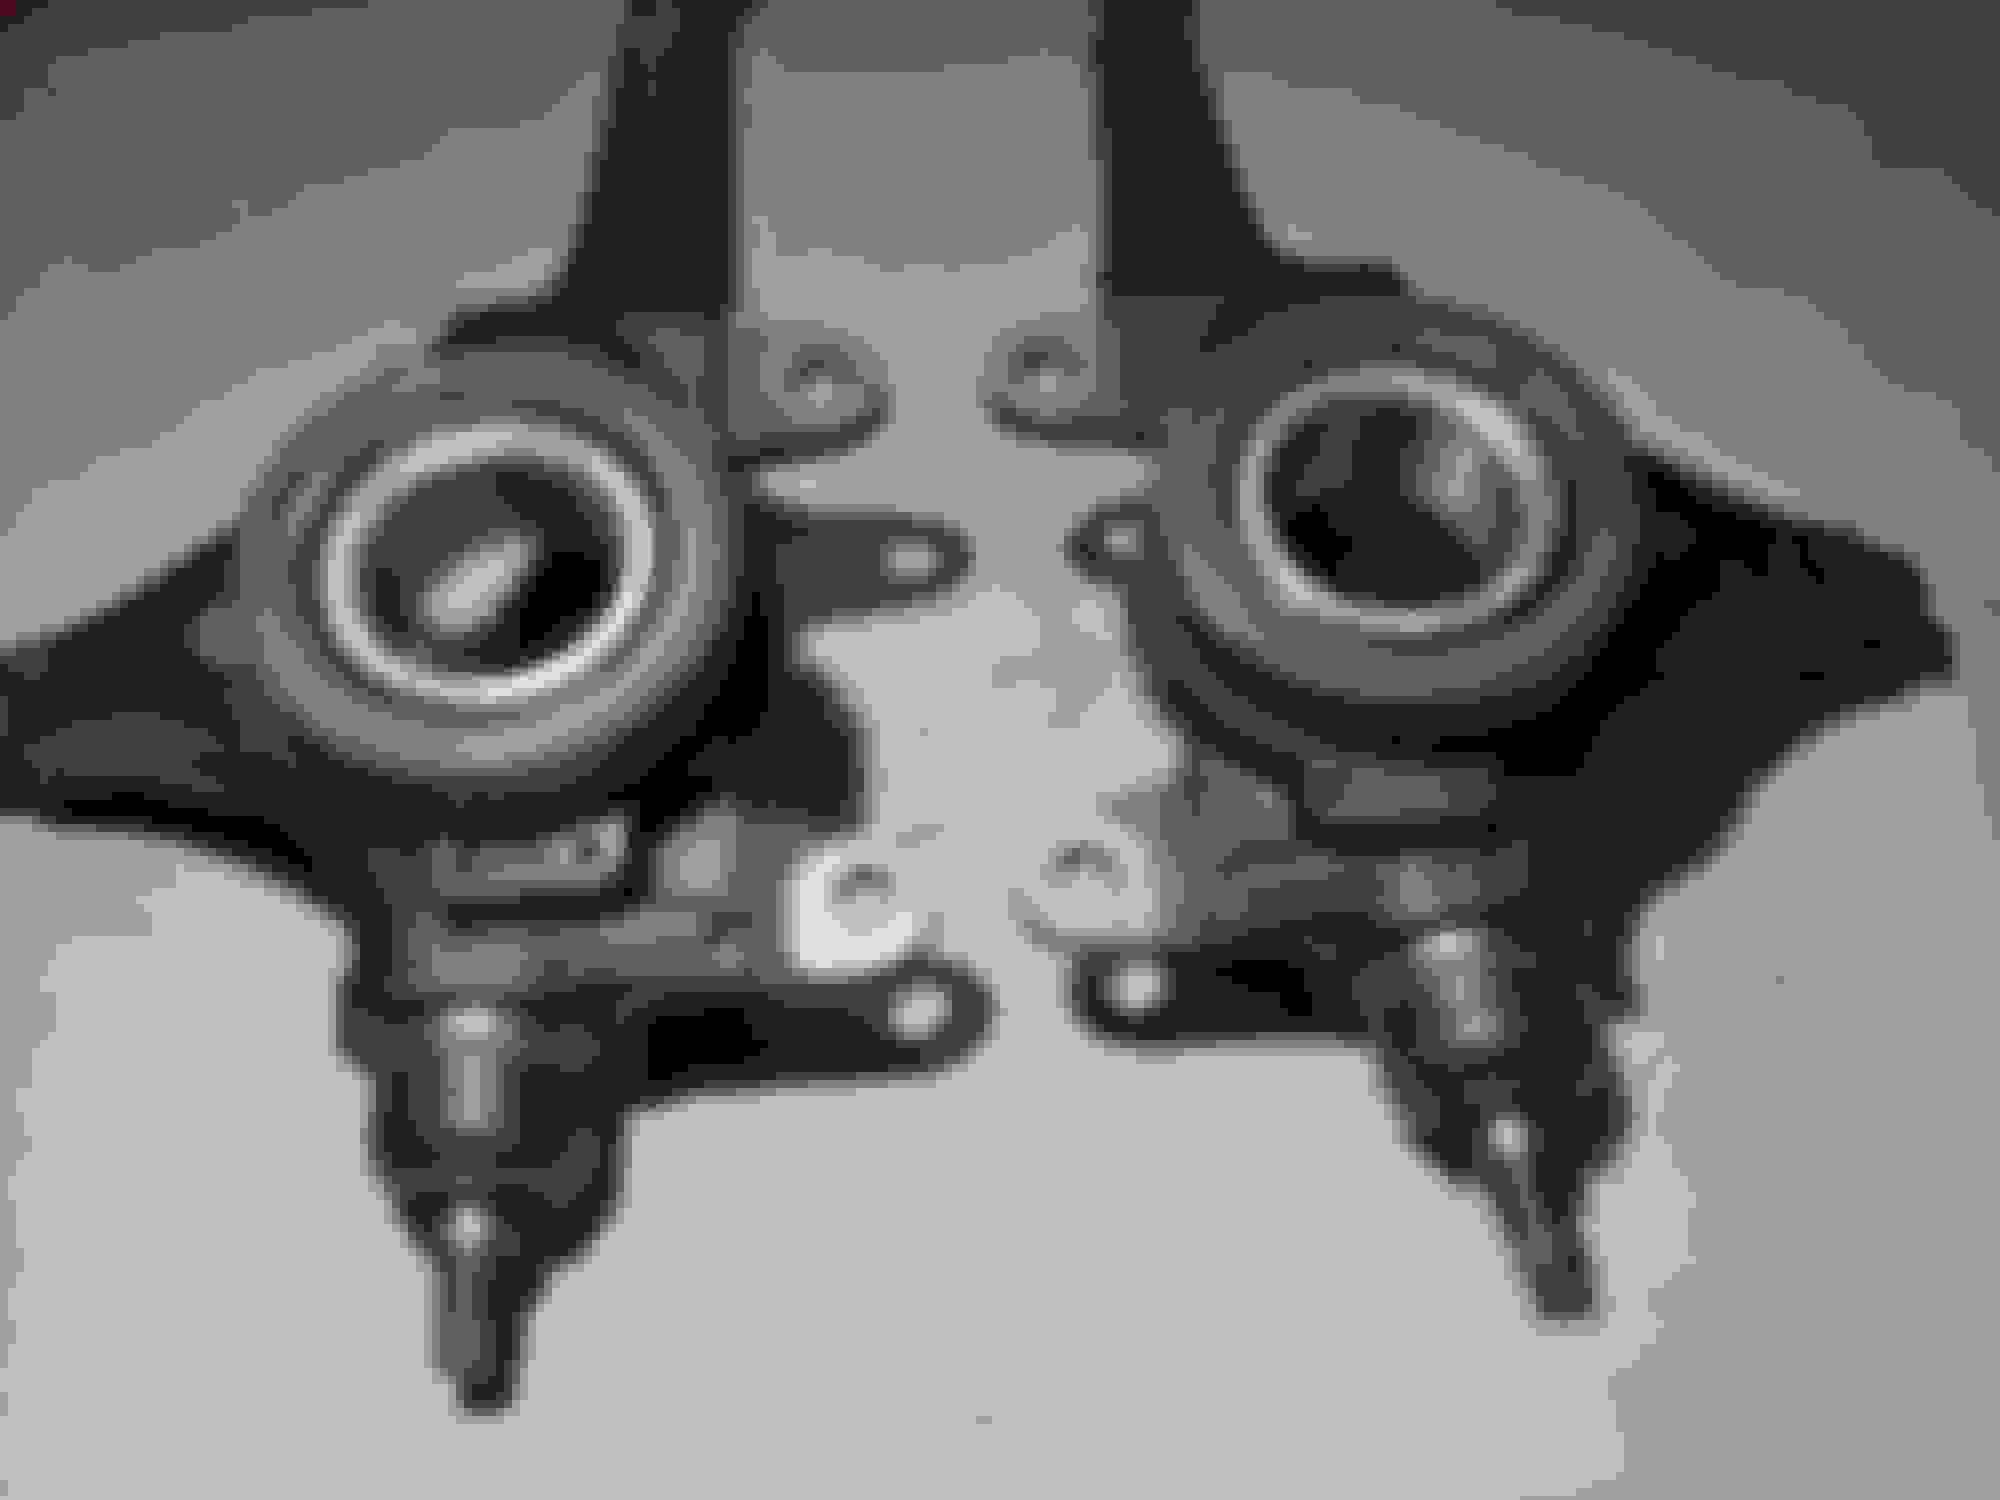
The fronts were another story. My operation table become filled up quickly in no time, there was even more laying under the car:
in order to press the wheel hub out. Be very careful on placement. The stupid screws for mounting the dust shield prevent you from getting good contact against the knuckle. I don't have a picture of it, but there are two flats on opposite sides of the knuckle, you want to ensure that the force is transmitted through these flats (I messed up one of the dust shields not realizing this and had to order another one). I had to stack up some washers i had laying around to get to the same height as the dust shield screws. Also note that our cars use a 4 contact bearing design, which means it has a split inner race that is most likely going to pop off with the wheel hub. Prepare yourself for a loud bang when the hub and inner race finally pop off.
Here's the inner race half still stuck on the hub. I tried applying heat, cutting notches to hammer it out, etc. but it would not budge. I ultimately ended up cutting too far into the hub, said screw it and ordered two brand new hubs. If you want less headaches I'd recommend buying new hubs from the get go.
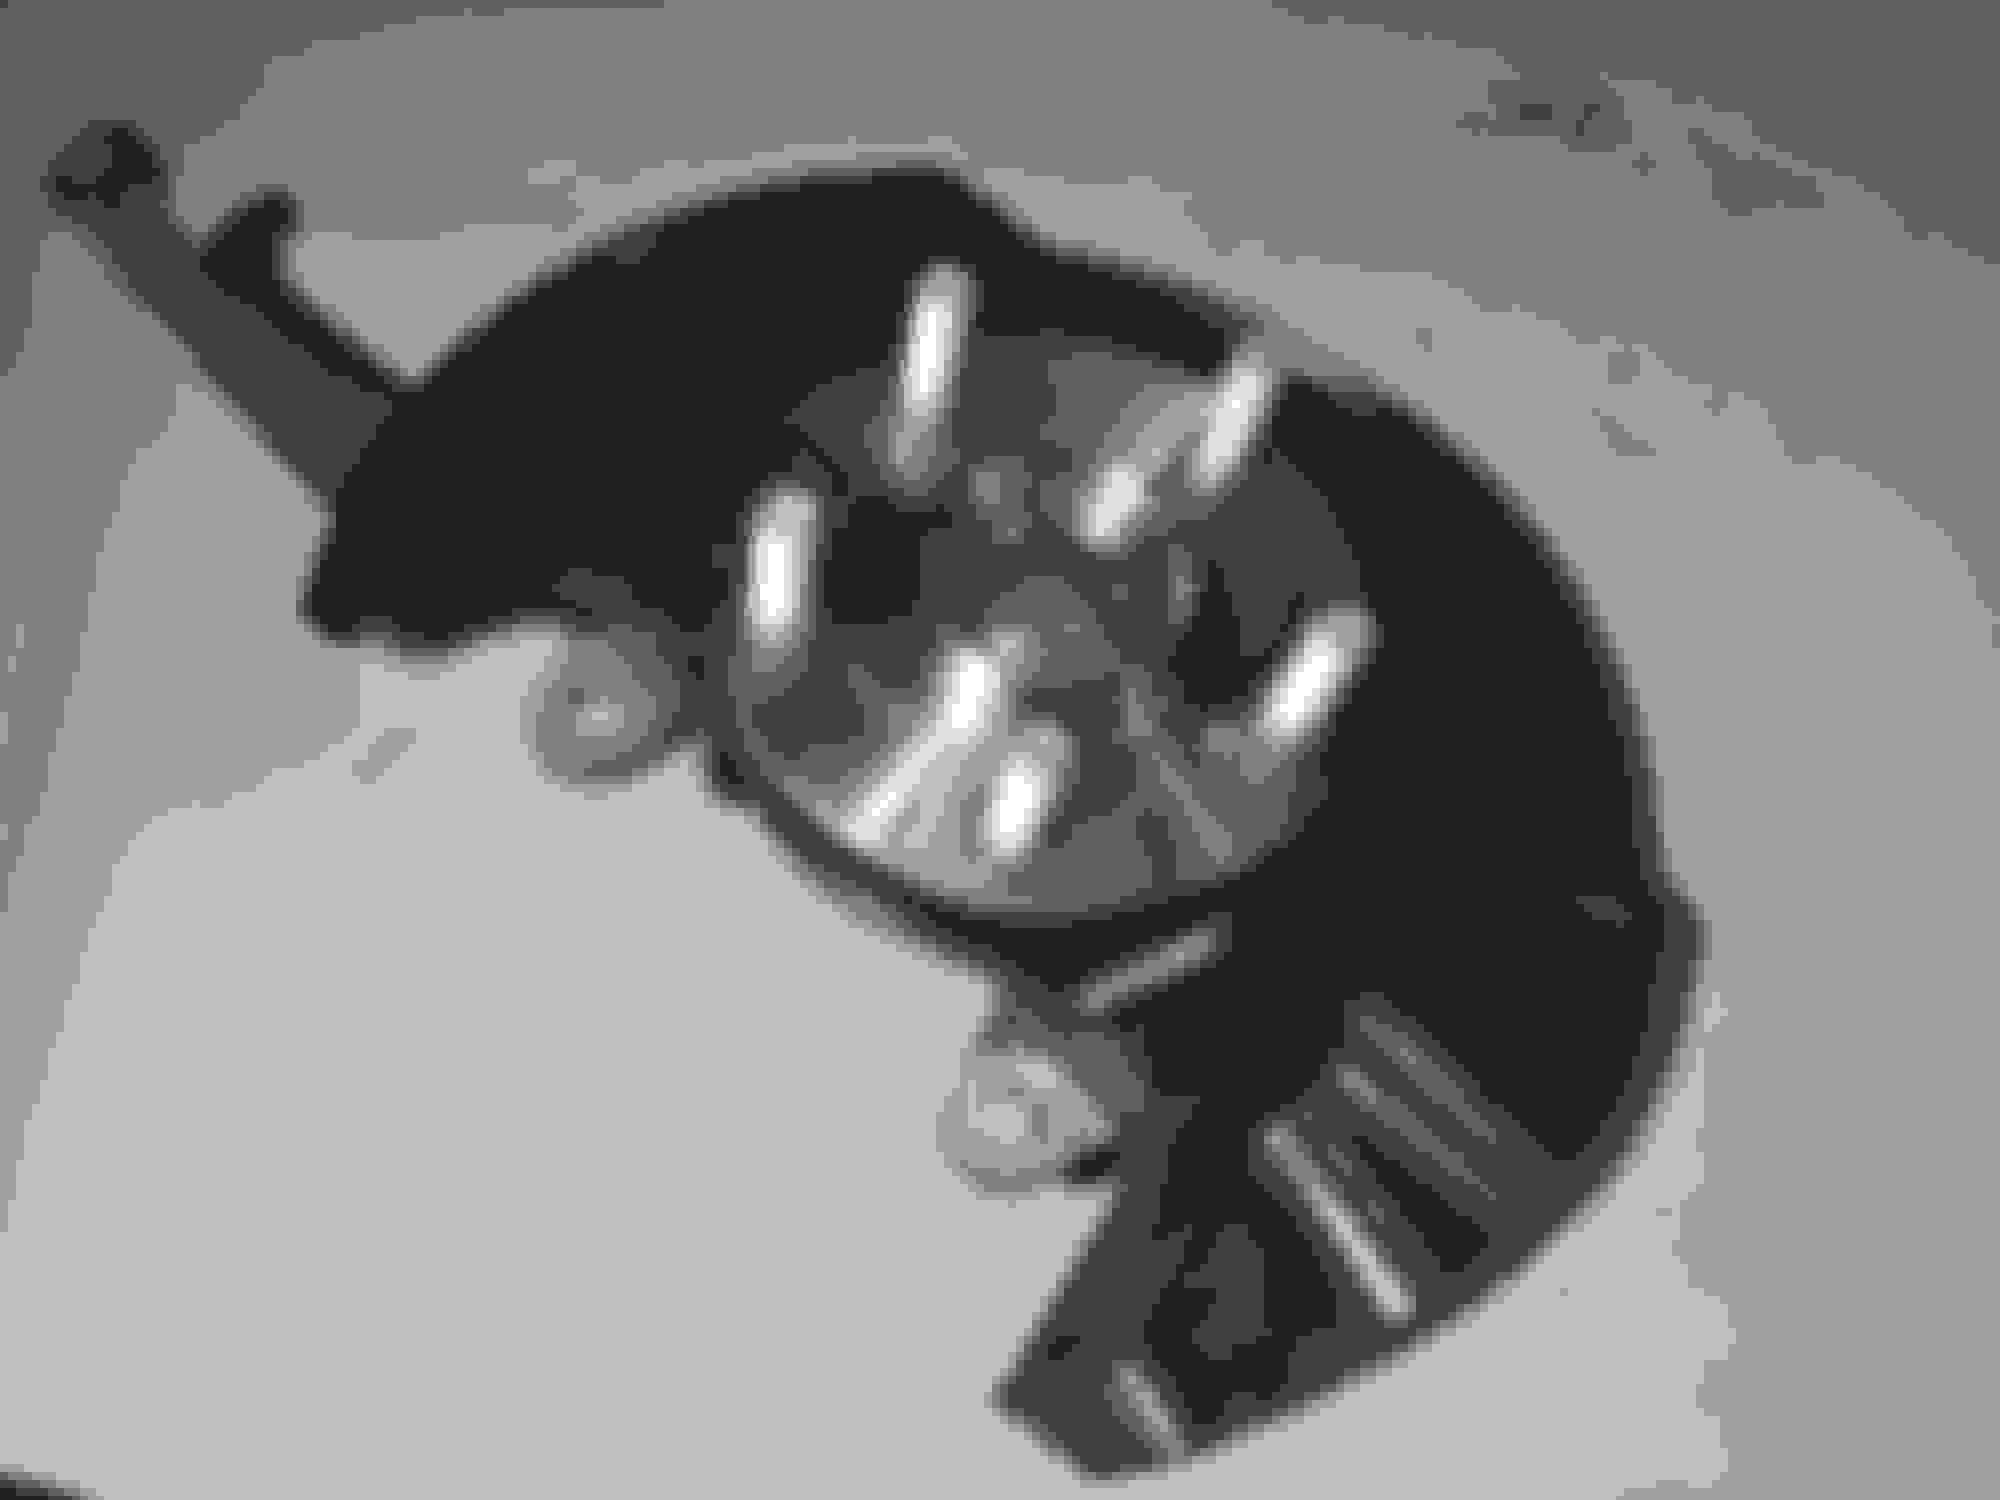
Here's a shot of the new damper fork bushing being pressed into the lower control arm. It pays to have a lathe to turn down the right size tubes for the press!
I don't have a picture of the method I used for popping the lower ball joint out of the lower control arm, but a pitman puller from Autozone is what did the trick. A regular ball joint separator worked for the upper ball joint and tie rod ball joint. The below picture is my ghetto-fabulous method for pressing the ball joint out of the knuckle. I got extremely lucky and had this material laying around, so I went to town with the cutoff wheel and grinder until it fit on the knuckle. If you read the service manual, it states to use a special tool that bolts into the bearing and provides a lip for screwing the ball joint out. At this point I had removed the bearings before the ball joint, so I would recommend doing the opposite first. The tool from Honda is $150, but some creativity will prevail. I also used a cutoff wheel and chopped off the stud and tapered portion of the ball joint to give me more clearance on the clamp's throat.
The new bearings and lower ball joints pressed in. The original ball joints were in perfect shape and had no play, but I'm glad I bought replacements because I absolutely destroyed the shafts trying to pop them off the lower control arm. If you want to save your ball joints, make yourself some kind of thread protector like the service manual calls out for. I ended up getting the upgraded ball joints that addressed the TSB where the grease would pool to the bottom of the joint and cause clunking issues. They were insanely expensive compared to the original part number, but if they can last me even longer then I'm all for it.
New wheel hubs arrived and pressed in. Don't forget to mount the dust shield first! My studs were getting pretty rusty anyways, so I didn't mind waiting for the new hubs.
Everything back together! I don't have specific pictures, but the axles were pretty easy to remove and replace. I made sure to apply urea grease to the splines before installation (like the service manual states).
It's rolling again! I'm very happy with the drop. The Eibach Prokit claims 1.2" drop in the front and 1.0" drop in the rear. I've been adjusting the strut rebound for the past couple weeks, and I think I've finally settled on 5/8 quarter turns in the front, and 4/8 quarter turns in the rear (there's no defined clicks, but two full revolutions will put you at 100%).
And here is the alignment result. I knew going in I was going to have more camber due to the drop, but it came out to be fairly insignificant (0.6-0.8deg out of spec). I haven't decided if I want to get a camber kit or not, toe is more important to correct anyways. I'm not sure about the front right wheel (there's no camber adjustment in the front), but the tech said it'll be fine once I rotate my tires.
I hope this helps in any way. It's not really a how-to (that's what Youtube and the service manual are for), but I wanted to outline where I had the most troubles with all the work, and where I would have done things a little differently. I am very happy with the results, and my car feels brand new again! I'm very pleased with the sportiness of the Eibach/Koni combo. I know not a lot of people went with this setup due to the price and opted for Tein instead, but I would definitely say it's worth the money.
Replacing the axles also eliminated the clunking sound I was getting on acceleration. I could definitely tell when removing the old axles the amount of rotational play they had compared to the new ones. It also almost completely eliminated my vibration issue I was getting over 70mph. My wheel bearings were also howling before, but now no more. I do still have a very slight vibration at 75mph, but I believe that could be due to tire balancing. Either that or the new suspension transfers more vibrations at highway speeds due to being sportier.
Last edited by jefflikesbagels; 01-20-2019 at 10:26 PM.
The first thing I noticed in the garage pic was your lathe
Then I realized.. if the man has a lathe, this job should be a breeze Great write-up and attention to detail Did you go OEM on the hubs?
Originally Posted by VanyDotK
Nice write up! I love seeing DIYers for the 4G TL, it seems like there aren't as many people who DIY for the 4G as there is for the 3G TL.
That's crazy your bearings and struts went bad at only 127k! Did you use OEM bearings or aftermarket? how are your motor mounts holding up?
Originally Posted by maxAmillion
Which axles did you use?
I went OEM everything except for the struts and springs. Don't ask me how much it all cost because I may cry lol. But I'd rather go OEM and have it last another ~130k miles rather than potentially cheaping out and having to do all this again 50k later. I replaced everything that the service manual said to replace, including bolts. I didn't want to take the chance with used bolts that may have yielded a bit after all these years. I also didn't want to get cheap aftermarket wheel bearings and axles. I forgot what brand the OEM bearings are, but they are made in USA. I forgot these cars were made in Ohio I believe so that makes sense.
Everything OEM came from Delray Acura. I live in Orlando FL so they were very quick on the shipping for the million times I had to place an order because I forgot something lol.
VanyDotK, funny enough a couple days after I did everything I started hearing a new clunking sound, which I think is my engine mounts failing. It's especially bad during the shift from 1-2 and 2-3, perhaps when the engine is slamming back down on the mounts when not under power. So it may be time for another write-up later!
Brief update, I decided I didn't like the ~2 degree of camber (I'm OCD & neurotic, what a combo!), so I installed a Hardrace camber kit. I'll be getting an alignment on Monday.
I was also getting some creaking noises coming from the rear deck, so while I had the camber and toe arms off I decided to cut some rubber sheets to act as washers/dampers between the top hats and the rear deck frame.

 01-20-2019 | 10:14 PM


 Great write-up and attention to detail
  Did you go OEM on the hubs?