When you click on links to various merchants on this site and make a purchase, this can result in this site earning a commission. Affiliate programs and affiliations include, but are not limited to, the eBay Partner Network.
Wet Sanded my cloudy headlights - with step by step
I tried one of those headlight refinishing kits, which really didn't help at all. After no success there, and a little research, I decided to go all-in. I've never wet sanded anything before, but found some videos and decided it didn't look to hard.
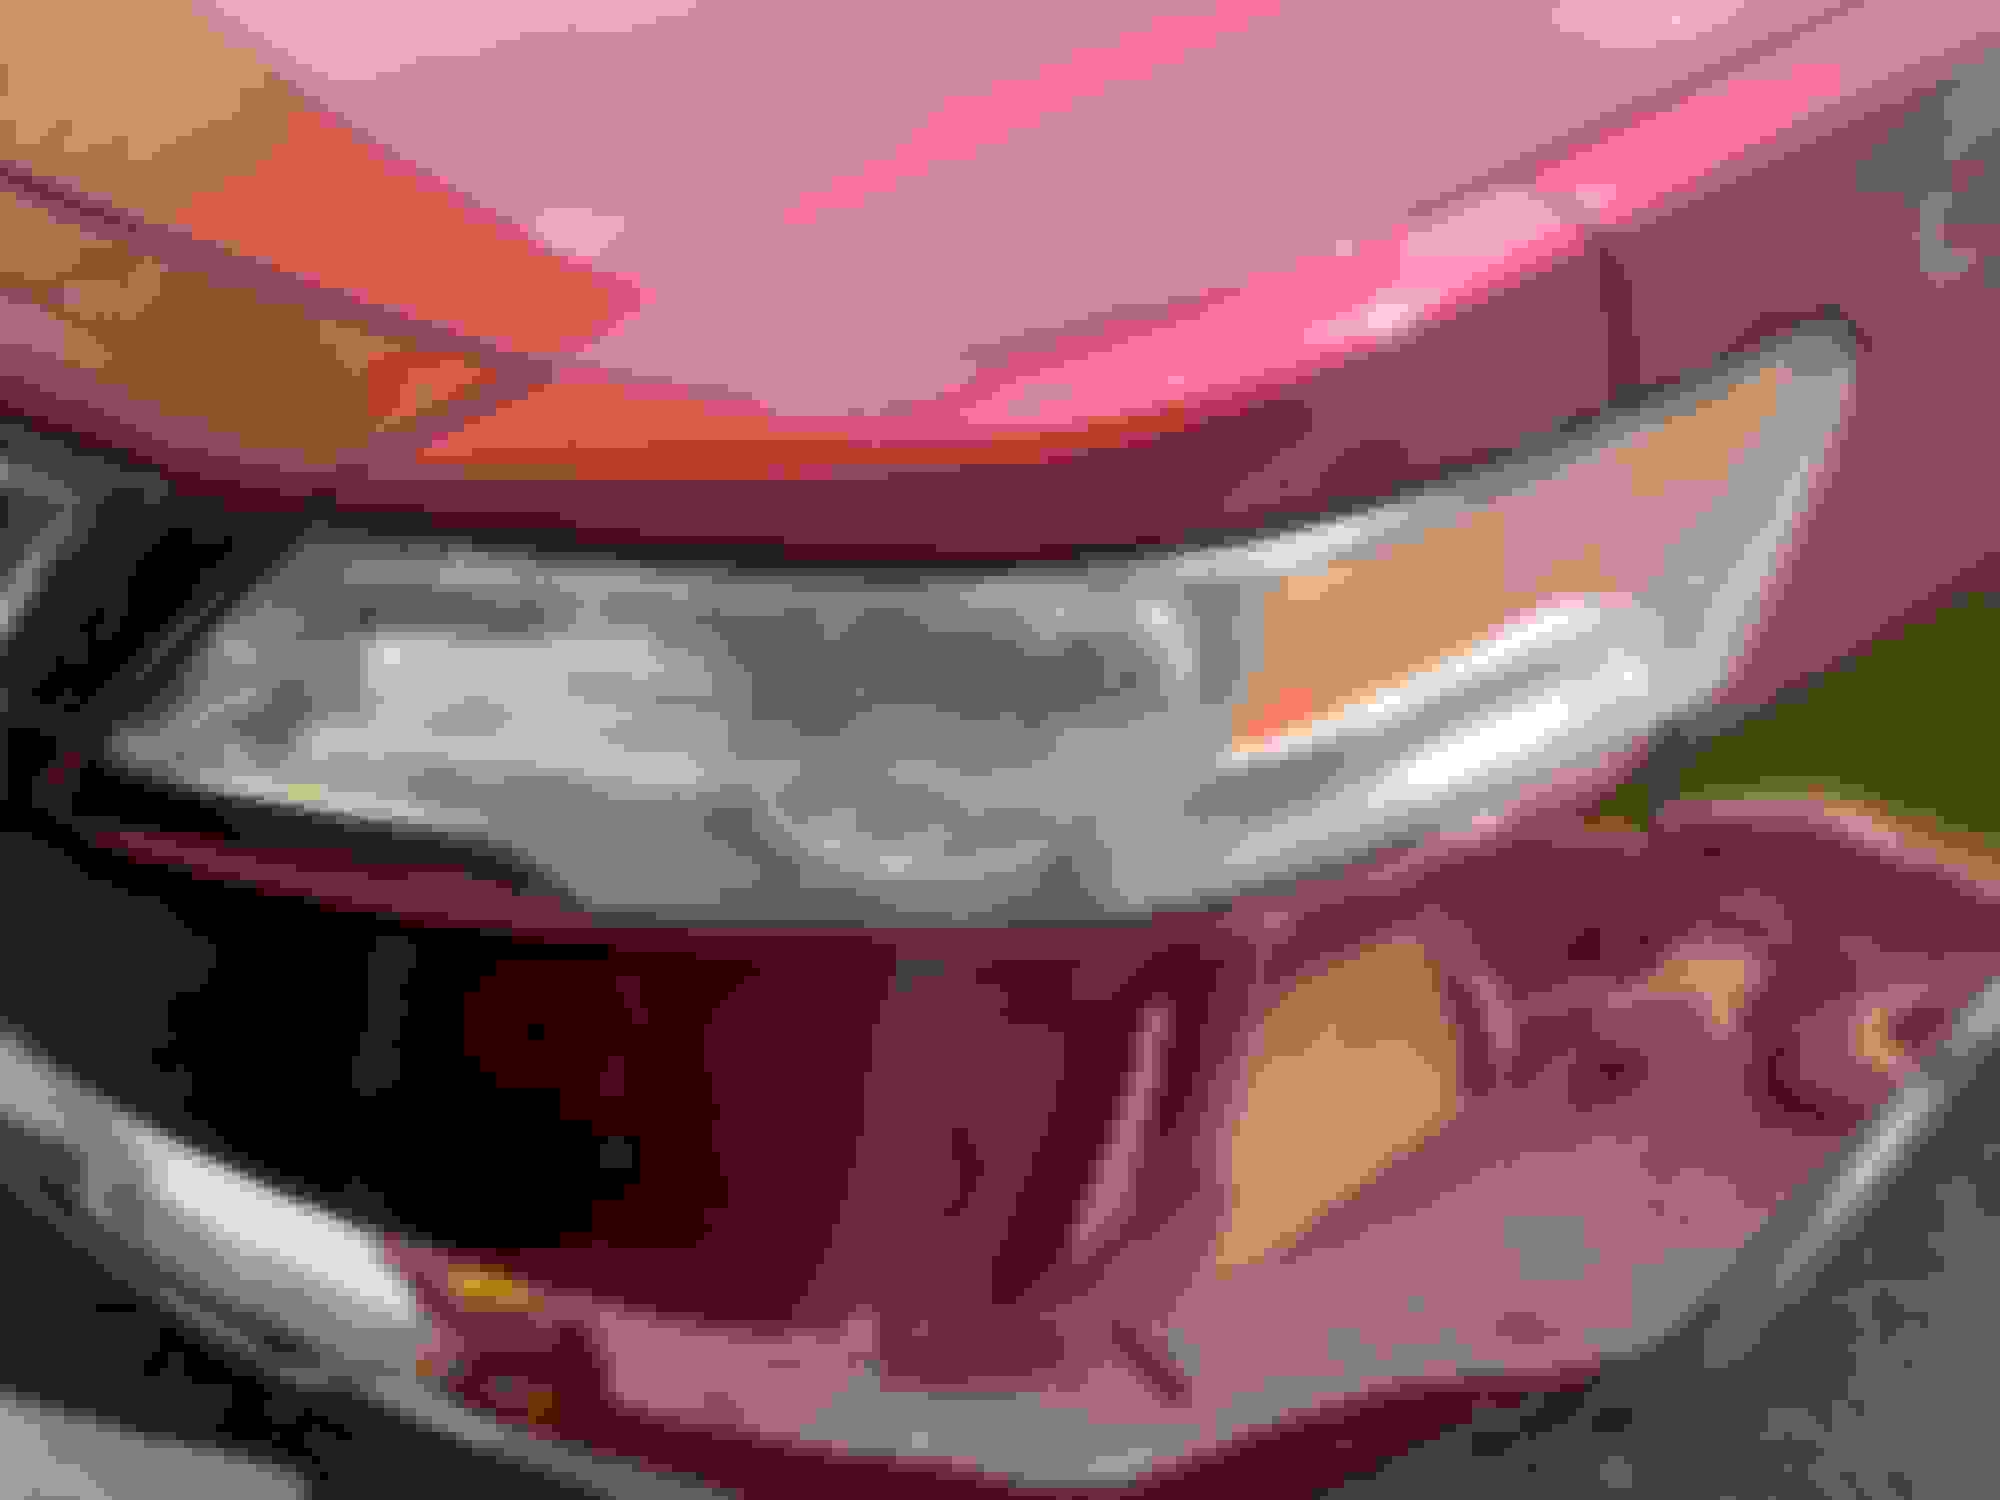
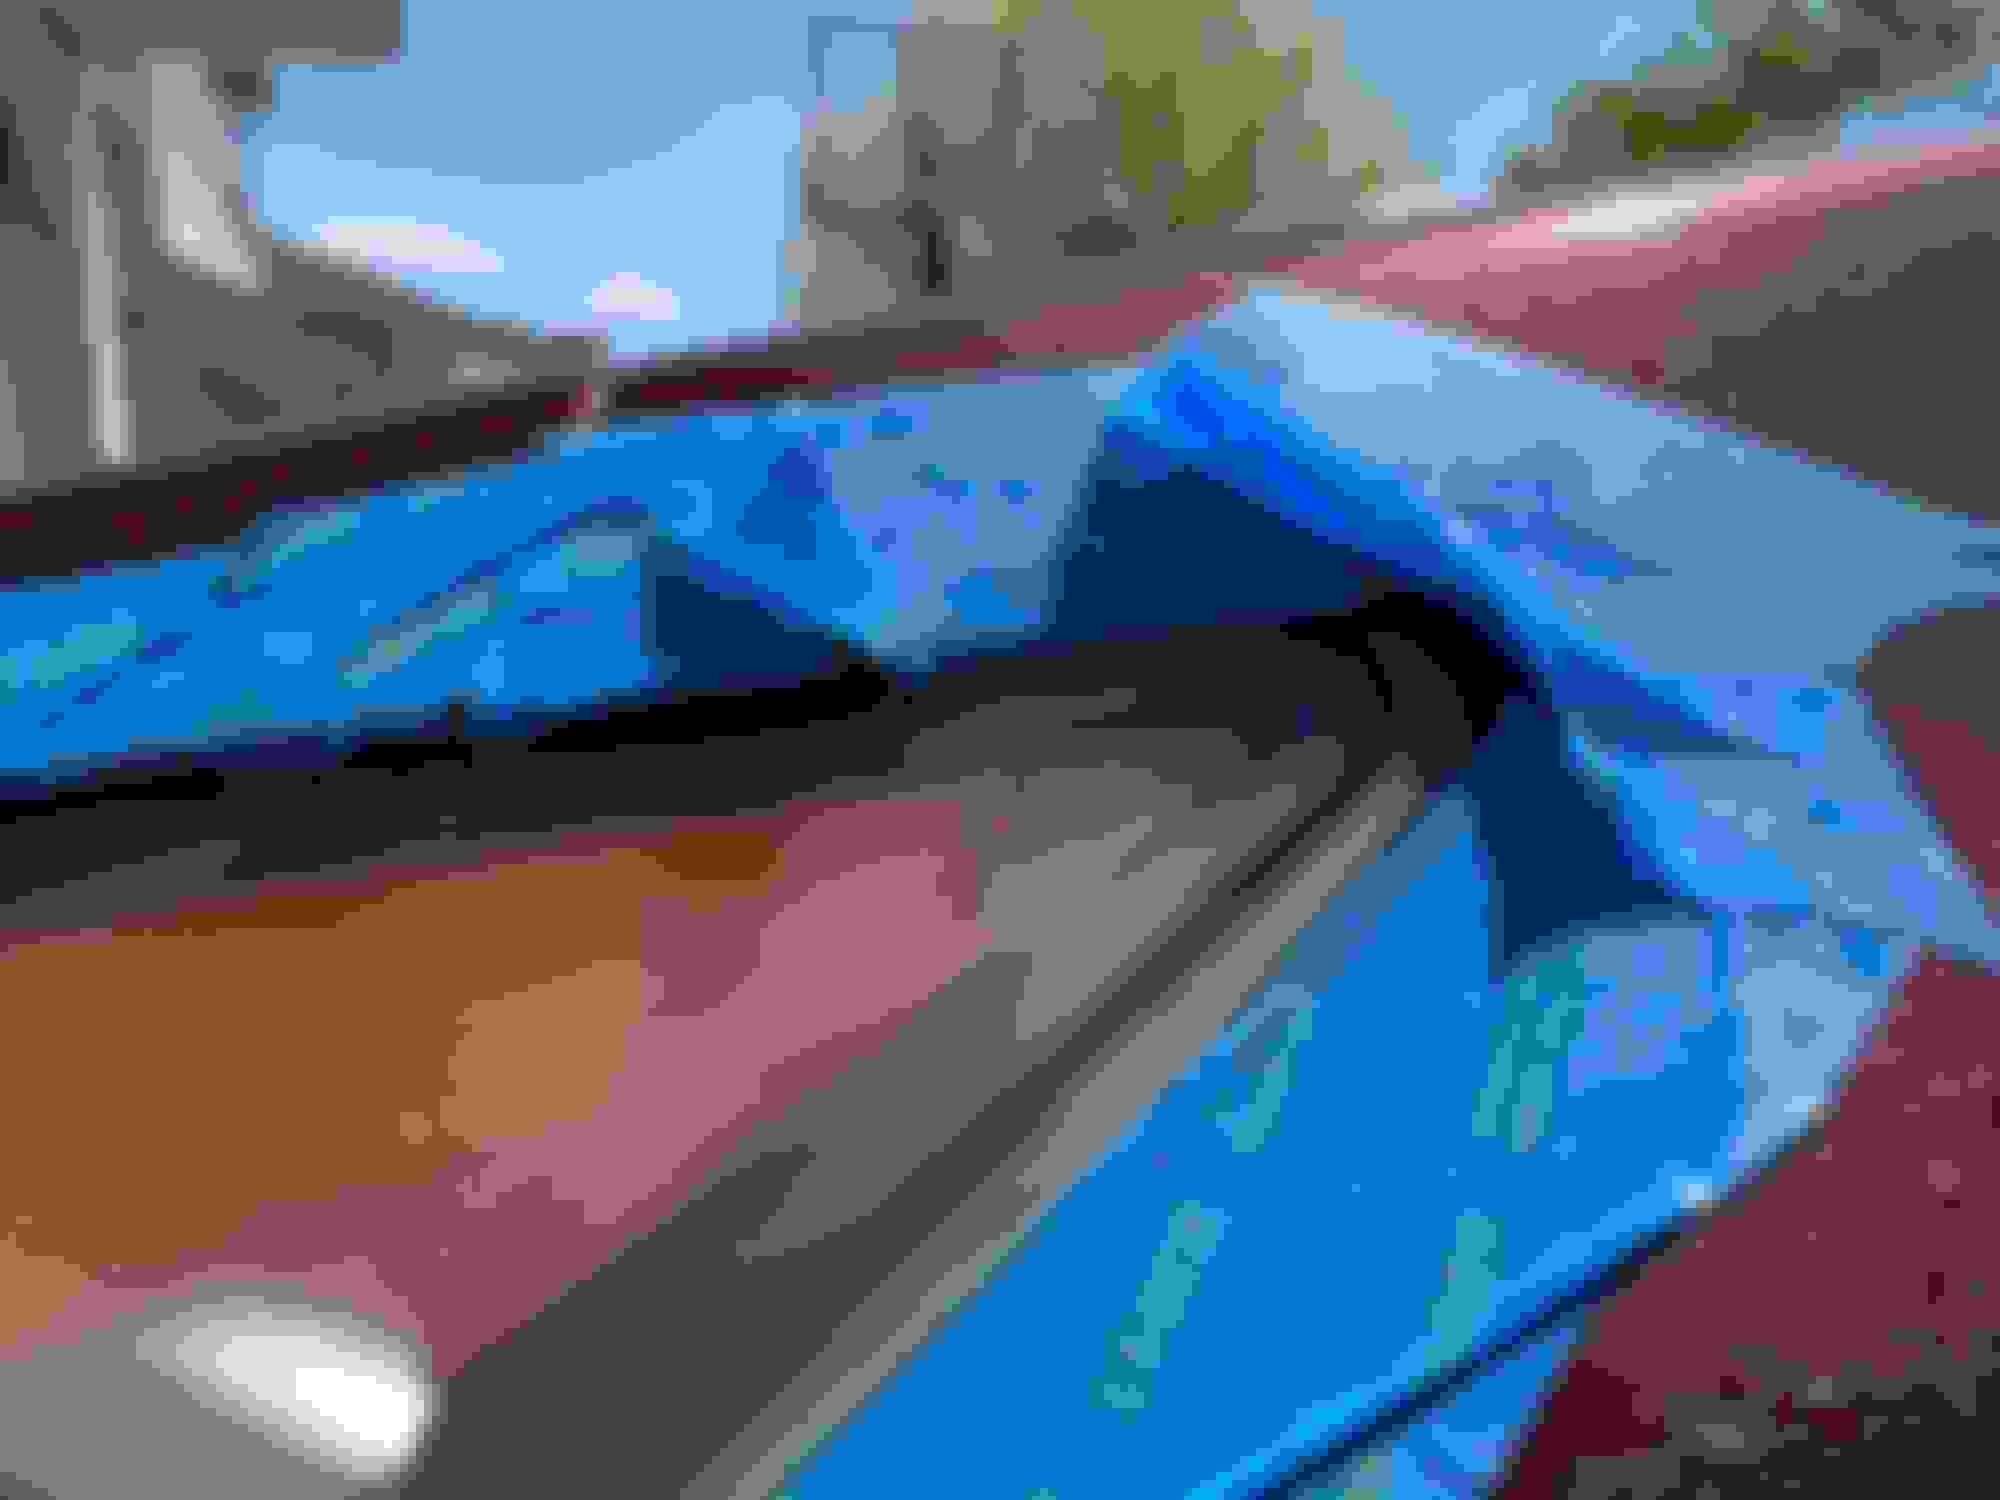
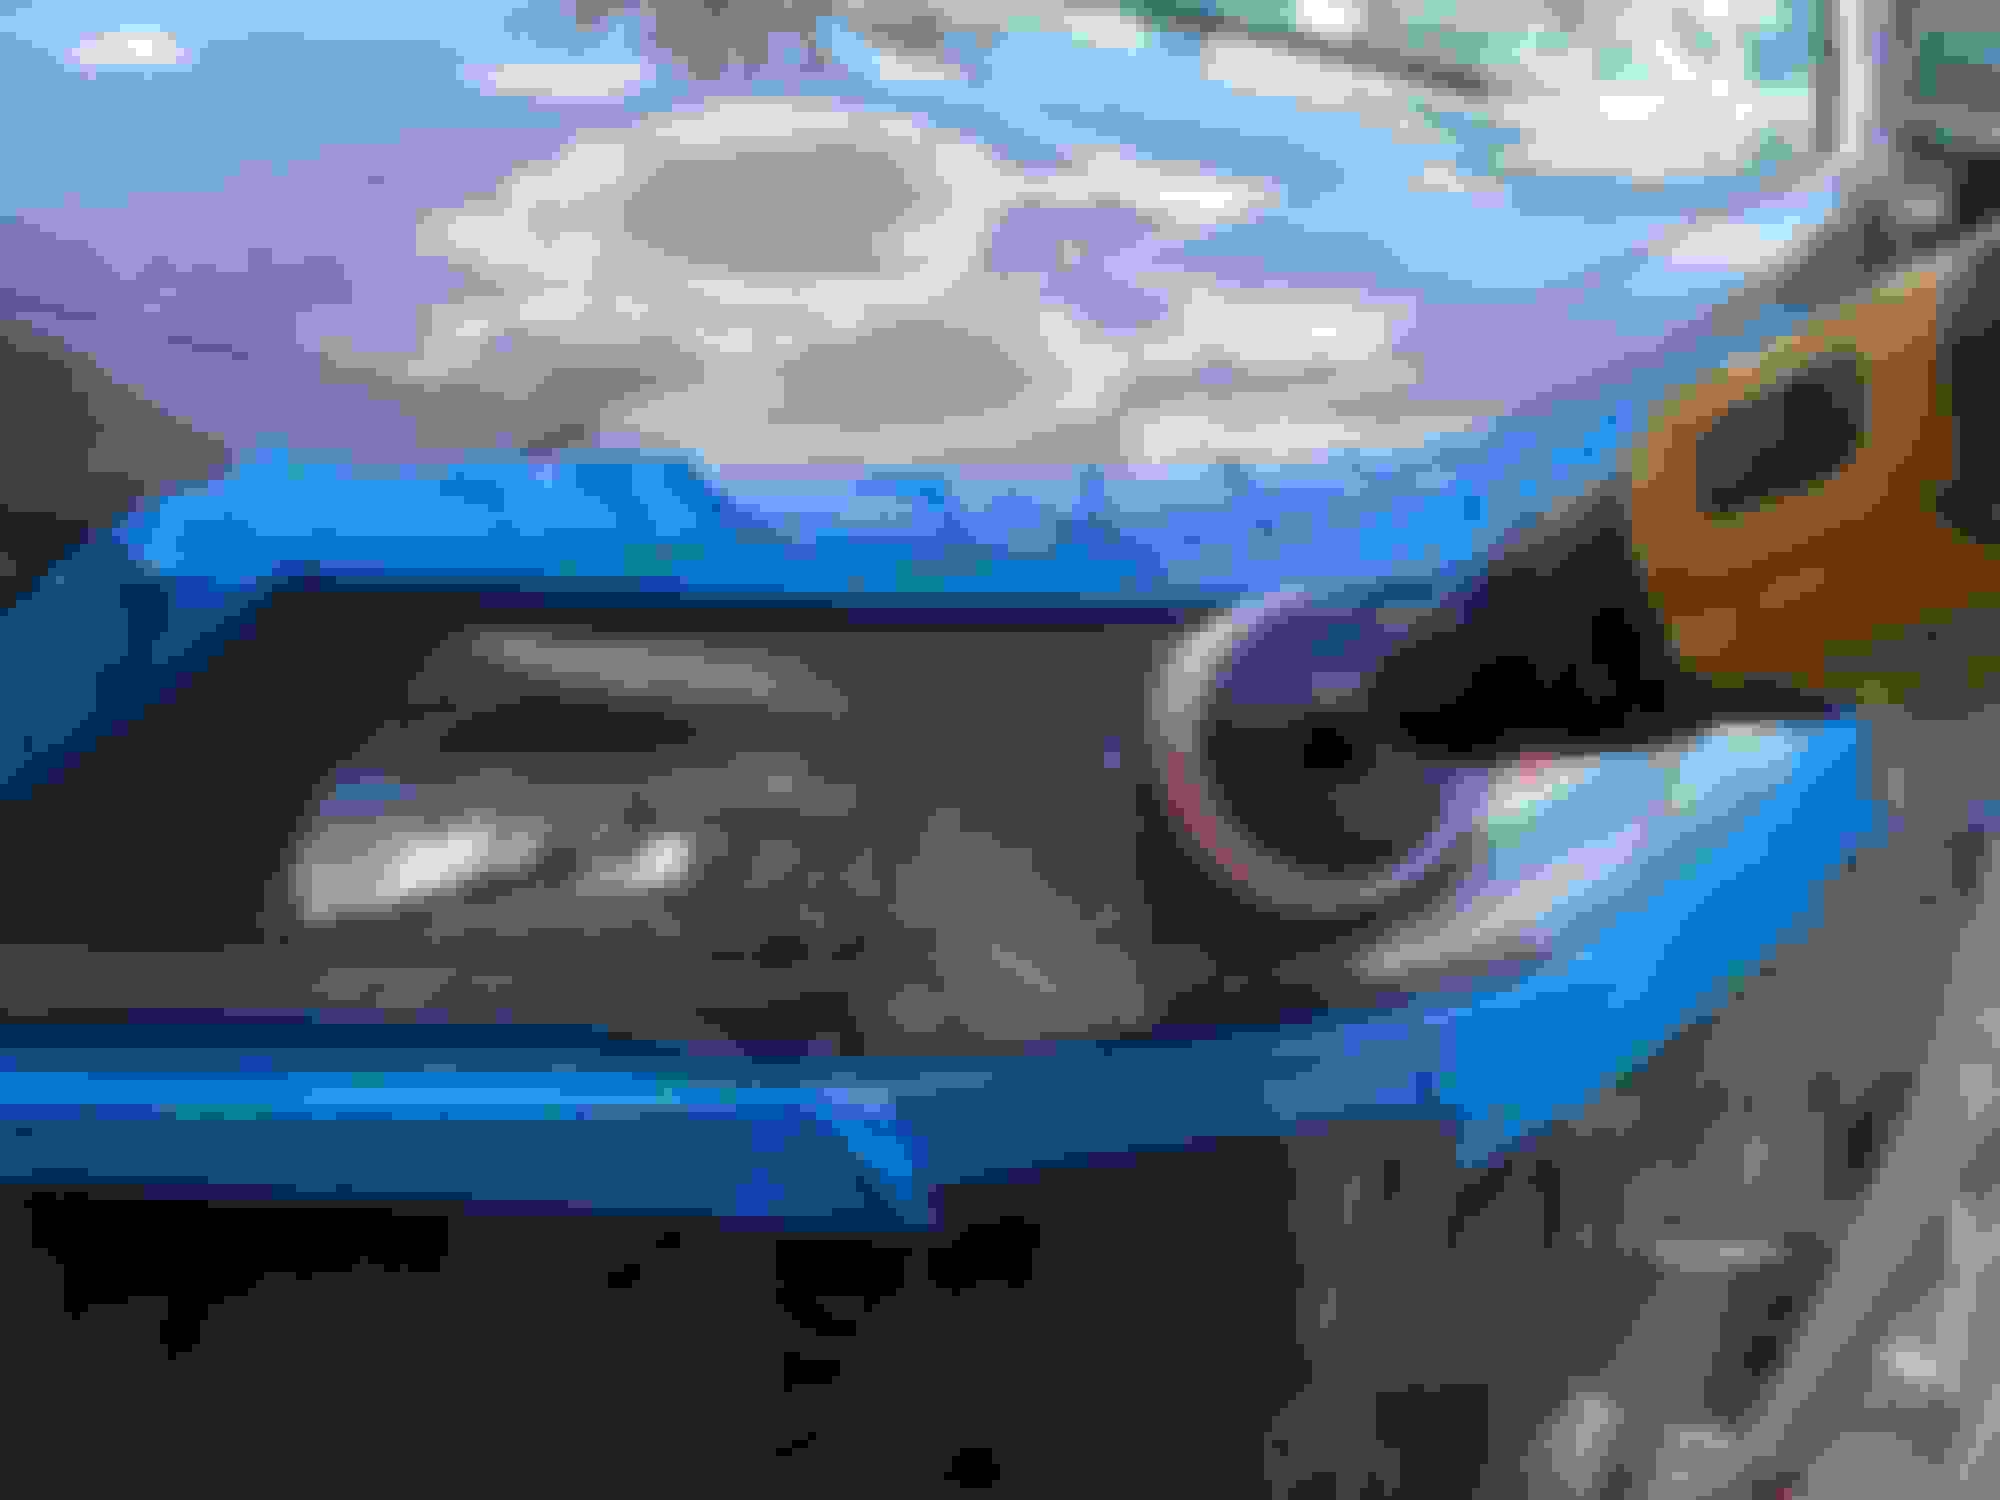
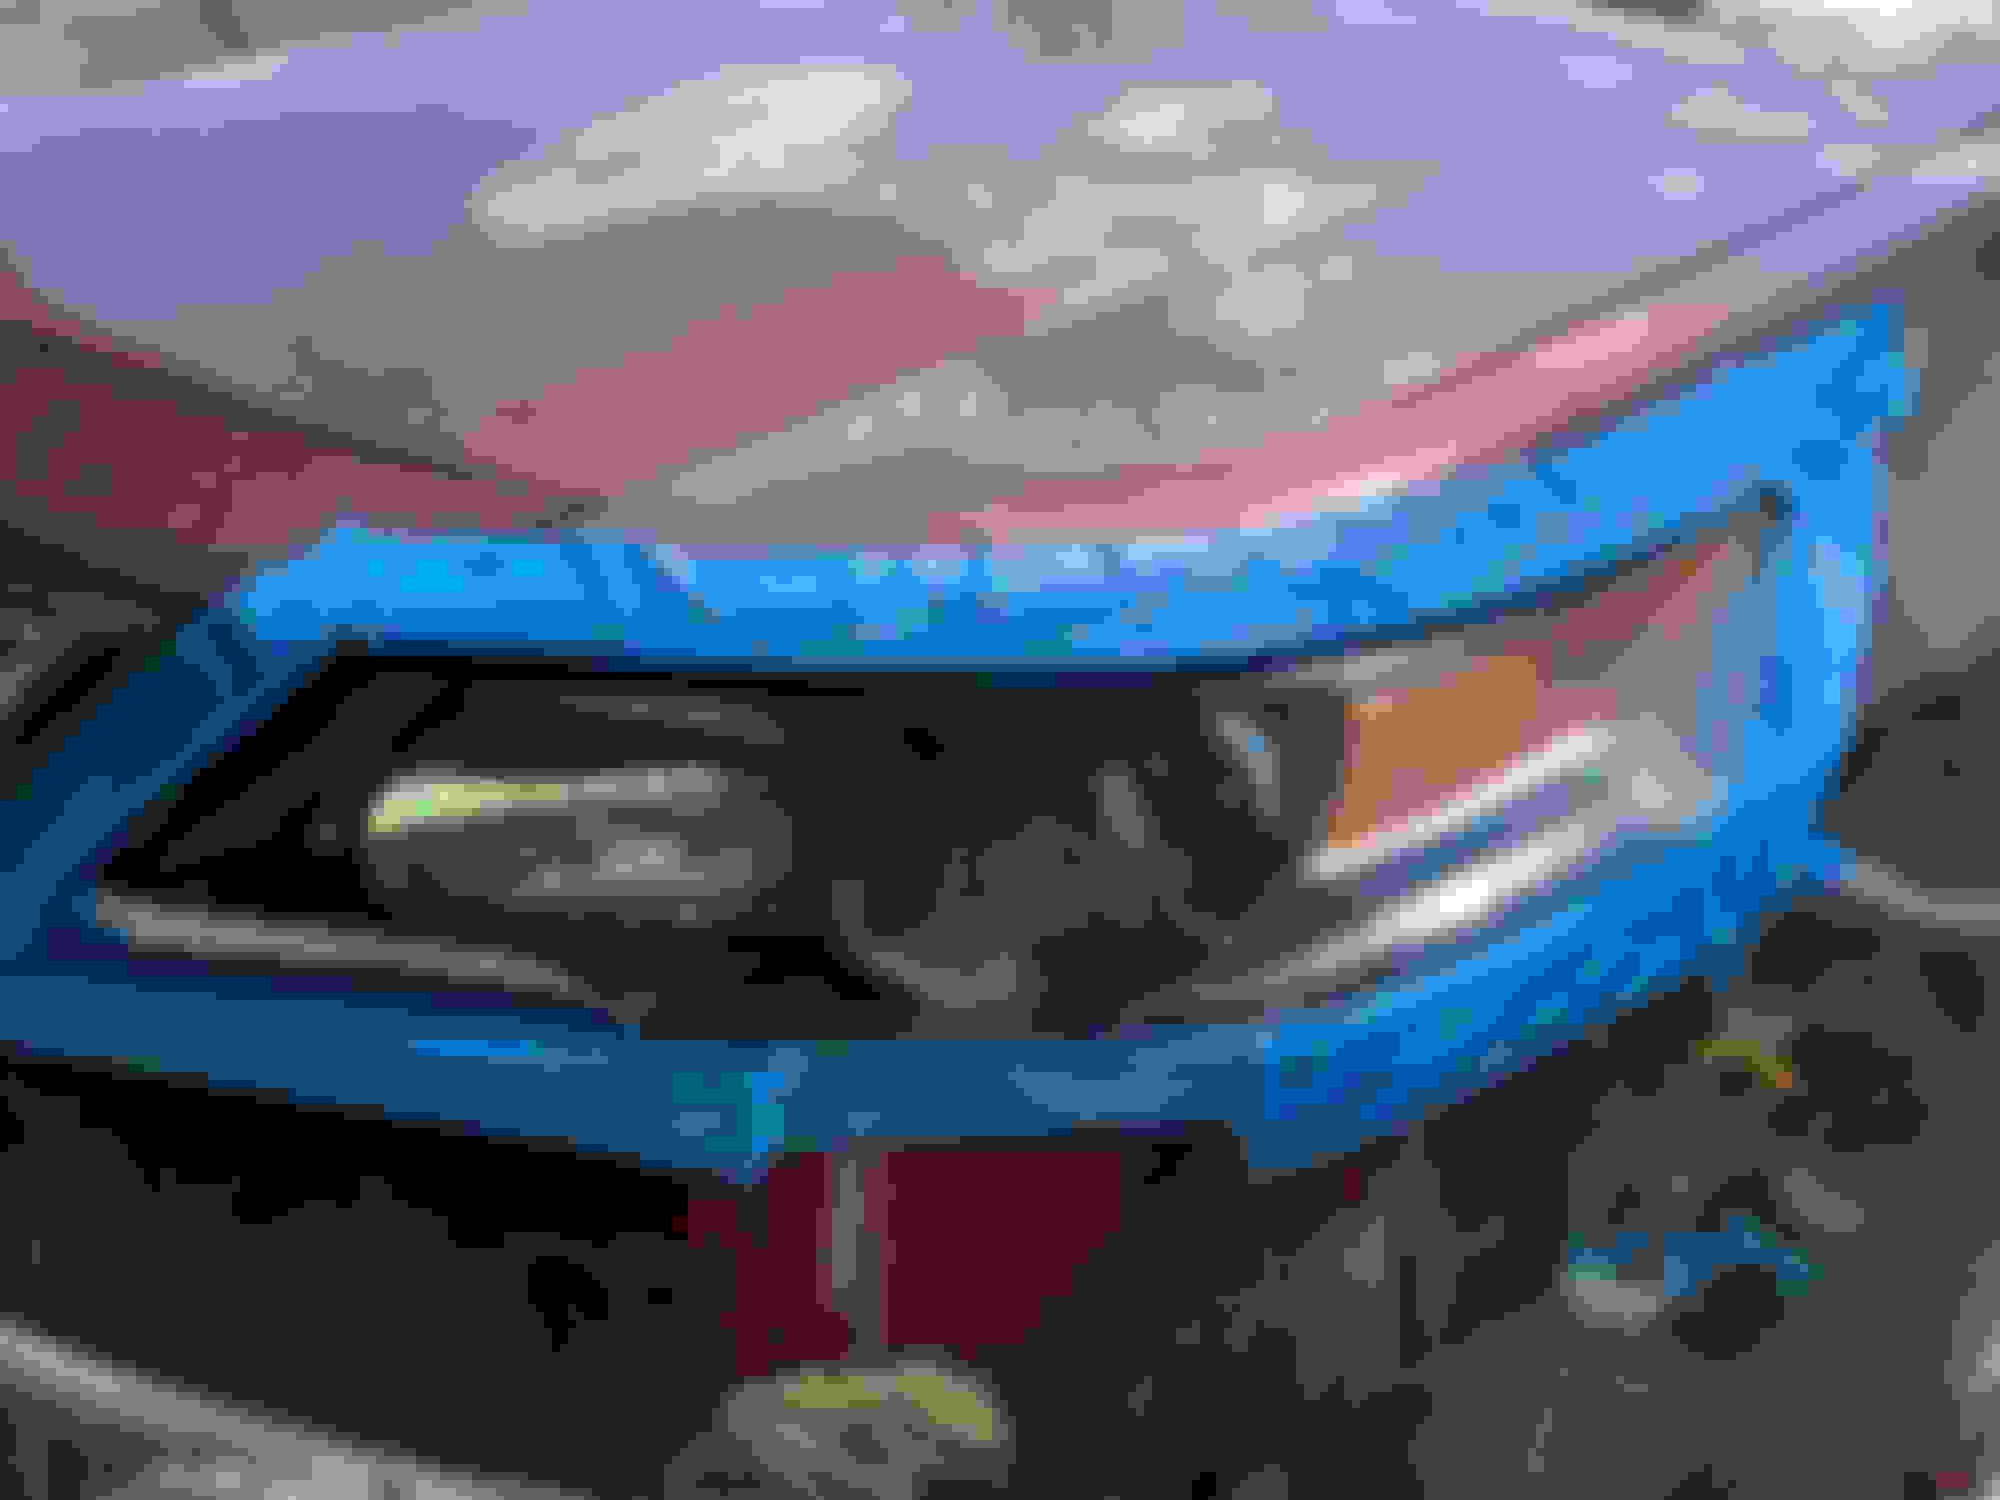
As you can see, my headlights were TERRIBLE.
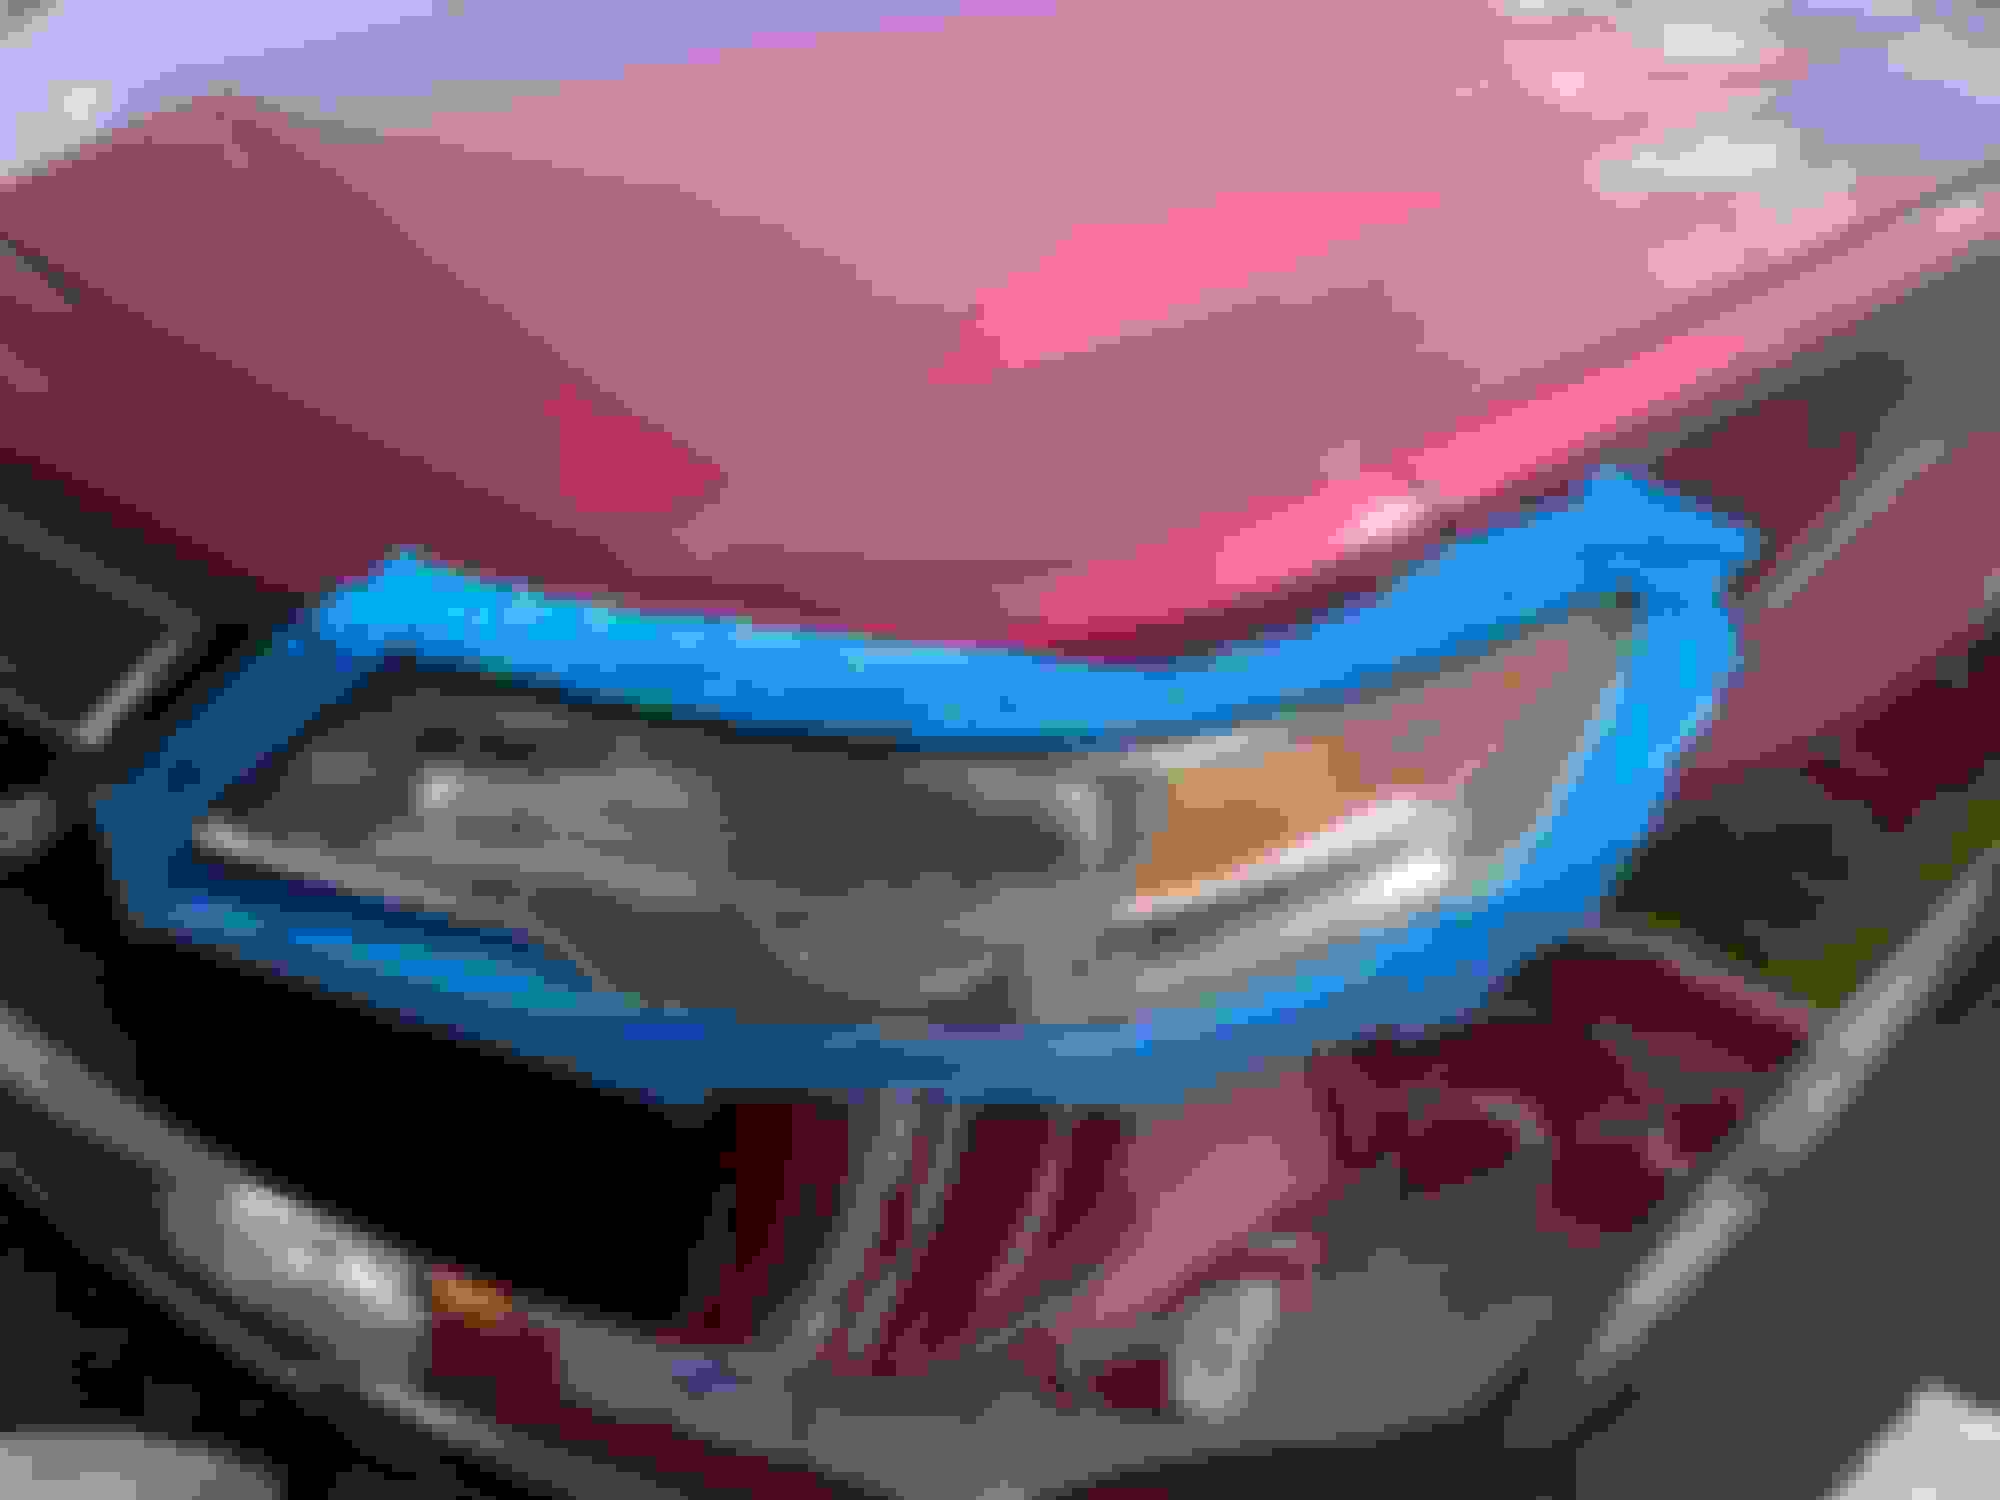
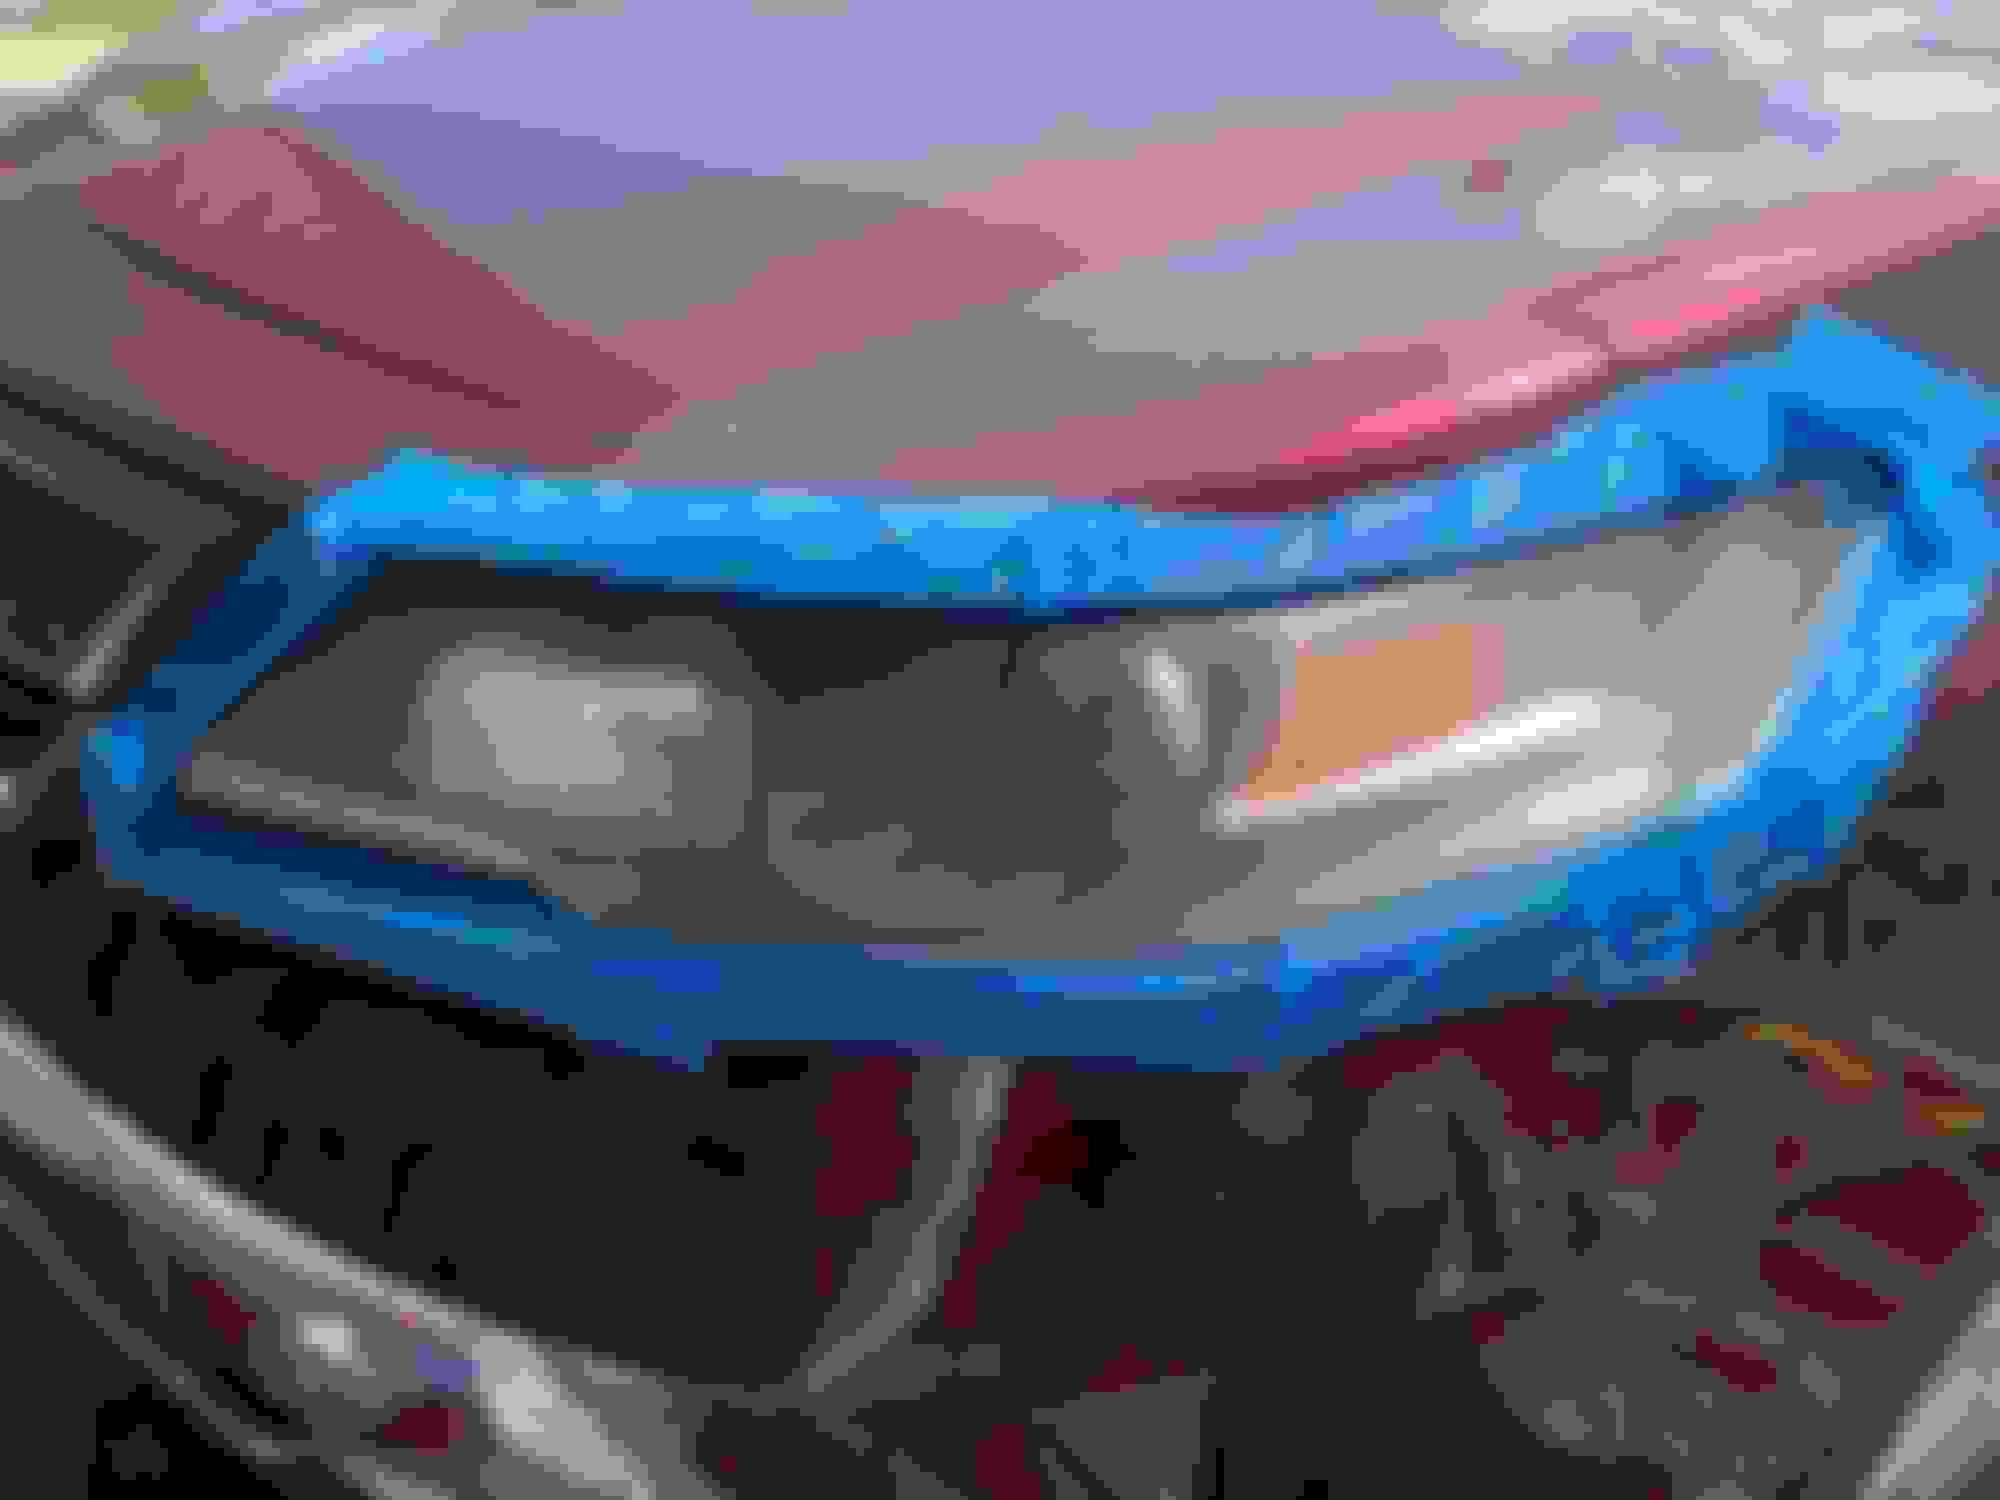
Start by taping everything off. The last thing you want is to have to fix your paint after fixing your headlights. I used regular painters tape, but they make automotive tape for this kind of thing. It probably works better, as you'll see a couple steps down.
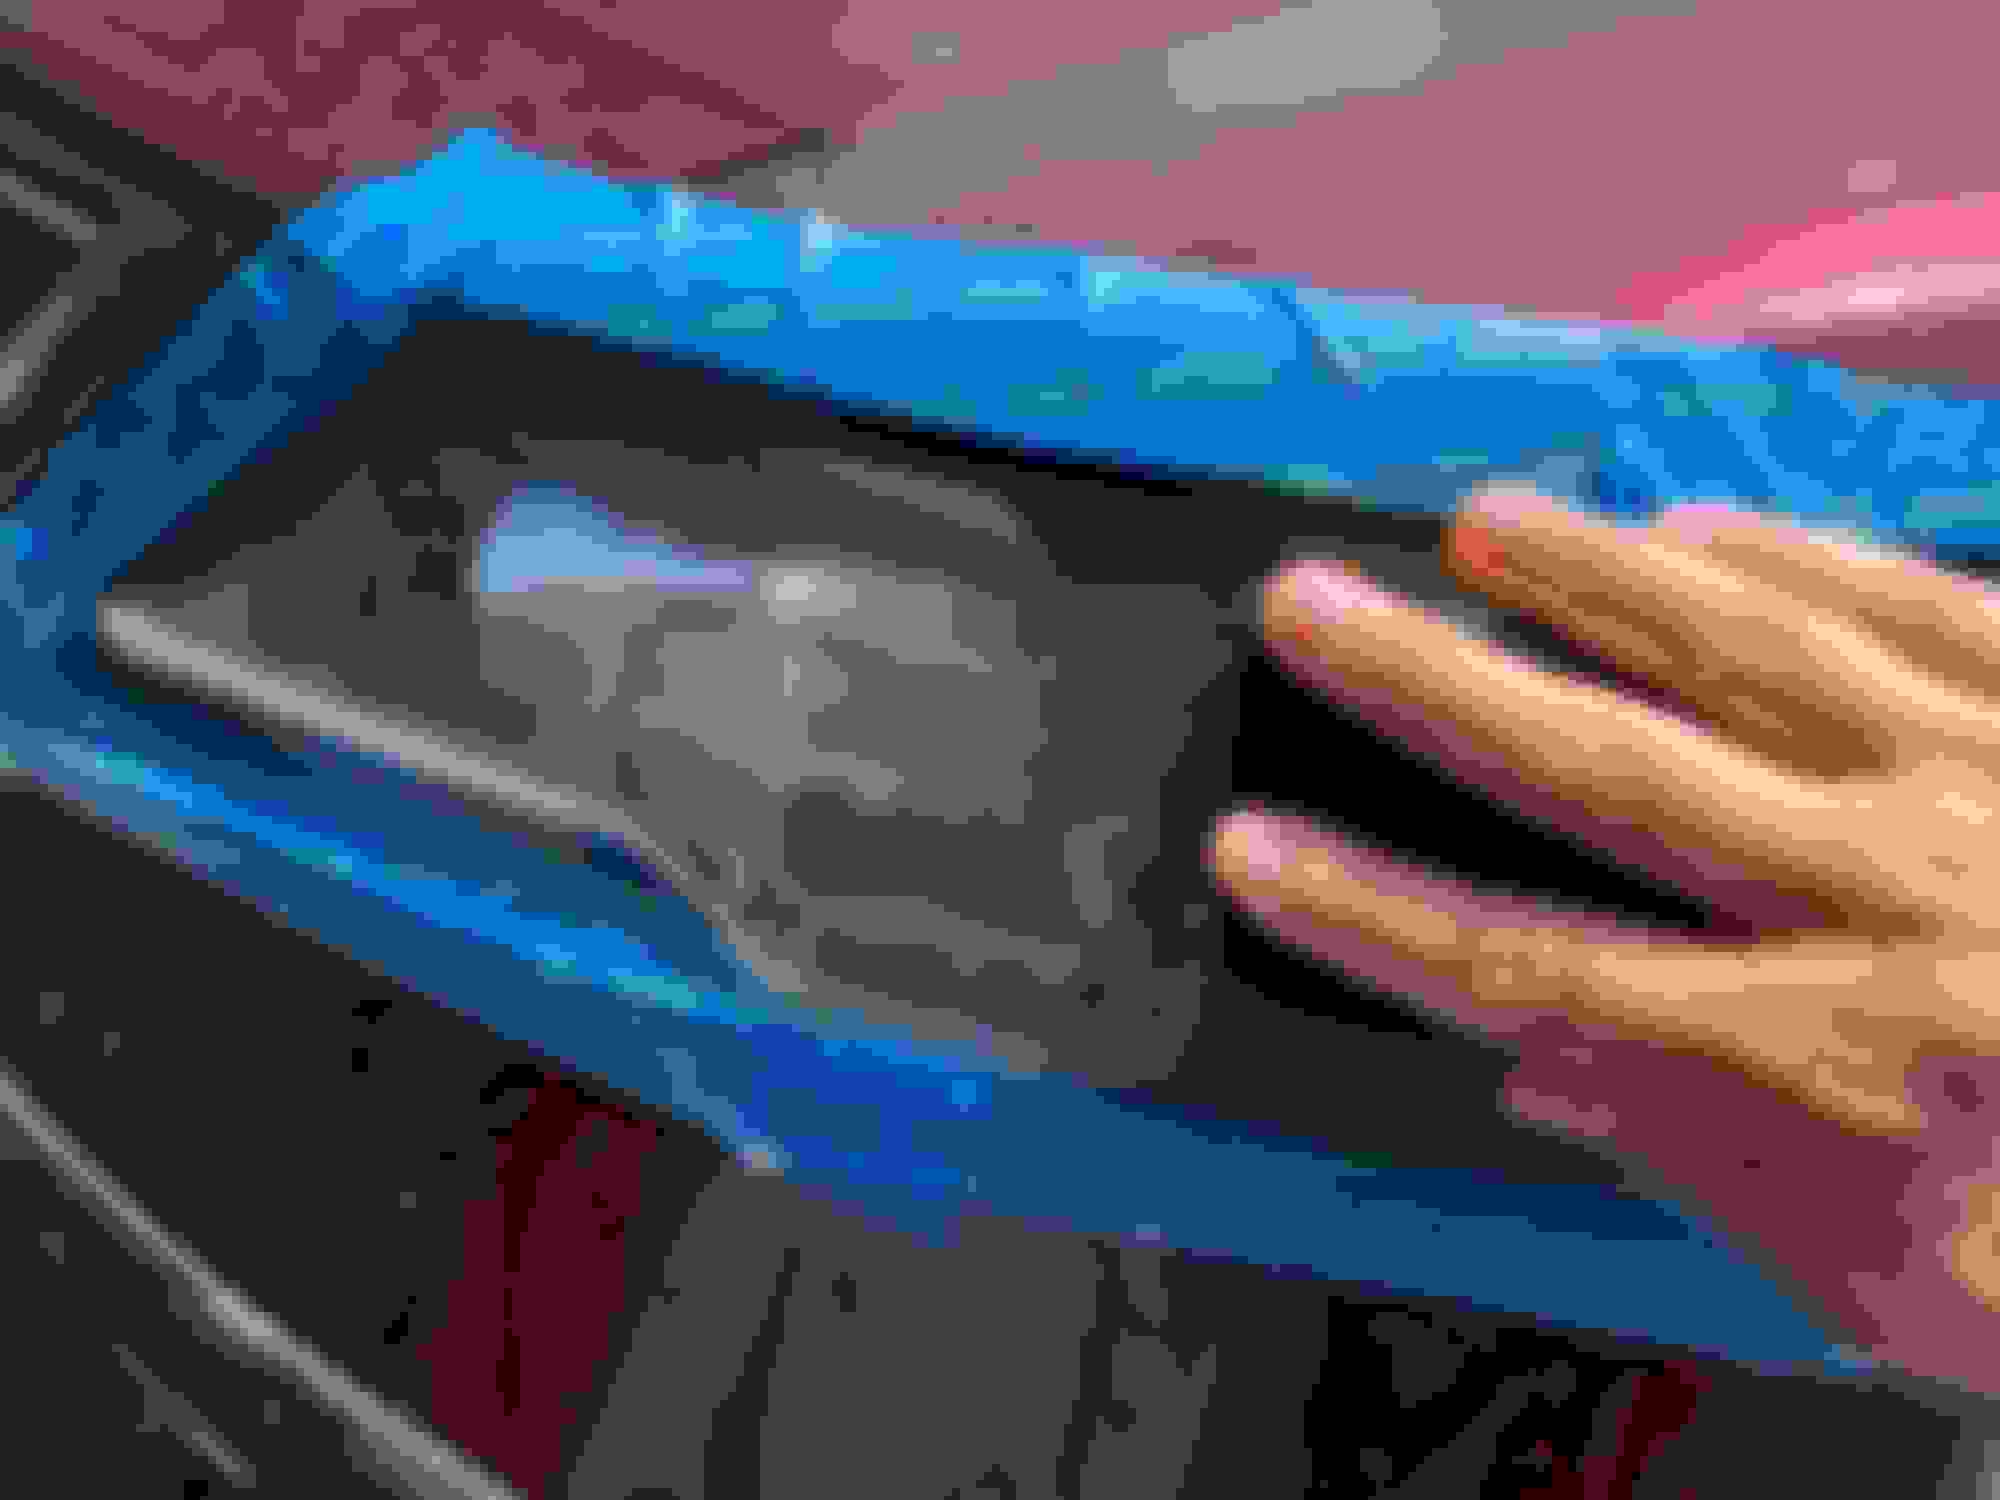
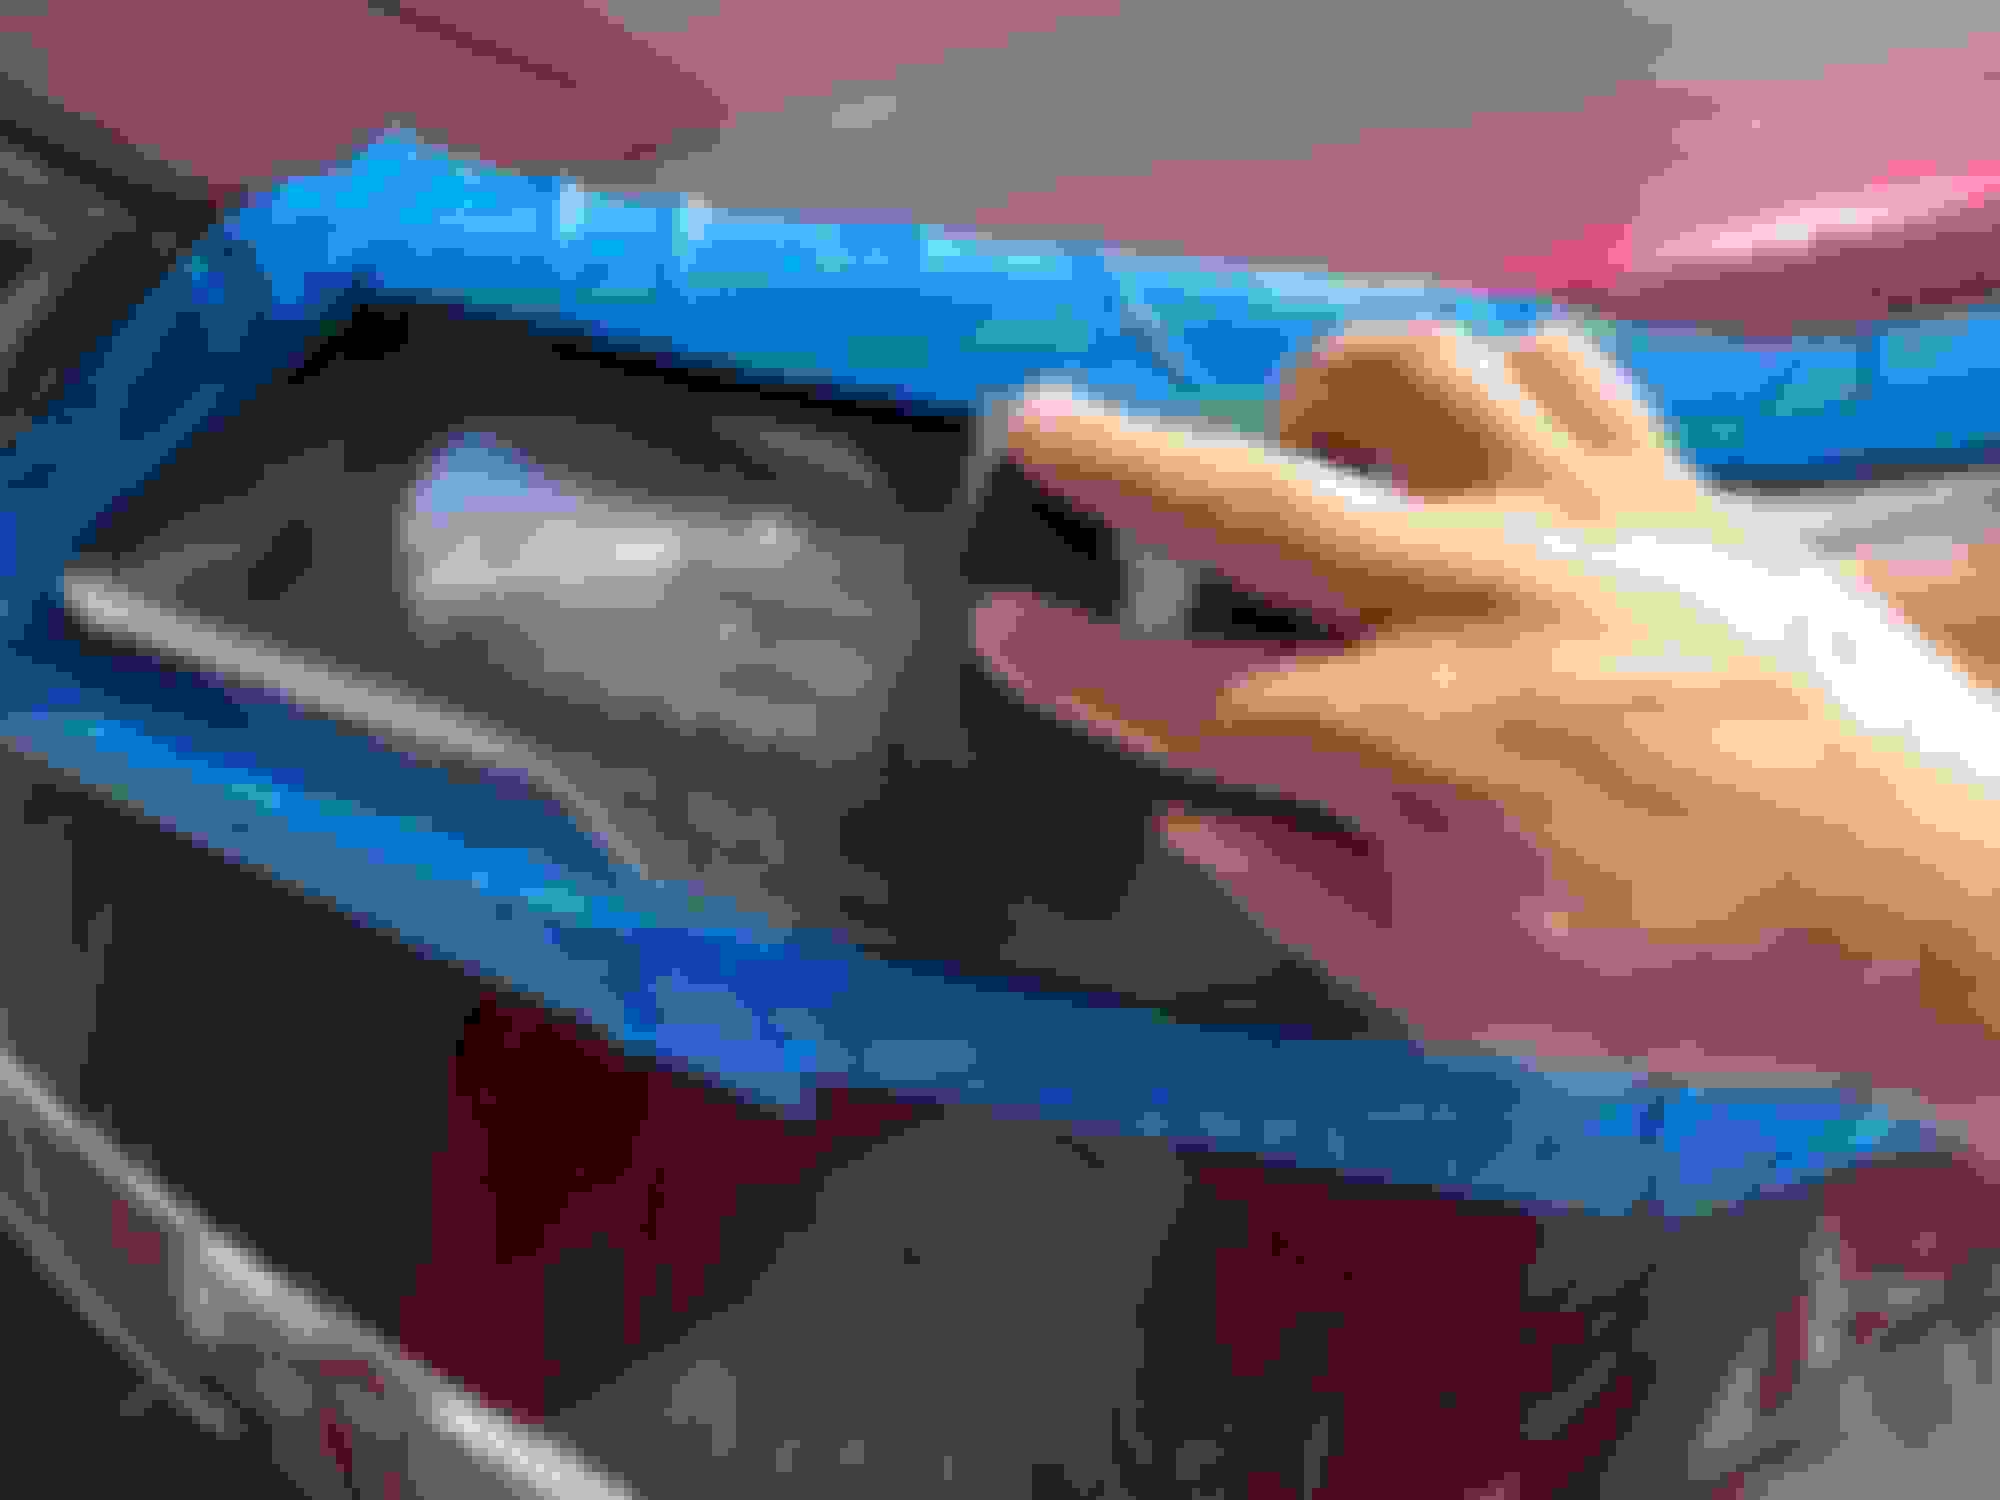
Wet sanding is exactly what it sounds like. Sanding while everything is wet. You can't keep it too wet. You don't want to sand it dry.
I started with 1000 grit automotive sandpaper.
Then I went to 1500 grit, and finally 2000 grit. Remember to keep spraying, and keep everything wet.
Also, remember to keep an eye on your tape. I used regular painters tape, which started to come off as I went through the process. I eventually added another layer of tape, but I'd imagine the automotive tape works better than the regular painters tape I used.
This was my "oh no what have I done?" moment. A lot of sanding marks. Pretty frightening once its all dry.
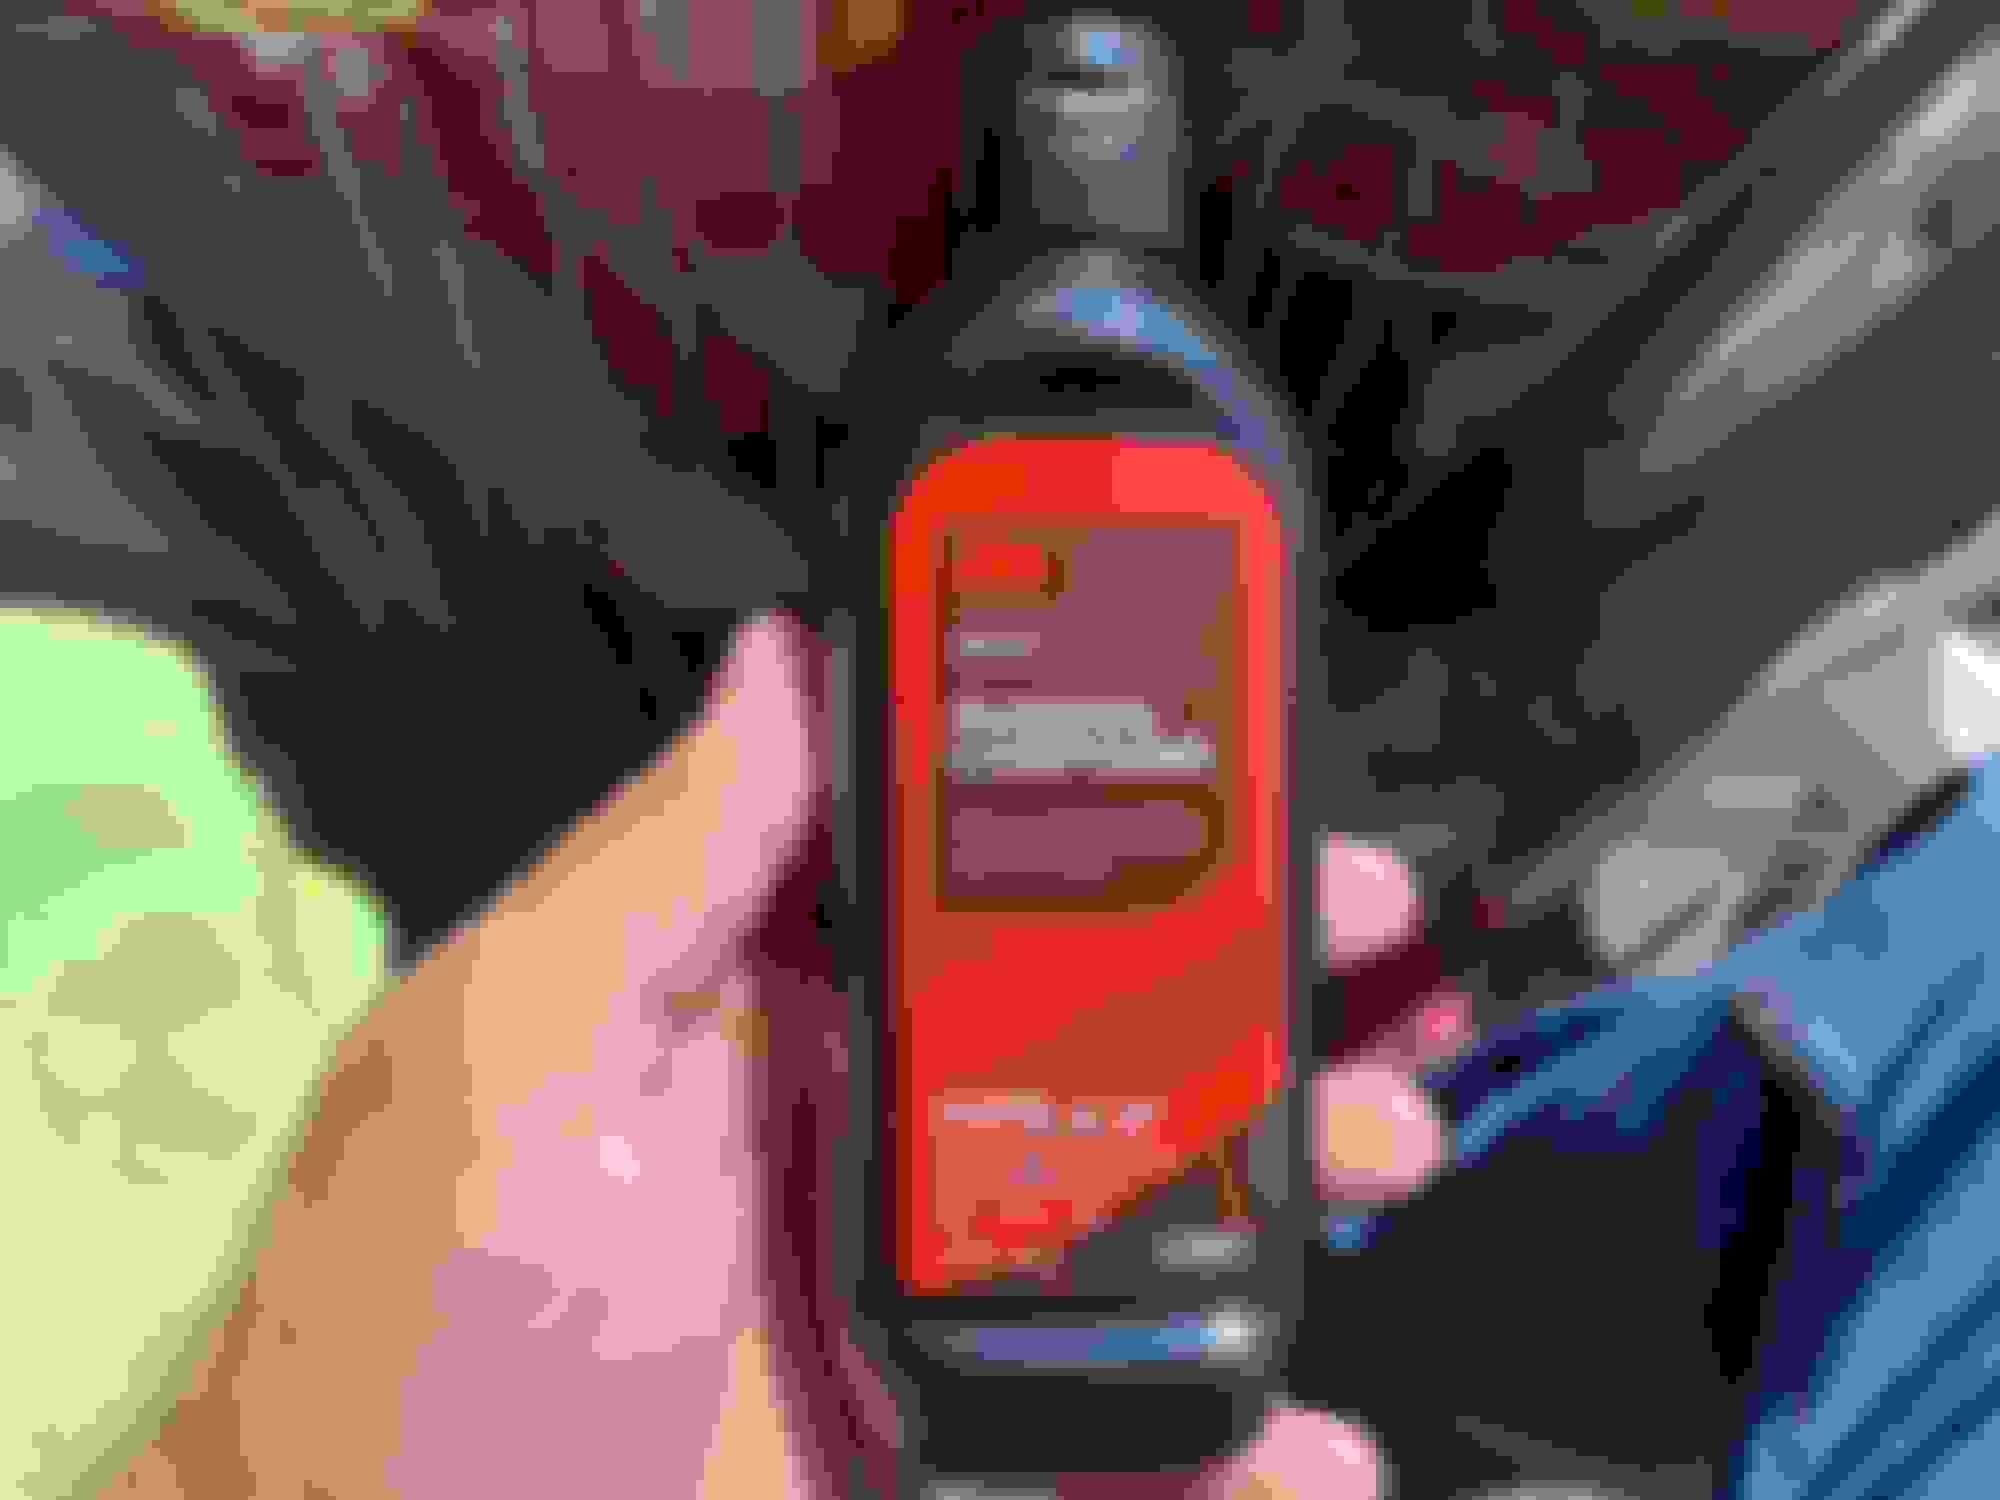
Now, about those sanding marks. You'll need some 3M rubbing compound. There's other brands, but everything I read said this one is the best.
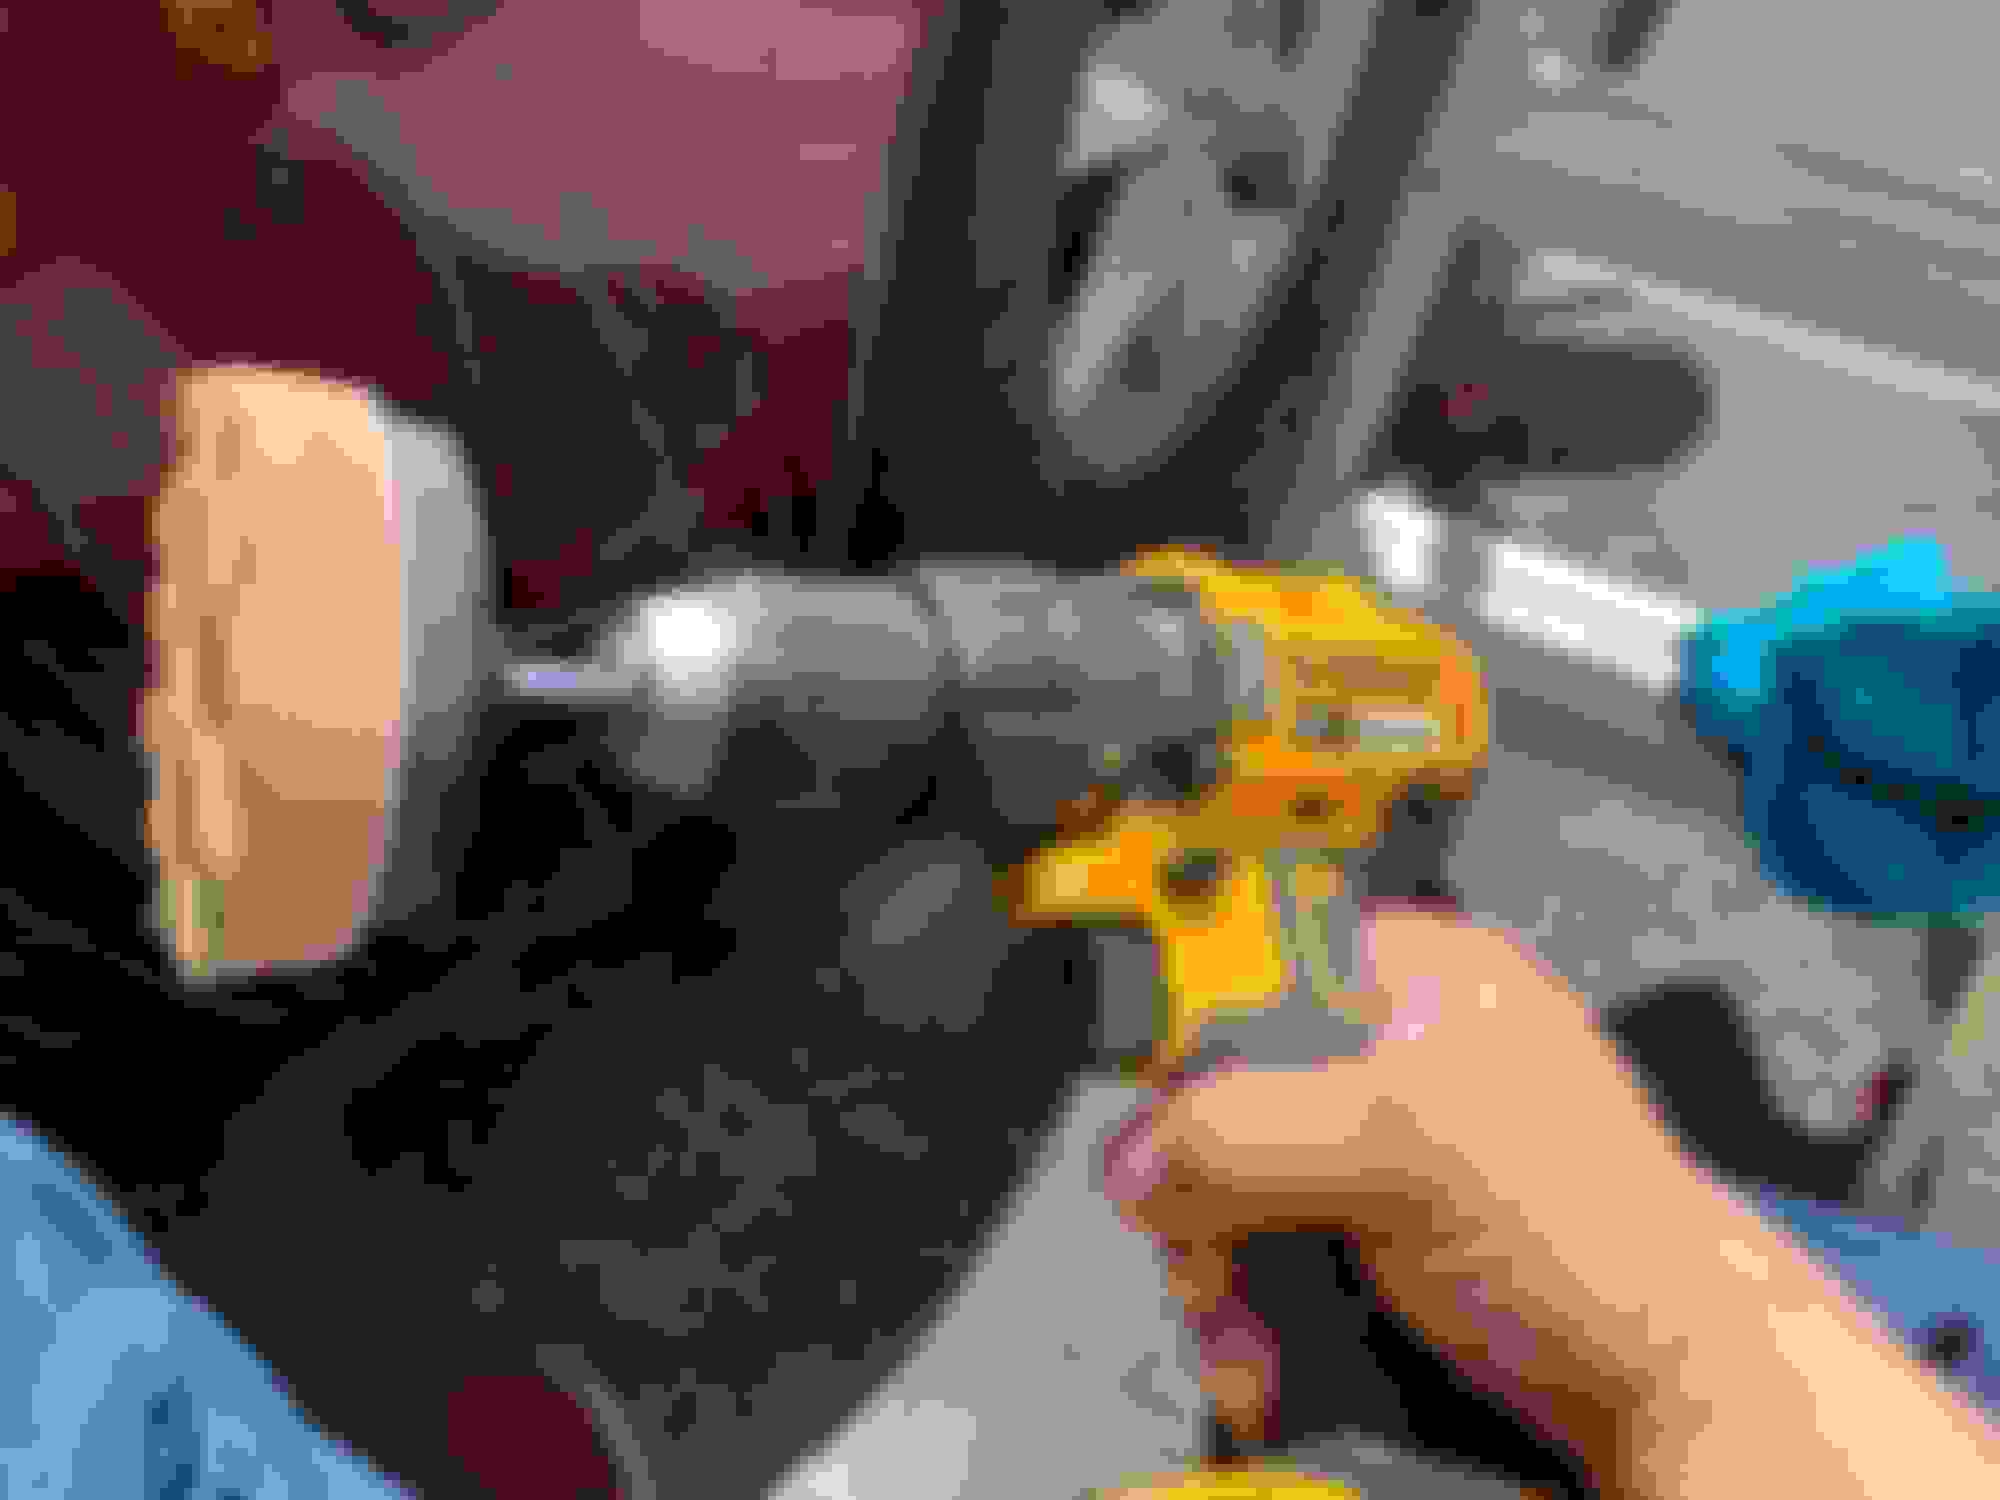
I had a polishing attachment for my drill, so I used that. I could have also used elbow grease and a lot of rubbing, but the attachment makes it sooo much easier.
Spinny. Remember, this is how you get rid of all of those little scratch marks so go to town.
Wow, way better. But my car was filthy. Sanding and spraying again and again gets plastic-water everywhere. Make sure you have time to wash your car when you're done.
I added a few coats of wax when I was done to seal the whole thing up.
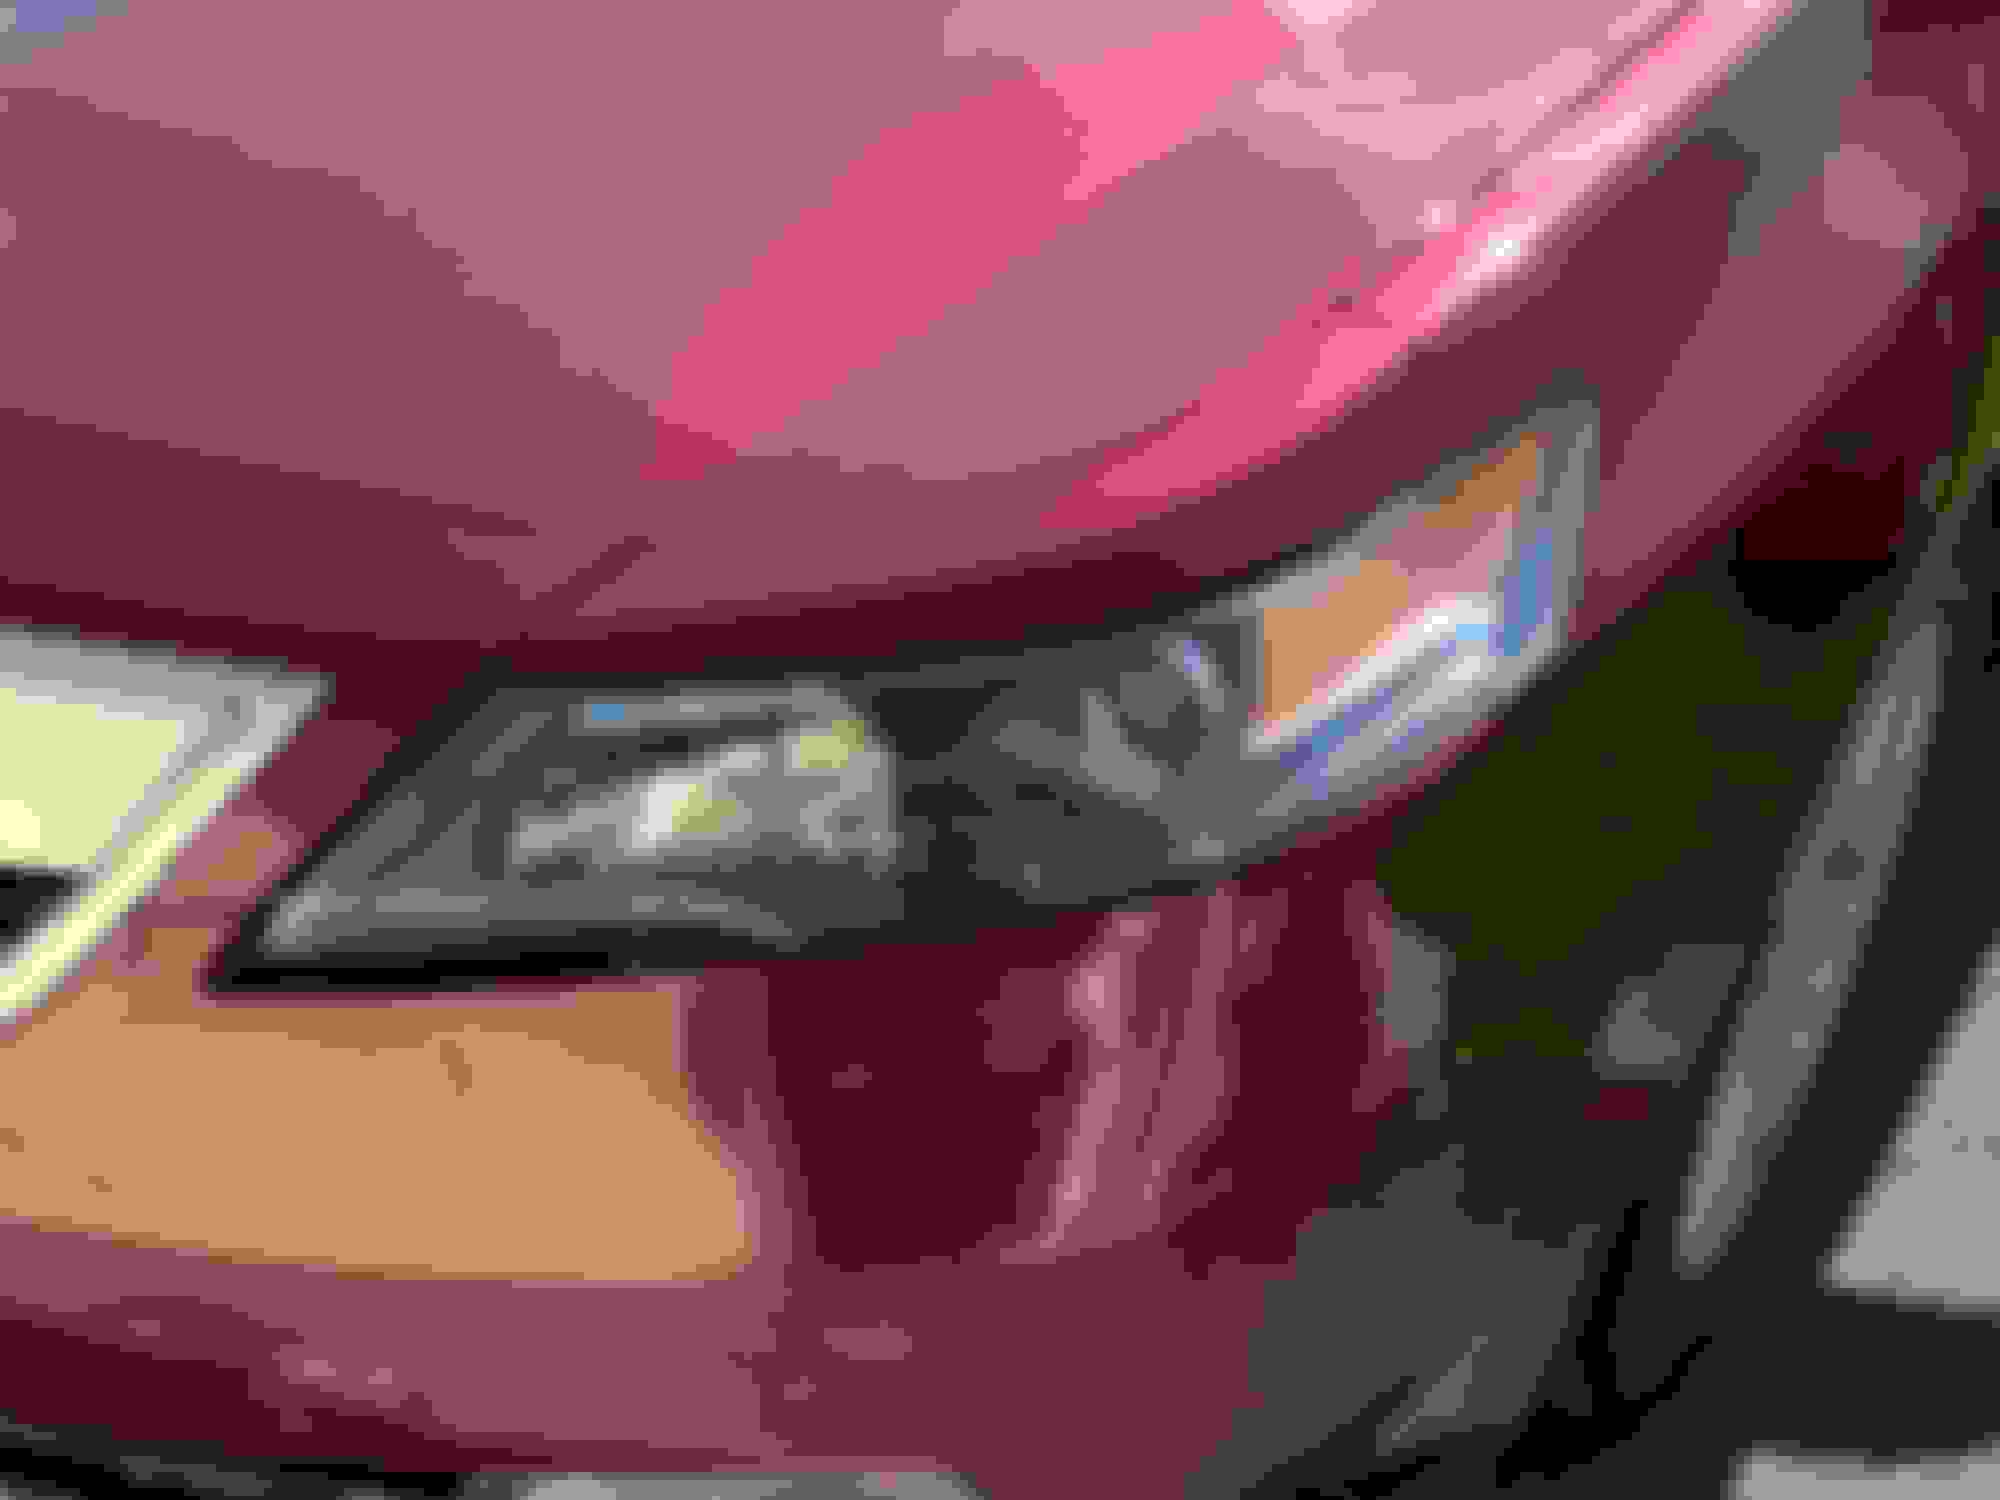
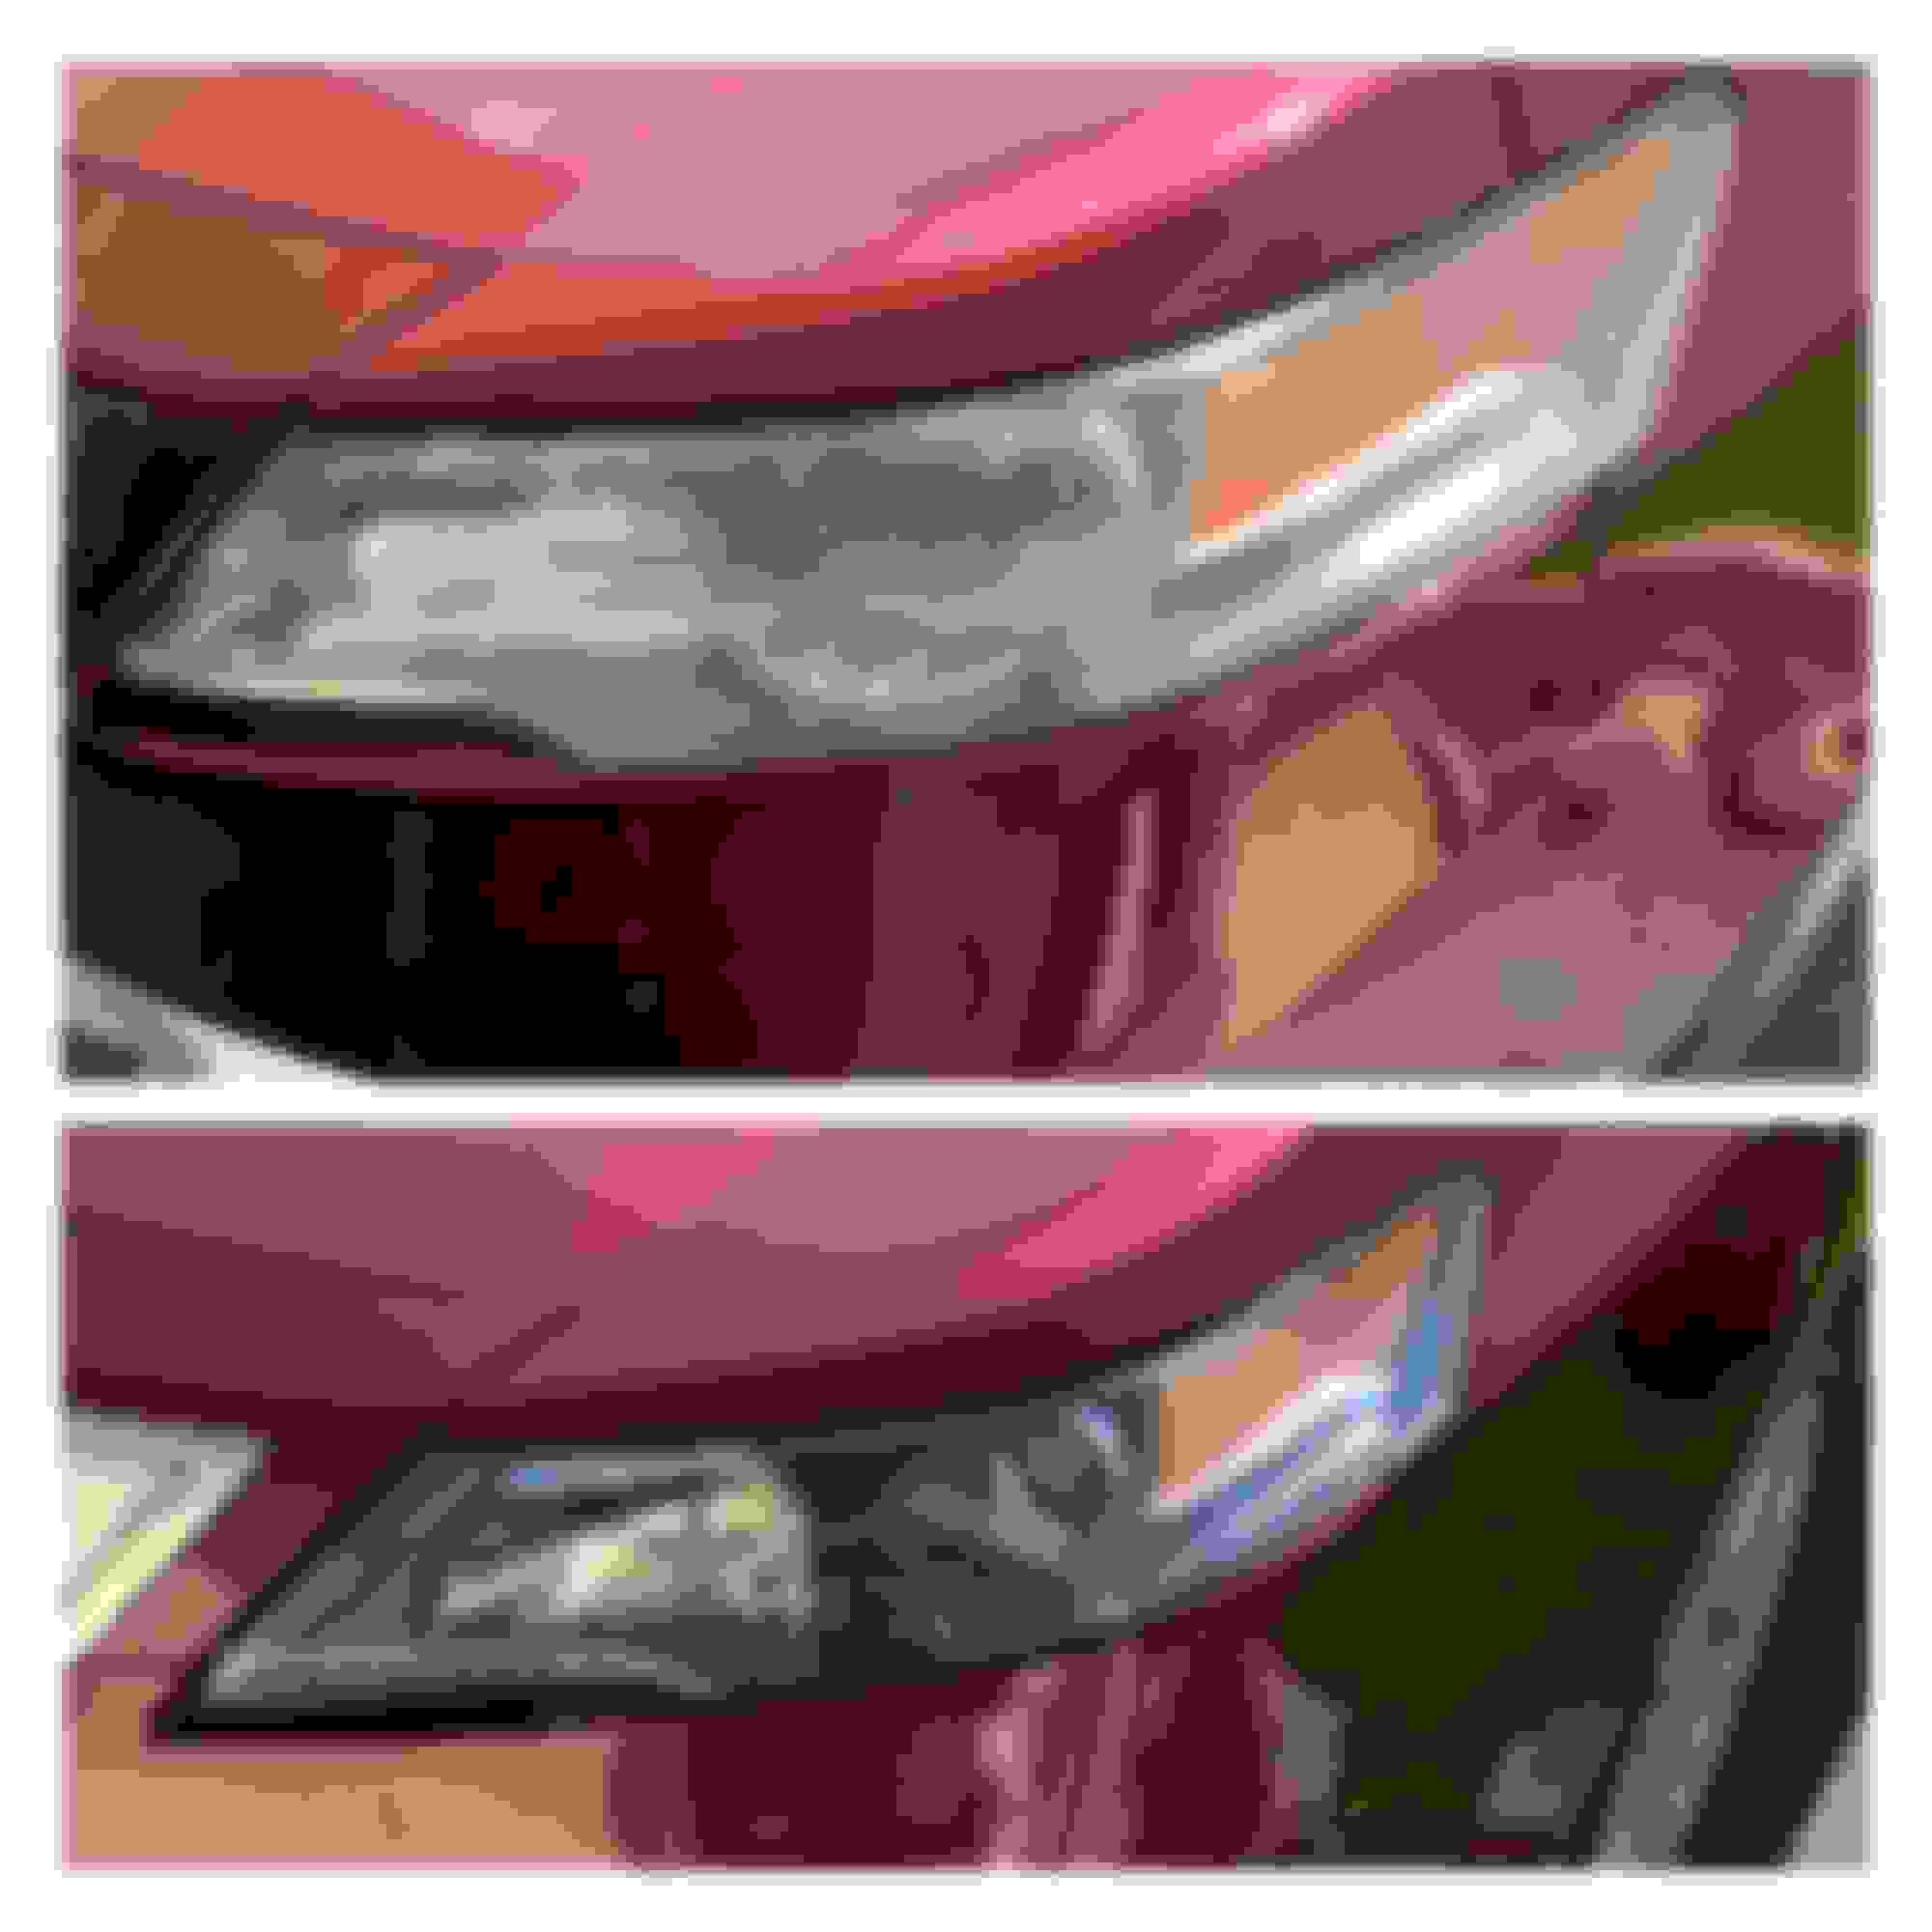
It really is a night and day difference. Totally happy with how it came out.
Definitely need to seal it before waxing or another layer of clear coat to keep it up, otherwise the UV is going to damage it all over again, looks great though!
I've had great results using this kit along with a few different fine grits of sand paper. Wet sanding with the different grits and then the scuffing pad then sealing with new clear coat. After doing my car which I've documented on here I've also done some friends and family cars. Got some pictures of my friends Saab and parents civic. Don't forget that if your headlights look that bad then you can probably do your turn signals (including in the side mirrors) and fog lights.
I highly recommend adding a few layers of the "Meguiars headlight coating" to your headlights. When i had my headlights cleaned, i bought the headlight coating and had the shop apply it after the headlights were done. It's been well over 2 years since and they've yet to show any signs of hazing. Did the same to my moms headlights about a year ago and they're still good as well. You can find it on amazon for about $10. It's a baby blue colored box.
Definitely need to seal it before waxing or another layer of clear coat to keep it up, otherwise the UV is going to damage it all over again, looks great though!
Indeed, I did mine last year without putting a UV protectant on afterward. I park my car where the front gets all of the afternoon-evening sun and they're in such bad shape now that it needs to be done again. This time I'm going to pick up an orbital buffer and the proper UV coating.
Thanks for the advice guys, I�m definitely going to look into some clear coat to seal it all up. Great stuff.
I used Meguiar's Headlight restoration kit, there's two kits they make a heavy duty kit or two step light restoration kit. Both have headlight coating. Maybe you can buy the headlight coating separately.
But I only used the 1000 grit sandpaper with the 'tool'. The tool is really nice. Finished it off with a Random Orbital Polisher with help from a friend + polish + UV protectant.
Last edited by echodigital; 05-27-2020 at 12:17 PM.
Its not a simple process. Automobile headlights are usually sealed, so opening them up requires softening the adhesive. People I know that have done it put their headlights in the oven for a bit to soften them up so they can be taken apart. It's a pretty big ordeal, unless theres another way.
Its not a simple process. Automobile headlights are usually sealed, so opening them up requires softening the adhesive. People I know that have done it put their headlights in the oven for a bit to soften them up so they can be taken apart. It's a pretty big ordeal, unless theres another way.
You�re pretty much dead on. Putting them in a oven or using a heat gun is the only way to do it.

 05-13-2020, 03:44 PM