
Developed steps to fix paint scratches...

Thread Starter
Racer
Joined: Aug 2012
Posts: 261
Likes: 74
From: New York City
Developed steps to fix paint scratches...
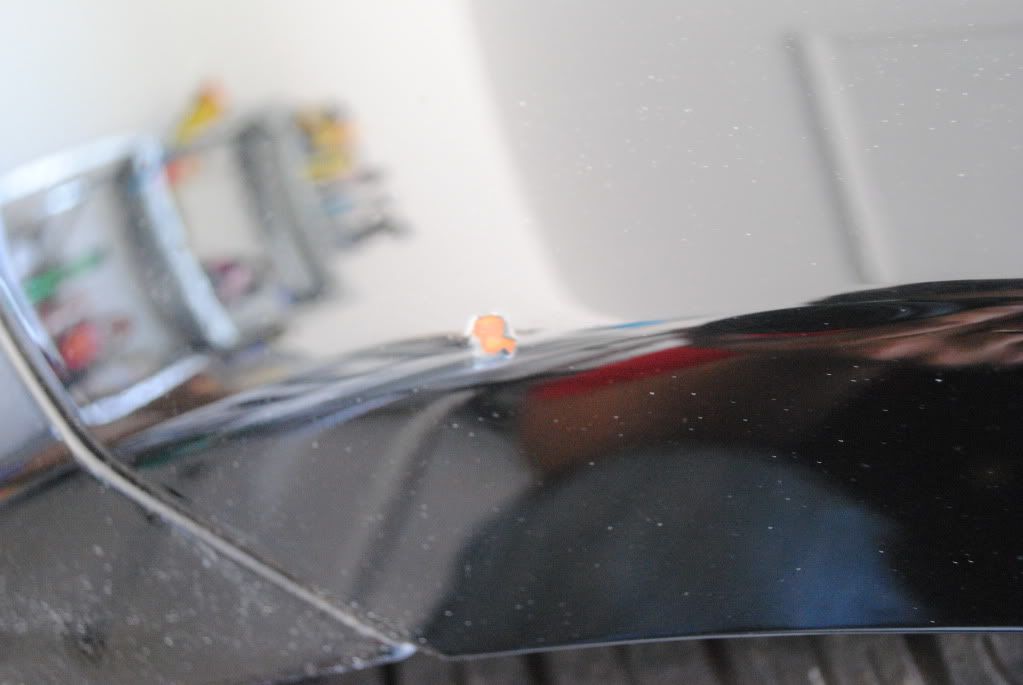
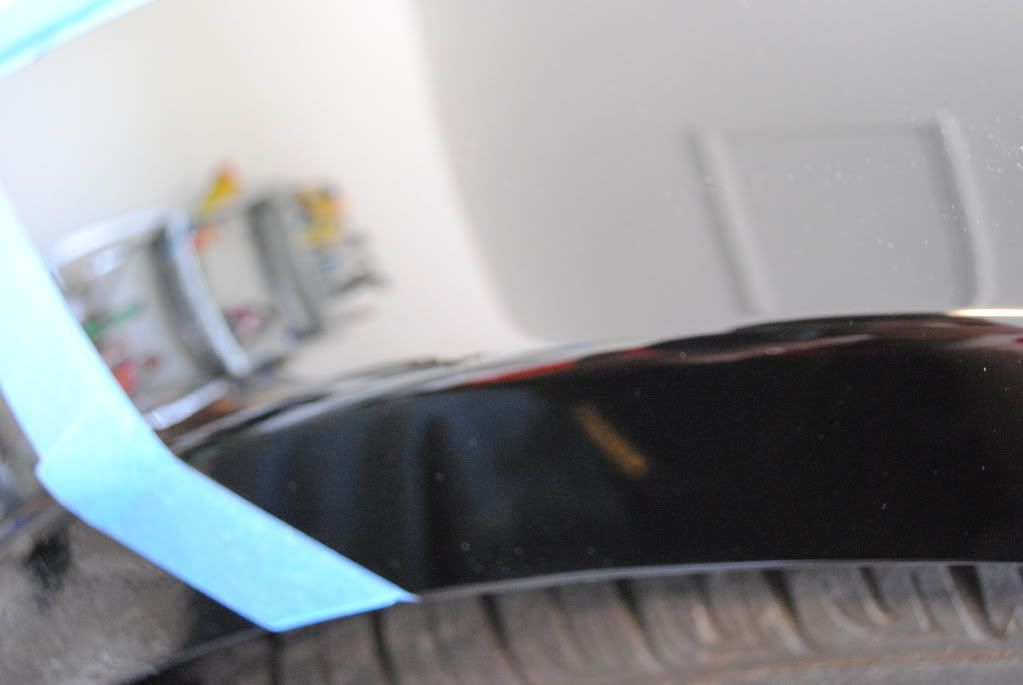
Front bumper got scratched  ... faint clear coat scratches that can be waxed out as well as two paint scratches about the width of an eraser head.
I drafted up a procedure for properly using OEM touch up paint pen/brush along with primer and clearcoat. Anyone attempt this before? (I need help with drying times!)... anyone with experience, please input!
Supplies needed:
1) Sandpaper pack: 600, 800 & 1000 grit
2) Primer Paint Pen
3) OEM touch up paint pen & brush combo
3) Clearcoat Paint Pen
4) Rubbing compound (Cutting creme)
5) Car wax
6) toothpicks
7) rubbing isopropyl alcohol
Procedures:
1) Wash the paint scratched areas with alcohol (not all over) & warm soap/water.
2) Dry... 5 minutes.
3) Use 600/800 grit sandpaper and lightly smooth scratched areas
4) Wash again... and dry... 5 minutes
5) Apply primer paint pen in THIN COAT... DRY 24 hrs (?)
6) Wash lightly
7) Use 1000 grit to sand lightly over primer
8) Apply OEM touch up paint using brush (or toothpick!) with a THIN COAT in one even direction... DRY 1 hr
9) Repeat touch up paint... dry 1 hr... repeat until level with adjacent paint
10) Let dry 24 hrs (?)
11) Use 1000 grit to sand lightly over topcoat to even out
12) Apply clearcoat paint pen
13) Let dry 24 hrs (?)
12) Use rubbing compound to even out
13) Wax the bumper
... faint clear coat scratches that can be waxed out as well as two paint scratches about the width of an eraser head. I drafted up a procedure for properly using OEM touch up paint pen/brush along with primer and clearcoat. Anyone attempt this before? (I need help with drying times!)... anyone with experience, please input!
Supplies needed:
1) Sandpaper pack: 600, 800 & 1000 grit
2) Primer Paint Pen
3) OEM touch up paint pen & brush combo
3) Clearcoat Paint Pen
4) Rubbing compound (Cutting creme)
5) Car wax
6) toothpicks
7) rubbing isopropyl alcohol
Procedures:
1) Wash the paint scratched areas with alcohol (not all over) & warm soap/water.
2) Dry... 5 minutes.
3) Use 600/800 grit sandpaper and lightly smooth scratched areas
4) Wash again... and dry... 5 minutes
5) Apply primer paint pen in THIN COAT... DRY 24 hrs (?)
6) Wash lightly
7) Use 1000 grit to sand lightly over primer
8) Apply OEM touch up paint using brush (or toothpick!) with a THIN COAT in one even direction... DRY 1 hr
9) Repeat touch up paint... dry 1 hr... repeat until level with adjacent paint
10) Let dry 24 hrs (?)
11) Use 1000 grit to sand lightly over topcoat to even out
12) Apply clearcoat paint pen
13) Let dry 24 hrs (?)
12) Use rubbing compound to even out
13) Wax the bumper
-Brian
Joined: Apr 2007
Posts: 1,854
Likes: 241
but seriously if you want it to look better then a glob of touch up paint, then use a fine touch paint brush and dab it in the chip. I sometimes like to over dab it, then cut it flat with 2k paper, buff it and walk away.
A chip will never be perfect, once you get that out of your head, then it is easier to be content with a touch uped chip that is no longer obvious.
A chip will never be perfect, once you get that out of your head, then it is easier to be content with a touch uped chip that is no longer obvious.
Burning Brakes
Joined: Aug 2012
Posts: 1,175
Likes: 231
From: New England

Moderator
Joined: May 2010
Posts: 7,101
Likes: 1,022
From: Southern Cali 626 area
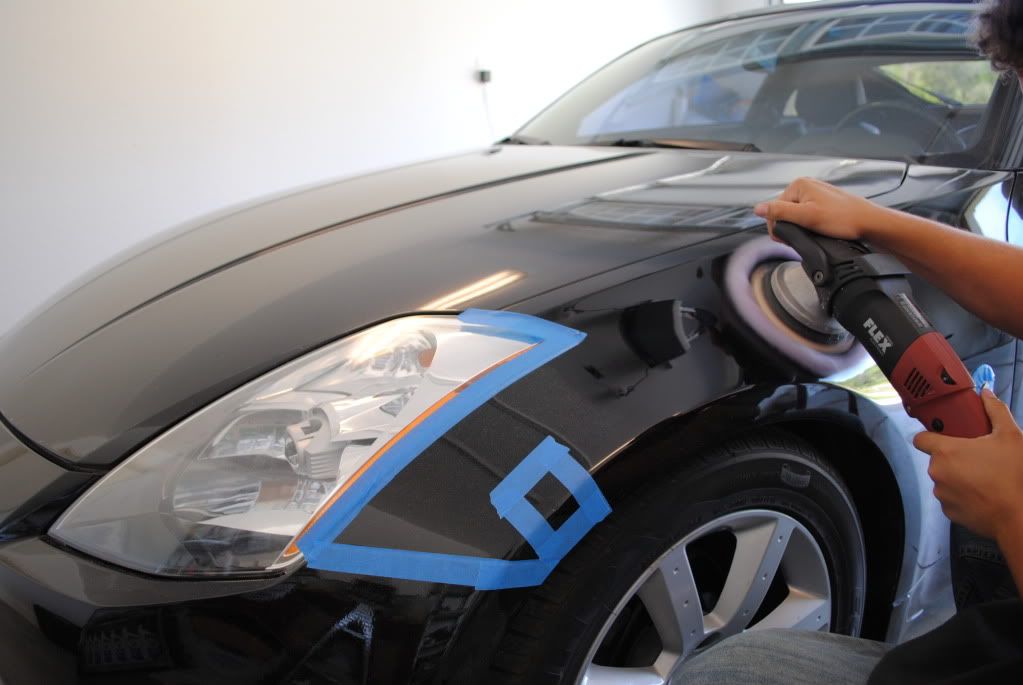
check this out.. i posted this like two times on other threads.. now i am not sure if this will work with grey.. but works with black.
touch-up
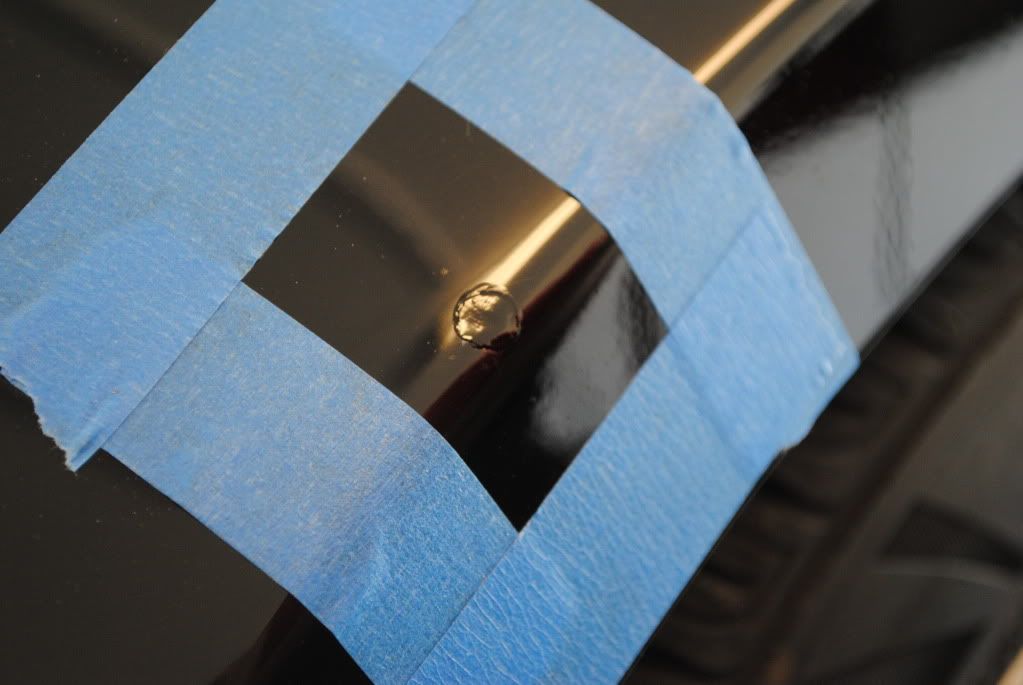
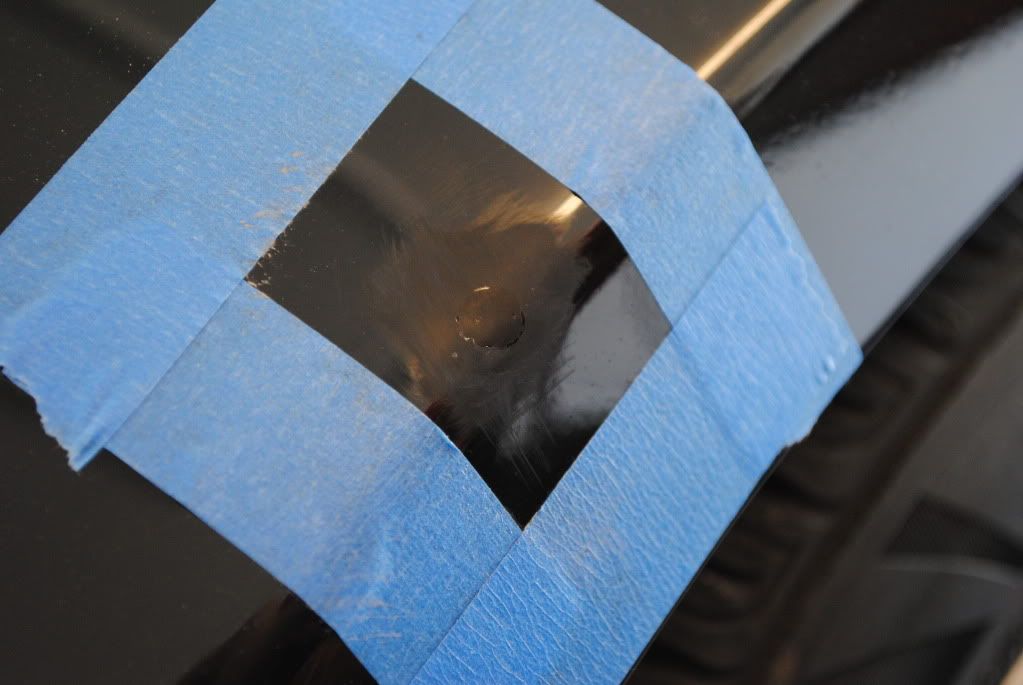
The Front fender had a rock chip that was starting to Rust, I first began by taking a razor blade and flaking away all of the paint that was flaking off and then I scraped all of the rust away as much as I could. Just try to scrape off as much as you can until you dont see any more.
Then it turned into this ( bare shiny metal)
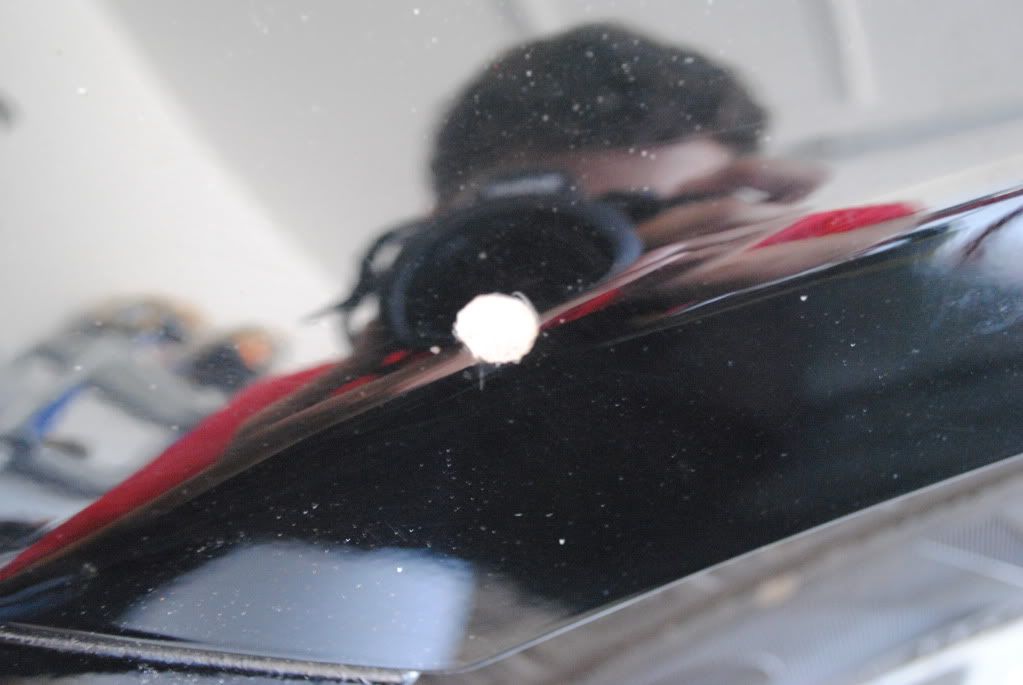
Then I dabbed some of the Dupli-Color 2in1 touch up paint into the chip letting it dry for about 10-15 until it hardened.
After the paint dries it seeps into the chip and settles down. Somtimes you only have to apply paint once but in this case I had to put down 2 layers.
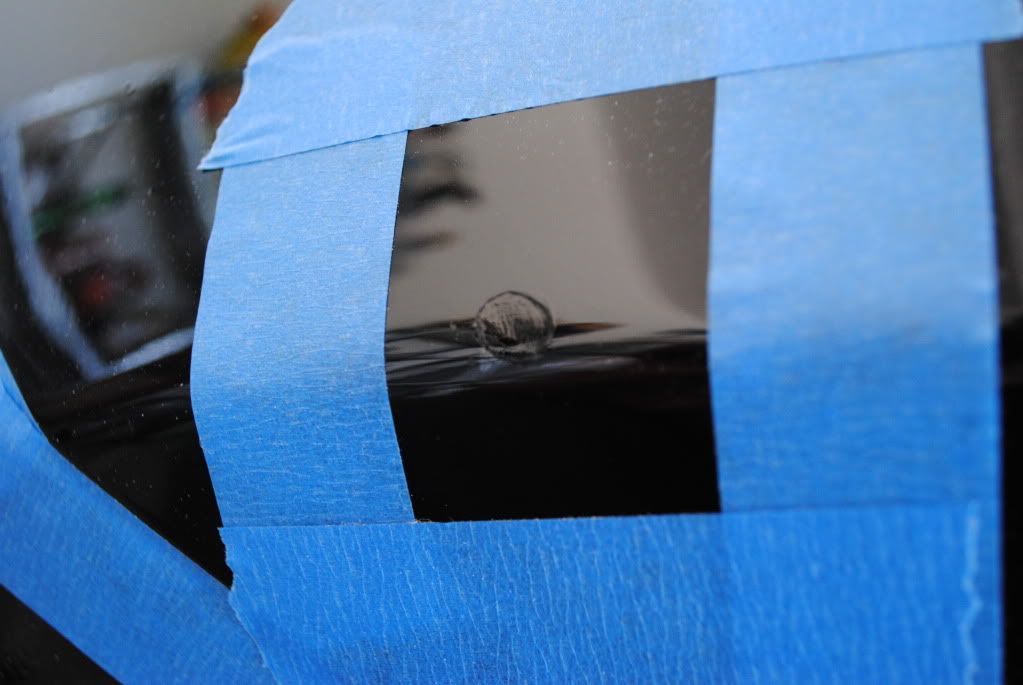
I taped arround this so I have a clean wetsand area, you can tell in the pics how much it settled into the chip
I worked on the panel while the touch up was drying.
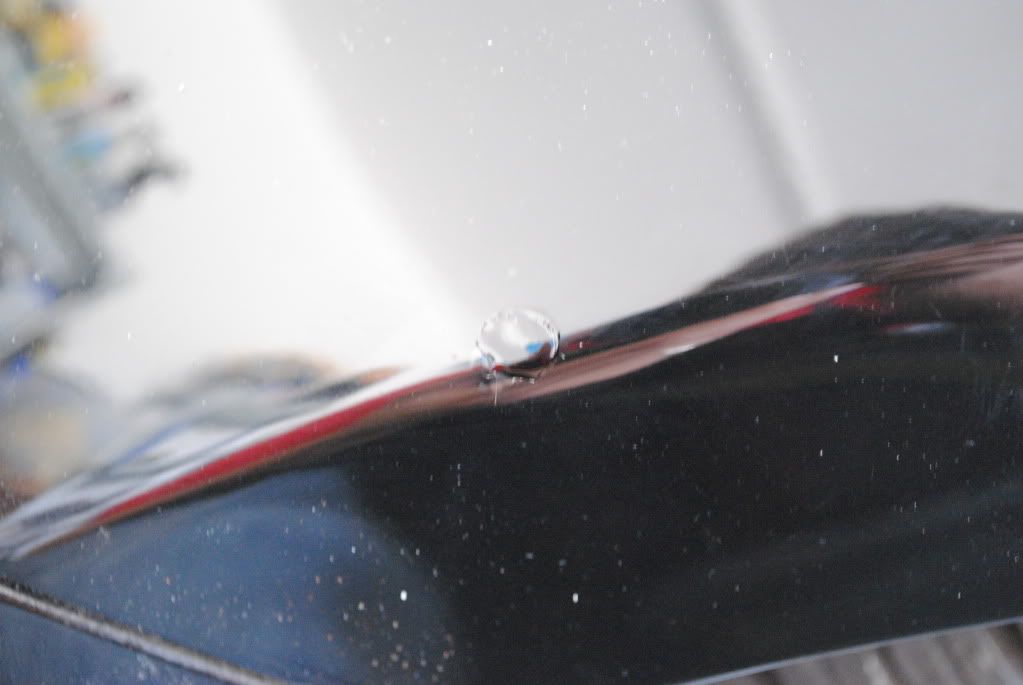
after the second coat of touch up It turned out like this
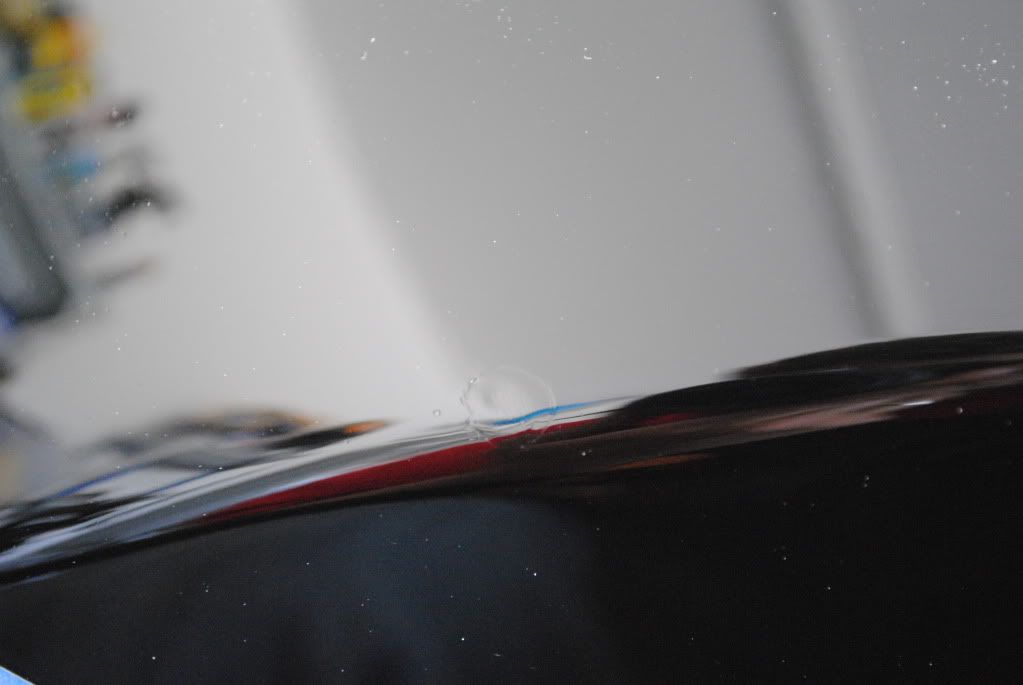
Then After it was Fully Dried I wet sanded with 2000 grit paper and here is what it looked like
After that I buffed it out with my flex and here is the Final Outcome (not %100 but close)

and Walaaaaa!!
The Front fender had a rock chip that was starting to Rust, I first began by taking a razor blade and flaking away all of the paint that was flaking off and then I scraped all of the rust away as much as I could. Just try to scrape off as much as you can until you dont see any more.
Then it turned into this ( bare shiny metal)
Then I dabbed some of the Dupli-Color 2in1 touch up paint into the chip letting it dry for about 10-15 until it hardened.
After the paint dries it seeps into the chip and settles down. Somtimes you only have to apply paint once but in this case I had to put down 2 layers.
I taped arround this so I have a clean wetsand area, you can tell in the pics how much it settled into the chip
I worked on the panel while the touch up was drying.
after the second coat of touch up It turned out like this
Then After it was Fully Dried I wet sanded with 2000 grit paper and here is what it looked like
After that I buffed it out with my flex and here is the Final Outcome (not %100 but close)
and Walaaaaa!!
Summer is Coming
Joined: Jun 2005
Posts: 2,857
Likes: 647
From: Houston
There is a product called 'langka' that can help with certain types of paint chips. I've used it several times. It works best on deeper chips and scratches.
You fill the chip and leave the paint proud of the surface. Let is dry for several hours, perhaps longer. Apply the langka to a tee shirt material and a backing card. Rub it over the surface of the hardened paint and it will reduce it until it is flush with the surface. The Langka is a solvent that will remove excess touch up paint but not clearcoat.
If the chip / scratch is very shallow than it will likely take all the paint away. So it is not the perfect solution. But it beats the work (and damage) you can cause by wet sanding.
Trending Topics


Nice work! have you tried putting some clear coat in the taped off area and then wet sanding and buffing it out? I'm just thinking that the dab that you put in is pretty small, and the wet sanding extends out a couple of inches from that spot. The wet sanding would eliminate some of the clear coat, and on a black car that's what's really protecting your paint in sunny CA. The results look great, though!
I've used the Langa product before. The results weren't really that great for me.
Moderator
Joined: May 2010
Posts: 7,101
Likes: 1,022
From: Southern Cali 626 area
Nice work! have you tried putting some clear coat in the taped off area and then wet sanding and buffing it out? I'm just thinking that the dab that you put in is pretty small, and the wet sanding extends out a couple of inches from that spot. The wet sanding would eliminate some of the clear coat, and on a black car that's what's really protecting your paint in sunny CA. The results look great, though!
I've used the Langa product before. The results weren't really that great for me.
I've used the Langa product before. The results weren't really that great for me.
no that is not true, if you wetsand correctly and stay within the affected area you should not be able to take off that much clear coat.
your not sanding the whole 4x4 inch area, your just sanding the spot that has fresh paint on it.. keep in mind you need to use a ALL IN ONE paint scratch kit.. not a primer, paint, and clearcoat kit..
the 3 seperate kit causes the paint to raise up too high.

Thread
Thread Starter
Forum
Replies
Last Post
ddietz
4G TL Tires, Wheels & Suspension
0
Sep 9, 2015 07:00 PM