When you click on links to various merchants on this site and make a purchase, this can result in this site earning a commission. Affiliate programs and affiliations include, but are not limited to, the eBay Partner Network.
I can see why alot of folks may not want to do this, it is a bit of an annoyance to have to drill holes for something thats a 5 sec install. I just completed it myself WITHOUT buying expensive Honda tools as listed in the Honda eStore BII16037-12 directions Tools needed:
Drill
1/8" and 1/2" drill bits
Masking tape
10mm socket
14mm wrench
Dorman 963-265D M6 rivet nut tool
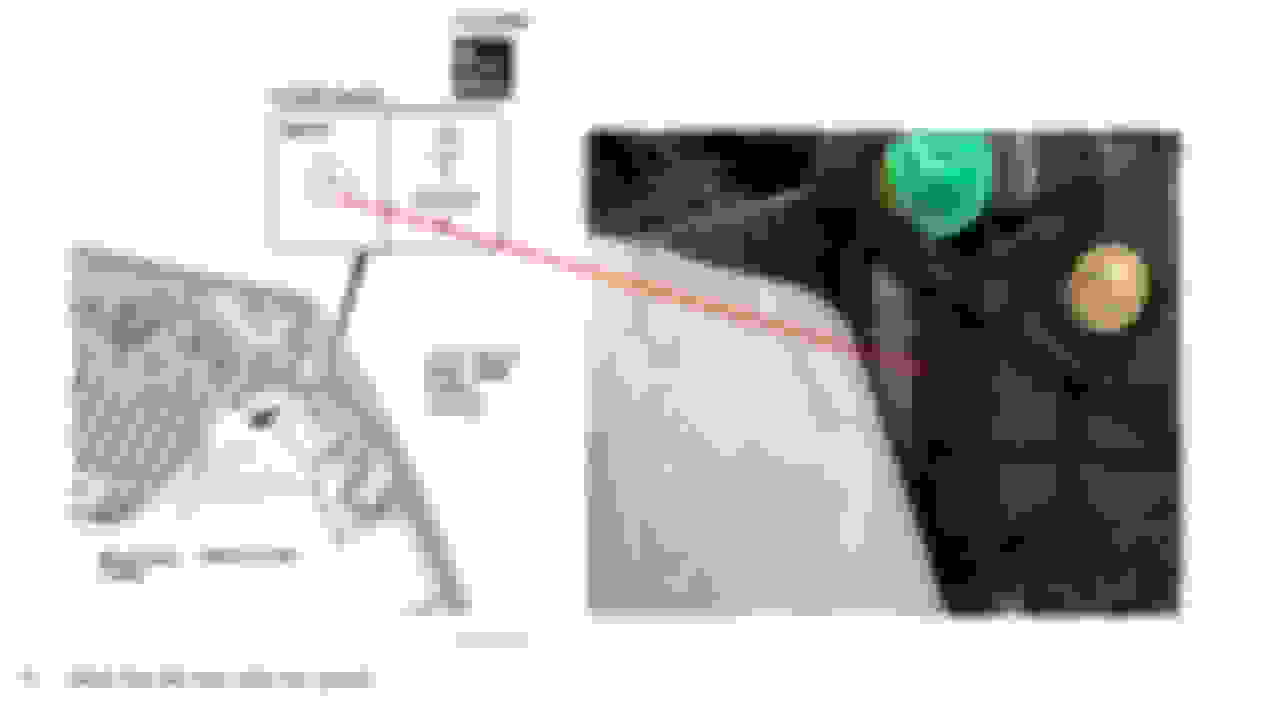
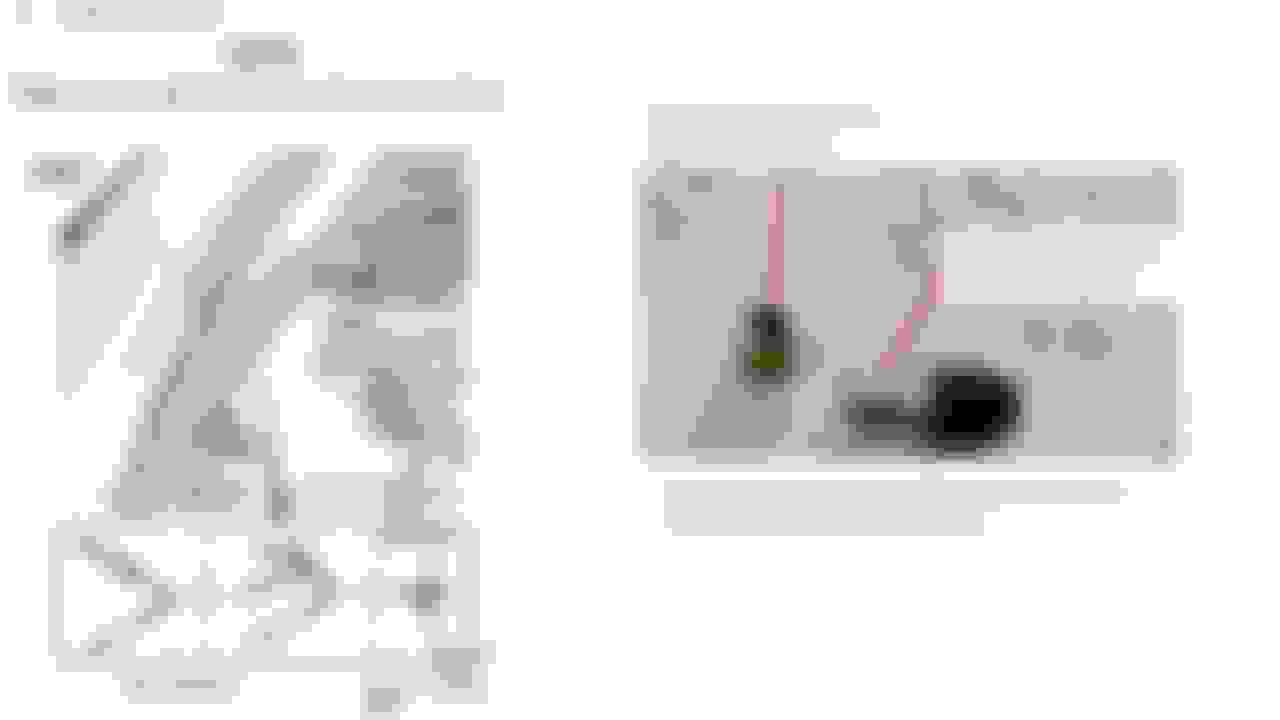
Follow the PDF as descried except steps 5, 10 and 11 as noted below
Step 5 - revised for clarity
Step 10 - revised
Step 11 - revised
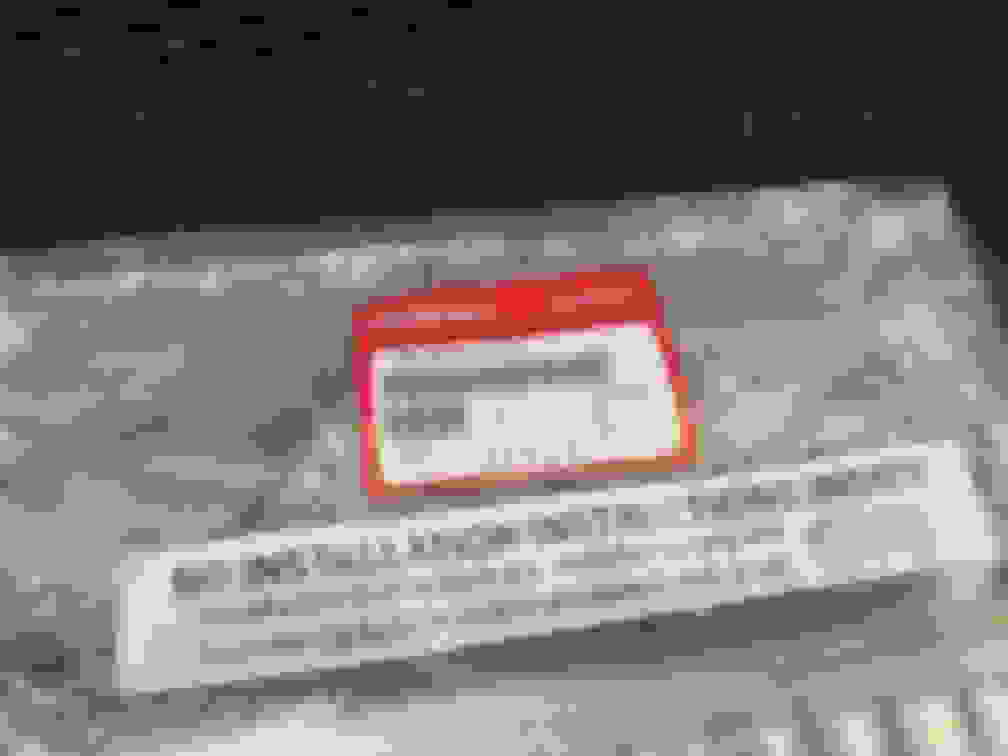
Dorman rivet nut ready for torqueing. Wrench used to hold body panel out of the way
Thank you so much for this! How difficult was the process to pop open the clips for the panel?
Can you tell me if I'm understanding the instructions correctly?
Steps 5-7 you're marking on the felt liner based on the plastic panel underneath. Then step 8byoure drilling though the felt, plastic, AND the metal underneath.
Then there's no step in the instructions for this, but to install the rivet nut it looks like you take the felt off again and this time remove the plastic panel (for the first time?) To expose the metal body underneath with the drilled hole.
Thank you so much for this! How difficult was the process to pop open the clips for the panel?
Steps 5-7 you're marking on the felt liner based on the plastic panel underneath. Then step 8byoure drilling though the felt, plastic, AND the metal underneath.
Then there's no step in the instructions for this, but to install the rivet nut it looks like you take the felt off again and this time remove the plastic panel (for the first time?) To expose the metal body underneath with the drilled hole.
And now install the rivet nut.
Popping the panel is very easy, as in the instructions on step 4 (of the PDF), once you pull the weather stripping away some its quite easy to pull the plastic.
There is NO metal to be drilled. The only drilling is through the felt and plastic. The hole in the body for the rivet is already there - you just add the rivet nut and pop it
Steps 4-13 is all done with the plastic panel pulled away.
Hi, I'm installing the cargo net on a 2025 MDX A-Spec Advanced and the panel removal is keeping me from going anywhere with the install. When you say it's easy to remove I'm scratching my head. I'm missing something obvious. I have all the panel tools, rivet nut install tool and I'm usually a pretty handy guy. I pull the weather stripping back and then to try and remove the panel I feel like I'm going to break something. It's not making sense to me. I have the instructions you reference and it all seems like it should be very easy, but the panel area you pull out seems like it's all connected together. The felt panel area is big and part of it is under the metal skid plate on the back of the tailgate... plus the felt part extends behind the lower storage bin on the driverside and clear up around the side of the third row along with the top plastic part above the felt covered panel ??? I'm clearly missing something here or I need to go ape on pulling panel off? I'm being careful. Bran new 2025. I hope you get notified to see my post. I can post some pictures too, but clearly that panel comes off. mg
I just installed a cargo net on a 2025 MDX and I found this thread helpful. I figured I would post a few more pictures which could help someone out. I don't think you need to remove the whole panel, that is what was throwing me off. I finally figured out that I needed to man up and pull the panel out after removing some of the weather stripping. Hopefully these pictures might help someone in the future.
... try and remove the panel I feel like I'm going to break something. It's not making sense to me. I have the instructions you reference and it all seems like it should be very easy, but the panel area you pull out seems like it's all connected together. The felt panel area is big and part of it is under the metal skid plate on the back of the tailgate... plus the felt part extends behind the lower storage bin on the driverside and clear up around the side of the third row along with the top plastic part above the felt covered panel ??? I'm clearly missing something here or I need to go ape on pulling panel off? I'm being careful. Bran new 2025. I hope you get notified to see my post. I can post some pictures too, but clearly that panel comes off. mg
Sorry for late response, but looks like you got it! Yes, you have to pull a bit harder than one would feel comfortable doing to pop the plastic off.
Hi everyone. Thanks for all the tips - pulling back the weatherstripping, getting a $9 rivet nut tool and the rest of the tweaked instructions. I am at step 14 (install the anchor), but there is a gap of a half inch between the end of the post/bolt and the anchor itself. I've rechecked the instructions a few times, and don't see where I've gone wrong. I'm off to home depot to see if they sell longer bolts, but wanted to see if anyone has a suggestion to help resolve my issue. Thanks.
Now that I look at other pictures, I see the 'studs' I got are quite a bit shorter than the ones in the picture UTMax provided. I will go back to the seller, and take it from there.
That's right. I made the mistake of ordering from ebay. I returned that one, and ordered (not from ebay) & received an Acura OEM package today - with the longer brass stud/bolt. Took 5 minutes to install the cargo net. I've learned my lesson.