
New for 2012! Tein Street Advance Coilovers (The SS successor)


 02-23-2012, 10:15 AM
#42
Advanced
Thread Starter
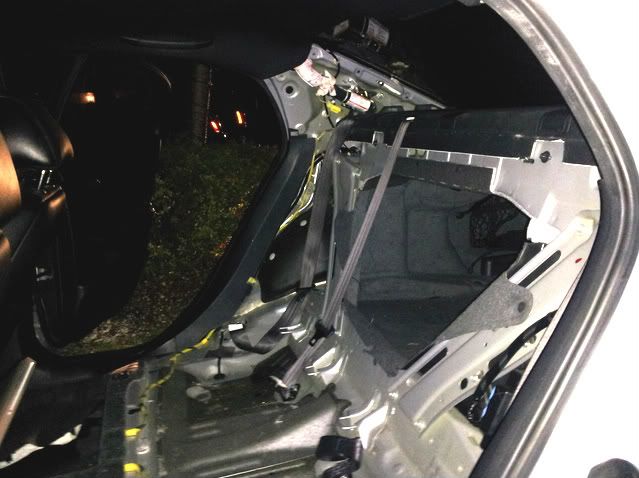
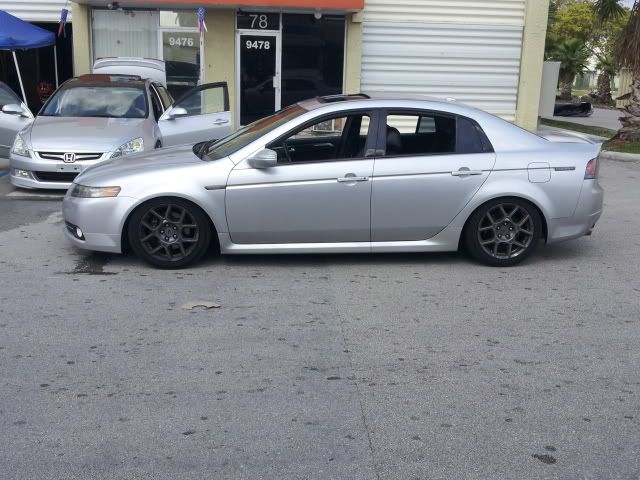
Ok this is not HUGE update, but last night on my way home i saw a fellow 3rd Gen TL silver Dropped with black rims and i told myself.. DAMN IT! i have coilovers at home just sitting there! im popping these suckers in so i can have a nice dropped look too  lol .. so far all i did was PB Blast all of the bolts i will be removing, and removed my entire back seat and rear deck to access the rear strut bolts too. Sorry they are kind of dark i did this at night with flashlight attached to my head haha Install pics coming on saturday! Pics below:
lol .. so far all i did was PB Blast all of the bolts i will be removing, and removed my entire back seat and rear deck to access the rear strut bolts too. Sorry they are kind of dark i did this at night with flashlight attached to my head haha Install pics coming on saturday! Pics below:
02-23-2012, 10:24 AM
#43
takin care of Business in
iTrader: (5)
Join Date: Jan 2008
Location: Kansas City, MO
Age: 40
Posts: 30,994
Received 4,732 Likes
on
4,064 Posts
hahhaa nice !!!
eager to see the final product
PS: Pics did turn out pretty good
eager to see the final product
PS: Pics did turn out pretty good
The following users liked this post:
emilio320 (02-23-2012)
 02-27-2012, 08:33 AM
#45
Advanced
Thread Starter
lol my bad Alex, and anyone else waiting for updates, Install is complete! super amazed at how fast it went and how well these coils perform! Alex (K24) Can attest to that, wil lbe posting some Very detailed pics of the install later this evening so stay tuned!
02-29-2012, 12:25 PM
#46
Advanced
Thread Starter
Okay as promissed, here are the various install pics!!
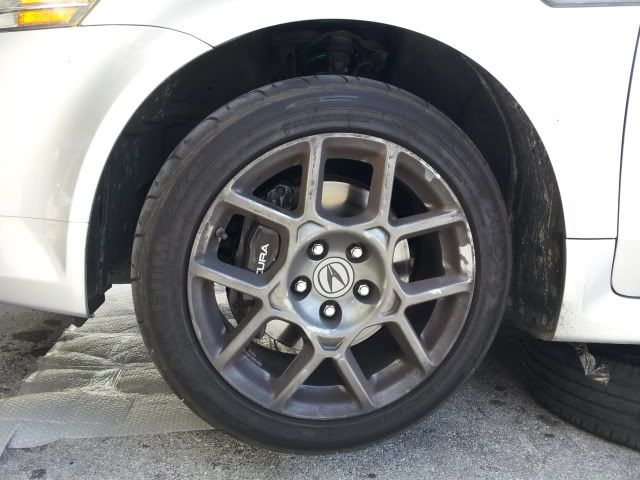
^wheel gap with car lifted berfore starting
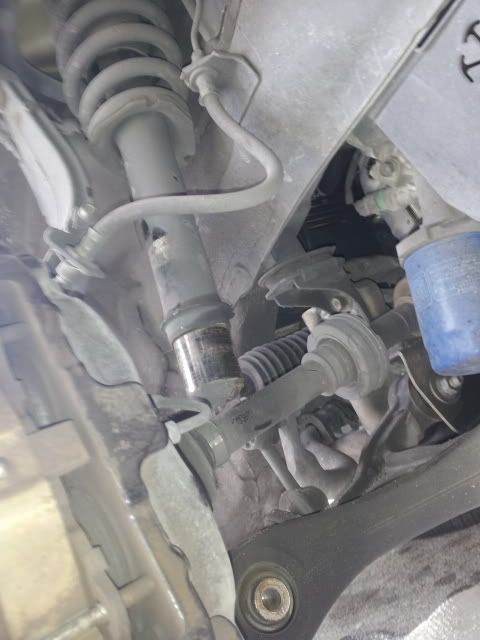
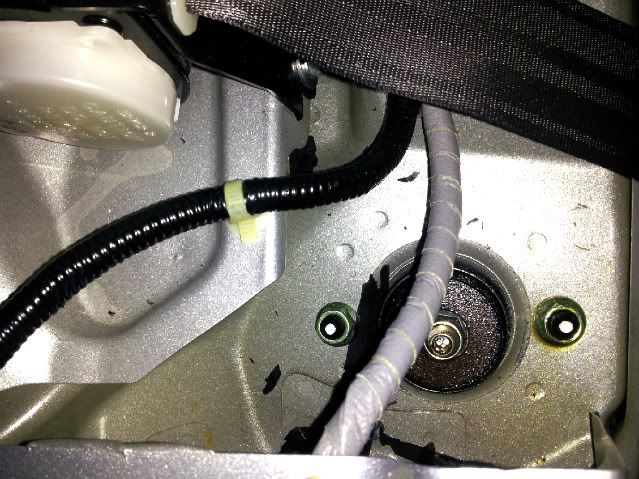
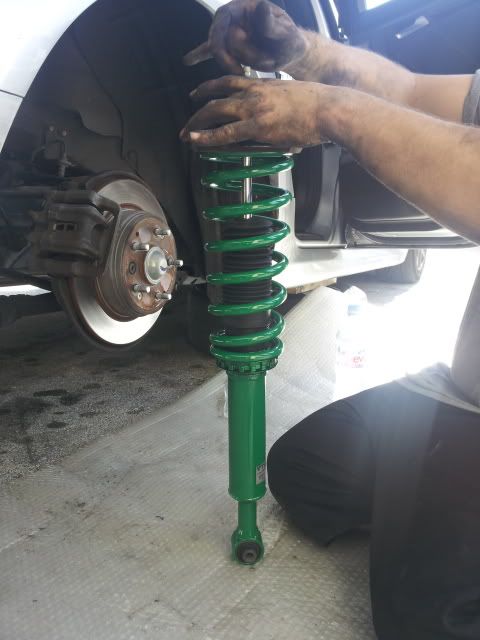
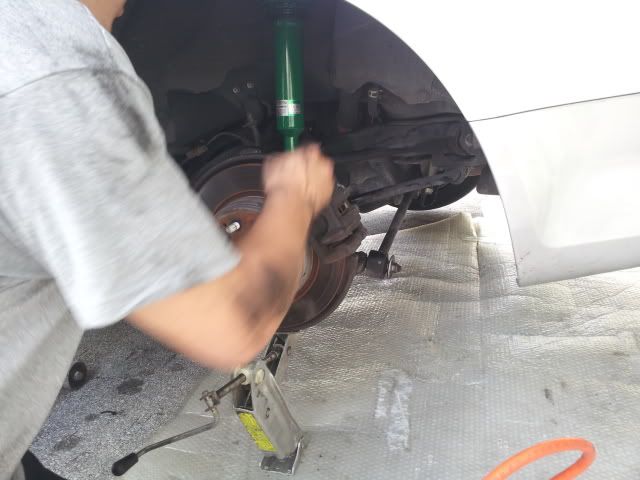
^Removal of stock strut (Front) Fit straight through the bottom)
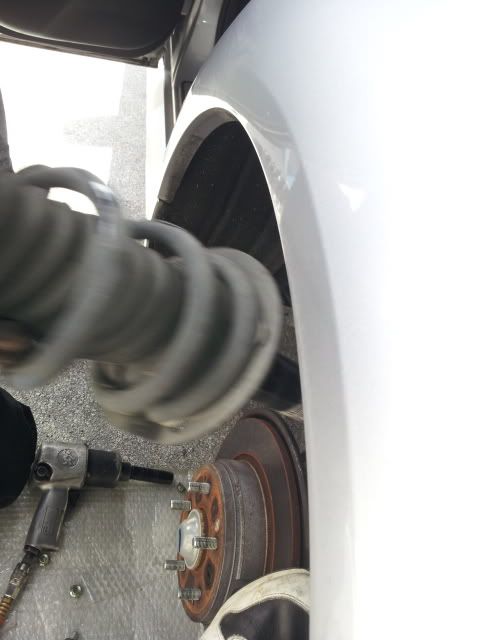
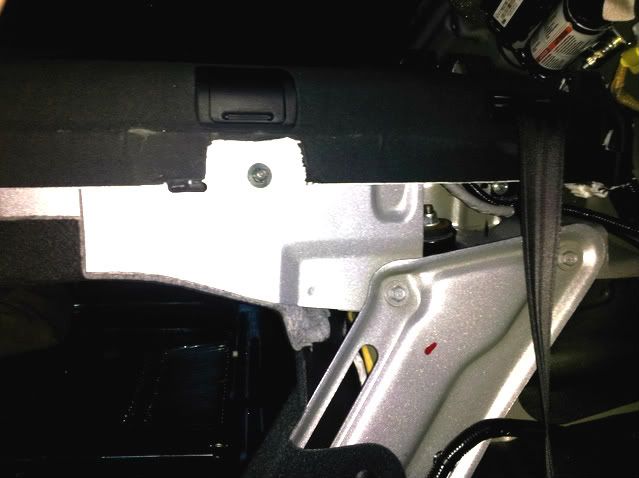
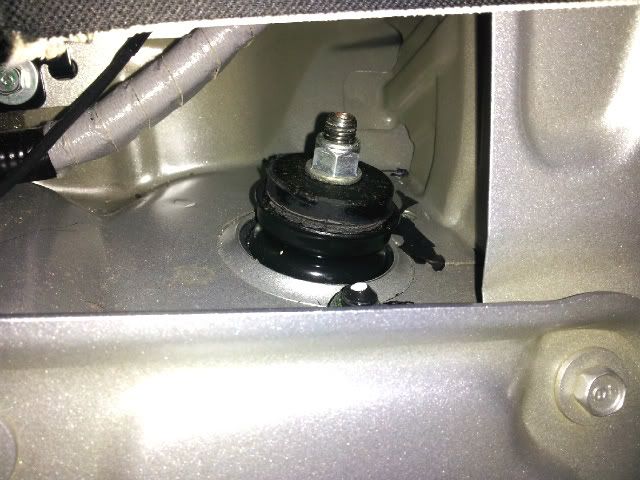
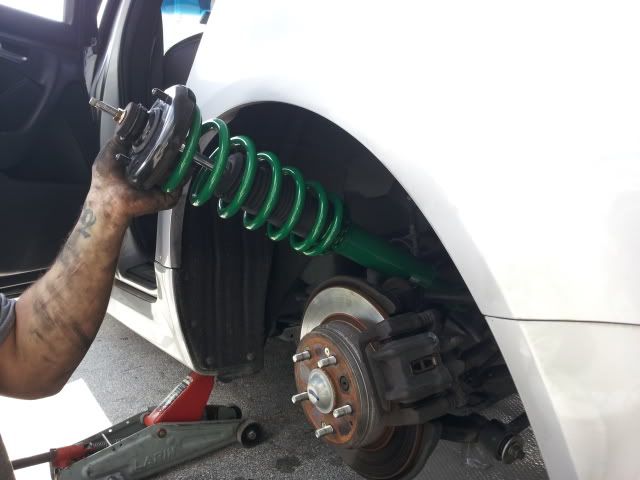
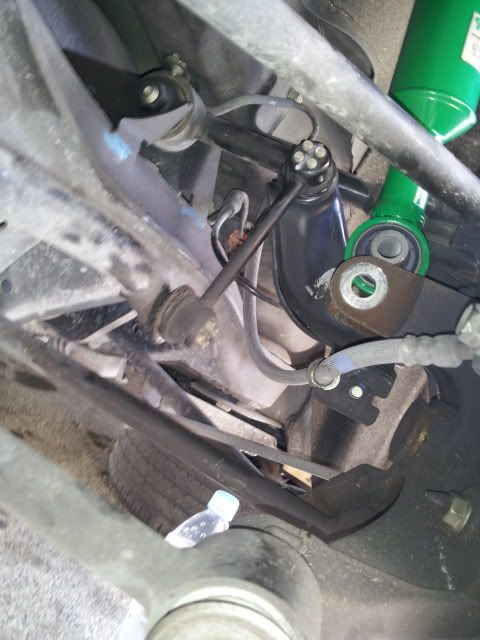
^removal of rear strut done the RIGHT way (atleast for a Type-S)
According to the DIY on here you have to undue some extra bolts and swing the whole bracket around to get the rears to fall through the bottom. In my case there was enough clearance to drop the thing just enough to get it to swing out from the tophat out first! Peace of cake with two people, One person has to stand on the rotor and push down to get the proper clearance
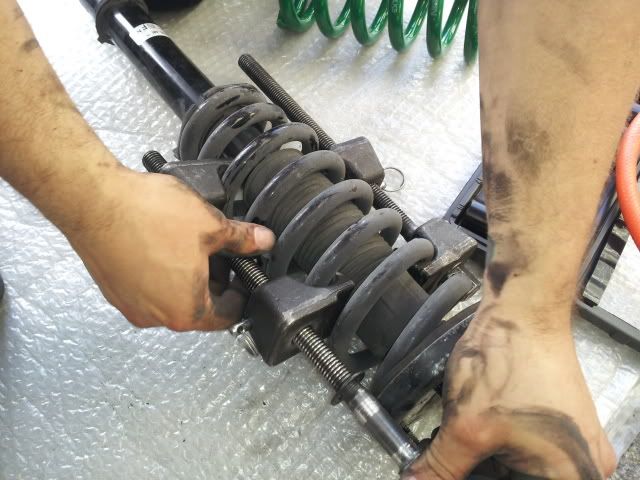
Removing the top hats did NOT require the spring compressor viewed here. We ended up doing it without it and for the front struts the top hats popped off with not very much force into the box we had laying infront of it to catch it, and for the rears, the thing BARELY popped off!. Looks like the Type-S suspension has shorter springs or something?
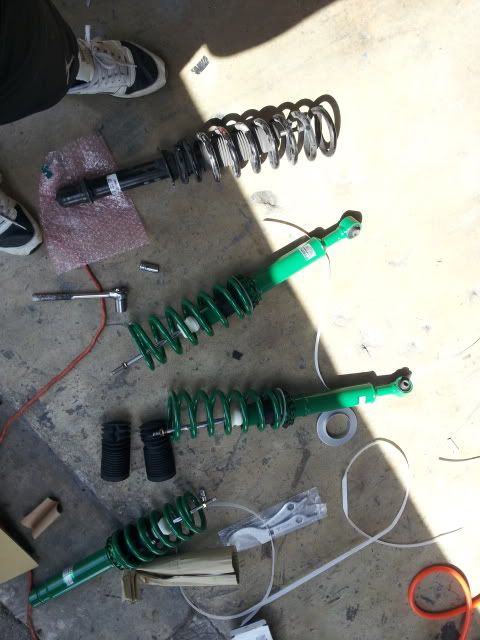
^Old and new side by side top hats removed and ready to be swapped
Top hats installed
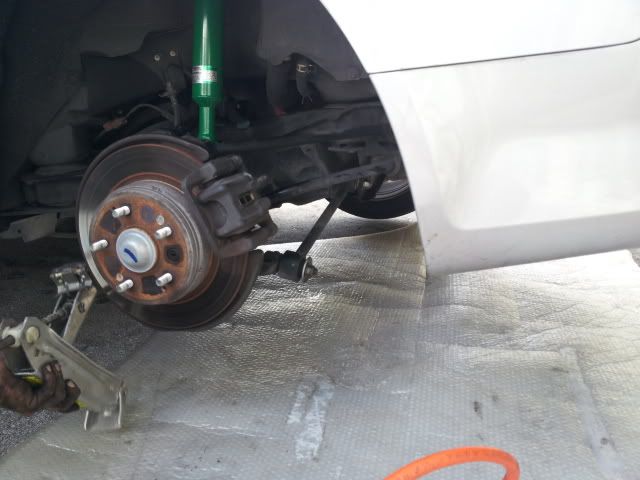
^Installed back in opposite of how OEM was taken out, Stuck the bottom end in first then swung the tophat end inside after i made clearance by standing on the brake rotor(not seen here)
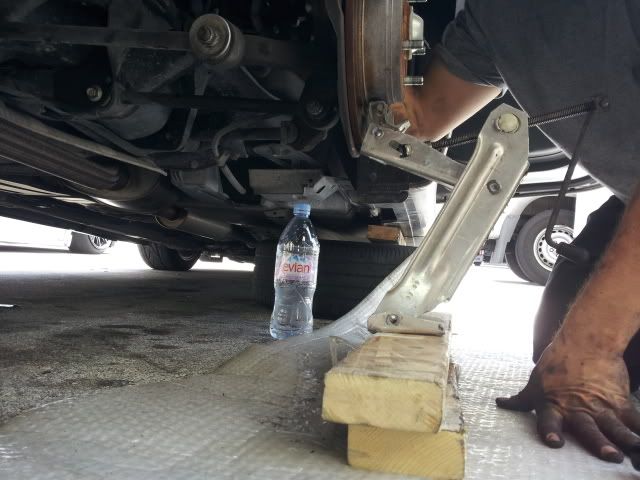
^Used a "V" shaped OEM jack to guide the brackets in place to install the Tein Coilover
GRAND FINALE! VVVVVVV
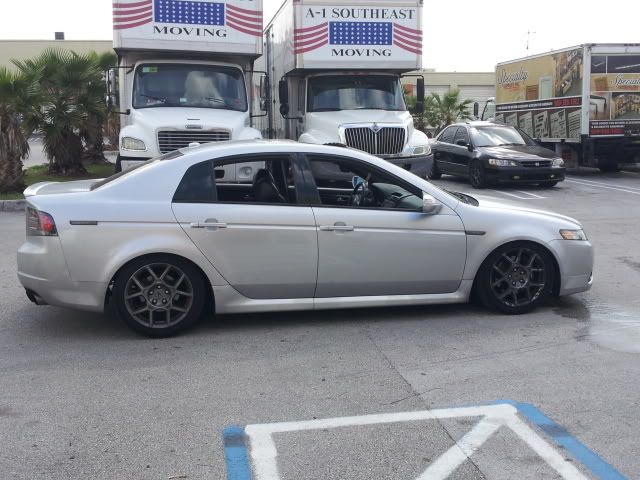
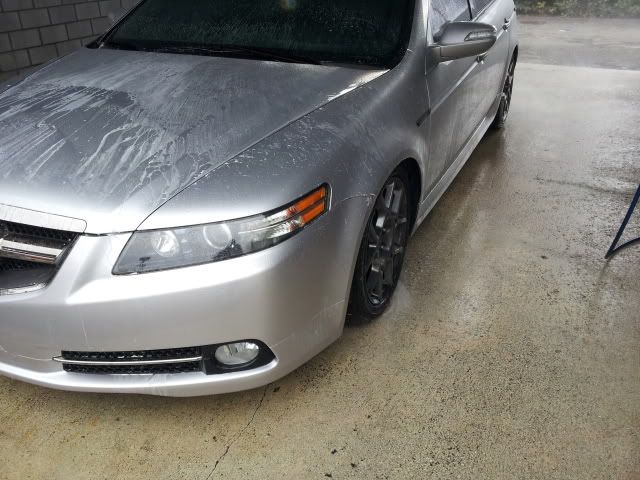

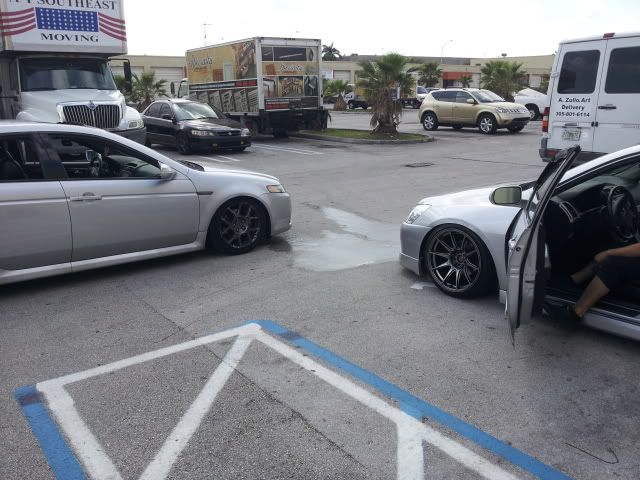
^And if any of you know Alex's car (xxslowK24xx) aka (K24) here is a reference shot to see how low mine is in comparison.
Detailed Review coming soon!
^wheel gap with car lifted berfore starting
^Removal of stock strut (Front) Fit straight through the bottom)
^removal of rear strut done the RIGHT way (atleast for a Type-S)
According to the DIY on here you have to undue some extra bolts and swing the whole bracket around to get the rears to fall through the bottom. In my case there was enough clearance to drop the thing just enough to get it to swing out from the tophat out first! Peace of cake with two people, One person has to stand on the rotor and push down to get the proper clearance
Removing the top hats did NOT require the spring compressor viewed here. We ended up doing it without it and for the front struts the top hats popped off with not very much force into the box we had laying infront of it to catch it, and for the rears, the thing BARELY popped off!. Looks like the Type-S suspension has shorter springs or something?
^Old and new side by side top hats removed and ready to be swapped
Top hats installed
^Installed back in opposite of how OEM was taken out, Stuck the bottom end in first then swung the tophat end inside after i made clearance by standing on the brake rotor(not seen here)
^Used a "V" shaped OEM jack to guide the brackets in place to install the Tein Coilover
GRAND FINALE! VVVVVVV
^And if any of you know Alex's car (xxslowK24xx) aka (K24) here is a reference shot to see how low mine is in comparison.
Detailed Review coming soon!
The following users liked this post:
JD TL-S (02-29-2012)
02-29-2012, 01:07 PM
#47
takin care of Business in
iTrader: (5)
Join Date: Jan 2008
Location: Kansas City, MO
Age: 40
Posts: 30,994
Received 4,732 Likes
on
4,064 Posts

well done....but you do know you need to fix those waffle wheels right ???
02-29-2012, 01:16 PM
#48
Advanced
Thread Starter
 ..sad i know lol
02-29-2012, 01:24 PM
..sad i know lol
02-29-2012, 01:24 PM
#49
takin care of Business in
iTrader: (5)
Join Date: Jan 2008
Location: Kansas City, MO
Age: 40
Posts: 30,994
Received 4,732 Likes
on
4,064 Posts
^^^ hahah i feel you....you need to visit these thread:
https://acurazine.com/forums/3g-tl-photograph-gallery-96/custom-rims-%2472-848855/
cant find another link right now....will post it up....
https://acurazine.com/forums/3g-tl-photograph-gallery-96/custom-rims-%2472-848855/
cant find another link right now....will post it up....
 Great Job and Pics
  03-22-2012, 05:20 PM
#53
Anyone who needs a set we have them in stock. The following link has both links for the Street Basis and Street Advance.
http://store.excelerateperformance.c...archterm=gsa80
http://store.excelerateperformance.c...archterm=gsa80
The following users liked this post:
JD TL-S (03-27-2012)

Thread
Thread Starter
Forum
Replies
Last Post
1fatcrxnem1
3G TL Tires, Wheels & Suspension
22
06-01-2018 01:23 AM
Joseph Stansbury
3G TL Performance Parts & Modifications
34
12-04-2015 01:57 PM
nanos
Car Parts for Sale
26
11-12-2015 08:41 PM