
Center Console Side Garnishes are $350 to replace, I have your fix for free: inside


Advanced
Joined: May 2013
Posts: 98
Likes: 23
From: NYC
Wow I was liking the brushed aluminum look! After you vinyled it, it sort of looked clean but "bleh". I'm eyeing some silver CF wrap right now but the one I see on Amazon is 24 x 48 inches for $15. It seems a bit more expensive than what cougtype_s bought his for -.-
Make it so
Joined: Oct 2009
Posts: 482
Likes: 59
From: Austin, Texas
Honestly, that lighter-colored brushed aluminum look is STUNNING with a black interior like yours. The way it pops, it makes the interior look like something you'd see in a showroom for a '13 model car. That's saying something.
I *would* try it for myself, but the interior color for my 2004 NBP TL is the camel/tan color, and I'm worried it would look way too crazy with those colors to really look good.
This just validates my desire to buy a 2008 TL with a different interior color, even though everyone that rides in my TL loves the color combo and it's a rare combo for TL interiors anyway...
Decisions, decisions. Regardless, PROPS.
Thread Starter
Joined: Sep 2008
Posts: 78,234
Likes: 20,190
Why thank you. As usual, over time I get bored and ended up having a forum friend paint them nbp for me. That, the gauge bezel and all across vents.
:what:
Joined: May 2012
Posts: 1,461
Likes: 350
From: Hernando, MS

Thread Starter
Joined: Sep 2008
Posts: 78,234
Likes: 20,190
Use a flathead with some painter's tape on it, start at back, pop upward, then toward you as you transition to the part of the bezel that goes up.
Forgot to revisit with Wacker's masterpiece!
Forgot to revisit with Wacker's masterpiece!

Thread Starter
Joined: Sep 2008
Posts: 78,234
Likes: 20,190
I too wonder about the long term look of the exposed/sanded metal surface. It'd probably stay nice and fine with a coat of wax every once in a while...


5th Gear
Joined: May 2014
Posts: 5
Likes: 3
Nice work Rockstar! I am going to try that with mine pretty soon. I will add a few coats of polyurethane for protection though. Then, if the surface gets a little dinged you are just sanding the poly coat, not the metal. The fine sand lines should be good for adhesion.


Drifting


Joined: Jul 2008
Posts: 3,471
Likes: 188
From: Dallas
This Mothers Aluminum polish will take a smooth sanded aluminum all the way up to a high gloss , almost like chrome. But that gloss black looks good too, from a distance.
Thread Starter
Joined: Sep 2008
Posts: 78,234
Likes: 20,190
Good shit, Chad...yeah, I'd give that a whirl if I were still bare metal!
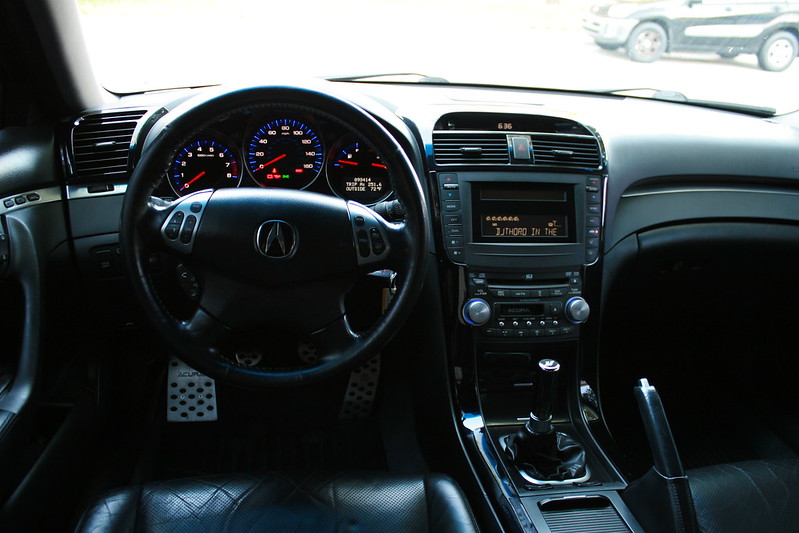
The gloss black looks awesome up close even, it's actually NBP professionally painted by member :wacker: I've had 2 chips on the grill in the 3 years since he did that for me and NONE on the interior.
The gloss black looks awesome up close even, it's actually NBP professionally painted by member :wacker: I've had 2 chips on the grill in the 3 years since he did that for me and NONE on the interior.
Racer
Joined: Sep 2014
Posts: 413
Likes: 62
From: Montreal, Qc, Canada
Wow I'm lucky this thread was revived. Those trim pieces have been bugging me for a while. I was thinking about wrapping them with brushed aluminum vinyl too. So what's everyone's opinion on this now? Simply sand them or paint them like Rockstar ended up doing?


Instructor
Joined: Jun 2008
Posts: 180
Likes: 0
From: Providence,RI
This issue is next up on the list for me. Was thinking of scraping off the rest of the original thin coating and then either repainting them or wrapping them with sort of a thin transparent (but tinted) vinyl. Goal is to restore the original color without covering the original texture/pattern (07 Type-S) seen on the metal.
Has anyone tried anything like this? Want to avoid creating a mismatch that requires me to have to re-do all of the trim pieces.
Has anyone tried anything like this? Want to avoid creating a mismatch that requires me to have to re-do all of the trim pieces.

Advanced
Joined: Feb 2012
Posts: 75
Likes: 8
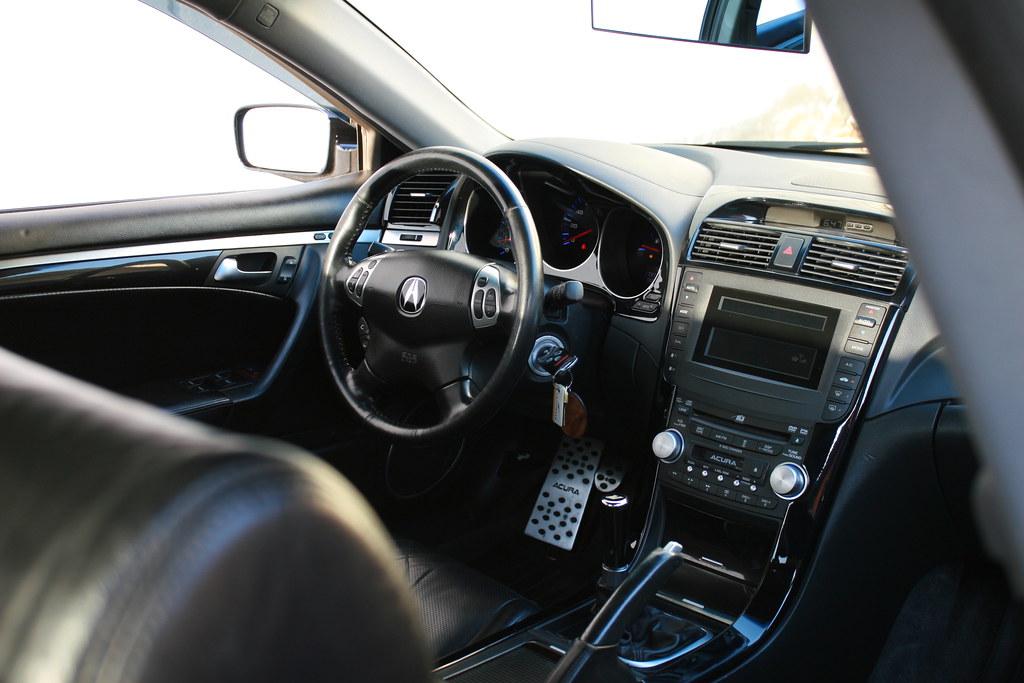
I want to do all of the metal trim at the same time - not just the two center console pieces. Above, rockstar143 says how to remove the console trim, and I know the door cards have to come off for the door pieces...
...but how do you get off the two bits on the main dashboard? The little on on the drivers side and the big one crossing in from of the passenger?
...but how do you get off the two bits on the main dashboard? The little on on the drivers side and the big one crossing in from of the passenger?

Instructor
Joined: Jun 2008
Posts: 180
Likes: 0
From: Providence,RI

Thread Starter
Joined: Sep 2008
Posts: 78,234
Likes: 20,190
the design is very thin...do not sand it if you plan to keep it...
I wonder if just clearing over the top will disappear the discoloration.
The dash portions pop off with plastic retaining clips IIRC.
I wonder if just clearing over the top will disappear the discoloration.
The dash portions pop off with plastic retaining clips IIRC.