When you click on links to various merchants on this site and make a purchase, this can result in this site earning a commission. Affiliate programs and affiliations include, but are not limited to, the eBay Partner Network.
I replaced the EVAP canister purge valve 3 days ago and the message still hasn't gone away. Only shows on the MID, no CEL. I have a hard time believing its the gas cap but I'll try replacing that next. Anyone know if it will pass a OBD emissions test with this message?
It depends on the volume of fuel in your tank. Computer runs test only when it is between 3/4 and 1/4 of the fuel in the tank. Computer doesn't run test on full tank and on empty.
Shit was a little bit harder than it looked. Photos don't show there's a bunch of stuff in the way. It's scary for a newbie. I couldn't take the bottom nut off, unless I unhooked a hose to whatever was right there in the way. A bit of blue liquid started leaking, but, since it only dripped like 15 times I'm praying that it is just a few drops of something there is a whole tank of somewhere?
Anyway lost the bottom flat round metal plate that goes between the bolt and the nut, but I didn't lose the upper one. So I hope it's not going to cause problems... should I go to the hardware store and try to find one?
Thanks 100000x to op, I would have had to put up with the message the rest of my life because I just couldn't justify $300 for an annoyance, considering already have to put up with Japanese bullshit like the beeping noise at start up of the engine (Japanese are impervious to noises that weren't caused by other humans, while they freak out if a human causes a super tiny noise that annoys them, just as an example in the electronics store Yamada Denki they have an advertisement play on loop LOUD over and over the whole HOUR you might be in the store and no one freaks out. -- So in case you wondered why your car makes beeping that is so annoying and almost feels like punishment, and WOULD be considered punishment by a UI/UX design expert (they don't even have the discipline in Japan, worst UI/UX in the world across the board))
I didn't have the cojones or time to do this myself, so I bought the unit and had my mechanic swap it out. I only had a few "Loose gas cap" messages over the winter (I'm in Chicago) but I haven't had any since it was replaced.
I agree, 10,000x thanks to the OP and others who came up with this fix.
I didn't have the cojones or time to do this myself, so I bought the unit and had my mechanic swap it out. I only had a few "Loose gas cap" messages over the winter (I'm in Chicago) but I haven't had any since it was replaced.
I agree, 10,000x thanks to the OP and others who came up with this fix.
You're welcome No issues to date since I changed my mine in August 2014!
Thanks for the clear write up and the pics with the red "look here" circles. Part arrives tomorrow. You've saved me a lot of time and money.
Originally Posted by RxWorld
There’s a lot on azine about this already and it's fairly straightforward but I thought I’d put together a formal step by step DIY because I was a bit confused when it first started happening!
Symptom: The “tighten fuel cap” message displays on your MID repeatedly. You are sure your fuel cap is tight to 3 clicks (or whatever is says) but the message still pops up intermittently then goes away randomly. This happens periodically (and for me the frequency it happened increased with time)
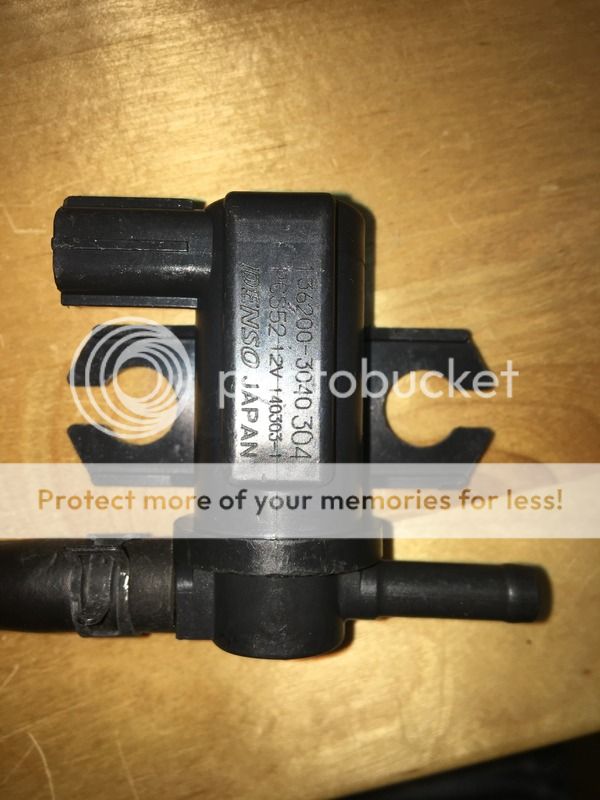
Fix: In the 07-08 models this is a known problem. Here is the official release from Acura. Essentially, a sensor that talks to your car’s computer is faulty. The sensor is part of the EVAP canister purge valve. To fix it you need to replace the EVAP canister purge valve.
What you need:
EVAP canister purge valve (P/N 36162-RDV-J01)
˝ hour of your time
Flat head screw driver
10mm socket
Pliers to pinch and move the hose clips.
Step 1: Make sure you didn’t just get out of your car 3 min ago and your engine is still hot. Wait a bit for your engine to cool down!
Step 2: Remove your engine cover. There are 4 contact points for your engine cover to the car. There are 2 clips you need a flat head screw driver to get at (circled in red) and the back two just pop off when you pull on the engine cover.
Step 3: Once you locate the EVAP canister purge valve you need to remove 2 nuts (and washers) with a 10mm socket. The bottom nut is tad bit harder to remove because it is in a tight spot so be patient. Take your time so the nuts and washer don’t fall into the engine bay accidentally!
Step 4: Remove the sensor and the hoses one at a time. I put the hoses directly on new part so I didn't mix them up.
Step 5: Put everything back together and give your car a couple miles to reset itself and the “tighten fuel cap” message should go off and hopefully never come back again!
Thanks for this write up! I just purchased an 07 TL type s and I'm having this exact problem. Its kinda funny how this problem didn't show up when i was taking it out for a test drive.....:beetroot
Thanks for this write up! I just purchased an 07 TL type s and I'm having this exact problem. Its kinda funny how this problem didn't show up when i was taking it out for a test drive.....:beetroot
Just wanted to say that I, too, had this error. I followed the service bulletin- and it hasn't come back since. If you're still wondering whether or not it works- it does.
I need help. I just replaced it per the bulletin, reset my battery to clear the cel, and 5 mins later while driving I received the 'tighten fuel cap' message again. Does anyone have any suggestions? My fuel tank is about 4/5's full. I have not replaced the actual fuel cap, but i gone to Autozone who ran the CEL codes and told me it was the canister purge solenid. I have also taken it to Firestone and after hrs of looking at it, they told me to replace the canister purge valve as everything else checked out. Basically all signs point to that being the fix...
Often I get the 'tighten fuel cap' message, and after awhile that disappears the cel comes on. If i reset the battery the process repeats. Any suggestions? I have 2008 Acura TL.
Brand new part. Since yesterday the Tighten fuel cap message has gone away and now only the CEL appears, which is the normal cycle. I'll go to AutoZone today to get reading on CEL again since the new part is has been installed, see if the codes are different.
Had this tighten cap message come up every now and then since buying car last year. Just installed new part from oemacuraparts.com. New part is japan part old made in mexico. Message is gone. Never been happier. 🙃
I have the tighten cap message come and go in the hot months. After some years it stayed on and then turned to CEL p0457 and p0497
Changed Mexican purge solenoid out for the Japanese and now fixed.
This thing is $100, is it worth replacing? I just hit delete and ignore everytime it went up. I thought it was the fuel cap so I bought one and replaced that, but that wasn't it.
Just changed the solenoid over the weekend and no more tighten fuel cap messages.
Just a FYI , you may need to remove a coolant hose right where you see the lower bolt - I couldnt loosen the lower bolt till i unhooked the small coolant hose. Once I did that, the rest was a piece of cake.
Replaced my EVAP purge sensor under the hood, just as instructed. Picked up a part on Ebay for $45 shipped. Worked great! The new part was made in Japan, the old original part was made in Mexico. Been driving for a week now with the new part, not a single error message about the fuel cap !
Some thoughts and additional tips for this:
1. Very easy and straight-forward job that even a complete non-wrenching person like myself was able to complete--although it did take me 90 min., 3x what it should have according to RxWorld's estimate.
2. The main problem I encountered was access to that bottom nut/washer. To make this easier, I'd also suggest:
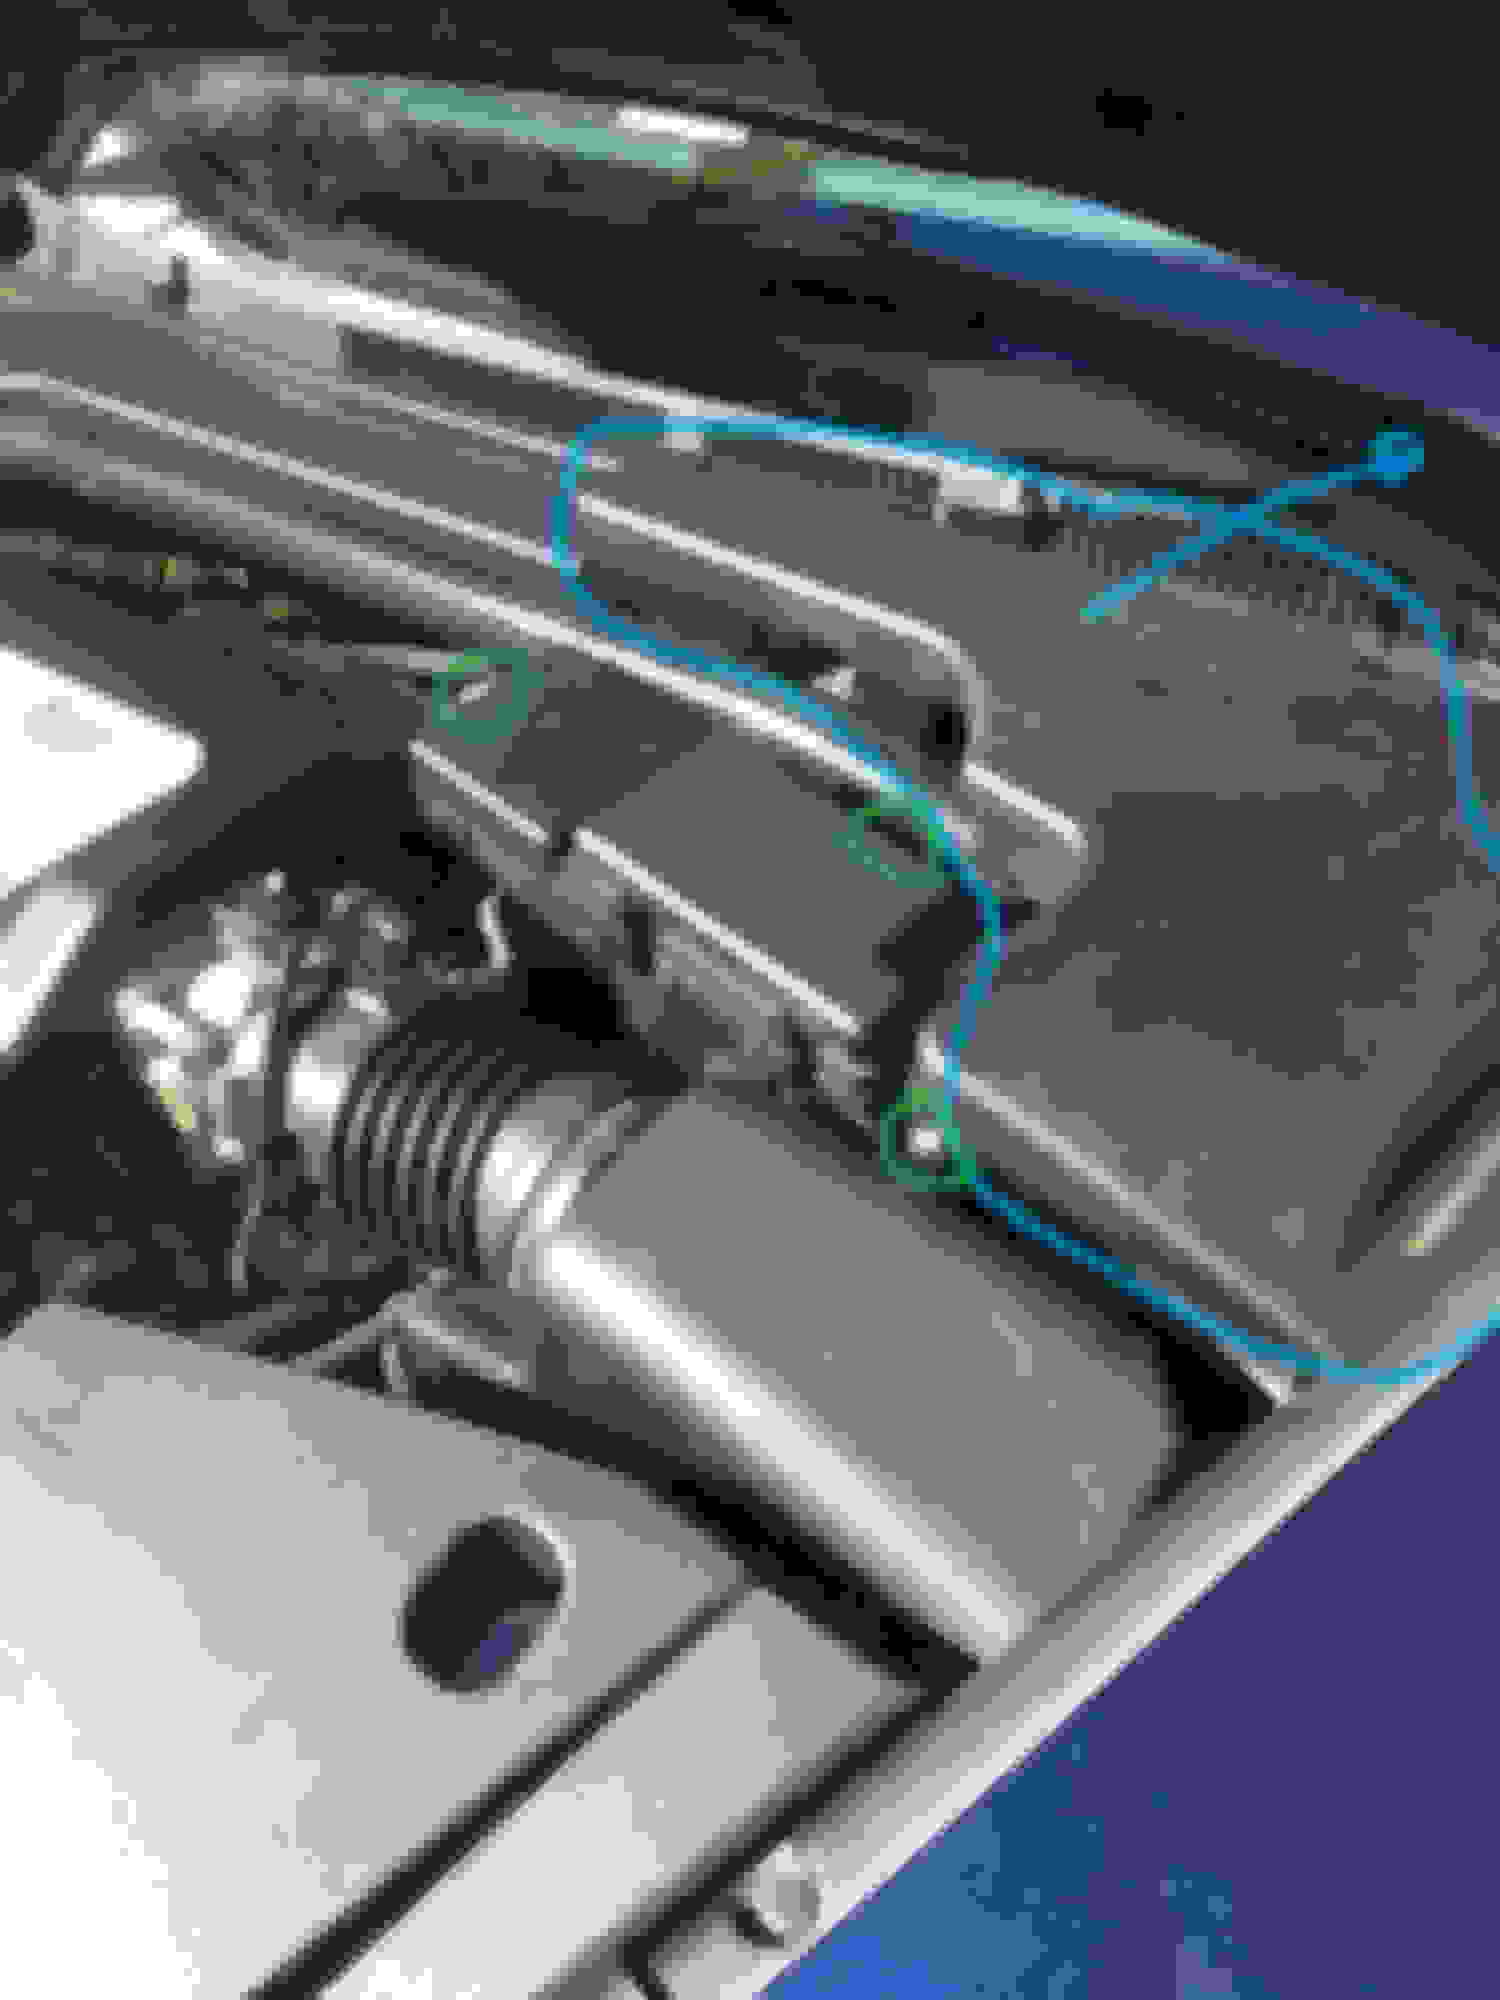
a) removing the panel/cover with "BRAKE FLUID" and "CLUTCH FLUID" on it (circled in blue in photo) as well as
b) unbolting the fuse box assembly --loosen 2 bolts and unclip one plastic mount (circled in green in photo). This will allow you to move the fuse box and gain better access to that bottom nut/washer.
Both of these sit right in front of the driver's side of the engine bay, on either side of the strut bar--see photos below.
3. An additional tool that would've been incredibly helpful is a magnetic tipped screwdriver or retrieval/pick-up tool since it's sometimes difficult--esp. if you have large fingers--to keep the bottom nut and washer from falling into the engine bay.
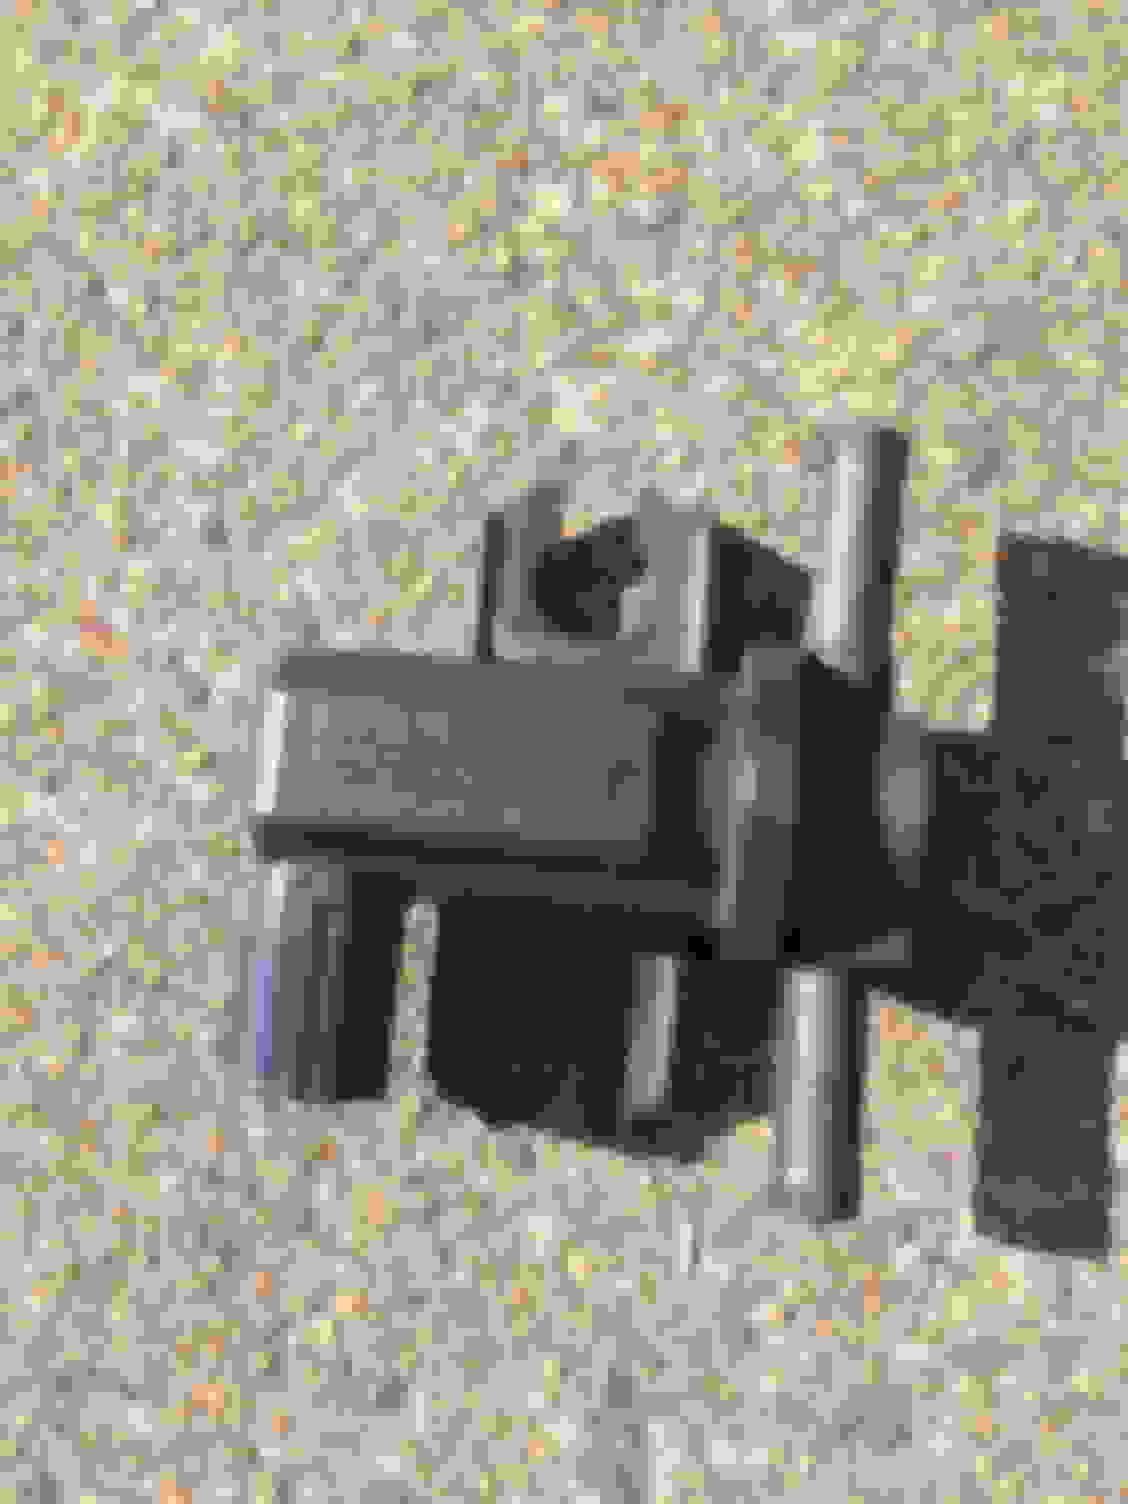
4. To remove the heavy rubber bushings from the old EVAP purge valve, use a screwdriver to pry out the inner metal plugs, which give the rubber bushings/washers their stiffness. Then pull out the rubber bushings/washers and press them into place in the new EVAP purge valve and replace the cylindrical metal plugs.
Also, my old/original EVAP purge valve also had "DENSO Mexico" stamped on it.... Hmmmmm.....
4. To remove the heavy rubber bushings from the old EVAP purge valve, use a screwdriver to pry out the inner metal plugs (circled in light blue), which give the rubber bushings/washers (circled in orange) their stiffness. Then pull out the rubber bushings/washers and press them into place in the new EVAP purge valve and replace the cylindrical metal plugs.
Received a P0443 July 1st, replaced the EVAP Purge valve & Gas cap (extra measure) July 8th, cleared codes and drove about 1000 miles. The past week i started getting tighten fuel cap and this morning P0443, P0497, & P0457 (Fuel cap loose/off).
Sorry to hear about this, esp. since you went the extra mile and replaced your gas cap, too. What a drag. Wish I had more ideas about what it could be.
Perhaps you should post to the 3G TL Problems & Fixes thread?
It's been about 2 months since I replaced my EVAP purge valve (didn't do the gas cap), and happy to report that the "Tighten Fuel Cap" light has not returned.
I plan to either do a proper diagnosis or take it to the dealer. I just figured instead of paying the dealer the ~$80 for diagnosis' i would just pay that to replace the EVAP Purge Valve and take my chances.
Words of Advice for those with this issue - Do a proper Diagnosis if possible. (My contribution to this thread)
Good luck! Just an FYI, the dealers don't always get it right the first try. This is just my own experience (and not TL related), but I had an '09 Nissan Altima with a push-start button. One day the car won't start; I'm stranded. I tow it to the dealer, they say it's a $600 brake lock check or something. I pay to get it fixed. 3 days later - same problem. I tow it to a different dealer, they tell me that it was a steering rack lock issue (can't remember anymore, but it def wasn't the first part replaced). That part, was under warranty. I call up the 1st dealer and tell them what happened, and they tell me I'm S.O.L. because the old part is gone now and they can't verify it.
It seems some of us have gas cap light go right away, but some of us have it show right back up?
I did mine yesterday and 3 miles later, CEL was on . I gassed up and reset the CEL light; now I got the tighten gas cap message again !!!
Any suggestions?
Read in a relate thread that it can take a few drive cycles for the tighten gas cap message to go away and stay??? But this is the 1st time the CEL has come on EVER...
('07 Base, only owner)
Some thoughts and additional tips for this:
1. Very easy and straight-forward job that even a complete non-wrenching person like myself was able to complete--although it did take me 90 min., 3x what it should have according to RxWorld's estimate.
2. The main problem I encountered was access to that bottom nut/washer. To make this easier, I'd also suggest:
a) removing the panel/cover with "BRAKE FLUID" and "CLUTCH FLUID" on it (circled in blue in photo) as well as
b) unbolting the fuse box assembly --loosen 2 bolts and unclip one plastic mount (circled in green in photo). This will allow you to move the fuse box and gain better access to that bottom nut/washer.
Both of these sit right in front of the driver's side of the engine bay, on either side of the strut bar--see photos below.
3. An additional tool that would've been incredibly helpful is a magnetic tipped screwdriver or retrieval/pick-up tool since it's sometimes difficult--esp. if you have large fingers--to keep the bottom nut and washer from falling into the engine bay.
4. To remove the heavy rubber bushings from the old EVAP purge valve, use a screwdriver to pry out the inner metal plugs, which give the rubber bushings/washers their stiffness. Then pull out the rubber bushings/washers and press them into place in the new EVAP purge valve and replace the cylindrical metal plugs.
Also, my old/original EVAP purge valve also had "DENSO Mexico" stamped on it.... Hmmmmm.....
There for those that haven't attempted repair is the 2nd underneath bolt on solenoid. Mine was stuck to screw. Not good Removing hoses Pushing out carefully with screwdriver, because nut never came off screw. Whole piece unscrewed from block. No leakage of anything. If you encounter this issue dont strip your thread. Carfully remove
And insert in new solenoid
Re install in reverse order. Finger screw to start so you reduce risk of dropping nut in engine bay using ratchet. Dropped mine, but lucky went through to the ground.
After all put back together you must drink for good luck.
Hope these pictures added some clarity to the process.

 04-15-2015, 01:51 PM


 No issues to date since I changed my mine in August 2014!


 there is good.


 ?
?


 . I gassed up and reset the CEL light; now I got the tighten gas cap message again


