d1sturb3d119 build thread
 06-09-2014, 12:44 PM
#41
Moderator
iTrader: (3)
Lucky bastard 

 06-09-2014, 01:22 PM
#42
takin care of Business in
iTrader: (5)
Join Date: Jan 2008
Location: Kansas City, MO
Age: 40
Posts: 30,994
Received 4,732 Likes
on
4,064 Posts

congrats on the new place dude
06-09-2014, 09:54 PM
#44
Team Owner
iTrader: (2)
Join Date: Jan 2008
Location: Kansas City, MO (Overland Park, KS)
Posts: 36,545
Received 6,470 Likes
on
5,162 Posts
Congrats on the new house, dude!
The following users liked this post:
d1sturb3d119 (06-10-2014)
The following users liked this post:
d1sturb3d119 (06-10-2014)
06-16-2014, 03:02 PM
#47
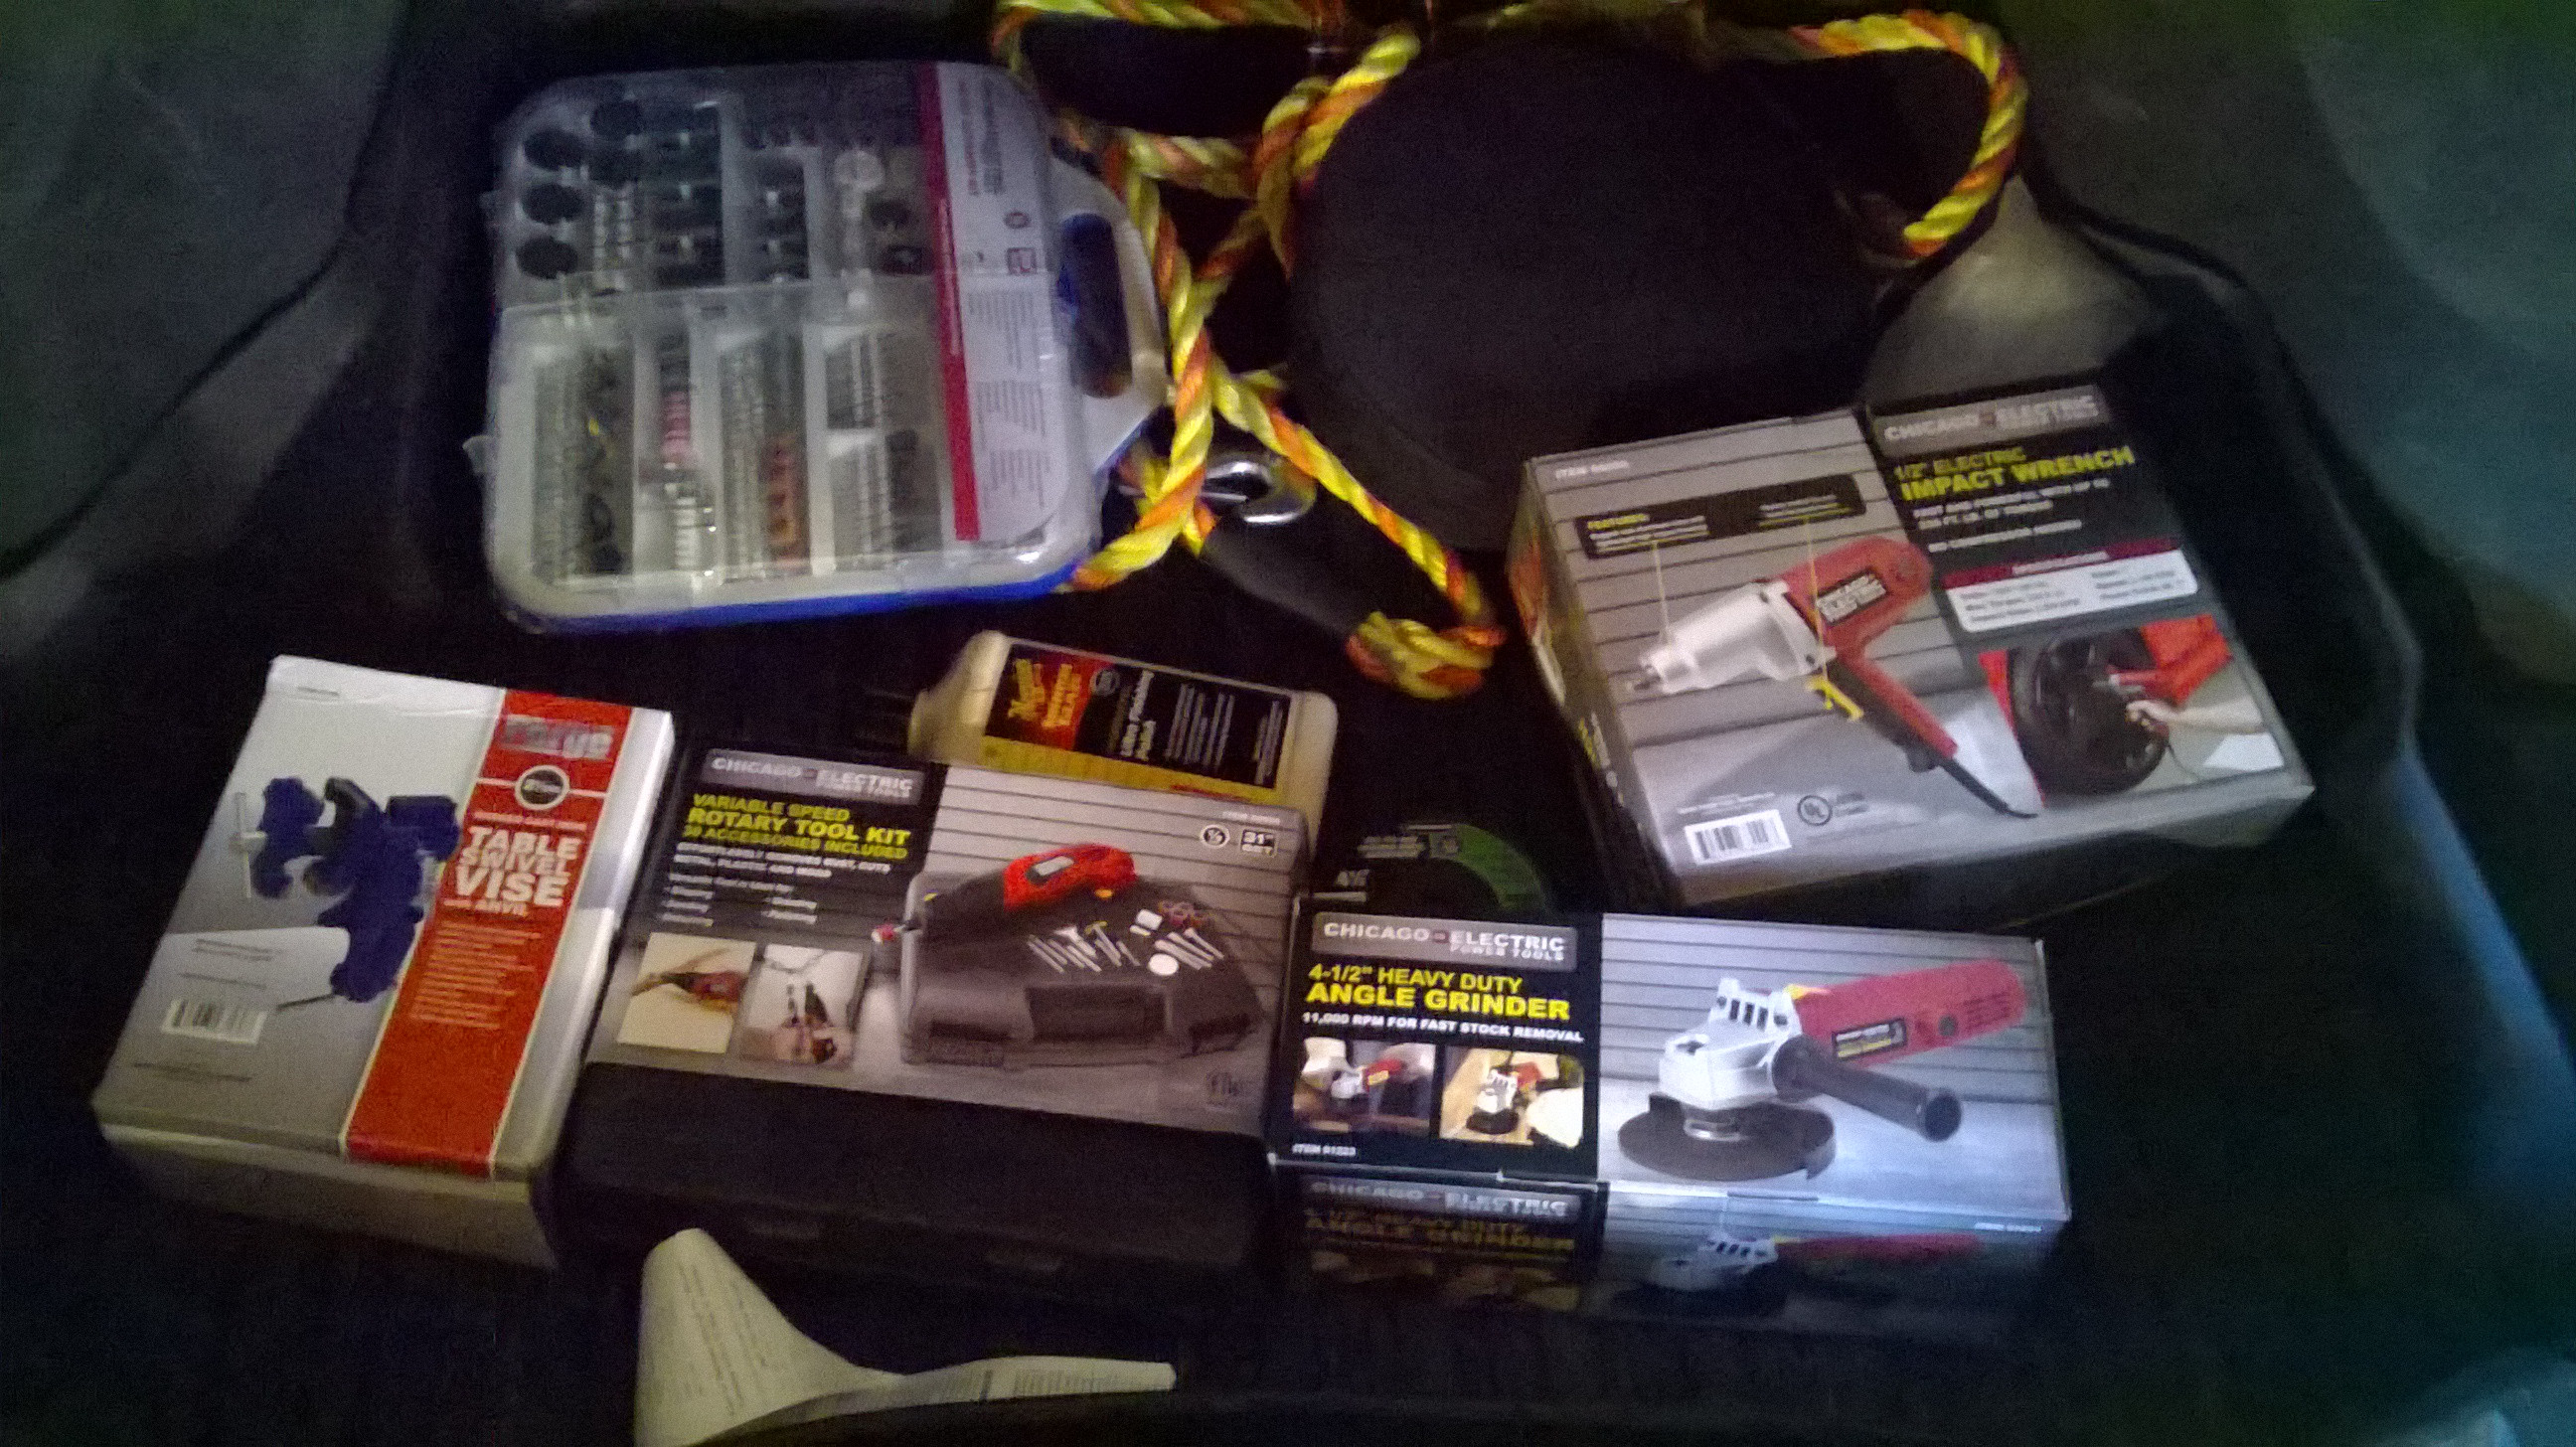
Okay, this weekend was busy and super exciting! Wife spent on the house and herself for her birthday. Plus my parents sent her some money. So I spent a good chunk of money on "essentials".
 Granted all from harbor freight some we're good some were meh... The Table vise has casting imperfections like crazy. But it works. I want it to hold what my hands can't.
The Dremel has some crazy kick and I got a 249 piece set. Speaking of kick's the angle grinder has crazy power and I picked up some cutting and grinding discs with it. Will be doing some exhaust work as soon as I can pick up an arc welder. Heavy duty impact gun is for my sway bar for the TL next week. And the medium cut compound for the paint correction both the cars need.

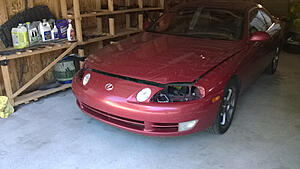
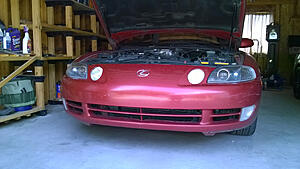
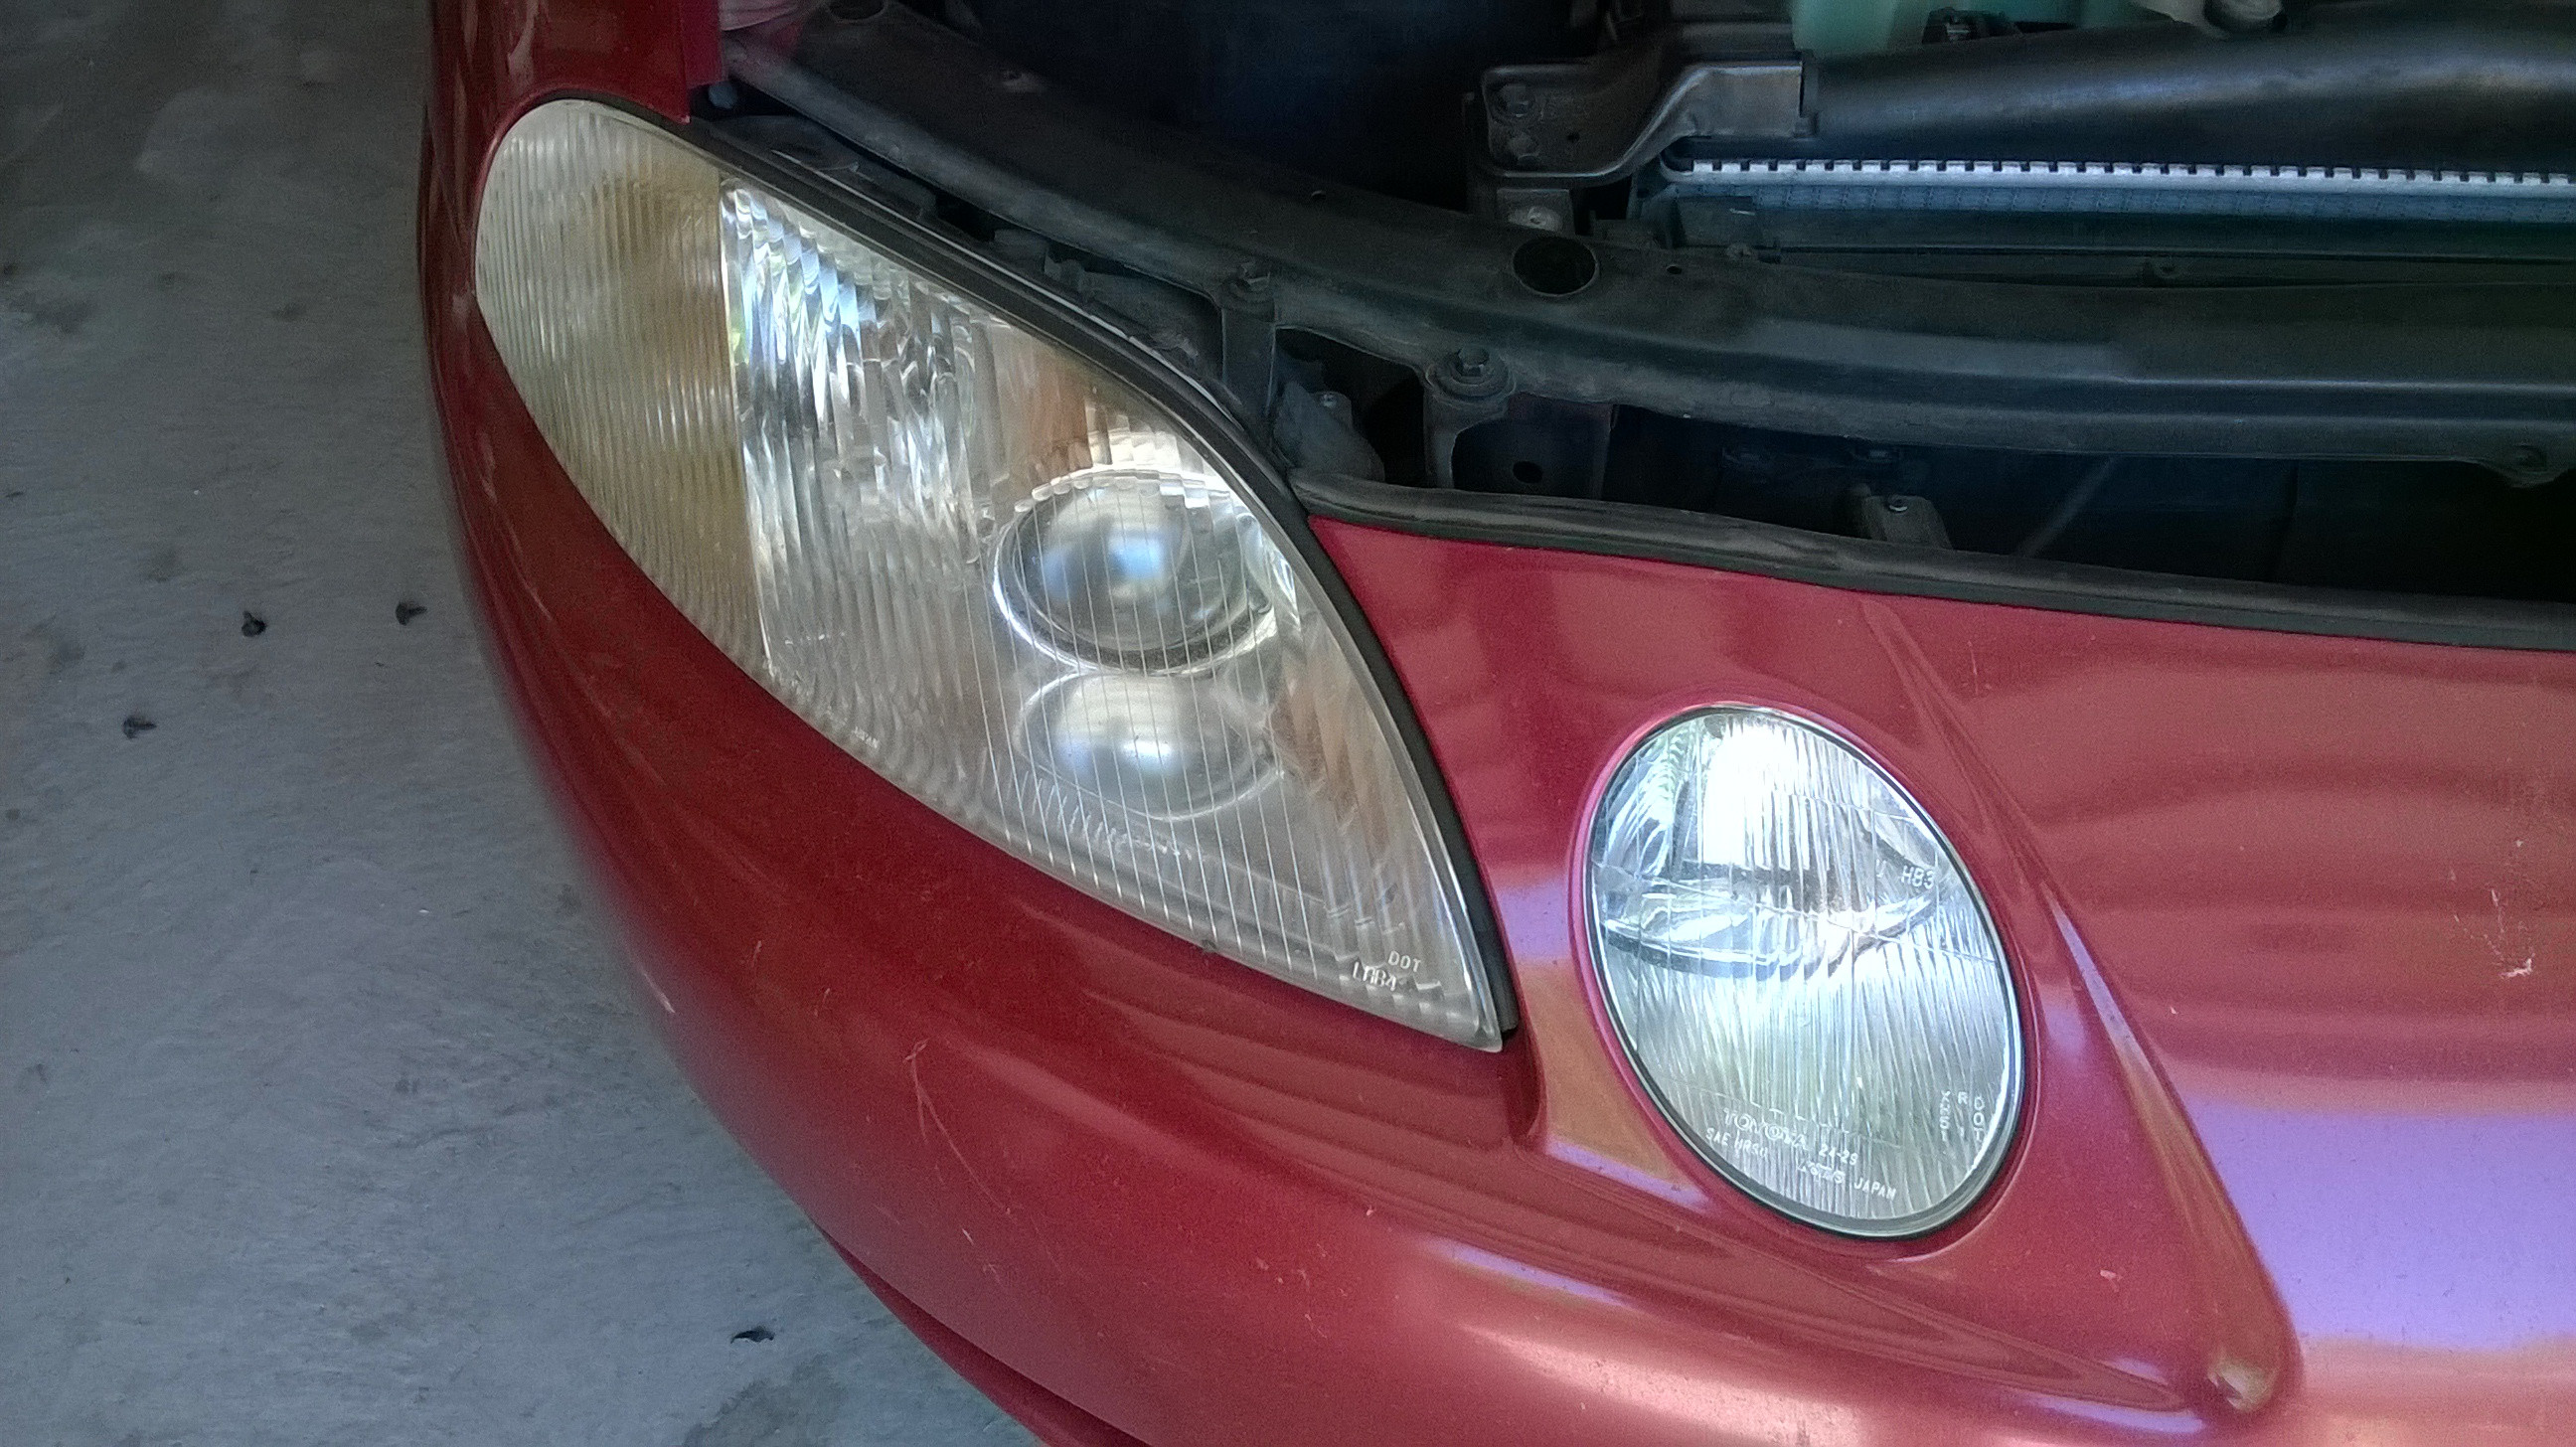
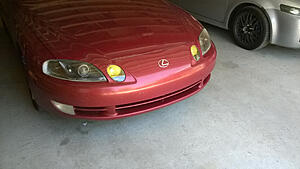
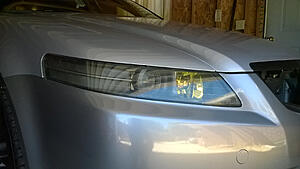
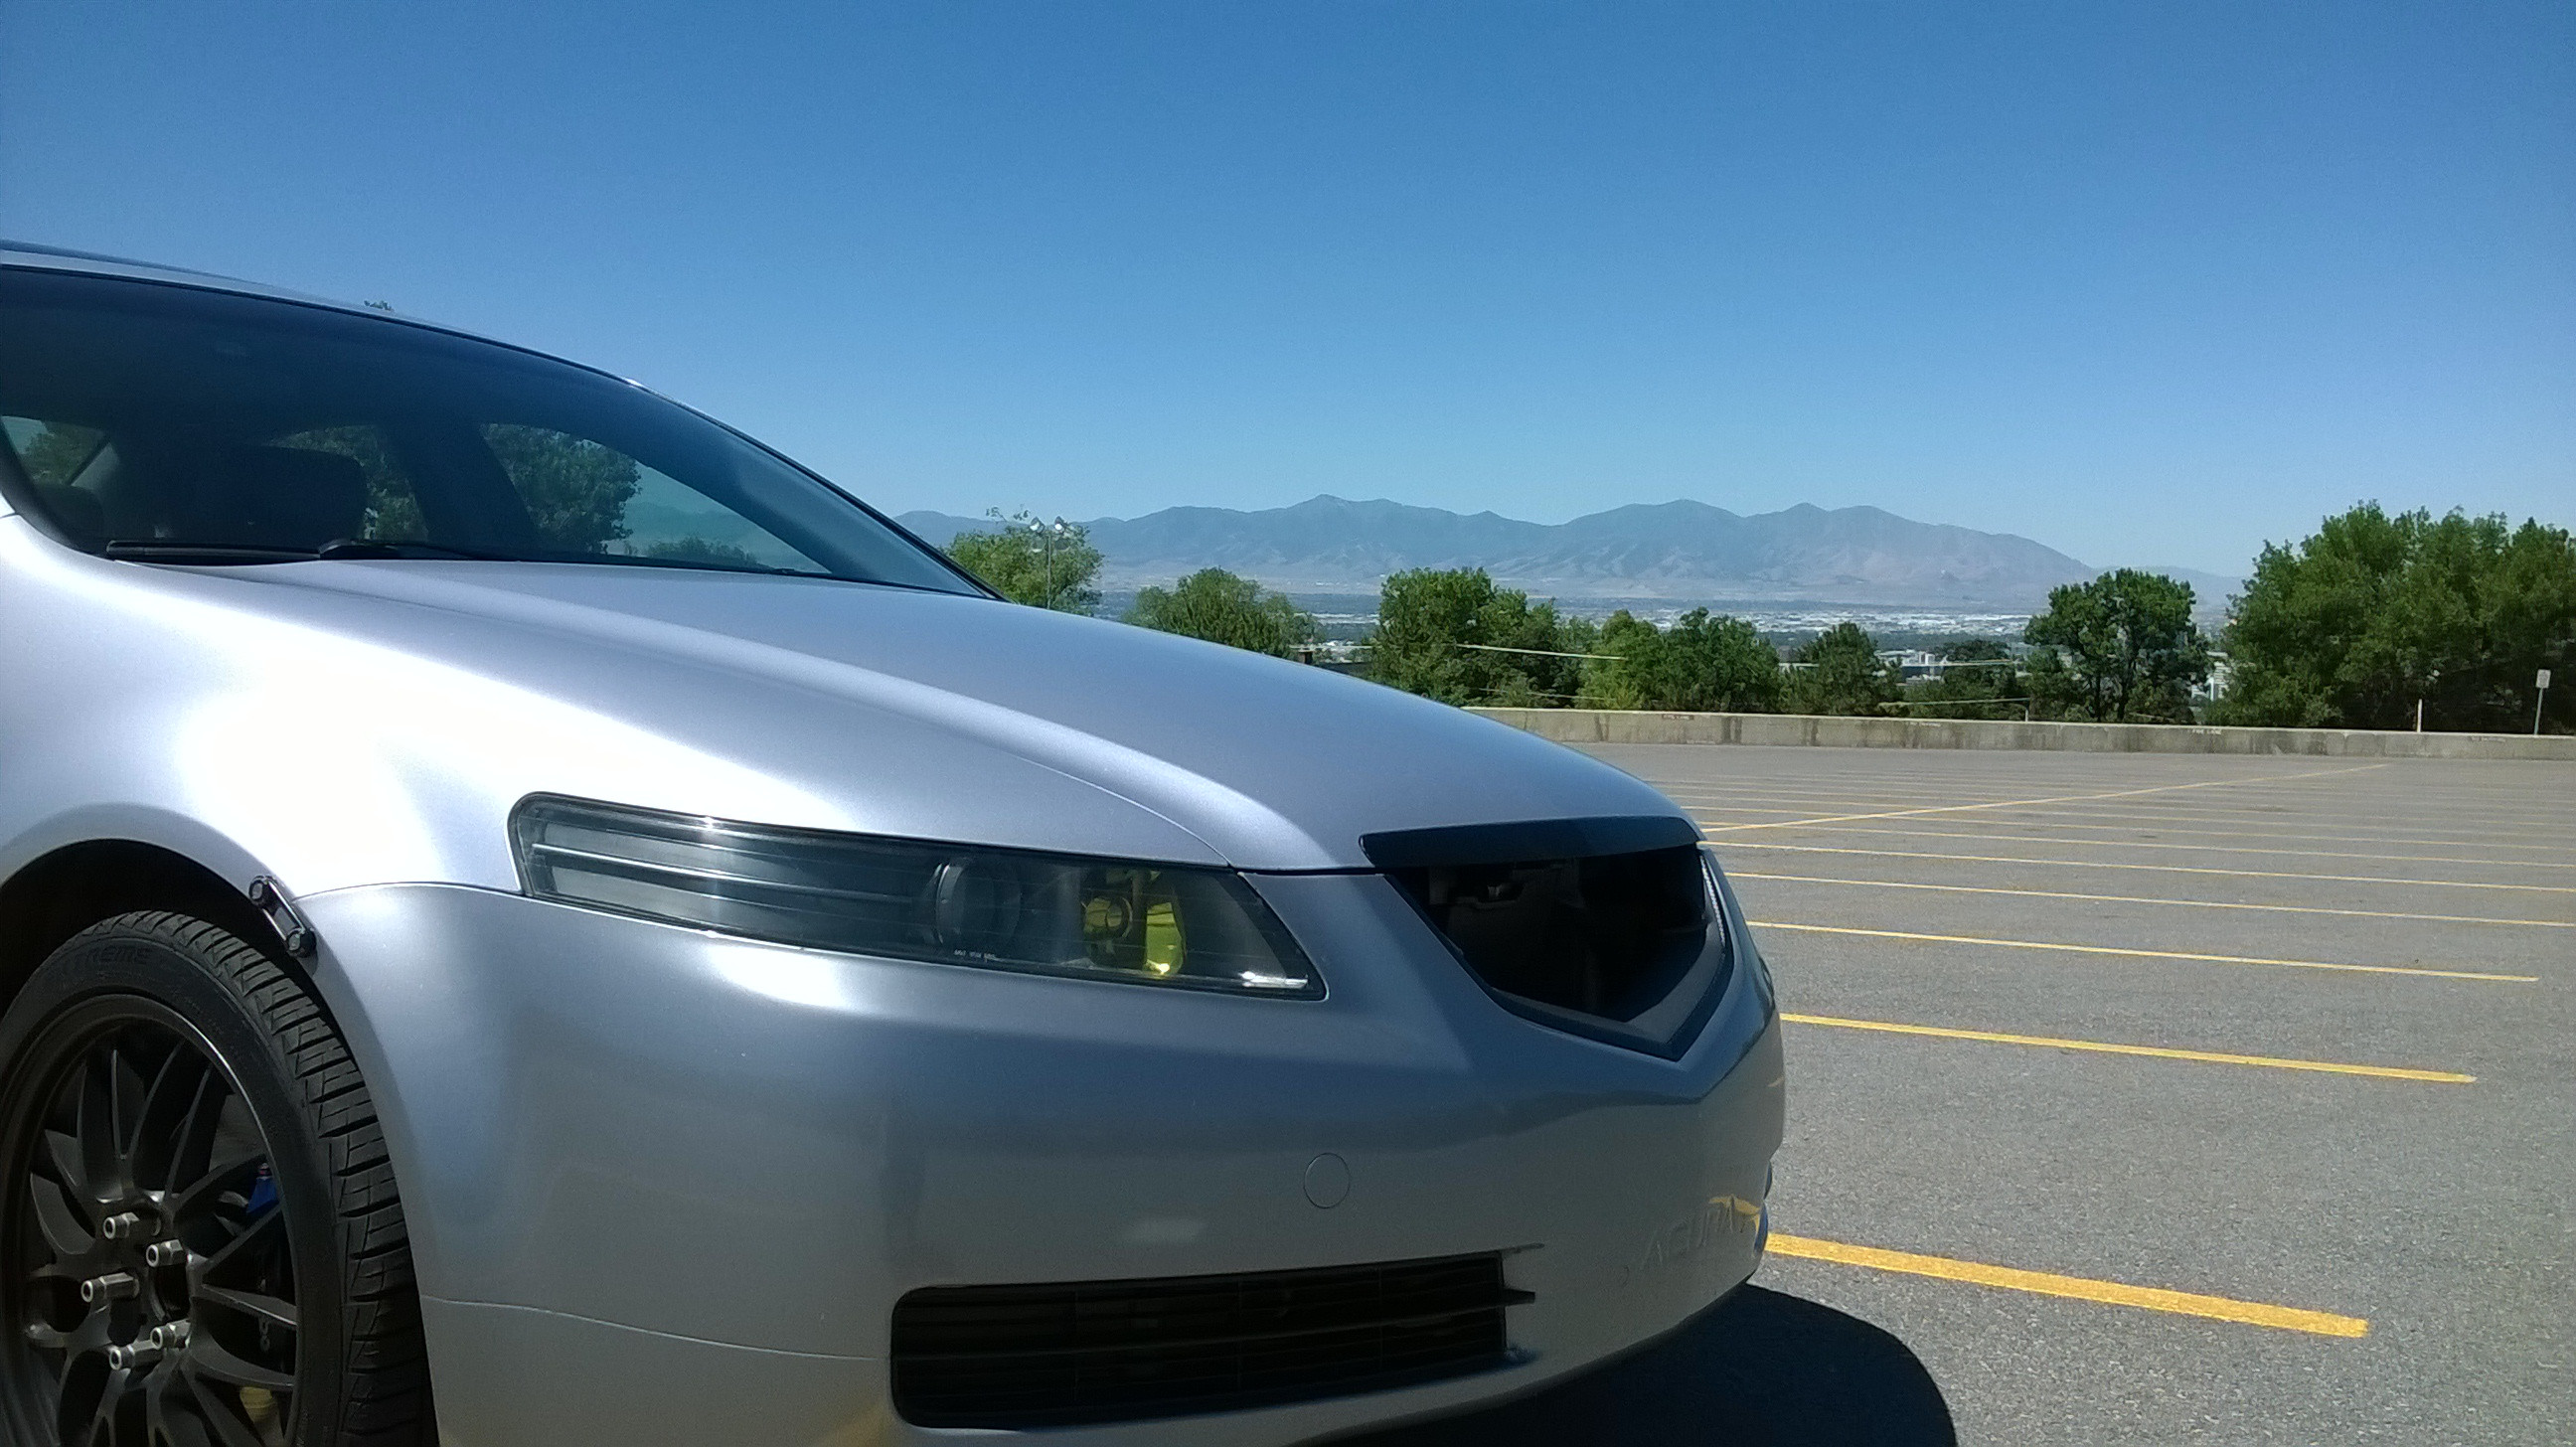
The first issue I wanted to fix was the fogged up headlight the SC had. Also I could get some more practice before baking open the TL's headlights again. Want to make sure I do it perfectly! I forgot so many things the last time.
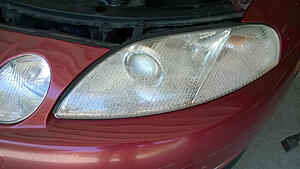

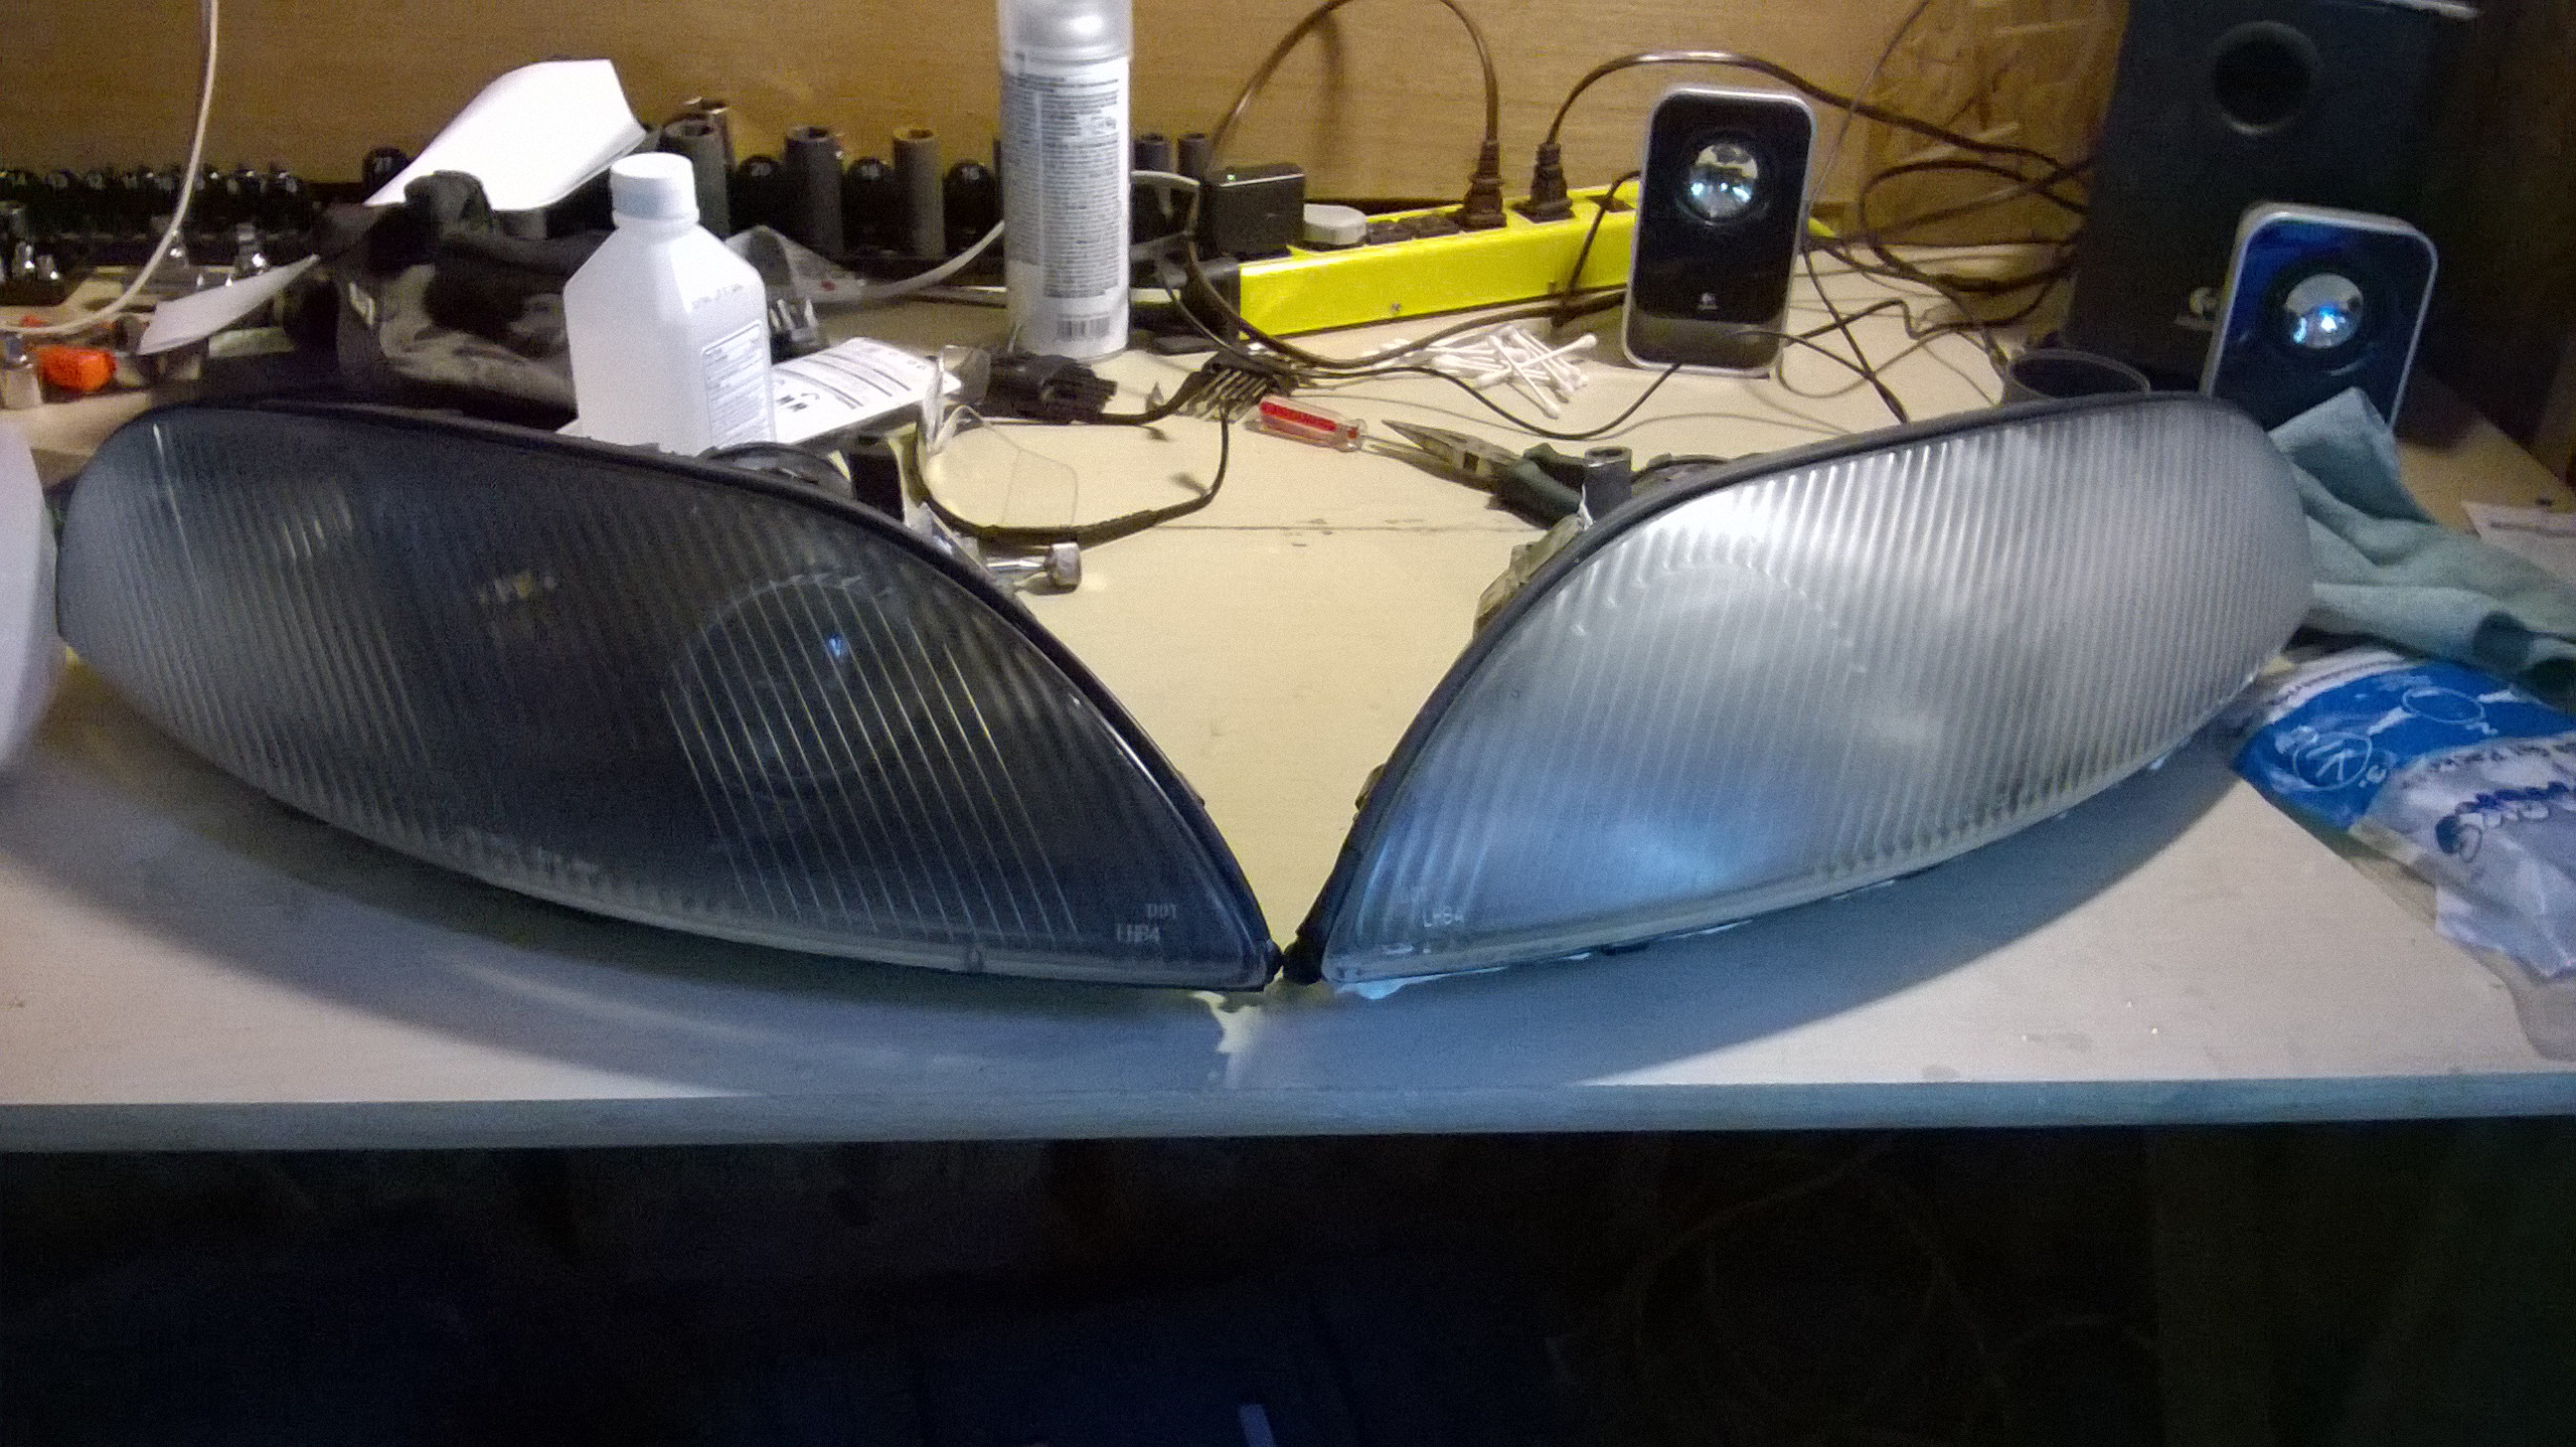
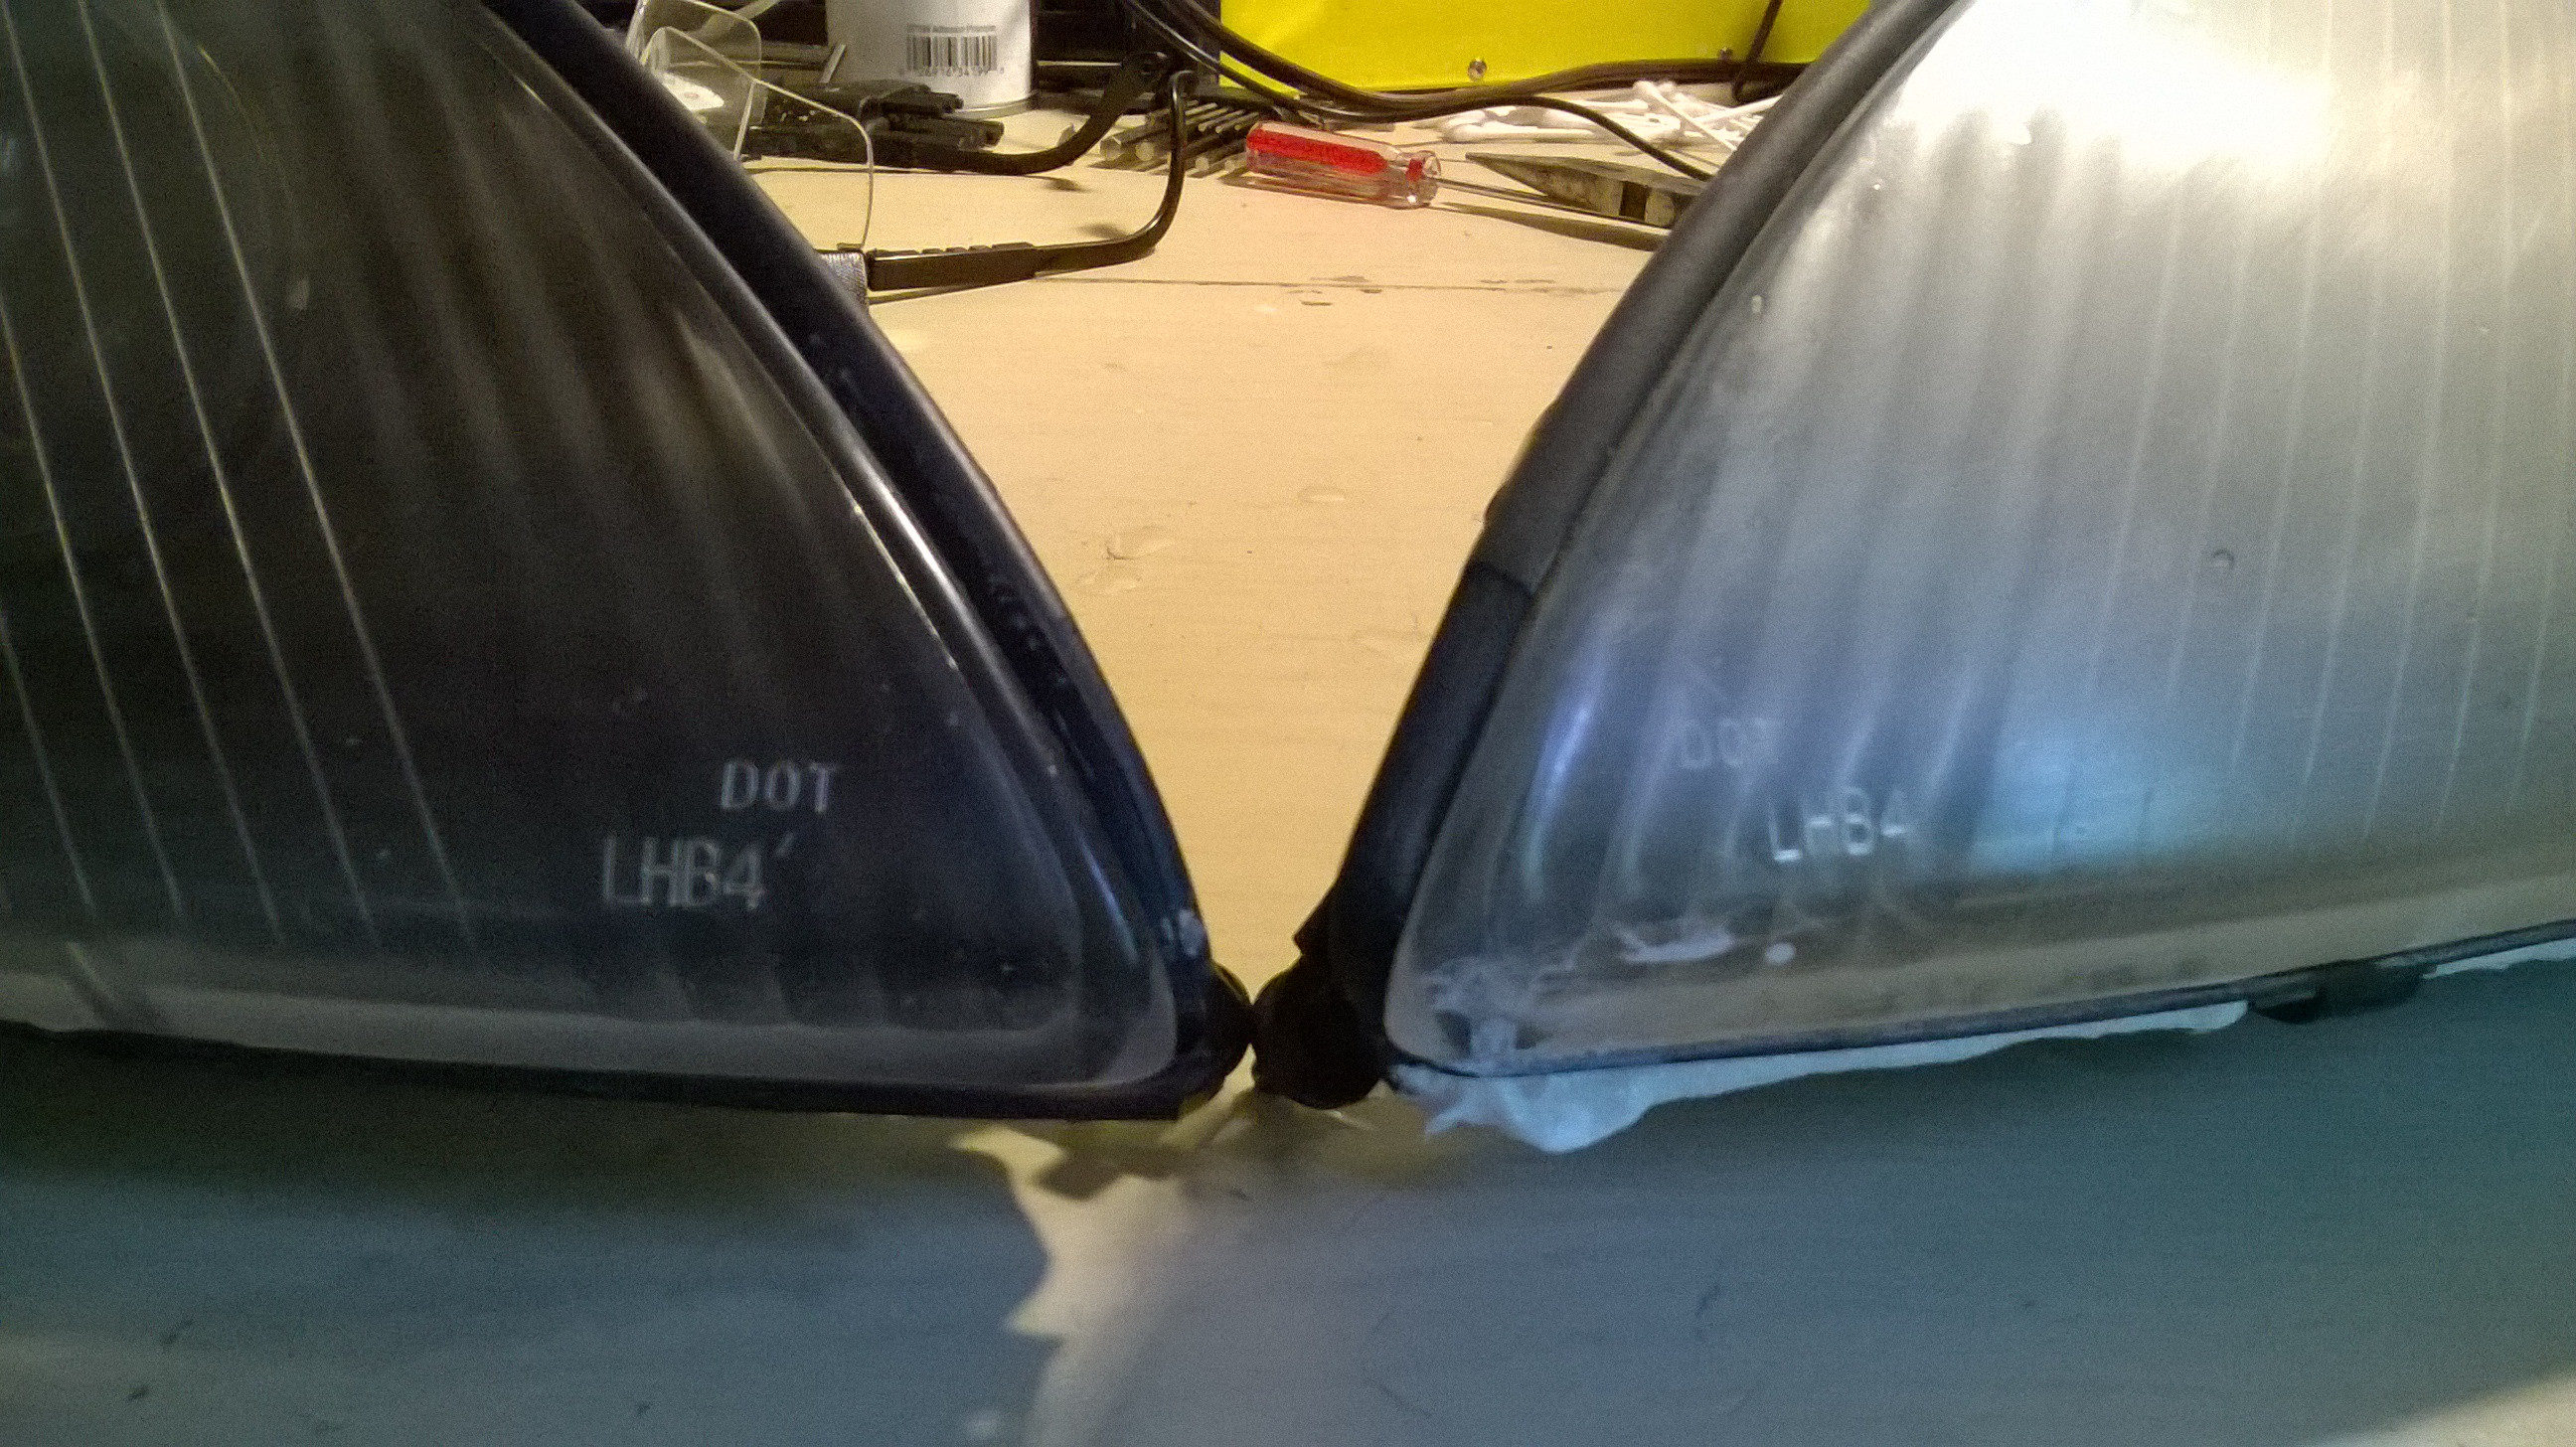
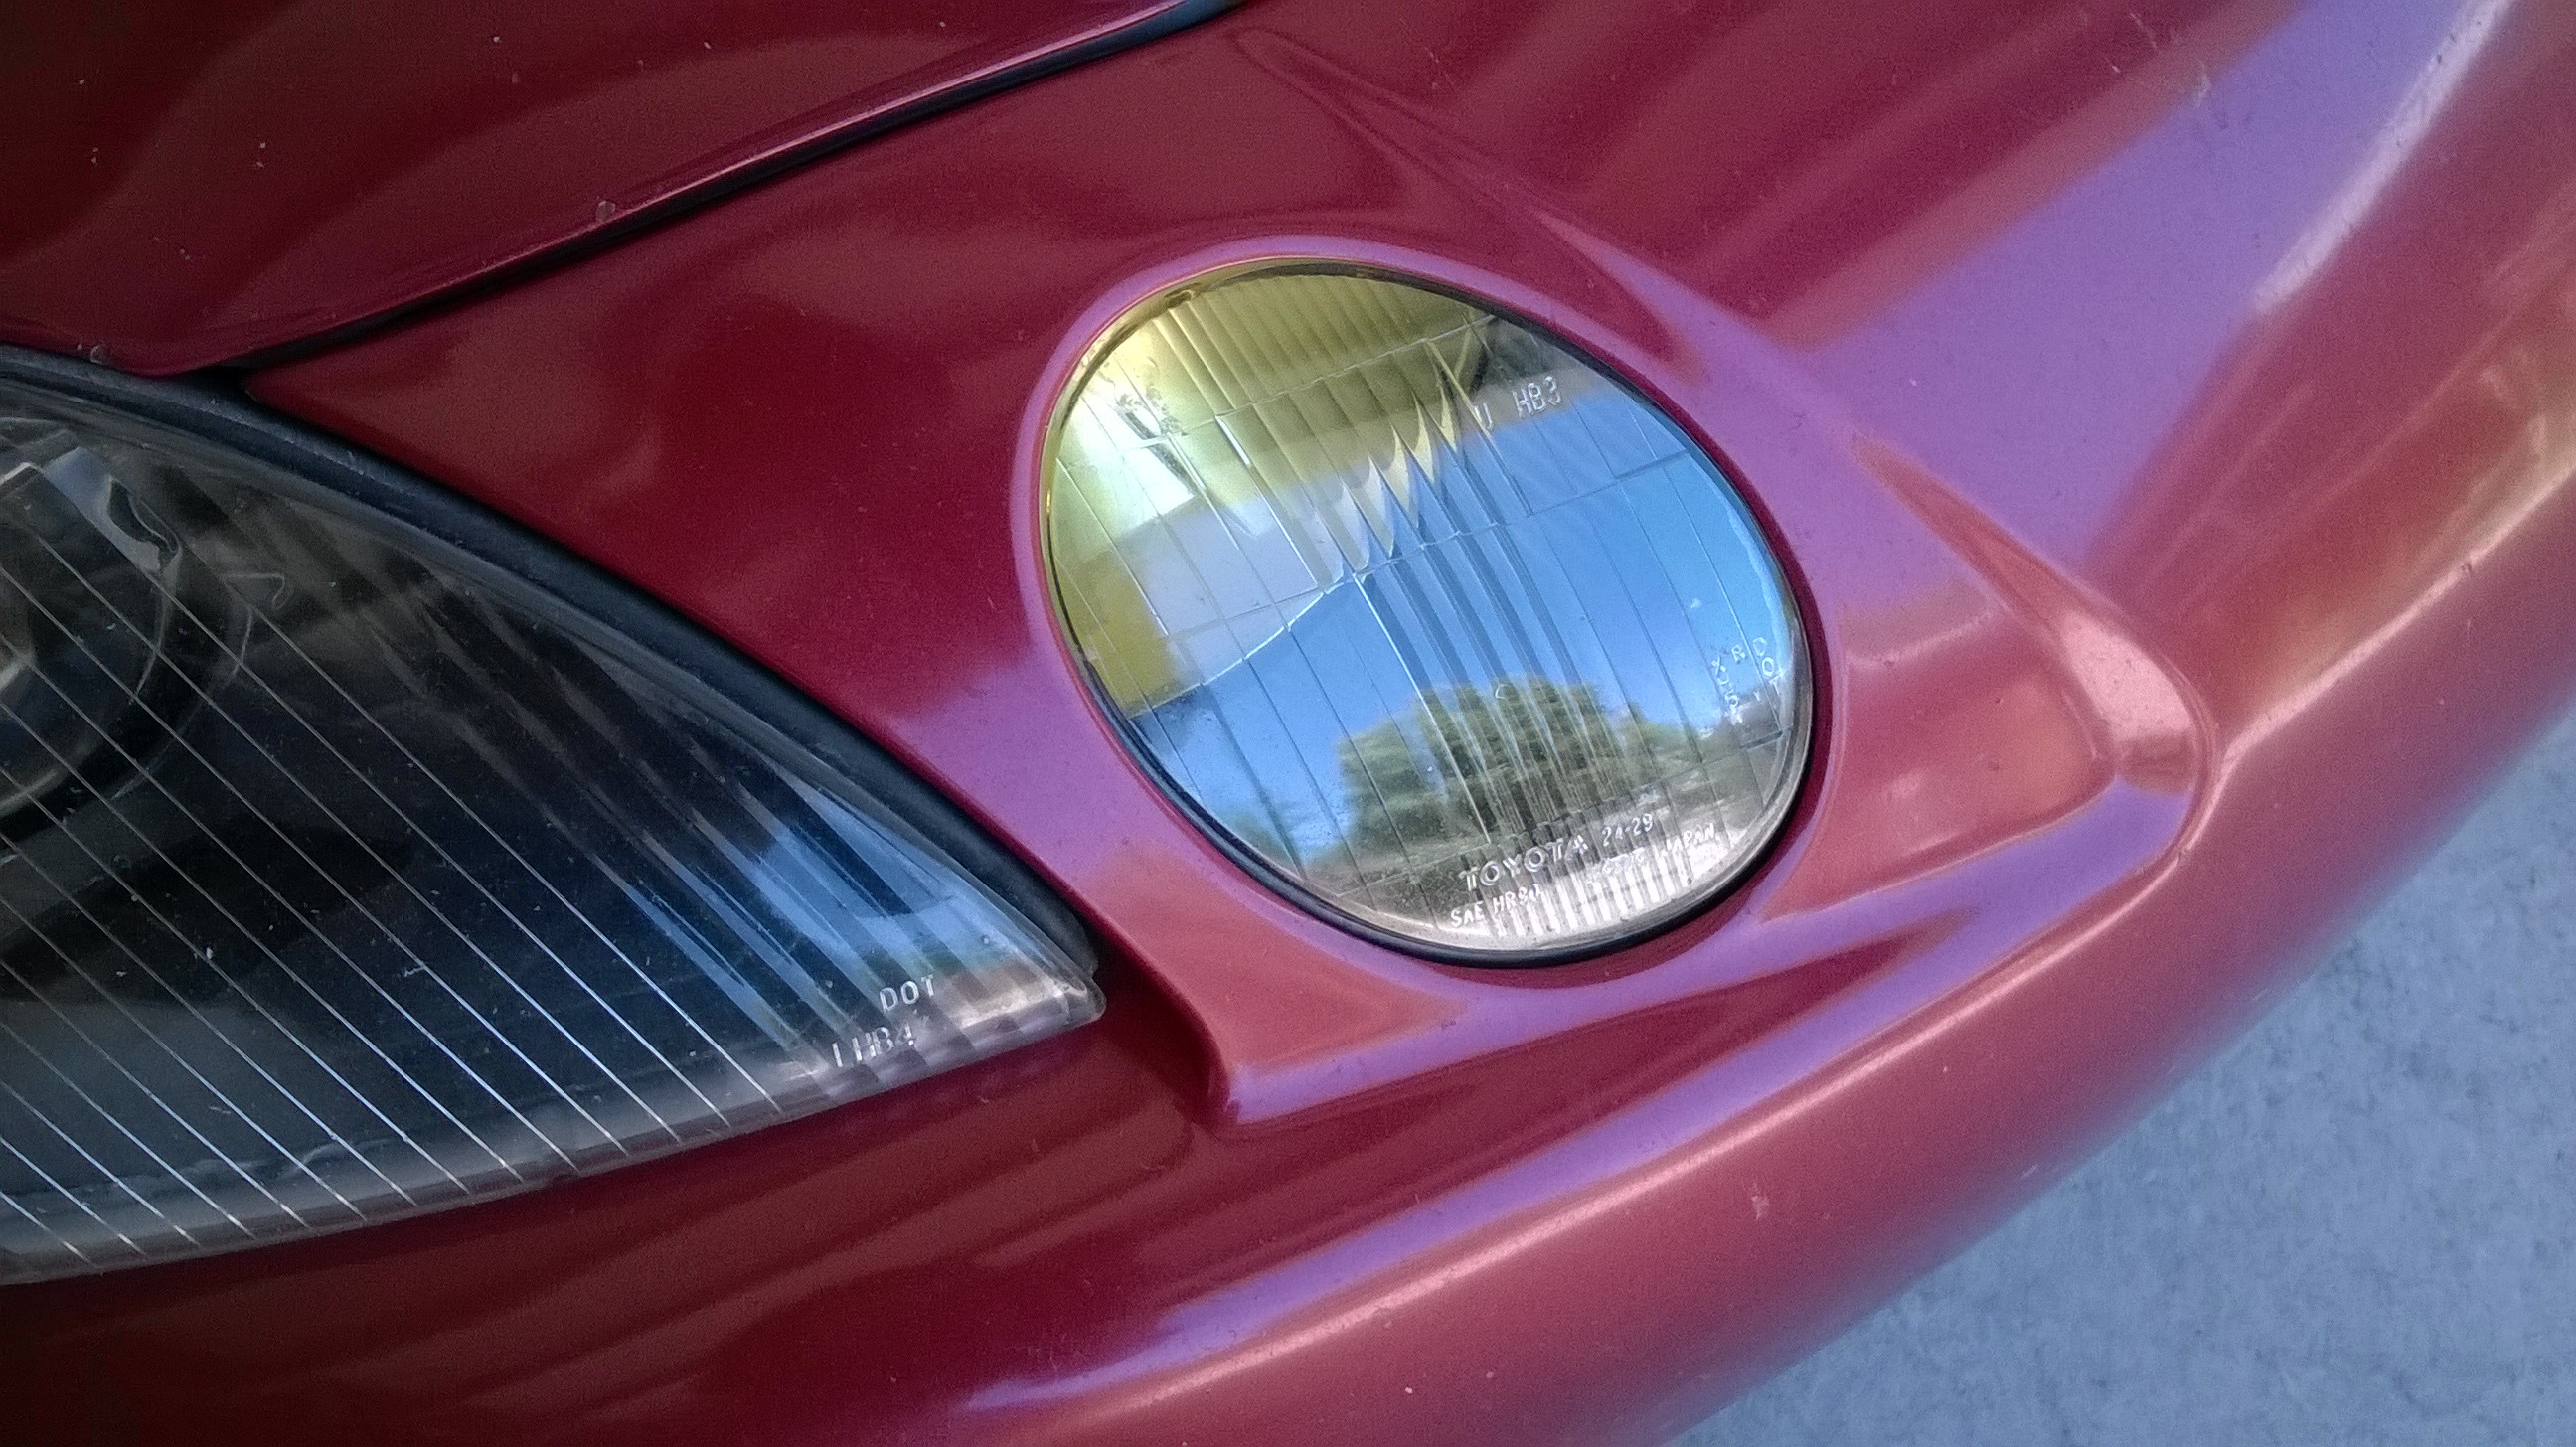
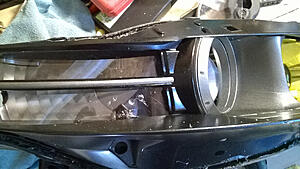
After taking apart the headlight the fastner's were not the same at all. Seemed like one was OEM and the other was not. But they had the same markings weirdly enough.
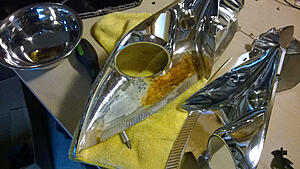
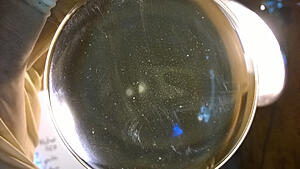
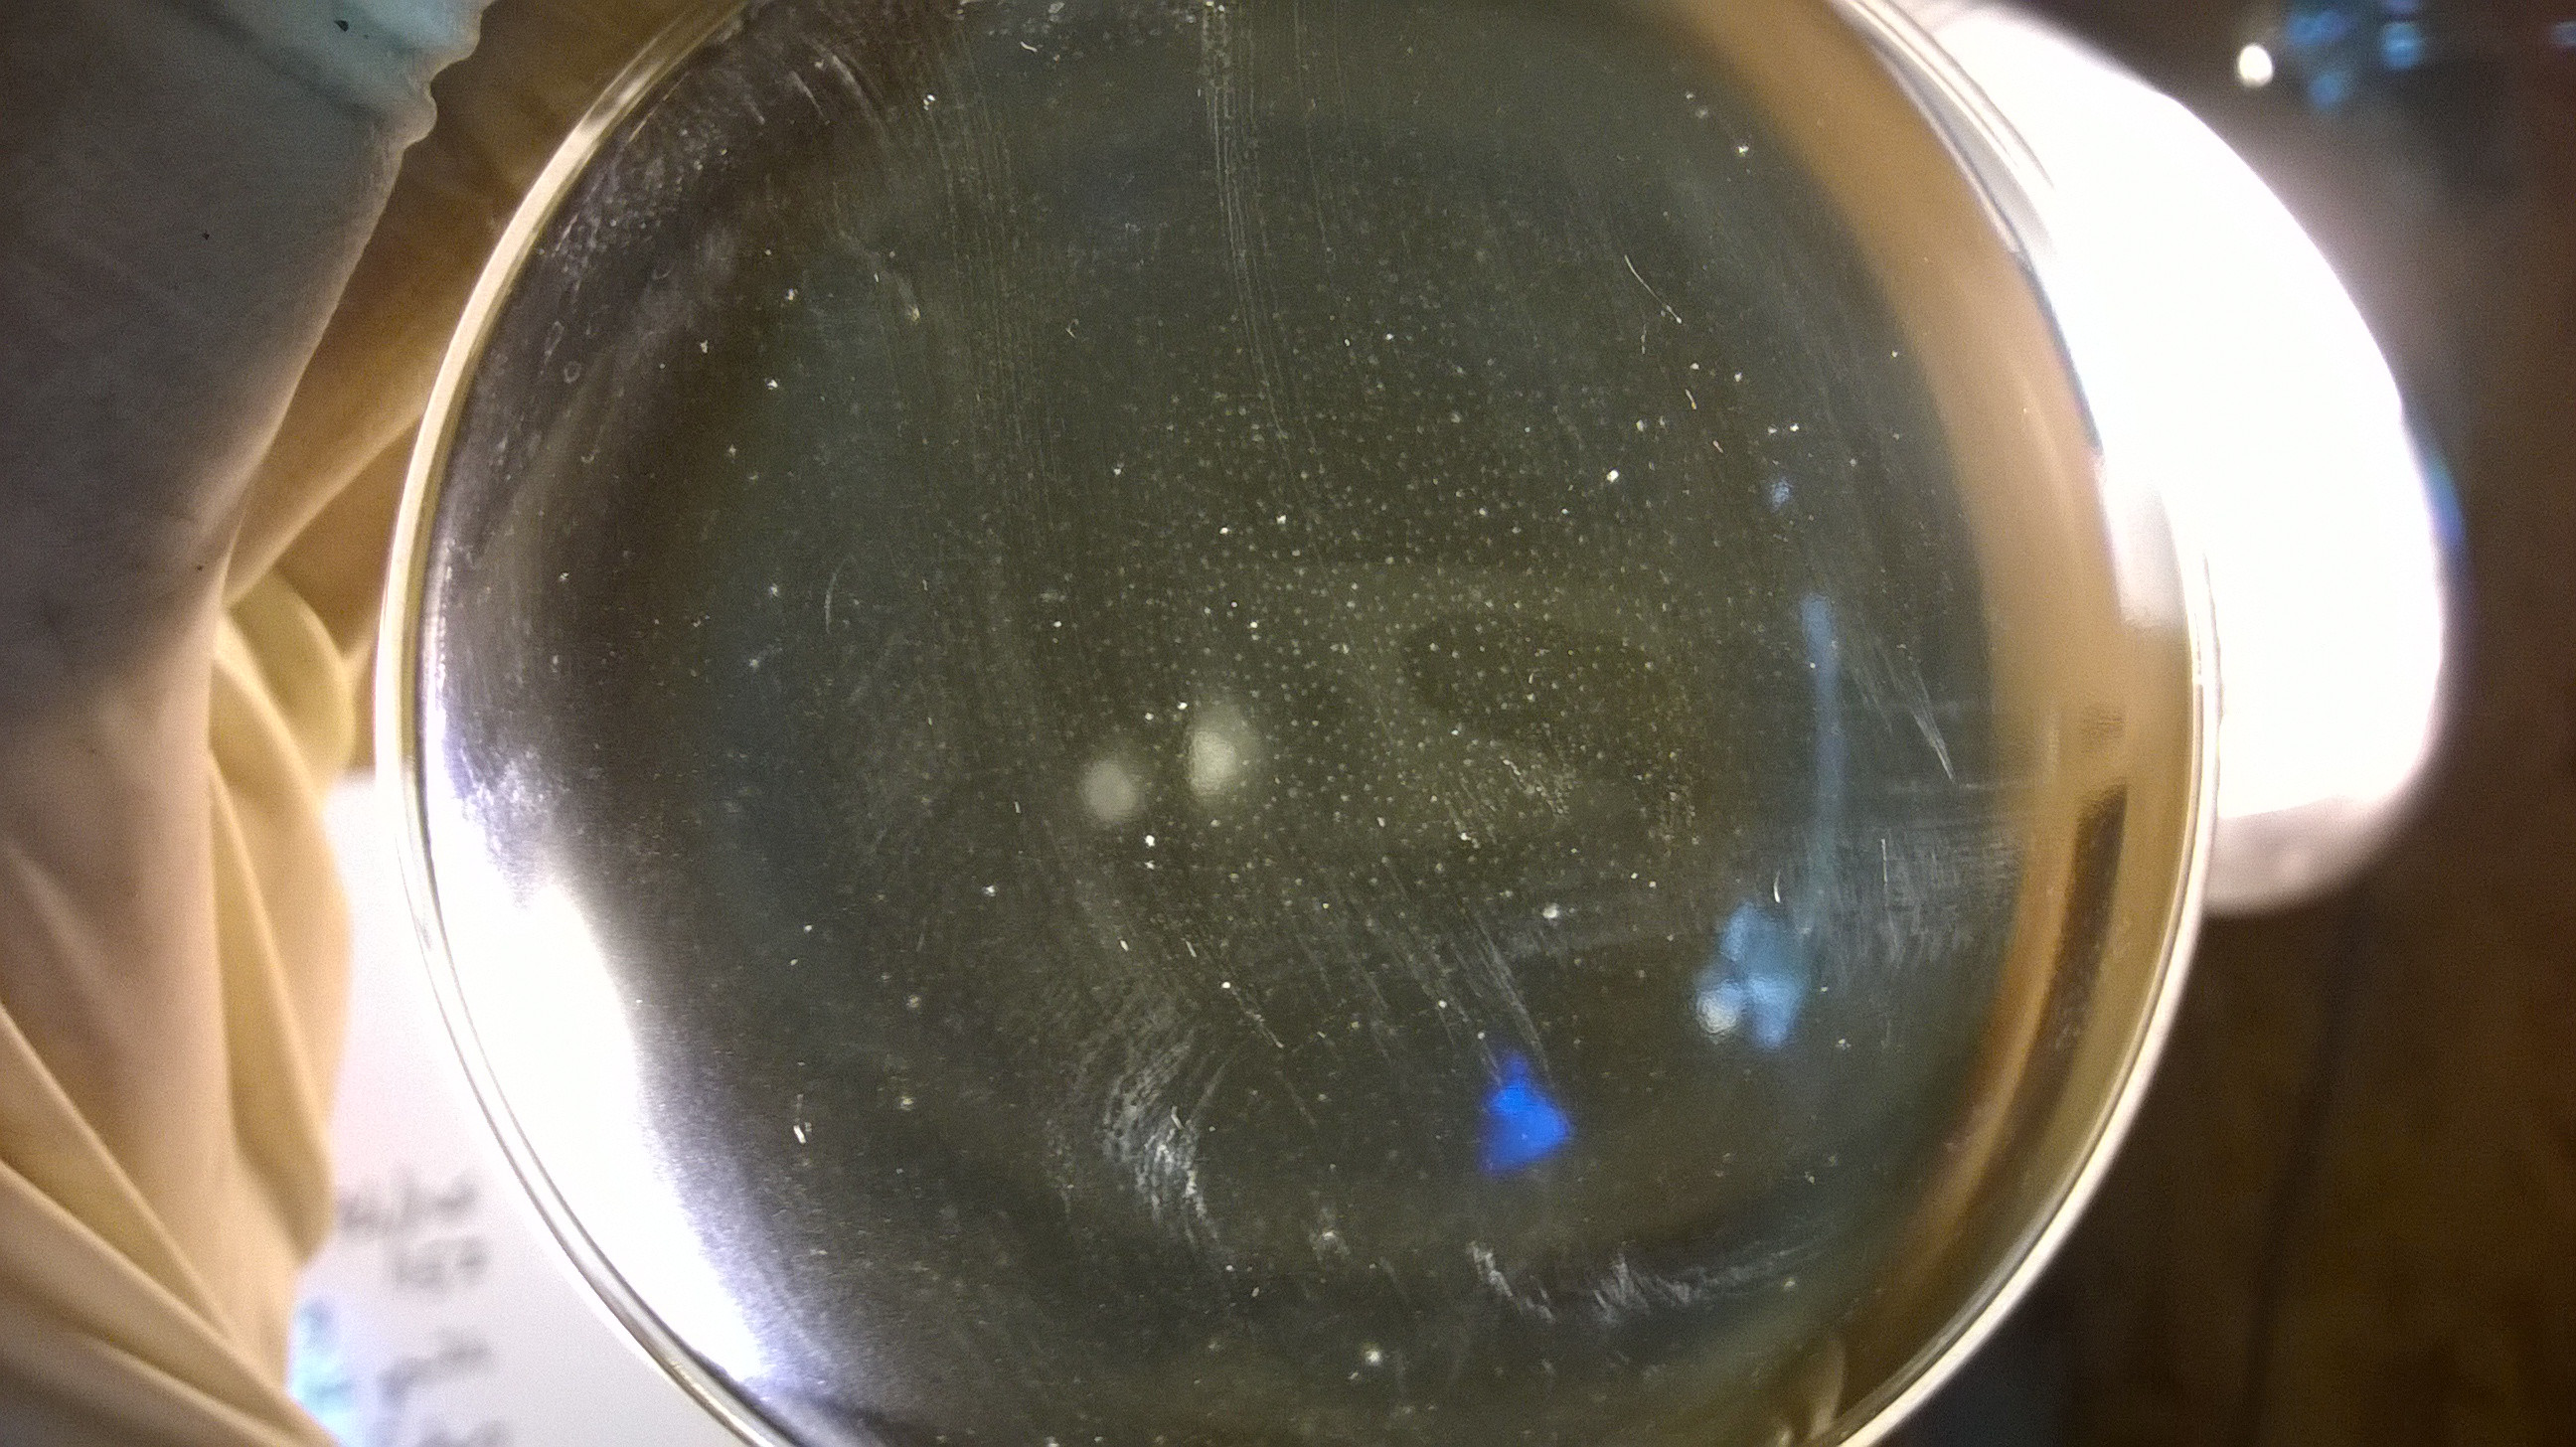
One had a metal reflector in the housing for some unknown reason and because of the leak started to rust and left this wonderful mess to clean up.

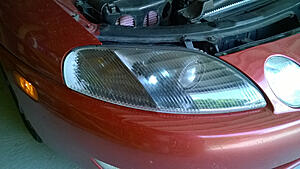
Non OEM lens. Couldn't see that from the outside. The difference in quality is crazy!
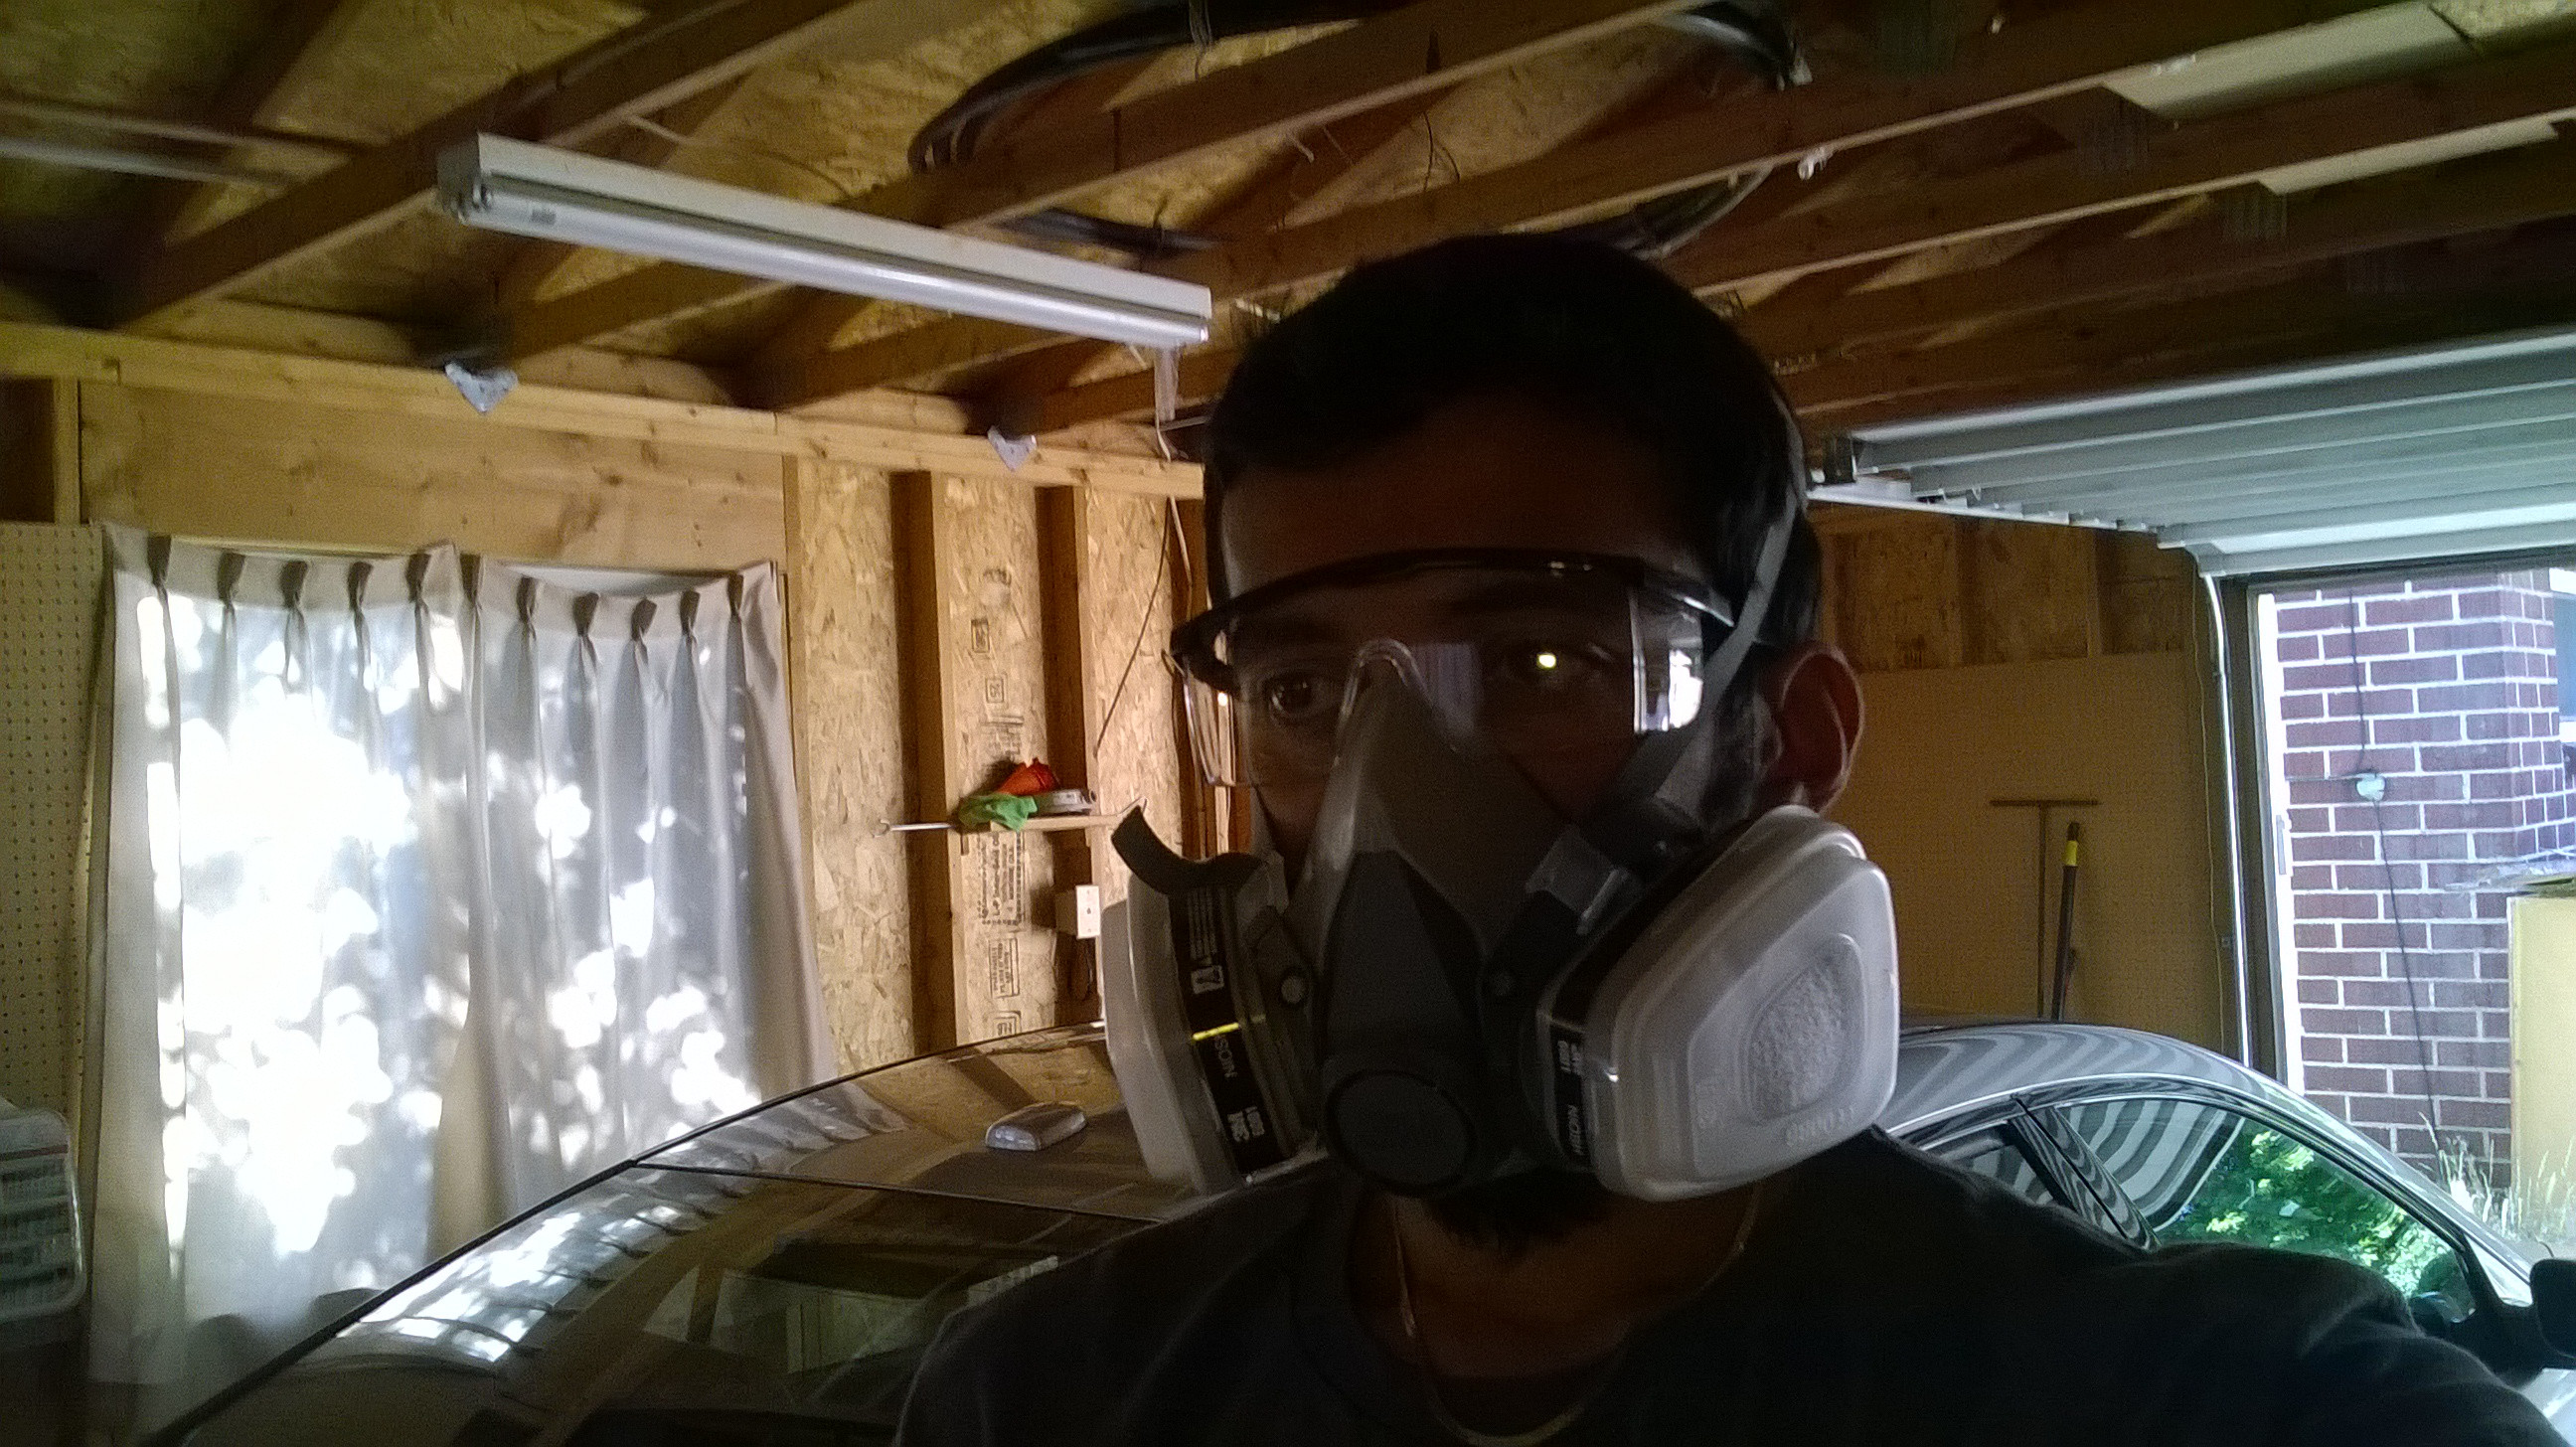
Breaking cars or fixing them. Not sure. :P Was doing paint work and that's why I had that on. It's not overkill or anything.

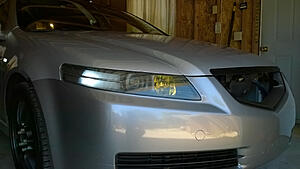
Finished product
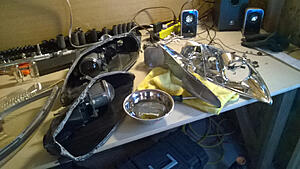
Had to sand and clear out the lights. Tons of oxidation.


All done! Bought some LED's from . They shipped them out super fast and I unknowingly bought a ton. Bought 4 10 packs. Think I should be set for a while lol.

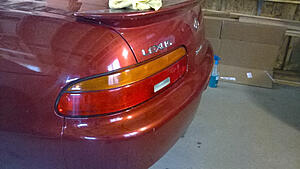
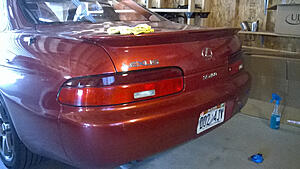
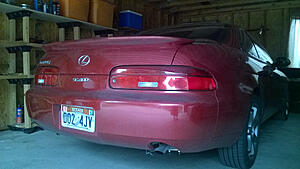
While doing all that I was working on the tail lights as well. I love the JDM tails but they're too expensive to justify buying them now. So decided to even out the tail lights and have them an even shade of red.
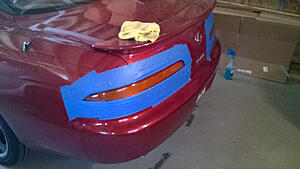
Then I overdid it. Had to use some cutting pads and compound to lighten it up.
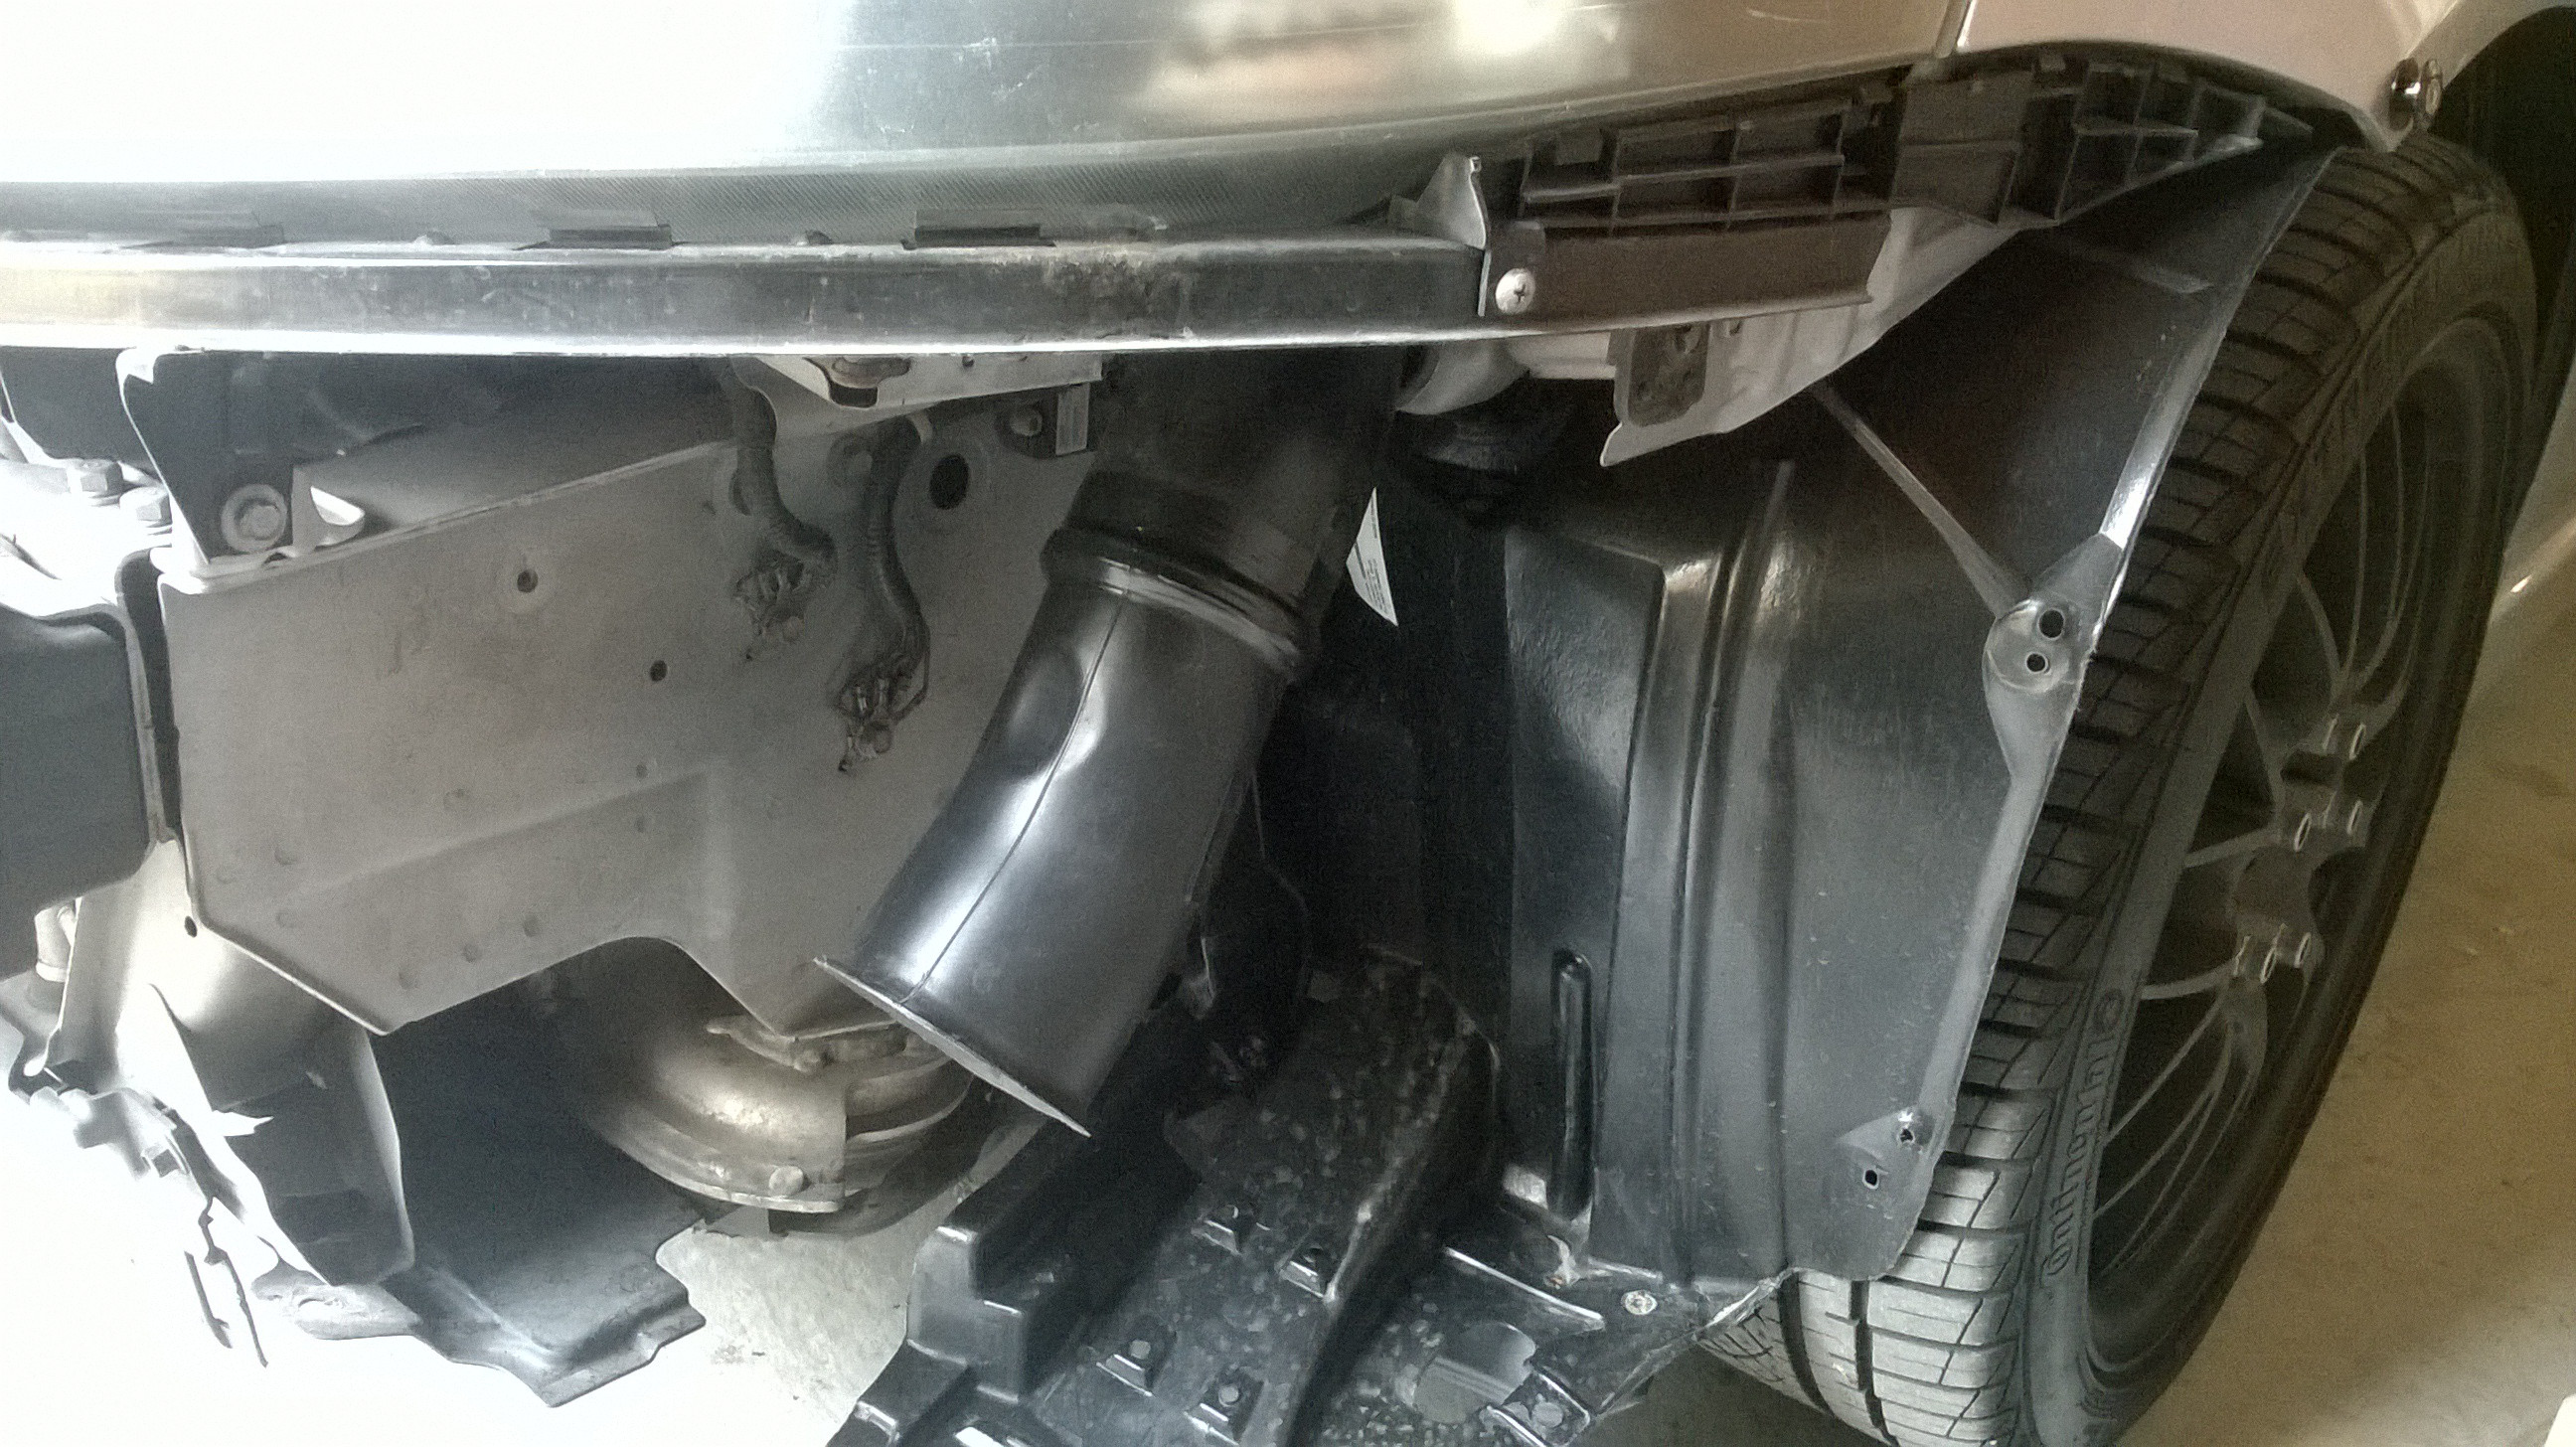
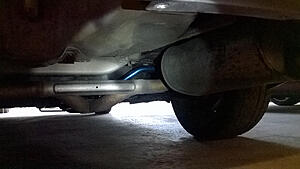
Finally did the BFI mod. Cut the holes. Cut the egg cups which would've been a bitch without the angle grinder. Used the dremel to smoothen out everything.

Had to close off the intake chamber in certain areas to build intake pressure. Car definitely reacts better now. Still haven't completed it really. The job is really a big hack the way I've done it now. Have to go in and clean it up later.
Next week sway bar and headlights hopefully!
Granted all from harbor freight some we're good some were meh... The Table vise has casting imperfections like crazy. But it works. I want it to hold what my hands can't. The Dremel has some crazy kick and I got a 249 piece set. Speaking of kick's the angle grinder has crazy power and I picked up some cutting and grinding discs with it. Will be doing some exhaust work as soon as I can pick up an arc welder. Heavy duty impact gun is for my sway bar for the TL next week. And the medium cut compound for the paint correction both the cars need.
The first issue I wanted to fix was the fogged up headlight the SC had. Also I could get some more practice before baking open the TL's headlights again. Want to make sure I do it perfectly! I forgot so many things the last time.

After taking apart the headlight the fastner's were not the same at all. Seemed like one was OEM and the other was not. But they had the same markings weirdly enough.

One had a metal reflector in the housing for some unknown reason and because of the leak started to rust and left this wonderful mess to clean up.


Non OEM lens. Couldn't see that from the outside. The difference in quality is crazy!
Breaking cars or fixing them. Not sure. :P Was doing paint work and that's why I had that on. It's not overkill or anything.
Finished product


Had to sand and clear out the lights. Tons of oxidation.
All done! Bought some LED's from . They shipped them out super fast and I unknowingly bought a ton. Bought 4 10 packs. Think I should be set for a while lol.


While doing all that I was working on the tail lights as well. I love the JDM tails but they're too expensive to justify buying them now. So decided to even out the tail lights and have them an even shade of red.
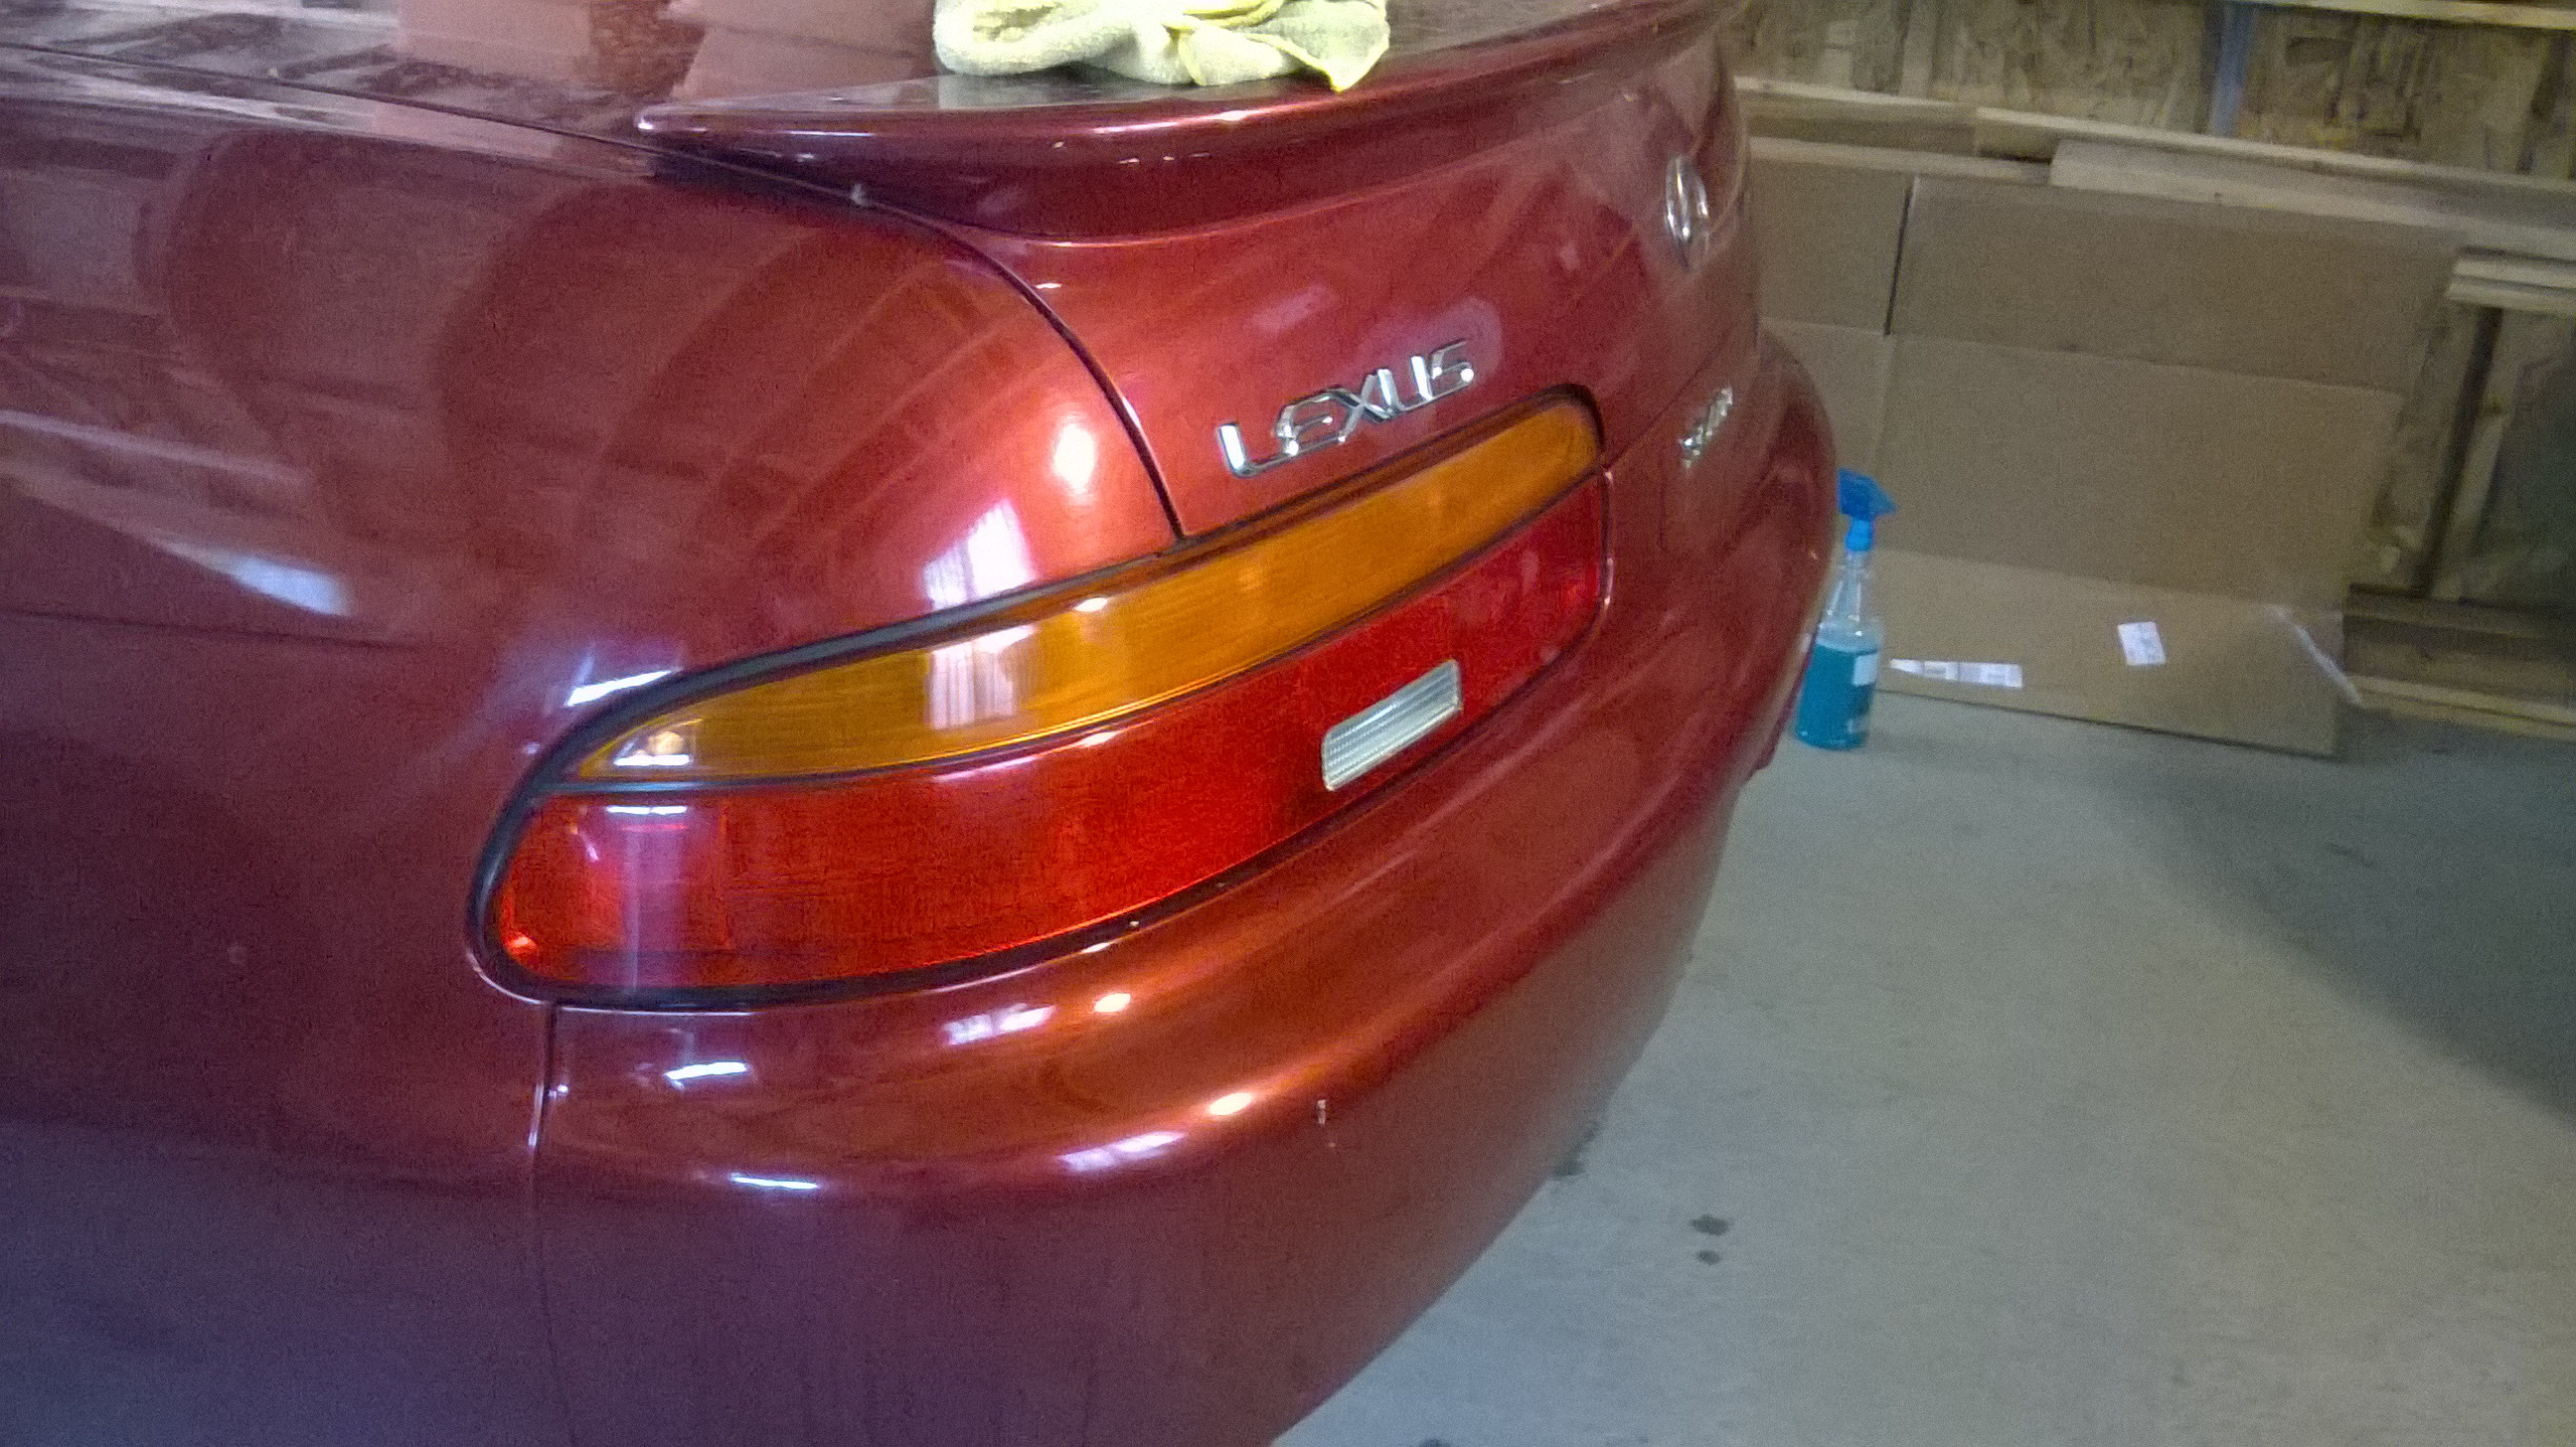

Then I overdid it. Had to use some cutting pads and compound to lighten it up.


Finally did the BFI mod. Cut the holes. Cut the egg cups which would've been a bitch without the angle grinder. Used the dremel to smoothen out everything.
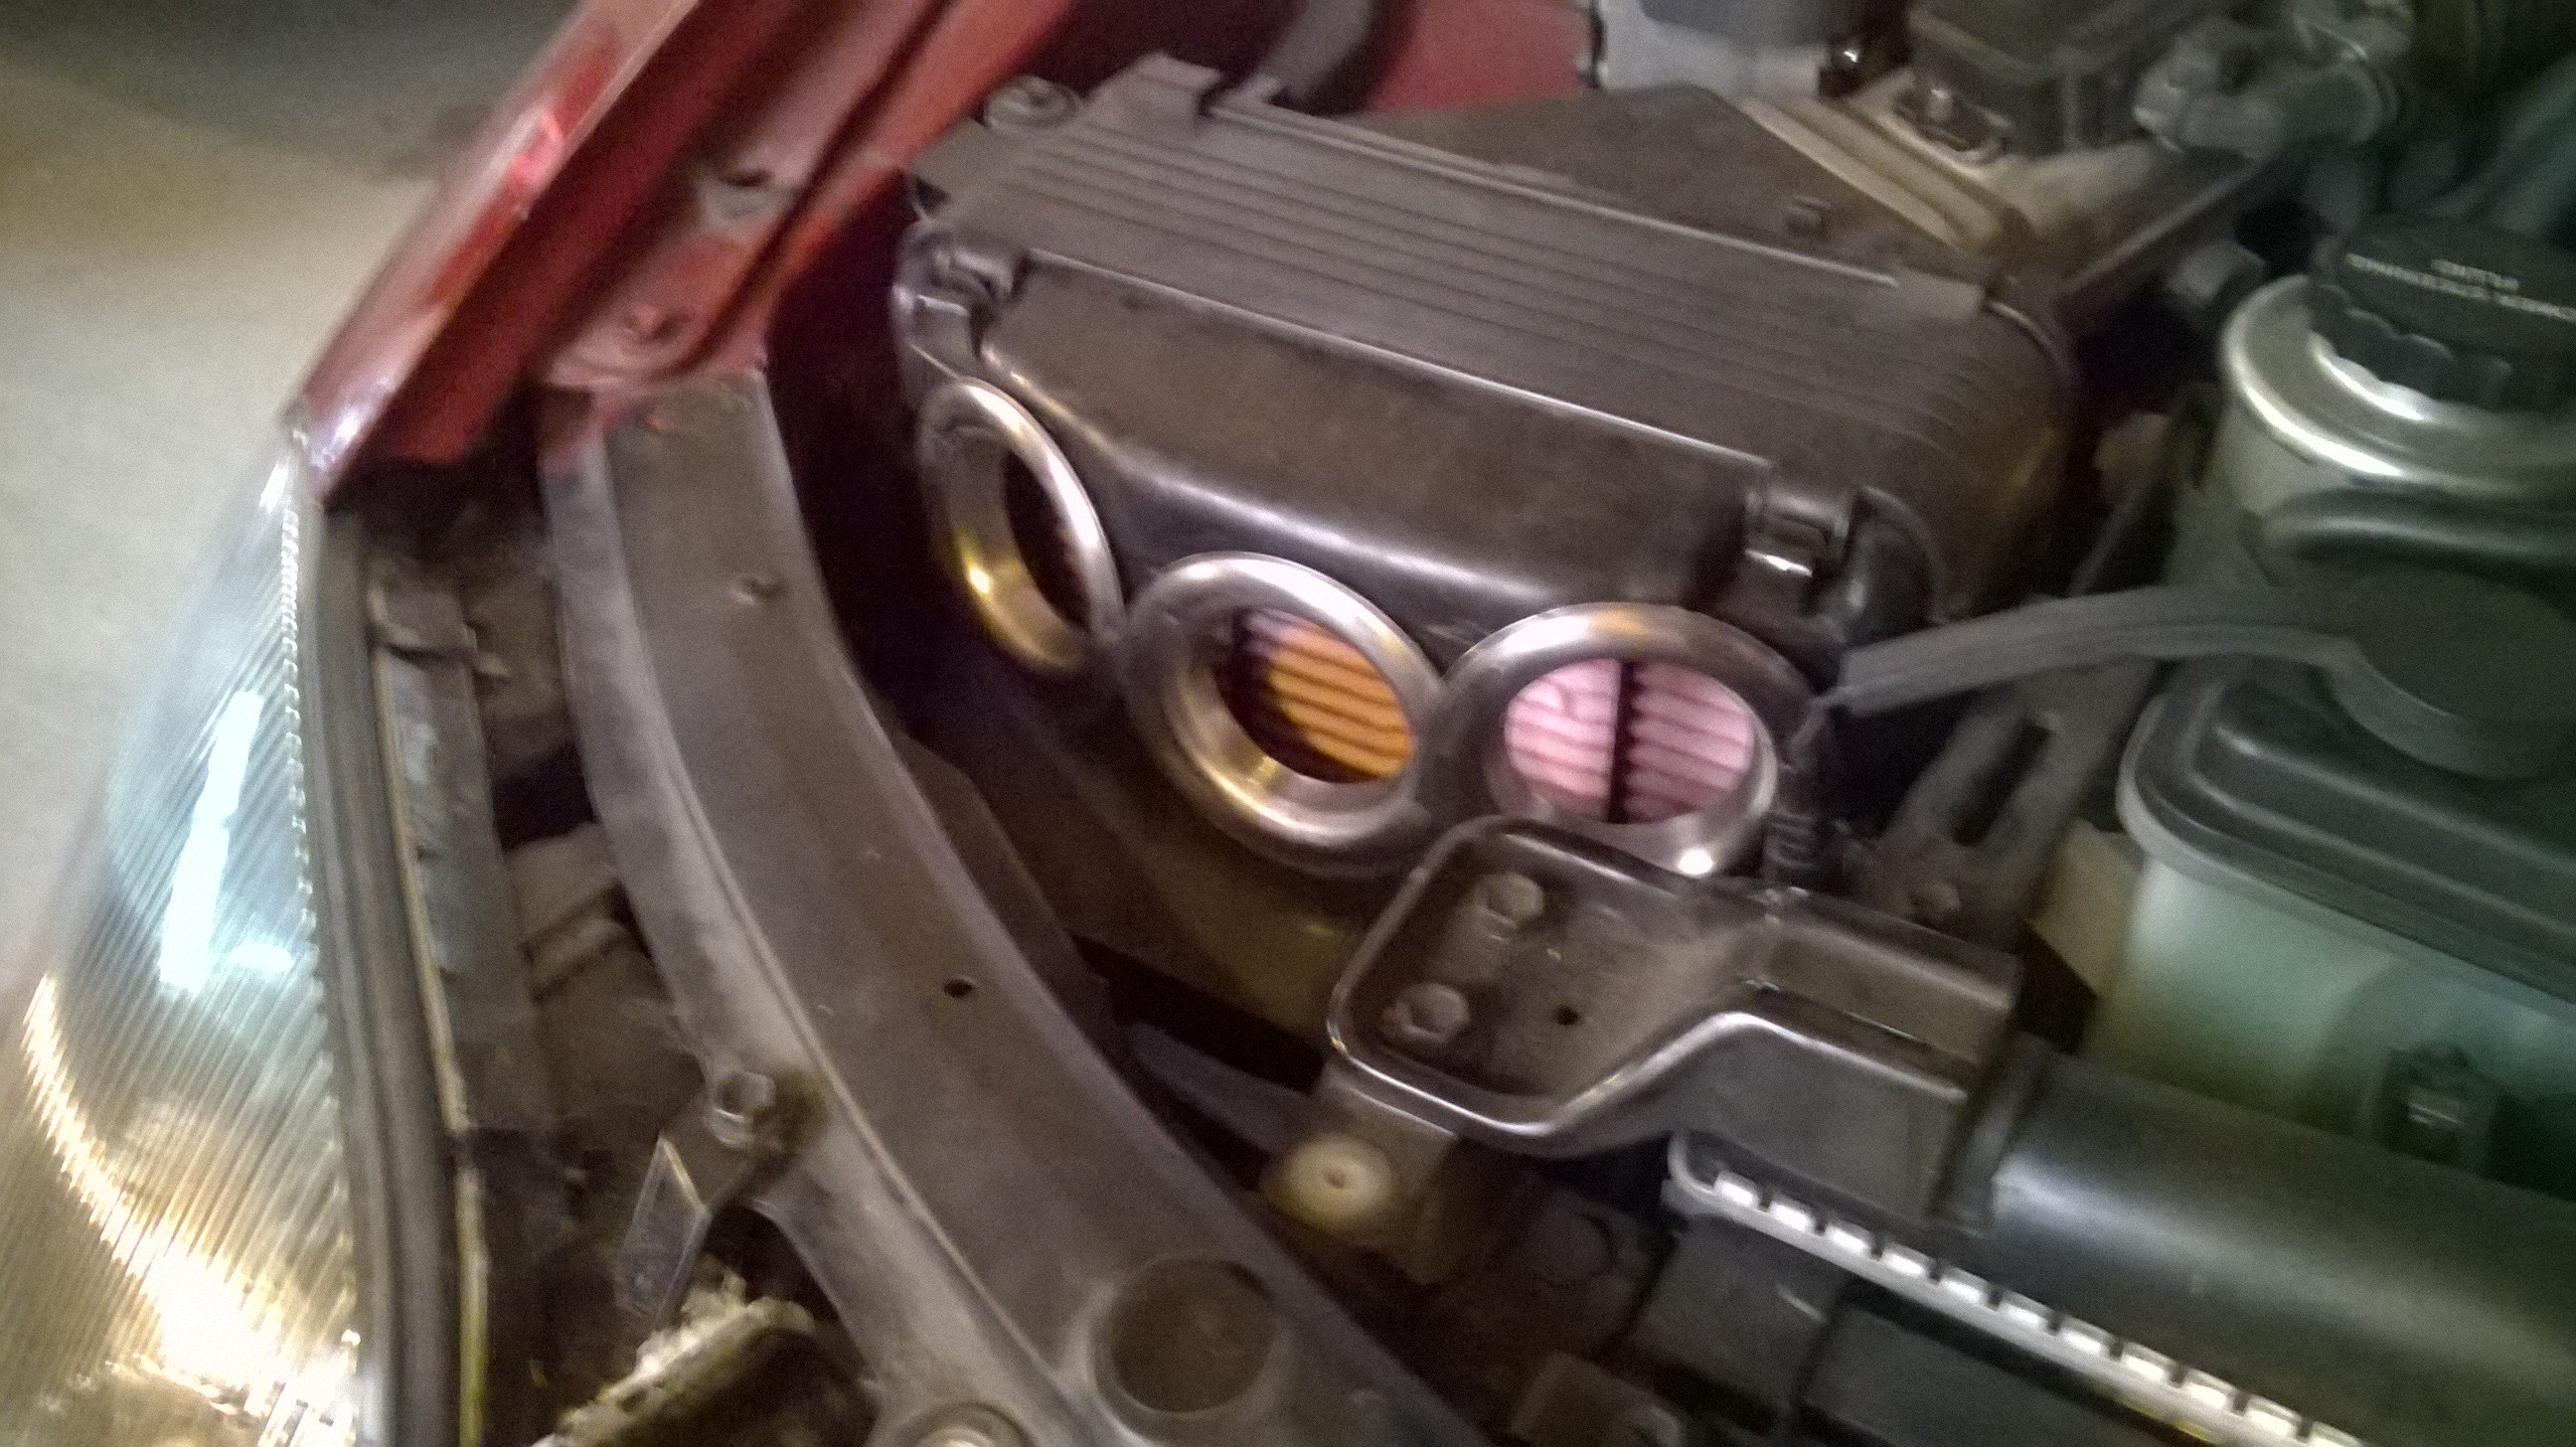
Had to close off the intake chamber in certain areas to build intake pressure. Car definitely reacts better now. Still haven't completed it really. The job is really a big hack the way I've done it now. Have to go in and clean it up later.
Next week sway bar and headlights hopefully!
Last edited by d1sturb3d119; 06-16-2014 at 03:05 PM.
06-16-2014, 10:48 PM
#48
Team Owner
iTrader: (2)
Join Date: Jan 2008
Location: Kansas City, MO (Overland Park, KS)
Posts: 36,545
Received 6,470 Likes
on
5,162 Posts
Wow, you were busy. Nice work.
 If you don't have them, splurge on some Osram 66240 CBI bulbs!
06-17-2014, 12:03 PM
If you don't have them, splurge on some Osram 66240 CBI bulbs!
06-17-2014, 12:03 PM
#51
That's one mod I have planned for the future. Problem is that the projector is designed for Halogen. I looked around and found a great thread on Halogen to HID DIY retro fit. Its more for better visibility. Cause the lights are better now but HID's are so easy on the eyes at night. My eyes at least.
The stock housing has a shitty lens. That needs to change. I found lenses online and I plan on upgrading sometime with ZKW-R's while using the stock cut off which will hopefully work. Will have to check to see if it can be a clean swap which I think it should be.
I still need to wait on installing a nice HID kit. Want to spend right and not buy some cheap shit. I had a coupon from IJDMTOY for a 65 dollar kit but that shit is very hit or miss. Don't need it to cause more problems.
http://www.jvxdriver.com/hid_foglight_conversion.htm
The following users liked this post:
d1sturb3d119 (06-17-2014)
 06-21-2014, 11:28 AM
#55
^^^ when you said you drink and post, all your jokes started making sense to me. silly me reading them sober.
dist...no issues thus far, friend...color is fantastic and aside from the dead code eliminator that they sent me 2 more of for free along with a relay harness...zero issues. Plus, 2 year warranty and amazon prime.
when you said you drink and post, all your jokes started making sense to me. silly me reading them sober. dist...no issues thus far, friend...color is fantastic and aside from the dead code eliminator that they sent me 2 more of for free along with a relay harness...zero issues. Plus, 2 year warranty and amazon prime.
06-23-2014, 01:04 PM
#56
Nice I'll have to get it soon. I can deal with those yellow lights. The beam pattern is also shitty.
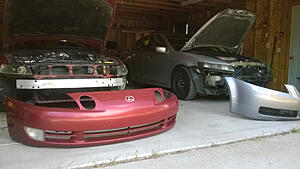
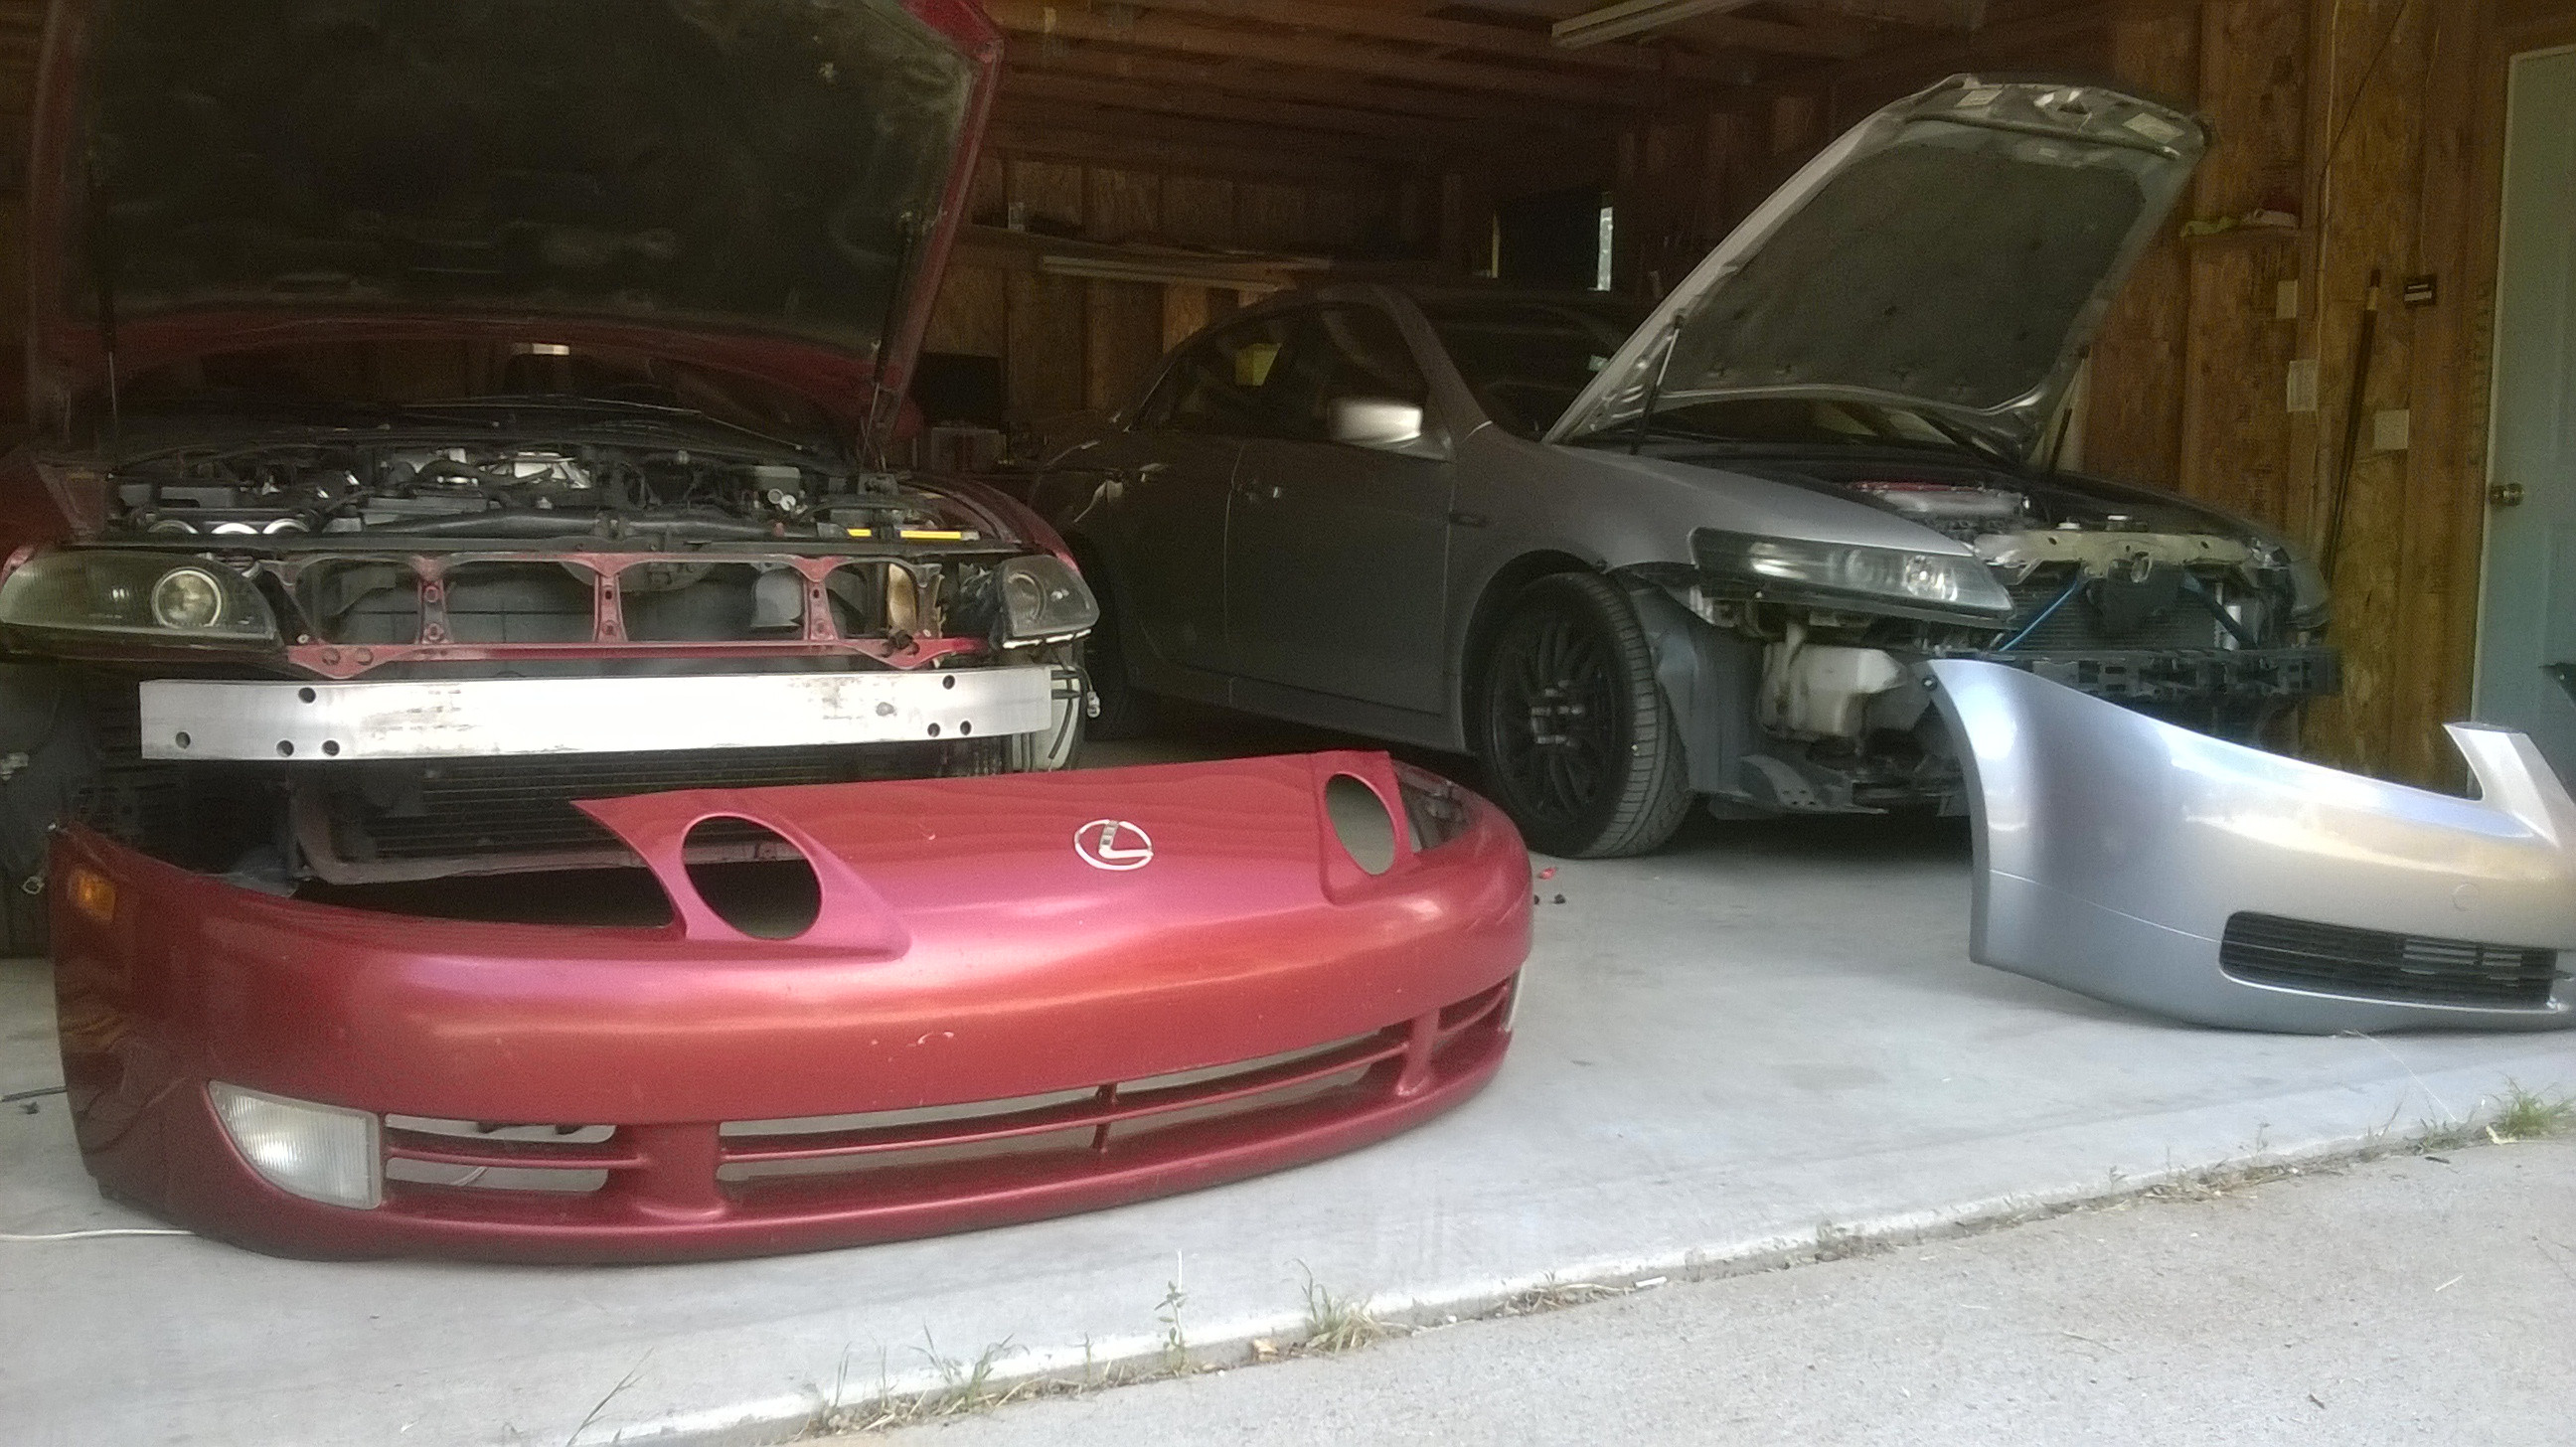
So this week I got a lot of the hardware I was waiting for. I still haven't washed the car which is annoying me more than anything else. So the TL needed a couple things done it it so I started with both the cars side by side lol.
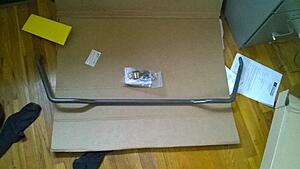
Progress Rear Sway-Bar, 24mm adjustable came in. Didn't like the color so went with the accent color I wanted. And I forgot to take pics of it. Will need to do it soon. Only issue I had taking the end links off was the fact that it was almost seized on. Used the impact gun to make it easier for me to pull off and when the joint started to spin I used my grip pliers to hold it in place. Took longer than I wanted it to, about 4 hours total but I took my time to get it right.
Since mine is the 6MT the handling change was subtle. I'm still feeling the car our so I haven't set it to the stiffest setting. A lot of people have claimed it makes the back end step out a bit more. Not sure about that right now. Car does not plough anymore. It is very crisp and can hold a sweeping corner a lot better. I can roll on very aggressively and there's no understeer so far. Will have to feel it out and see whether I need a more aggressive setup.
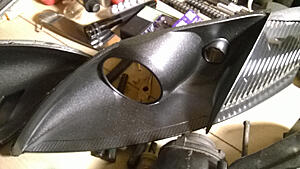
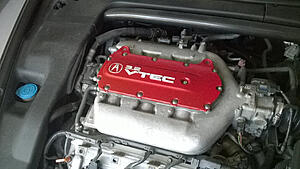
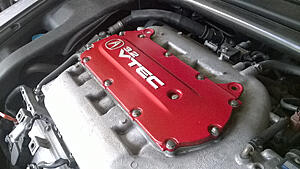
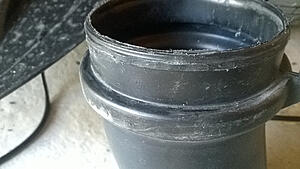
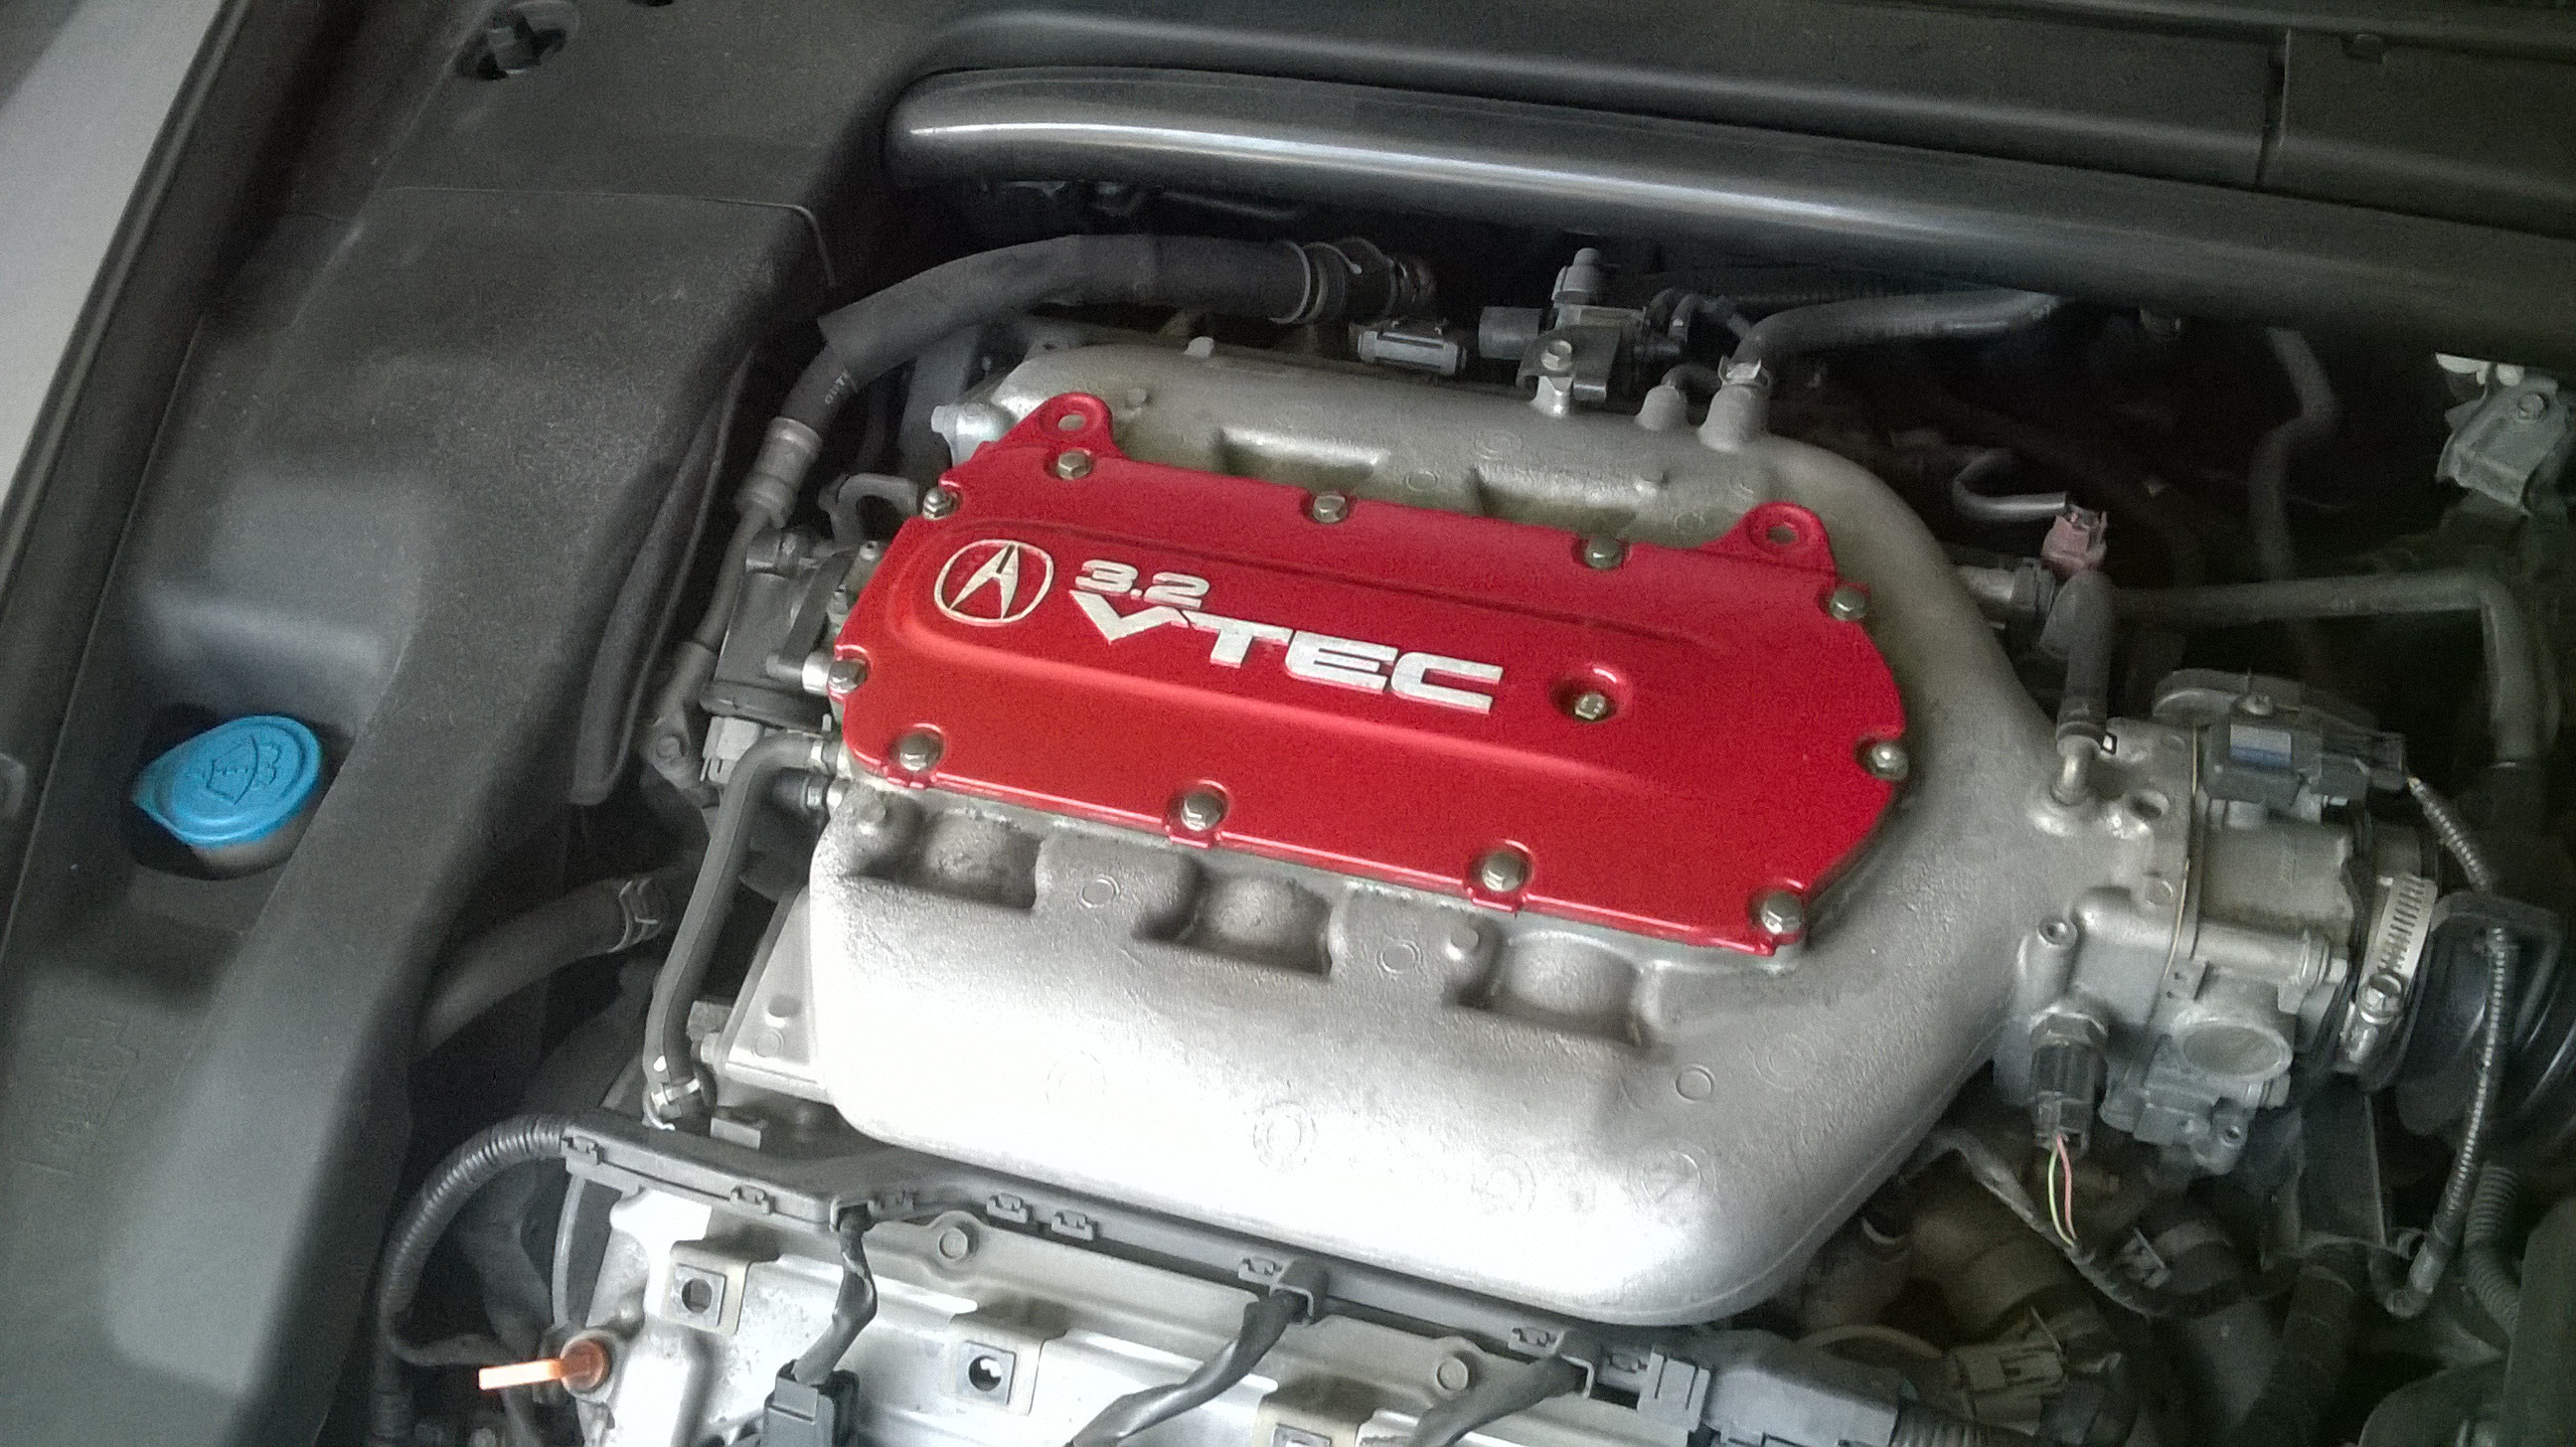
That was the cover before. It used to be gunmetal grey and it started to flake off. Took a lot to clean it up. Paint was baked on. Finally stripped it and did it in red.

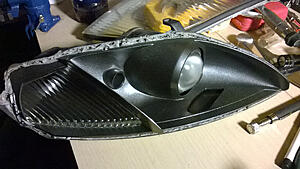
Then I used a dremel and etched lines into it. Tried to be as smooth as possible to create a textured flow.
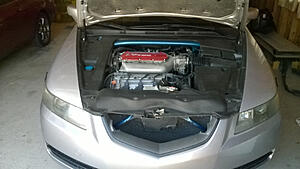
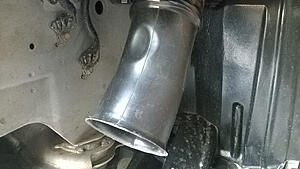
Then I used the dremel to clean up the stock CAI setup I made. It was a hack job and I wanted it to be clean.
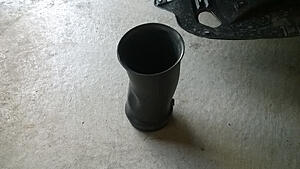
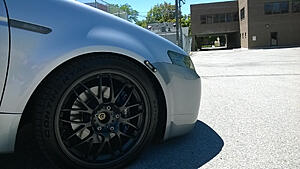
Cut the lip a little to make it sit better.

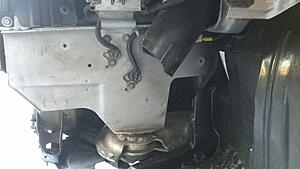
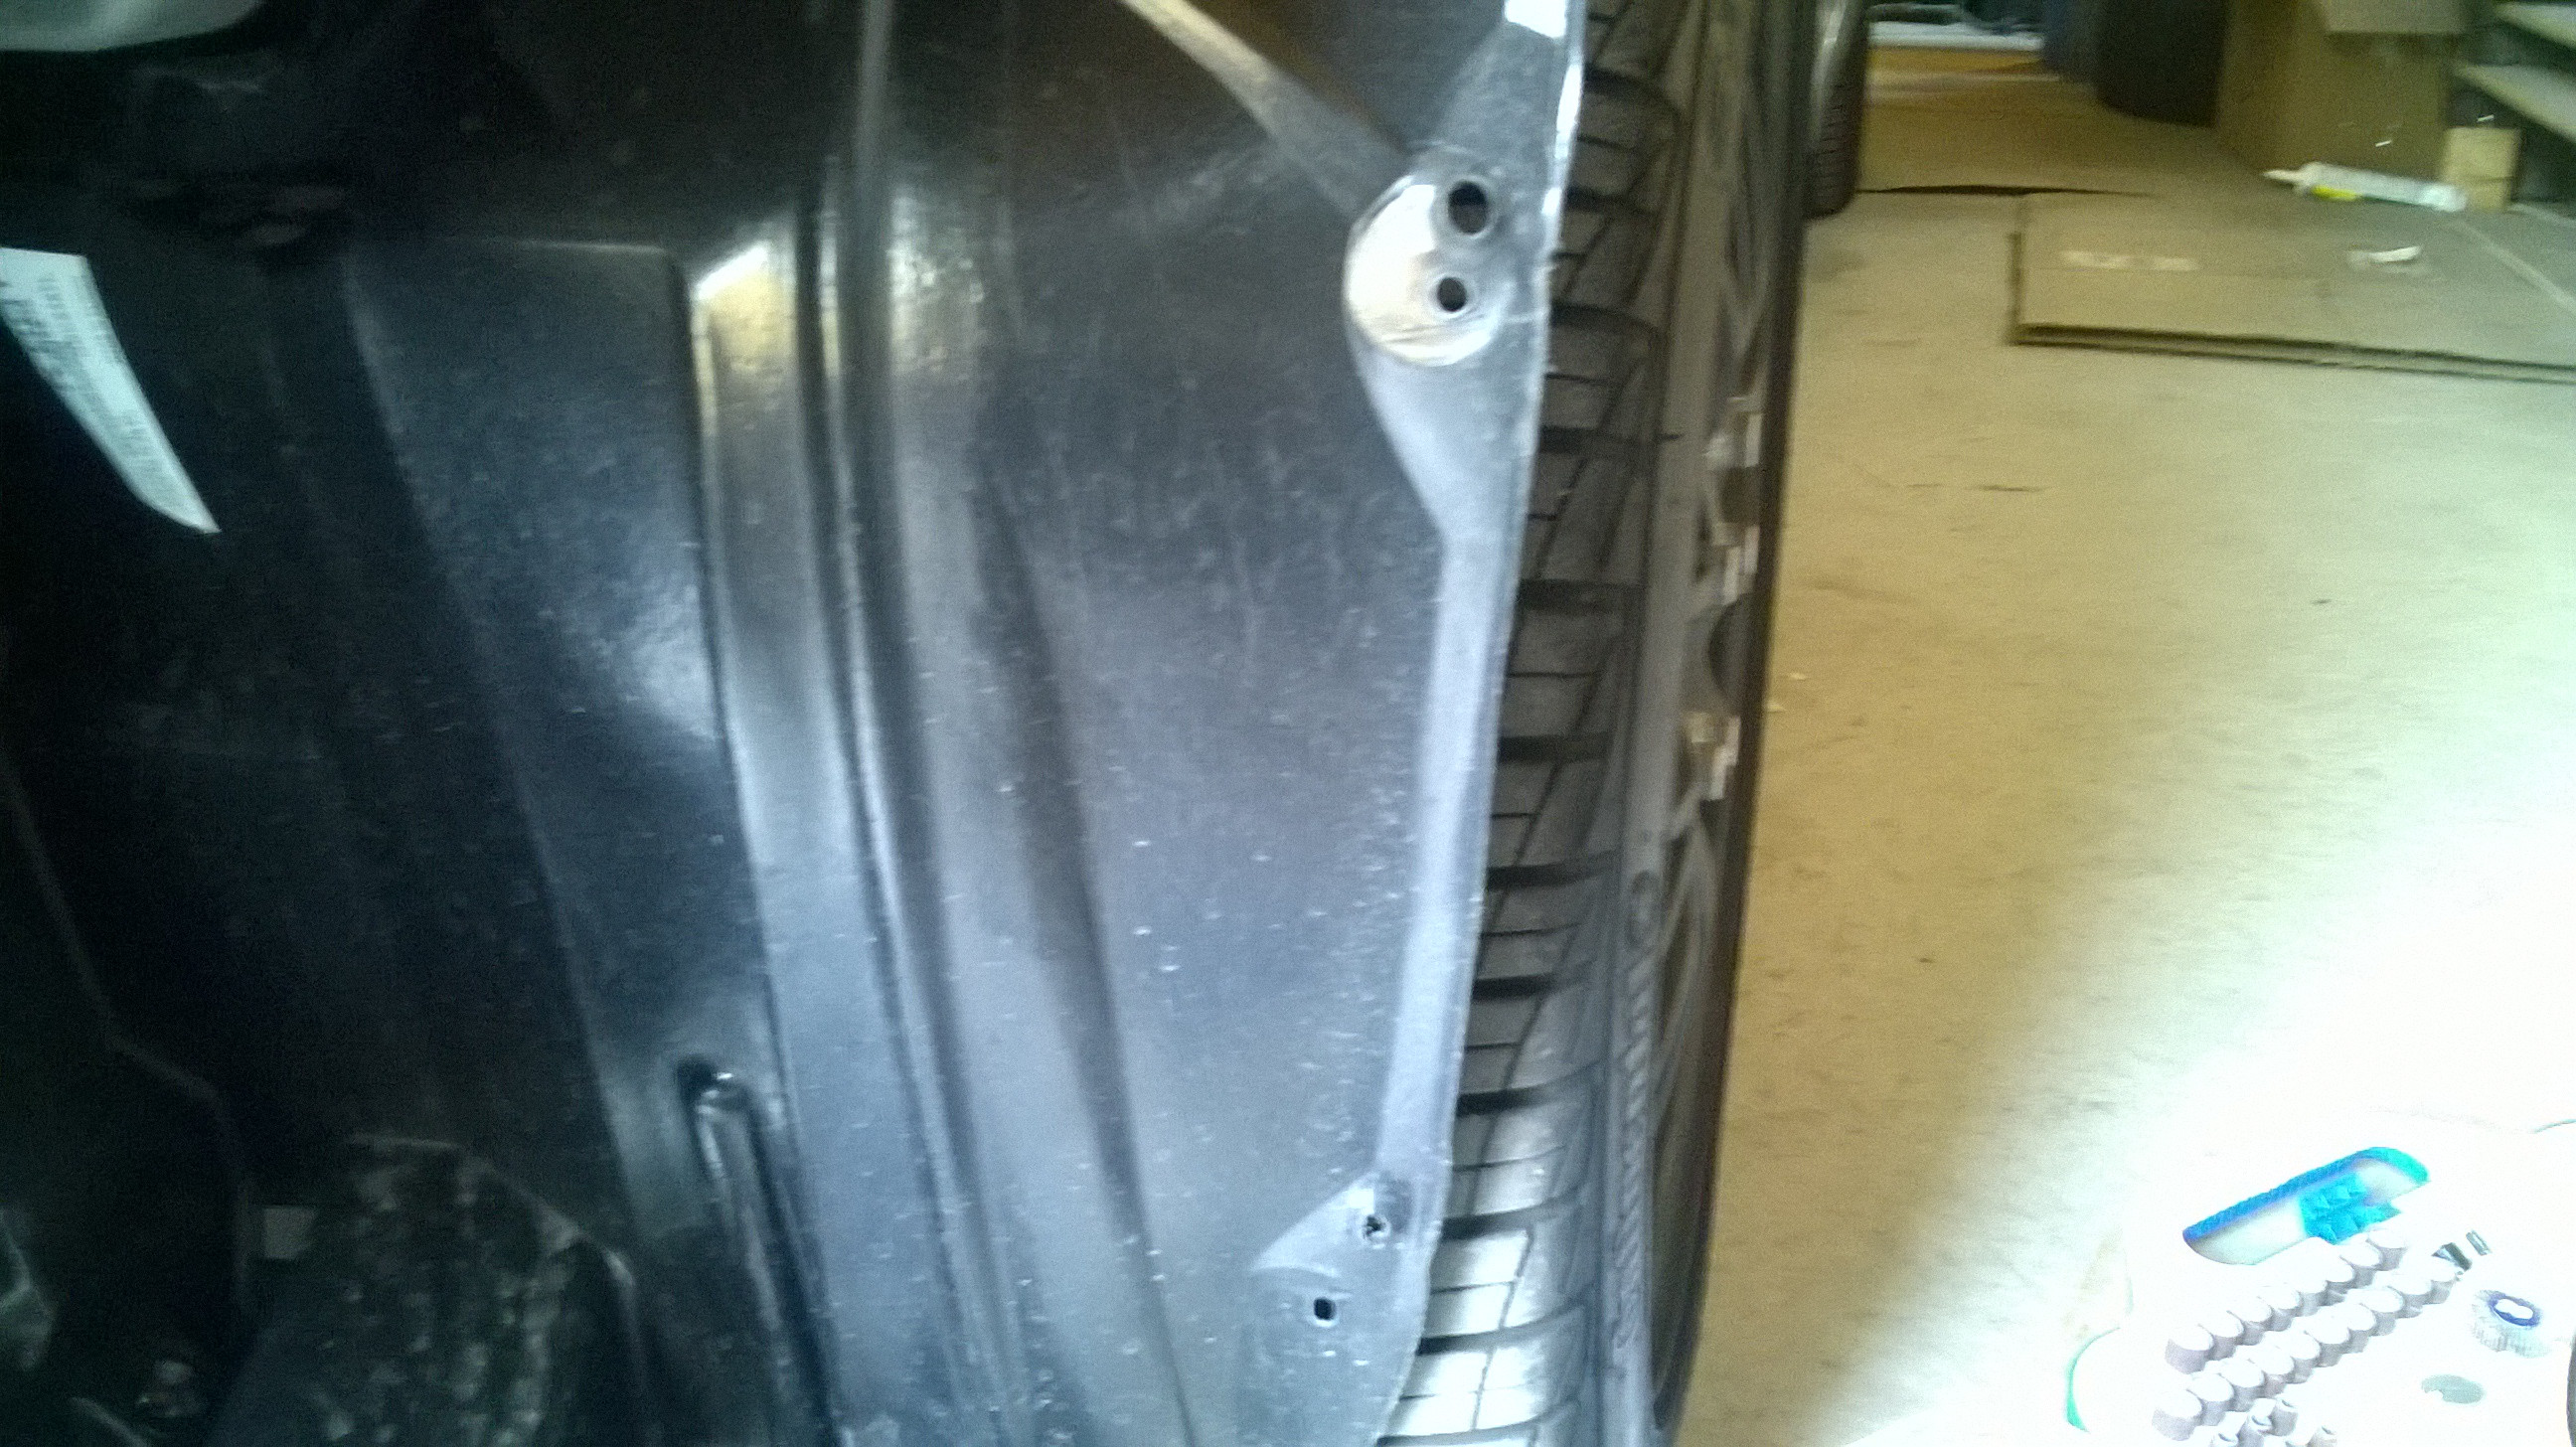
This was the canard I was talking about with the aftermarket fender liner.
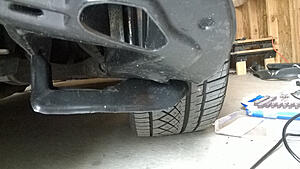
Also does not line up well but I don't really care. Just had to punch new holes.

Then I worked a little on the SC to finish one small mod. Didn't have the most time but this was a nice test. I think the TL would wear it a little better than the SC does. That's for next week. Will have to darken the turning lights too. Can't have that chrome peeking.

So this week I got a lot of the hardware I was waiting for. I still haven't washed the car which is annoying me more than anything else. So the TL needed a couple things done it it so I started with both the cars side by side lol.
Progress Rear Sway-Bar, 24mm adjustable came in. Didn't like the color so went with the accent color I wanted. And I forgot to take pics of it. Will need to do it soon. Only issue I had taking the end links off was the fact that it was almost seized on. Used the impact gun to make it easier for me to pull off and when the joint started to spin I used my grip pliers to hold it in place. Took longer than I wanted it to, about 4 hours total but I took my time to get it right.
Since mine is the 6MT the handling change was subtle. I'm still feeling the car our so I haven't set it to the stiffest setting. A lot of people have claimed it makes the back end step out a bit more. Not sure about that right now. Car does not plough anymore. It is very crisp and can hold a sweeping corner a lot better. I can roll on very aggressively and there's no understeer so far. Will have to feel it out and see whether I need a more aggressive setup.

That was the cover before. It used to be gunmetal grey and it started to flake off. Took a lot to clean it up. Paint was baked on. Finally stripped it and did it in red.
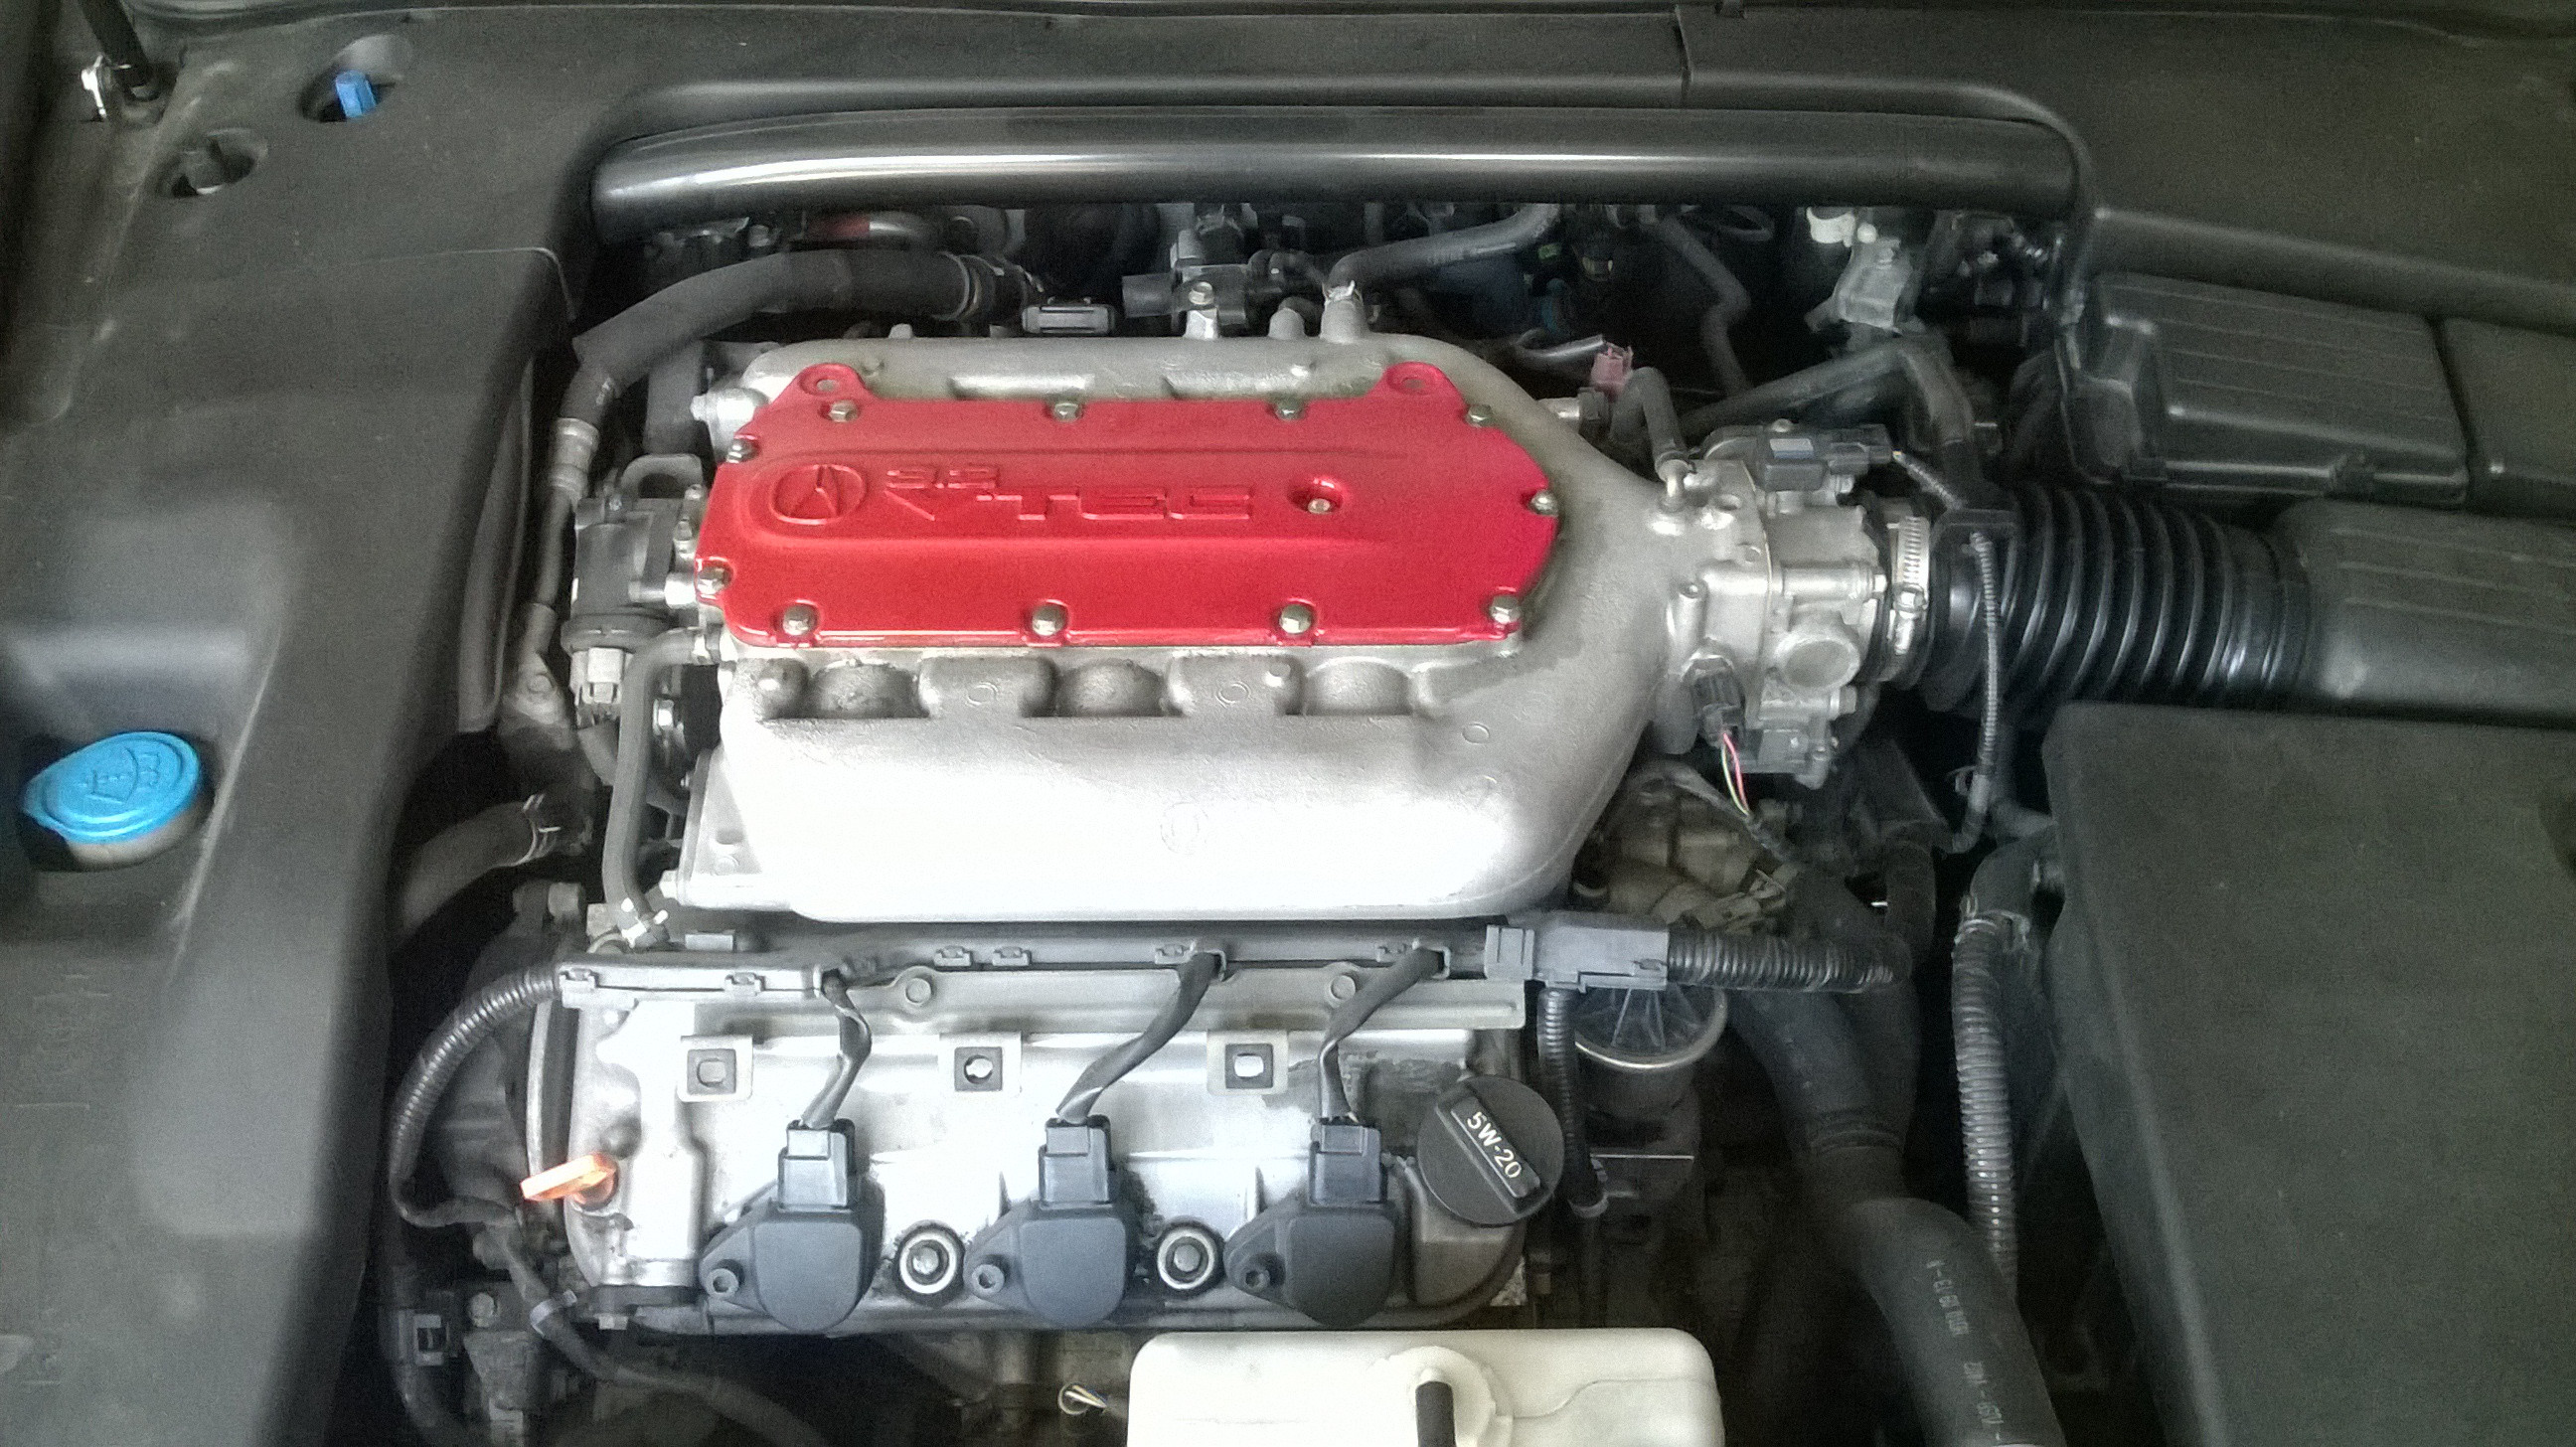
Then I used a dremel and etched lines into it. Tried to be as smooth as possible to create a textured flow.


Then I used the dremel to clean up the stock CAI setup I made. It was a hack job and I wanted it to be clean.


Cut the lip a little to make it sit better.


This was the canard I was talking about with the aftermarket fender liner.

Also does not line up well but I don't really care. Just had to punch new holes.
Then I worked a little on the SC to finish one small mod. Didn't have the most time but this was a nice test. I think the TL would wear it a little better than the SC does. That's for next week. Will have to darken the turning lights too. Can't have that chrome peeking.
 06-23-2014, 09:41 PM
#57
Team Owner
iTrader: (2)
Join Date: Jan 2008
Location: Kansas City, MO (Overland Park, KS)
Posts: 36,545
Received 6,470 Likes
on
5,162 Posts
Looks good-well done.
06-24-2014, 08:17 AM
#58
That looks phenomenal!
About the sway bar...
you did realize that the end links have an allen wrench inside the middle you were supposed to hold WHILE using the 14MM wrench? I missed it the first time...so it spun for me too.
Anyway...I switched from street to track repeatedly and finally settled on track setting...you do hit a bump on one side and feel it across the whole car, but it was worth the tradeoff...I could literally take the off ramp at my previous house exit at 10mph faster without the front walking on me (baby oversteer)...the car handles really really well!
About the sway bar...
you did realize that the end links have an allen wrench inside the middle you were supposed to hold WHILE using the 14MM wrench? I missed it the first time...so it spun for me too.Anyway...I switched from street to track repeatedly and finally settled on track setting...you do hit a bump on one side and feel it across the whole car, but it was worth the tradeoff...I could literally take the off ramp at my previous house exit at 10mph faster without the front walking on me (baby oversteer)...the car handles really really well!
06-24-2014, 08:58 AM
#59

To anyone else reading this use the allen wrench. I'll blame it on poor lighting. Also did you know I wear glasses. Yeah I can't see very well. Now that my ego feels better...
Think I might switch this weekend. Its nice right now cause it's really subtle but I'm not one for subtle handling.
 06-24-2014, 07:27 PM
#62
Team Owner
iTrader: (2)
Join Date: Jan 2008
Location: Kansas City, MO (Overland Park, KS)
Posts: 36,545
Received 6,470 Likes
on
5,162 Posts
Don't you just LOVE those Jeremy close-ups?
 that ain't me...I don't wear glasses
  06-25-2014, 06:32 PM
#66
Team Owner
iTrader: (2)
Join Date: Jan 2008
Location: Kansas City, MO (Overland Park, KS)
Posts: 36,545
Received 6,470 Likes
on
5,162 Posts
06-30-2014, 03:01 PM
#67
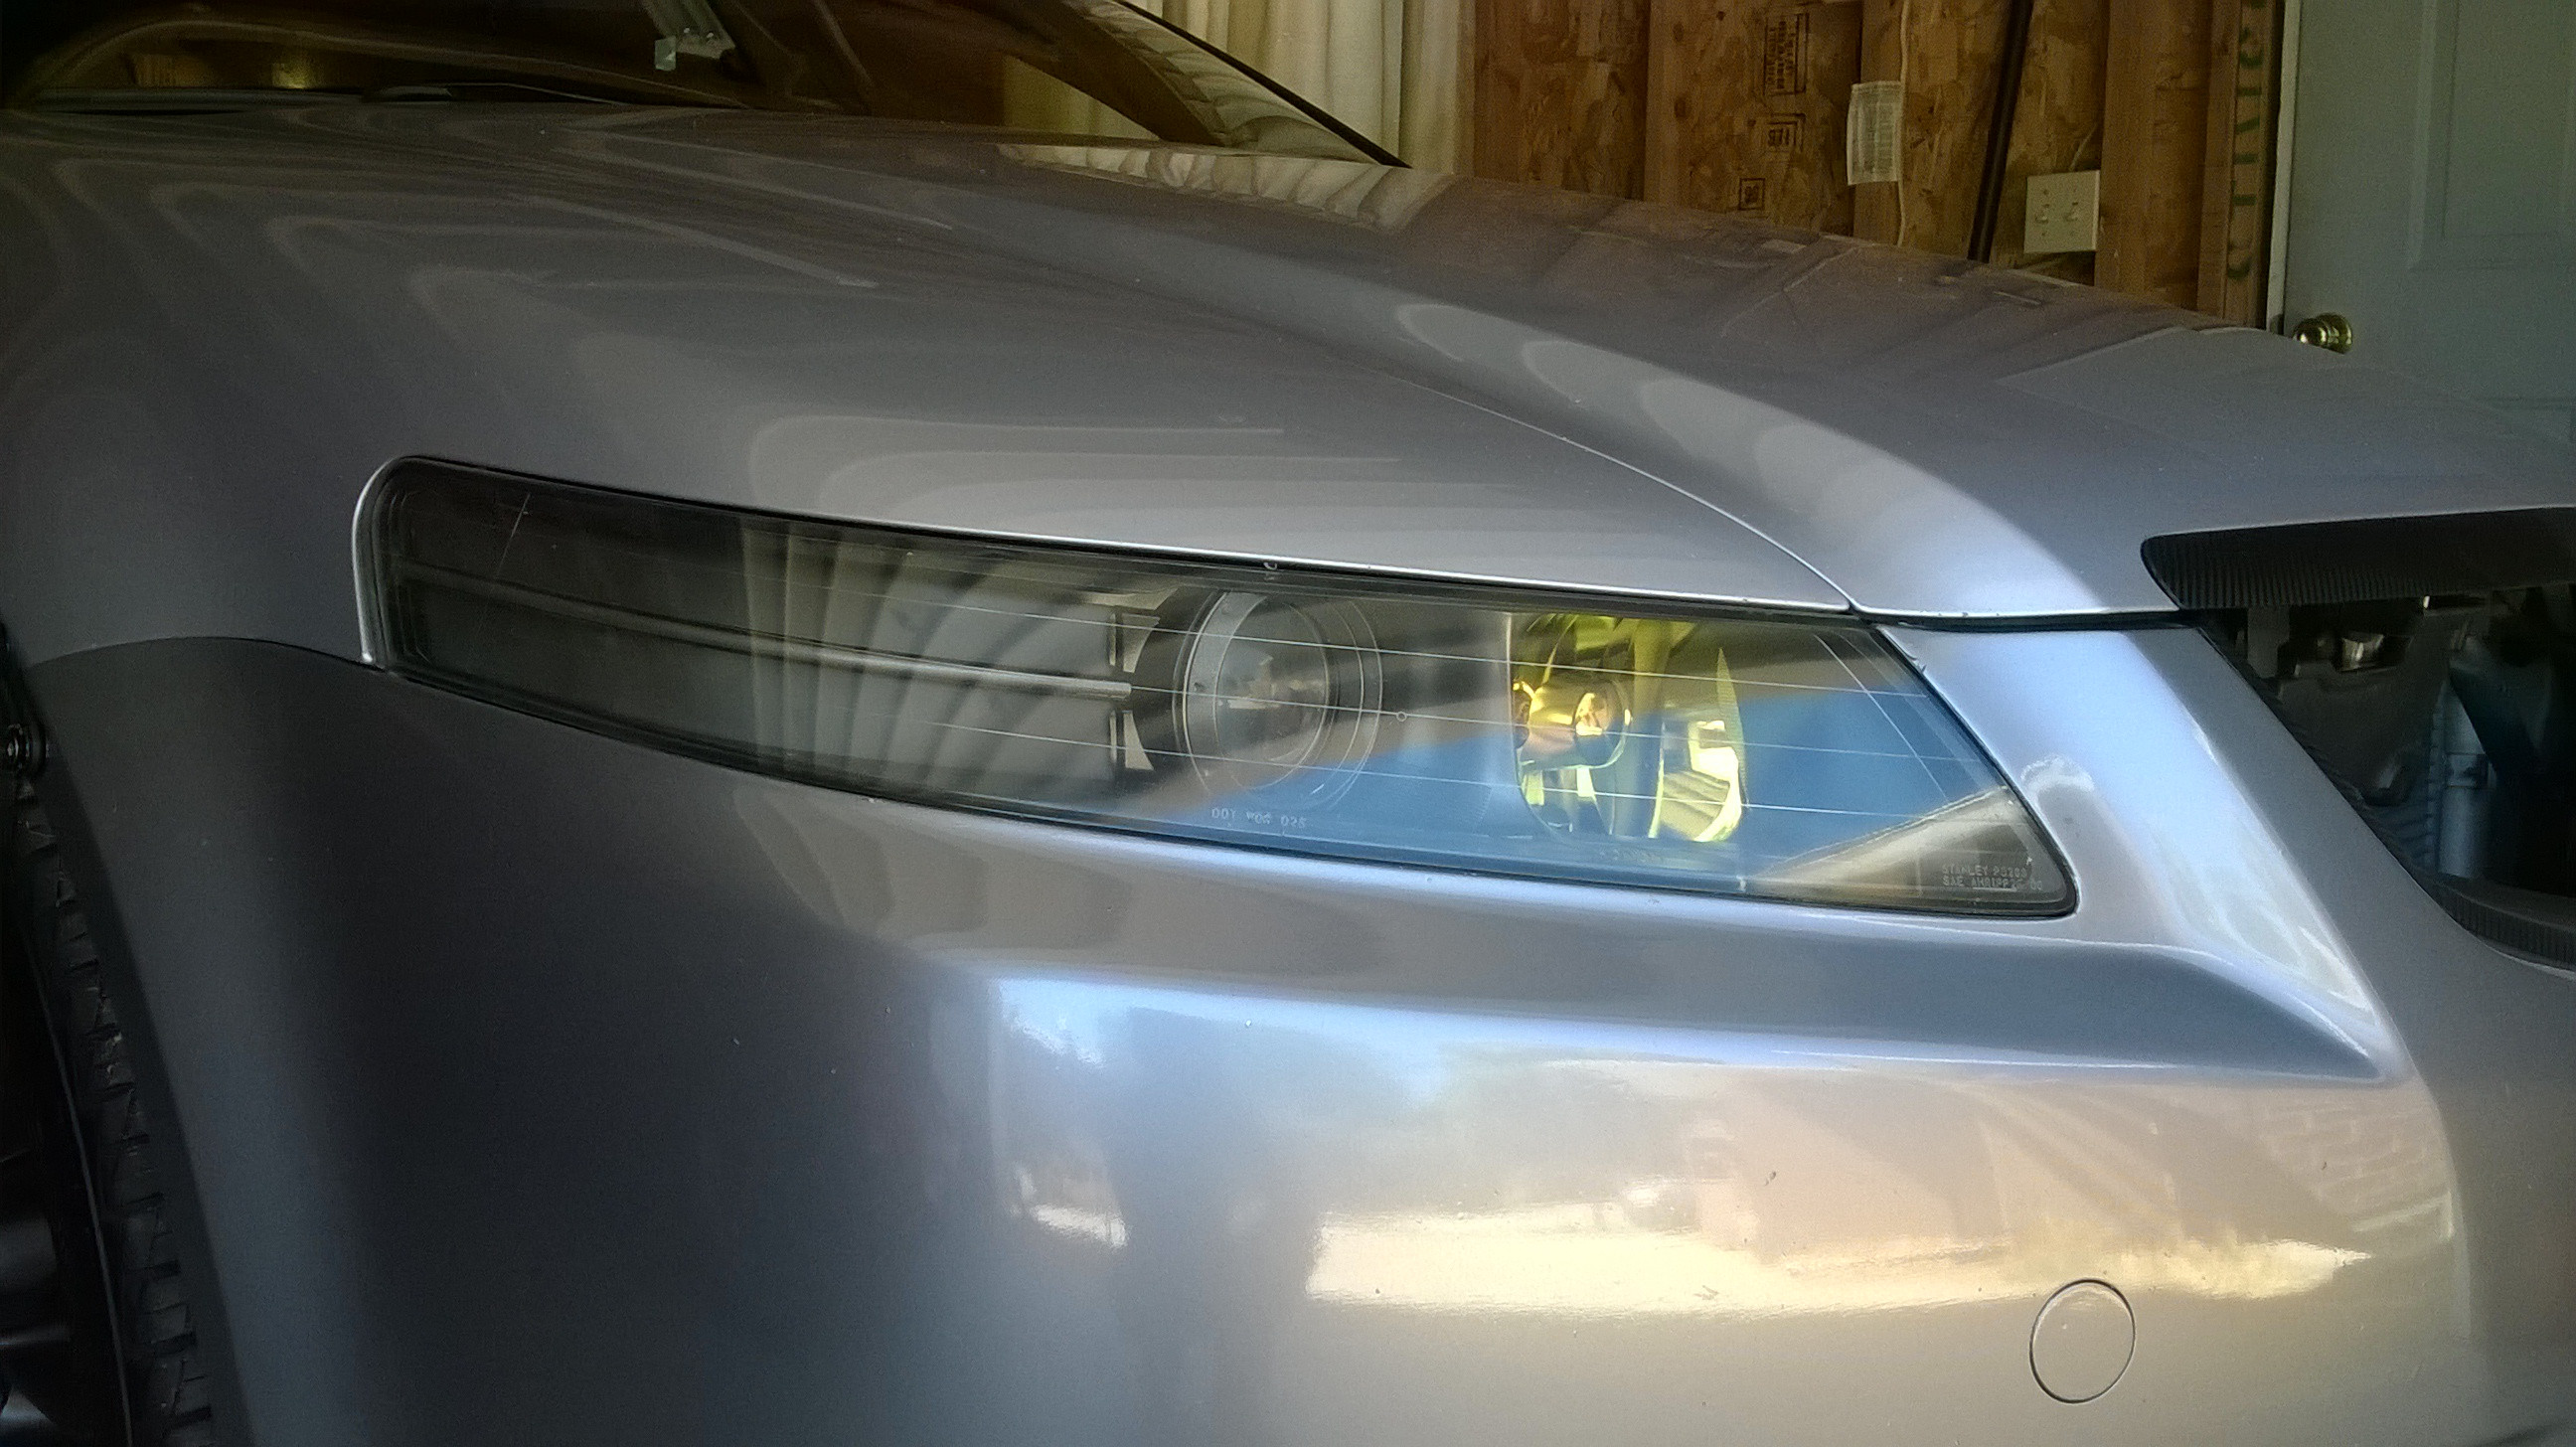
So this weekend I decided to take a break from working on the car since I'm on my feet all day when I do. Unfortunately that didn't really happen since I decided to complicate the process. I had some plastidip on the headlights which gave the parking lights a matte finish but decided that it didn't want to peel off which became a real pain in the ass to remove. Ended up sanding it a little which didn't help then moved to using isopropyl alcohol after of course trying to throw on some more layers of plastidip to help peel it off. Worked with one headlight.
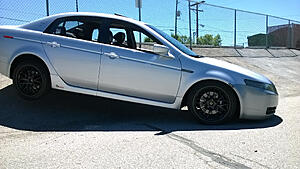
Showing some sway lol.
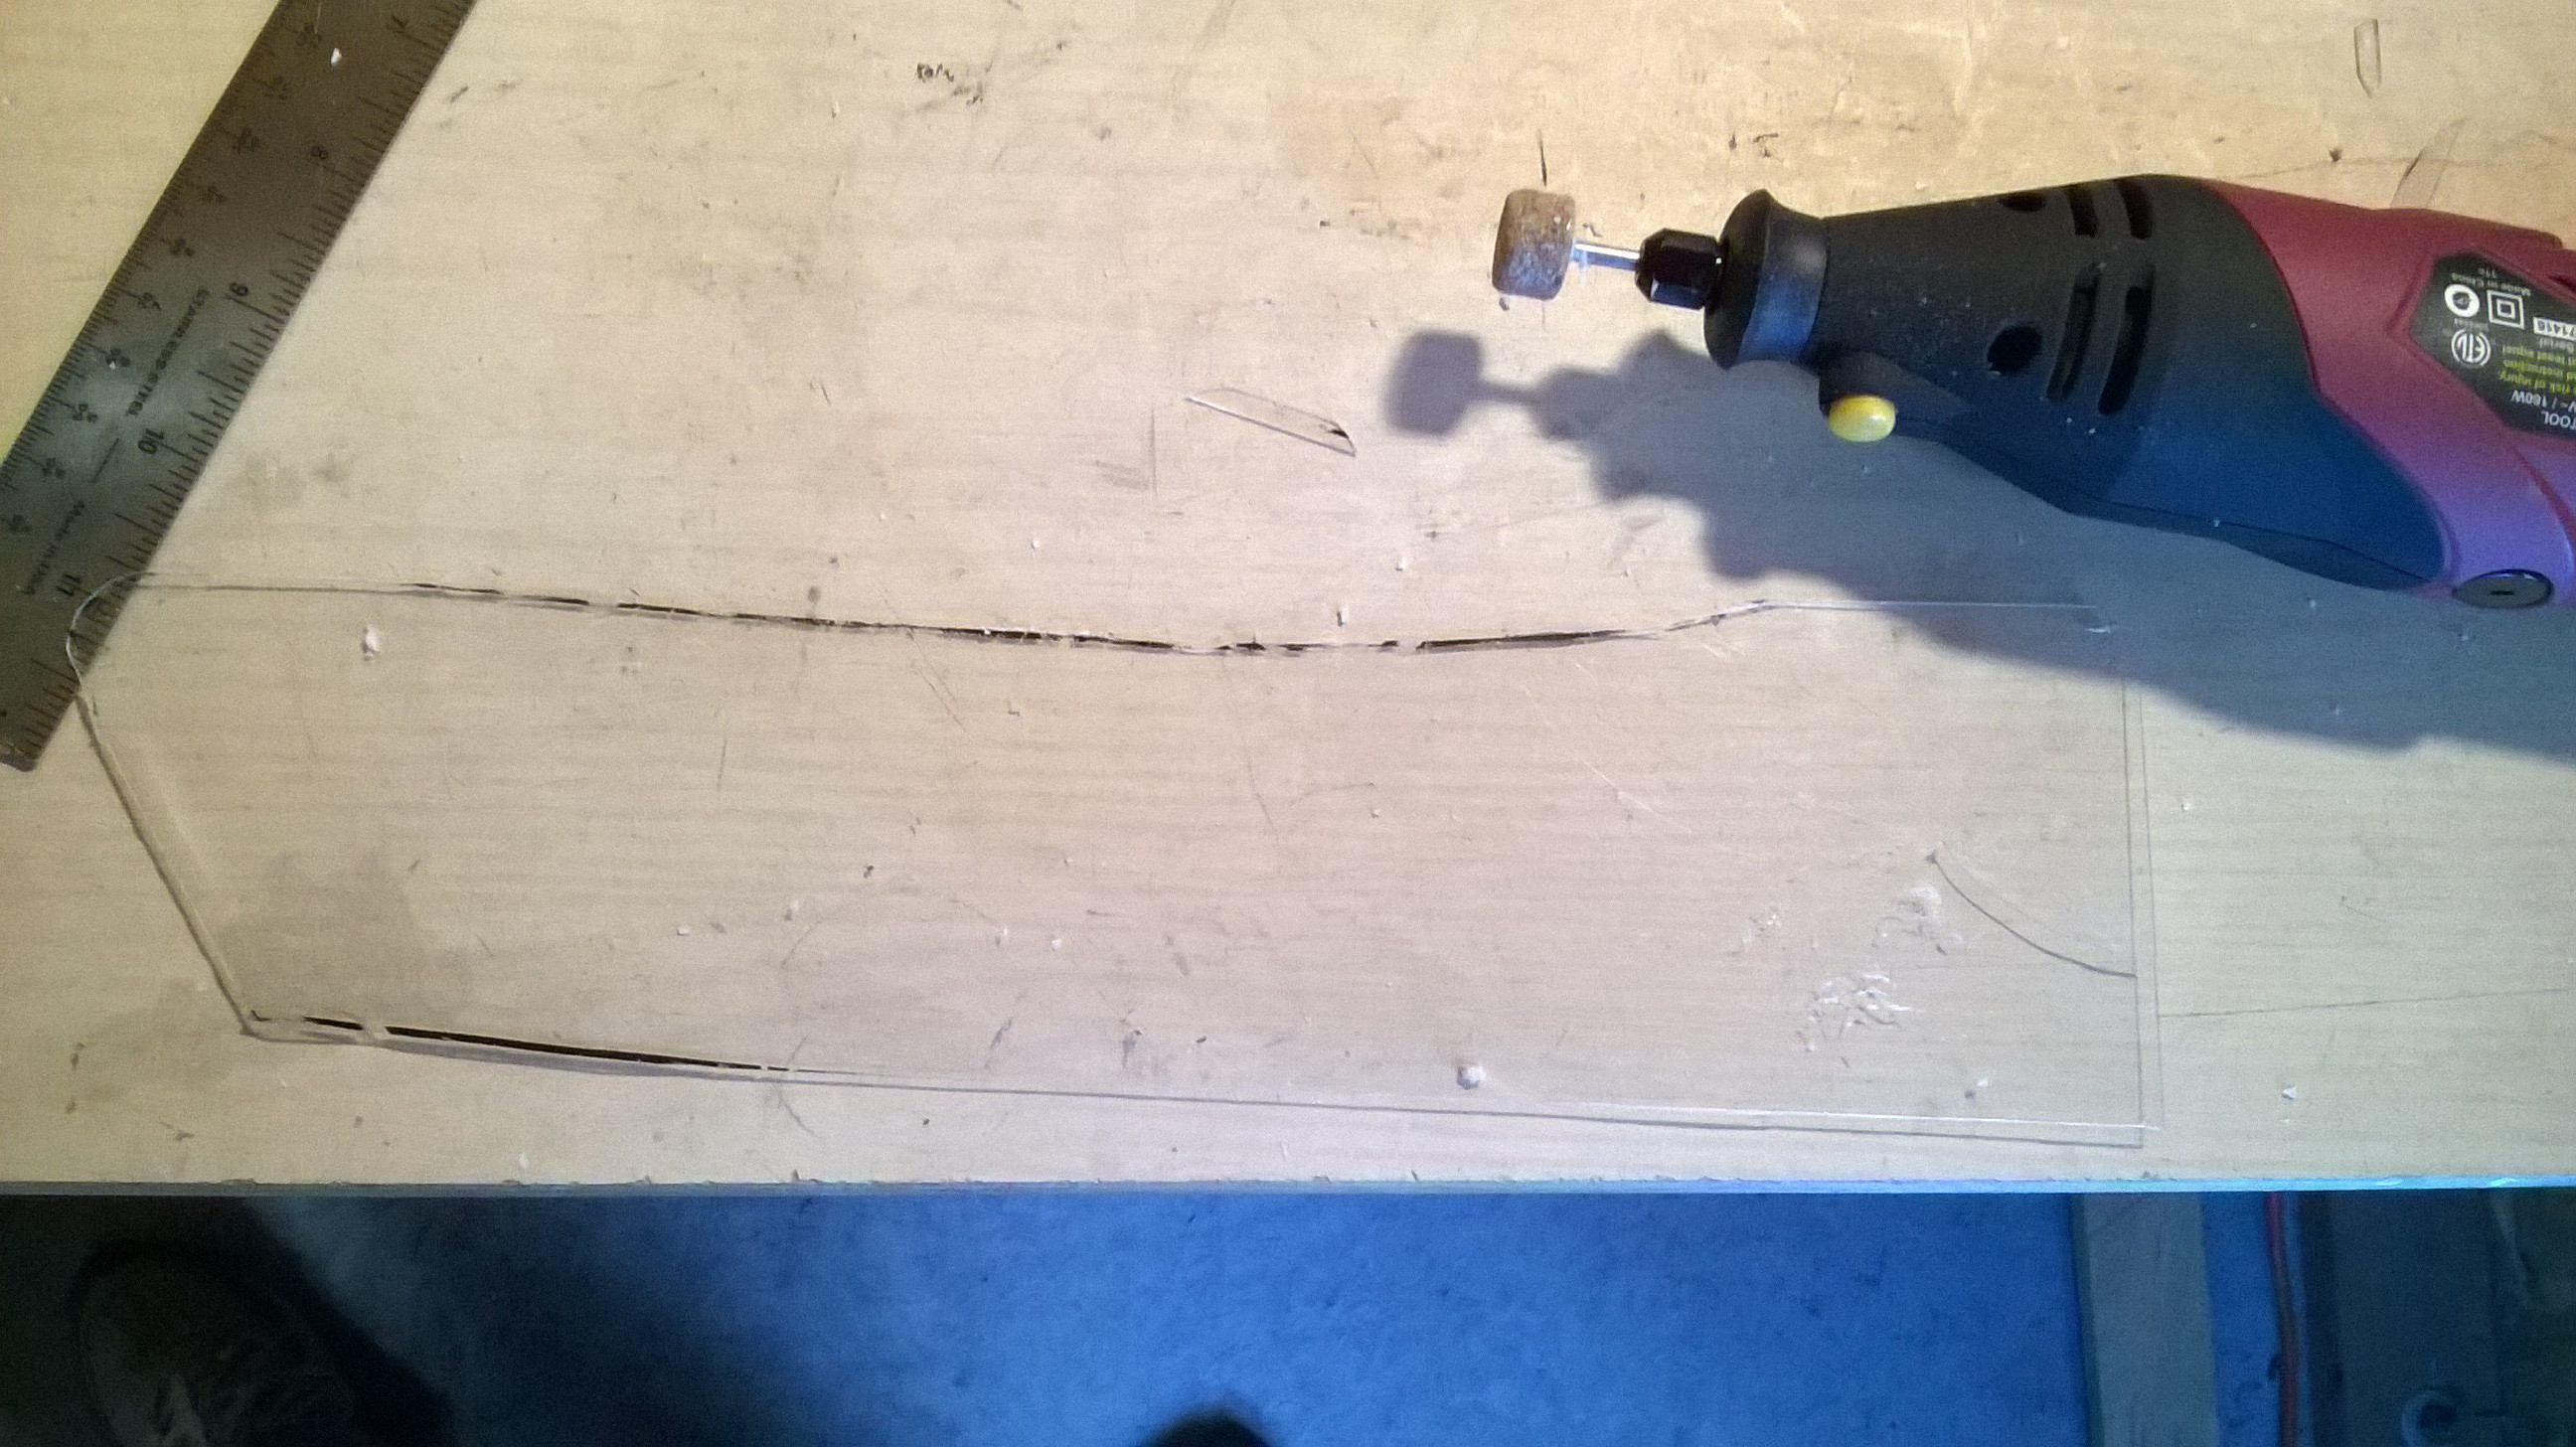
So while working on my headlights I decided to fabricate some clear side diffusers. I'm glad I did it but at the time it was very annoying. I bought a sheet of plexiglass. The thickness is the most important piece. I believe it is 1mm thick. So just thin enough to bend ever so slightly. You need to cut it with a tool I bought from Home depot a while back. It still reacts like glass so you'll have to cut it and break it on the edge of a table. I still have the template of the sheet I cut out so I'll post a short DIY on it. Should be really easy to do if anyone decides to open up their lights. I'm planning on cutting a few other pieces to size if anyone wants to buy them from me. I can sand them and keep them the original look which looks like clear plastic or darken them or tint them to whatever color. With switch backs behind them the color does not change. Thank you metalcast!
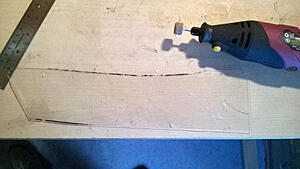

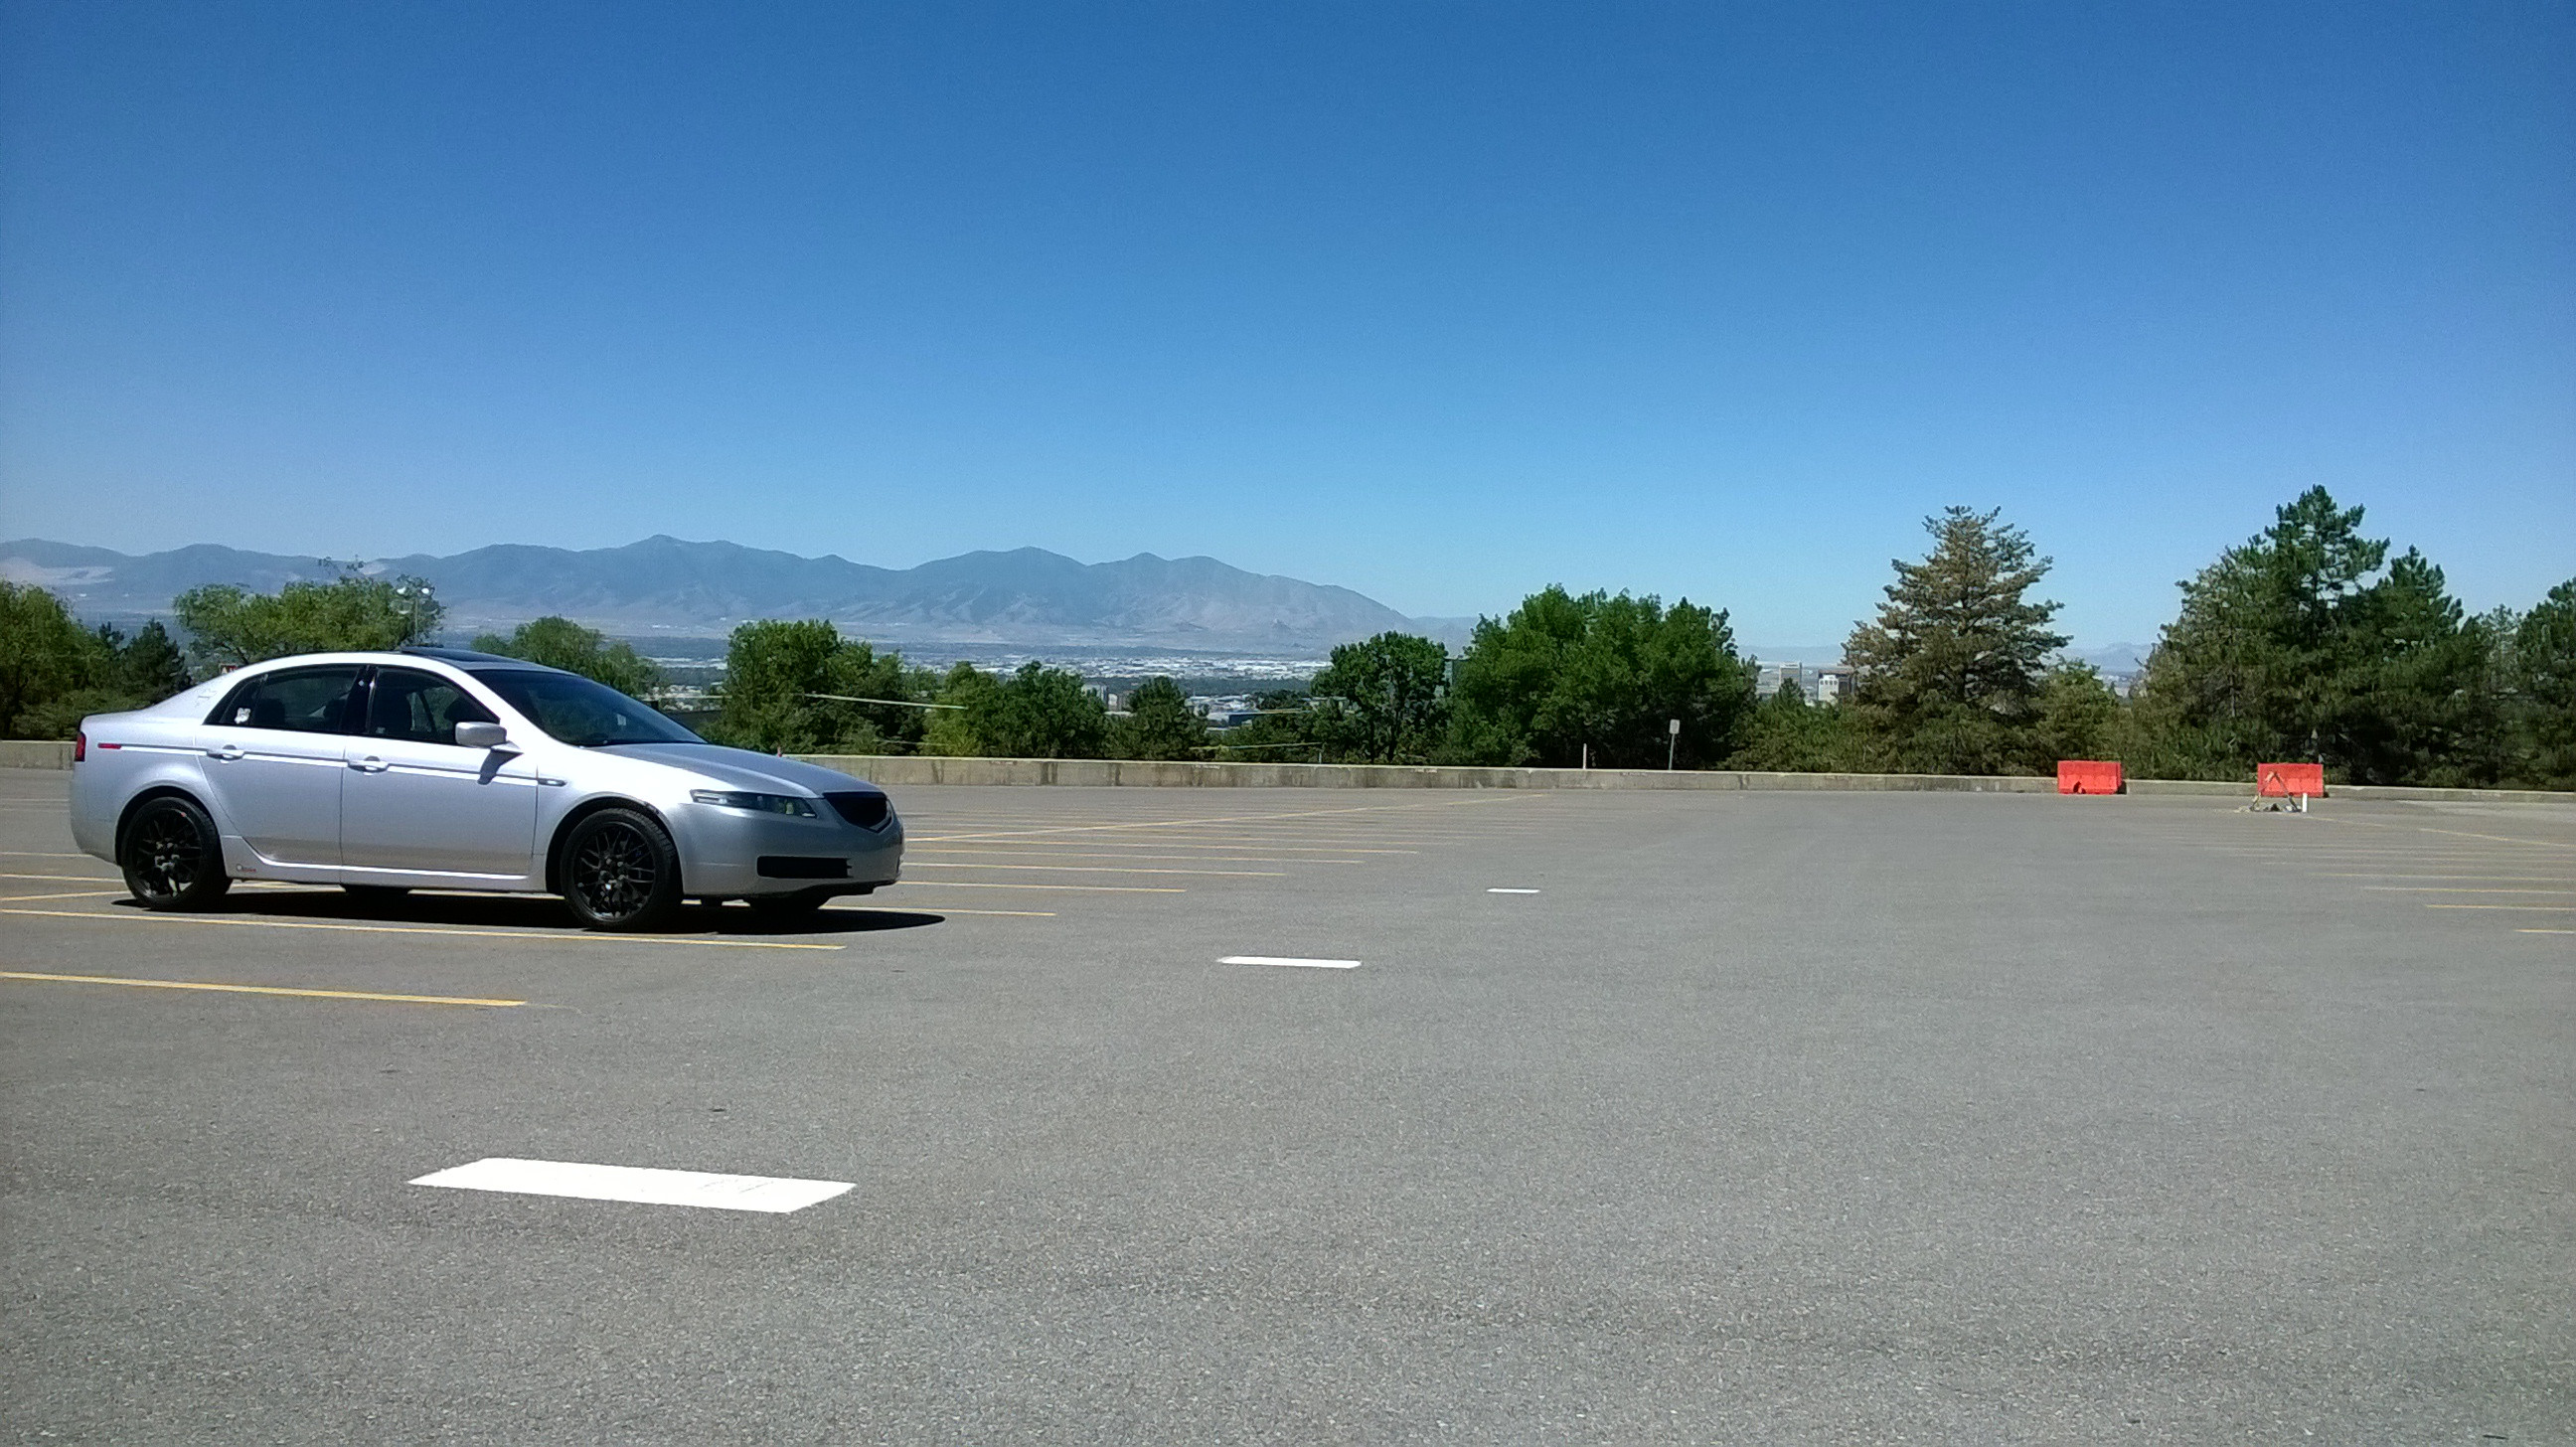
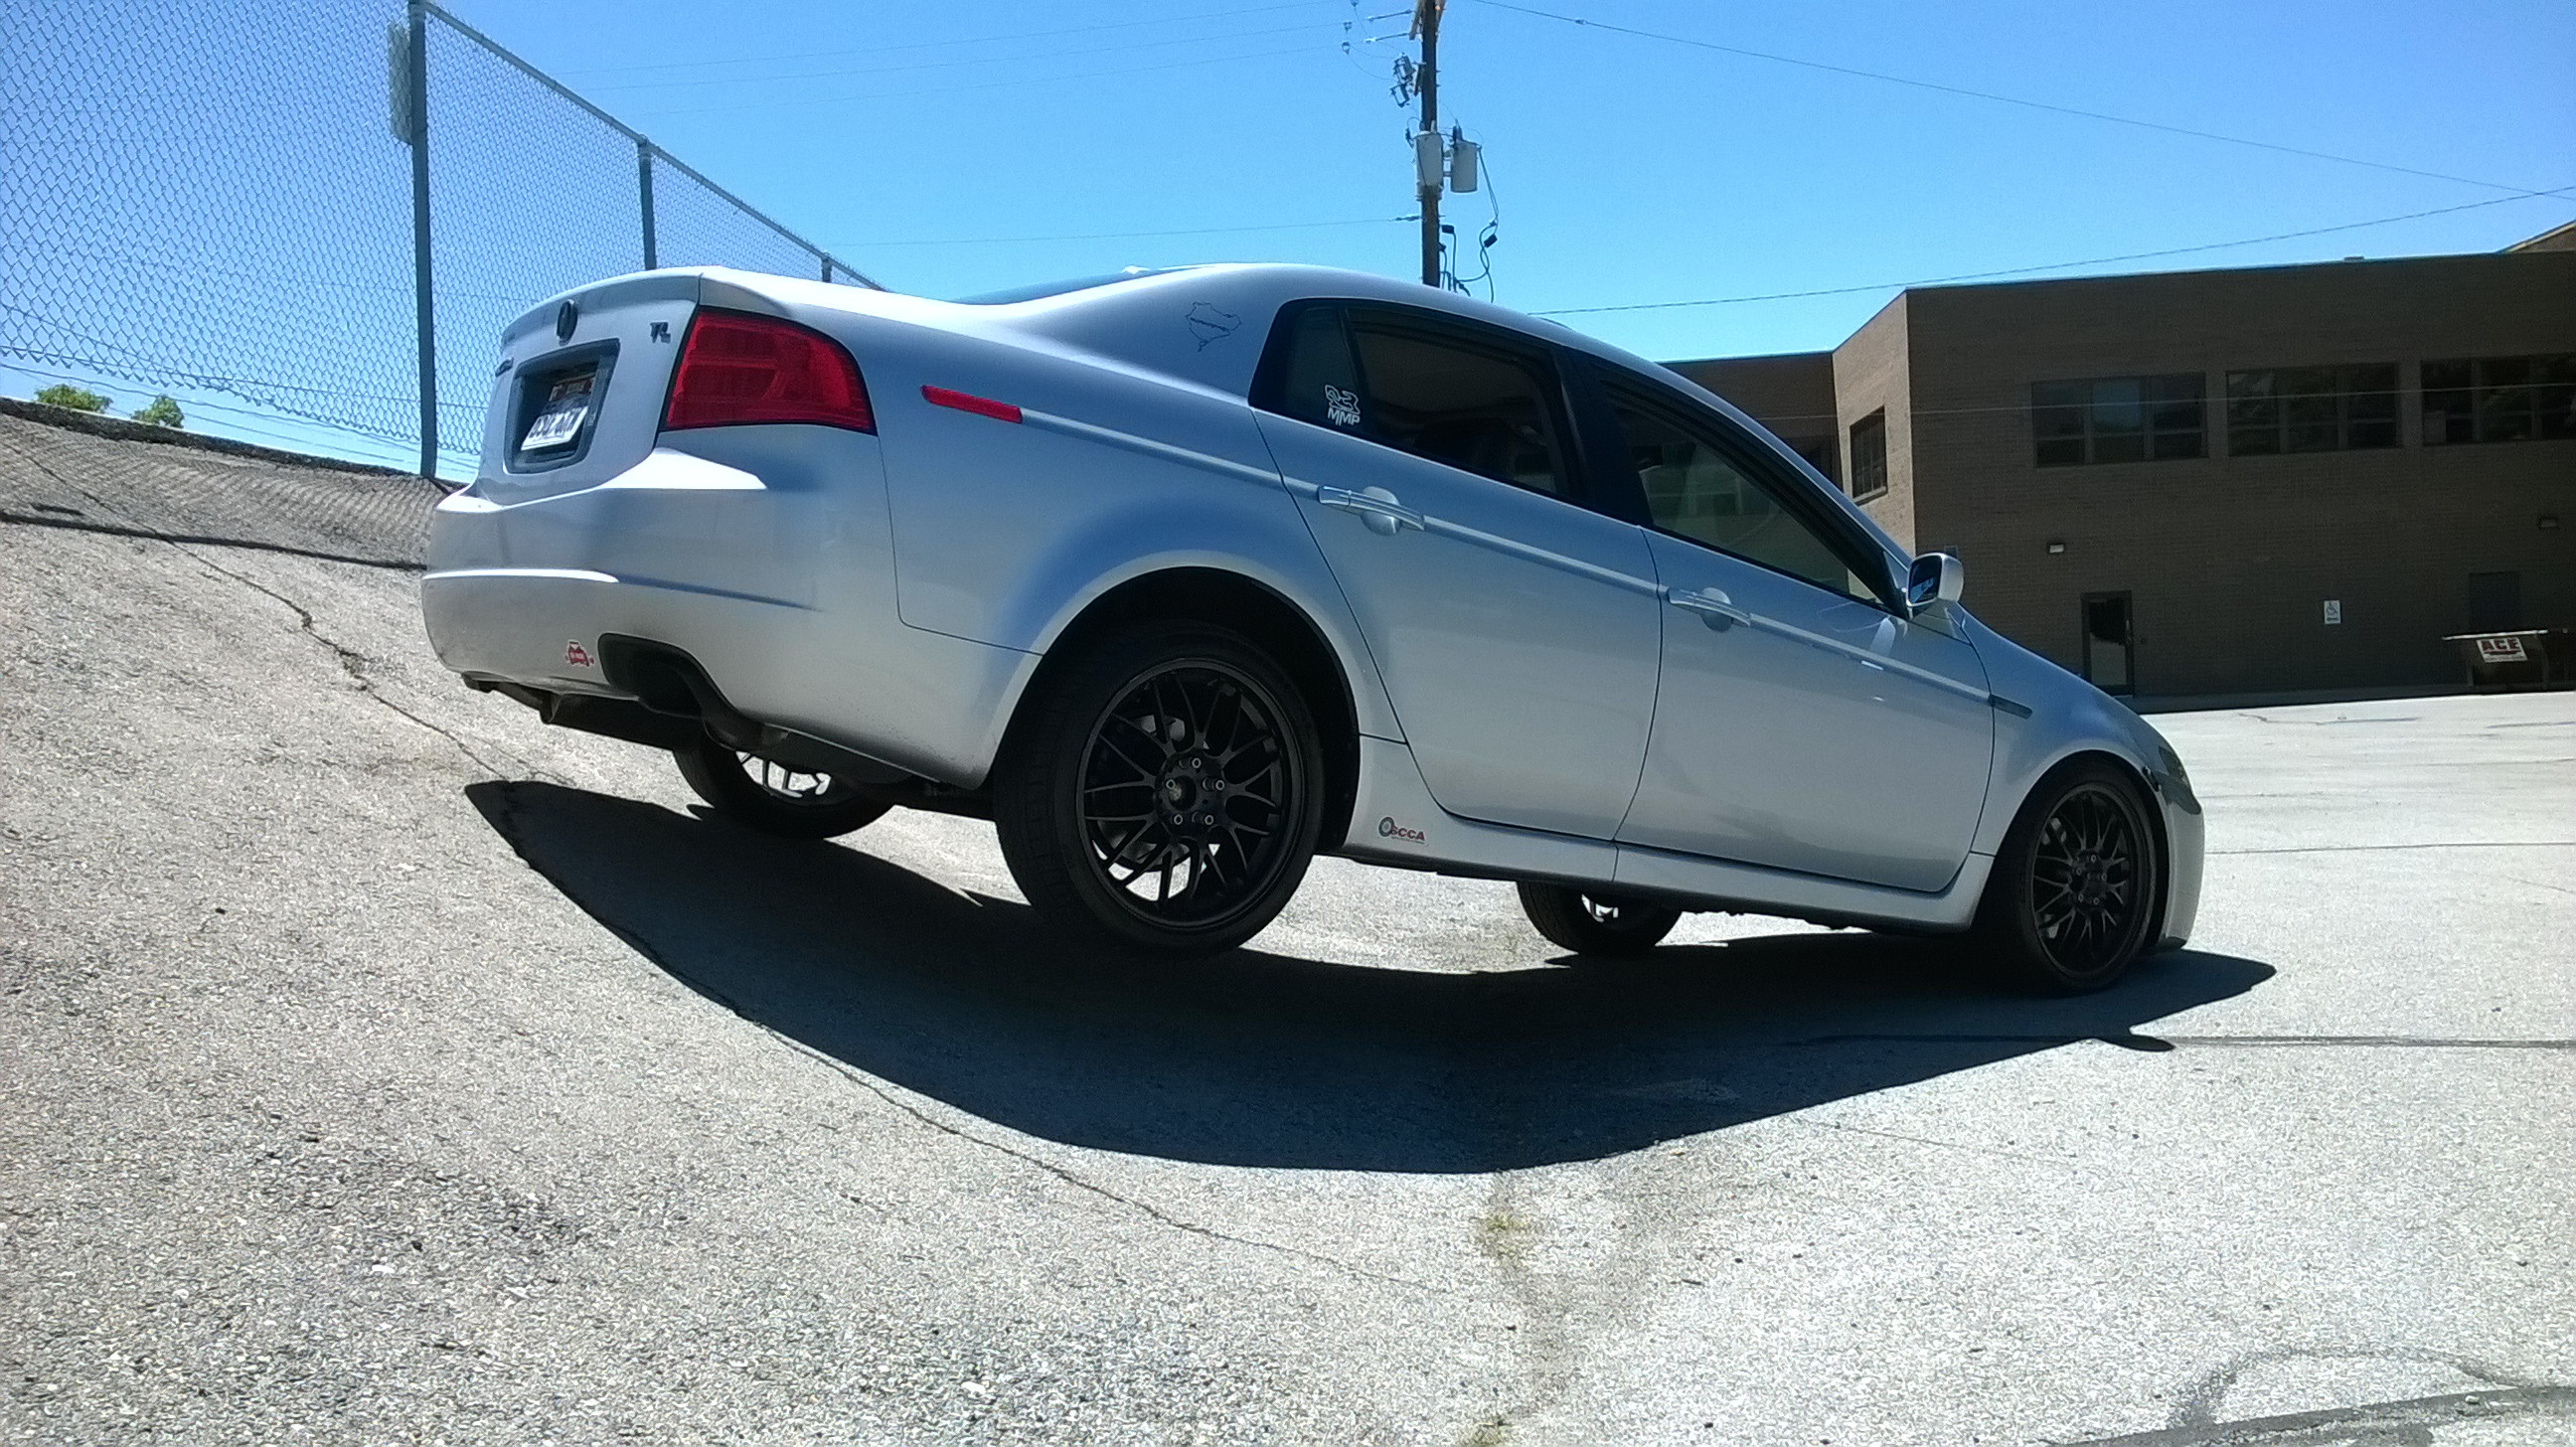
Then went out to take a few pics.
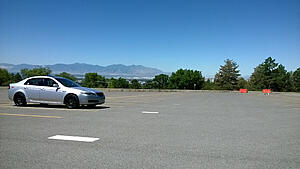

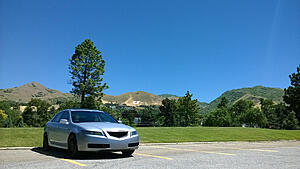
You thought I was lowered didn't you? Parking.

Showing some sway lol.

So while working on my headlights I decided to fabricate some clear side diffusers. I'm glad I did it but at the time it was very annoying. I bought a sheet of plexiglass. The thickness is the most important piece. I believe it is 1mm thick. So just thin enough to bend ever so slightly. You need to cut it with a tool I bought from Home depot a while back. It still reacts like glass so you'll have to cut it and break it on the edge of a table. I still have the template of the sheet I cut out so I'll post a short DIY on it. Should be really easy to do if anyone decides to open up their lights. I'm planning on cutting a few other pieces to size if anyone wants to buy them from me. I can sand them and keep them the original look which looks like clear plastic or darken them or tint them to whatever color. With switch backs behind them the color does not change. Thank you metalcast!


Then went out to take a few pics.

You thought I was lowered didn't you? Parking.


 06-30-2014, 03:17 PM
#69
Thanks bud. Yeah I got sick of looking for diffuser's so though I'd make one. Worked out well. The edges are rough but it doesn't matter since it gets hidden. Also I realized the ones with straight clean edges would break but the ones with slight curves filed in would be able to bend more than usual. Mistaken discovery but it works!
06-30-2014, 03:43 PM
#70
Race Director
iTrader: (3)
Join Date: Feb 2012
Location: South Florida
Age: 31
Posts: 18,278
Received 3,824 Likes
on
2,847 Posts
Very interesting idea for the diffuser. Looks really neat though.
Pretty ballsy parking the car like that
Pretty ballsy parking the car like that
06-30-2014, 04:11 PM
#72
Turd Polisher
iTrader: (1)
Car looks awesome man, great progress - hope all is well.
06-30-2014, 08:47 PM
#74
Team Owner
iTrader: (2)
Join Date: Jan 2008
Location: Kansas City, MO (Overland Park, KS)
Posts: 36,545
Received 6,470 Likes
on
5,162 Posts
Interesting pictures.