When you click on links to various merchants on this site and make a purchase, this can result in this site earning a commission. Affiliate programs and affiliations include, but are not limited to, the eBay Partner Network.
Well last summer the tablet finally died, so I decided to put a faster and bigger tablet in (galaxy tab s2 8). I will be keeping the old relocation of the HVAC and radio display. I am just updating the tablet. Anyways here is my progress far.
I started off with buying a used HVAC and radio display on ebay so I could work on this without tearing my car apart since this is kind of a long process.
In the above two pictures I removed the plastic screen cover and began trimming off all the tabs.
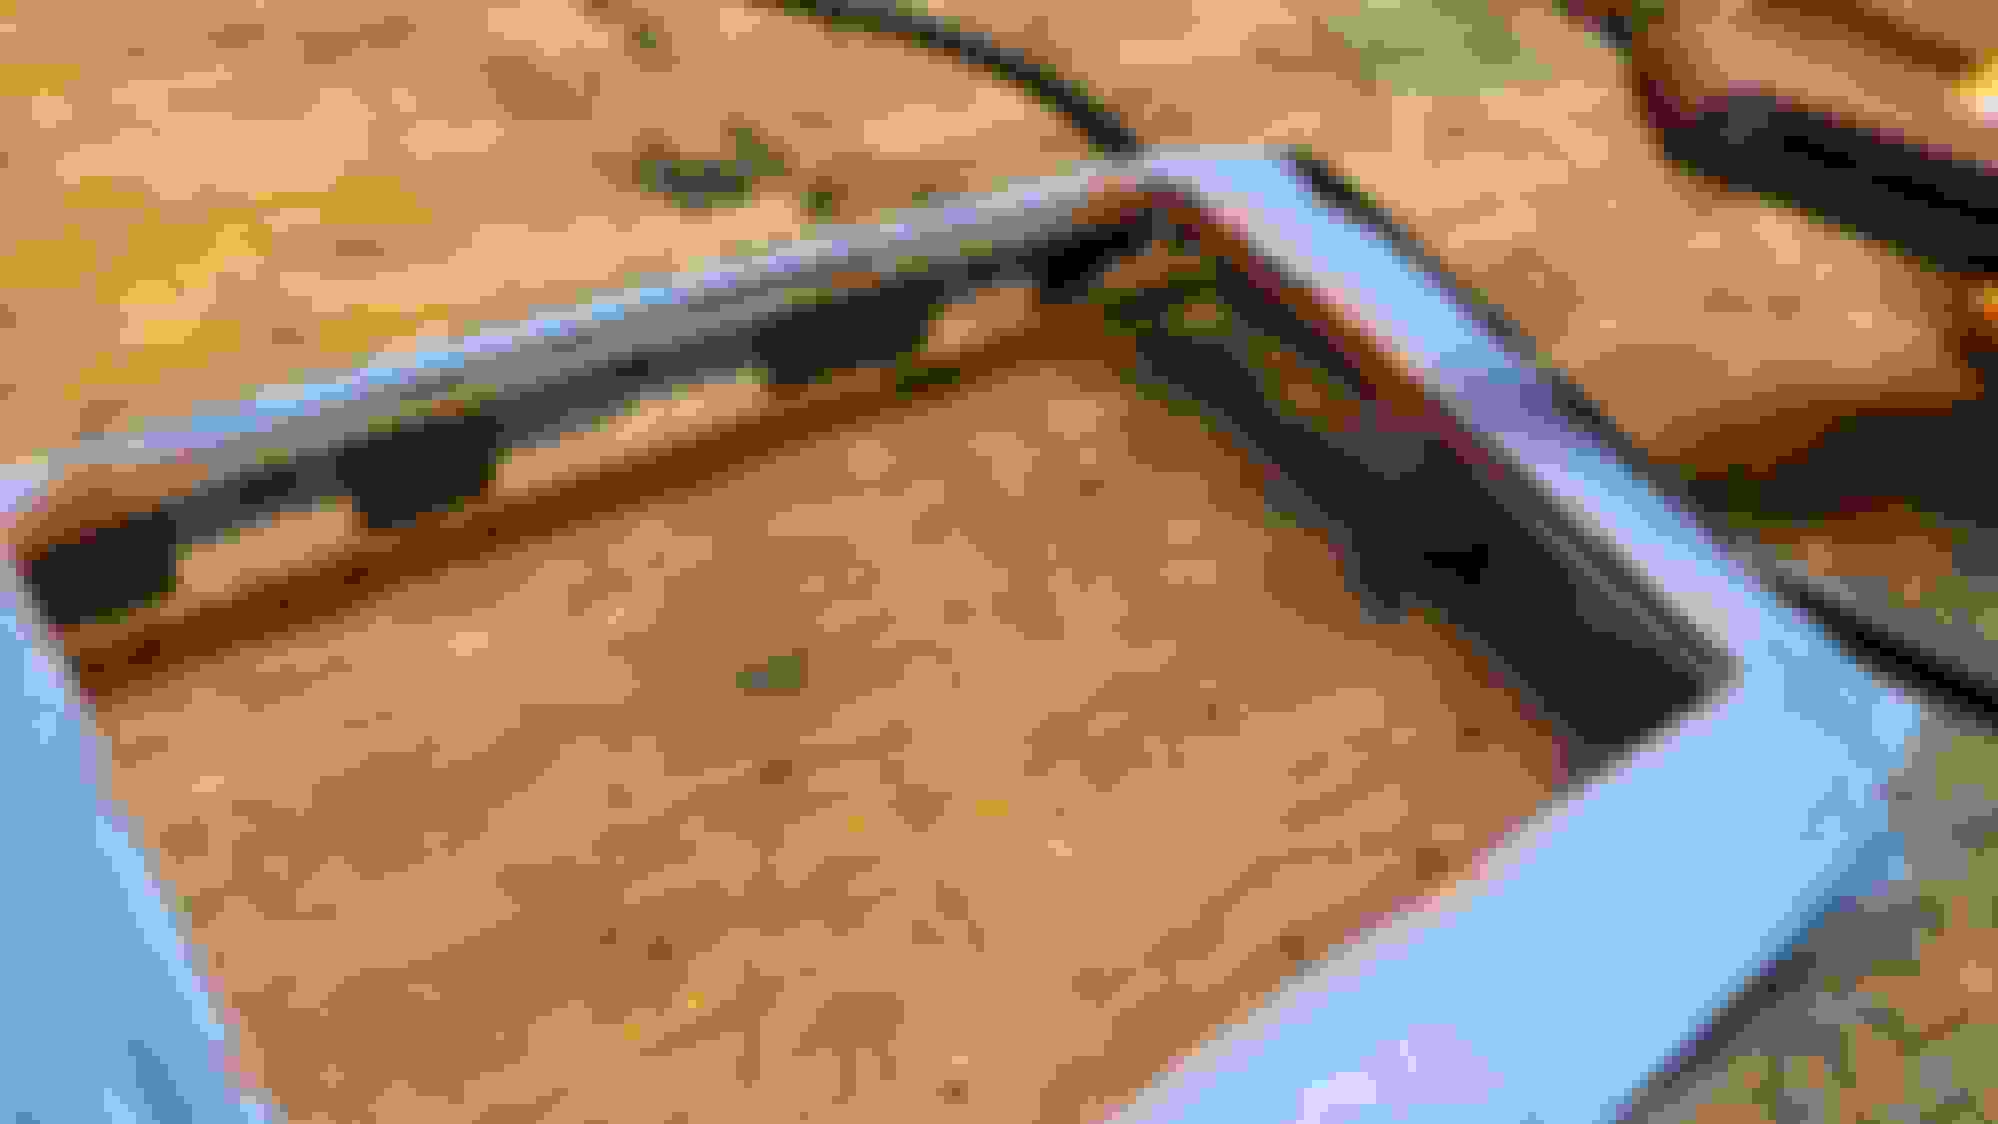
Skipping forward a few steps I cut out the plastic with a dremel and glued in with plastic epoxy an acrylic frame (clear frame) so the tablet can sit flush on the bezel. I then filled all the gaps with glazing putty and sanded the edges down flush with the belt sander that I got from harbor freight (best $25 I've spent on a tool so far). Stay on the look out for more pictures in the next days/weeks I still have more glazing putty work to do.
How's everything coming so far? I have the same tablet and got stuck a bit at trying to find room for the power cord to go into the tablet. I decided to use a Bluetooth option for the audio.
Let it me know if you have any questions or what solution you found for squeezing in the power. I'm not done with mine yet but hopefully some day.
I have a 2006 TL with nav. I have a non nav bezel and the nav bezel so still thinking of options for using one or the other.
Good of luck with your install.
I haven't had much time lately to work on it, but I do plan on working on it soon. I have also been trying to think of what to do with the audio cable and power. I think I am going to dismantle the cable ends and trim the buttons to fit.
The finish on the bezel is a plastic flex primer, matte black enamel, a dusting of glitter paint (to match the original sparkle in the plastic), a dusting of more matte black paint (to recreate the texture), and then a matte clear coat. I used window seal foam to fill the gaps.