Hey Gang,
I have just installed the front spoiler for my 08 TL-s, and it looks great! The only thing is that the double-sided tape did not do its job. Have any of you guys had that problem?
Now that the piece is on, and I don't want to take the whole thing back off, what can I use to seal the small little gap between the front bumper and the spoil-add-on? Any tips and tricks to fix this?
Thanks!
I have just installed the front spoiler for my 08 TL-s, and it looks great! The only thing is that the double-sided tape did not do its job. Have any of you guys had that problem?
Now that the piece is on, and I don't want to take the whole thing back off, what can I use to seal the small little gap between the front bumper and the spoil-add-on? Any tips and tricks to fix this?
Thanks!
Racer
ive had the same problem with the a spec kit on the base tl. u should just try to add extra tape thats what i did, still a few gaps, but not as bad

Safety Car
Just get some 3M industrial strength double sided tape and crop to the size of the gaps you need to fill.
I would try to add on to the spoiler, but I have already tightened the female clips to the male clips. I'm not sure that I can reverse-pull it out. Wish that I could have placed the double-side tapes on before.
Is there another way to do this,,, maybe epoxy through a needle application? Thanks!
Is there another way to do this,,, maybe epoxy through a needle application? Thanks!

Safety Car
3M makes an activator for the glue on the tape.... u get it from any supply place..... they're in small applicator packages. u wipe the sponge on the part thats not sticking wait 5 secs n stick the tape to it.



Back after 1 Year!
To attach the 3M tape to weather striping use industrial strength caulking then put one side of the 3M type on top of that. That way it will stick to the weather striping.
Once you do that then let it sit out in the sun for awhile (30mins) to allow the weather striping soften it up. That way as you remove the paper on the 3M tape (the side attching to under the bumper) you can follow the curves of the A-Spec kit or in my case my Type-S curves.
Then don't drive your car AT ALL for about 1 hour. (IF WARM OUTSIDE). 2 hours if cold. After that if you drive, go the speed limit (70ish) and don't speed to let it set right for 24 hours. After that....HAVE FUN!
Total cost about $30
Once you do that then let it sit out in the sun for awhile (30mins) to allow the weather striping soften it up. That way as you remove the paper on the 3M tape (the side attching to under the bumper) you can follow the curves of the A-Spec kit or in my case my Type-S curves.
Then don't drive your car AT ALL for about 1 hour. (IF WARM OUTSIDE). 2 hours if cold. After that if you drive, go the speed limit (70ish) and don't speed to let it set right for 24 hours. After that....HAVE FUN!
Total cost about $30

Nikon Neck Beard Krew
^ details on front lip?
If you could PM me with info that would be great.
If you could PM me with info that would be great.
Back after 1 Year!
Quote:
If you could PM me with info that would be great.
All the info I can give is above your post. Originally Posted by sT04Louis
^ details on front lip?If you could PM me with info that would be great.

I didn't buy the materials, I just paid the $30 bucks to some of my friends and watched

Here's a little diagram that I've made from someone elses car,,, thanks to vipTL picture!

As you can see here,,, I have photoshopped a gap on the left side, that's my current condition for my car. I want my car to look like the one on the right side of the picture.
Now without removing my bumper and removing my spoiler, how would I tighten it back up. You think that I can use that 3M activator on the bumper through the gap and then press the spoiler to the close up the gap? Any other suggestions?

As you can see here,,, I have photoshopped a gap on the left side, that's my current condition for my car. I want my car to look like the one on the right side of the picture.
Now without removing my bumper and removing my spoiler, how would I tighten it back up. You think that I can use that 3M activator on the bumper through the gap and then press the spoiler to the close up the gap? Any other suggestions?
94 DC4 RS LSV/Turbo
at a meet I observed rondog's car had black silicone around the edges of the lip kit... that is the route I am taking to avoid getting dirt underneath... since yur car is black... go for it...
Safety Car
hell yea just make sure when u peel the tape off from both sides....and when u reapply new tape u apply activator on the lip section before u put the new tape down. also just use the activator on the section of the bumper where u have gaps or would have gaps because its like super glue when it activates with the tape.also make sure u use the same thickness or thinner if you like for the tape. i used a lil thinner and it worked great.

Drive FAst and Swirve
Quote:
If you could PM me with info that would be great.
Originally Posted by sT04Louis
^ details on front lip?If you could PM me with info that would be great.
Sandiego
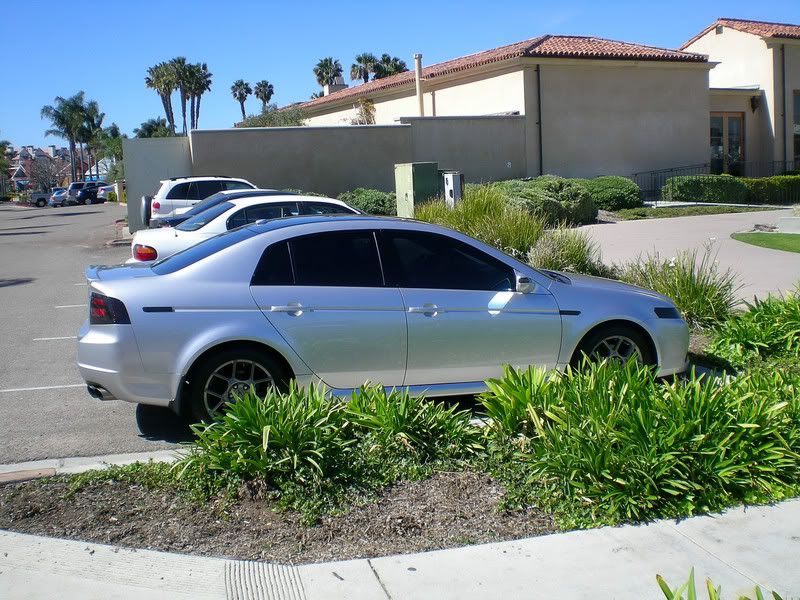
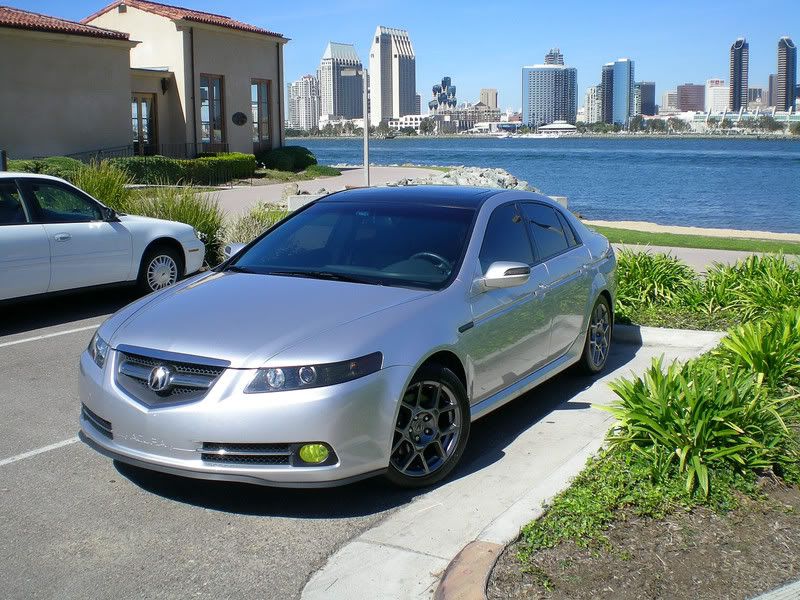
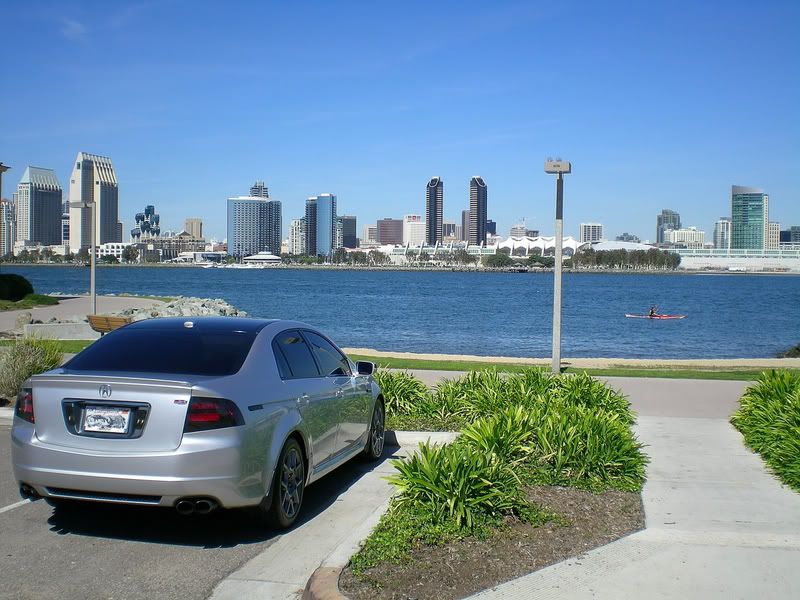
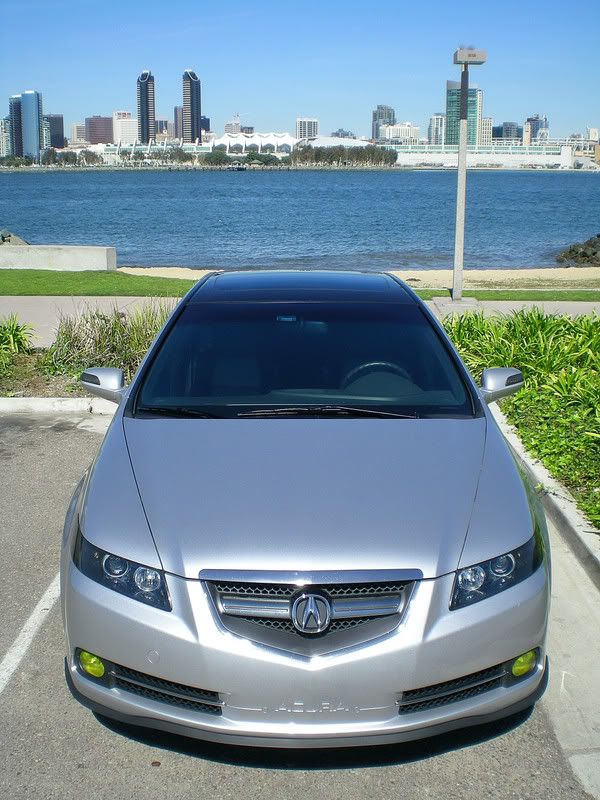
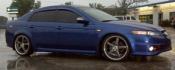
 what kind of lip is that? did you custom fab it....i think that looks sweet....havent really been feeling the type s aspec lips but whatever you did is hot
Safety Car
the reason i wouldnt run a bead of silicone is because the tape still falls apart from weather even if the silicone is there. one way or another u have to replace it
The Kinetics of Bleu
Quote:
Once you do that then let it sit out in the sun for awhile (30mins) to allow the weather striping soften it up. That way as you remove the paper on the 3M tape (the side attching to under the bumper) you can follow the curves of the A-Spec kit or in my case my Type-S curves.
Then don't drive your car AT ALL for about 1 hour. (IF WARM OUTSIDE). 2 hours if cold. After that if you drive, go the speed limit (70ish) and don't speed to let it set right for 24 hours. After that....HAVE FUN!
Total cost about $30
What front lip is that?? Also, did you paint your roof black, or is that a reflection?? Originally Posted by sandiegodrive
To attach the 3M tape to weather striping use industrial strength caulking then put one side of the 3M type on top of that. That way it will stick to the weather striping. Once you do that then let it sit out in the sun for awhile (30mins) to allow the weather striping soften it up. That way as you remove the paper on the 3M tape (the side attching to under the bumper) you can follow the curves of the A-Spec kit or in my case my Type-S curves.
Then don't drive your car AT ALL for about 1 hour. (IF WARM OUTSIDE). 2 hours if cold. After that if you drive, go the speed limit (70ish) and don't speed to let it set right for 24 hours. After that....HAVE FUN!
Total cost about $30


Back after 1 Year!
Quote:
Thanks, I've been getting a lot of compliments on it Originally Posted by TLAdvanced
What front lip is that?? Also, did you paint your roof black, or is that a reflection??
My car had it installed as a prototype for long term testing. Its SUPER easy for anyone to do it themselves. Its been about 5 months and its hasn't budged.
Your about to laugh but......
Its garage door weather striping.
no

I laughed too when I first heard, but it happens to have the perfect angle and the tough rubberish foam material it made from is.....you guessed it weather proof!
To attach the 3M tape to weather striping they used industrial strength caulking then put one side of the 3M type on top of that. That way it would stick to the weather striping.
Once you do that then let it sit out in the sun for awhile (30mins) to allow the weather striping soften it up. That way as you remove the paper on the 3M tape (the side attching to under the bumper) you can follow the curves of the A-Spec kit or in my case my Type-S curves.
Then don't drive your car AT ALL for about 1 hour. (IF WARM OUTSIDE). 2 hours if cold. After that if you drive, go the speed limit (70ish) and don't speed to let it set right for 24 hours. After that....HAVE FUN!
Total cost about $30
Drive FAst and Swirve
Quote:
My car had it installed as a prototype for long term testing. Its SUPER easy for anyone to do it themselves. Its been about 5 months and its hasn't budged.
Your about to laugh but......
Its garage door weather striping.
no
I laughed too when I first heard, but it happens to have the perfect angle and the tough rubberish foam material it made from is.....you guessed it weather proof!
To attach the 3M tape to weather striping they used industrial strength caulking then put one side of the 3M type on top of that. That way it would stick to the weather striping.
Once you do that then let it sit out in the sun for awhile (30mins) to allow the weather striping soften it up. That way as you remove the paper on the 3M tape (the side attching to under the bumper) you can follow the curves of the A-Spec kit or in my case my Type-S curves.
Then don't drive your car AT ALL for about 1 hour. (IF WARM OUTSIDE). 2 hours if cold. After that if you drive, go the speed limit (70ish) and don't speed to let it set right for 24 hours. After that....HAVE FUN!
Total cost about $30
Can you give some more detail on this weather stripping, specs and what not....I'm all over this, just need to know where to beginOriginally Posted by sandiegodrive
Thanks, I've been getting a lot of compliments on it My car had it installed as a prototype for long term testing. Its SUPER easy for anyone to do it themselves. Its been about 5 months and its hasn't budged.
Your about to laugh but......
Its garage door weather striping.
no
I laughed too when I first heard, but it happens to have the perfect angle and the tough rubberish foam material it made from is.....you guessed it weather proof!
To attach the 3M tape to weather striping they used industrial strength caulking then put one side of the 3M type on top of that. That way it would stick to the weather striping.
Once you do that then let it sit out in the sun for awhile (30mins) to allow the weather striping soften it up. That way as you remove the paper on the 3M tape (the side attching to under the bumper) you can follow the curves of the A-Spec kit or in my case my Type-S curves.
Then don't drive your car AT ALL for about 1 hour. (IF WARM OUTSIDE). 2 hours if cold. After that if you drive, go the speed limit (70ish) and don't speed to let it set right for 24 hours. After that....HAVE FUN!
Total cost about $30
Back after 1 Year!
Quote:
I'll try to find out the details Originally Posted by leolebo28
Can you give some more detail on this weather stripping, specs and what not....I'm all over this, just need to know where to begin
Back after 1 Year!
Quote:
They're Viny Overlays. (I haven't painted the antenna yet though)Originally Posted by TLAdvanced
Also, did you paint your roof black, or is that a reflection??
Click on my signatures go to the link.