As a birthday gift I bought some suspension for my TL-S, specifically a set of Koni Yellow shocks, H&R Sport springs and then new OEM top hats, bushings, bump stops, and dust boots.
Big shout out to Marcus at Heeltoe for giving me a great deal and helping me figure out what else I needed to complete my new suspension assemblies.
This thread is intended to be a build guide of sorts and so it will be absolutely loaded with pictures from assembly, and hopefully contain the info needed regarding modifications needed for Koni shocks.
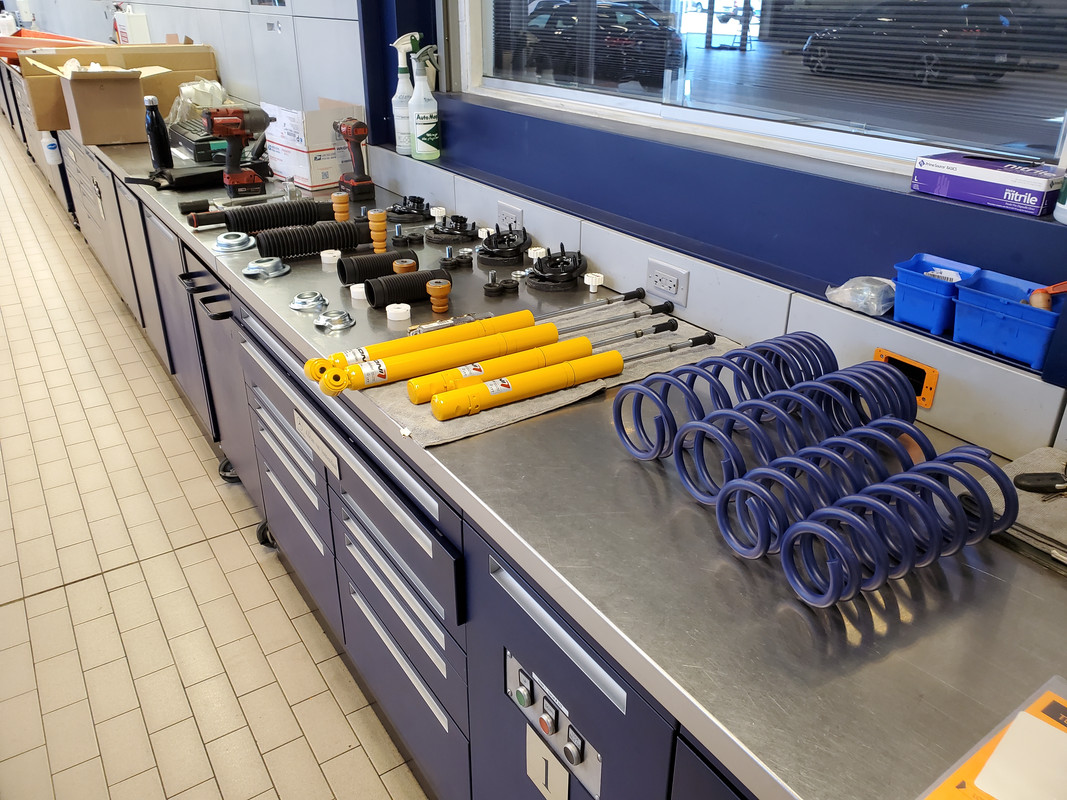
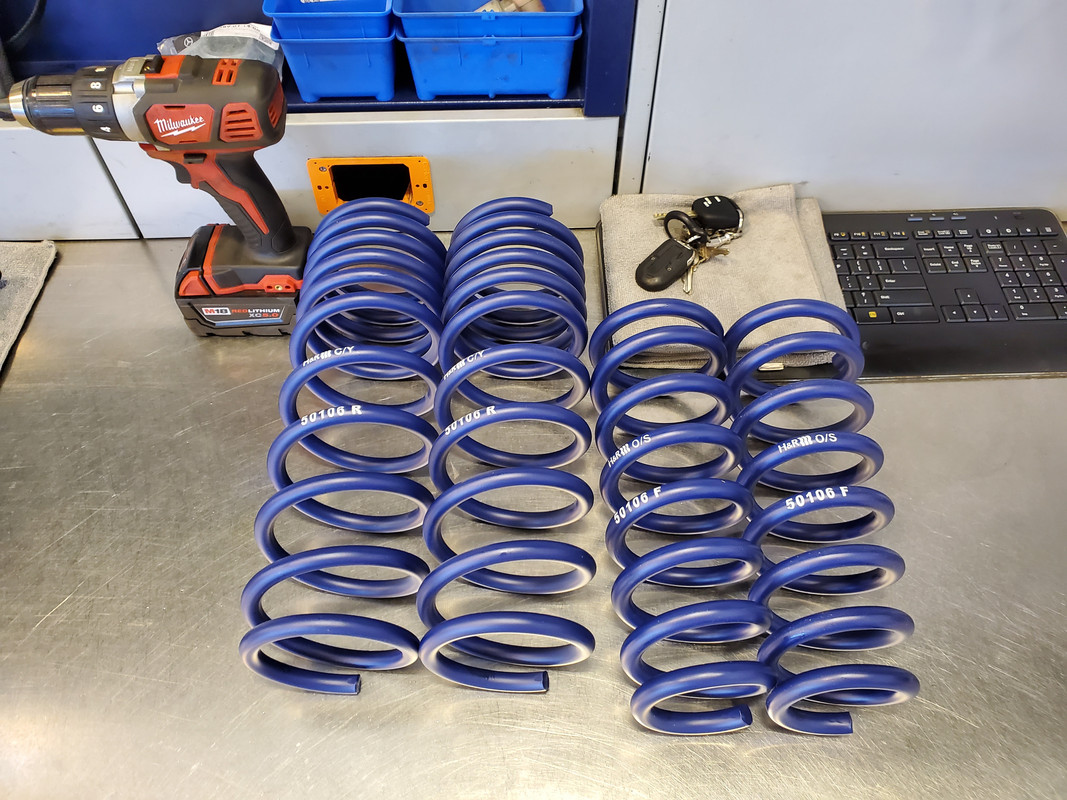
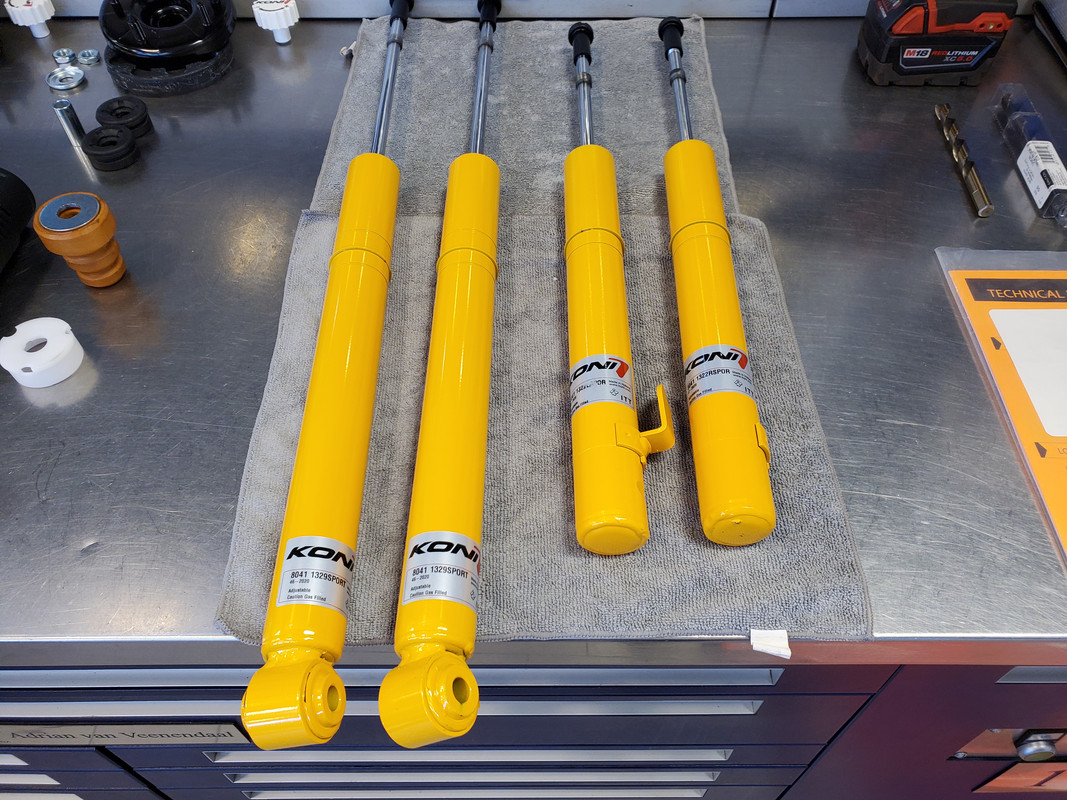
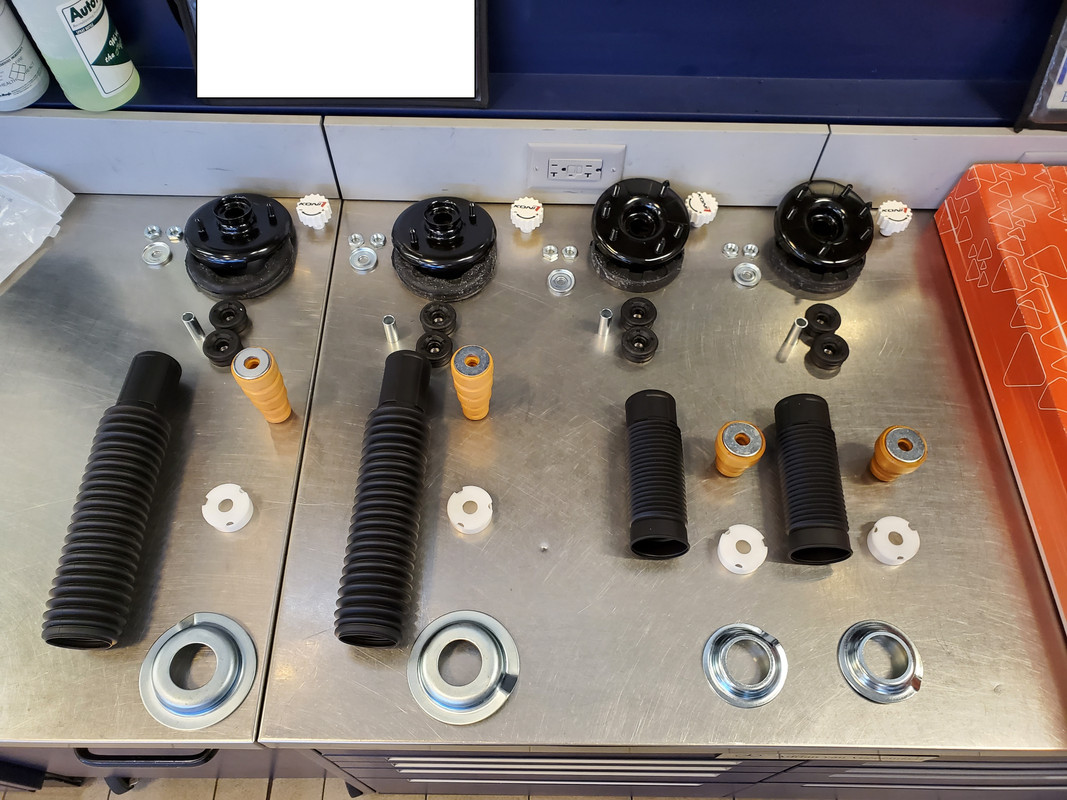
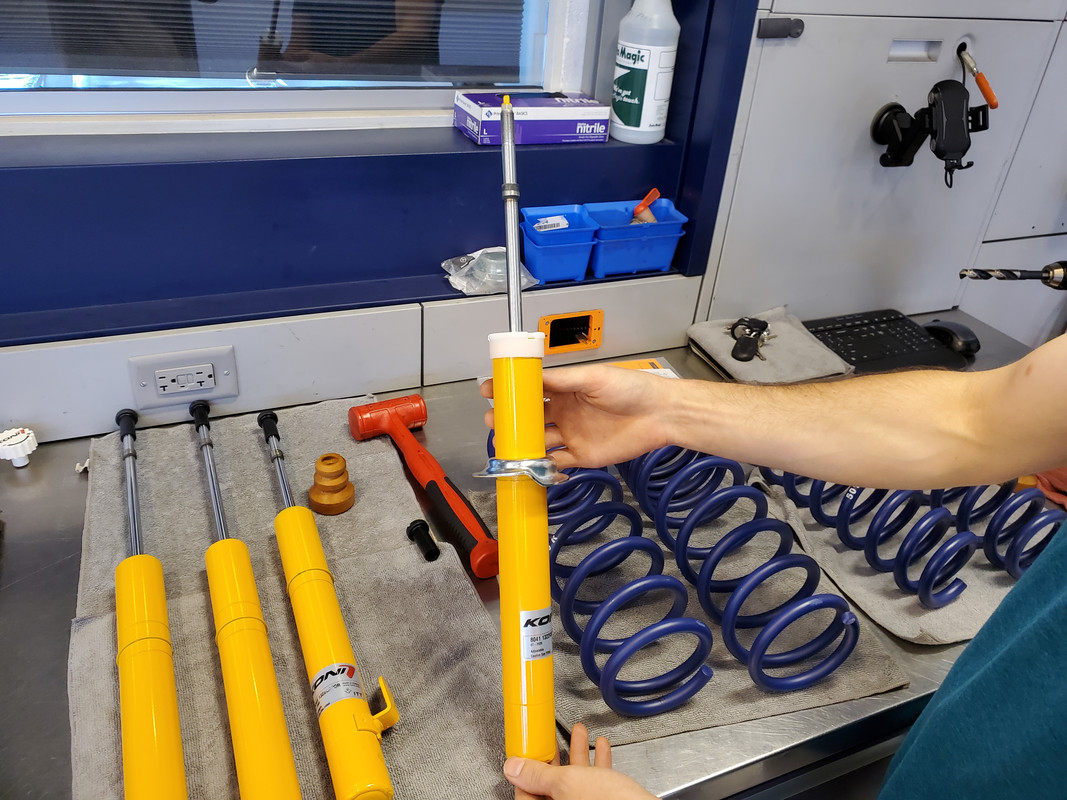
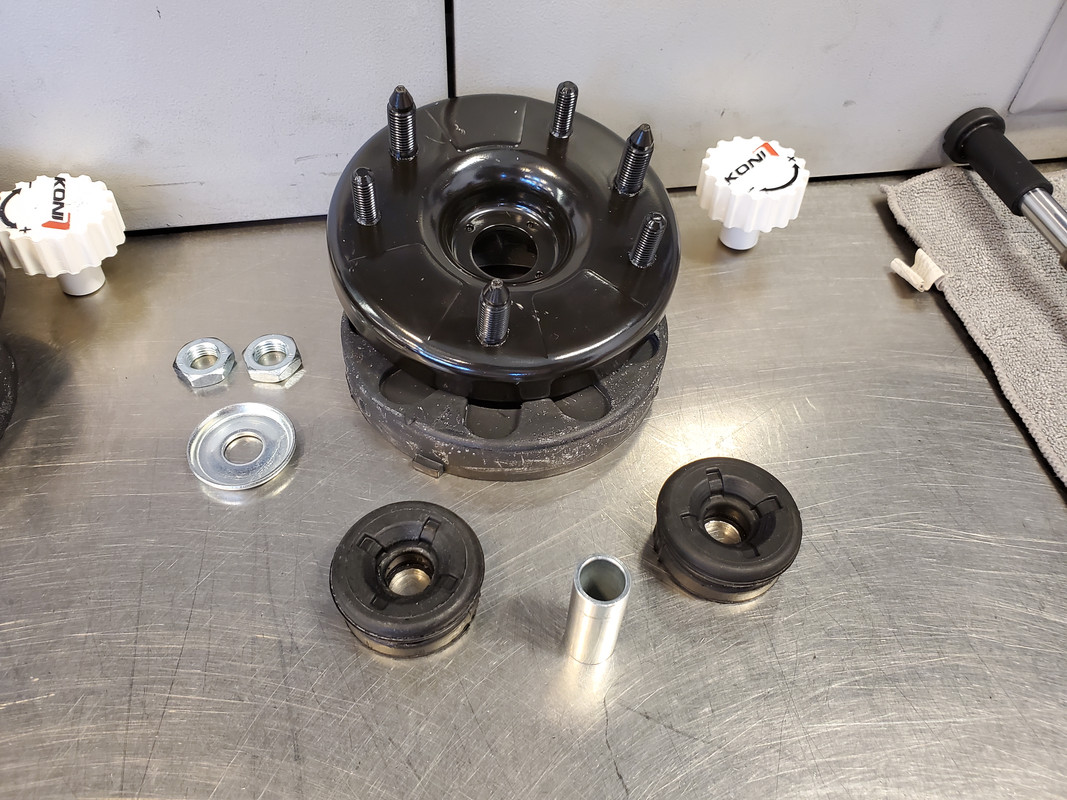
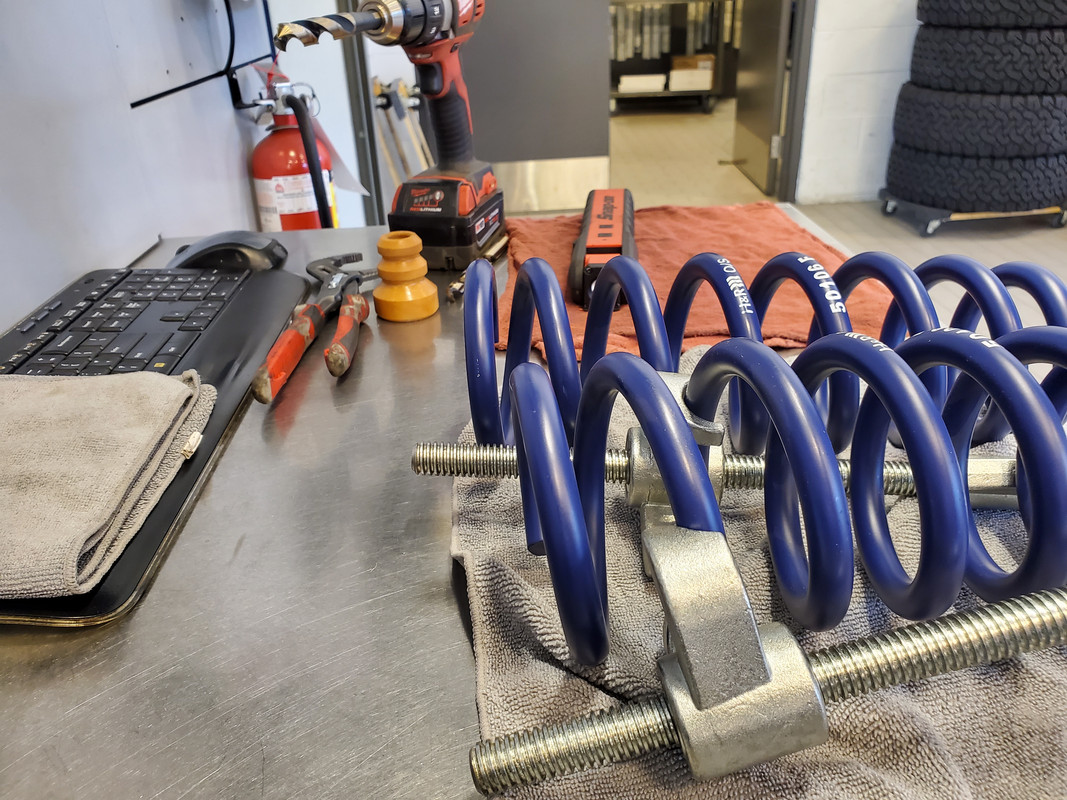
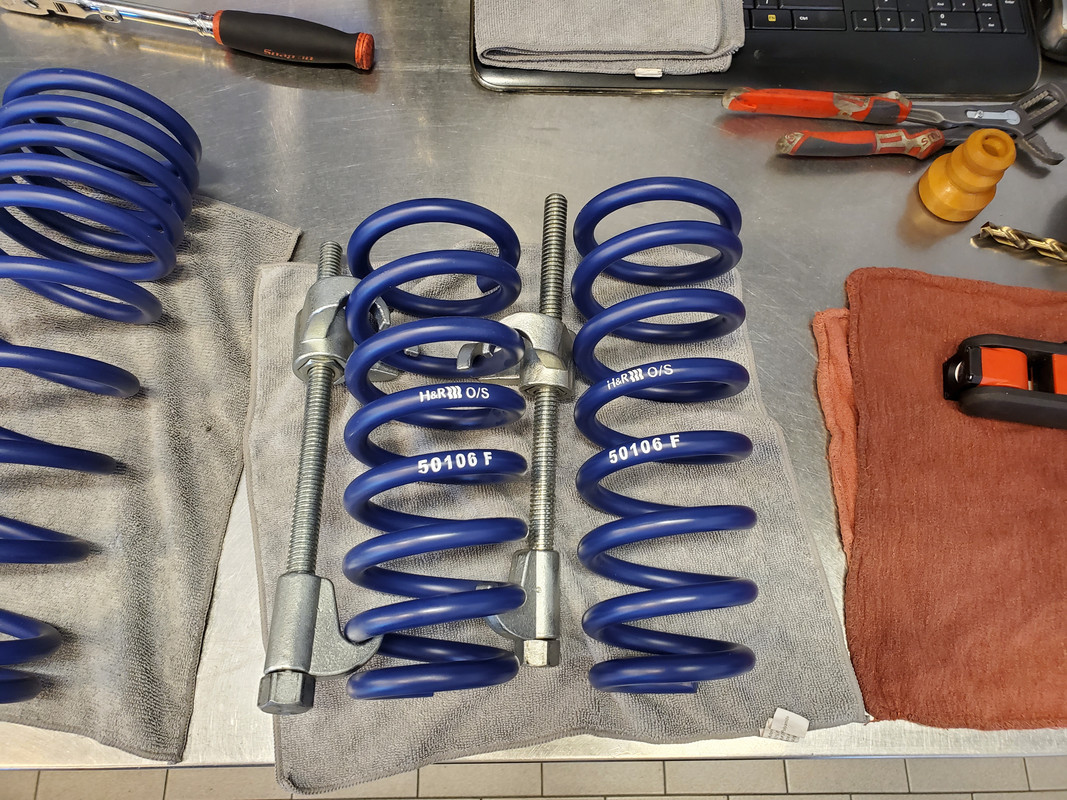
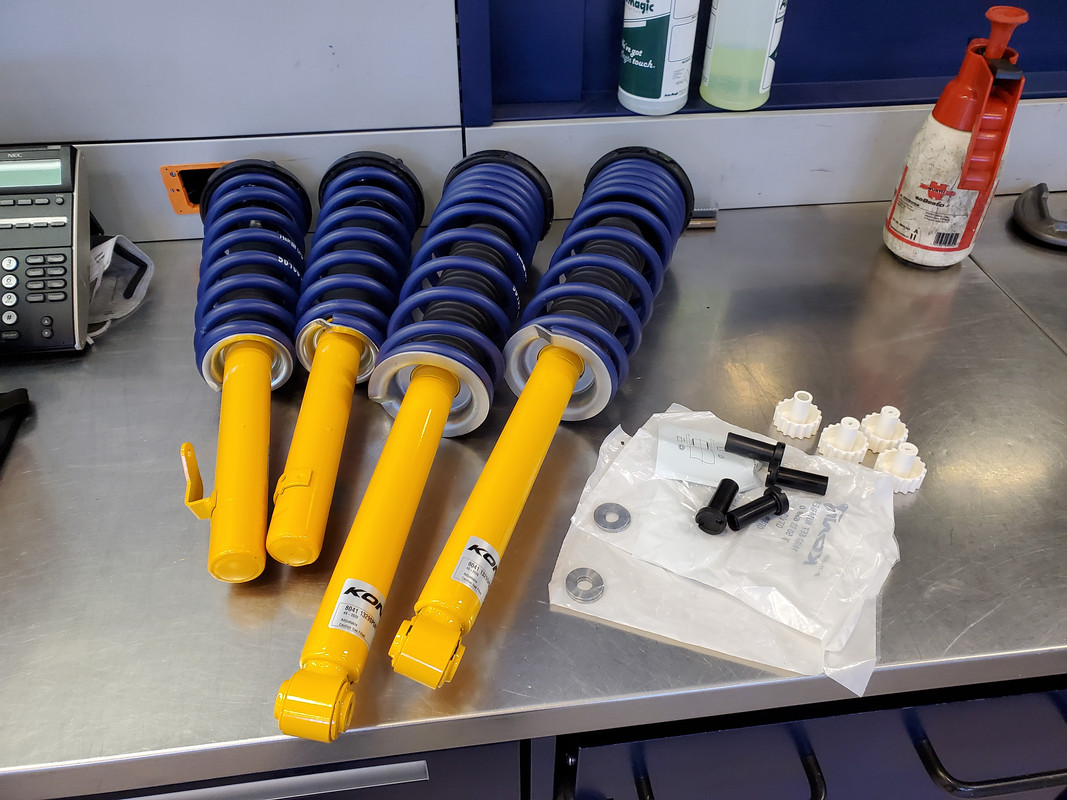
First up, everything laid out:
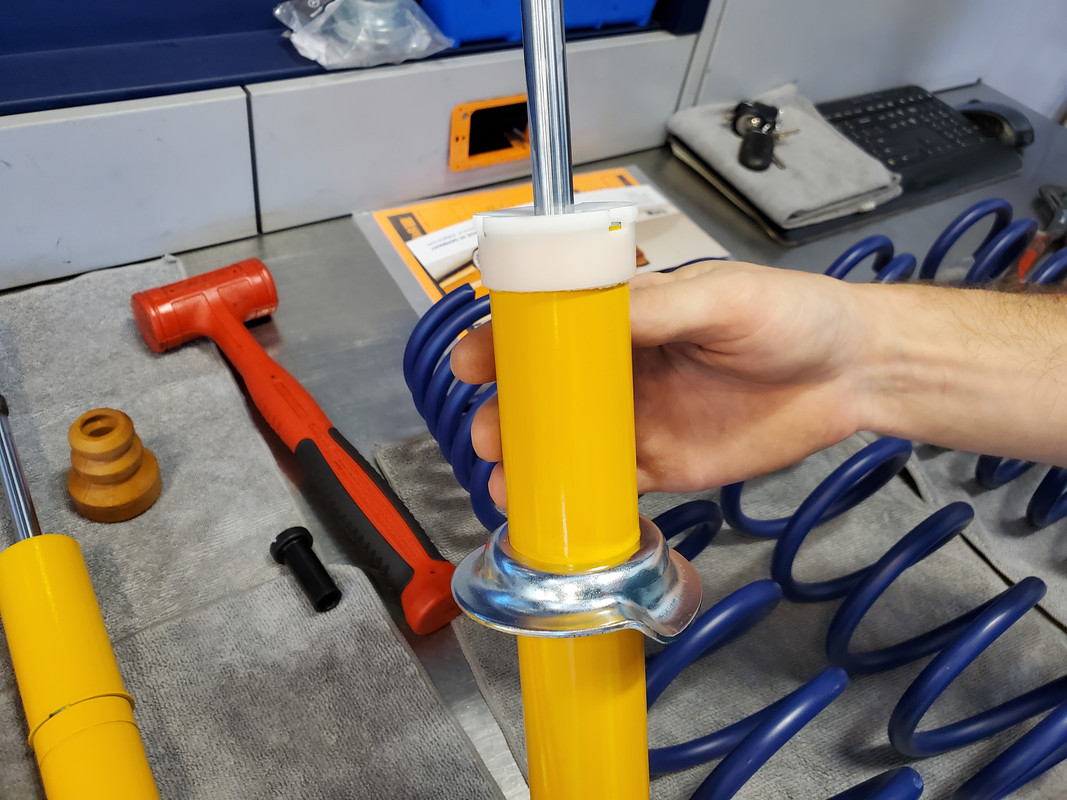
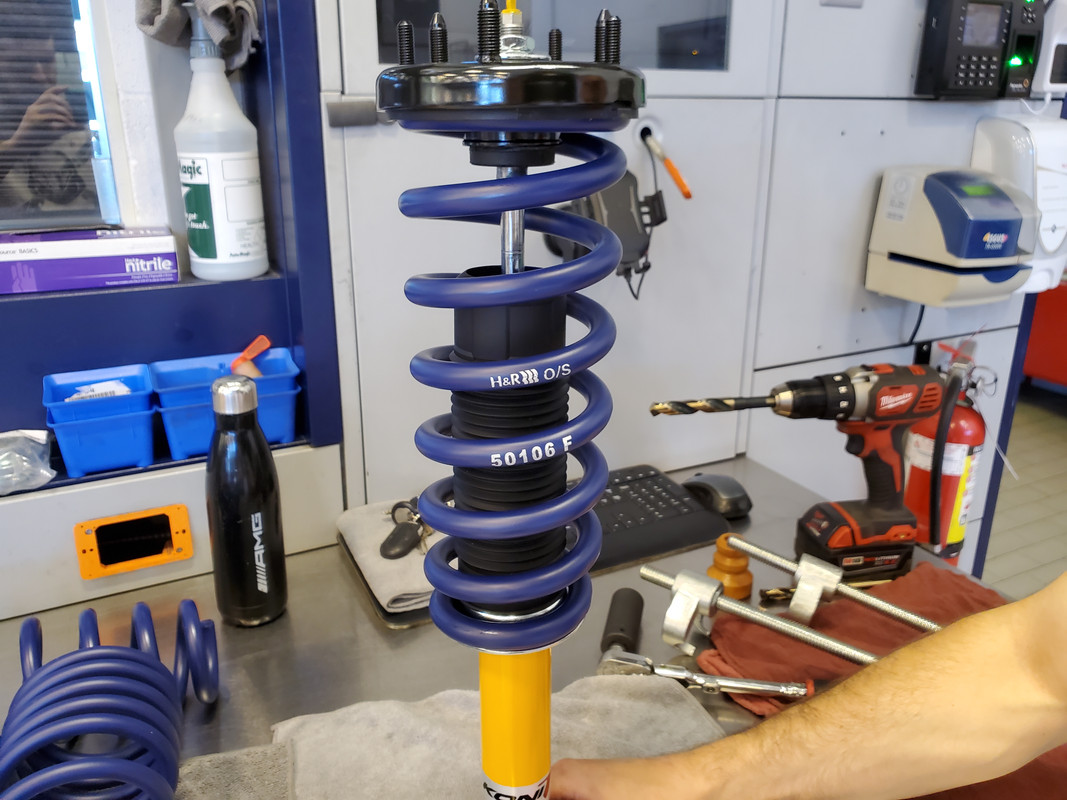
So you start with putting spring perch at the bottom of the shock, then follow it up with the lower plastic dust cover. Pretty easy so far, the dust cover will need a few taps with a mallet to sit completely flush.
On Konis, the spring perch sits on an adjustable ring which you can move up or down into a few slots to raise or lower your suspension. I chose to leave all of my spring perches on the default setting.
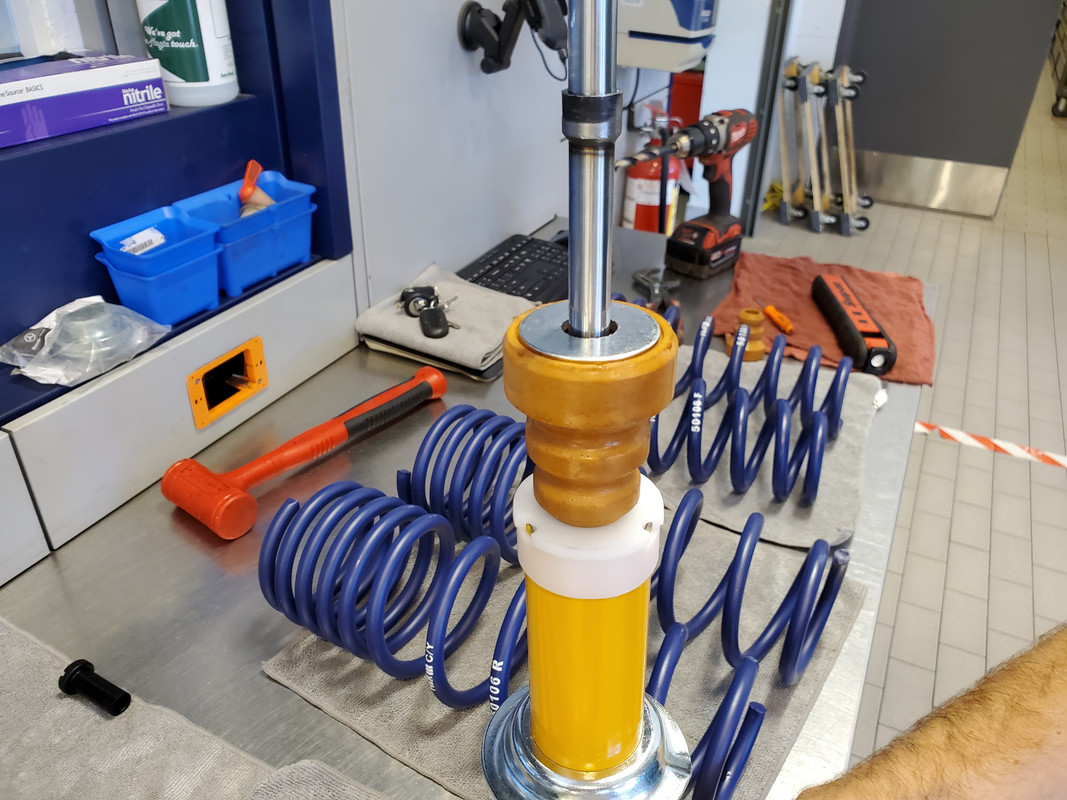
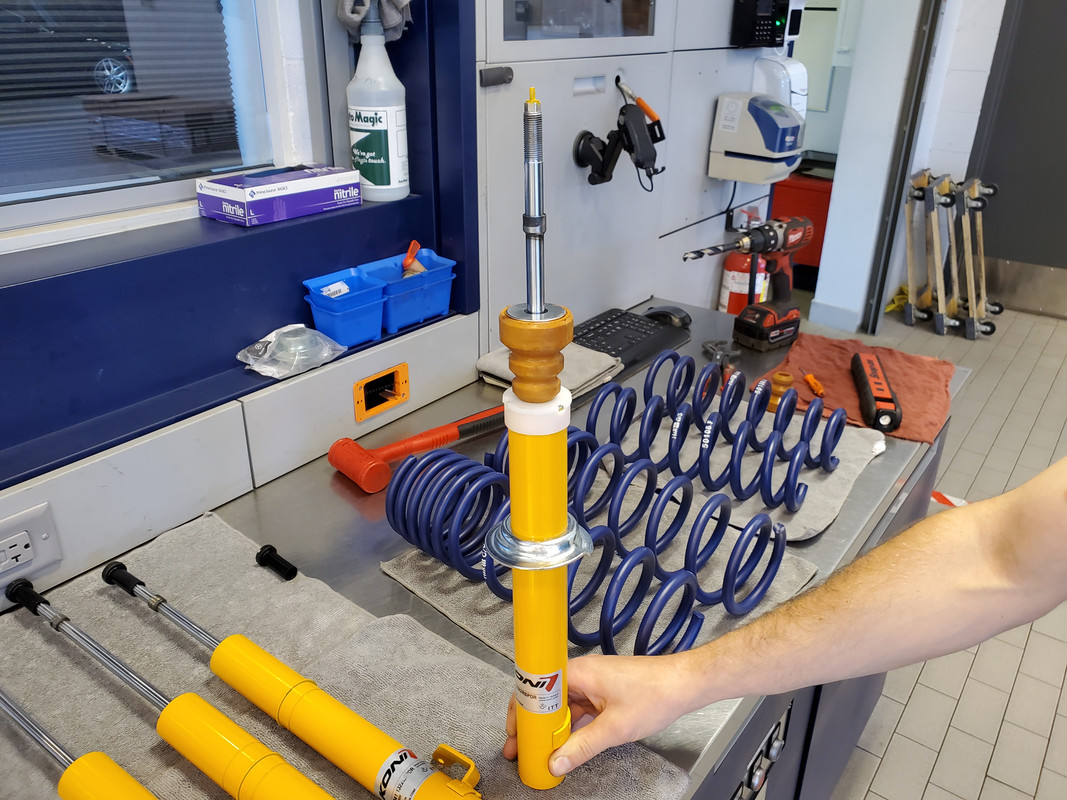
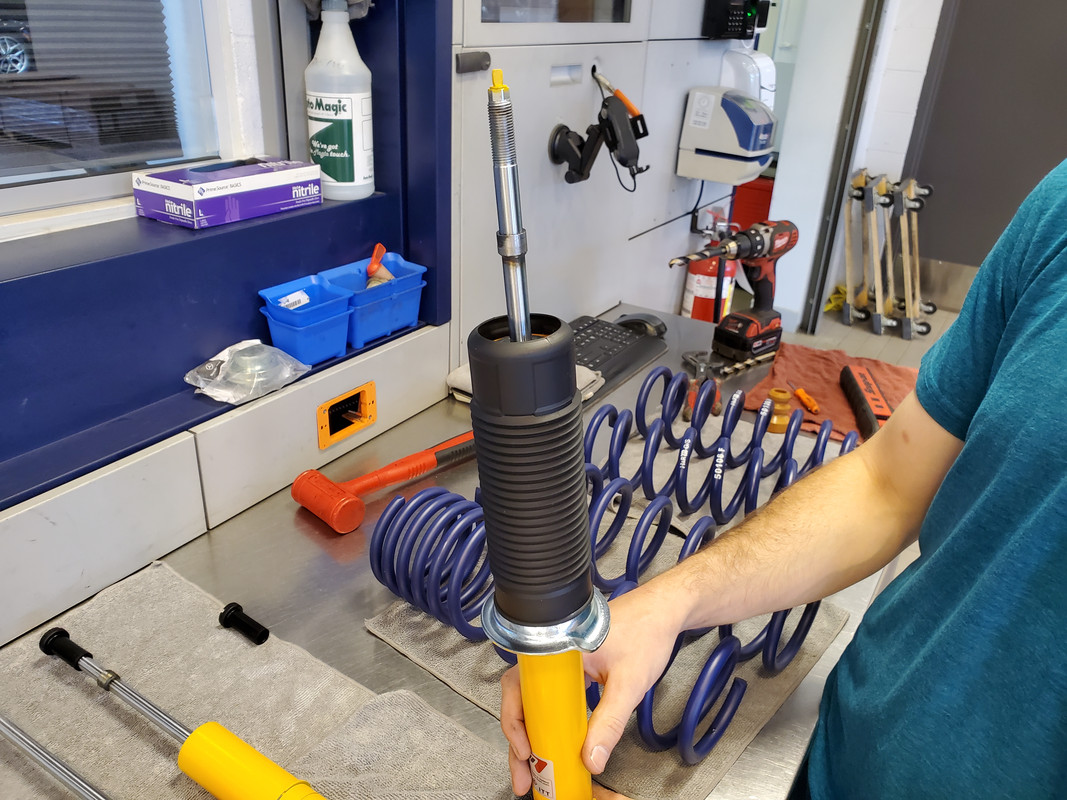
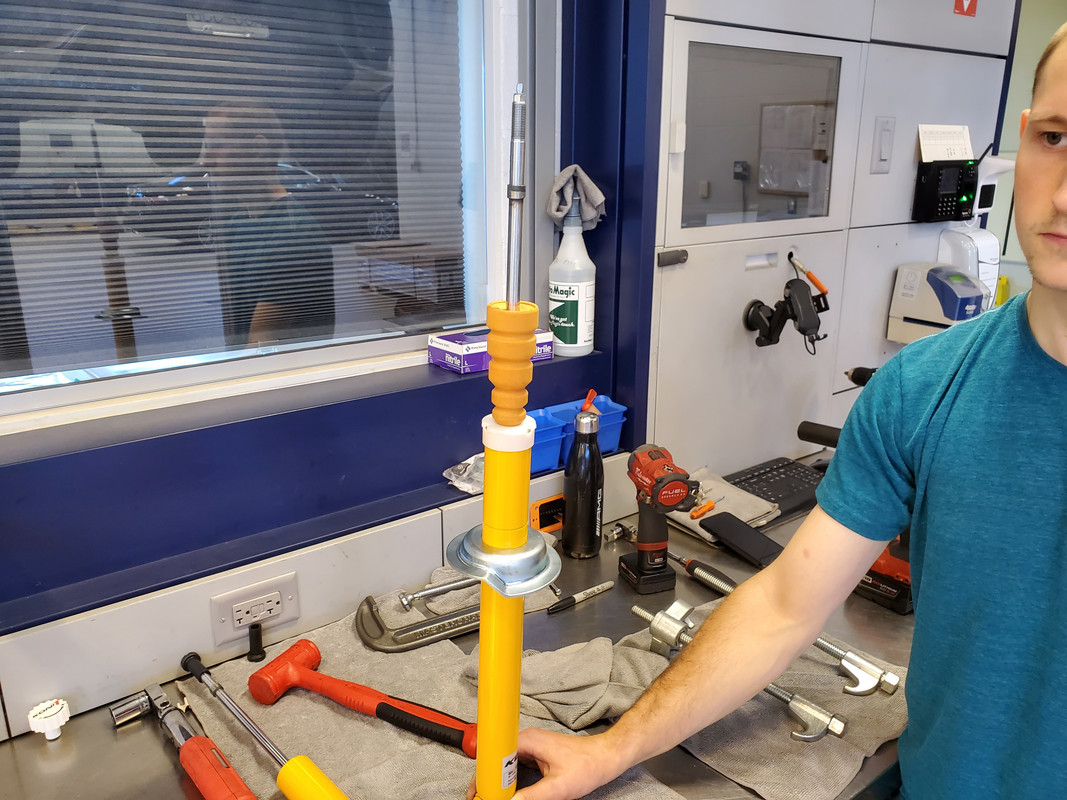
After that, you need to get the bump stop and it's washer installed onto the shock rod and this is where the first alterations need to be made if you're using Koni shocks - they have a larger diameter shock rod and a thicker weld that you will need to get the bumpstop over, as it is intended to be at the bottom as pictured.
The rod of the Koni shocks is 12mm in diameter and the weld is 15mm. The OEM bump stop fits the 12mm shock just fine, but the front ones are difficult to get past the 15mm weld without massaging.
The bump stop plate for all four shocks need to be drilled to 15mm to fit over the weld of the Koni shock.
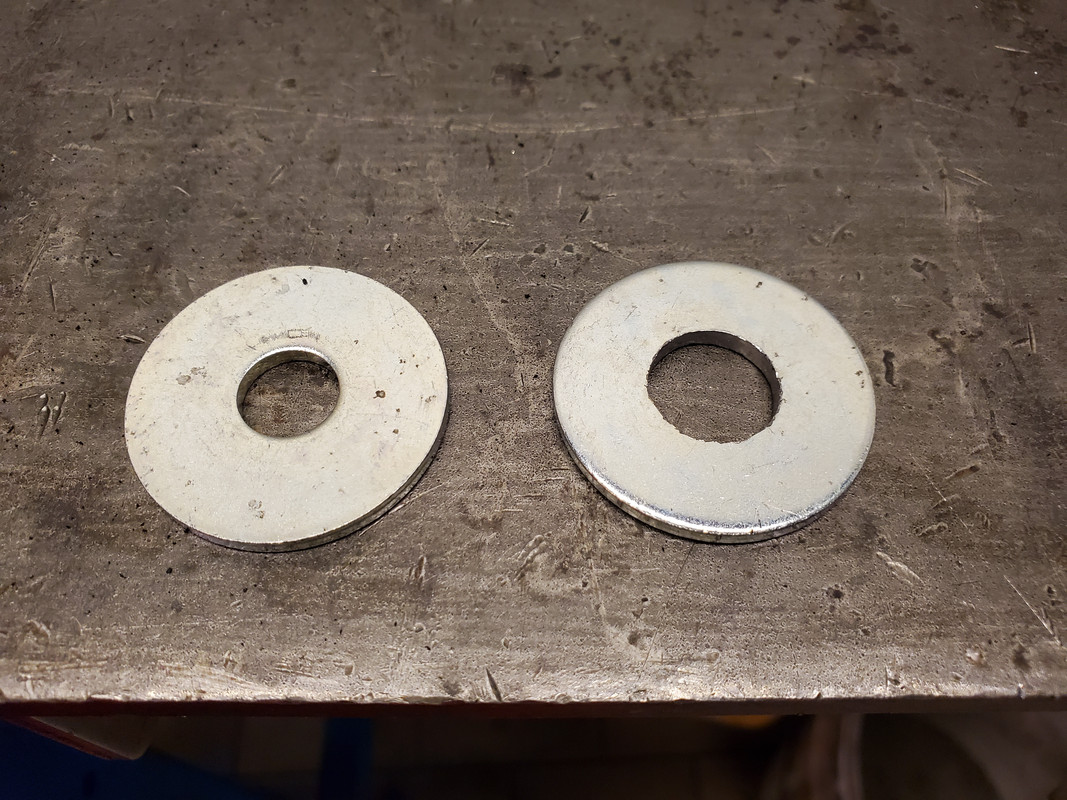
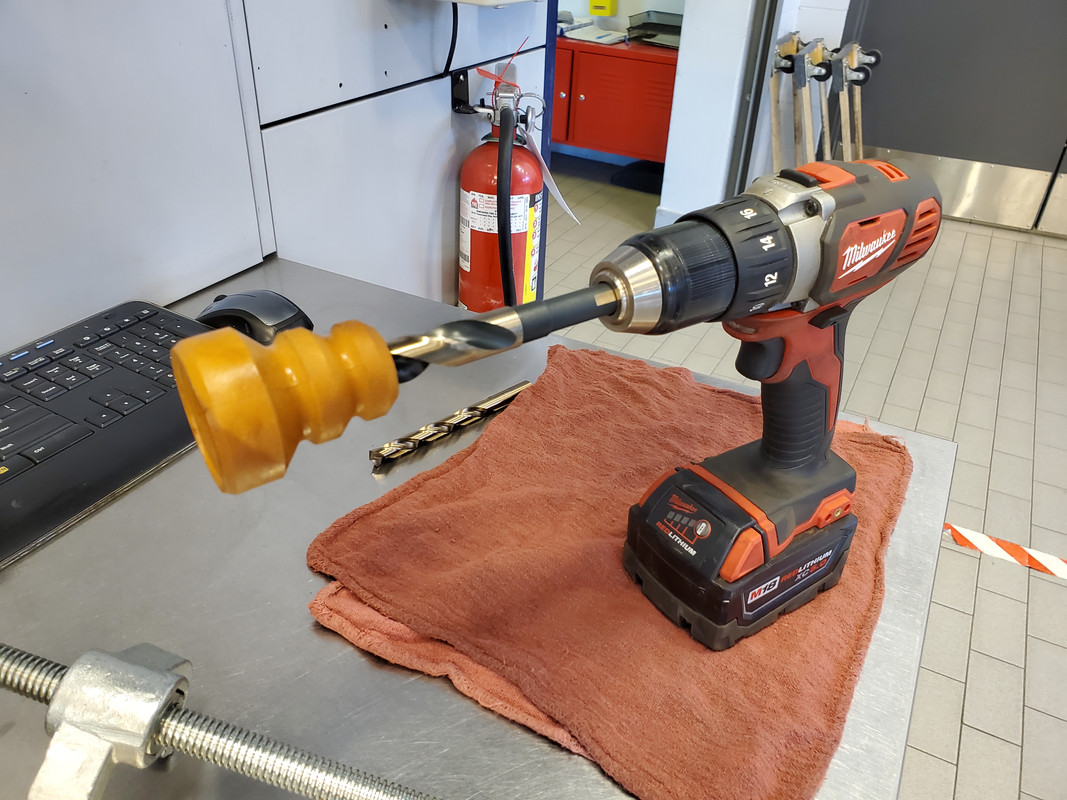
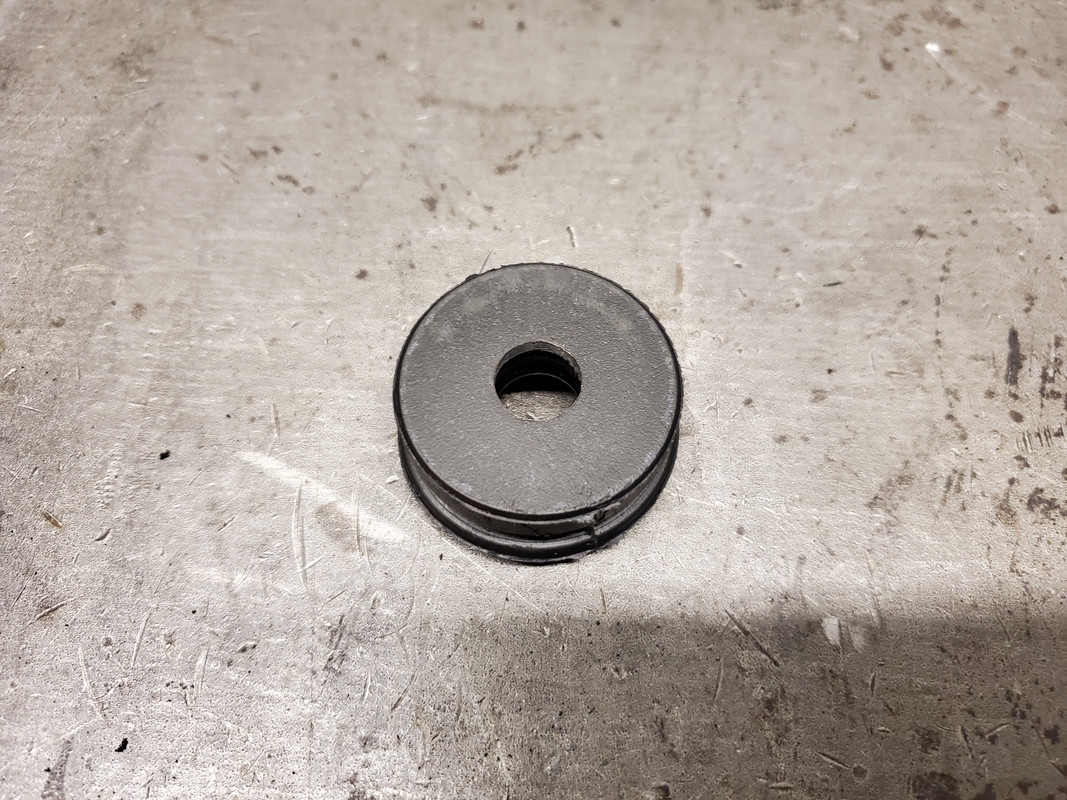
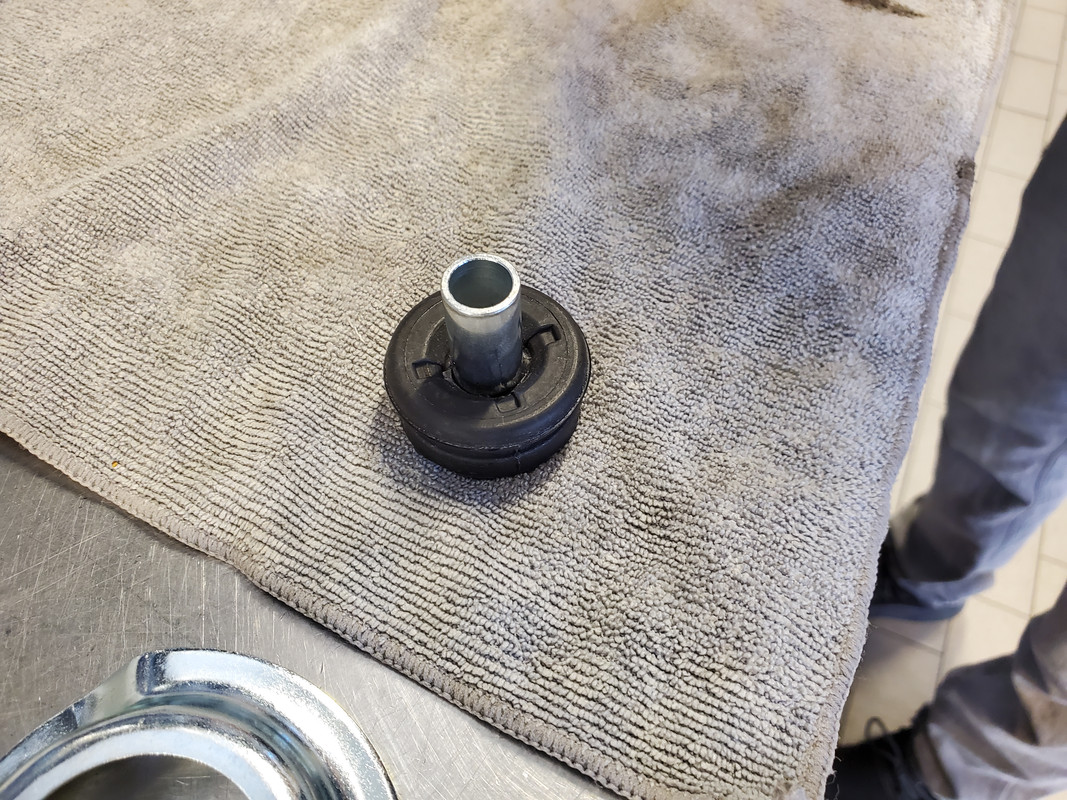
Here is a before and after drilling out the bump stop plate/washer. We used a 5/8" (~15.8mm) drill bit for widening the washers and slightly massaging the front bump stops.
Next up you want to install the dust boot on top of the bump stop. Super difficult.
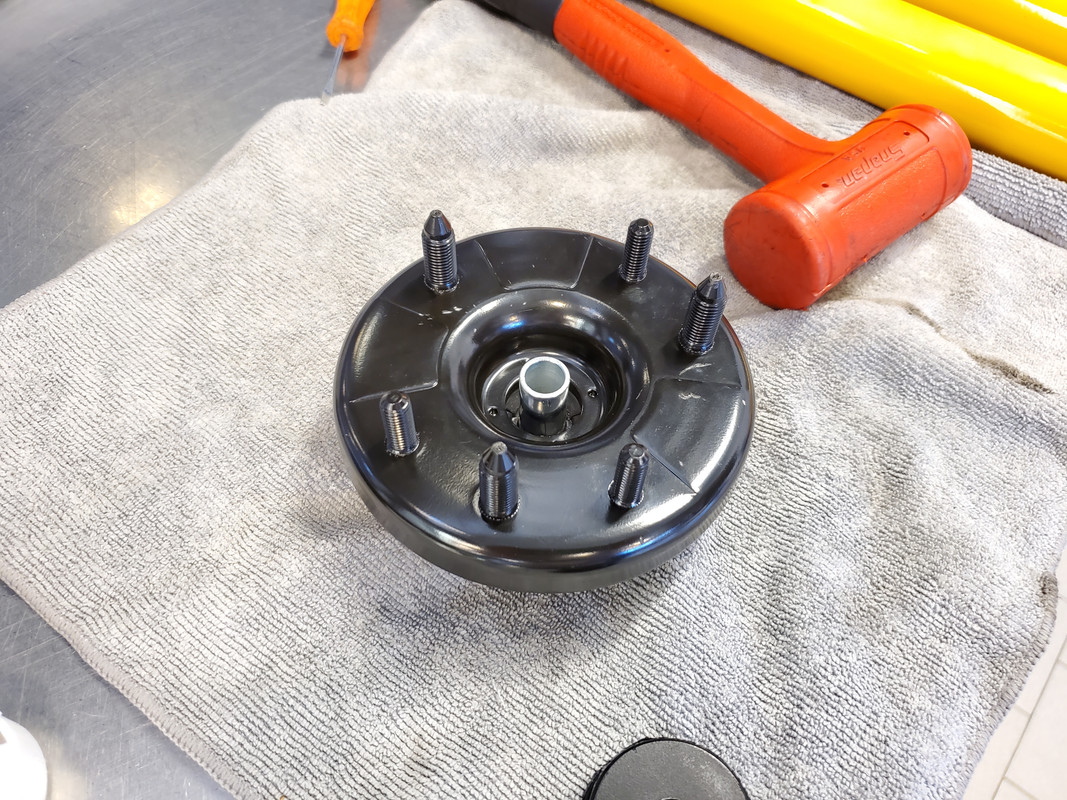
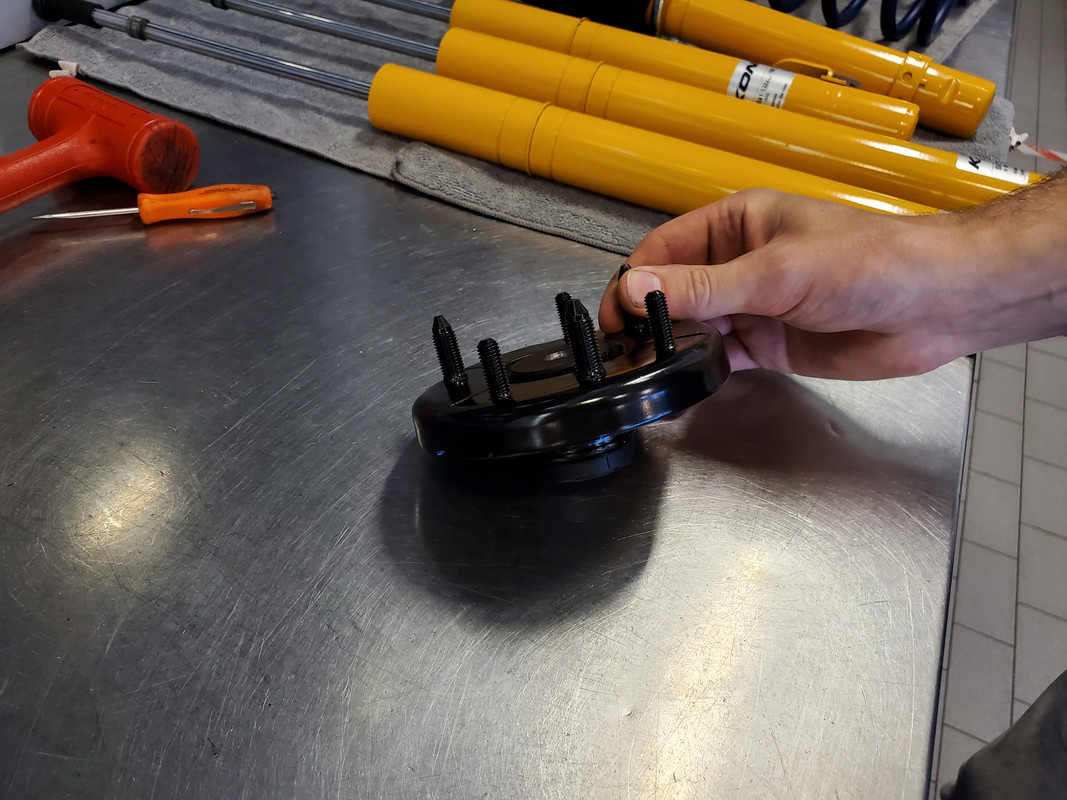
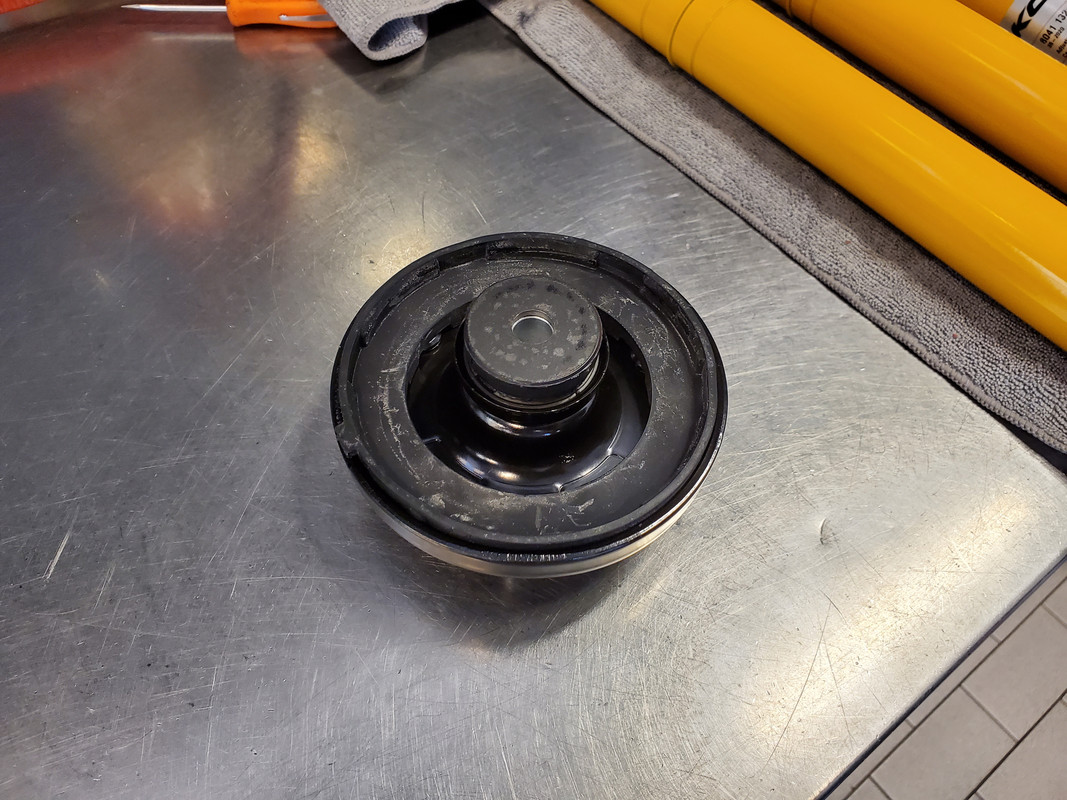
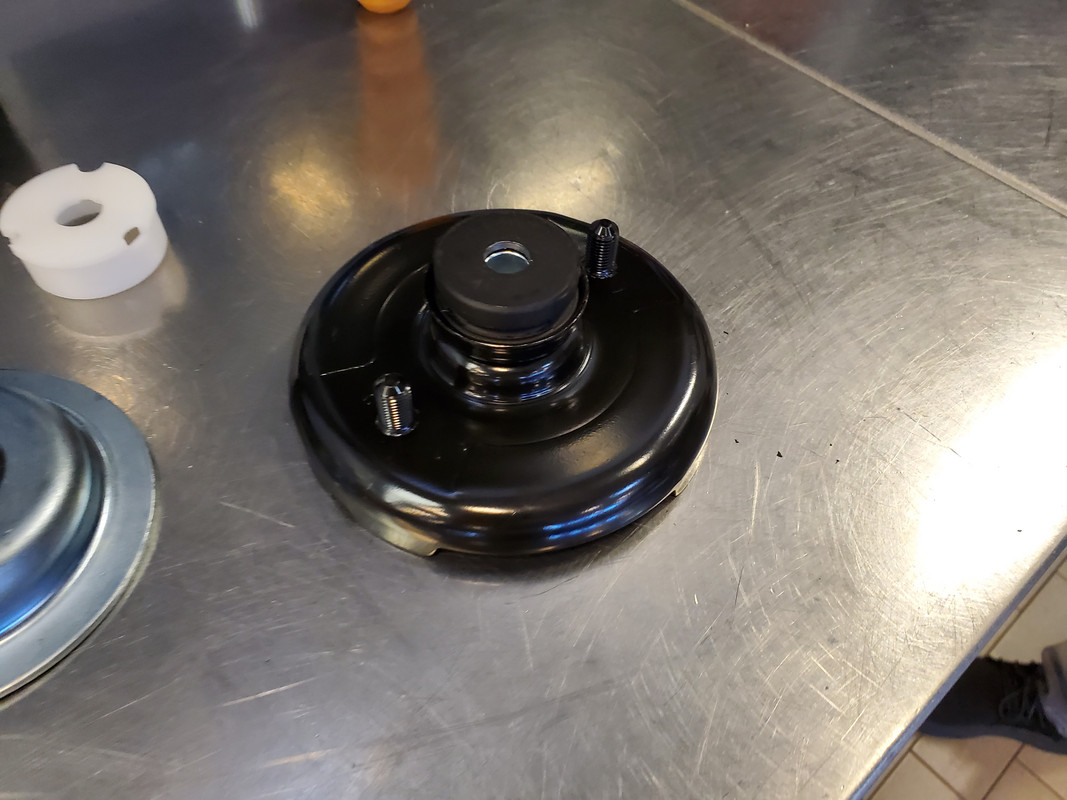
After that you will need to put the top hat and it's various bits together in preparation for installing the spring. Each top hat consists of the mount itself, two bushings (of which there are normal and type-s versions), a collar that goes in between the bushings, and a spring cushion.
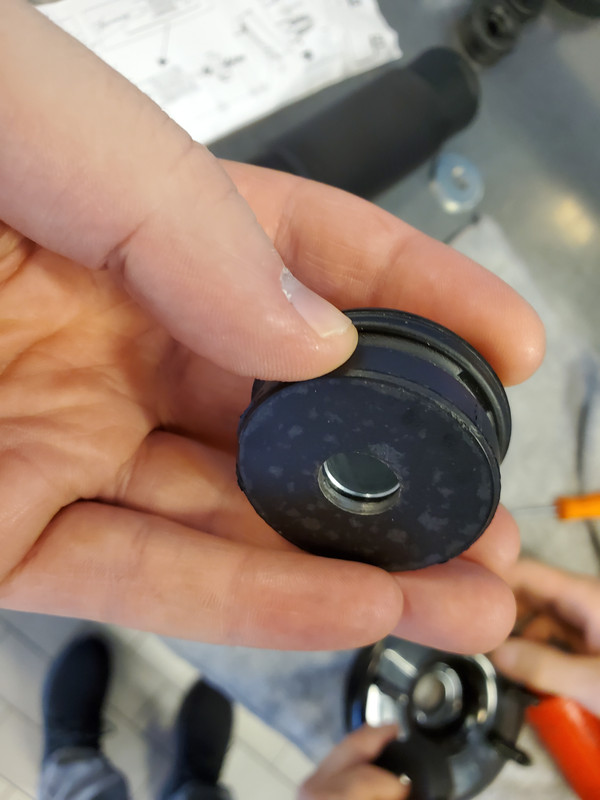
The bushings pictured here are the Type-S version, and the metal outward facing section of the bushing needs to be drilled to fit on the 12mm rod of the Koni shock. We used a 31/64" (12.3mm) drill bit to widen all 8 bushings (2 per shock). I believe this alteration is only needed when using the Type-S bushings on a Koni shock.
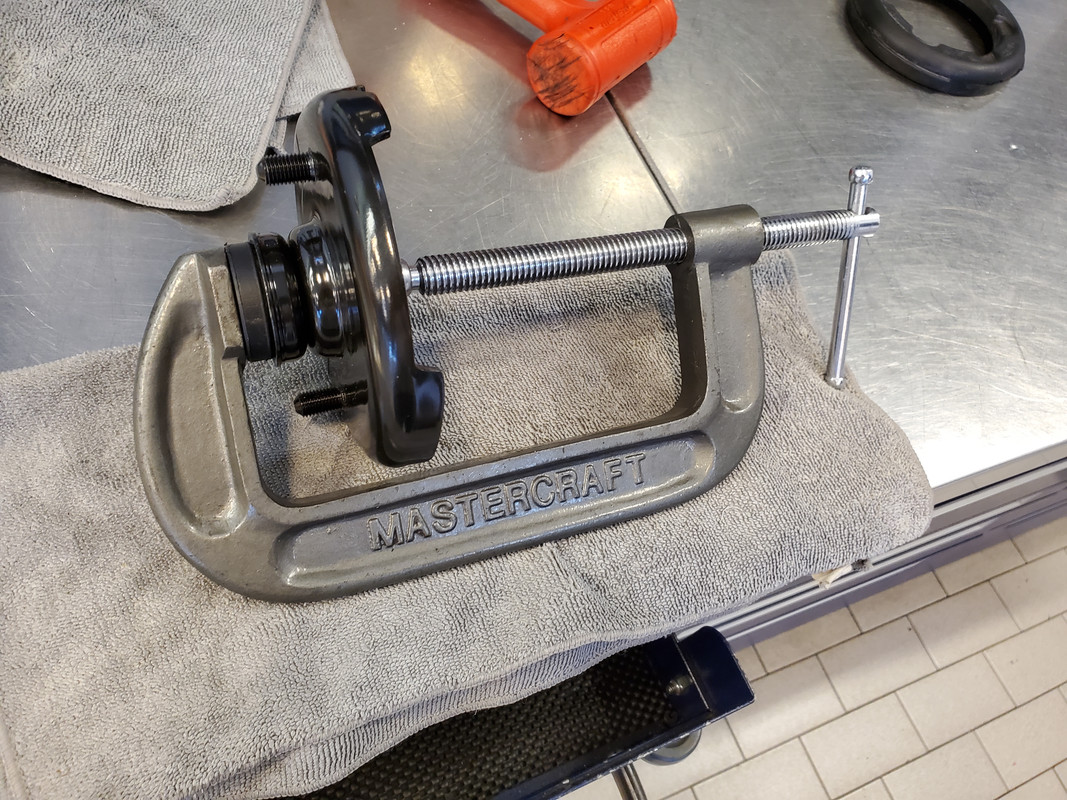
The collar goes in between the two bushings, and the bushings are installed into the top and bottom of the mount. You should try and get the collar as flush with the metal section of the bushing as possible, although it would probably be squished together when torqueing the entire assembly.
We opted to use a clamp to squeeze the bushings and collar together thoroughly.
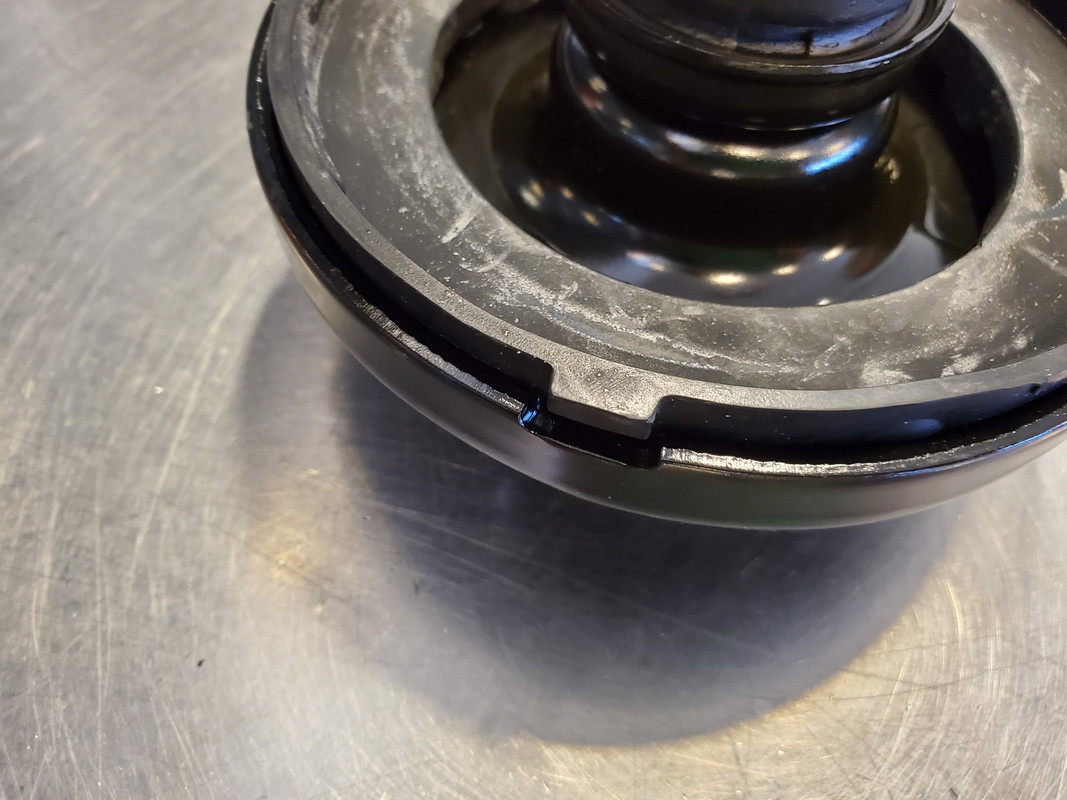
The spring cushions for the front top hats have a little locating nub.
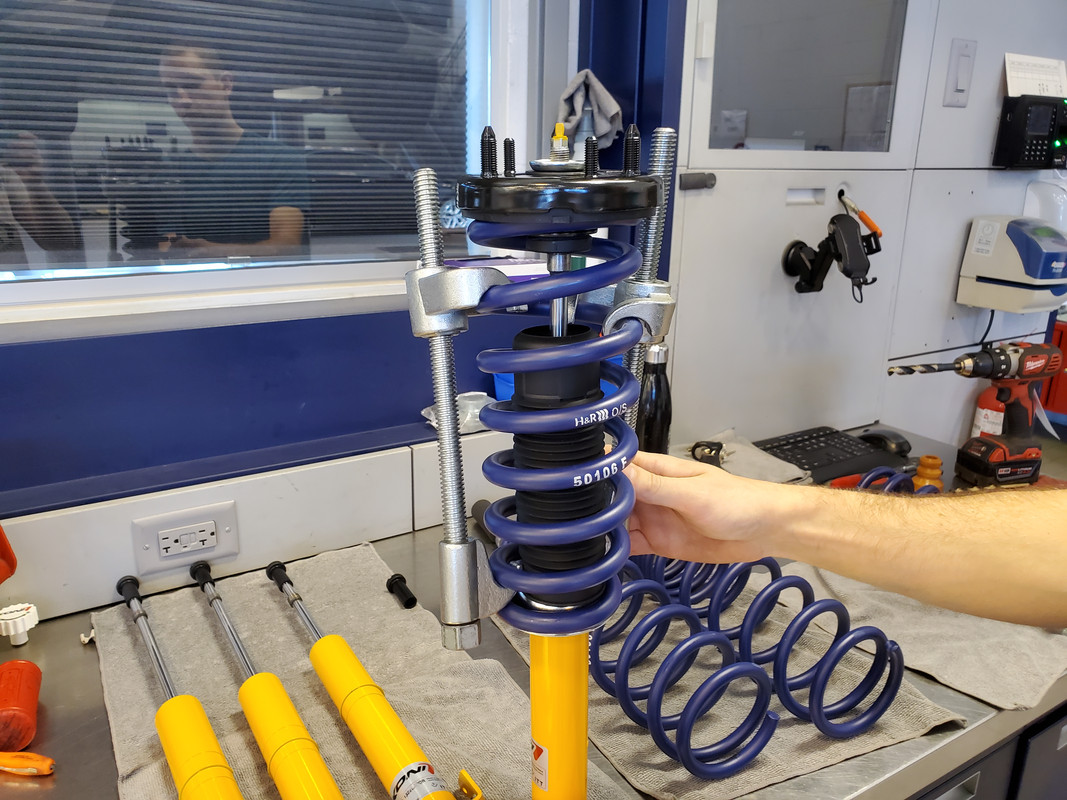
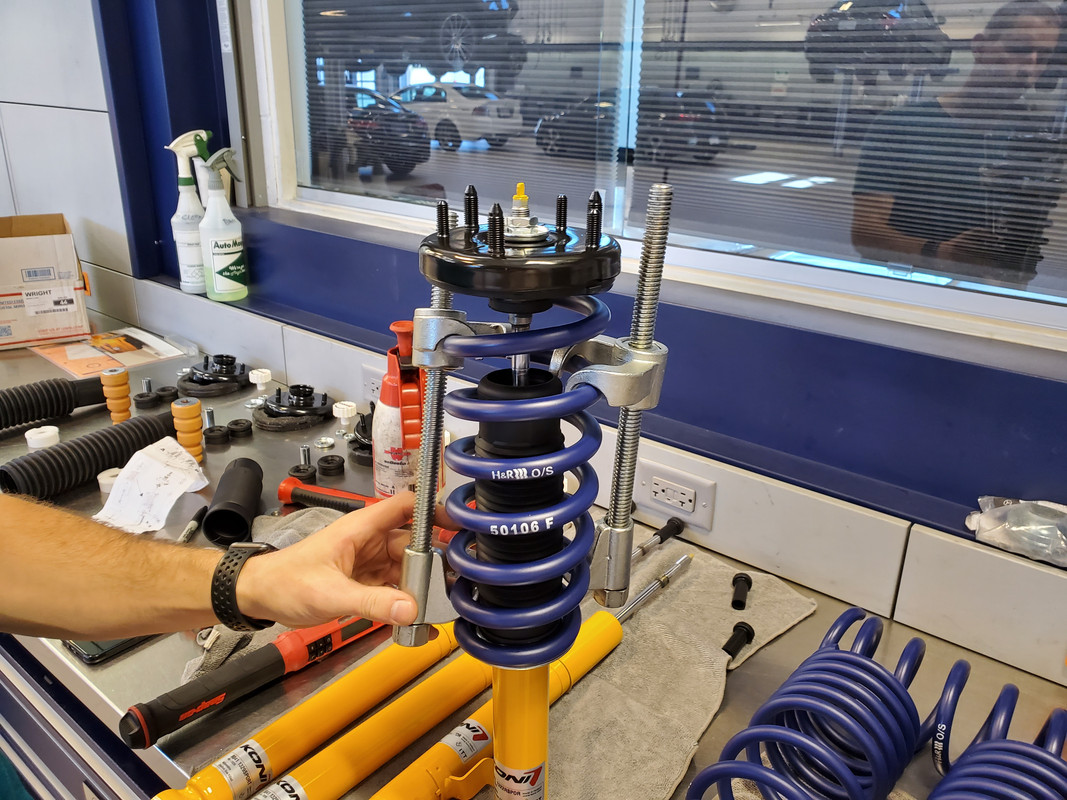
After you've got the top hat ready, it's time to compress the spring. Always be careful when using spring compressors.
The H&R springs we used are shorter than the stock spring, and so they didn't need to be compressed that much.
With the spring compressed and the top hat assembled, it's time to begin putting the pieces together. There is a washer that goes underneath the bolts that will be installed on top.
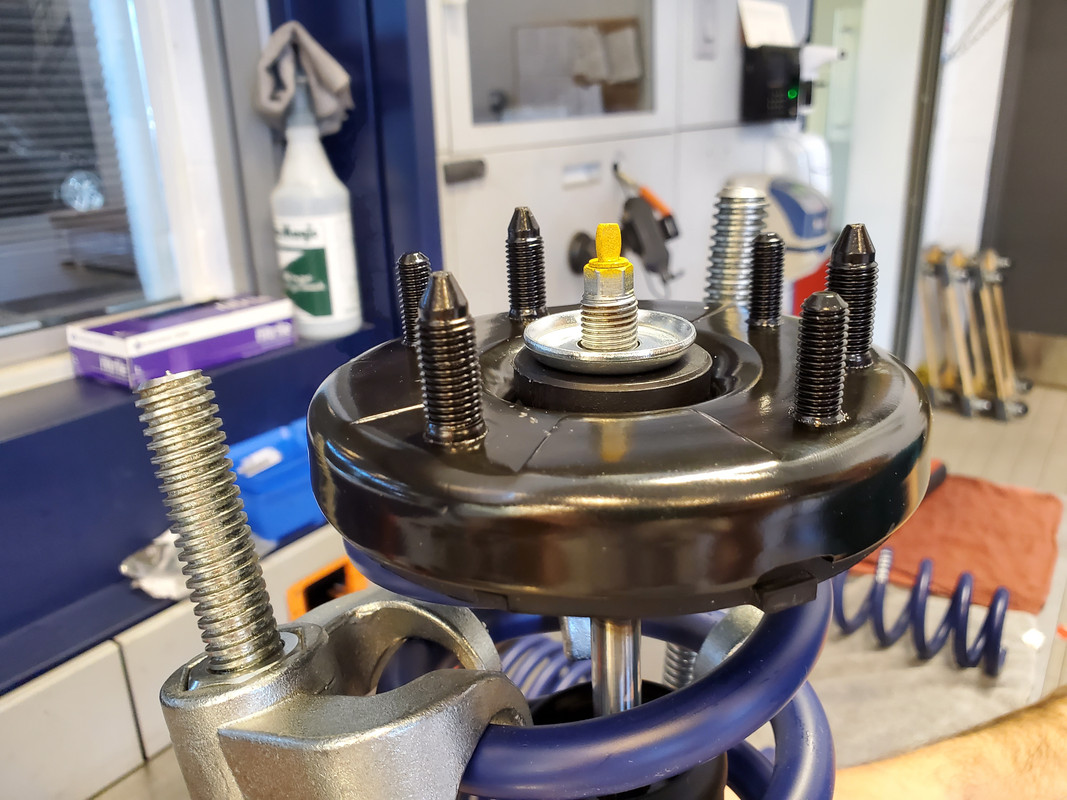
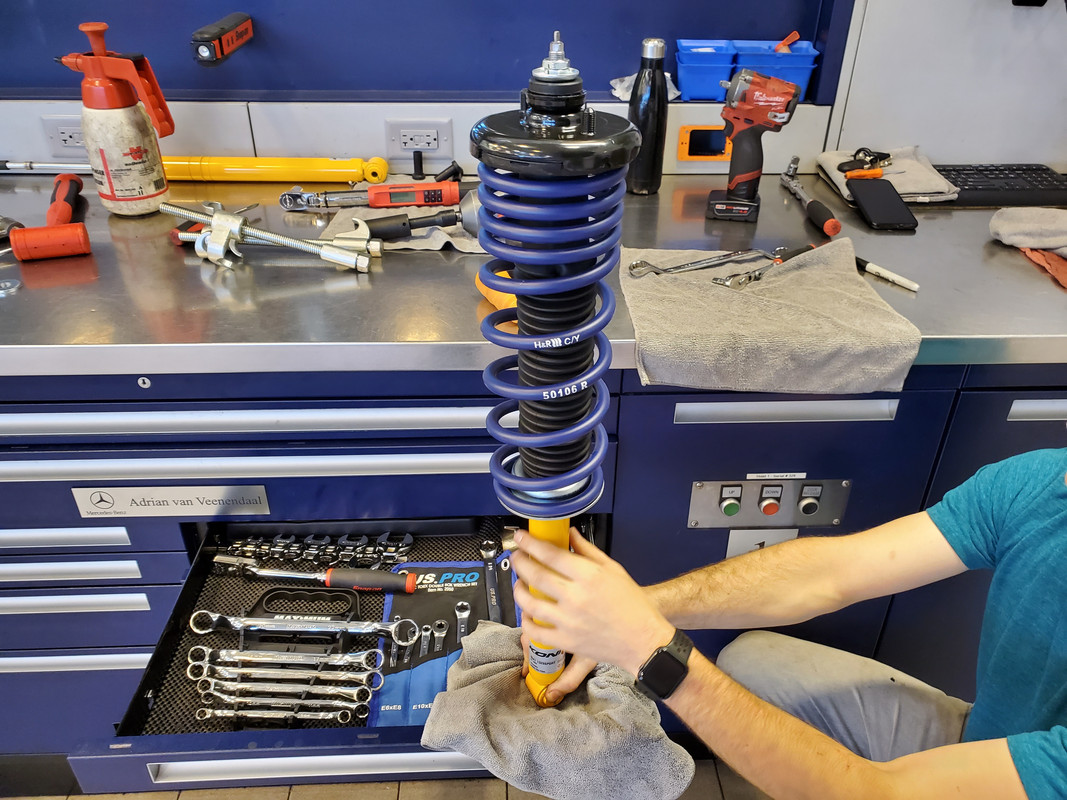
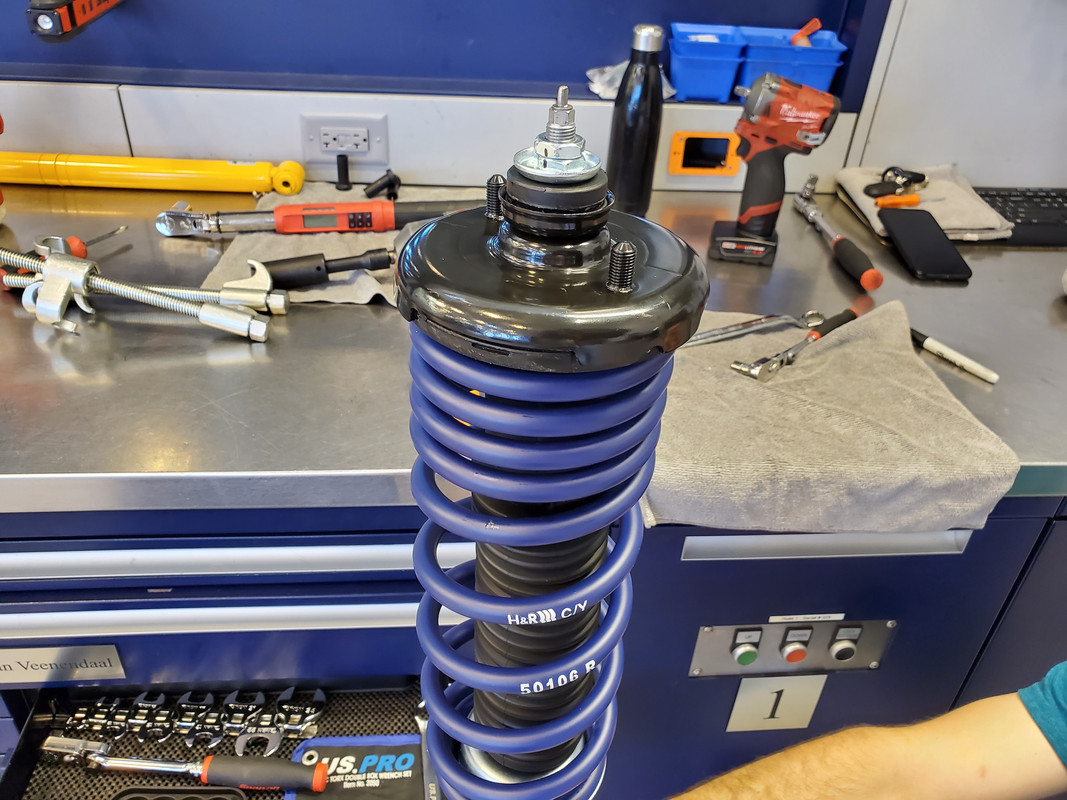
The bottom bushing in the top hat was completely flush with the weld on the Koni shock in our setup. Once you have the top hat in the correct position and the spring sufficiently compressed, install the two top nuts.
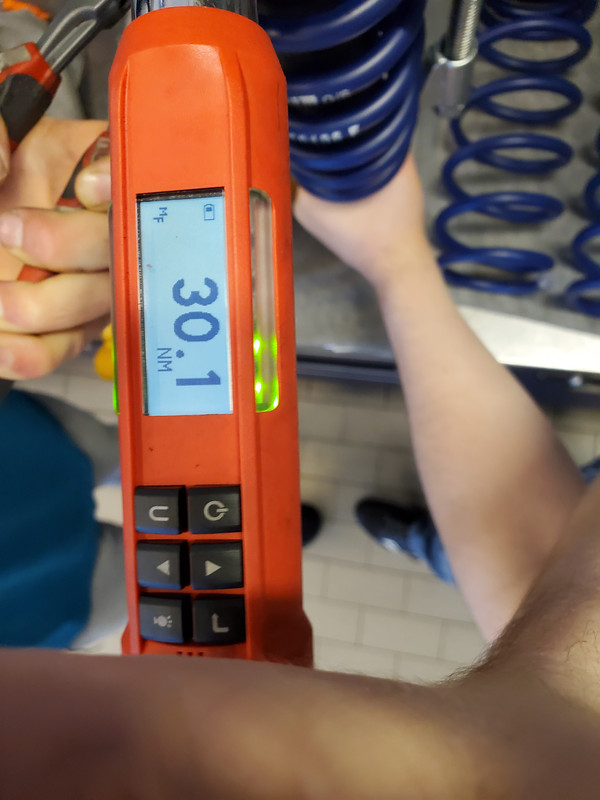
Install the first nut, torque it to spec, then install the second nut and torque it to spec. The spec from Koni is 30nm (22.13 ft/lbs), and the Honda spec is nearly identical at 29nm (21.39 ft/lbs).
You will have to get creative when attempting to torque the nuts as the shock rod itself will spin. Having a second pair of hands helps immensely, and worst case you can use pliers or what have you on the shock rod, but you can gouge it doing so.
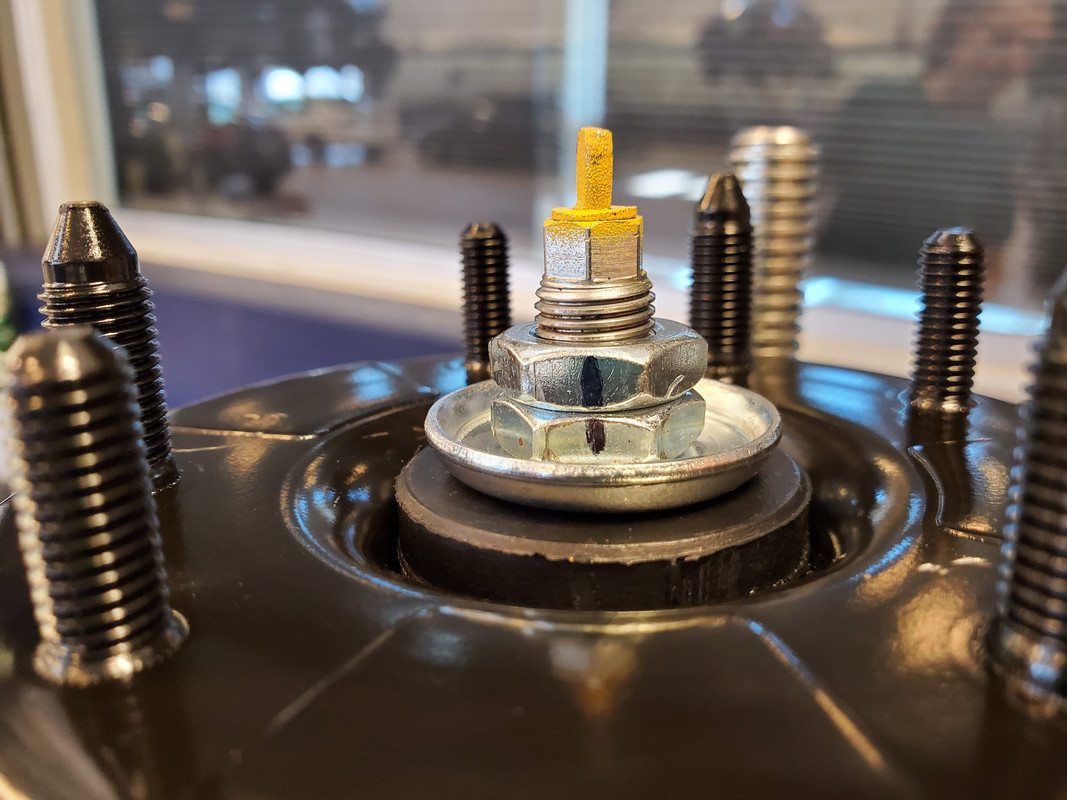
Made a mark on the top nuts once torqued to be able to see if they move at all later down the line.
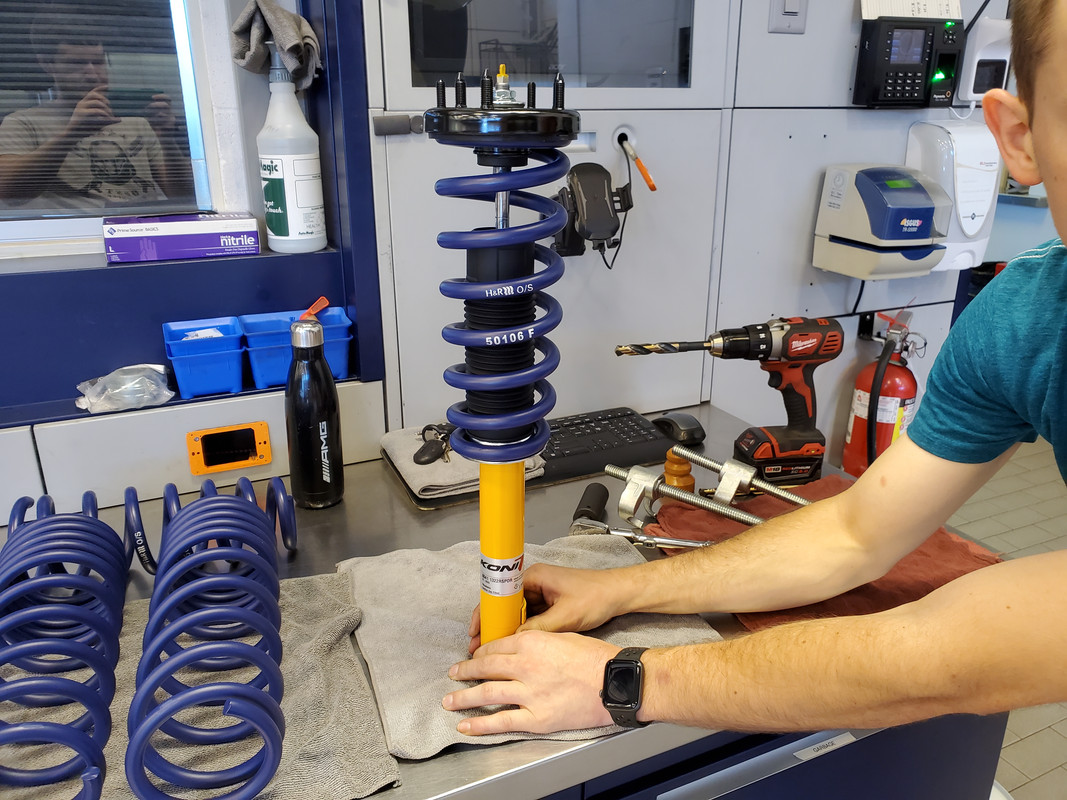
Once the top nuts are torqued, the last step is to release the spring from the compressor and guide it into position.
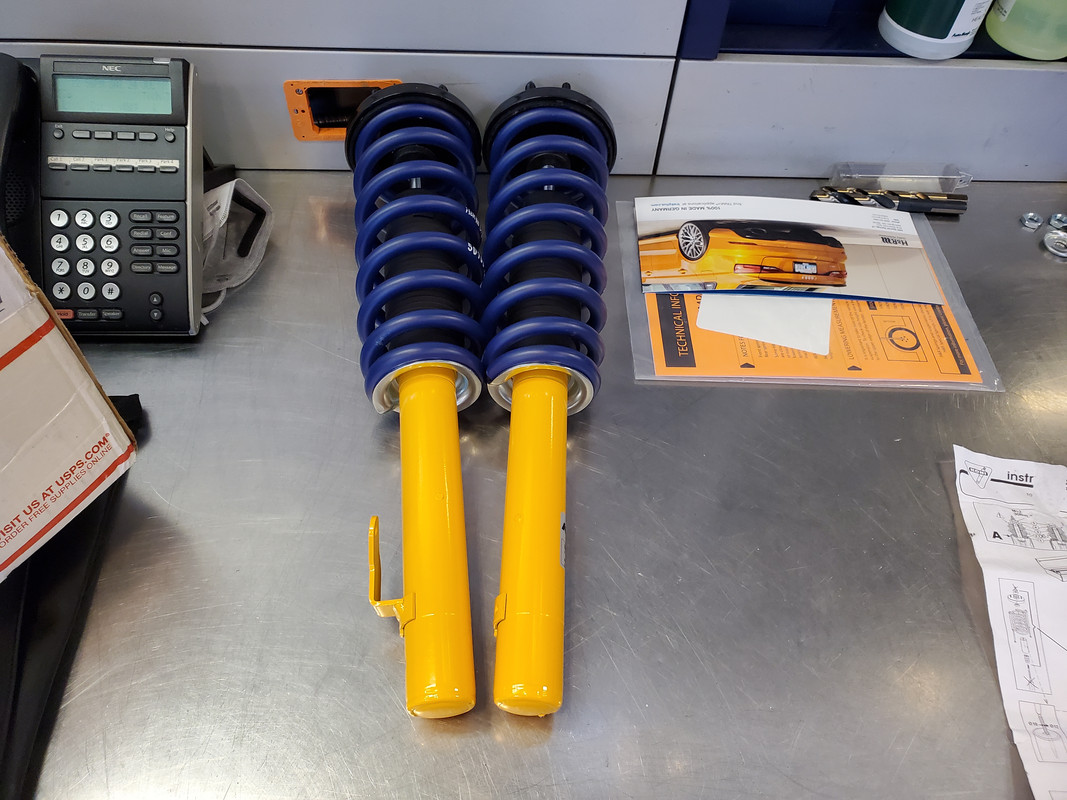
Both of the fronts assembled.
The process for the rear shocks is basically identical. The rear bump stops can be wiggled over the weld without modification, but the bump stop washers and top hat bushings still need to be drilled to their respective diameters.
All four corners assembled!
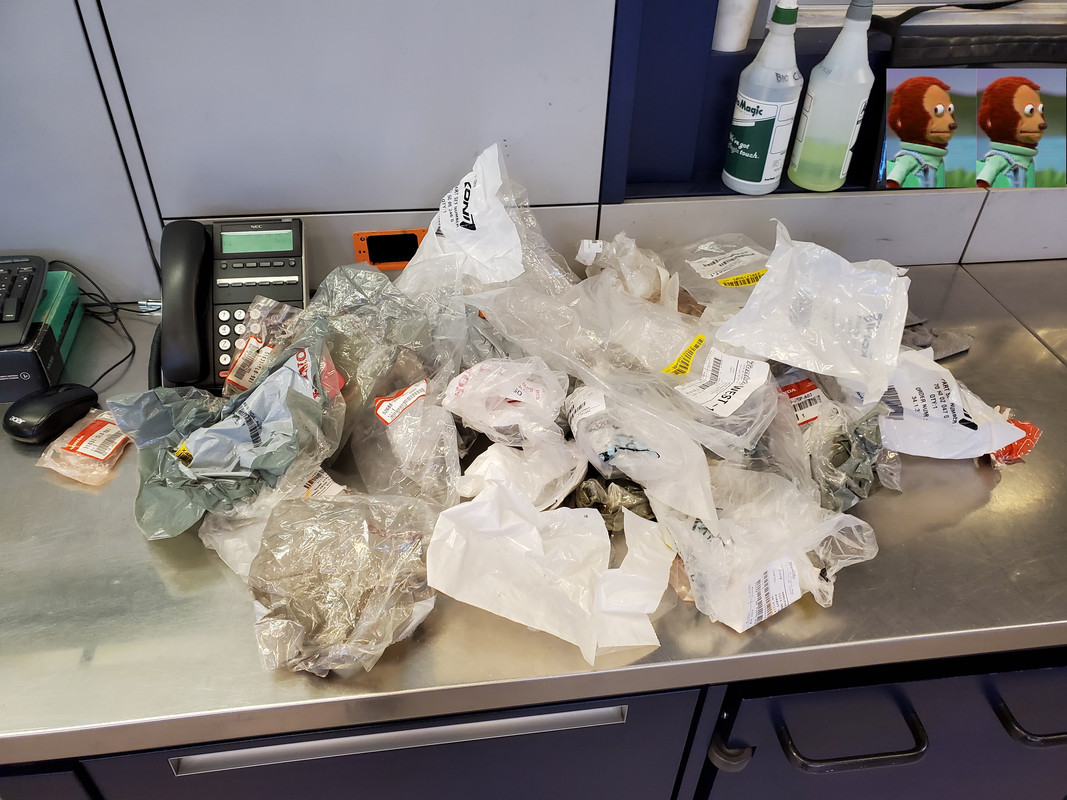
Bonus shot of all the various bags the parts came in:
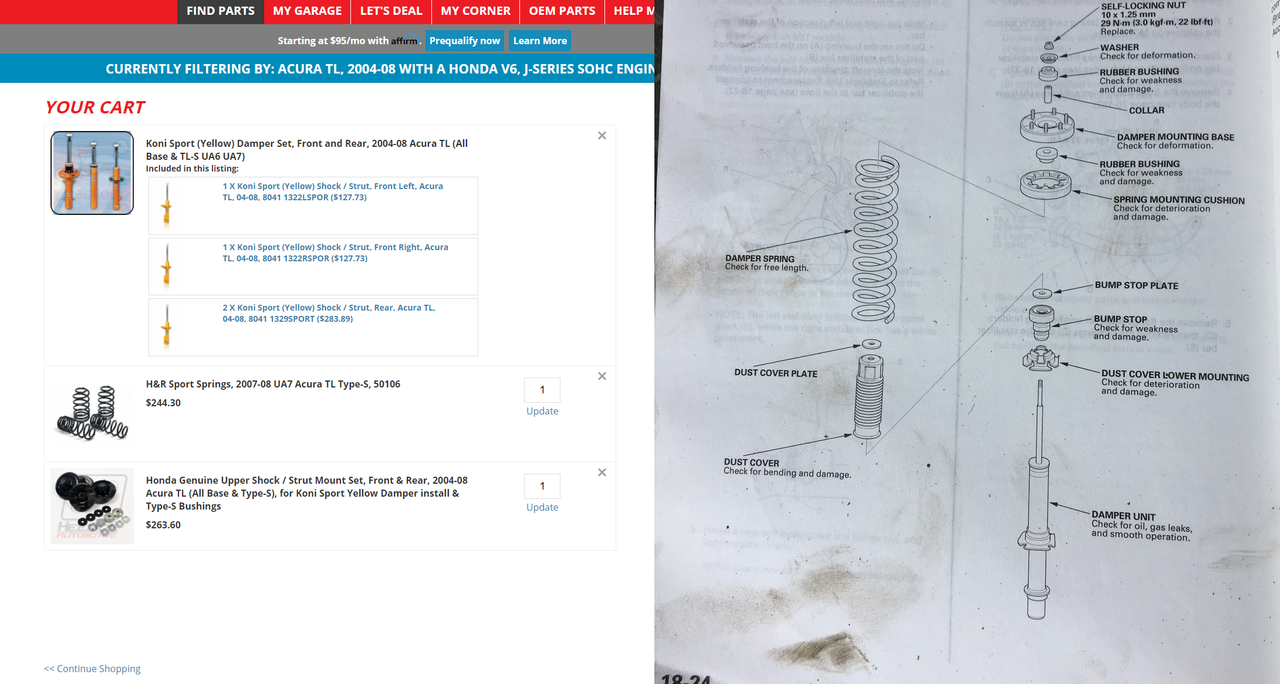
Here is what I ordered from Marcus, and the OEM diagram I was using for reference. As per Marcus, all I needed in addition to the parts listed here were OEM Bump stops and Dust boots.
Thanks for reading!
I'll be posting a follow up thread in another few weeks after we install them with before and after pictures, measurements, and driving impressions.
The bumpstop plate does not get drilled to go past the weld!
You're going to damage the shock by driving like that. So I would buy new bumpstop plates. and reinstall it properly.
The metal plate should never be on the polished portion of the shock shaft. It will scratch up the shaft and you'll blow the shock.
The bumpstop plate sits ABOVE the weld. Think of how its laid out on the stock shock. It stops on that chamfer, right? You can't have metal parts interacting on the polished portion of the shock.
For that same reason, you want to lock the metal portion of the dust boot with a washer. The metal part of the dust boot should not be down near the polished portion of the shock shaft. It should be sandwiched between the tophat bushings and a metal washer on the upper portion (not the polished portion) of the shock.
In shorter terms...mimic the layout of the stock setup. Don't drive like that...I don't think those shocks will last 1 week.
Listen to BROlando. The bump stop plates should be up top. They don't move during operation.
Lot of work to get those Koni dampers set up. Bilstein dampers are a direct swap with all OEM hardware.
And here is a time-saving tip: use a shop press to squeeze the spring a little in order to get the nut off or started.
Quick and simple. Those spring compressor tools are a giant time-consuming pain in the ass.
The bumpstop plate does not get drilled to go past the weld!
You're going to damage the shock by driving like that. So I would buy new bumpstop plates. and reinstall it properly.
The metal plate should never be on the polished portion of the shock shaft. It will scratch up the shaft and you'll blow the shock.
The bumpstop plate sits ABOVE the weld. Think of how its laid out on the stock shock. It stops on that chamfer, right? You can't have metal parts interacting on the polished portion of the shock.
For that same reason, you want to lock the metal portion of the dust boot with a washer. The metal part of the dust boot should not be down near the polished portion of the shock shaft. It should be sandwiched between the tophat bushings and a metal washer on the upper portion (not the polished portion) of the shock.
In shorter terms...mimic the layout of the stock setup. Don't drive like that...I don't think those shocks will last 1 week.
They haven't been installed yet. Thank you for posting this, you are indeed correct.
The koni shocks include 2 bump stop plates per shock, so I have an additional set of one bump stop plate per shock. Installing it between the weld and the lower bushing of the top hat makes sense, but the dust boots I have don't have a metal portion. They are just a loose rubber boot where it's smallest section is wider than everything other than the top of the bump stop. It's an OEM part ordered from the dealer, and I don't see any way to sandwich it in place near the top of the shock. It seems like it's intended to sit on the top of the bumpstop.