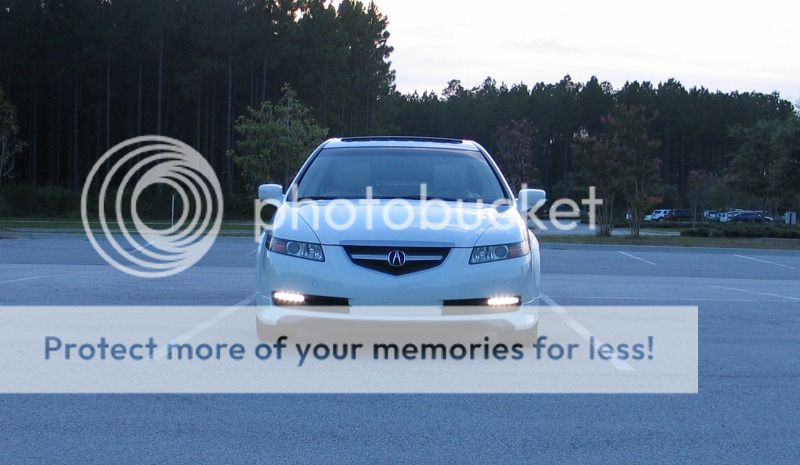
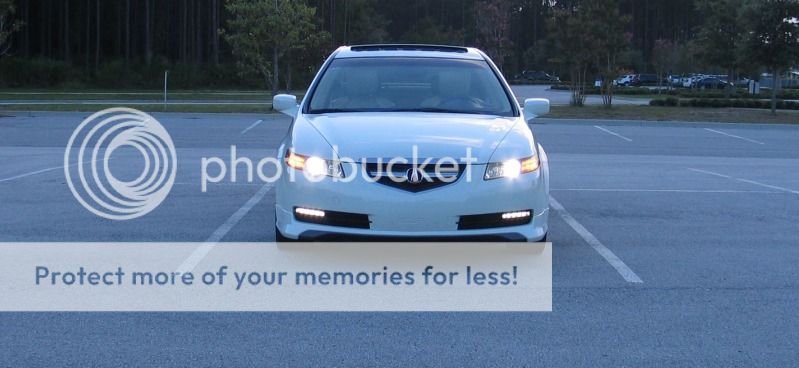
Hella universal LED daytime running lights on my '06 TL
#82
Here's my plan for installation of the LED strips:
1. Use a clear/paintable caulk to fill in the volume between the top edge of insert and topmost rib. I'll only caulk enough length to be under the strip. I can do this while the inserts are on car tonight easily and it will be ready for installation tomorrow.
2. Attach the strips to the top edge of insert
3. Use these translucent wire connector boxes (dime sized boxes) that remind me of a hub for wires. I'll need two of these boxes for attaching the positive and negative wires. These look pretty water resistent too and I have used them for other things with great success.
I'll provide pictures of the stuff I used similar to my last time with the original strips.
#83
If you're going to do this without removing the bumper, can you take photos of that process? I'm very interested in that.
I'm going to try to find two brackets and screw them together to tighten around the grill so that the light can be removed in the future if I find a replacement.
Good luck.
I'm going to try to find two brackets and screw them together to tighten around the grill so that the light can be removed in the future if I find a replacement.
Good luck.
#85
Well I just completed my install. I had it somewhat easy because I could use my original power connection from my original LED light install. (FYI: I used fuse location #1 for the add-a-circuit which is the rear defroster)
Just like my last LED install, the hardest part is removing those grill inserts. Fortunately, you can reach many of the clips from under the car behind the bumper. There are 8 (4 top & 4 bottom) clips that must be removed to get the insert off. Start from the center of the car and work your way outside. You can try using a butter knife to pop those outer ones out.
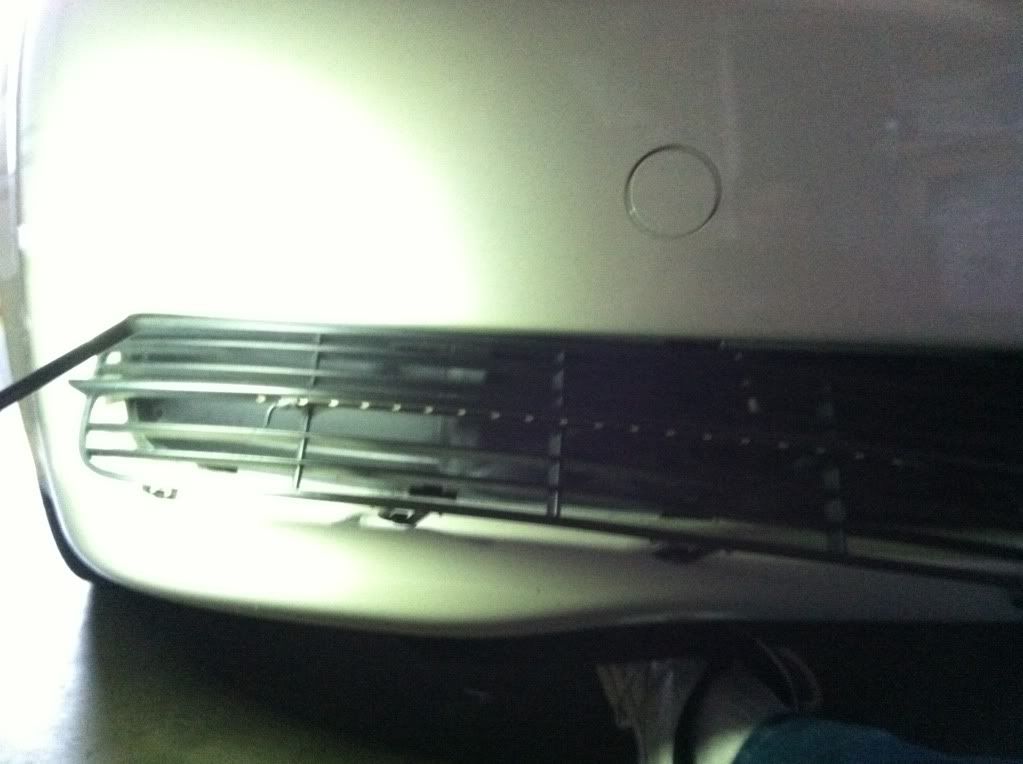
Here's another picture of using a butter knife:
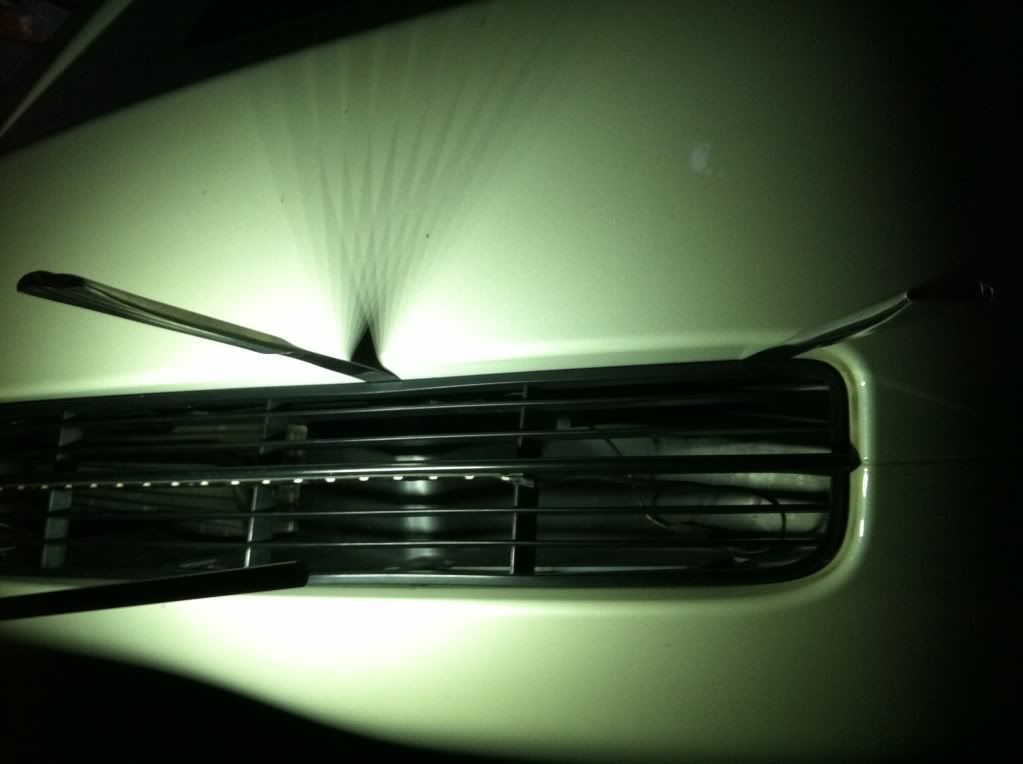
Here's what I used (all bought from Home Depot) :
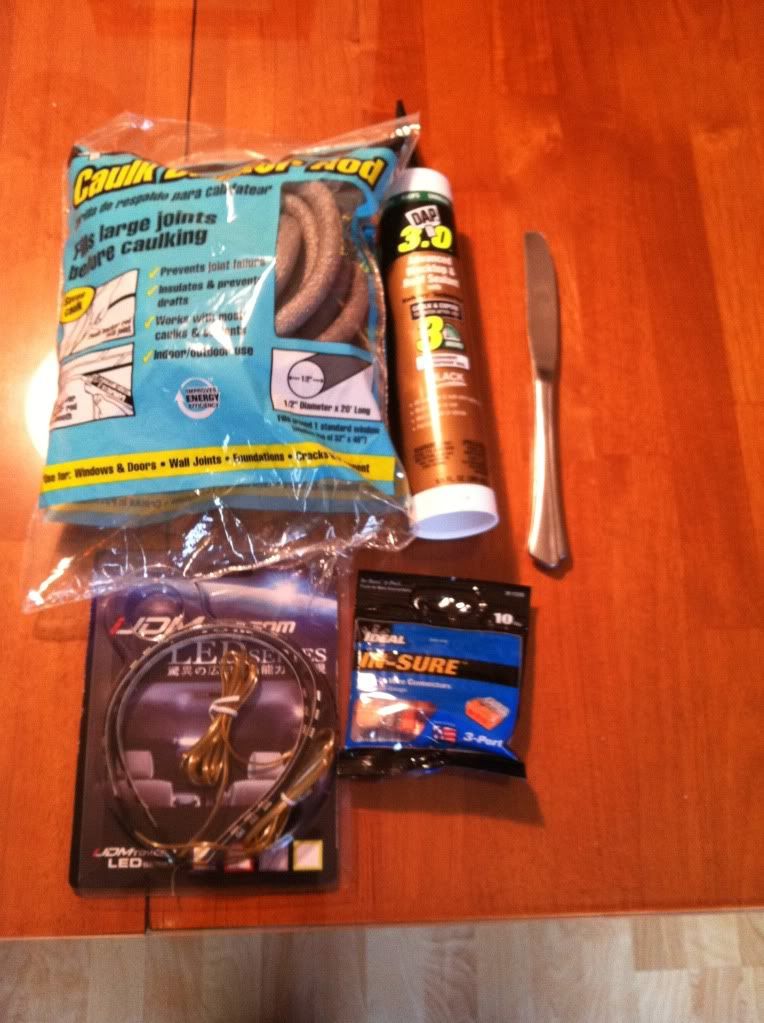
I only needed 2 wire connectors. I used about 4 small zip ties and two large zip ties. I used some solid core phone wire that I had on hand to reinforce the LED wires (read down for more info).
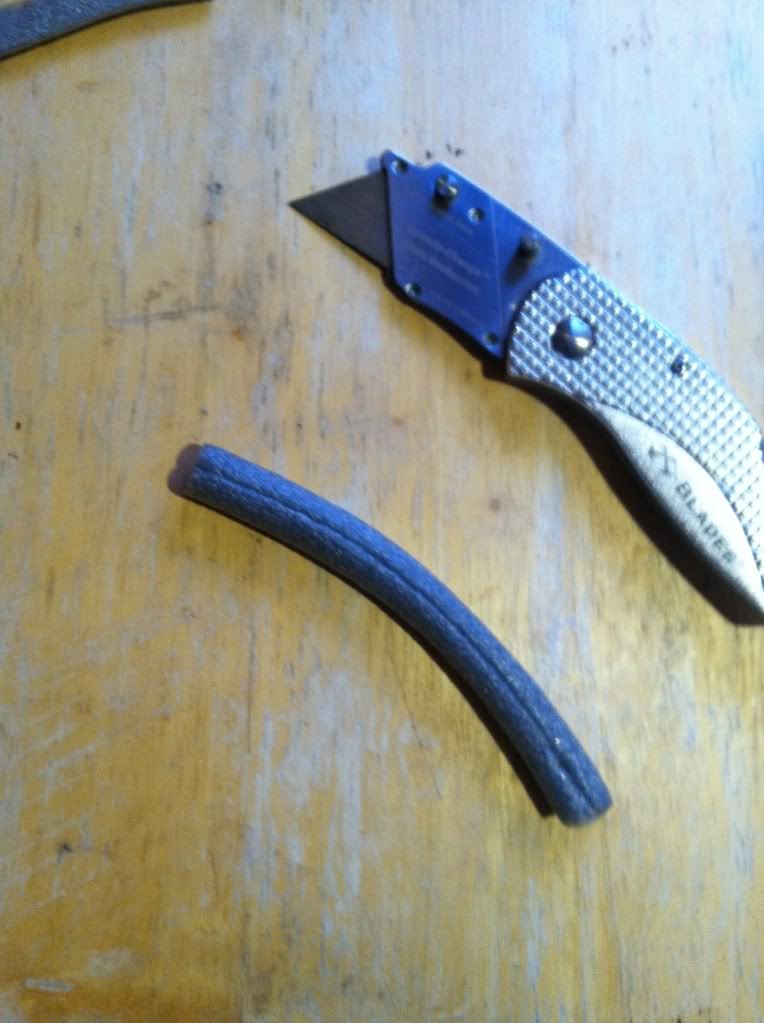
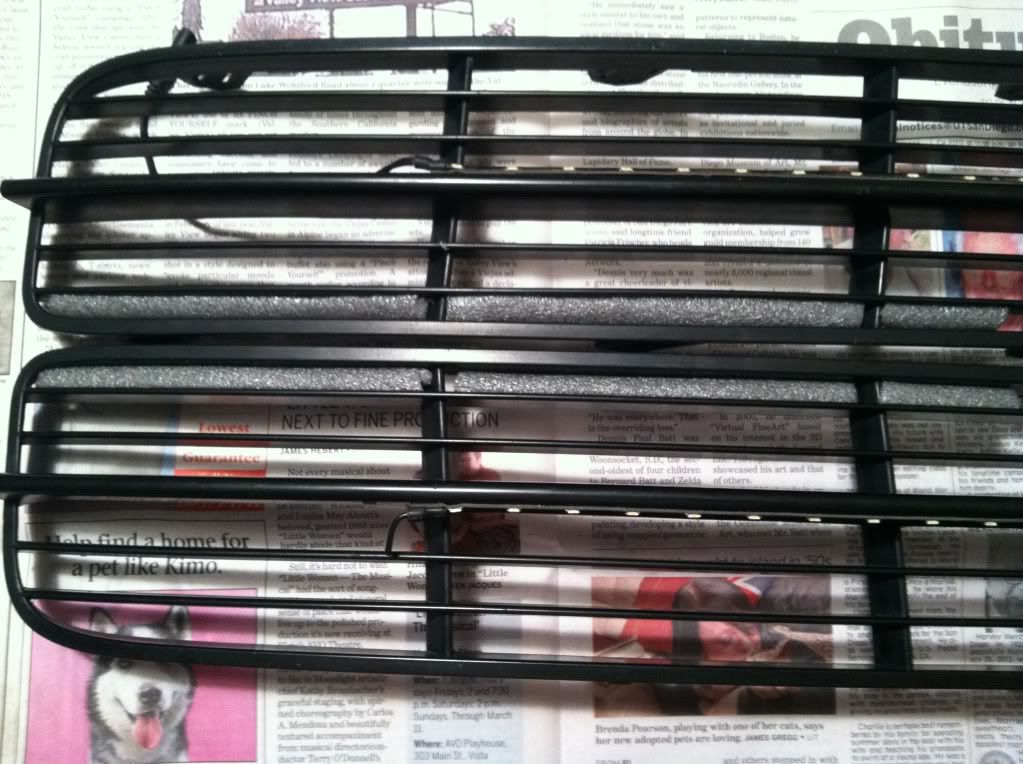
Used roofing caulk (black) along with this cool foam caulk backer rod which filled in most of the volume in the first grill insert rib. I had to cut the backer rod a little to keep the ribs from bulging. The backer rod made it much easier to fill in the rib since 90% of the volume was now full.
Here are some shots of the foam/caulking process:
cutting foam to size:
inserting foam into grill insert:
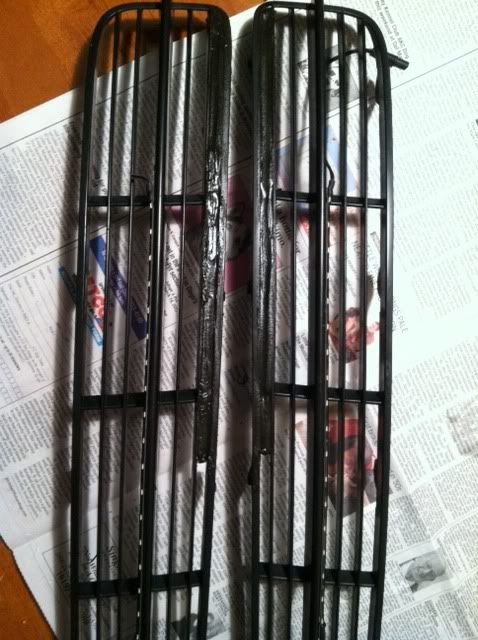
caulking stuff together
I used the Ideal In-Sure Push-in Wire Connectors connect the LED lights to the power. I have used these connectors for years and they work well. My only problem was that the LED lights uses a then 22 gauge stranded wire that needs bolstering before using this connector. I twisted the LED wire to a solid copper phone wire to get a good connection. Hint: you can twist both left/right LED positive wires together to simplify using this connector. So I only used 2 of the 3 ports from this connector- 1 port for positive/negative leads & 1 port for positive/negative twisted LED light wires.
I then zip-tied the wire connectors behind the bumper- there is a nice lip/shelf that supports the wires nicely. Hint: you might have to tempoarily remove the 2 bumper clips to route your wires if you don't route your wires before making final connections. I forgot and had wires dangling but those clips are pretty easy to remove and reinsert.
Here's a shot taken during final assembly:
Using solid wires to reinforce stranded wires. The black and yellow wires are the solid core wires used and I simply twisted them to the LED wires.

Once I made all the connections I snipped that solid core wires to about 2 inches and then used a zip tie per wire connector to tie all 3 wires together as another preventative measure for holding wires in place.
Here's the final result:
Full Sunlight at Noon:

Partial Shade:

Just like my last LED install, the hardest part is removing those grill inserts. Fortunately, you can reach many of the clips from under the car behind the bumper. There are 8 (4 top & 4 bottom) clips that must be removed to get the insert off. Start from the center of the car and work your way outside. You can try using a butter knife to pop those outer ones out.

Here's another picture of using a butter knife:

Here's what I used (all bought from Home Depot) :

I only needed 2 wire connectors. I used about 4 small zip ties and two large zip ties. I used some solid core phone wire that I had on hand to reinforce the LED wires (read down for more info).
Used roofing caulk (black) along with this cool foam caulk backer rod which filled in most of the volume in the first grill insert rib. I had to cut the backer rod a little to keep the ribs from bulging. The backer rod made it much easier to fill in the rib since 90% of the volume was now full.
Here are some shots of the foam/caulking process:
cutting foam to size:

inserting foam into grill insert:

caulking stuff together

I used the Ideal In-Sure Push-in Wire Connectors connect the LED lights to the power. I have used these connectors for years and they work well. My only problem was that the LED lights uses a then 22 gauge stranded wire that needs bolstering before using this connector. I twisted the LED wire to a solid copper phone wire to get a good connection. Hint: you can twist both left/right LED positive wires together to simplify using this connector. So I only used 2 of the 3 ports from this connector- 1 port for positive/negative leads & 1 port for positive/negative twisted LED light wires.
I then zip-tied the wire connectors behind the bumper- there is a nice lip/shelf that supports the wires nicely. Hint: you might have to tempoarily remove the 2 bumper clips to route your wires if you don't route your wires before making final connections. I forgot and had wires dangling but those clips are pretty easy to remove and reinsert.
Here's a shot taken during final assembly:
Using solid wires to reinforce stranded wires. The black and yellow wires are the solid core wires used and I simply twisted them to the LED wires.

Once I made all the connections I snipped that solid core wires to about 2 inches and then used a zip tie per wire connector to tie all 3 wires together as another preventative measure for holding wires in place.
Here's the final result:
Full Sunlight at Noon:

Partial Shade:

#86
^ nice job on the install looks professional.
I purchased the accord fog kit and the knock off Hella LED lights. I am going to do the mod exactly like splew did it, that way I can always go back to the accord version if I don't like it. I do want something a bit beefier than the little strip lites. I cut the grill inserts over the weekend and fit the lites into the bumper after trimming the cover behind the grill inserts. I will mount the DRL's soon. I'll post pics upon completion.
I purchased the accord fog kit and the knock off Hella LED lights. I am going to do the mod exactly like splew did it, that way I can always go back to the accord version if I don't like it. I do want something a bit beefier than the little strip lites. I cut the grill inserts over the weekend and fit the lites into the bumper after trimming the cover behind the grill inserts. I will mount the DRL's soon. I'll post pics upon completion.
#90
Completed
Completed the MOD today. The mounting of the lights was really simple, even the cutting of the plastic behind the lights was easy with the front end off. The wiring was the issue for me but in the end the little diagram "splew" provided solved my issues. I tried the add-a-circuit way but I couldn't get more than 7.5 volts out of any fuse that wasn't always on and only half the lights were coming on. I bought a relay from auto-zone and figured it out. I mounted the relay and grounded everything on the bolt to the right of the fuse box and got my power from wiper wire for relay and fuse box for the lights.


Thread
Thread Starter
Forum
Replies
Last Post
mada51589
3G TL Problems & Fixes
79
05-03-2022 08:54 PM
prox
5G TLX Problems & Fixes
6
09-01-2015 02:03 AM


