
DRL anytime wiring question.
 09-25-2013, 06:10 AM
#1
DRL anytime wiring question.
I have a 08 Base TL. (I know that many people have done this using relays and such, I would just like to try something different.)
I would like to run my DRL anytime. I also don't really care to install a relay switch etc. I would like to use mostly existing factory wiring.
I've been studying the wiring diagram for the 08 Acura TL. What I've discovered (i think) is simply cut communications between MICU and the wiring for the bulbs. In addition, I'd have to cut communication with the control block, thus giving me sole access to the existing DRL relay.
Please take a look at my edited diagram and tell me if you think this will work.
I've already cut the wires (per the edited diagram) and ran the wiring that I have suggested (per the edited diagram). I turned the car to ACC and it worked like I wanted On/Off with the interupter switch.
of course the DRL light will stay on because the MICU registars a problem (the cut wire, or lack of light). Other than the standard DRL light no other lights have come on. I wouldn't think they would since the DRL system is a stand alone system (when not talking to the control block or MICU.) Everything seems like it is on the up and up. Just paranoid.
Can someone else take a look at my diagram and tell me what you think?
Thanks, Jonathan
 09-25-2013, 11:16 AM
#2
Instructor

I have a 08 Base TL. (I know that many people have done this using relays and such, I would just like to try something different.)
I would like to run my DRL anytime. I also don't really care to install a relay switch etc. I would like to use mostly existing factory wiring.
I've been studying the wiring diagram for the 08 Acura TL. What I've discovered (i think) is simply cut communications between MICU and the wiring for the bulbs. In addition, I'd have to cut communication with the control block, thus giving me sole access to the existing DRL relay.
Please take a look at my edited diagram and tell me if you think this will work.
I've already cut the wires (per the edited diagram) and ran the wiring that I have suggested (per the edited diagram). I turned the car to ACC and it worked like I wanted On/Off with the interupter switch.
of course the DRL light will stay on because the MICU registars a problem (the cut wire, or lack of light). Other than the standard DRL light no other lights have come on. I wouldn't think they would since the DRL system is a stand alone system (when not talking to the control block or MICU.) Everything seems like it is on the up and up. Just paranoid.
Can someone else take a look at my diagram and tell me what you think?
Thanks, Jonathan
I would like to run my DRL anytime. I also don't really care to install a relay switch etc. I would like to use mostly existing factory wiring.
I've been studying the wiring diagram for the 08 Acura TL. What I've discovered (i think) is simply cut communications between MICU and the wiring for the bulbs. In addition, I'd have to cut communication with the control block, thus giving me sole access to the existing DRL relay.
Please take a look at my edited diagram and tell me if you think this will work.
I've already cut the wires (per the edited diagram) and ran the wiring that I have suggested (per the edited diagram). I turned the car to ACC and it worked like I wanted On/Off with the interupter switch.
of course the DRL light will stay on because the MICU registars a problem (the cut wire, or lack of light). Other than the standard DRL light no other lights have come on. I wouldn't think they would since the DRL system is a stand alone system (when not talking to the control block or MICU.) Everything seems like it is on the up and up. Just paranoid.
Can someone else take a look at my diagram and tell me what you think?
Thanks, Jonathan
You could put the switch on the positve wire before you got to the fuse box. Then the drl light would only be on when you turn the switch off.
The following users liked this post:
jauman (09-25-2013)
09-25-2013, 03:59 PM
#3
Looks fine to me. You have the grounds and the grounds function as the triggers and you have fuses still protecting everything before it goes back to the battery. But yea, like you said, the car thinks the drl are off so you get an error on the dash.
You could put the switch on the positve wire before you got to the fuse box. Then the drl light would only be on when you turn the switch off.
You could put the switch on the positve wire before you got to the fuse box. Then the drl light would only be on when you turn the switch off.
I don't think the switch between the battery and the fuse box would work because from the factory if the bulbs are blown the error light comes on (because of lack of flow through the bulb to ground....similar to a cut wire, blown filimant).
09-25-2013, 10:49 PM
#5
Instructor
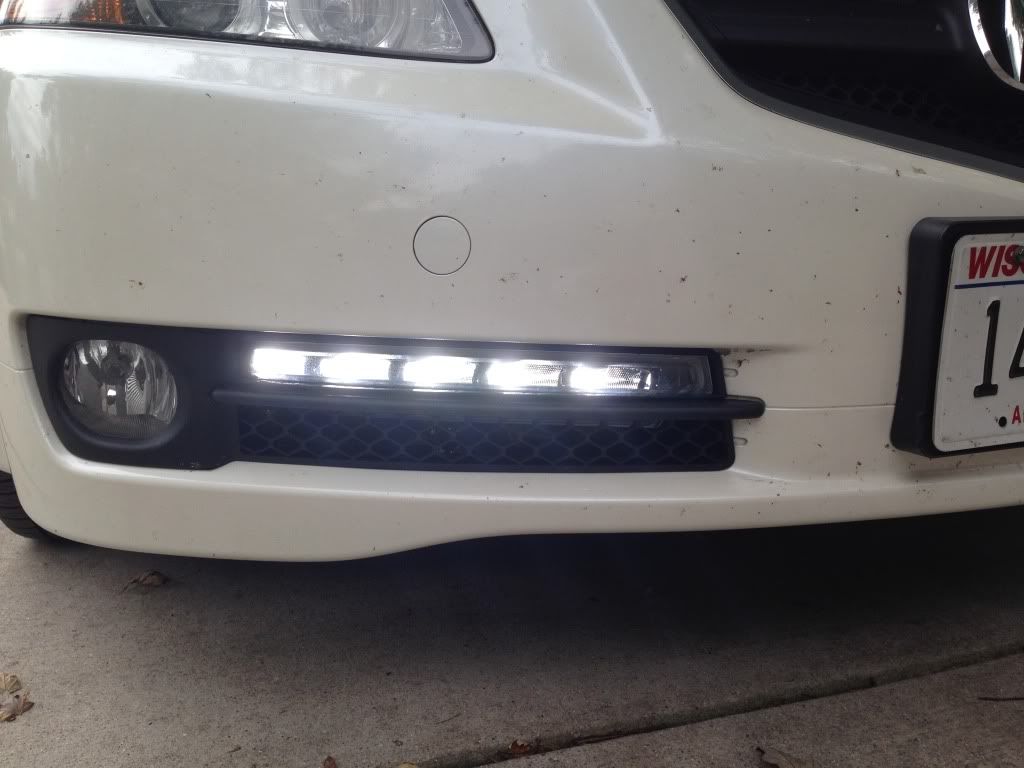
haha im doing this same mod. yea putting the lights in the top of part of the grill is a real PITA haha. How did you mount it in the back? did you cut the lights at all? any more pics?
Trending Topics
09-26-2013, 12:18 AM
#8
I did have to modify the lights because they were too big and they wouldn't clear the fog light housing.
Securing , What i did to brace it was use a simple (long) aluminuim strip. It was secured to a lip inside the bumper and the to the bottom of the light. I'll post a couple of pictures of the modified lights.
What made you go with S6 replicas?
Securing , What i did to brace it was use a simple (long) aluminuim strip. It was secured to a lip inside the bumper and the to the bottom of the light. I'll post a couple of pictures of the modified lights.
What made you go with S6 replicas?
The following users liked this post:
RxWorld (09-27-2013)
09-26-2013, 11:23 AM
#11
Senior Moderator
Might be a noob question here but instead of permanently disconnecting between the MICU and the relay, why not just T-tap a line in and run the wire to a switch and the other lead to an ACC fuse spot (similar to the switch to turn on the back up lights, aka Tailgater switch). When you turn on your headlights, the DRL would turn off but then you could just flip the switch and the DRL relay would have power, no? or if you kept the switch always on it should have the same effect?
 09-26-2013, 10:08 PM
#12
Might be a noob question here but instead of permanently disconnecting between the MICU and the relay, why not just T-tap a line in and run the wire to a switch and the other lead to an ACC fuse spot (similar to the switch to turn on the back up lights, aka Tailgater switch). When you turn on your headlights, the DRL would turn off but then you could just flip the switch and the DRL relay would have power, no? or if you kept the switch always on it should have the same effect?
09-27-2013, 01:06 PM
#13
Instructor
Thanks for posting this man. So I just cut my light. How did you seal it up? Did you put glue down first then put a plastic piece and seal it up? I'm really worried about moisture getting in the light.
09-28-2013, 12:51 AM
#14
Closure- Like I mentioned before, I used platsic emblem glue to glue a smoked lic protector to it (so I could see through it to make sure i had a good seal. The plastic emblem glue will run a bit, so what I did was use a little on the seam, let it dry, use more, let it dry etc until I had a good bead.
Moisture ... lots of headlights end up with a fog, or mist, most people fix that problem by drilling a small vent hole into their light housing. The replicas have this built in already, so I wouldn't worry about the moister, it's not like they were pressure sealed and now they're not.
Make sense?
The following users liked this post:
RxWorld (09-28-2013)
09-28-2013, 08:30 AM
#15
Instructor
Actually the replicas I had came with a 2 vent ports (u-shaped rubber piece). Those should allow the lights to breath. However, When I cut them I ultimately cut one of the vents off. .... After sealing up my cut section I drilled a whole that was tight enough to squeeze a piece of an BIC ink pin (1/2" long) into it, and then put the u-shaped rubber piece on it. This way it is vented on both sides of the light per the original design.
Closure- Like I mentioned before, I used platsic emblem glue to glue a smoked lic protector to it (so I could see through it to make sure i had a good seal. The plastic emblem glue will run a bit, so what I did was use a little on the seam, let it dry, use more, let it dry etc until I had a good bead.
Moisture ... lots of headlights end up with a fog, or mist, most people fix that problem by drilling a small vent hole into their light housing. The replicas have this built in already, so I wouldn't worry about the moister, it's not like they were pressure sealed and now they're not.
Make sense?
09-29-2013, 11:03 AM
#17
Instructor
I did briefly to test it out. I only want to use them as drl. So I just hooked up a relay and used my current drl switch as my trigger in my relay. Then resistors to take the drl error off my dash.
Random question: when you smoke them did you use like VHT night shade? Does light still shine through fine?
Random question: when you smoke them did you use like VHT night shade? Does light still shine through fine?
09-29-2013, 08:54 PM
#18
I did briefly to test it out. I only want to use them as drl. So I just hooked up a relay and used my current drl switch as my trigger in my relay. Then resistors to take the drl error off my dash.
Random question: when you smoke them did you use like VHT night shade? Does light still shine through fine?
Random question: when you smoke them did you use like VHT night shade? Does light still shine through fine?
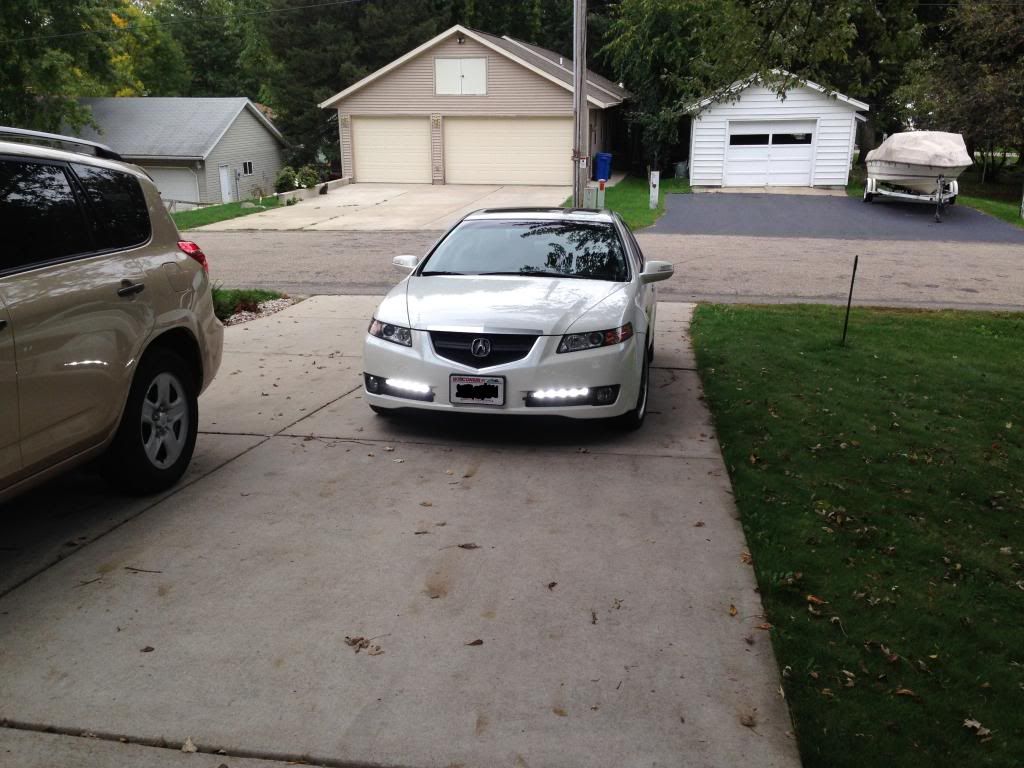
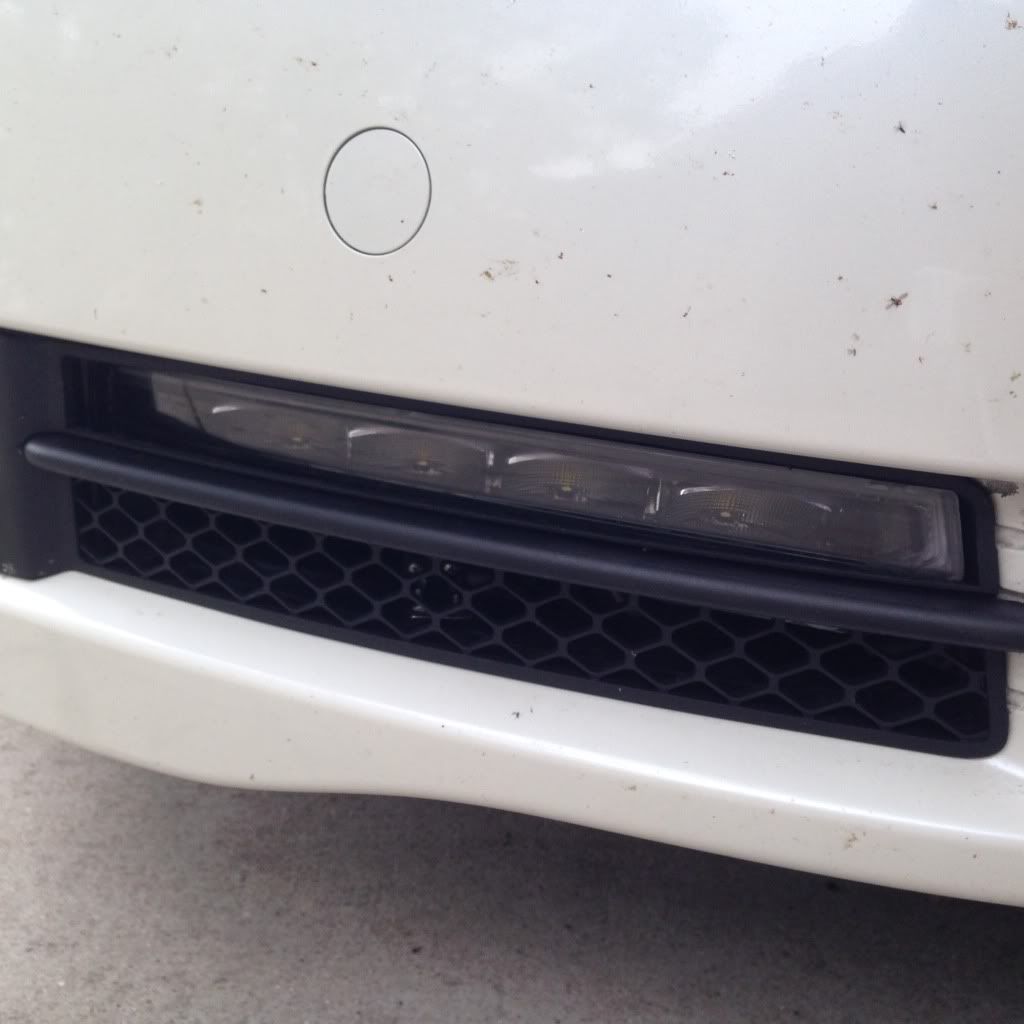
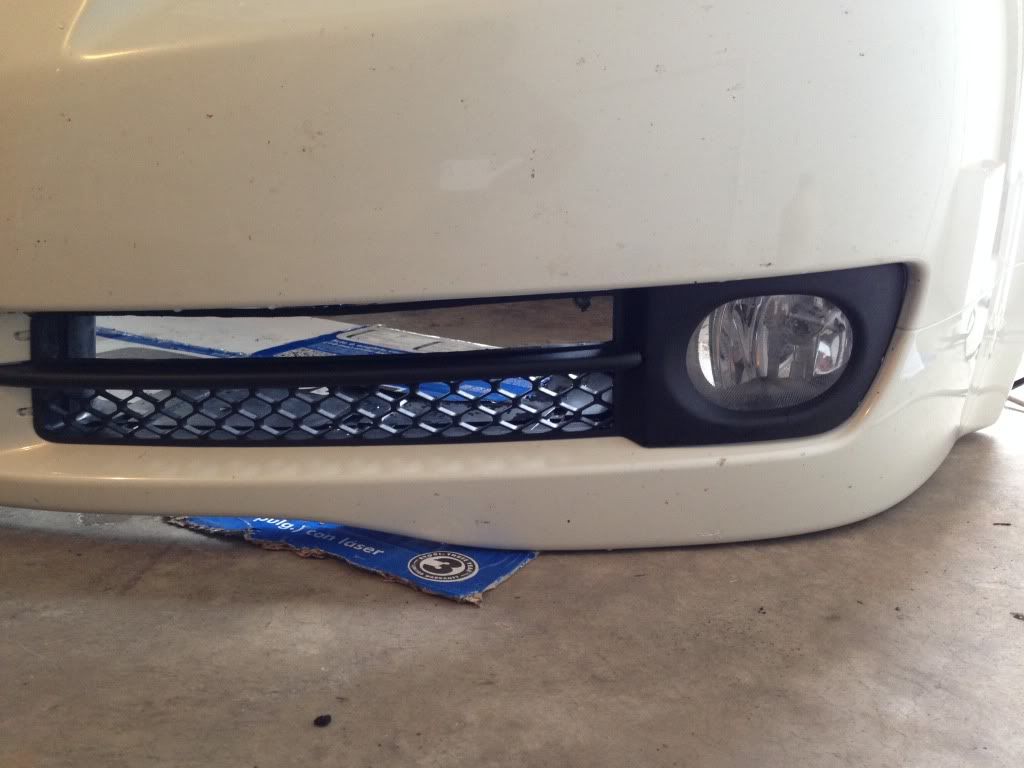
Have you got them installed, what do they look like?
10-01-2013, 06:47 PM
#19
Instructor
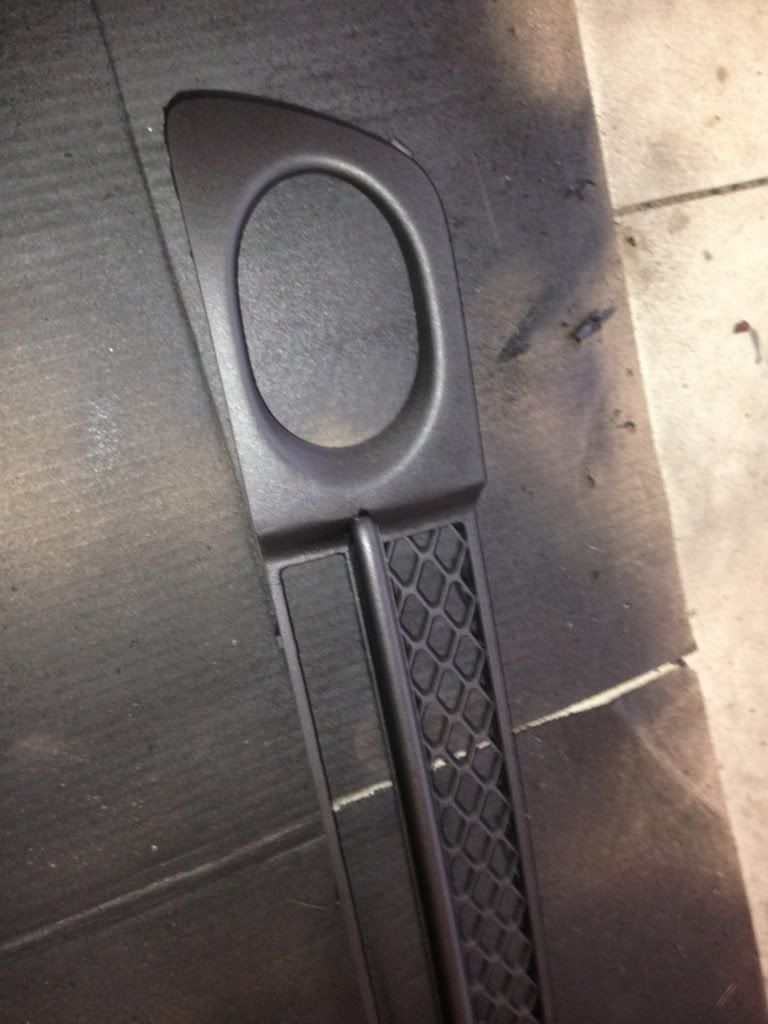
Still waiting to put this all together. I have a base 08. Ordered type s fog covers (the honeycomb mesh) I gotta wait for everything to come. hopefully by this weekend! ill post pics
 10-06-2013, 08:06 PM
#25
Instructor
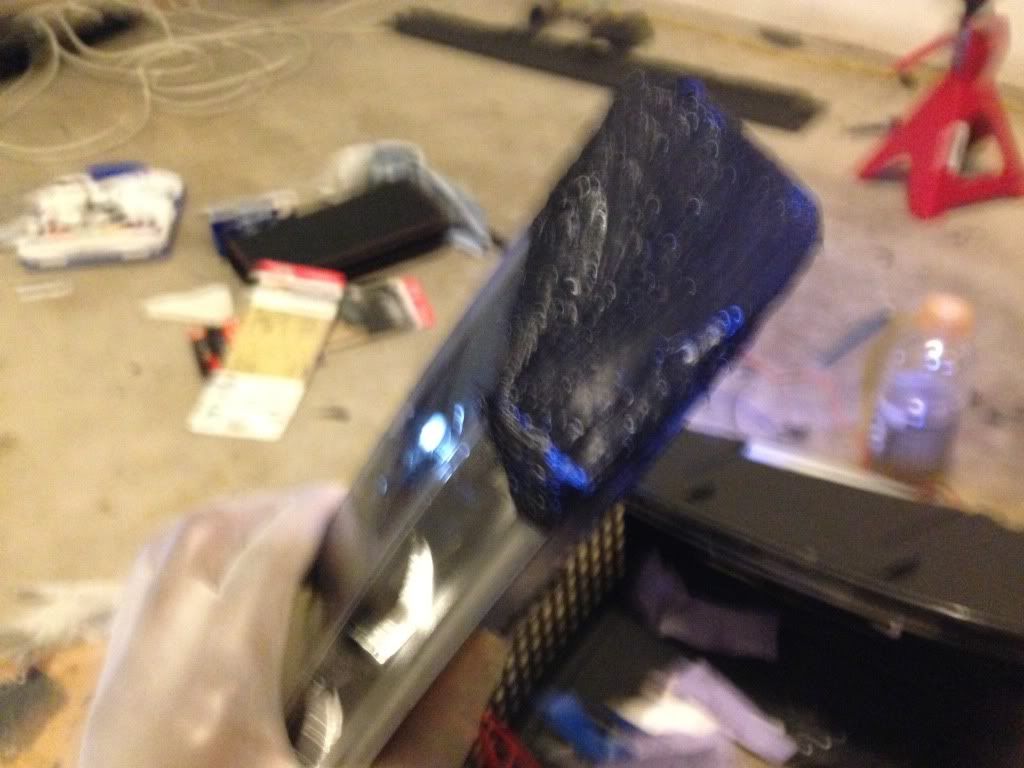
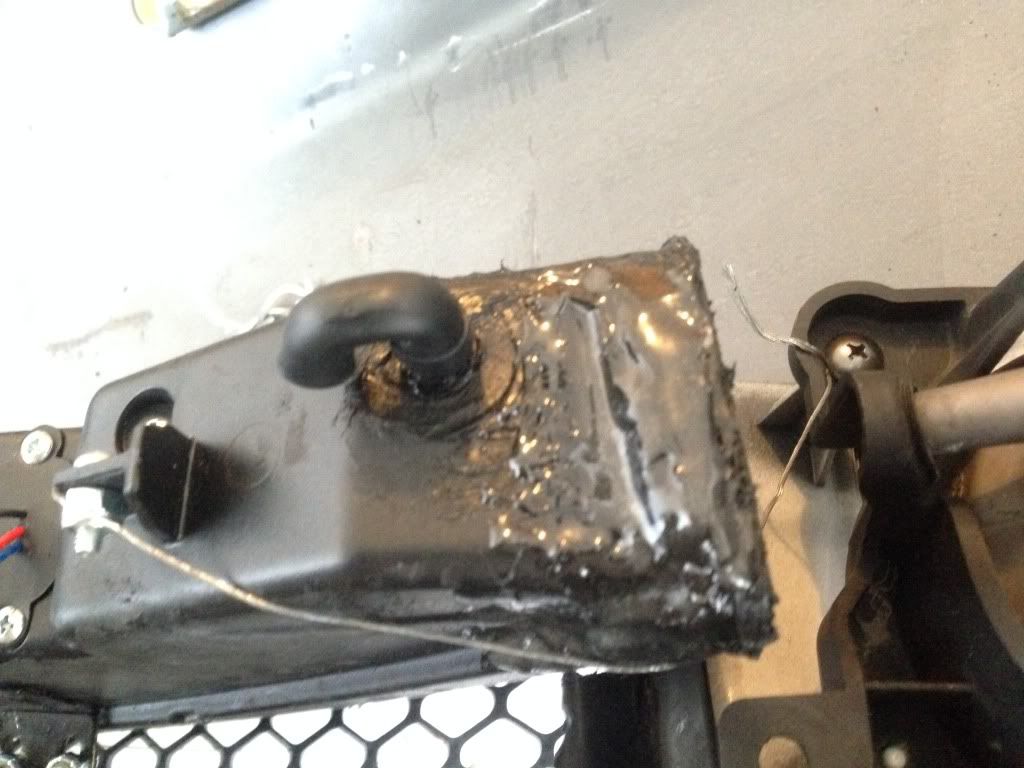
After I cut the light I used a bondo alumnim mesh as a base for my sealant. I ended up using 3M Windo-Weld as my sealant. Per your earlier suggestion I drilled a new hole and put a BIC pen there lol
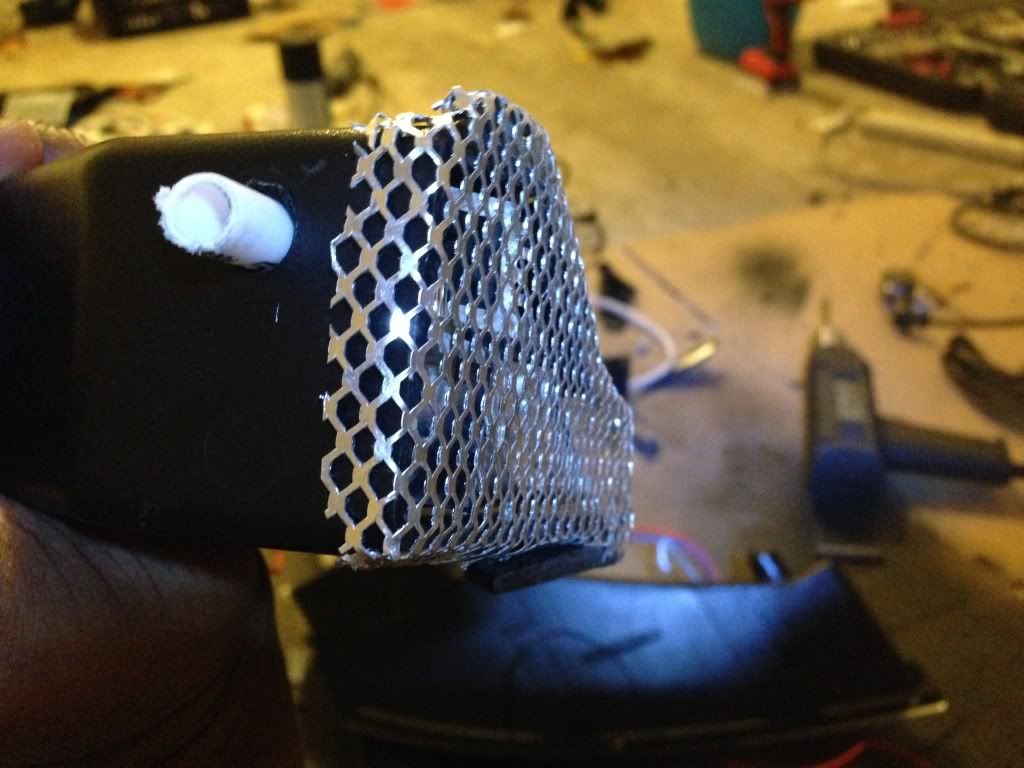
Done (sorry for blurred pic)
I wanted to the honeycomb mesh from the type s so I ordered the lower fog inserts only to realize that the curves on the type s and base are dif only at the end. So I cut the fog cover and used half from the type s and half from the base.
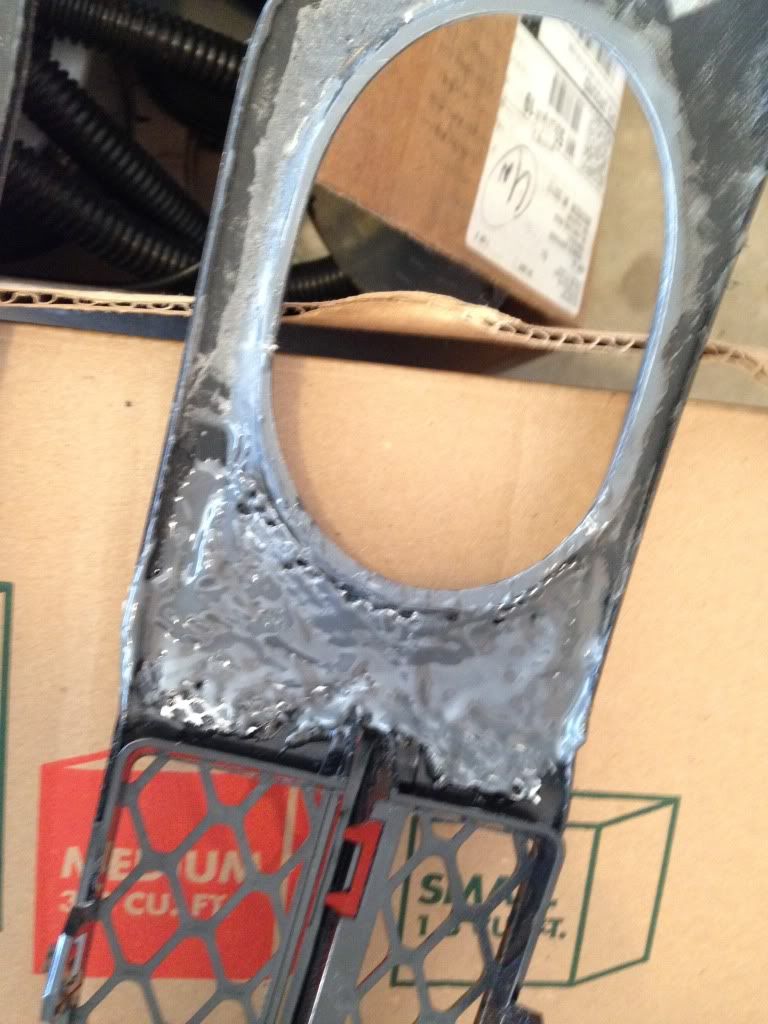
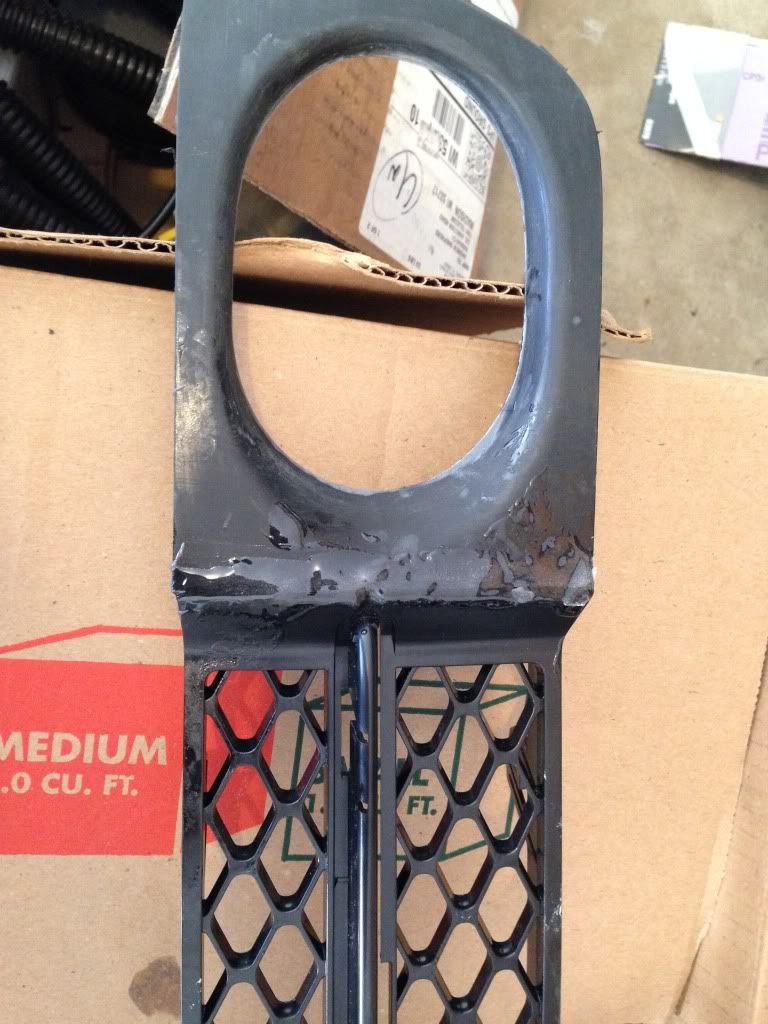
Sanded and plasti dipped
Each light had 4 mounting points
2 on top
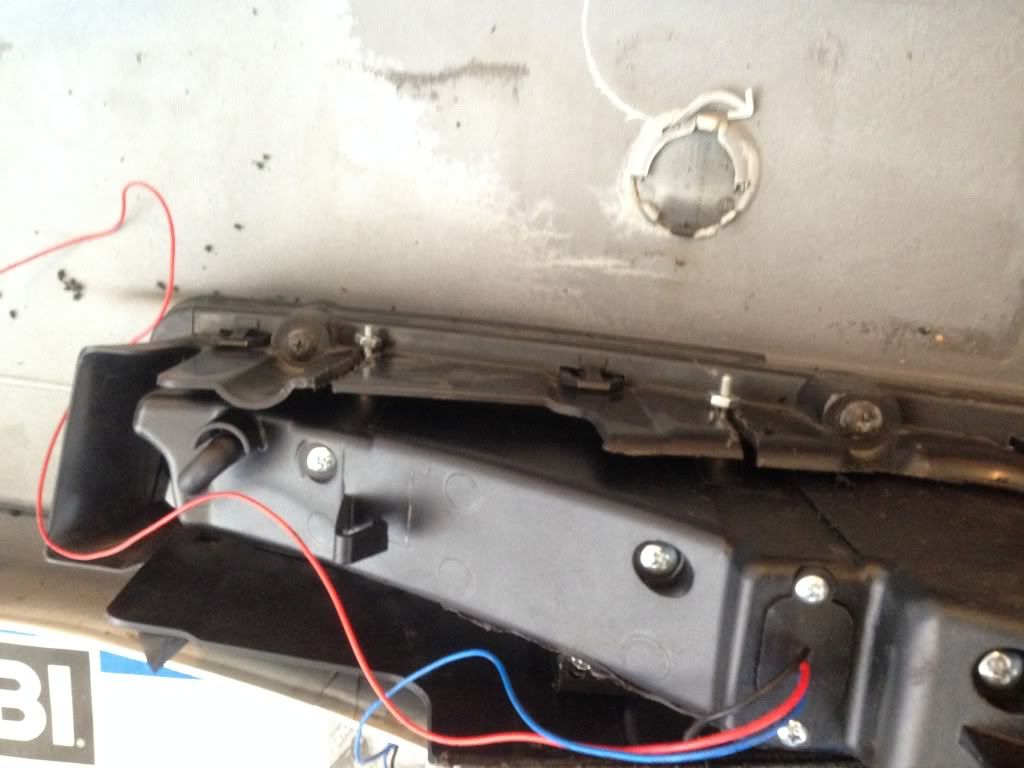
1 on the bottom (the bracket)

Then the string
 10-08-2013, 09:27 AM
#27
Instructor
Hey man, it's funny that you say that. My parents are from Nigeria. If you let me know sooner I coulda sent some with one of my family members who just left today there. It ill be hard to get stuff shipped to Nigeria because of 419 scam stuff. What year is your TL?
10-08-2013, 11:53 AM
#28
Previous Owner
Heh, I just got the same replicas off a guy for $105. But I had absolutely no idea how huge these things are. These will be fore my Infiniti JX, I think I'll have to actually cut the bumper though. I don't even think cutting the DRL will make it fit into the existing vent.

Thread
Thread Starter
Forum
Replies
Last Post
LogicWavelength
3G TL Photograph Gallery
33
11-01-2015 09:38 AM
SUPRMN84
3G TL Audio, Bluetooth, Electronics & Navigation
5
10-07-2015 09:46 PM