When you click on links to various merchants on this site and make a purchase, this can result in this site earning a commission. Affiliate programs and affiliations include, but are not limited to, the eBay Partner Network.
Hey everyone! I havent seen this posted or talked about so I figured I would share what I did. Our fog light lens gets really road rashed over time, and since I am getting new LED bulbs and needed a new fog light assembly, I figured I would see if I could make the other one brand new. so they would match. I did some googling and found someone who clear coated his glass fog light housings and they came out looking really good.
1. I cleaned the lens really good and wetsanded it make sure nothing was hanging onto the glass.
2. I taped up the fog light in order to not get clear all over it. You might want to either keep the bulb attached or tape the hole as to not get any debris or paint dust in there.
3. Gave 1-2 light coats of clear and let dry for about 30-45 minutes. I lightly wetsanded with 800 grit and than 2000. Cleaned lens again
4. Repeated step 3 another 2 times. Getting good coverage and making sure each coat was light, had no bubbles, etc and sanded smooth.
5. After step 4 let dry for a couple hours and then used Meguiars Ultimate compound to get all the sanding scratches out and bring a shine.
6. Will put a paint protection film over it to protect it from further rash.
Onto the pictures, I think it came out better than I thought it would, see for yourself.......
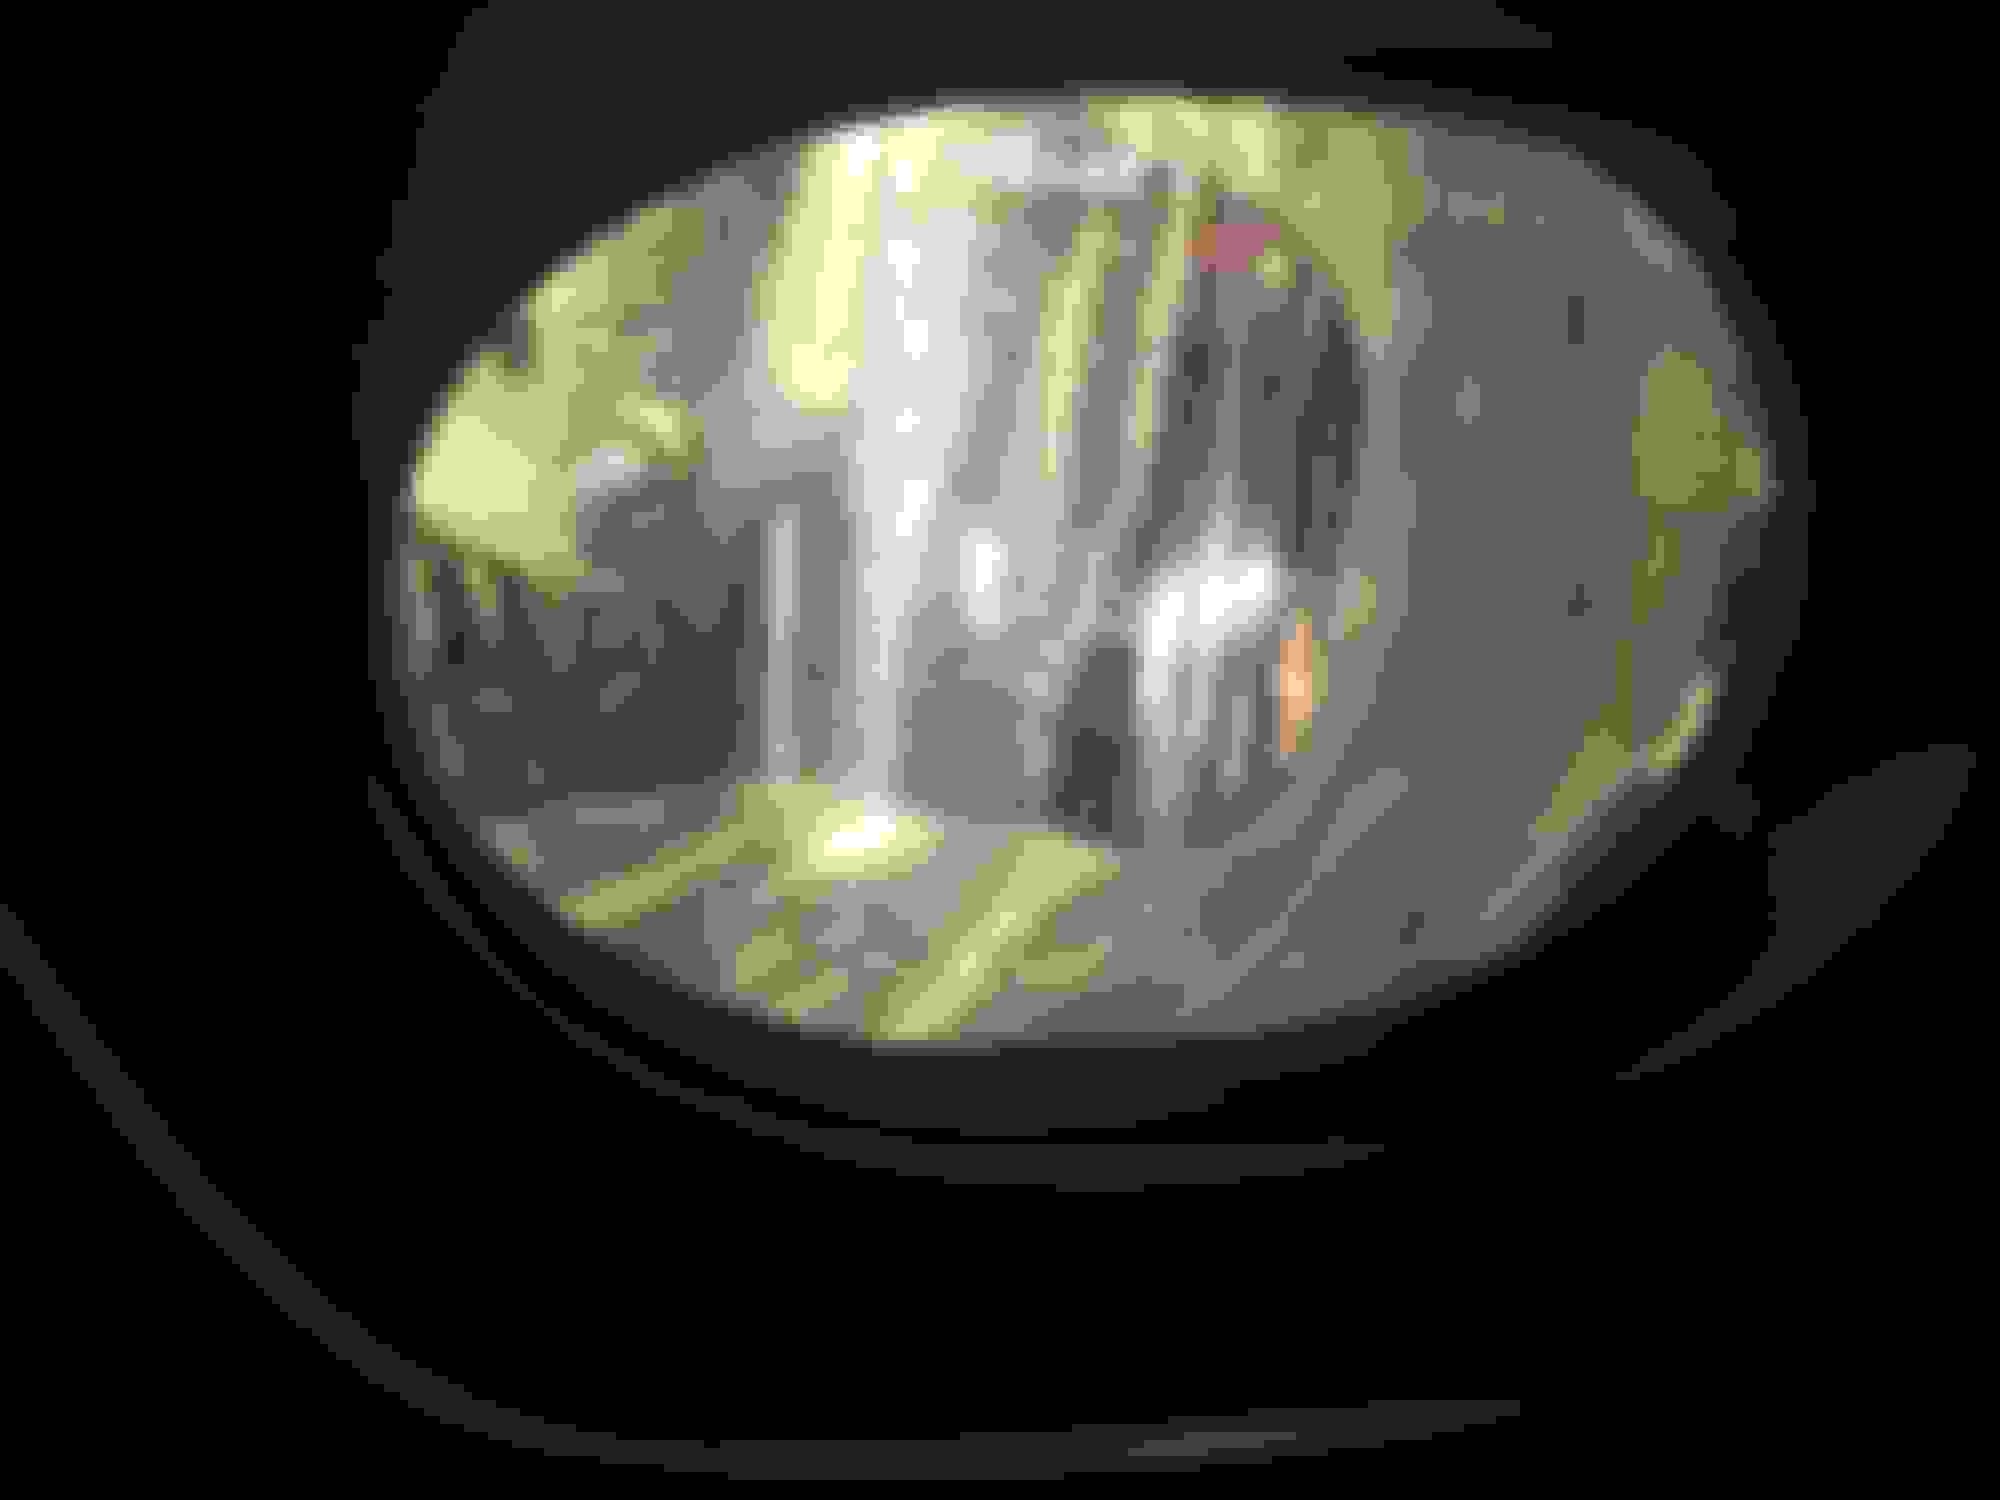
Before I started, not horrible but pretty bad.
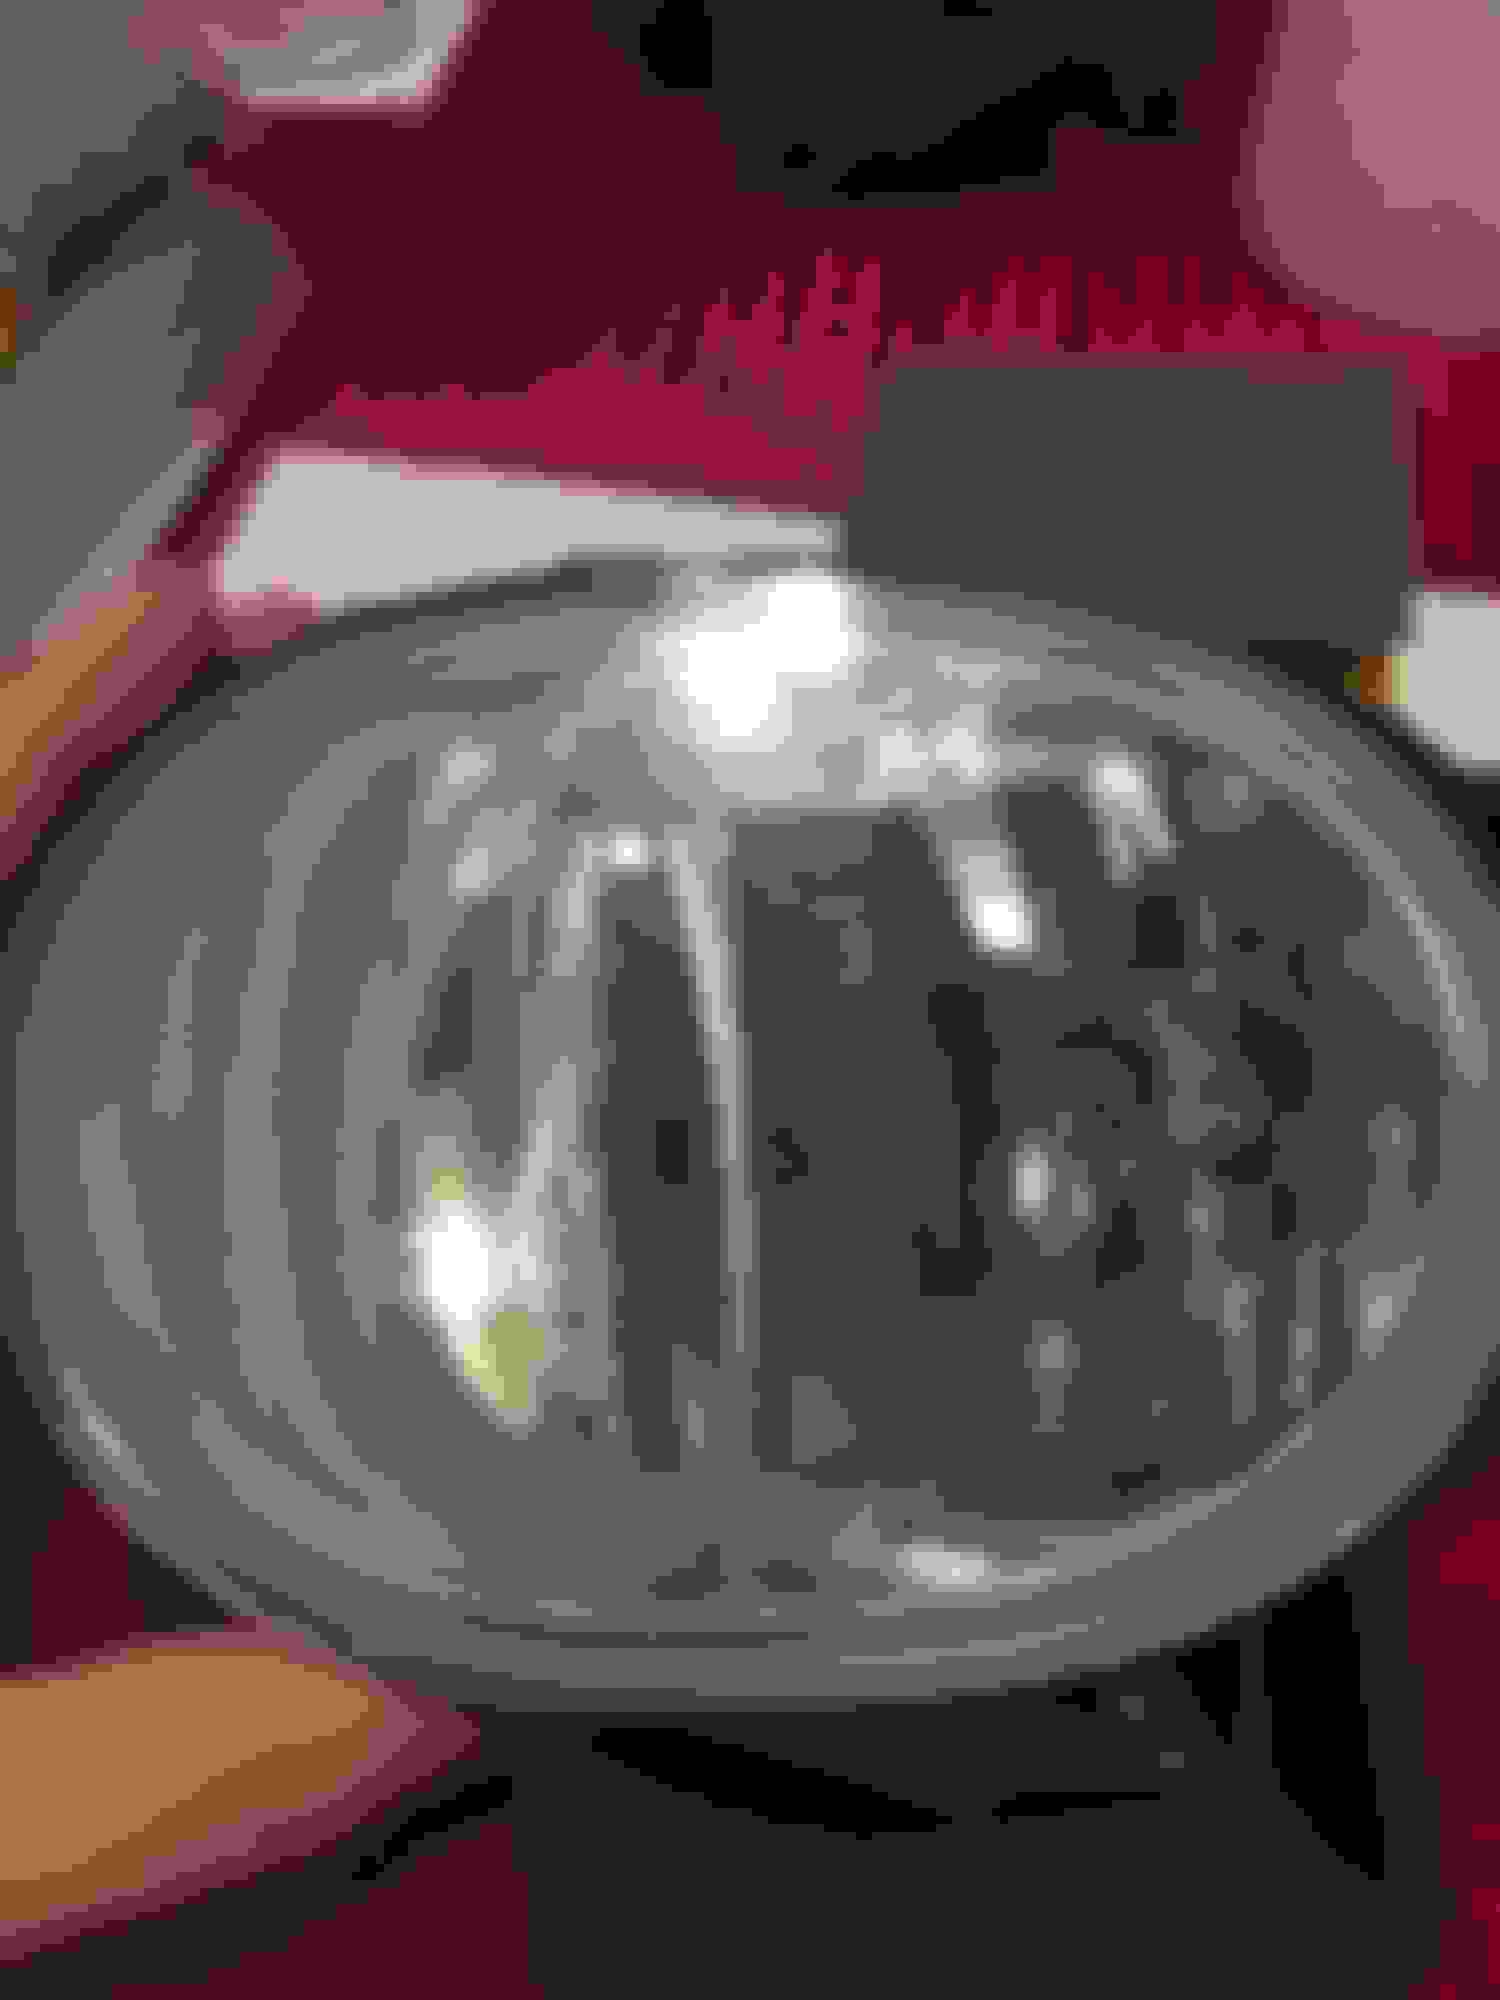
One of the early coats.
Halfway through.
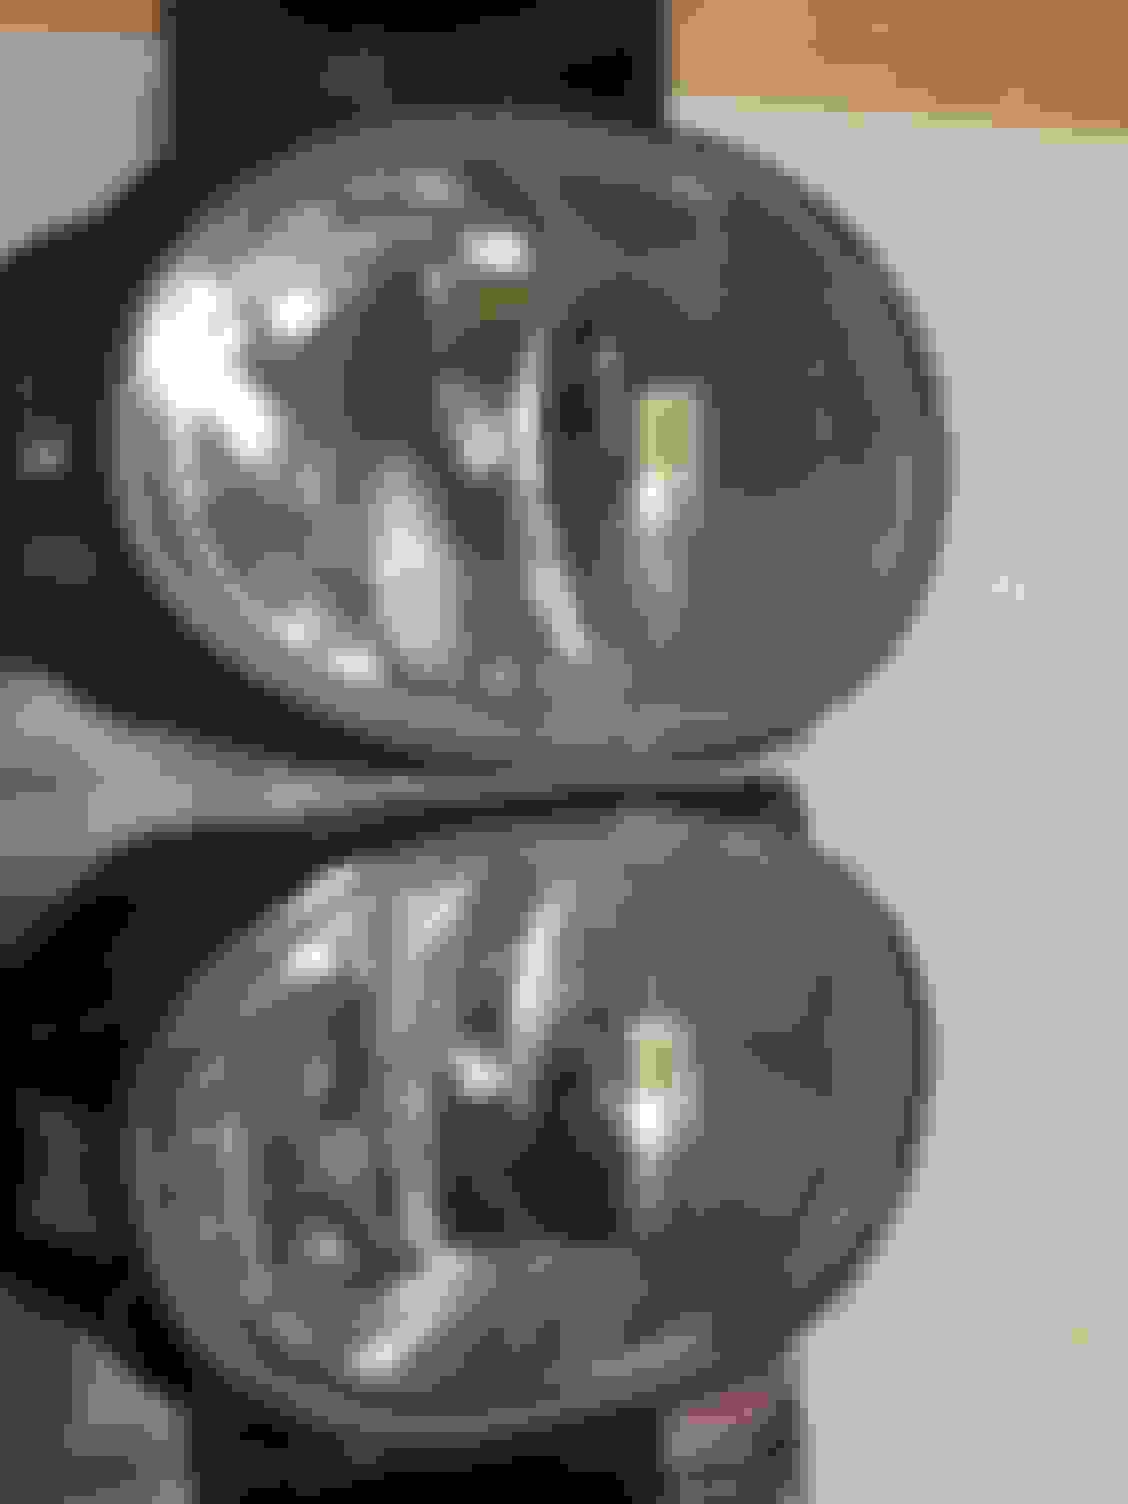
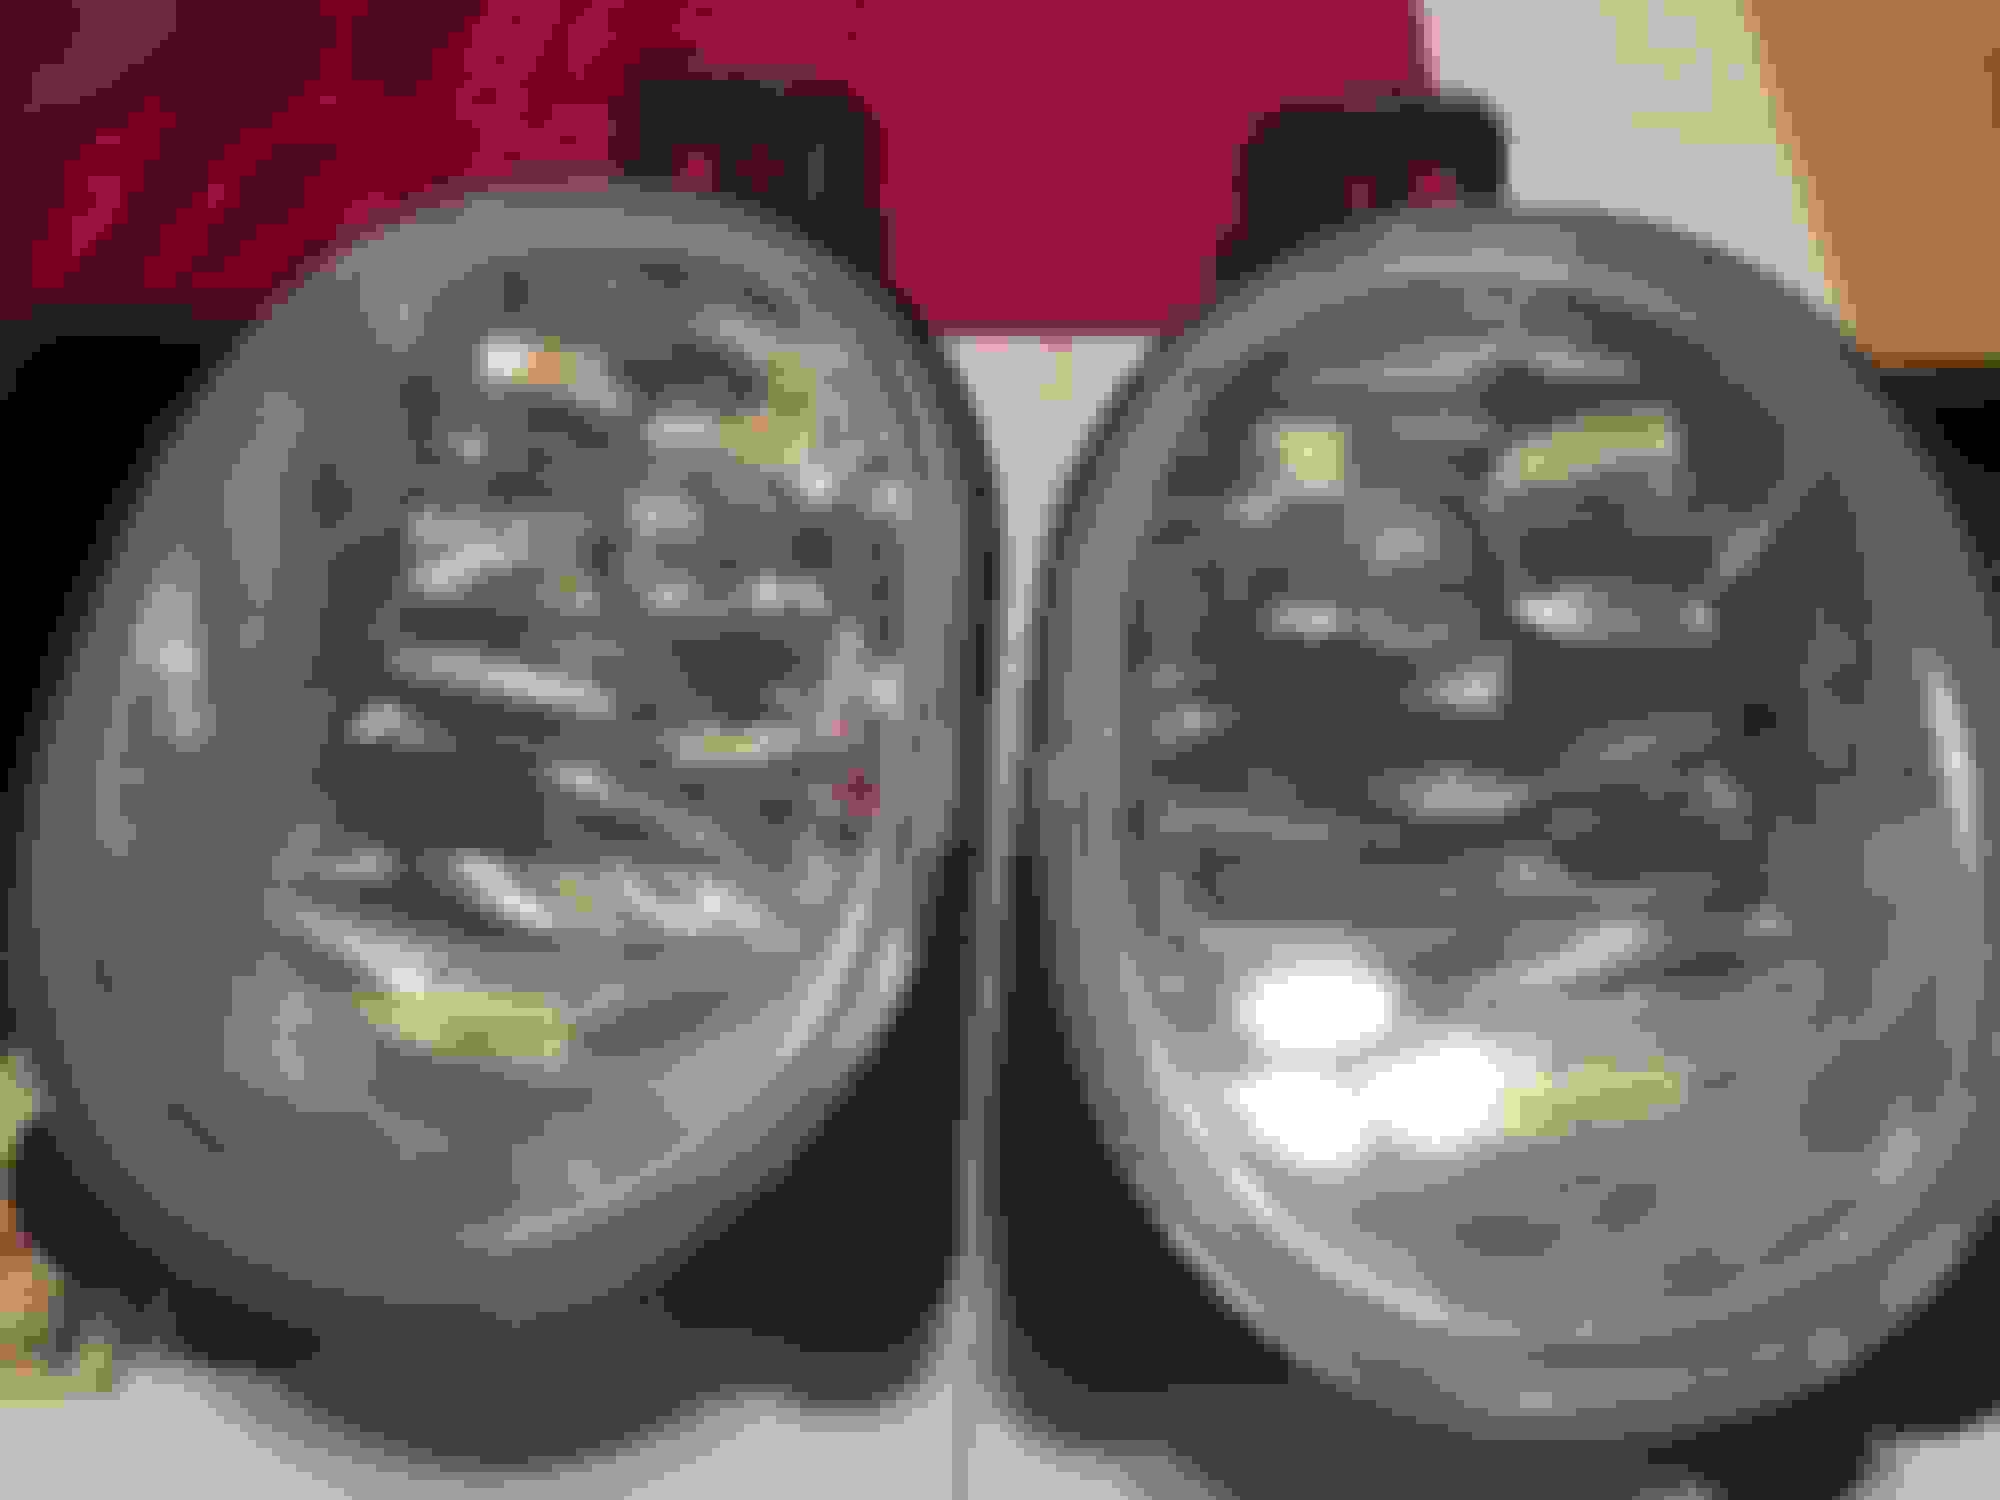
Final pics.
Can you tell which is the new and which is the old??
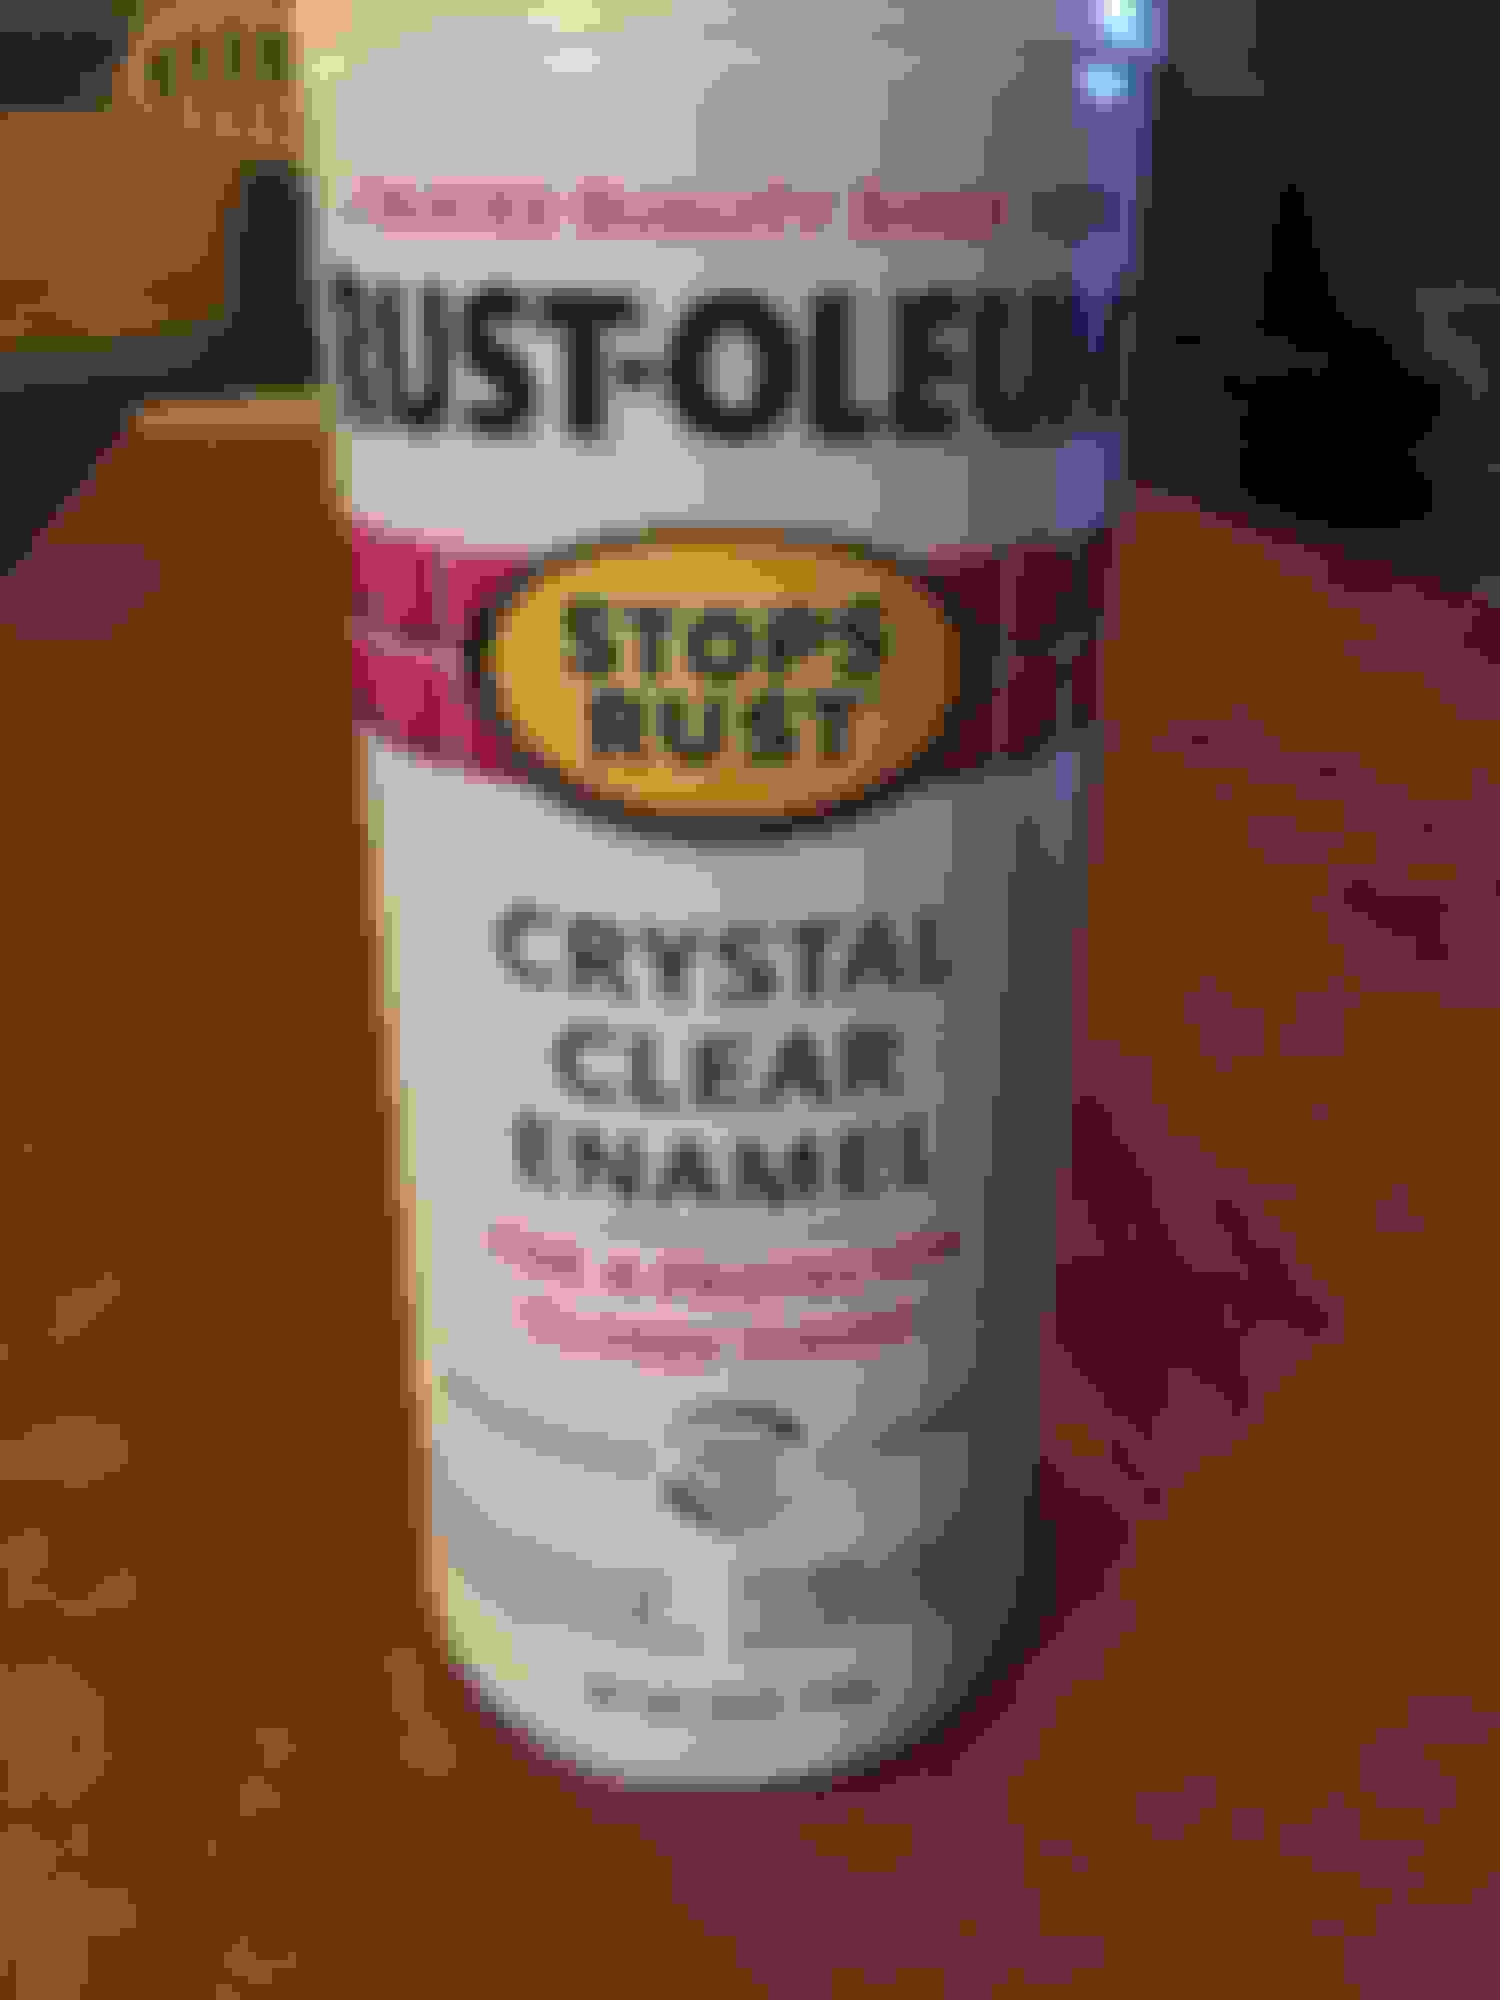
What I used mainly.
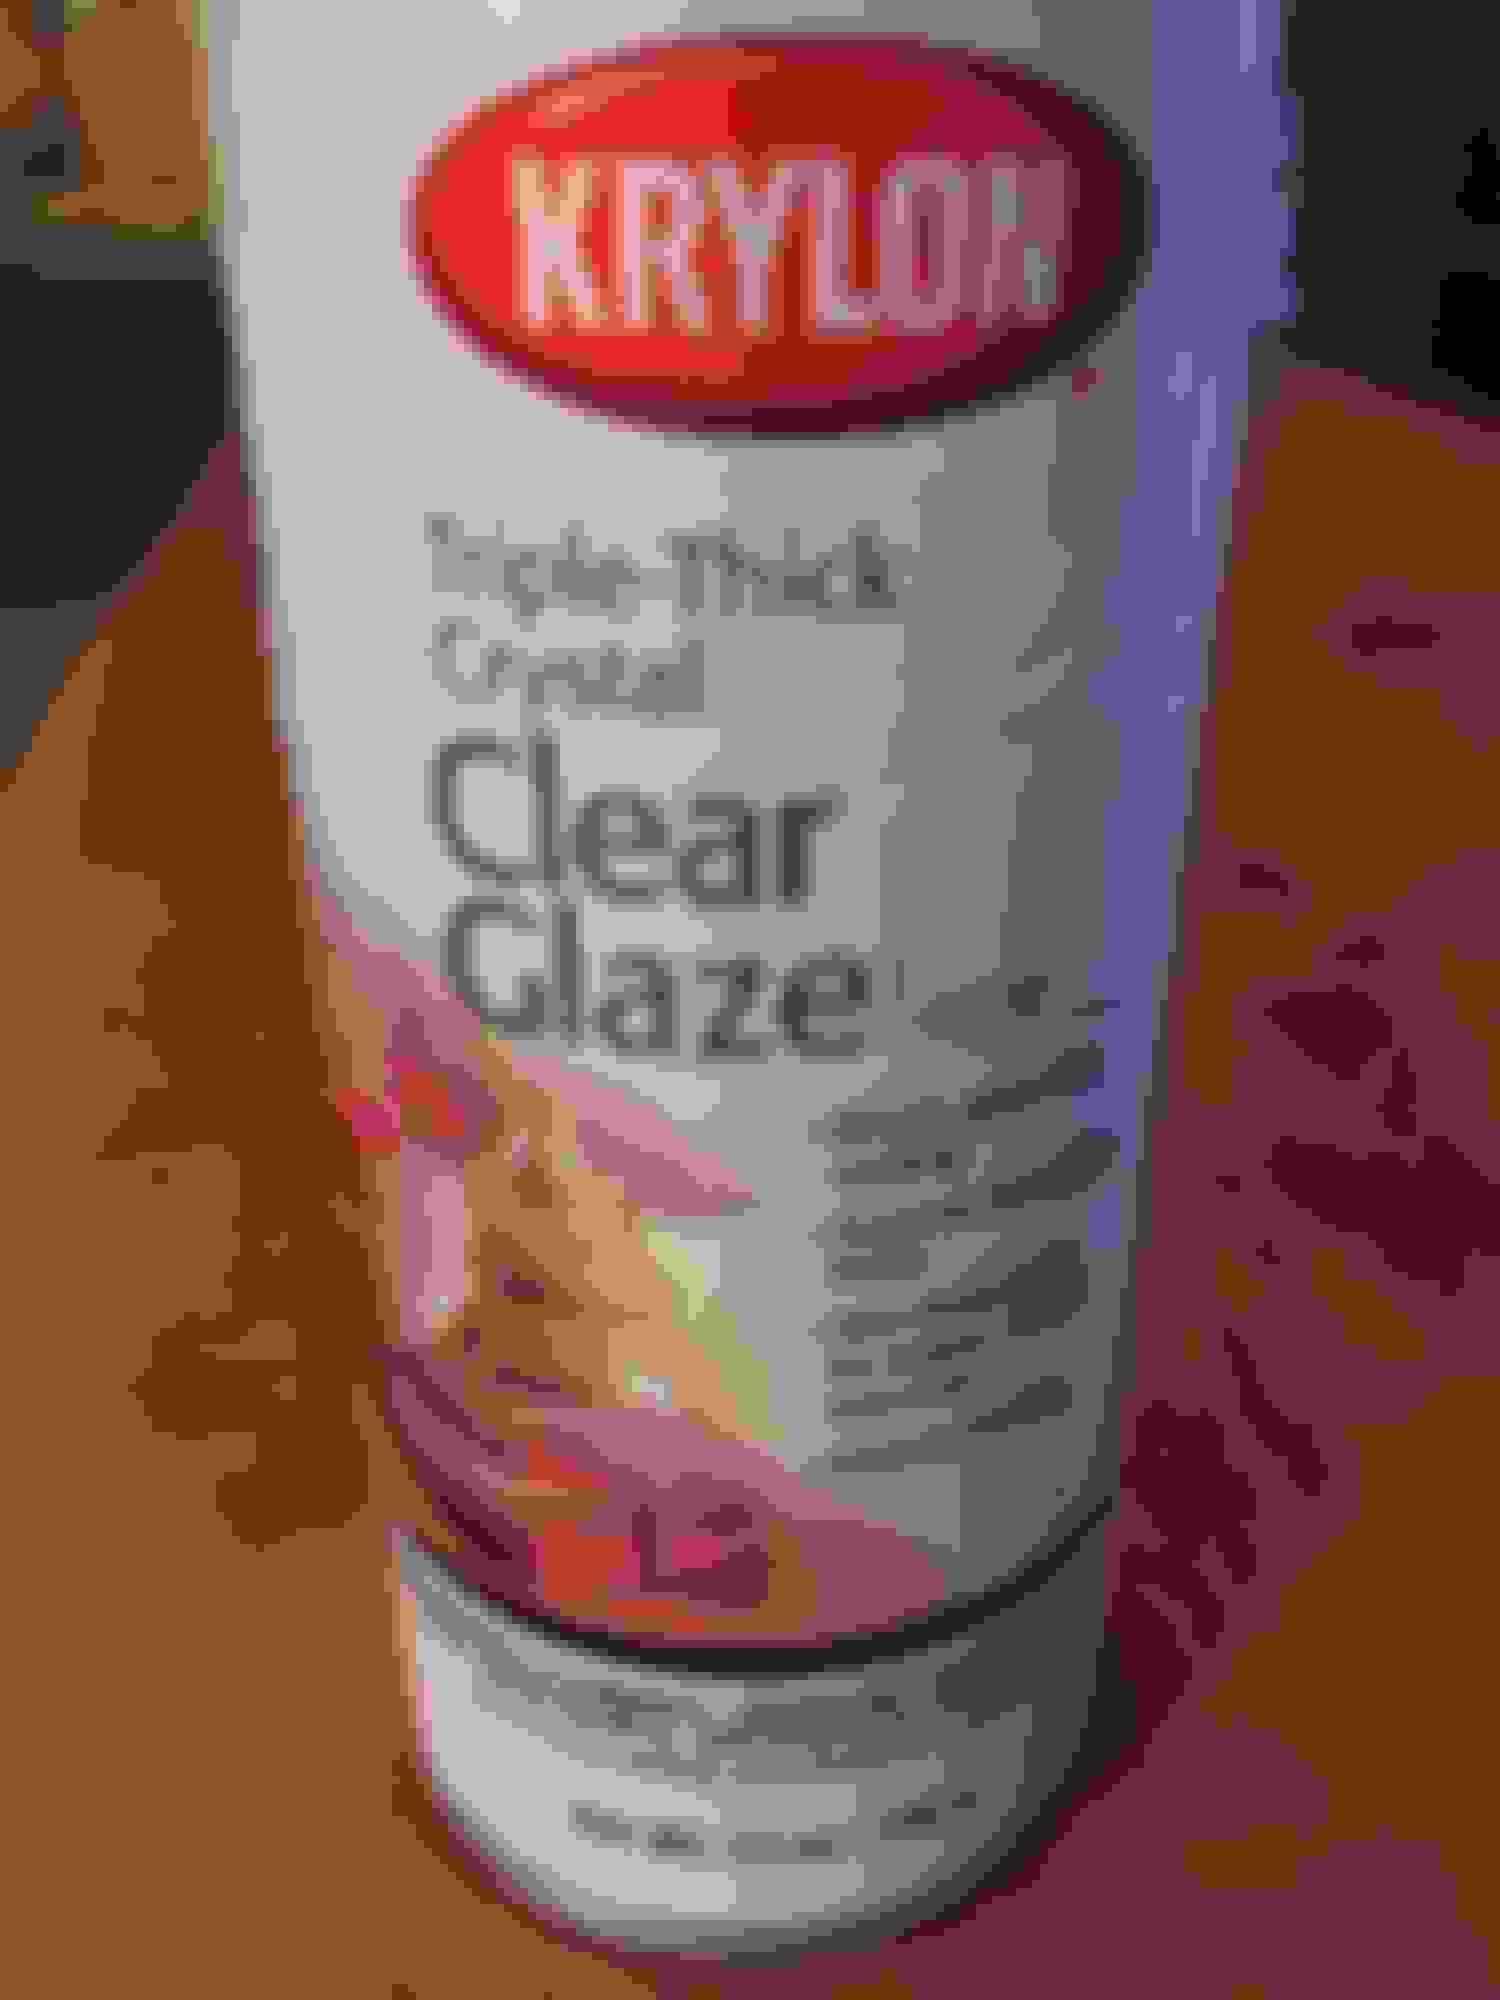
Would have been better to use this for all the coats, was clearer/brighter than the other.
There you have it, I am excited how good it came out. I will update this thread when I get the LEDs and post pictures how they look.
Wow man, these look great. I just picked up an '08 base CBP and the headlight/fog lenses are absolutely brutal. Thinking about doing the same for the headlights, minus the clearcoat (just wetsanding, 1000/1500/2000 then polishing compound) but might have to do the fogs as well after seeing this. Cheers
Yea give it a try and see. I got mine all done and put paint protection film over it and am going to see how it lasts through the winter and if it holds up well, time will tell. I would have installed them this weekend but my car got hit last weekend and its going to the body shop so I have to wait.
Wanted to give an update after a month, have had some very cold weather, snow and road salt and so far the fog light refurb has held up. The paint protection film has stayed on the new and the painted side and everything looks great still. Will update in another few months to see how its holding up.
Updating this thread again, a little over a year later from the original post. I am very pleased with how this idea has worked and held up. They are still looking great! Guess I need to get some pics.....
Sorry guys, hadnt been on in awhile. Went out and took some pics, they look way better in person and still better than before. It seems too that the chips are just in the plastic overlay.
Last edited by eastcoastguy; 03-24-2018 at 12:07 AM.
Reason: fixed


 11-25-2016, 08:41 PM


 man!
man!