When you click on links to various merchants on this site and make a purchase, this can result in this site earning a commission. Affiliate programs and affiliations include, but are not limited to, the eBay Partner Network.
Hello
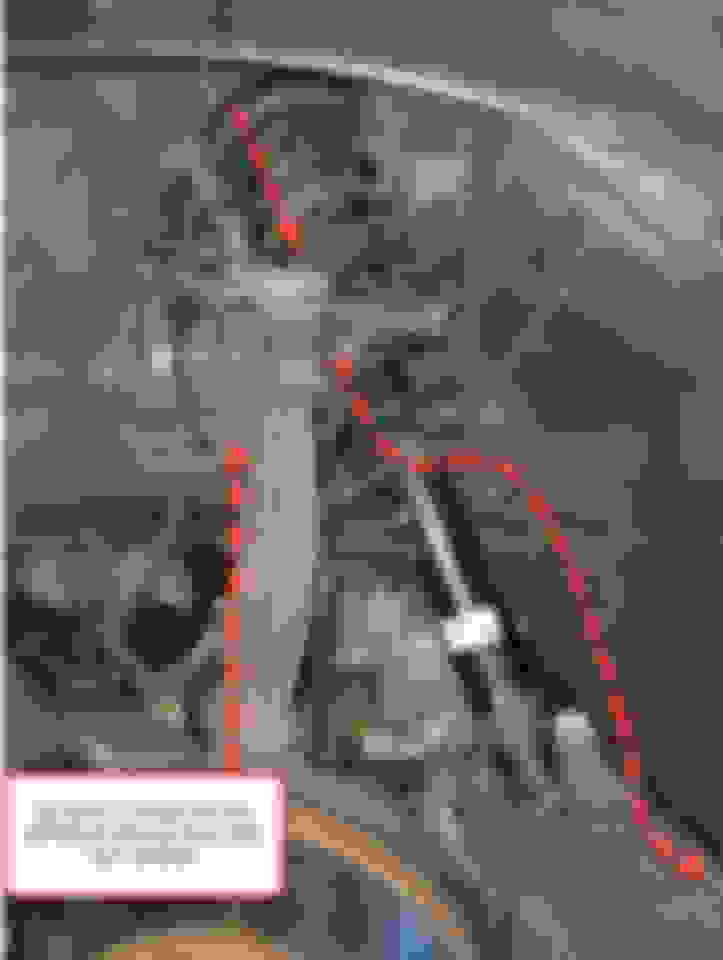
working on replacing the rear strut assembly. I am at the point where I need to put the new one in
I looked around on how to do this and it appears I need to press on the arms to lower them so I can fit the suspension back in
I tried that for a bit but it is a pain and really difficult. I thought about removing the castle nut tying the upper control arm. would that lower the bottom knuckle and creating enough space for me to wiggle the strut in place?
Appreciate the tip on this
My friend found a mint 2007 TL-S 6MT locally and bought it a few months back.
A week after buying it, he asked if I would lower it for him. So...because I am an excellent person overall, I agreed.
He chose Tein Street Advances. This is his 2nd car that's been on SA's. This install should translate over into other similar systems as well. Hope you's find this helpful.
I hate that I have to say this portion...but this is the way I install suspensions. You're on your own to ensure your safety and quality of install.
This started off as a completely stock 07 TL-S.
I started off by PREPPING:
Really, that just means jacking the car up and putting 4 jackstands under it.
I decided to get to work on the FRONT SUSPENSION first.
I first removed the engine cover(s) - NOT PICTURED.
Then...the longassed process of REMOVING THE STRUT TOWER BAR:
I'm sure I missed some steps to removing that thing lol.
STEP 1 REMOVING THE FRONT SHOCKS:
- Un-bolt the lower shock fork:
-Then
STEP 2 PUT THE SPRING/SHOCK ASSEMBLY IN A SPRING COMPRESSOR TO DISASSEMBLE IT:
**You can skip these steps if you bought coilovers that already have pre-assembled top hats.**
Be careful doing this. The front spring is under a lot of compression.
The front spring has lots of power behind it when you release it. So be careful on this step:
STEP 3 REPEAT STEPS 1 - 2 FOR THE RIGHT SIDE
STEP 4START TO ASSEMBLE THE FRONT COILOVERS (TEINS IN THIS CASE):
Now, it's time to re-install the FRONT coilovers to the car.
******I AM STARTING MY INSTALL WITH THE LEFT FRONT WHEEL******
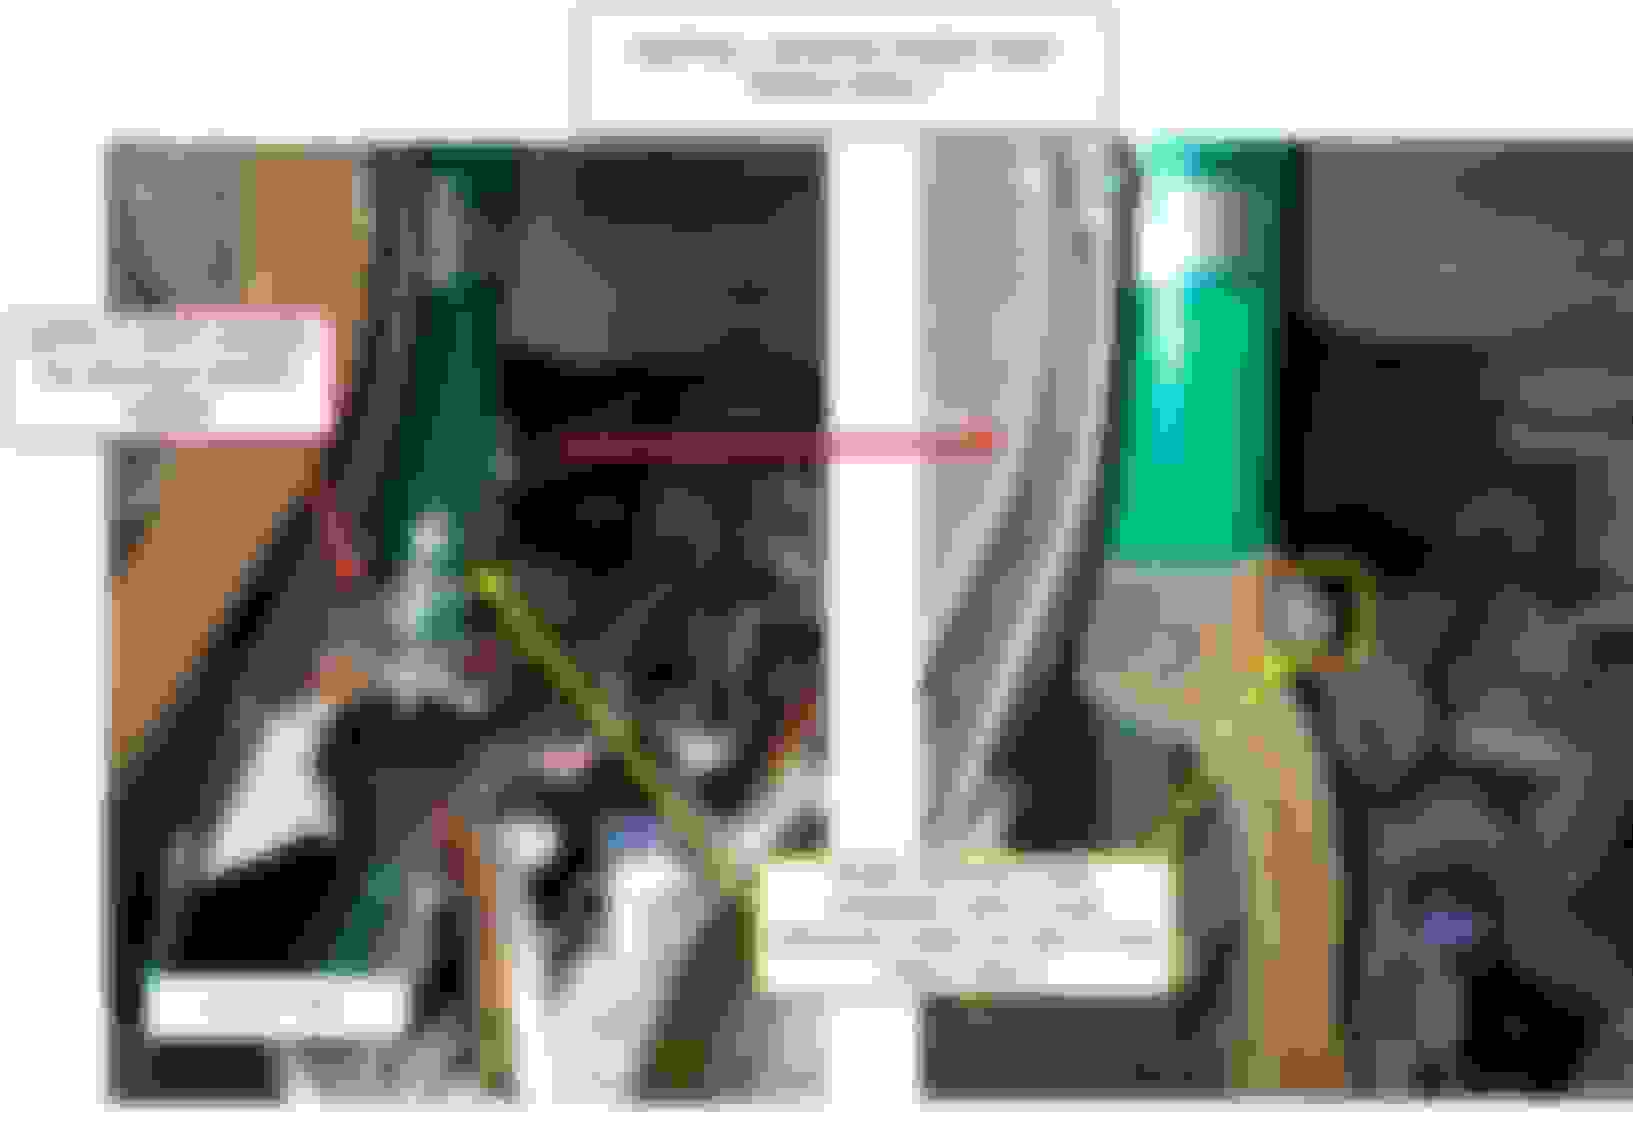
STEP 5 LOOSEN FRONT BUSHINGS:
-Loosen the red circled bolts:
STEP 6 INSTALL THE FRONT COILOVER:
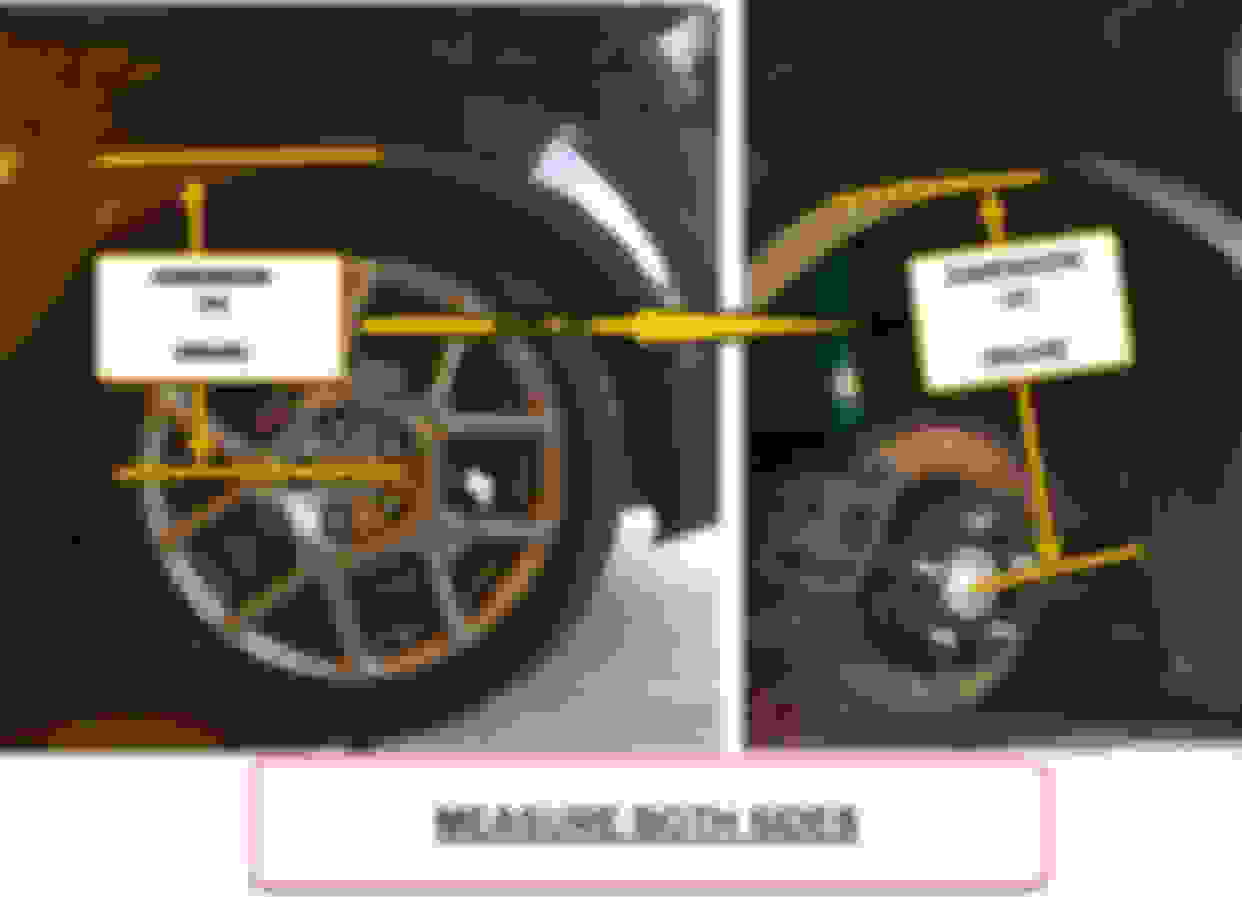
STEP 7 CLOCKING THE FRONT BUSHINGS:
Clocking the bushings means to tighten them at your intended ride height. This is a critical step to make sure that the bushings don't prematurely tear out. I have seen so many posts on this forum about people who have had trouble with torn out bushings causing all kinds of issues....ESPECIALLY on aftermarket components, whose bushings are almost always inferior to Honda's.
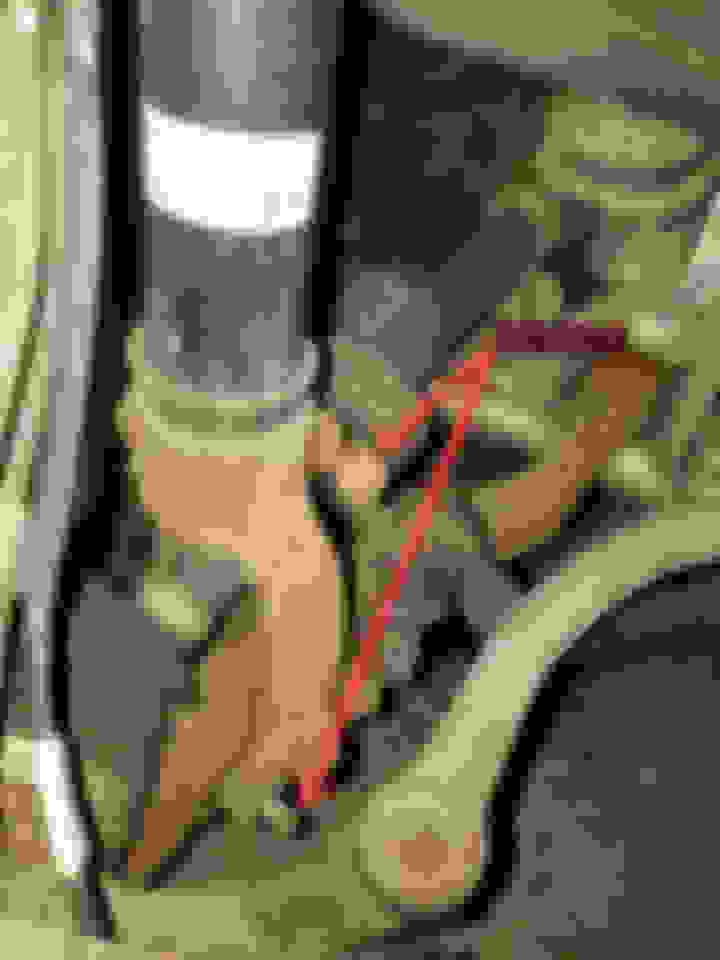
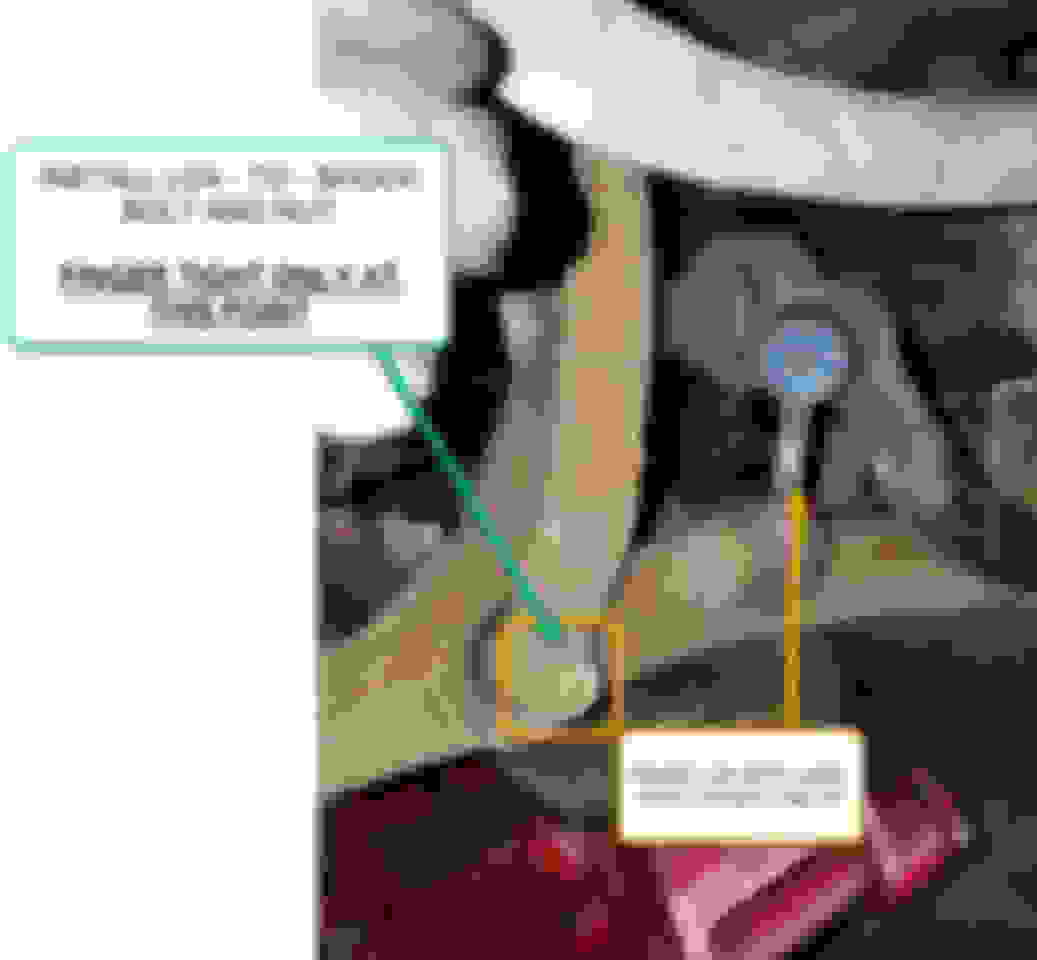
Jack up on the LCA at the ball joint. Use a rubber pad or a hockey puck under the jack.
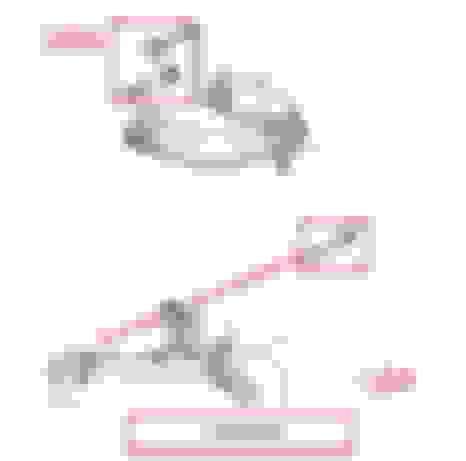
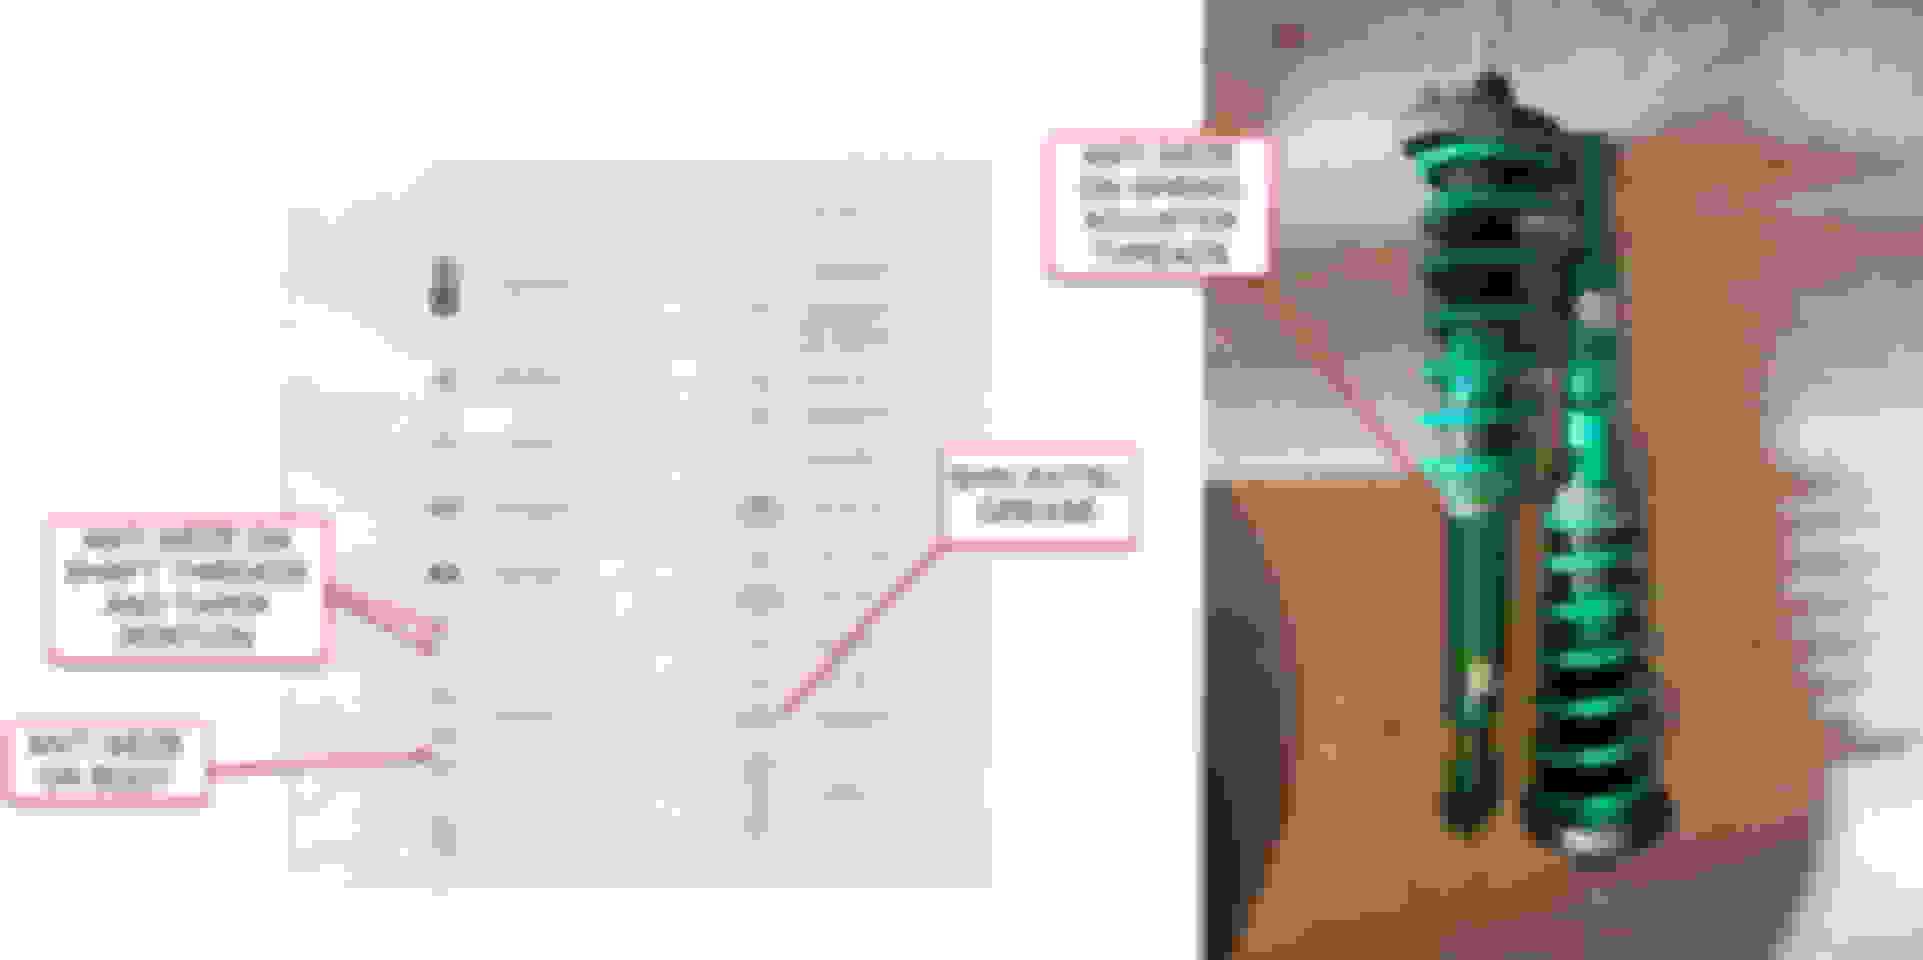
Jack upward until you reach the measurement of your intended ride height. If you want to ride around at 13" from wheel arch to wheel center, for example, then your dimension (A) below would be 13".
Tein's manual has reference measurements to this. So if you want to set your car up like Tein recommends...then follow THEIR measurements listed in the manual for this dimension. The diagram shown below is from the Tein manual.
Whatever dimension you want, make sure you WRITE DOWN THIS MEASUREMENT.
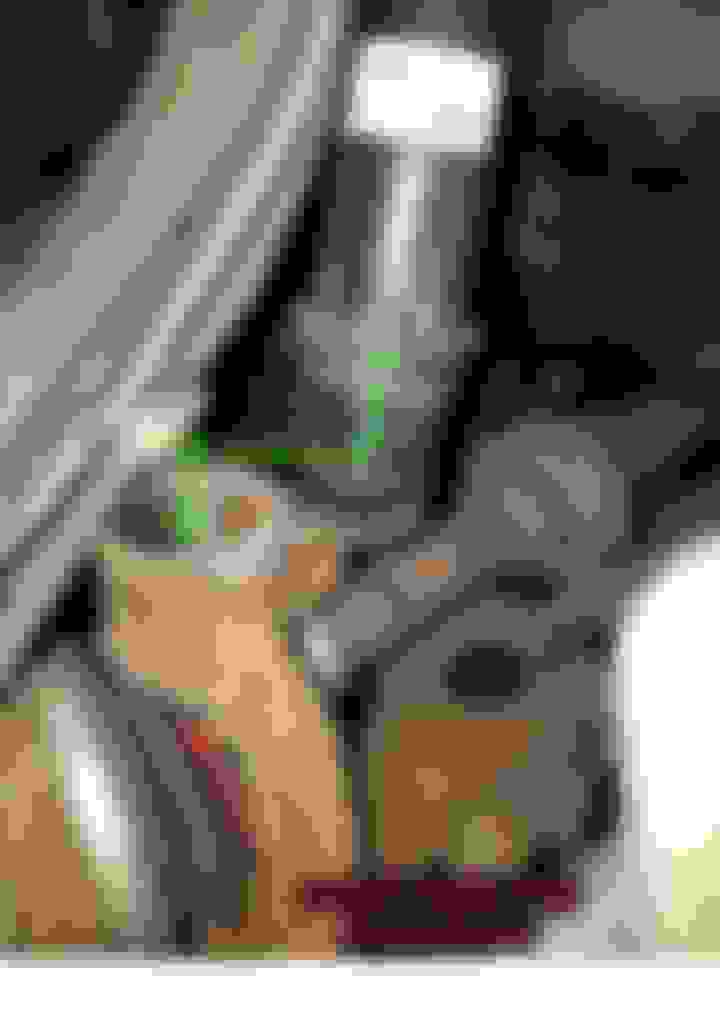
Once you have reached the "ride height" you want, go ahead and TIGHTEN the bushing bolts that I've circled below in red:
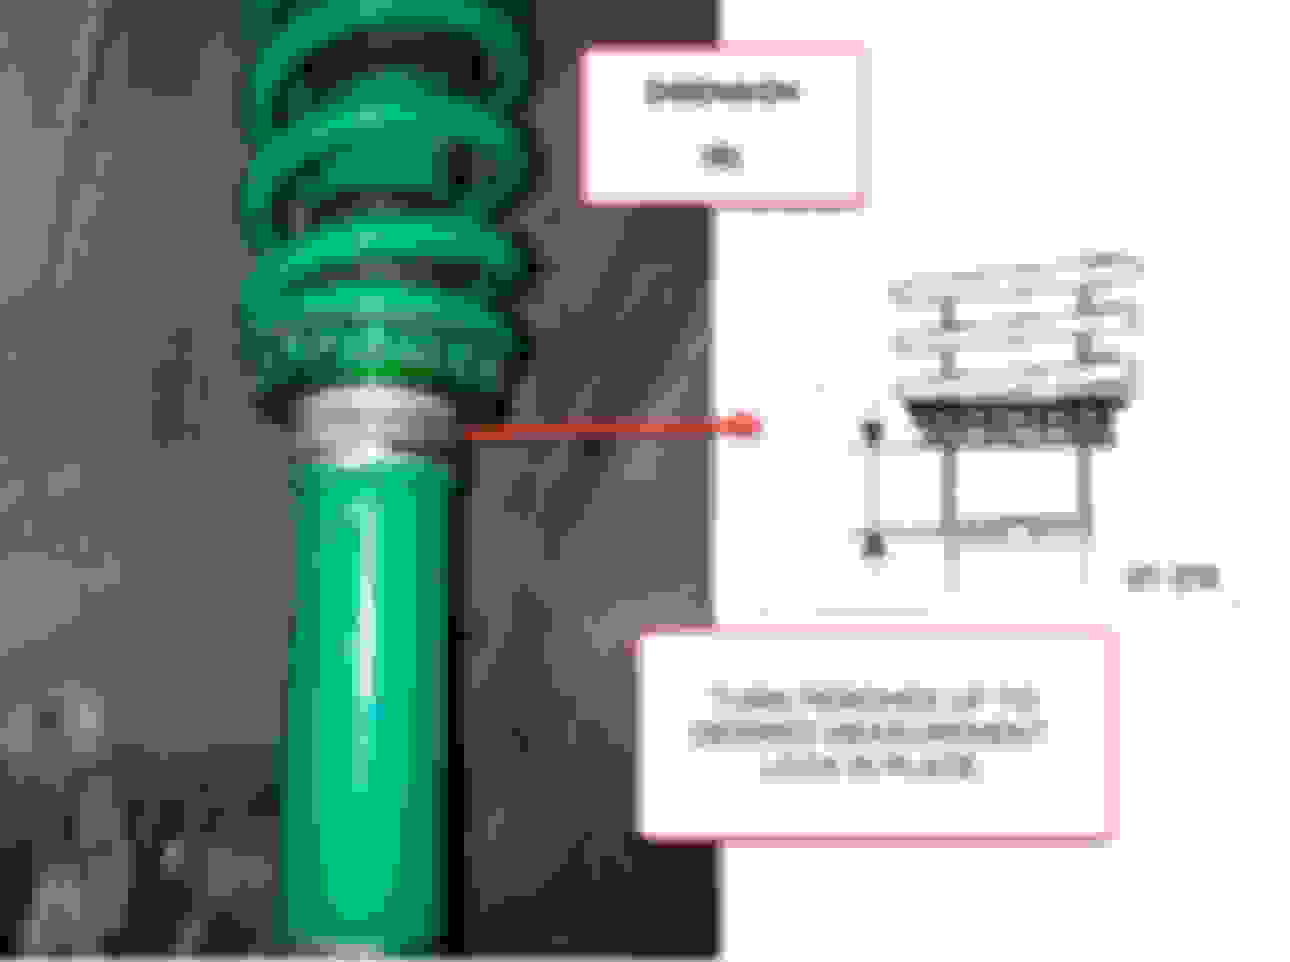
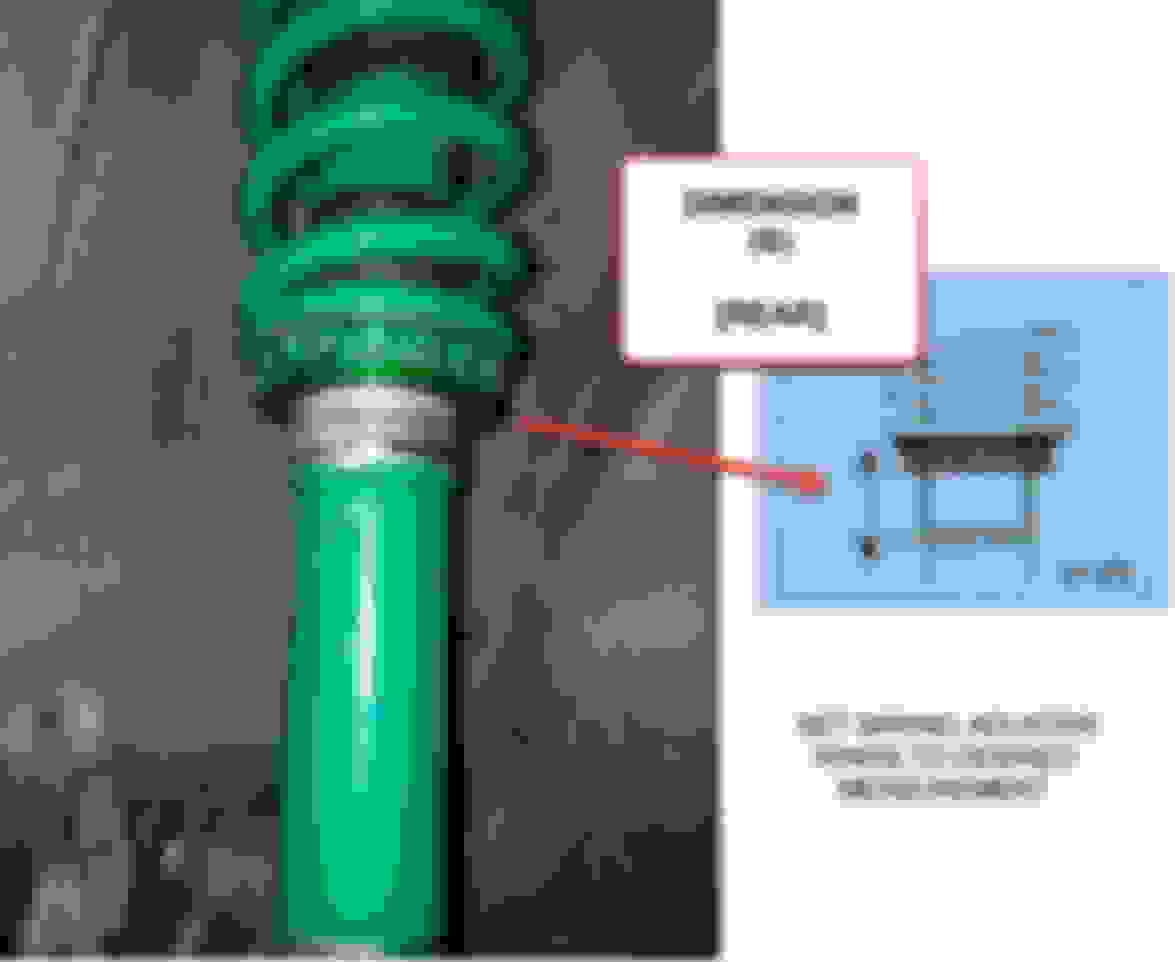
STEP 8 SET FRONT SPRING HEIGHT:
Now you're setting up the spring height. The spring height Dimension (B), must correspond with Dimension (A). I think Tein's manual shows a Dimension (B) of 1" to get a Dimension (A) of 13.25" (IIRC, check your manual. My memory is terrible. I store everything in the *cloud*.
STEP 9 REPEAT STEPS 3-8 FOR THE OTHER FRONT SIDE.
Now move to the rear of the car.
STEP 10 REMOVE REAR SEAT:
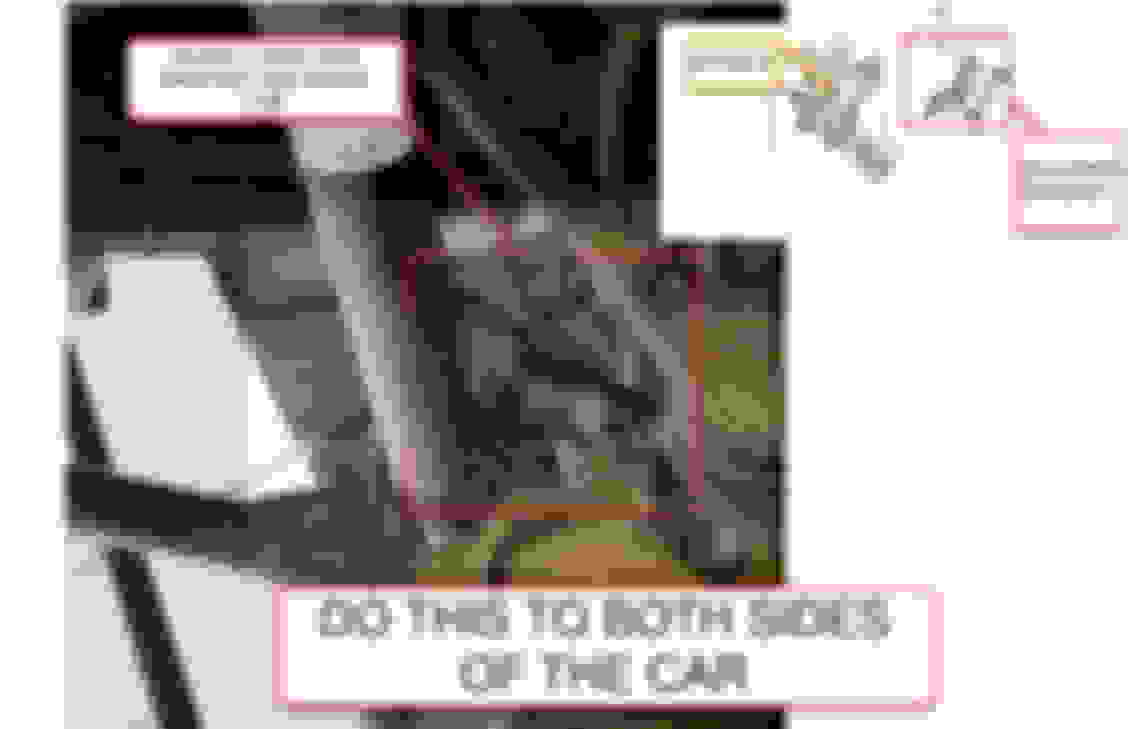
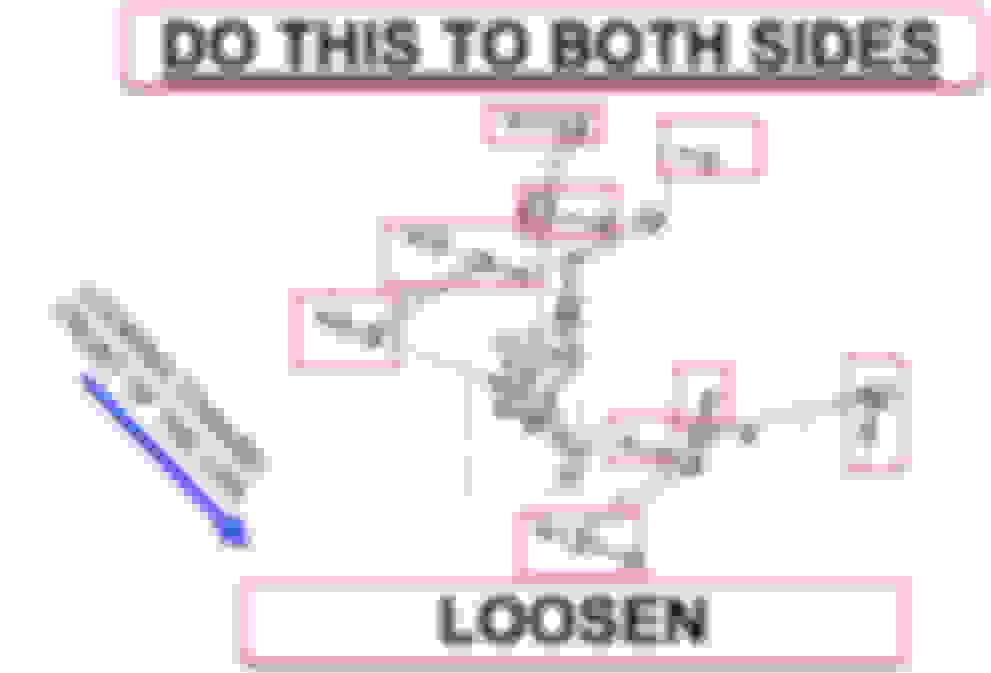
****I AM STARTING WITH THE RIGHT REAR WHEEL**** STEP 11 UNBOLT REAR SHOCK AND SWAY BAR BRACKET:
Step 11 should be done to BOTH sides of the car before moving on to step 12.
Note that loosening the sway bar as shown will allow you to move it out of the way and easily remove the shock.
STEP 12 REMOVE REAR SHOCK FROM THE CAR:
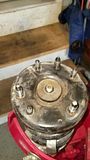
STEP 13 PUT THE REAR SHOCK IN A SPRING COMPRESSOR TO DISASSEMBLE IT:
Also, put together the rear coilovers.
REMEMBER TO RUN THE SPRING ADJUSTER THREADS ALL THE WAY DOWN.
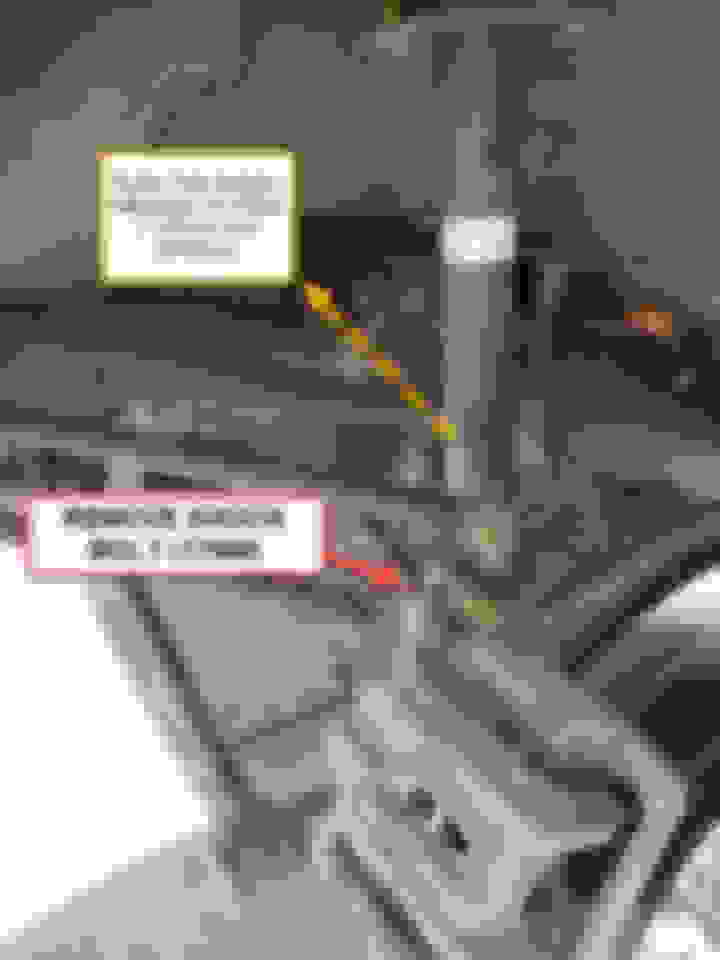
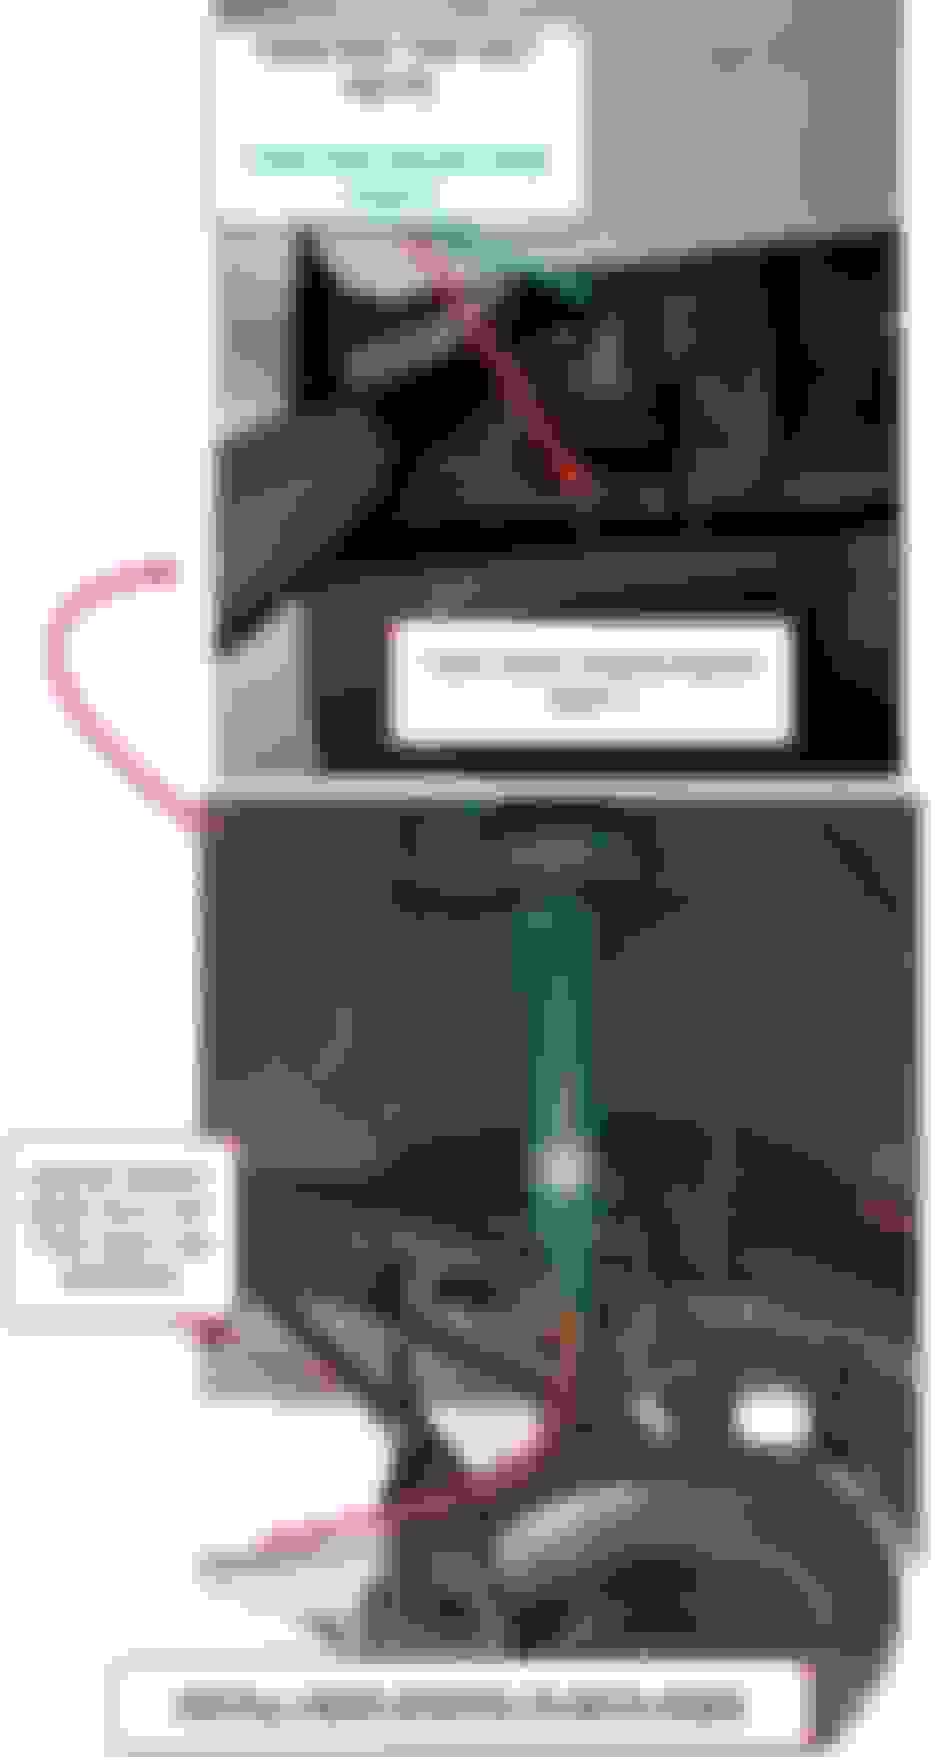
STEP 14 LOOSEN THE 800,000,000 REAR BUSHINGS:
Do step 13 to both sides of the car before moving on to step 14.
The suspension will go droopy and will move around freely after doing this. This will make it much easier to install the rear shock
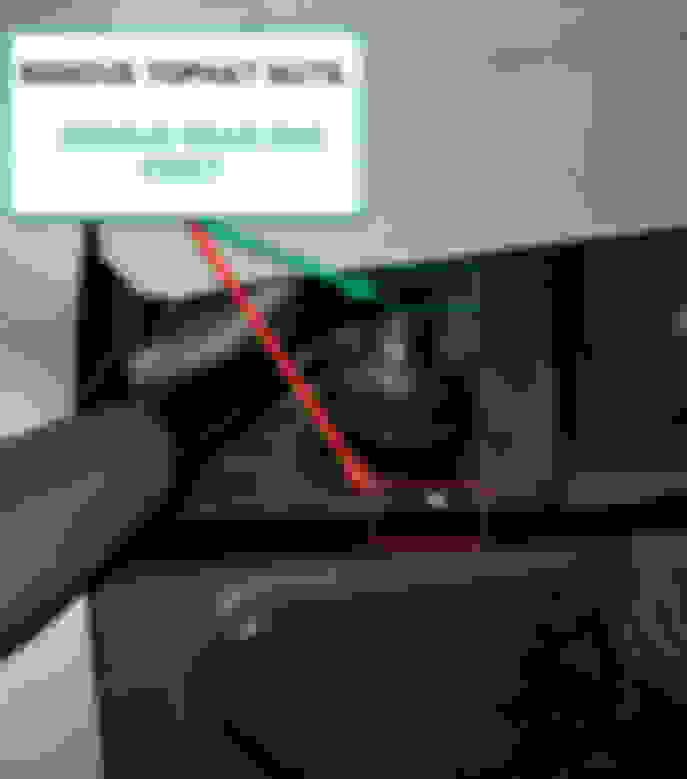
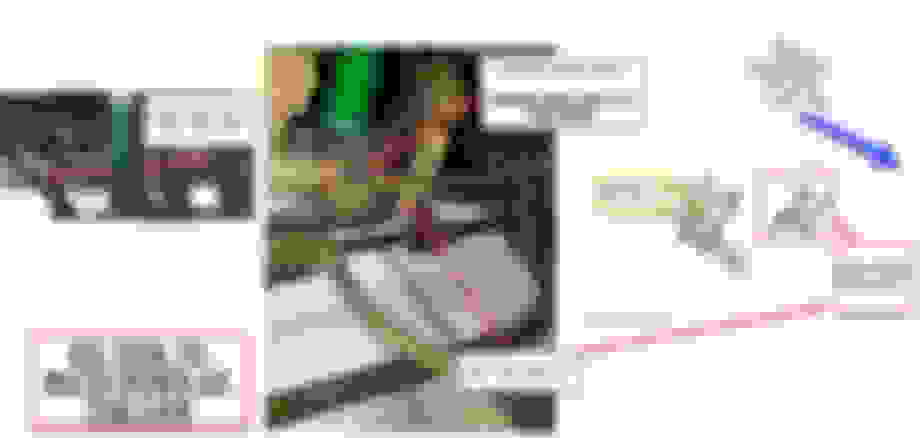
STEP 15 INSTALL REAR COILOVER:
Do step 15 to both sides before moving onto step 16.
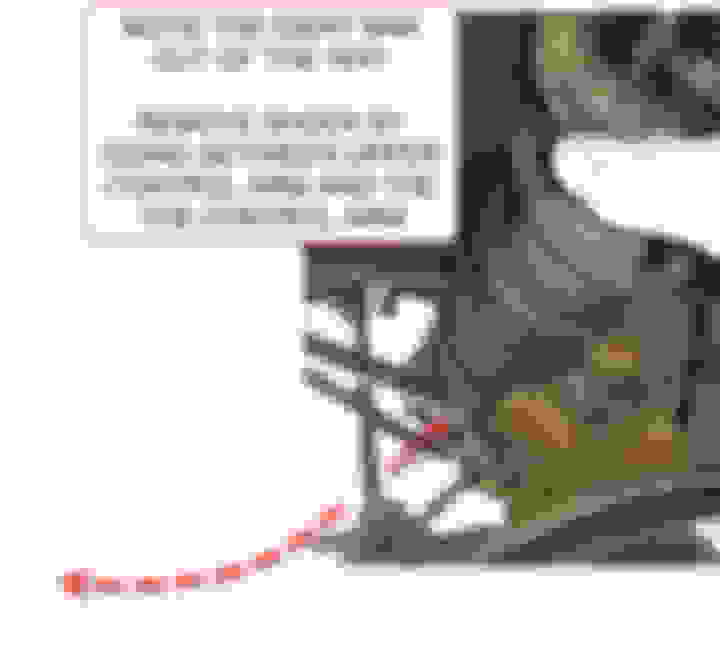
Re-install the sway bar bracket while doing this. This shouldn't be hard to remember. The lower shock bolt threads into the sway bar bracket weld nut.
Also re-bolt the sway bar D-bracket The impact is just there for show. Don't do this with an impact. Make good choices.
STEP 16 CLOCK REAR BUSHINGS:
Do step 15 to both sides before moving on to step 16.
Just like the fronts. Raise the suspension to the "ride height" you want. Then tighten all the bolts for the bushings. WRITE DOWN THIS MEASUREMENT.
STEP 17 SET REAR SPRING HEIGHT:
Do step 17 to both sides before moving to step 18.
Again, just like the fronts. You are setting the spring height to achieve your corresponding ride height.
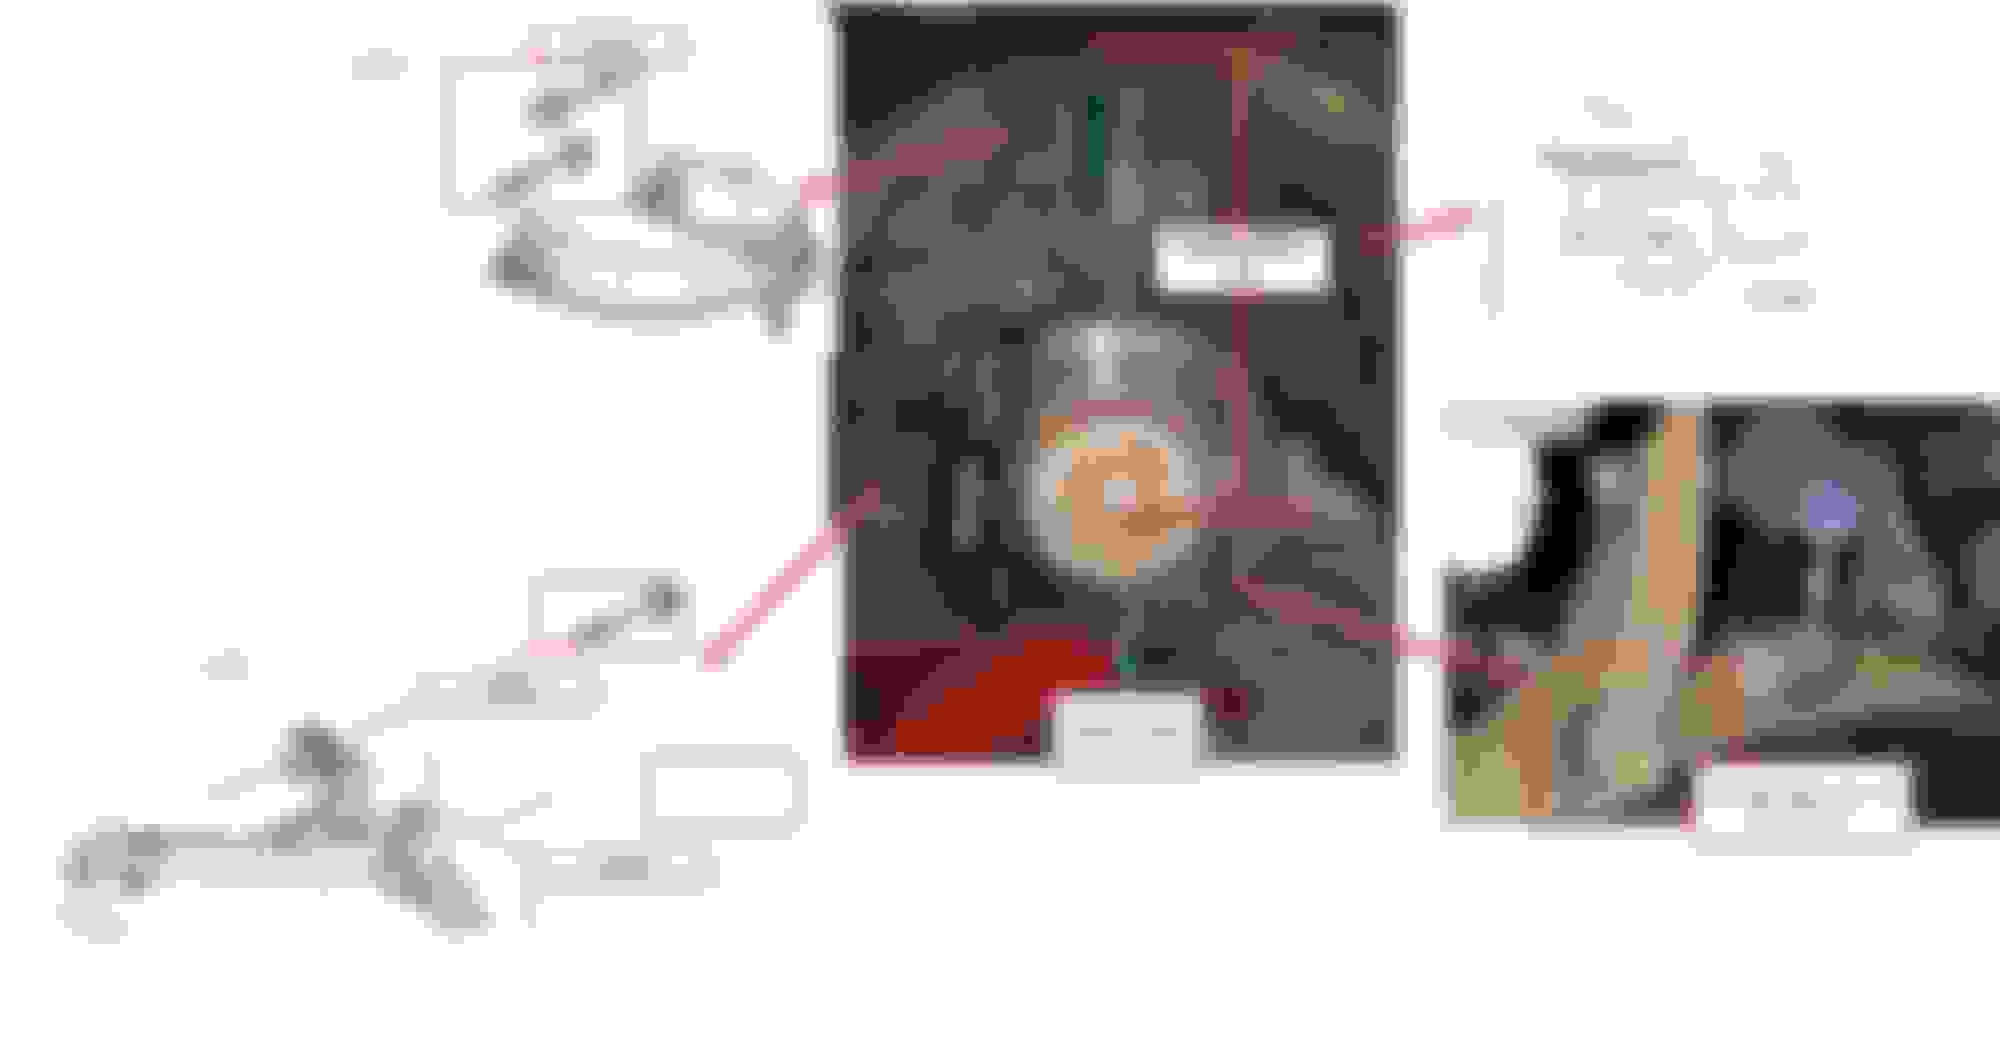
STEP 18 SET THE CAR DOWN AND CONFIRM YOUR MEASUREMENTS:
Put the wheels back on, torque the lug nuts...and set the car on the ground.
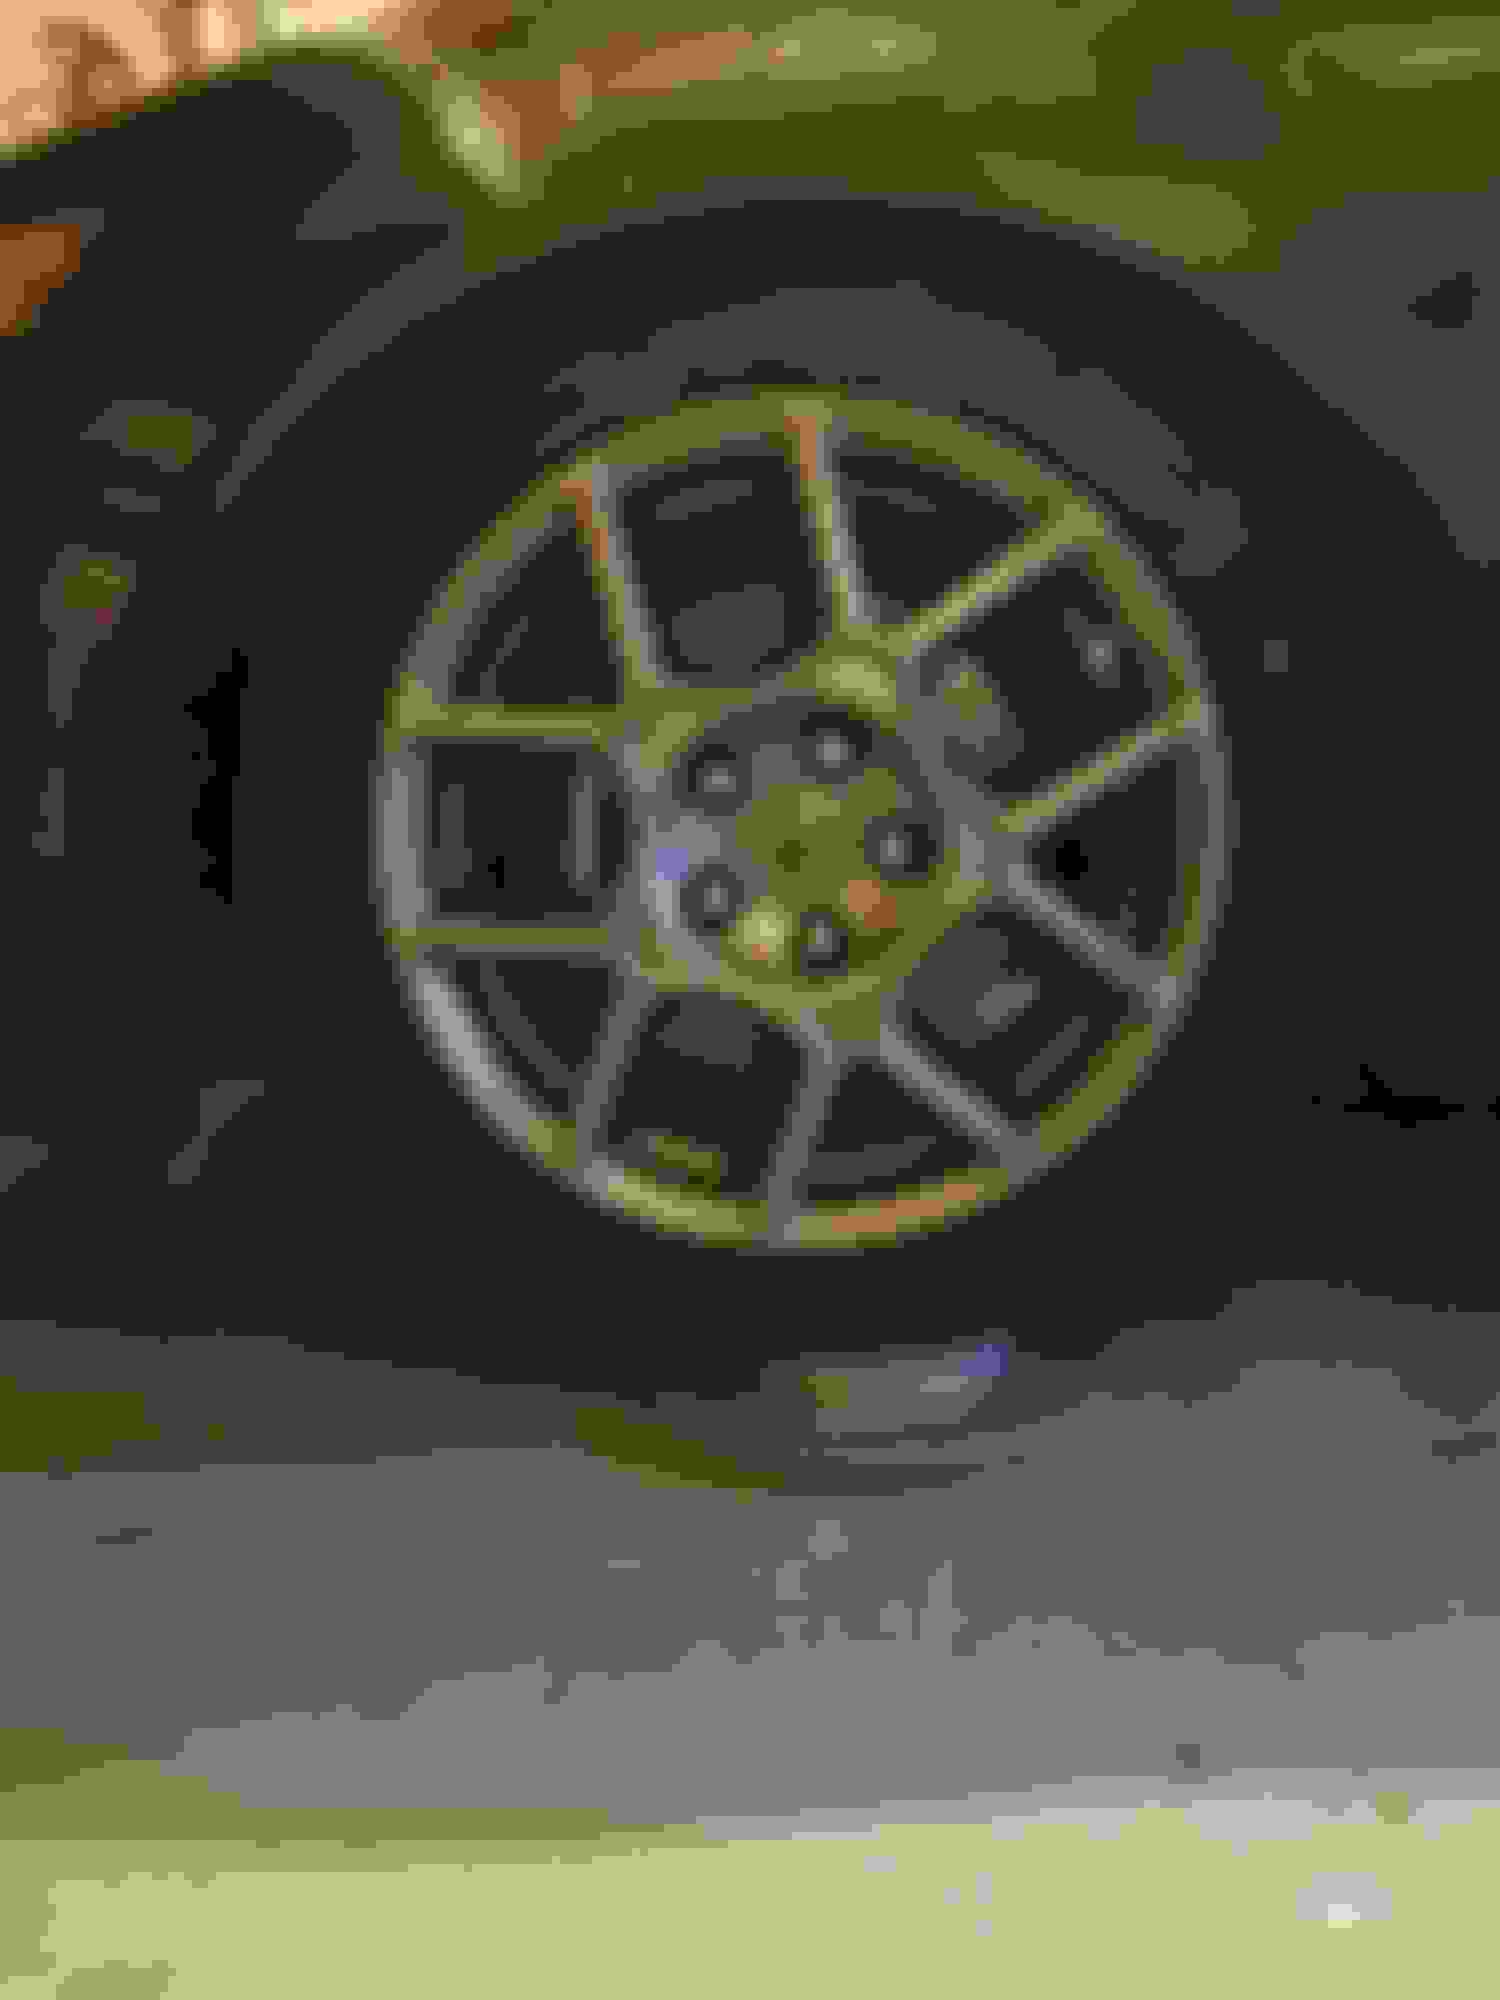
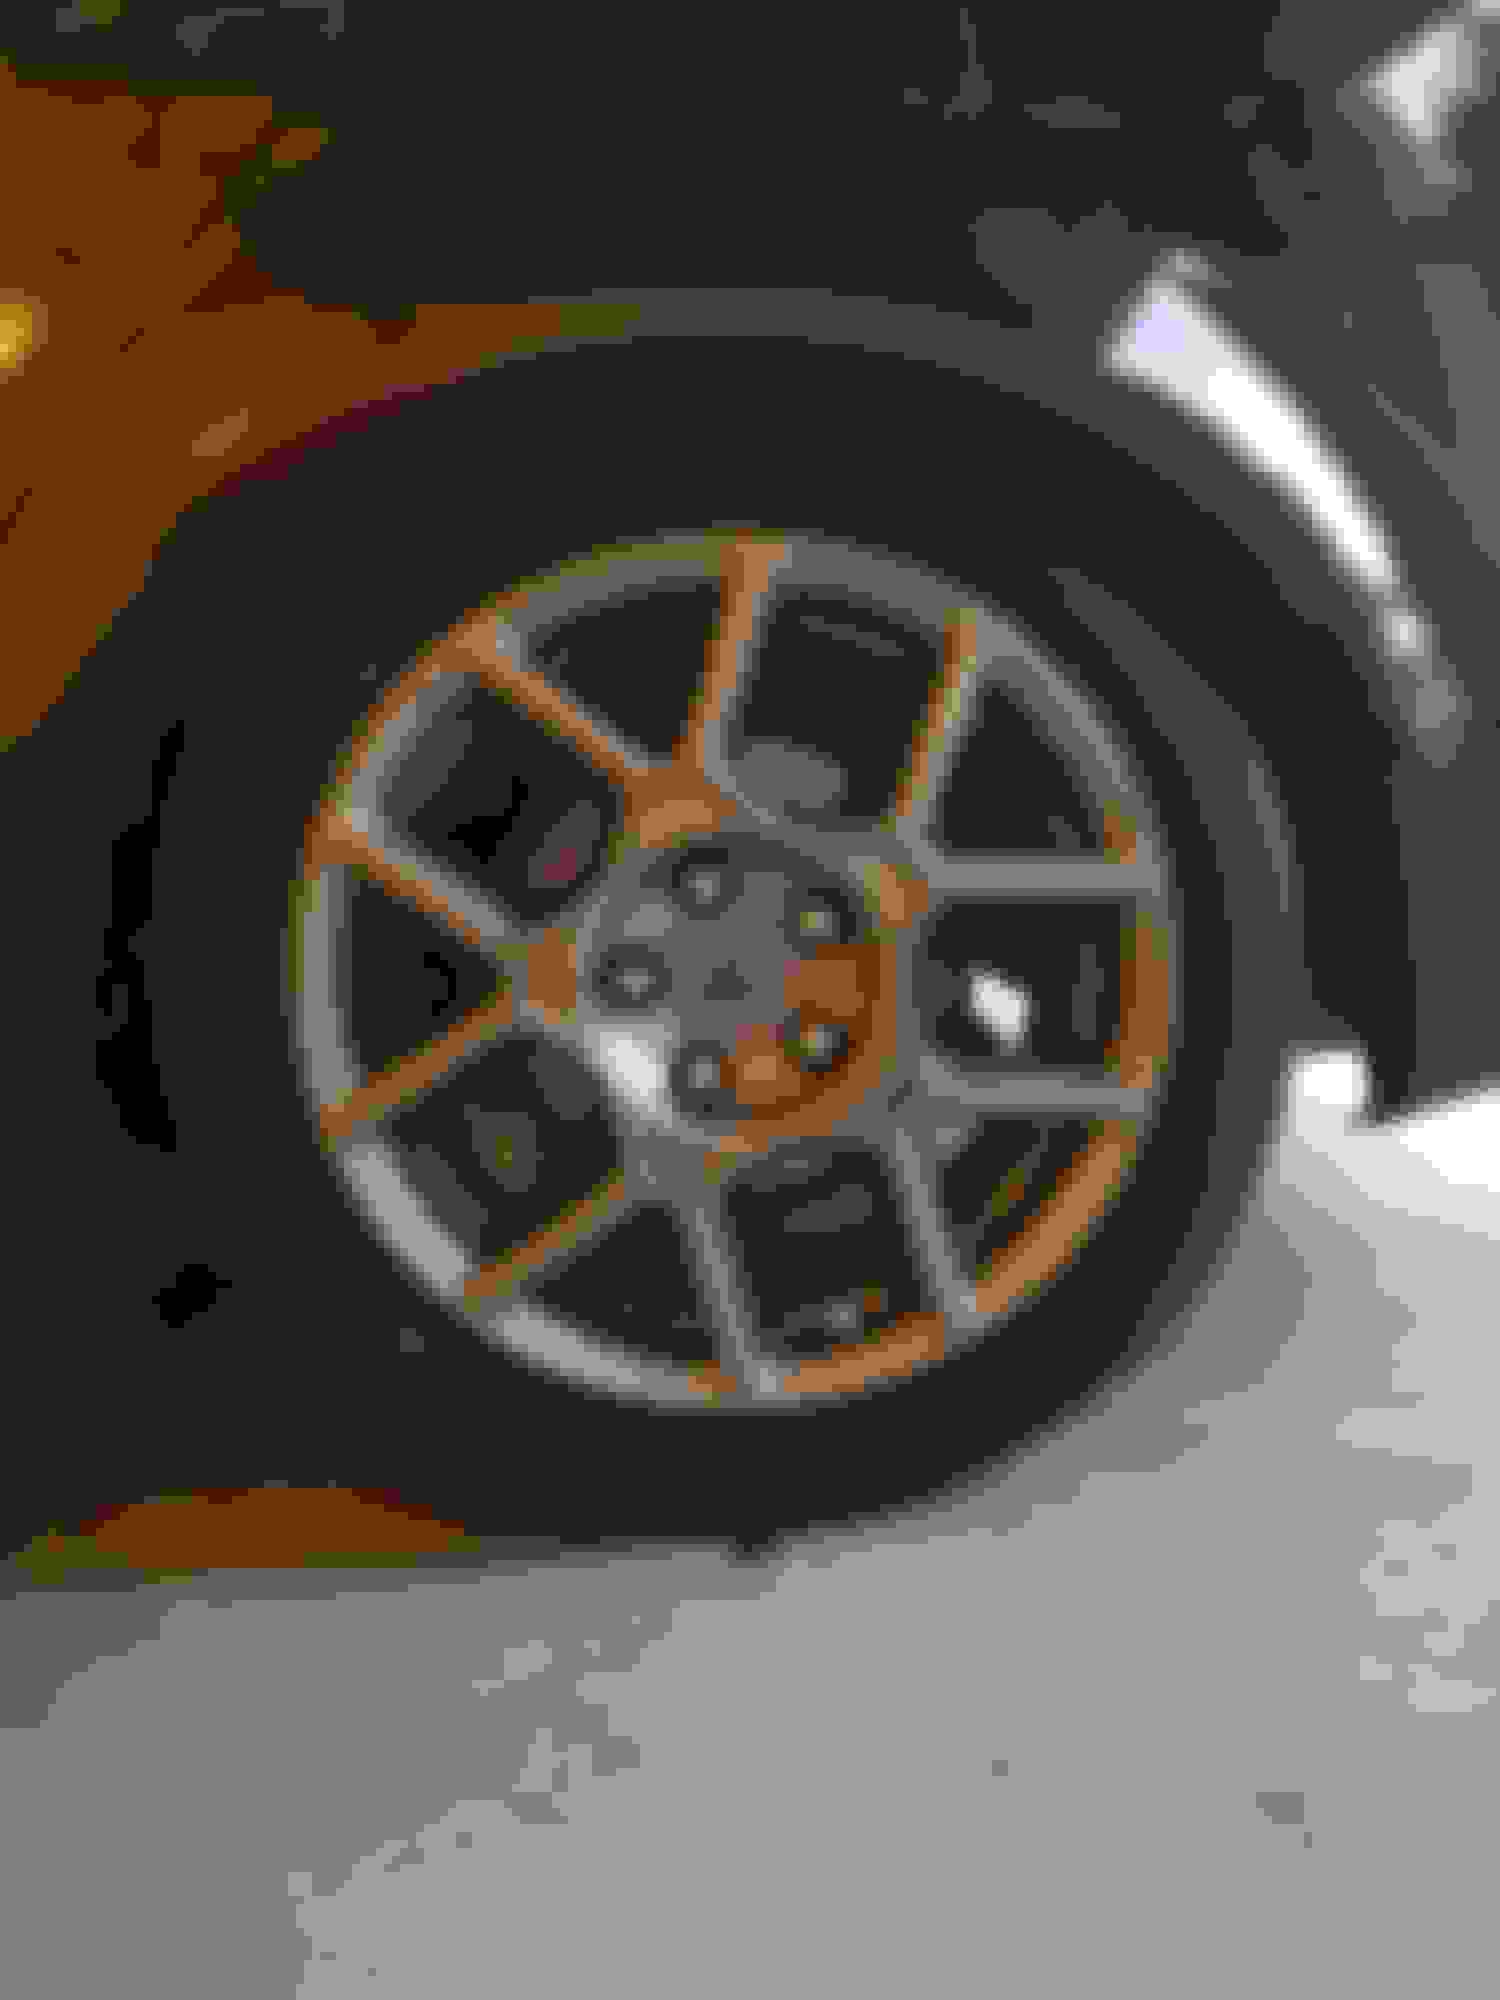
I roughly calculated that I'd end up at the ride height pictured below. IIRC, it was like 12.5 or 12.75" for me. I set my spring heights at about 0.75" to get the car to sit like this.
So if you set it up to Tein's measurements that are in the manual, I think you'll end up about 0.5 to 0.75" higher than you see here.
If the measurements on the LEFT of the photo do not match the dimensions on the RIGHT of the photo (you wrote these down earlier),then you'll need to re-adjust your spring heights.
STEP 19 SET THE DAMPING:
Go on a drive. Set the damping. I usually end liking mine WAY stiffer than Tein recommends. Tein's recommendations always seem to be under damped (to me). My buddy wanted to start with Teins' recommendations and then go from there. So that's where I set him up.
ALWAYS measure clicks from fully closed. So you first turn the adjuster fully counter clockwise til it stops (don't apply excess pressure once it stops). Then count backward.
IIRC, Tein recommends 8 clicks from full stiff for front and rear.
I prefer something like 4 clicks front and 6 clicks rear. That's how I have my TSX and TSX sport wagon set on Tein SA's.
STEP 20 PUT THE STRUT TOWER BAR AND BACK SEAT BACK TOGETHER:
Thanks a lot for this
what I ended up doing was remove the bolts holding the two lower arms at the knuckle and that made it a lot easier to push on the upper arm and the new strut just slid in position.
Car runs like brand new
Cheers

 02-13-2021, 02:05 PM