When you click on links to various merchants on this site and make a purchase, this can result in this site earning a commission. Affiliate programs and affiliations include, but are not limited to, the eBay Partner Network.
So joe blow do you want an azine congrats on officially being stuck having sex with just 1 woman for the rest of your life? (till stella realizes you'll never love her as much as you love cars, but shhhhh)
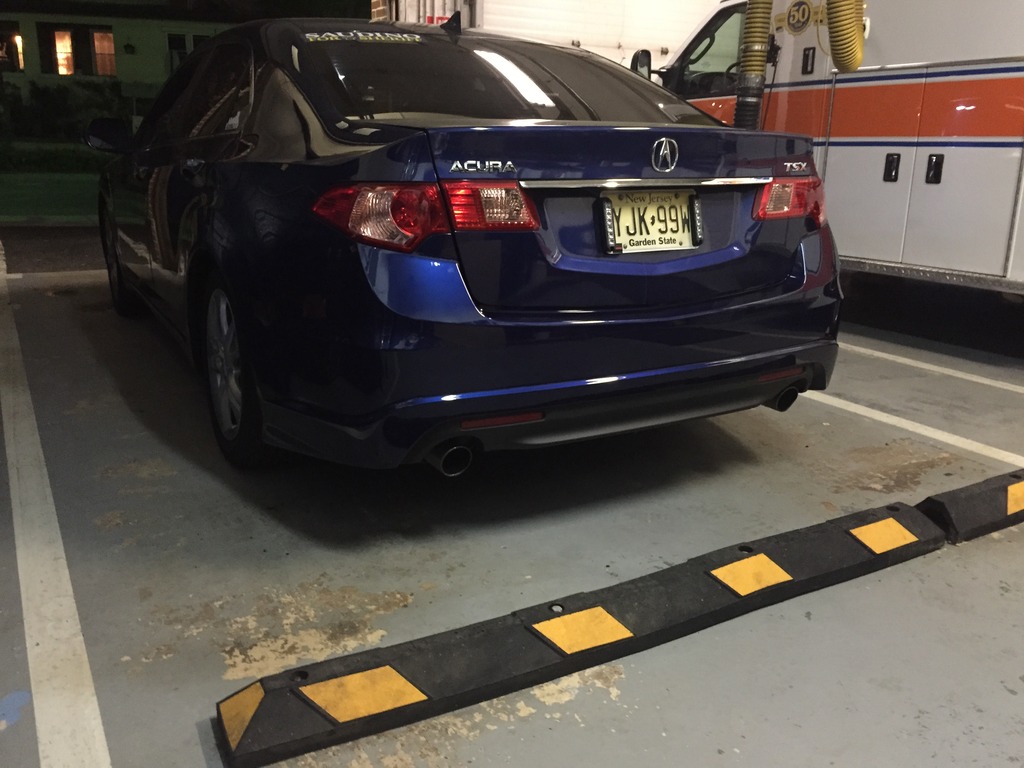
Anyway, my baby with the new bumper next to someone elses CU2 in my lot
And does anyone have any schematics or ideas for how the trunk sits and can be adjusted? looks like it somehow got shifted on 1 side from the impact it took last month. the impact was on the passenger side, but the drivers side of the truck wont sit flush. I can push it down to look normal, but it won't stay like that. The other seams look pretty even, I don't see any deformities on the interior, and there was no direct impact to the trunk
heres what i'm talking about(see how the left is up a little and even the tail lights aren't flush) ideas?
Thanks, i'll check the rubber stops, dunno why i didn't think of that. The hood has two little stops that screw in or out to adjust the stop height, post accident on my old car, it was uneven and i flipped out on the shop, he's like oh shit it is? hold on, twists the damn thing, and i felt like an idiot
for 500 bucks, the bumper is def worth it if you need to replace the old one, and it took me about 40 minutes to pop off the old one, and put on the new one all secure
Still waiting for someone to hit me so i can get the sports bumper... Actually i think somebody may have hit my car in a parking lot and just left it. There is a scratch on the rear bumper which I know i didn't put there.
thanks ^
i was hoping there would be a diagram or something for it. I had an idea to model up some extended paddles that would clip over the existing ones and then 3d print them out and finish them nicely. dunno if it'll be possible though. All there is is just this useless pic, guess i'll just have to measure it up and go from there. http://s3.amazonaws.com/rparts-illus...9f5e294a71.png
It would probably be best to just go to school and scan it for free and have the model right in front of you to reverse engineer the part you want.
**EDIT... let's finish up the other two projects first!
ooh yeah they do have a 3d scanner at school, good idea.
and yea we need to get that done. Who would have thought it would be so damn hard to find EL tape?!?!
idk but that's why I left the electrical portion to you.
What about your china LED's for the display?
Yeah i started on that a little while ago. I need to find a finer tip for my soldering iron cause mine is too big Those LEDs are nice and bright though. both the red and blue ones.
ooh yeah they do have a 3d scanner at school, good idea.
and yea we need to get that done. Who would have thought it would be so damn hard to find EL tape?!?!
we need 1 inch x 25 inch of lighted portion.. the problem is the sellers will list the actual tape area but NOT the lighted area which is usually a quarter inch or so less.
I'm not on my computer so I can't check the file, but are you trying to do something like this:
If so, are you trying to light the whole thing continuously? If getting the overall length is the issue (or even the letter height for that matter), I'd think about using multiple EL panels. One mid-size panel for the "ACURA" and two or four longer strips for the accent lines on either side.
My rough measurements of my stock sill has the ACURA as 6.x" by <1" and the accent lines around 9". I'd think you'd have better luck finding panels that size and wiring them together.
That's a good idea actually... i might just do that. the overall width wasn't an issue but finding one that was long enough AND tall enough for the letters has been a huge problem.
But i like your idea. I think that'll solve it.
and yea measurements came in at .97 inch or something like that for the height of the letters.
iCrap: another tweak would be adjusting the size of the letters to fit the width of whatever panels you get. But you should be able to get something big enough to not need to resort to that.
Or, if you want to do it real pro-like, you can pick this up for a few bills and do exactly what you want: http://m.ebay.com/itm/181727747340?nav=SEARCH
That's everything you need except for a screen making setup for the layer masks, but a graphics/shirt shop or Hobby Lobby will have that gear.
Well i already have the peices.. we got em cut a while back. Now i wish i had made the letters a little smaller. That kit would be nice but $2500! lol!
Some of those china ebay sellers said they could make me the size i want but communication with them is slow and a lot gets lost in translation
This should be perfect for the accent strips... and then i just need a small 1" height peices for the text. that should work well
http://www.ebay.com/itm/9mm-Width-LED-Electro-Luminescent-Strips-Tape-EL-Flexible-Wire-Light-Car-Charger-/381243295149?pt=LH_DefaultDomain_0&var=&hash=item58c3df05ad
and it's dirt cheap AND uncludes an inverter!
Something to think about: if you're mixing EL panels from different manufacturers or even from different production lots, they will have different colors and brightness. Especially the China manufactured product (not that you have much choice there anymore).
You'll especially notice different brightnesses if you cut three pieces and use three inverters to drive them. Really, you want one inverter driving all panels on the sill so the illumination is better balanced.
When you end up buying your lamps, get a bunch at the same time. Hopefully they'll come from the same lot and be better matched. Plus some extra to play with and screw up with trial and error.
What would be really nice would be to find some of these hobby panels with multiple electrode pads so you could get multiple shapes front the same piece:
It's called a "protolight" made by Durel. But Durel stopped making EL a while back and I'm not sure they exist anymore (they hung on making EL driver chips for a while after moving all lamp production to China). You can still find some remnants from time to time. Amazon has a developers kit with a panel and the integrated circuit driver chip if you really want to DIY.
Let me know if you need help with the EL. I, um, have some "history" with it but it sounds like you're on the right track.
I think i'll try using two peices, one for the logo and one for the accents. Maybe i'll have to cut the accent one into two though. And then i'll wire them up to one inverter.
The adafruit one doesn't look like it has those extra electrode pads, does it?
It did not look like it. The multi connector panel was a unique part for prototyping. I haven't been finding them anywhere but in the Dev kit lately: http://www.amazon.com/gp/aw/d/B009POFK34/
 05-13-2015, 12:13 AM