
QUESTION on PAINTING ENGINE COVER???


 02-07-2006, 11:29 PM
#43
99TL-p 114K
Thread Starter
Join Date: Mar 2005
Location: South Florida
Age: 37
Posts: 1,455
Likes: 0
Received 2 Likes
on
2 Posts
Originally Posted by Mike_McCready
and unintentionally no less 
 Surprised to see you showed yourself on this forum. No one usually shows themselves but whatever.
02-08-2006, 01:53 AM
Surprised to see you showed yourself on this forum. No one usually shows themselves but whatever.
02-08-2006, 01:53 AM
#44
Drifting
because of this thread. i HAD to do it.
since my car is all white and black, i had to go for the flat/glitter black look on the engine. i did a rough job on it but came out alot better than expected.


since my car is all white and black, i had to go for the flat/glitter black look on the engine. i did a rough job on it but came out alot better than expected.
02-08-2006, 09:05 PM
#46
Drifting
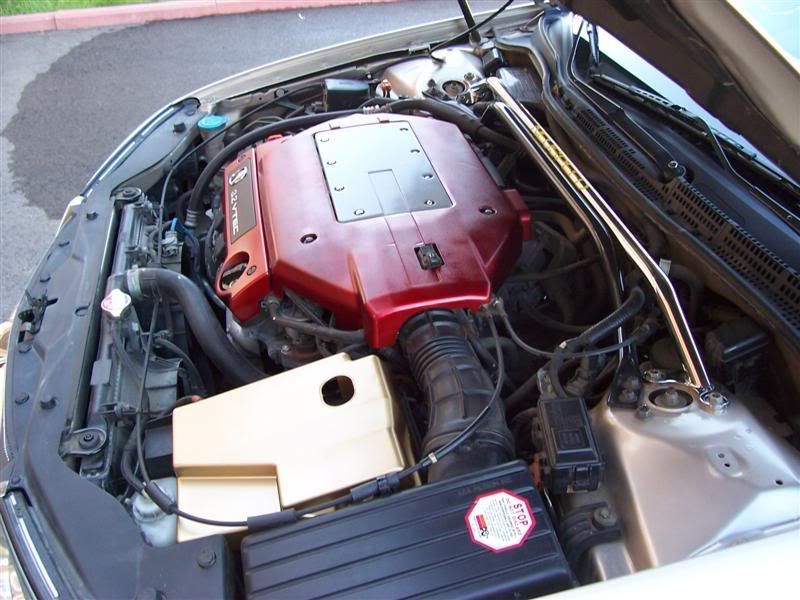
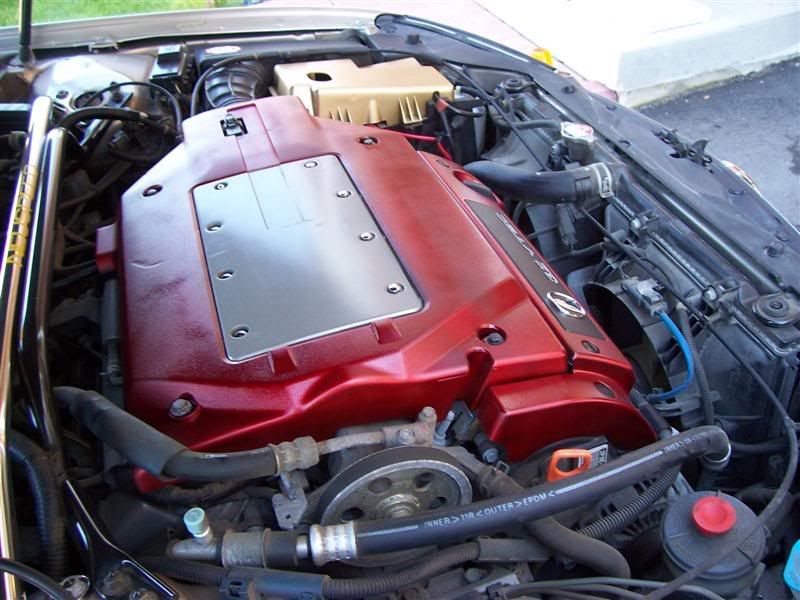
alright, i just redid the whole thing..
i painted the engine cover, (the smaller middle portion, dark gray and the bigger outer part, straight metallic black). i also did the V2 intake, since it looked pretty banged up since i bought it used.
new pics:


i painted the engine cover, (the smaller middle portion, dark gray and the bigger outer part, straight metallic black). i also did the V2 intake, since it looked pretty banged up since i bought it used.
new pics:
 Definately feeling the flakes..
02-08-2006, 09:52 PM
Definately feeling the flakes..
02-08-2006, 09:52 PM
#48
Drifting
bring it over anytime Ray. I'll do everything for you, i had alot of fun doing it myself! sand, primer, first coat, sand, second coat, third coat and then flaky/glittery clear coat to top it off.
02-08-2006, 09:55 PM
#49
Drifting
hey Ray, im free tomorrow. if you aint got anything going on, you should swing on over. then you can show off your engine too at the upcoming meet this sunday!
02-08-2006, 10:01 PM
#50
99TL-p 114K
Thread Starter
Join Date: Mar 2005
Location: South Florida
Age: 37
Posts: 1,455
Likes: 0
Received 2 Likes
on
2 Posts
Damn, thats some crazy ass flakes you sprayed that thing with. Looks like some sort of stone engine cover cuz of the texture look. LOL. It looks cool but that BLUE oil cap stick out like a sore thumb. Doesnt match with anything else in there. good work none the less.
good work none the less.
02-08-2006, 10:43 PM
#51
Drifting
Originally Posted by dvsxlt247
Damn, thats some crazy ass flakes you sprayed that thing with. Looks like some sort of stone engine cover cuz of the texture look. LOL. It looks cool but that BLUE oil cap stick out like a sore thumb. Doesnt match with anything else in there. good work none the less.
good work none the less.
 02-08-2006, 10:51 PM
#53
99TL-p 114K
Thread Starter
Join Date: Mar 2005
Location: South Florida
Age: 37
Posts: 1,455
Likes: 0
Received 2 Likes
on
2 Posts
Originally Posted by aaronnn
now that yellow top battery is really bothering me from getting the full black out job done. im gonna have to go to acura and buy a battery cover...
02-08-2006, 10:59 PM
#54
Drifting
no. i painted my OEM oil cap. you can see the flaky glittery stuff on it. but i think im gonna get the battery cover and paint that too. than i'll be really done!
02-09-2006, 12:02 AM
#55
99TL-p 114K
Thread Starter
Join Date: Mar 2005
Location: South Florida
Age: 37
Posts: 1,455
Likes: 0
Received 2 Likes
on
2 Posts
Originally Posted by aaronnn
no. i painted my OEM oil cap. you can see the flaky glittery stuff on it. but i think im gonna get the battery cover and paint that too. than i'll be really done!
02-09-2006, 09:53 AM
#56
Drifting
you could get them anywhere.. home depot, lowes, autozone, pepboys, advanced auto parts.. for a pack of 10 feet i think its between 5-8 dollars? around there. hmm, autozone and pepboys do cost alot more, closer to 10 dollars.
08-06-2006, 01:59 AM
#58
W00t
iTrader: (1)
Join Date: May 2006
Location: Baltimore, MD
Age: 37
Posts: 1,223
Likes: 0
Received 0 Likes
on
0 Posts
^I didnt sand or prime. Just degreased, cleaned with soap and warm water, wiped down, air dried, and did multipe thin coats with KRYLON paint. Although people say its shitty paint, my cover turned out pretty sweet and is showing no signs of chipping.
08-06-2006, 03:01 AM
#59
Banned
Join Date: Feb 2006
Location: Tampa, FL
Age: 39
Posts: 1,439
Likes: 0
Received 0 Likes
on
0 Posts
Geez people.. just go to walmart.. it's only <$4 bucks for the primer, paint AND gloss finish... Rustomatic's a good brand.. I used that for the primer and glossy finish.. and then look for Ford 150 Red or something like that... just paint it the way you want to it to match with the CAI as well as the rest of the car. you've seen mine already..

it's even better in person now that it's mostly complete . I mean hey, just experiment.. if you don't like the outcome, use paint stripper and do it all over again. lol
it's even better in person now that it's mostly complete . I mean hey, just experiment.. if you don't like the outcome, use paint stripper and do it all over again. lol
 11-07-2006, 01:38 PM
#61
Instructor

Join Date: Oct 2006
Location: San Diego, CA
Age: 39
Posts: 113
Likes: 0
Received 0 Likes
on
0 Posts
im thinking of painting my engine and battery cover aswell as my brake calipers but cant think of a color scheme to go with my car. (03 TL, AM color, chrome rims, debadged, 15% tint all around). i know a red shade would look good but want something alil more orginal. any suggestions?
11-07-2006, 02:25 PM
#62
Senior Moderator
Originally Posted by websters03
im thinking of painting my engine and battery cover aswell as my brake calipers but cant think of a color scheme to go with my car. (03 TL, AM color, chrome rims, debadged, 15% tint all around). i know a red shade would look good but want something alil more orginal. any suggestions?
Or go online to tower paints give them your paint code and get your color in a spray can.
11-08-2006, 05:07 PM
#63

I know this thread has been up a while and I am glad to have found it. Flakes for my multicolor Laguna Green sounds like a plan. Thanks to all for the tips and pics.
A note on the white primer. Always paint your primer opposite of the final color, it really makes it pop. Use white base for blacks or blues etc
Use black base for white paint
A note on the white primer. Always paint your primer opposite of the final color, it really makes it pop. Use white base for blacks or blues etc
Use black base for white paint
11-08-2006, 06:08 PM
#64
Senior Moderator
Originally Posted by 01tl4tl
I know this thread has been up a while and I am glad to have found it. Flakes for my multicolor Laguna Green sounds like a plan. Thanks to all for the tips and pics.
A note on the white primer. Always paint your primer opposite of the final color, it really makes it pop. Use white base for blacks or blues etc
Use black base for white paint
A note on the white primer. Always paint your primer opposite of the final color, it really makes it pop. Use white base for blacks or blues etc
Use black base for white paint
And i wouldnt use any flake with the laguna green if your painting it that color. Laguna has alot of metalic in it to begin with
03-03-2007, 09:13 AM
#66
Senior Moderator
Originally Posted by L's TL
hey i know this is a rather noobish question lol...but do they make a clear with flakes in it?
03-04-2007, 05:14 PM
#67
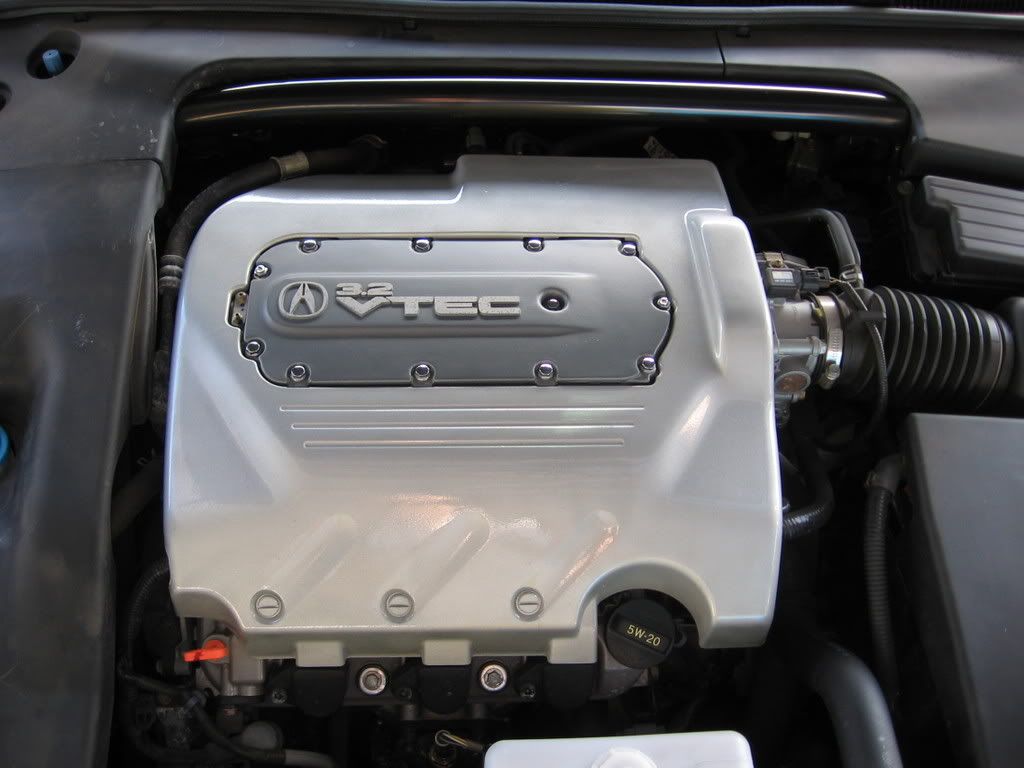
I want to repaint my engine cover due to some blotchy areas and overspray areas, what is the best way to do that? I want to do it the same color and make my battery cover the same color as well. Planning to do this in the spring. Here is how it looks right now:

03-04-2007, 07:14 PM
#68
Senior Moderator
Degrease, Scuff with 3M scuff pad really well, primer with high build primer, sand smooth. Then TAKE Your time painting. Go to your local auto parts store and get your color put in a spray can (or go online to Tower Paints) Steady EVEN coats. Not in windy areas.
03-05-2007, 12:02 PM
#70
99TL-p 114K
Thread Starter
Join Date: Mar 2005
Location: South Florida
Age: 37
Posts: 1,455
Likes: 0
Received 2 Likes
on
2 Posts
Originally Posted by VoLLy_1llusioNz
What do I use to sand? what grit?
03-06-2007, 12:35 AM
#72
I'm Down Right Fierce!
^
You'll get the overspray/blotchy spots if you don't sand in between the coats of primer/paint.
Here's what you need:
1 Spray Can of Primer
1 Spray Can of Paint
1 Spray Can of Clearcoat
2 packs of 1200-1500 grit sand paper
2 packs of 2000-2500 grit sand paper
2-3 Rubber/Foam backing pads (you'll wrap the sand paper around this pad to sand)
Now that you have all these items:
First Coat with a thin layer of primer and let dry. It's always better to multiple thin coats than fewer thick coats.
Second Coat with thin layer of primer and let dry. Now get yourself your 1500 grit Sandpaper and dip the contact surface of the sandpaper in water and gently sand down the entire coat. When you achieve an even smoothness over the entire coat, wipe down excess water and let it dry.
Third coat thin coat of primer, let it dry. Now bust out the 2500 grit sandpaper, dip the contact surface in water and gently sand down the third coat. The 2500 grit paper will create an even smoother surface than the 1500 grit.
Obtaining smooth surfaces on the earlier coats is just as important as getting smooth surfaces on later coats. Then use the steps above and repeat on your actual coats of paint. Then do two thin layers of clear and use the 2500 grit sandpaper to wetsand, and viola... you have a perfectly even painted surface.
You know what... I'll just post a DIY in a week or so. I have spring break next week, so I guess I'll go ahead and paint my engine cover and make a DIY. But the above is the general steps you should follow.
03-09-2007, 05:58 PM
#74
Prick of the month
Originally Posted by BraveDemon
^
I have spring break next week, so I guess I'll go ahead and paint my engine cover
I have spring break next week, so I guess I'll go ahead and paint my engine cover
I have a SSM TL and I'm thinking of painting my engine cover and calipers a metallic blue. I would paint it red, but all my lights inside are blue and white. Any opinions on shade of blue or the overall color?
03-10-2007, 08:28 AM
#75
FPR pimpin'
Originally Posted by VoLLy_1llusioNz
Can i skip the sanding part? I never sanded anything in a while, I just used the 3M scuff pad to scuff up the surface a bit. A quality finish is to wet sand right? How to do this? Never done this before.
i think 1500grit is really overkill though IMO... Kris has the best method so simple and will be perfect
1) degrease, dish soap and water i think should be fine
2) scuff with scuff pad im gonna use 400 grit sandpaper
3) Prime with HIGH BUILD PRIMER the can might say scratch filler and primer then Let Dry
4) lightly scuff that im gonna use 600 grit sandpaper
5) Paint
when you paint/prime you use light coats and as even as you can get them let sit for about 5 mins between coats and stop when you think you have it covered even and well.
your initial coats may not seem like much because it shouldnt really cover the surface, you might barely see it on there just be patient! GOOD LUCK
03-10-2007, 08:37 AM
#76
FPR pimpin'
i read after that you used the scuff pad before, do exactly that just use the scuff again dont worry about wet sanding, its not hard just have to have wet sanding paper and water, but the scuff pad will be just fine!
03-10-2007, 10:12 AM
#78
Instructor
Join Date: Mar 2006
Age: 40
Posts: 129
Likes: 0
Received 0 Likes
on
0 Posts
I just did mine the other day. It is really easy to do, take the cover off and clean it with some dish soap. Then sand it (I used a scuff pad) use a tack cloth and wipe it off. Apply a coat of primer, then sand once it is dry. I applied another coat of primer then sanded again. Next came the paint I put 3 coats on and sanded between each of them. Finally I put on 3 coats of clear coat and sanded between them too. I used spray primer,paint, and clear coat and the whole thing took me 3 days, but that was waiting for paint to dry and working on it after work each day.
03-24-2007, 12:57 AM
#79
Originally Posted by BraveDemon
^
You'll get the overspray/blotchy spots if you don't sand in between the coats of primer/paint.
Here's what you need:
1 Spray Can of Primer
1 Spray Can of Paint
1 Spray Can of Clearcoat
2 packs of 1200-1500 grit sand paper
2 packs of 2000-2500 grit sand paper
2-3 Rubber/Foam backing pads (you'll wrap the sand paper around this pad to sand)
Now that you have all these items:
First Coat with a thin layer of primer and let dry. It's always better to multiple thin coats than fewer thick coats.
Second Coat with thin layer of primer and let dry. Now get yourself your 1500 grit Sandpaper and dip the contact surface of the sandpaper in water and gently sand down the entire coat. When you achieve an even smoothness over the entire coat, wipe down excess water and let it dry.
Third coat thin coat of primer, let it dry. Now bust out the 2500 grit sandpaper, dip the contact surface in water and gently sand down the third coat. The 2500 grit paper will create an even smoother surface than the 1500 grit.
Obtaining smooth surfaces on the earlier coats is just as important as getting smooth surfaces on later coats. Then use the steps above and repeat on your actual coats of paint. Then do two thin layers of clear and use the 2500 grit sandpaper to wetsand, and viola... you have a perfectly even painted surface.
You know what... I'll just post a DIY in a week or so. I have spring break next week, so I guess I'll go ahead and paint my engine cover and make a DIY. But the above is the general steps you should follow.