DIY Lipkit
#1
Advanced
Thread Starter
DIY Lipkit
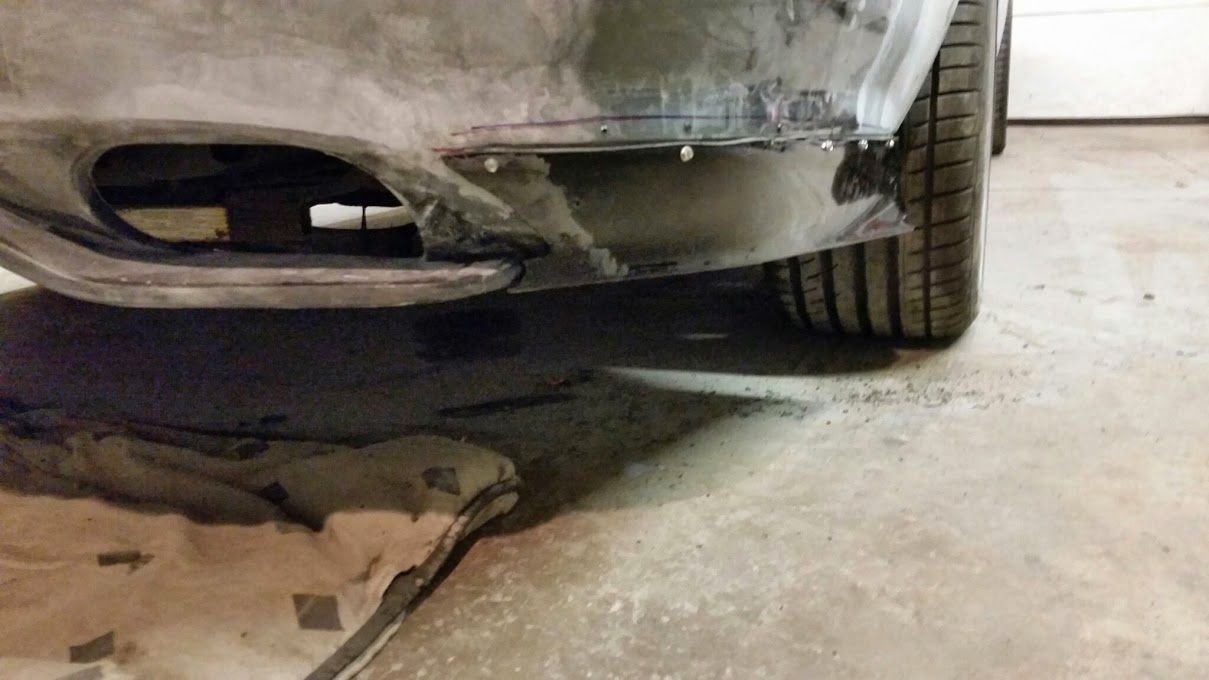
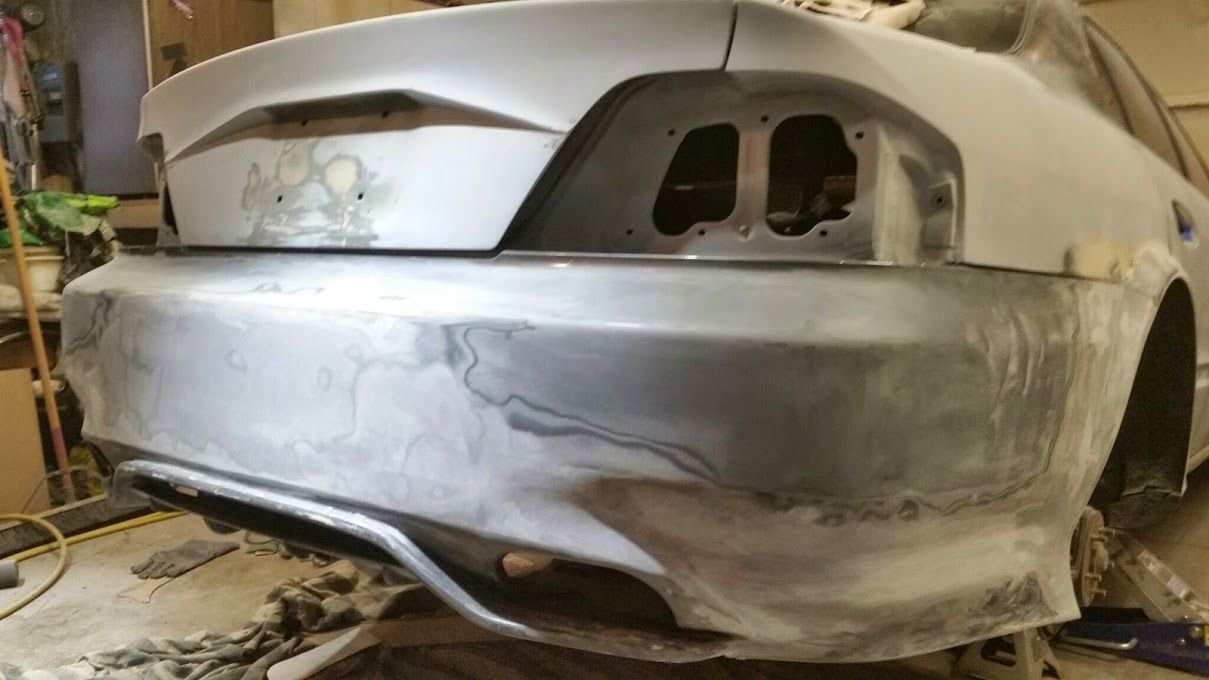
So my original rear bumper was damaged awhile back while at the dealership or repair shop... anyways I found a replacement at the salvage yard a few months ago and I cleaned it up and had it painted in fresh NHBP. Now I have a bumper with a gaping hole on the right side lying around. It still had a lot of good material that was gonna go to waste if i threw it out, so I decided to try to take a few good parts to throw around the idea of a DIY front and rear lipkit. If it doesn't look good or doesn't fit no big deal no loss.
#3
Advanced
Thread Starter
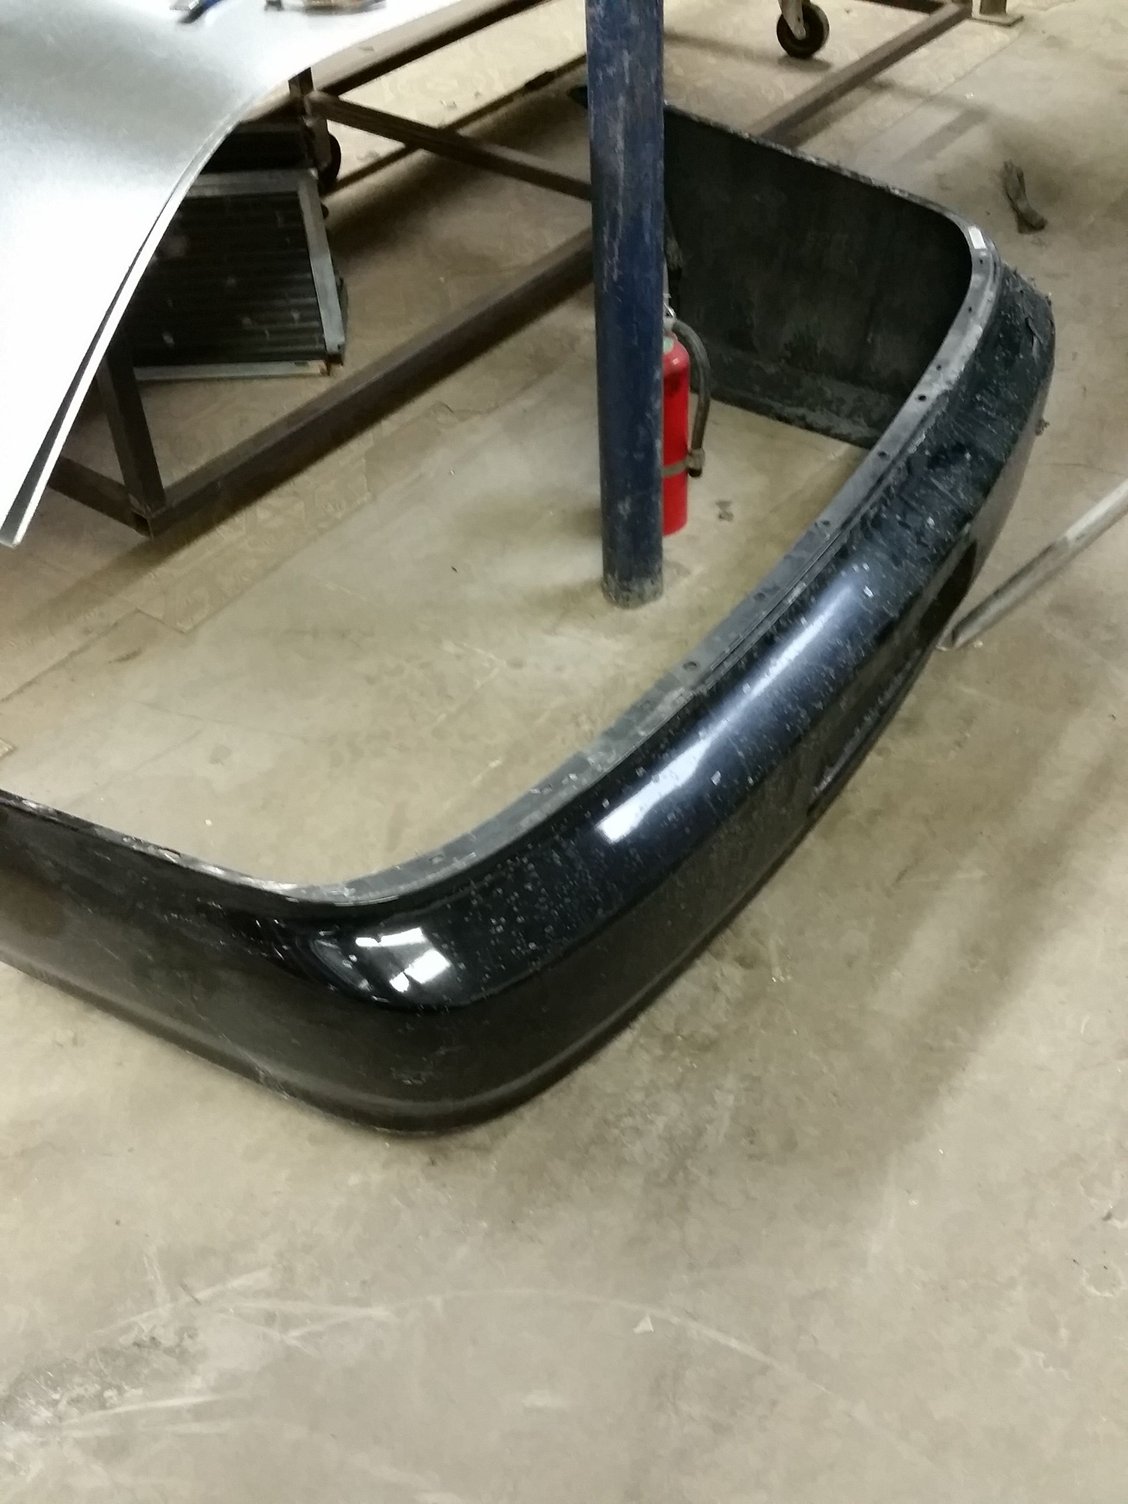
Seems wasteful to just throw away right?
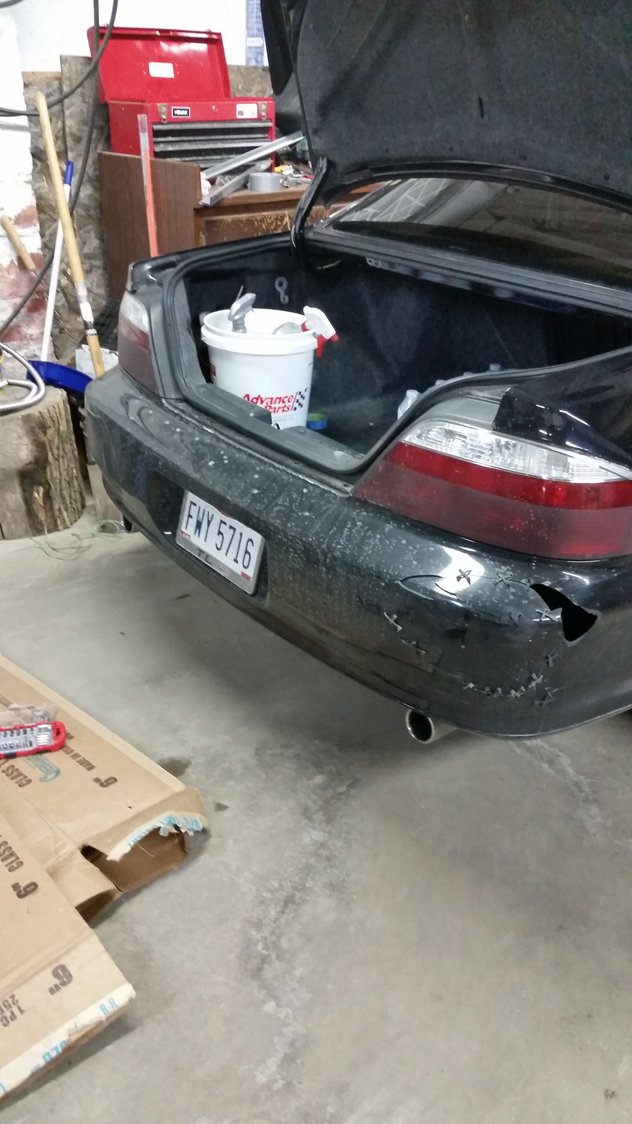
Damaged Bumper before i removed it from the car.
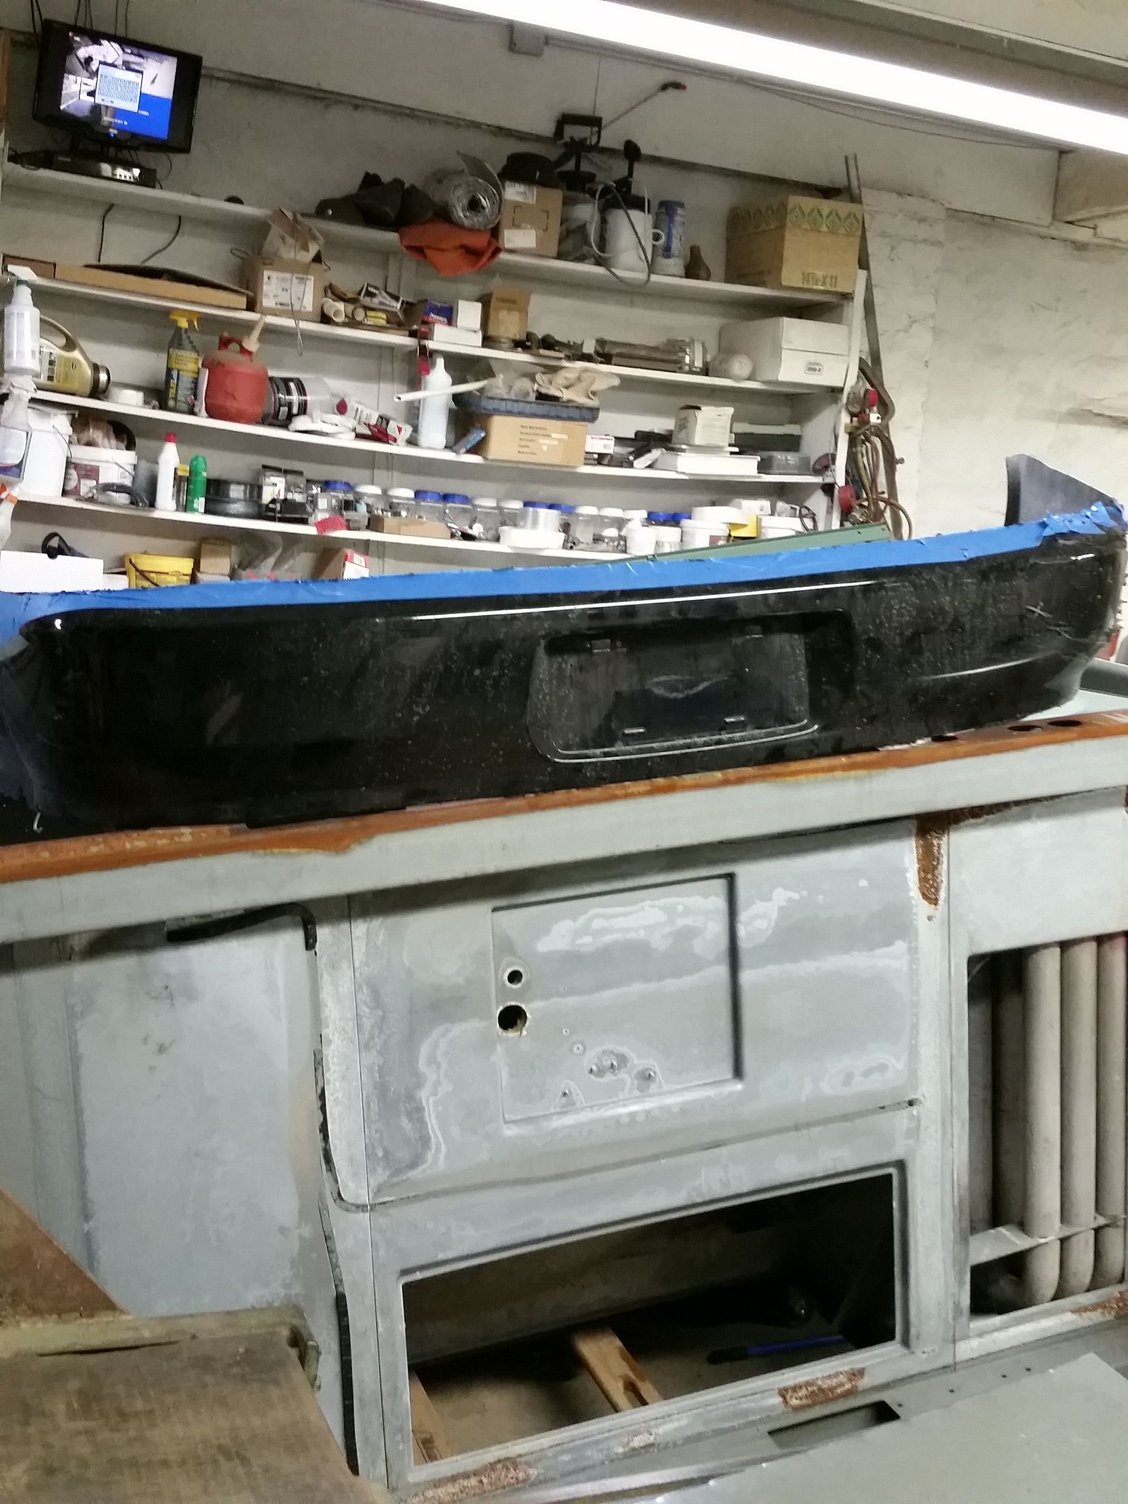
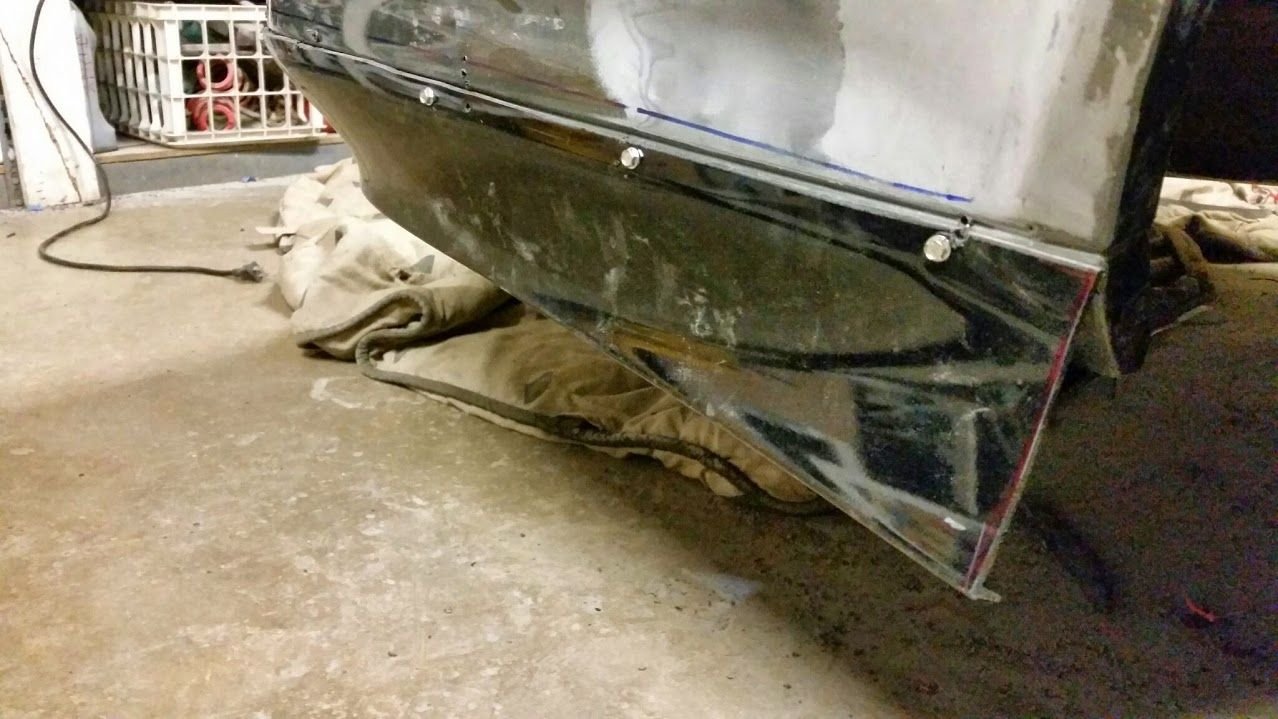
I cut through the grooved edge at the bottom above the exhaust cutouts for the rear lip and above the blue masking tape for the front lip.
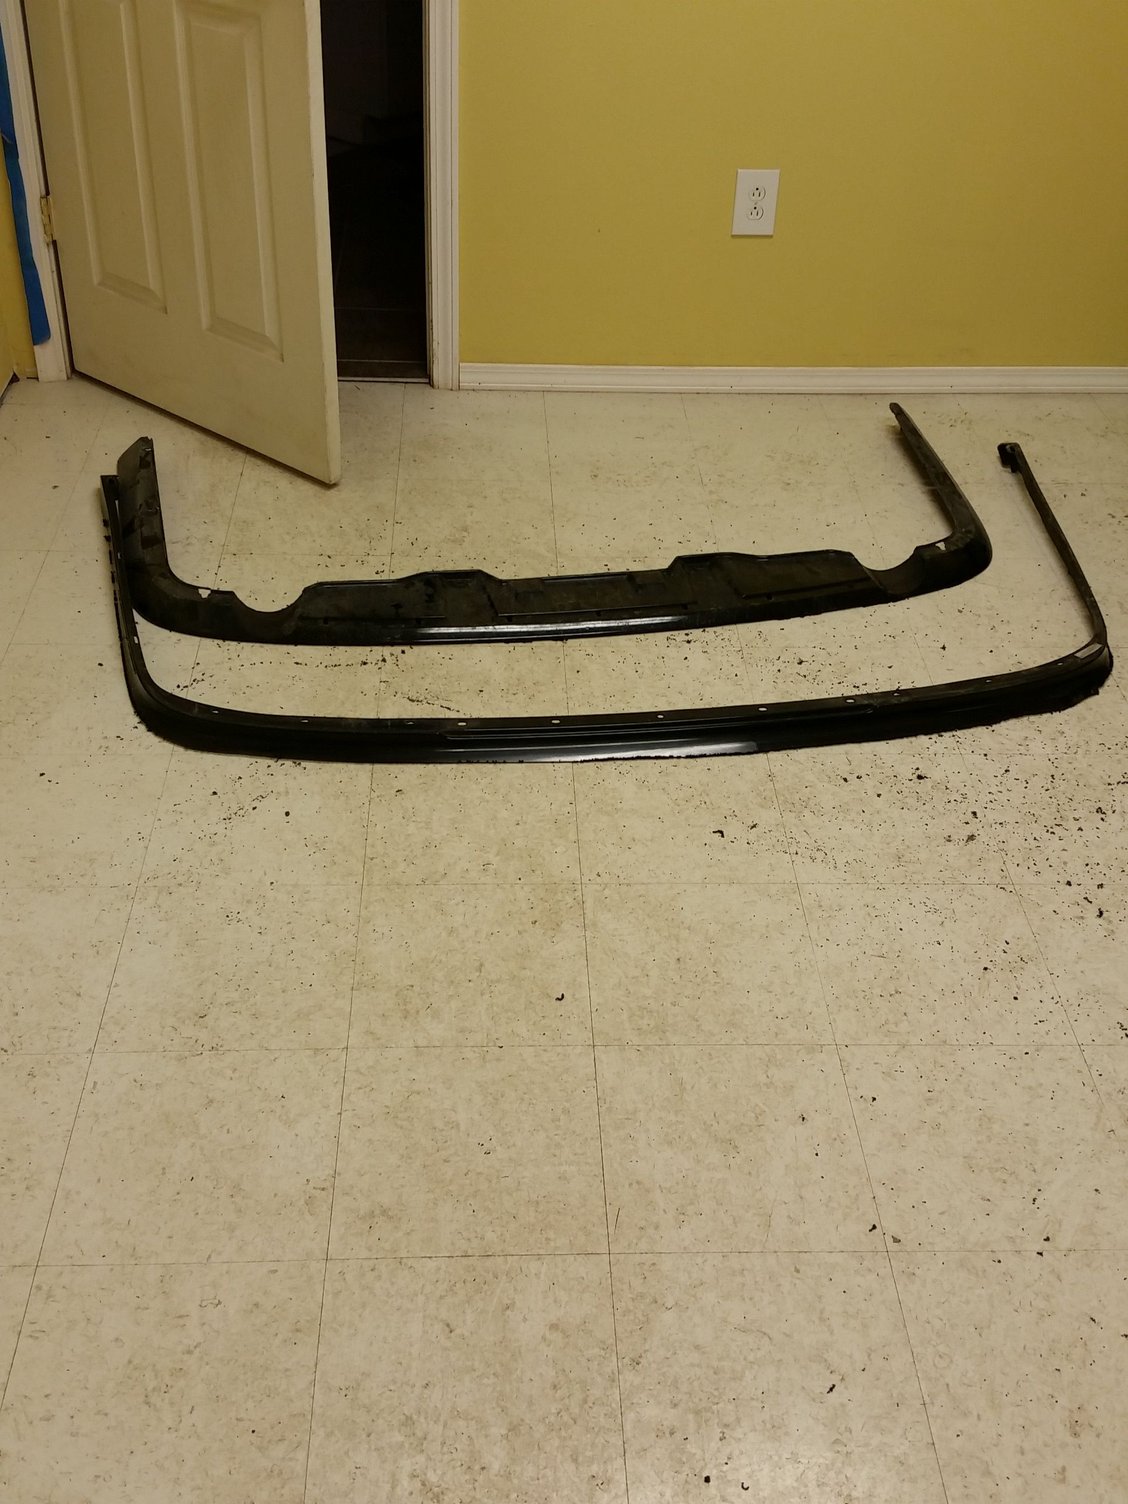
Both pieces cut off and edges sanded with 40 grit paper.
#4
Advanced
Thread Starter
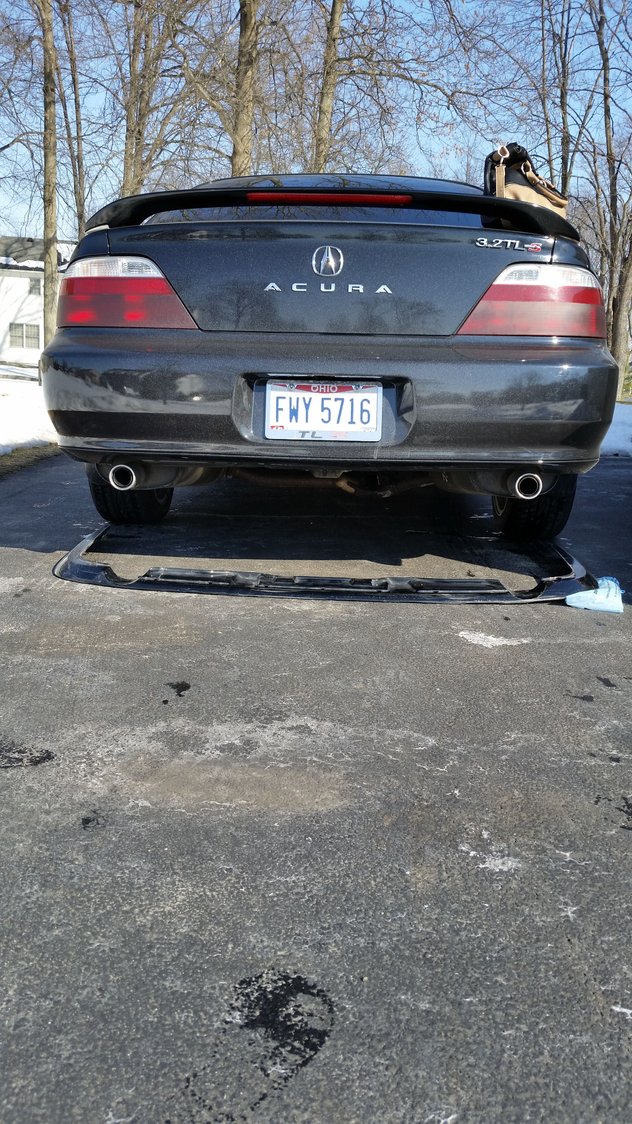
I didn't have enough people to hold it up, but this is the rear lip which im hoping would sit just below the exhauts but still connect around the sides.
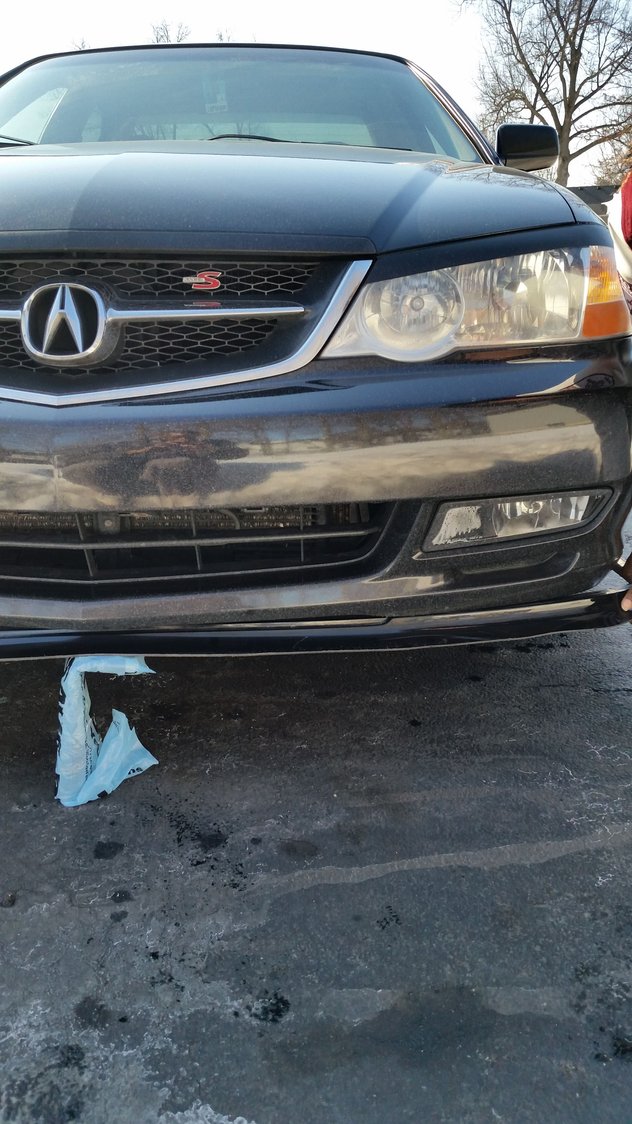
This is kinda how im expecting the front lip to sit, I have to trim off some of the side so it can fit under the front bumper. Other than that i shouldn't have any other major modifications for the front. I'll keep this post updated as I make progress on it.
#5
Senior Moderator
I took the top half of the rear bumper to make a rear lip on mine to transition into the diffuser i added. I plastic welded mine on so it looks like part of the rear bumper.
#6
Advanced
Thread Starter
#7
Senior Moderator
Trending Topics
#8
Loving how the back looks! Looking forward to seeing it painted
Also if you don't mind me asking where did you get the eyelids for the headlights?? Can't seem to find any
Also if you don't mind me asking where did you get the eyelids for the headlights?? Can't seem to find any
#9
Advanced
Thread Starter
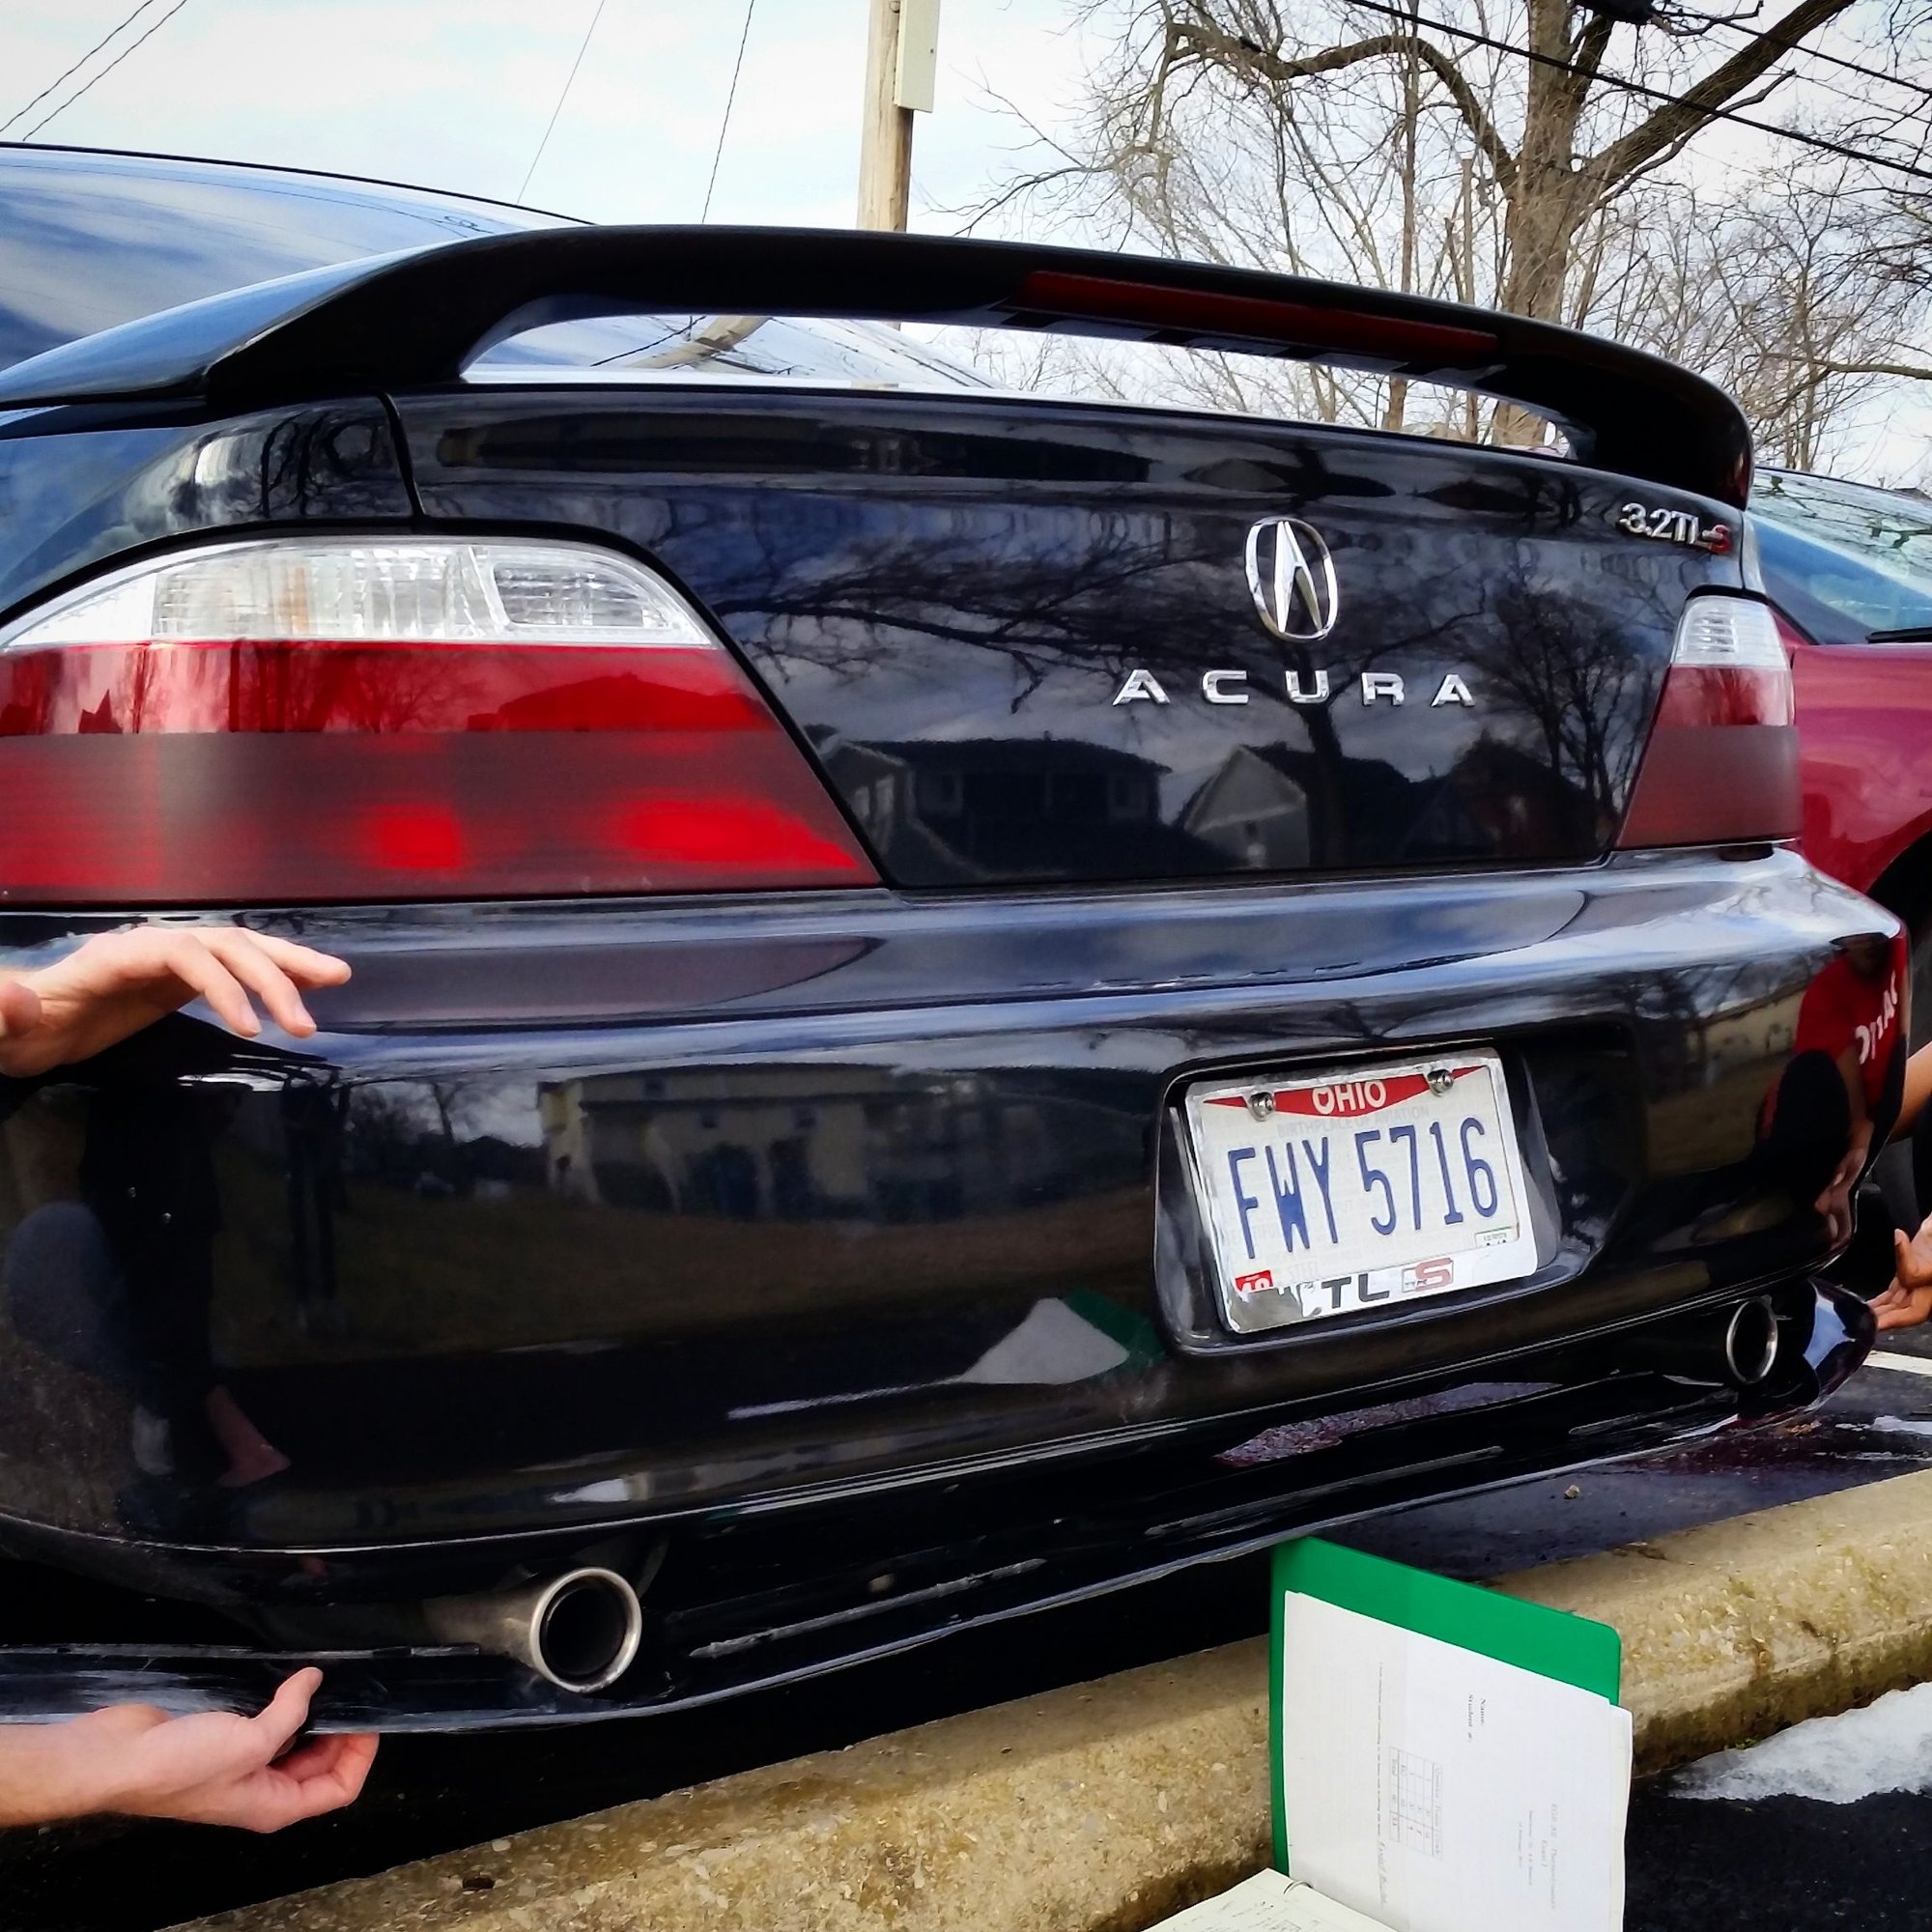
Ok so this is how i am expecting the rear lip to sit.
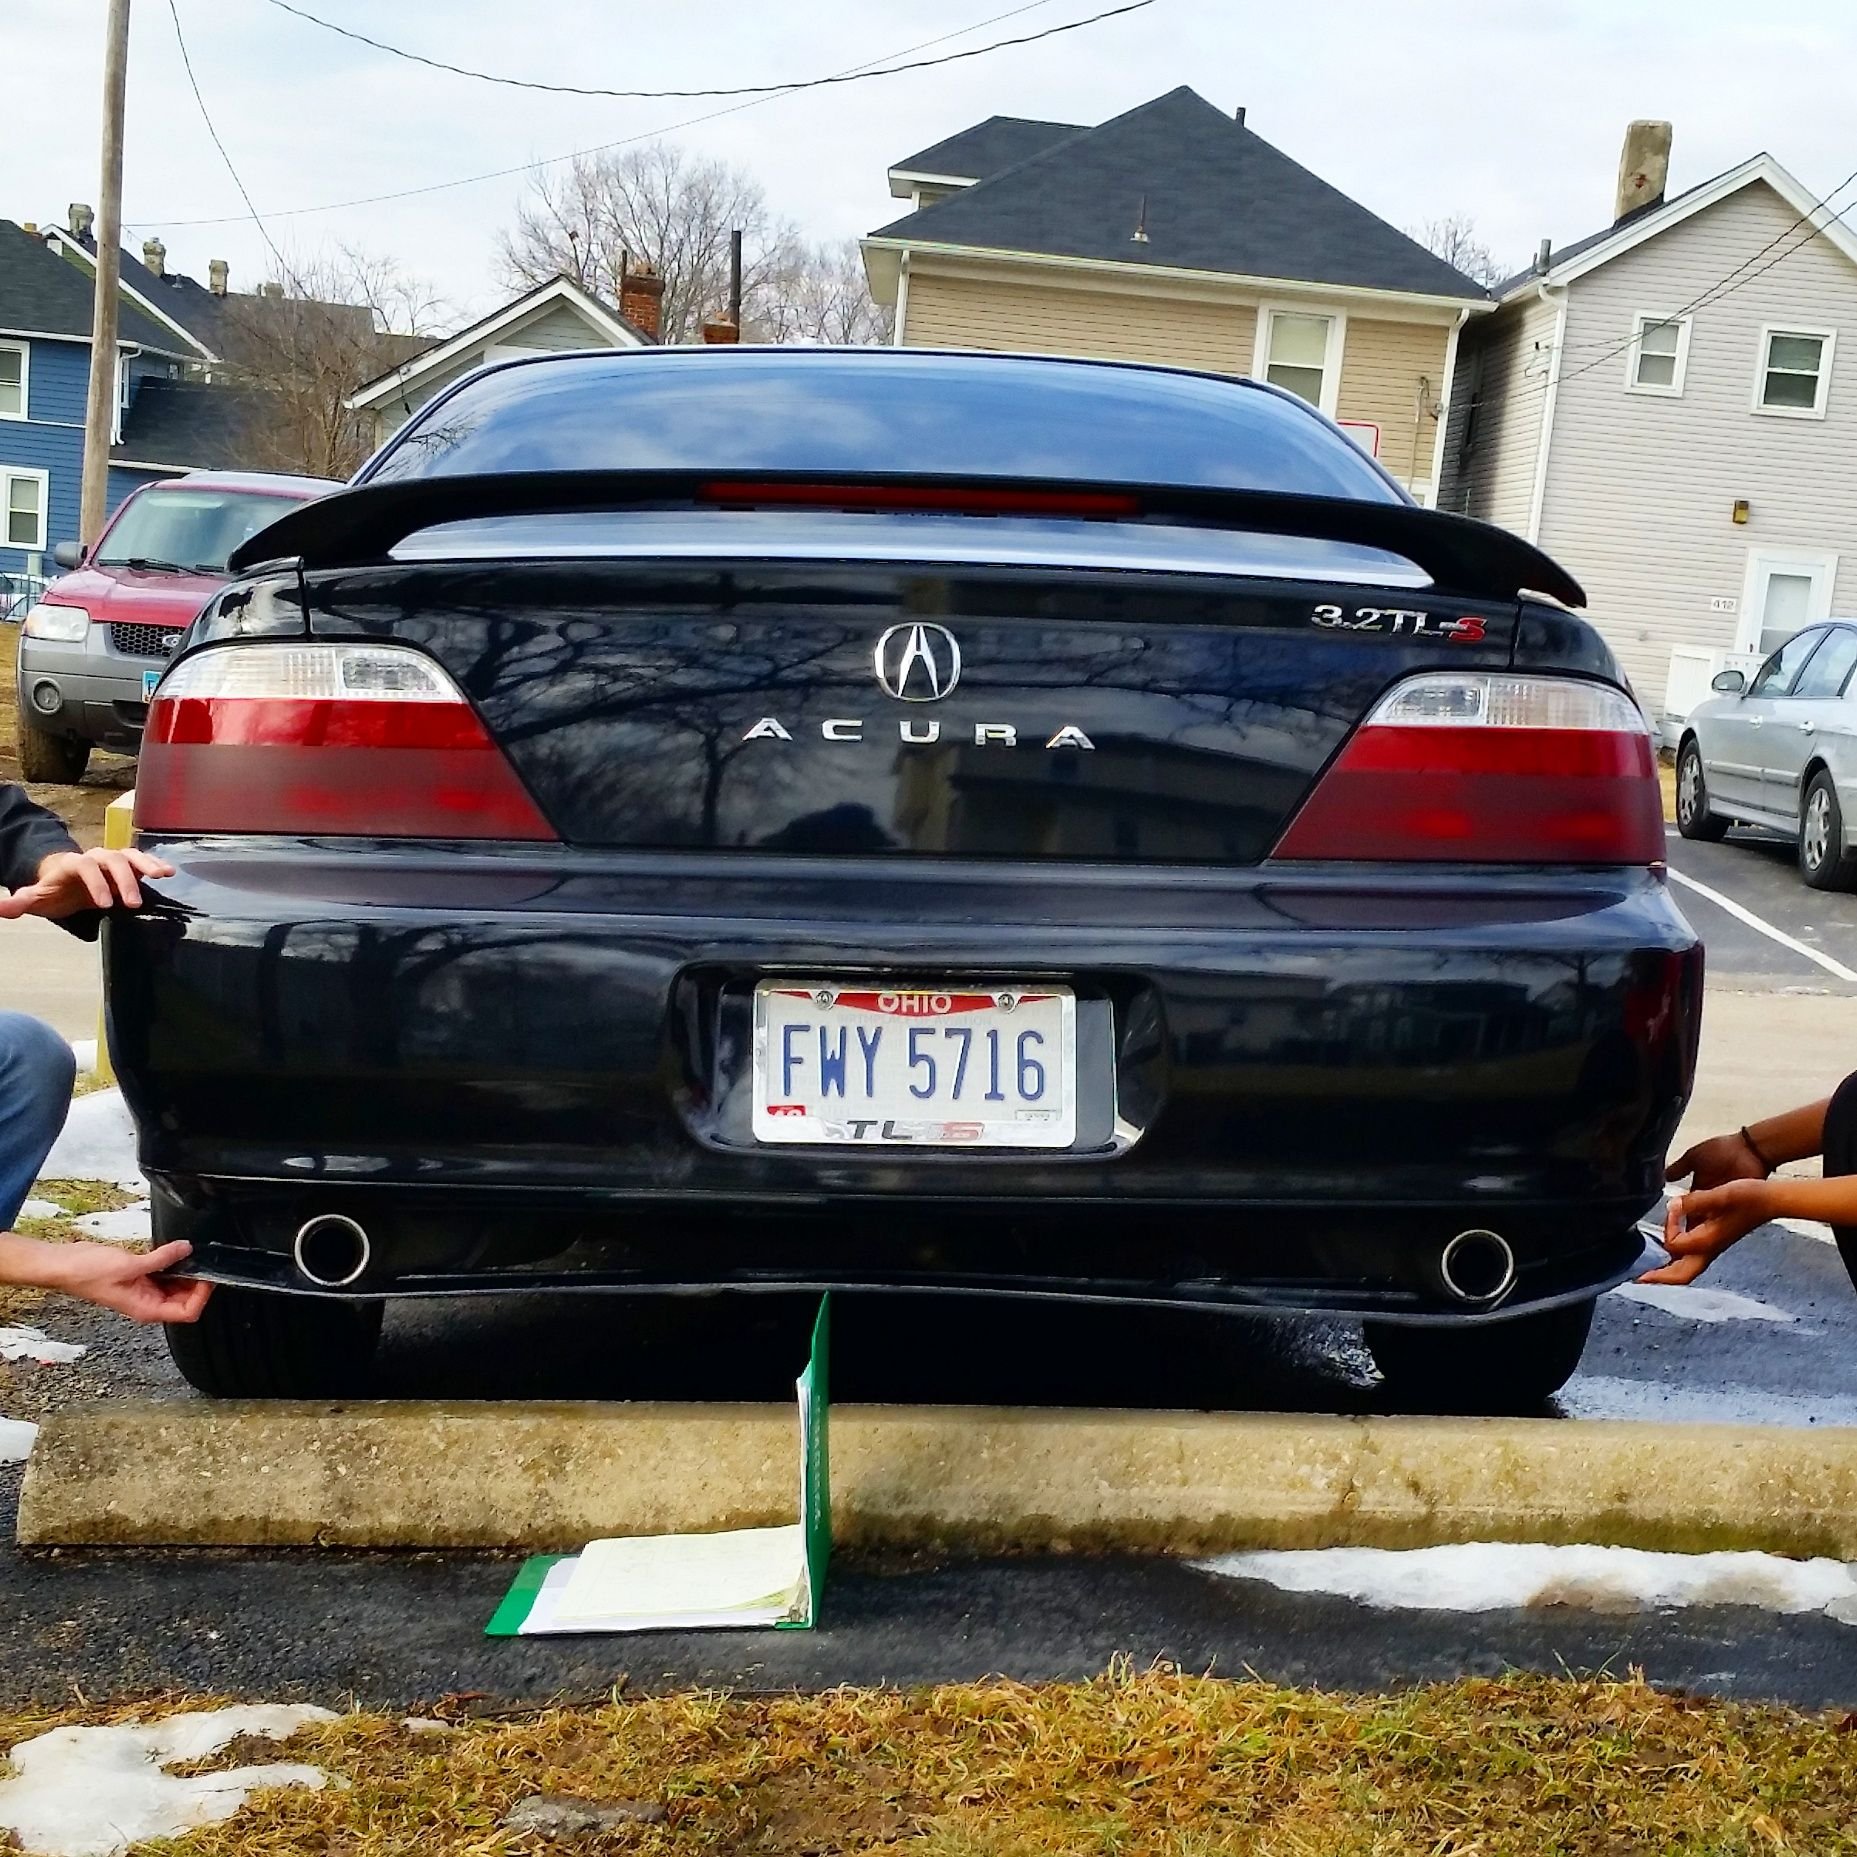
Here it is from another view.
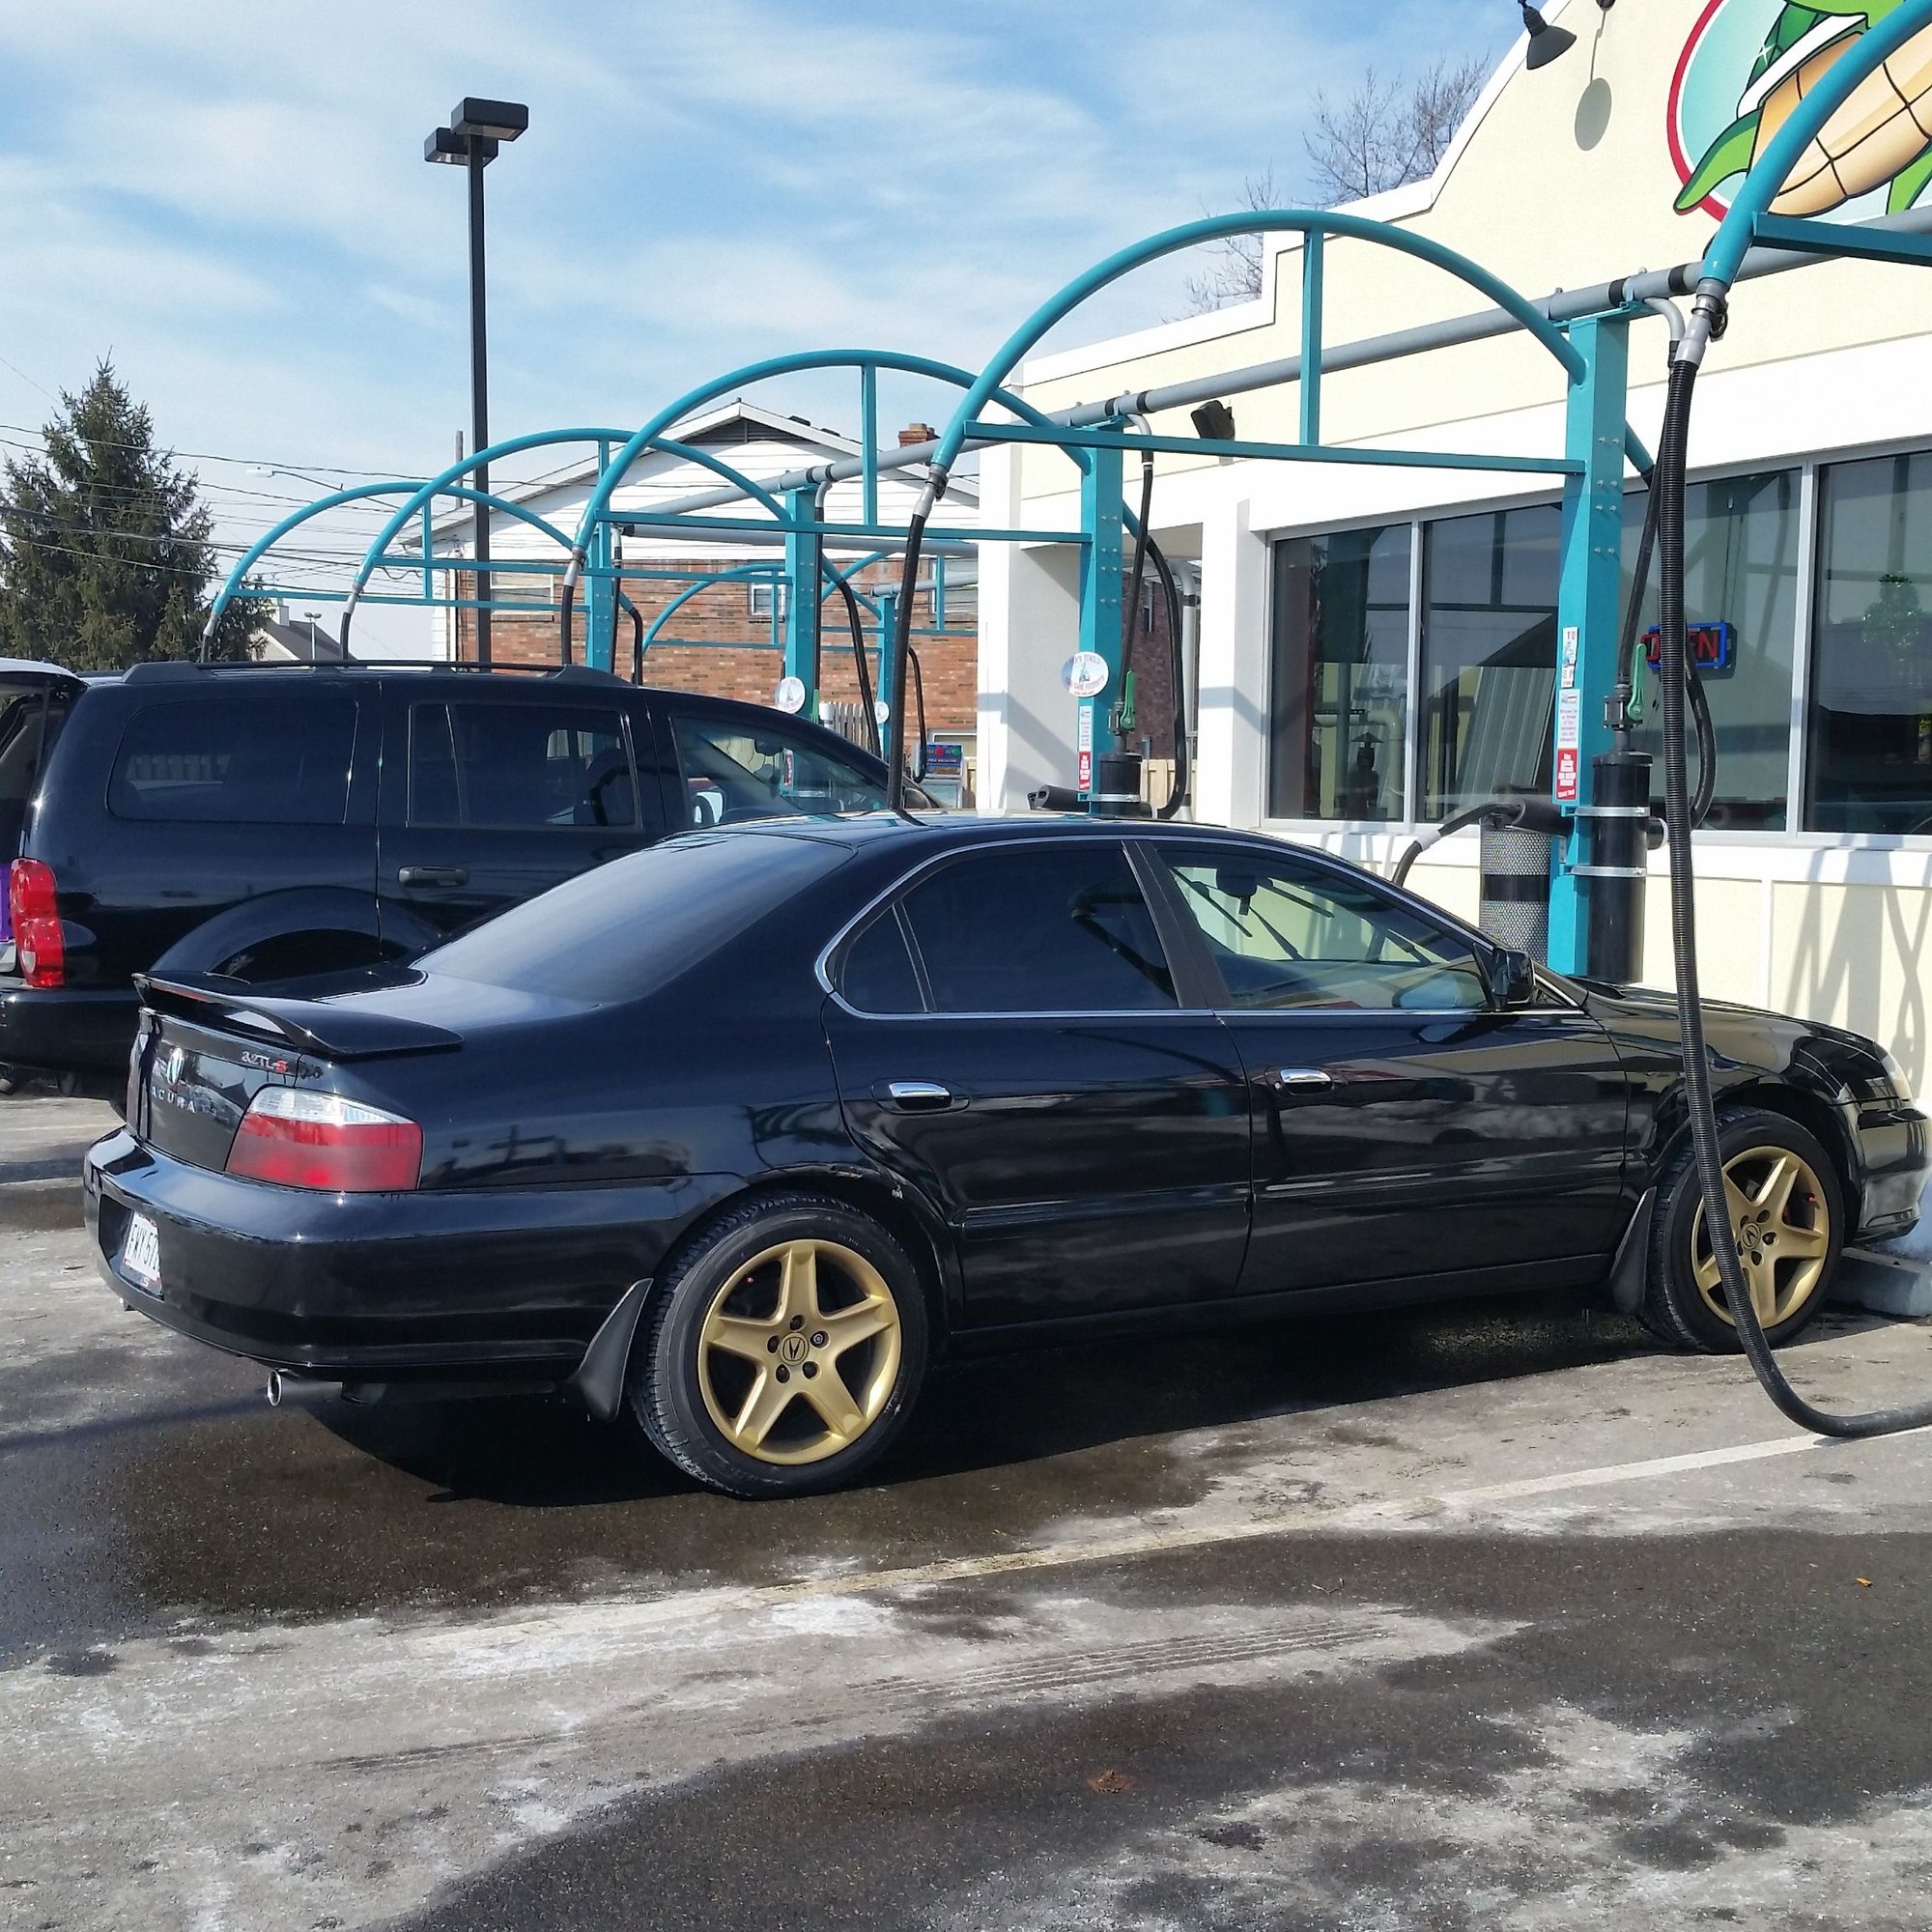
The rear lip is the same length as the bottom of the bumper so it extends past the mud guards. Should I get rid of the guards so i don't have to trim it? or should i trim it and keep the mud guards?
#10
Advanced
Thread Starter
 Me too I'm excited to see how this project turns out. Its my first time making parts so im interested to see if i can make it work. And the eyelids are made of plastidip. Get 3M medium adhesive masking tape and mask off a design and spray 4 or 5 wet heavy coats, just try not to get runs. If its warm out wait about 45 seconds between coats. and after the last coat wait a bit for it to start to dry so it wont run, and then peel the tape.
#12
Senior Moderator
#13
Advanced
Thread Starter
#14
Advanced
Thread Starter
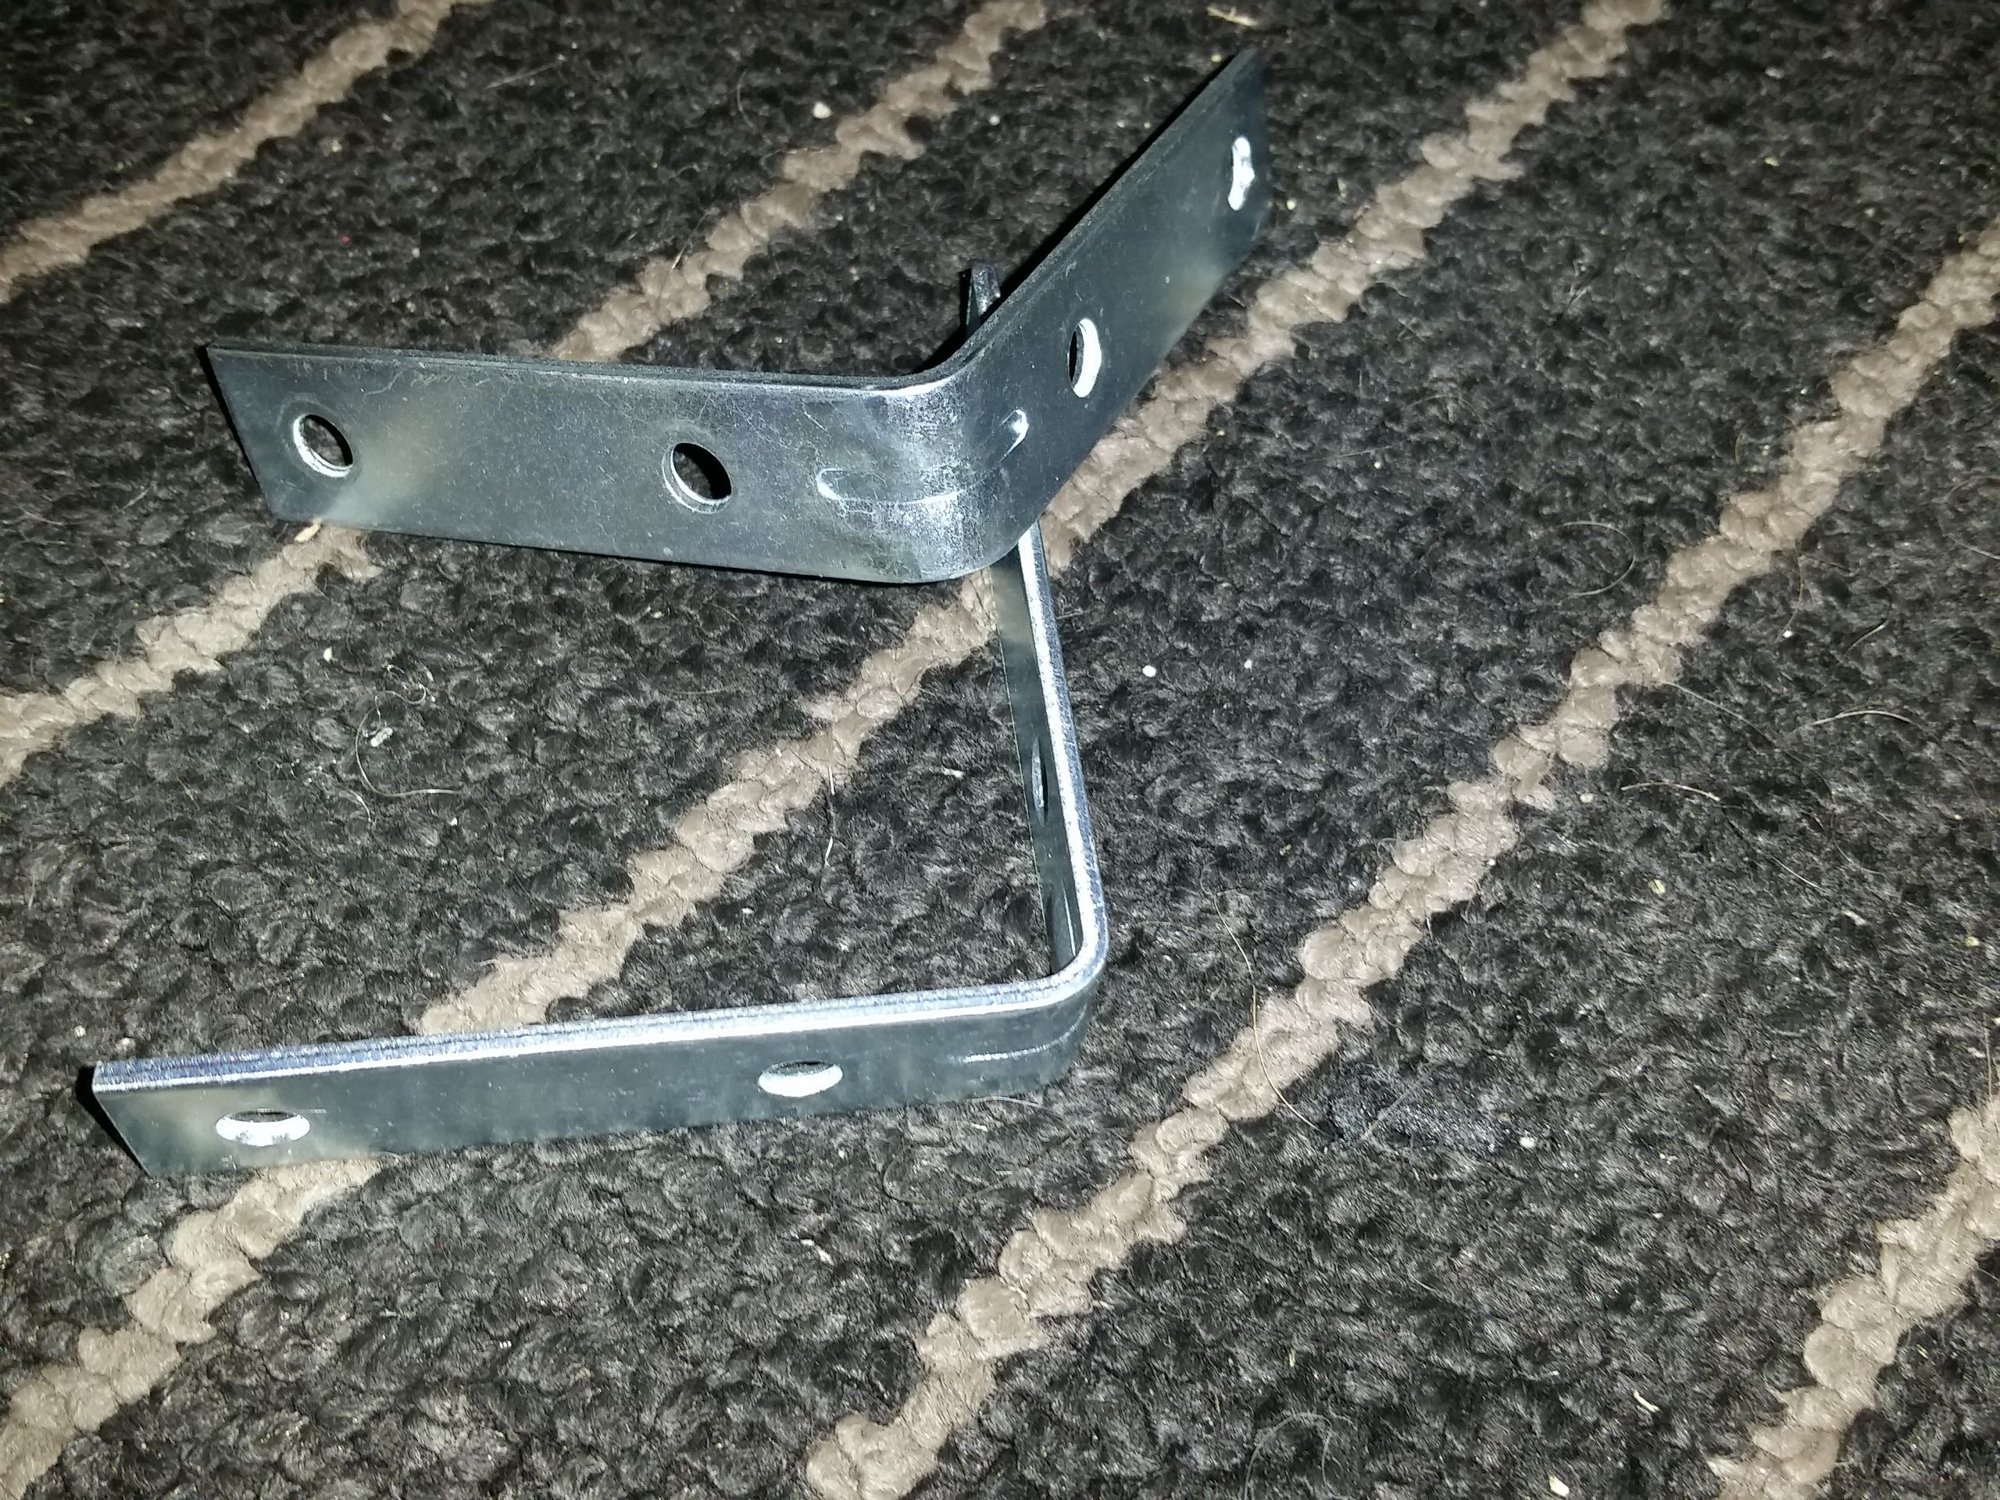
I bought these 90 degree 3 inch brackets from Home Depot to use as hangers
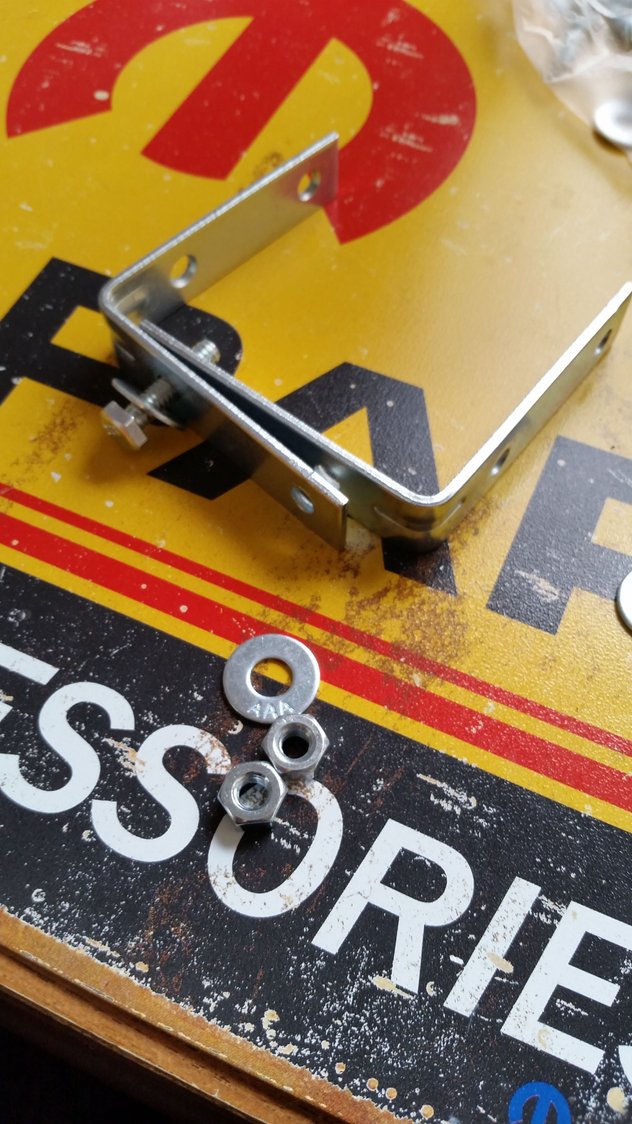
Beginning Assembly using 1/4 inch bolts nuts and washers
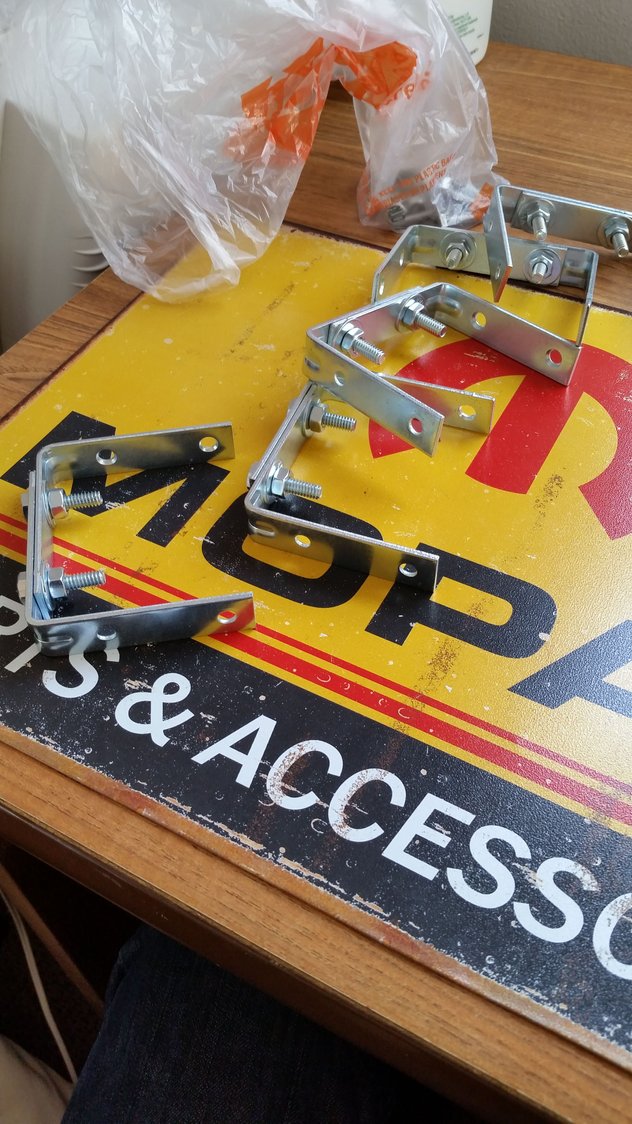
Assembled brackets
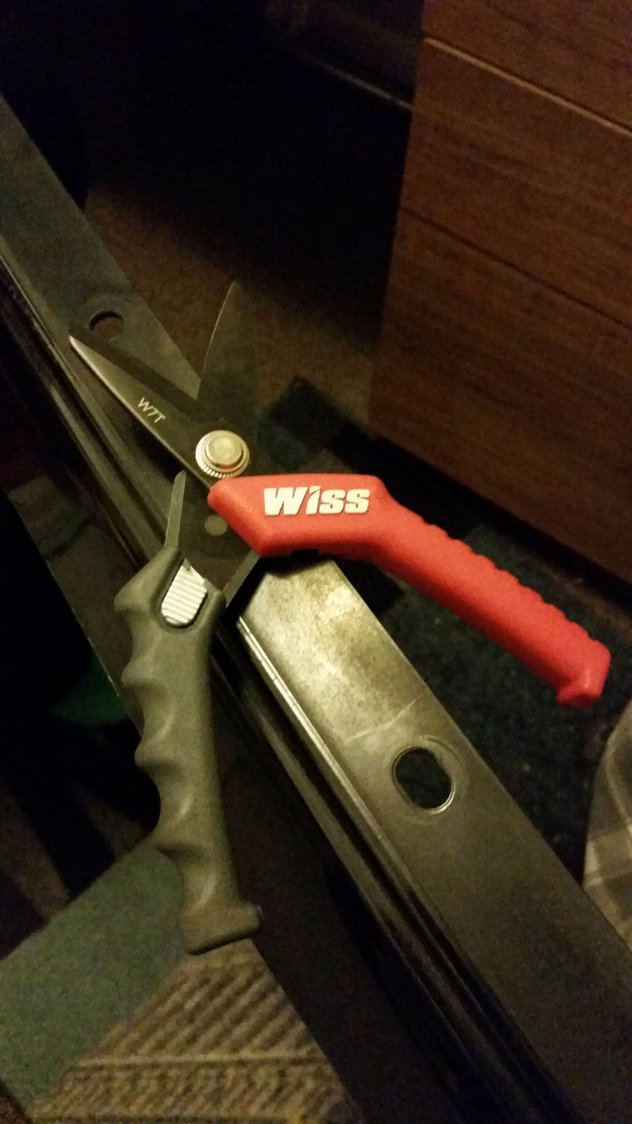
Trimming and shaving edges with these utility shears
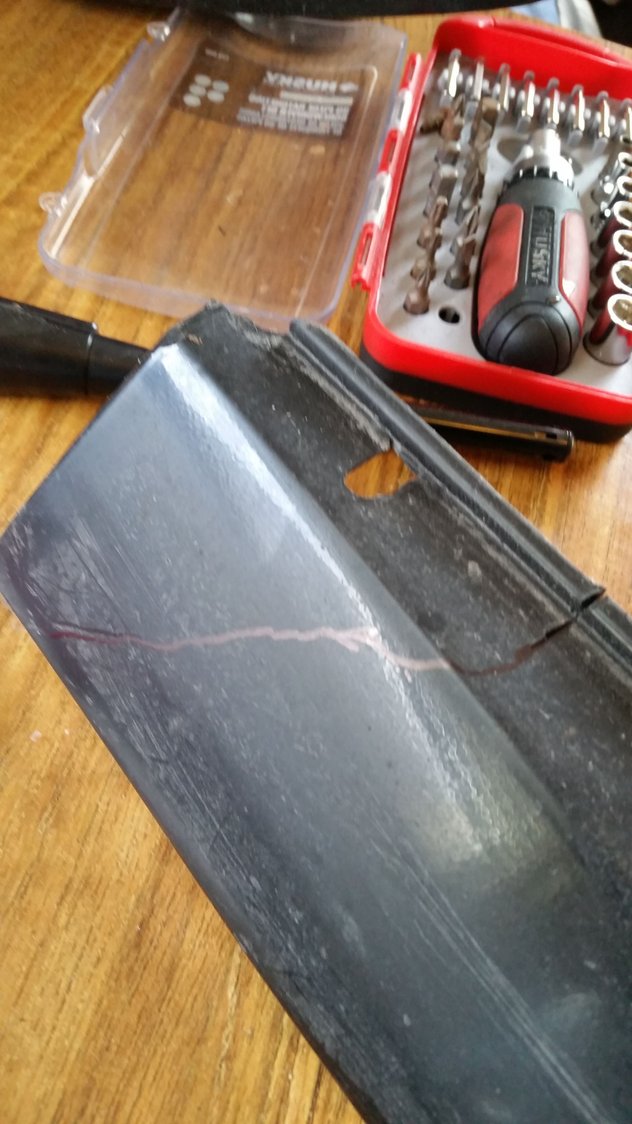
Rough template for cutouts for rear mud guards
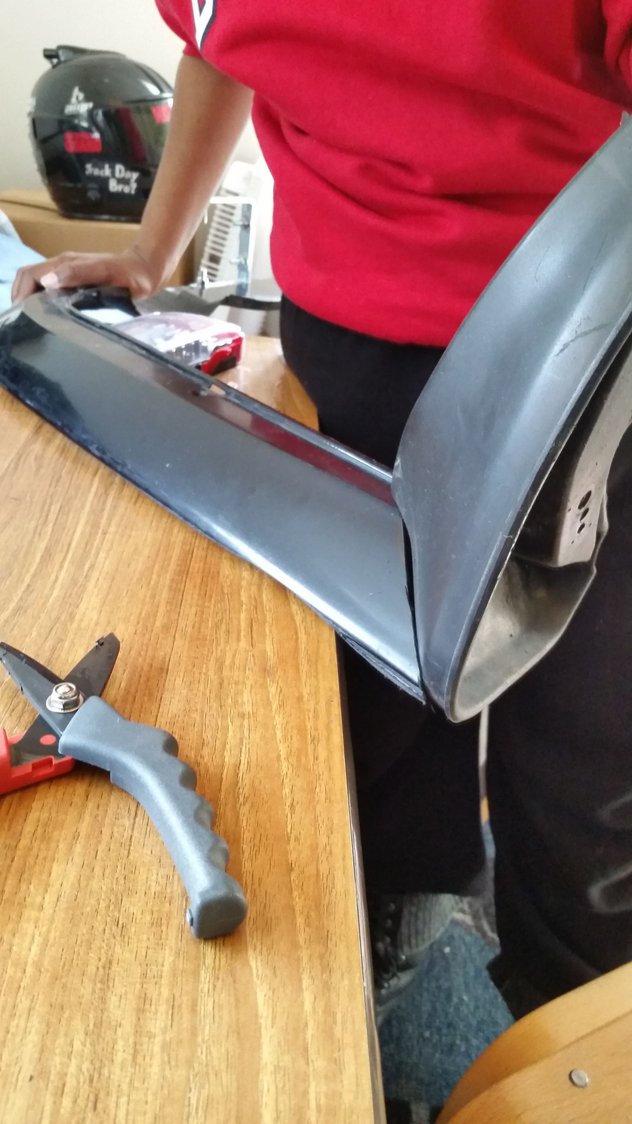
Cut along line using utility shears, Its got a pretty nice fit!
#15
Advanced
Thread Starter
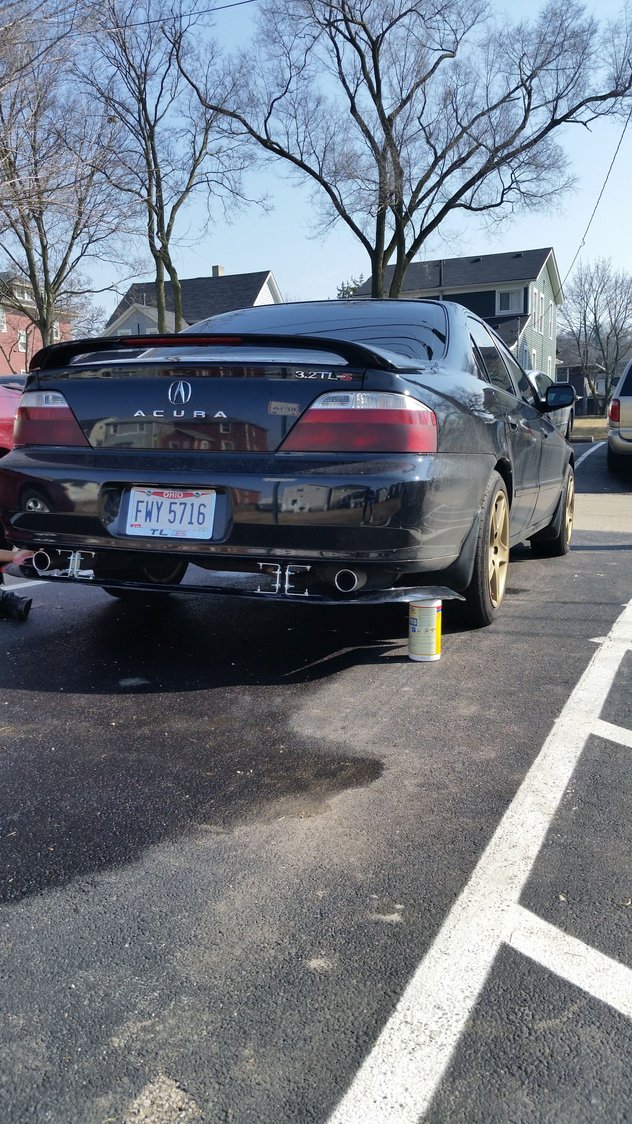
Test mount... didnt really like the way the brackets sat. Also all of the hardware will be painted black before i actually install the diffuser.
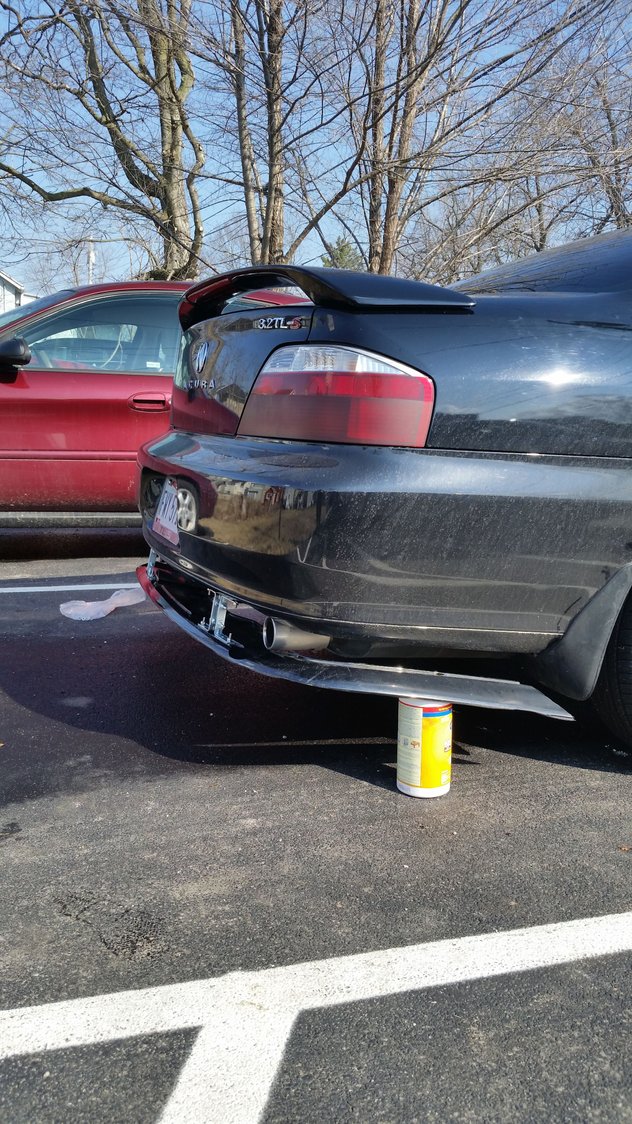
Here it is from the side.
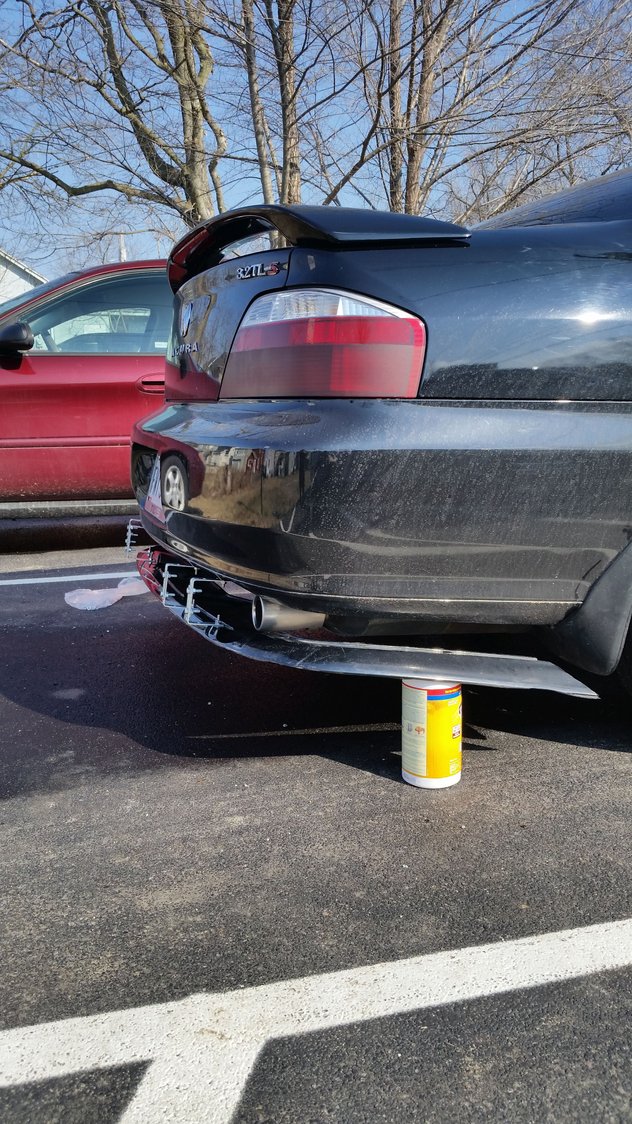
Rotating the brackets trying to find a look i liked.
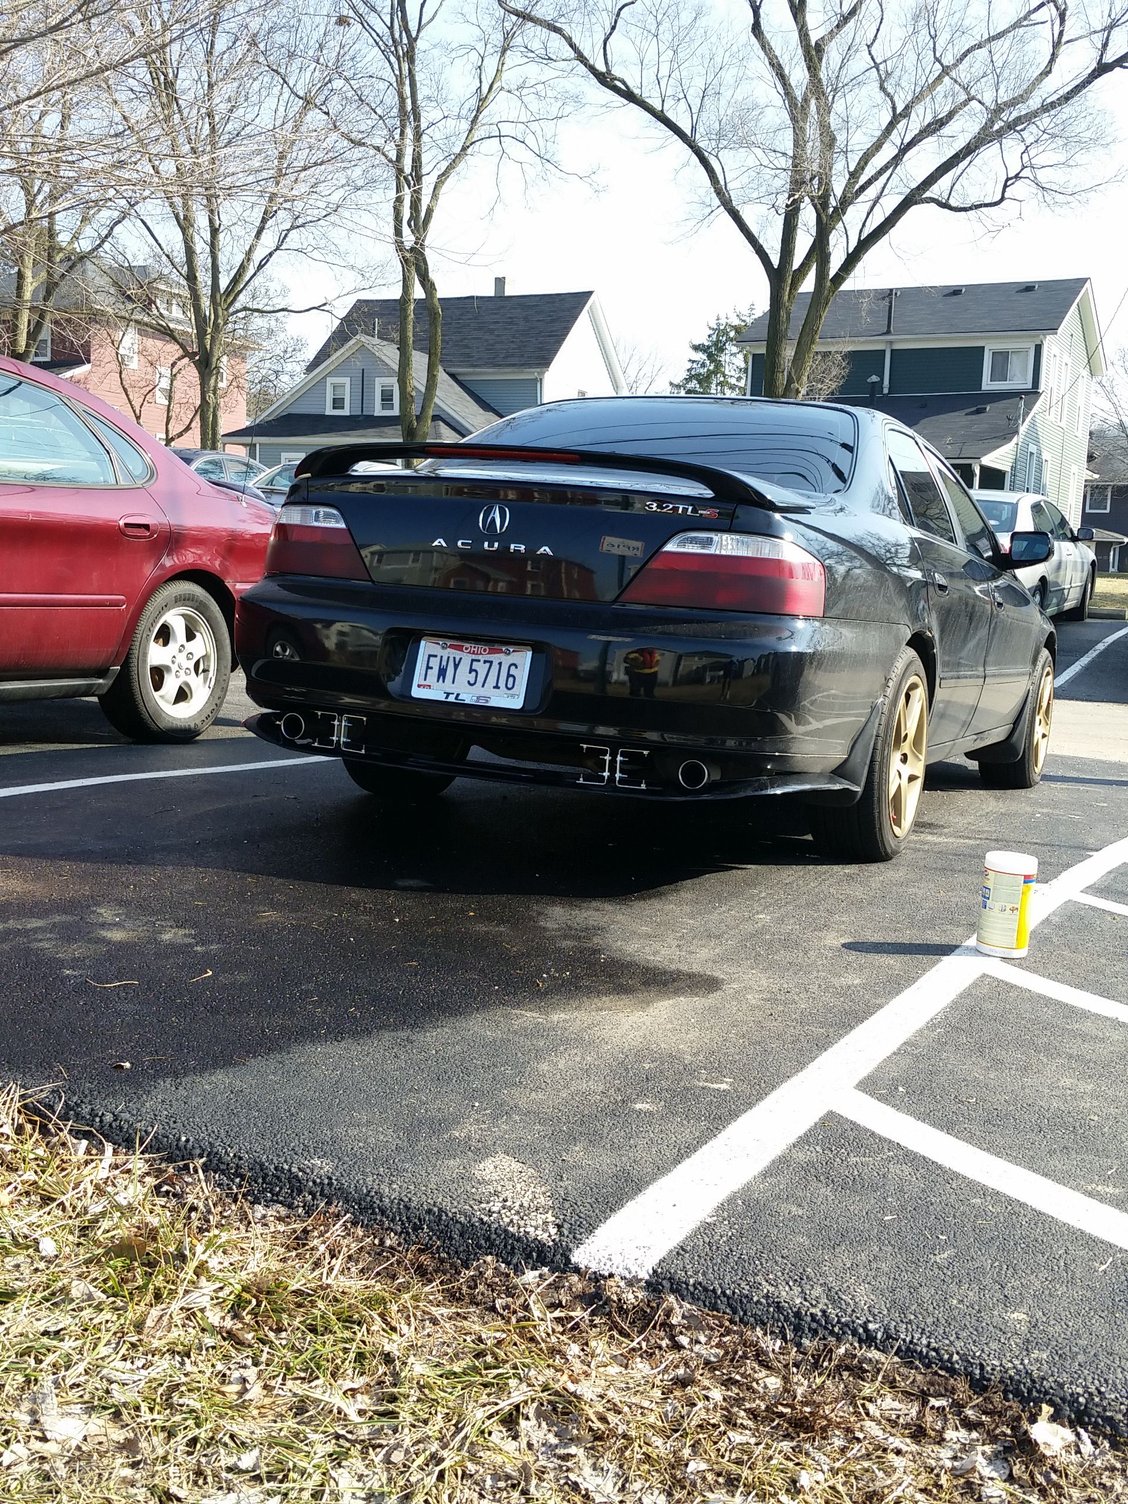
Decided to bolt the sides up too and i hated it. This was my original vision for the project although it looked better in my head. Issues: too much of an upward curve on the sides, and exhaust sitting too close to the cutouts for comfort. I sat thinking about ways to possibly do this right and make it look good and with a little help and outside input i came up with what I'm pretty sure is the final design.
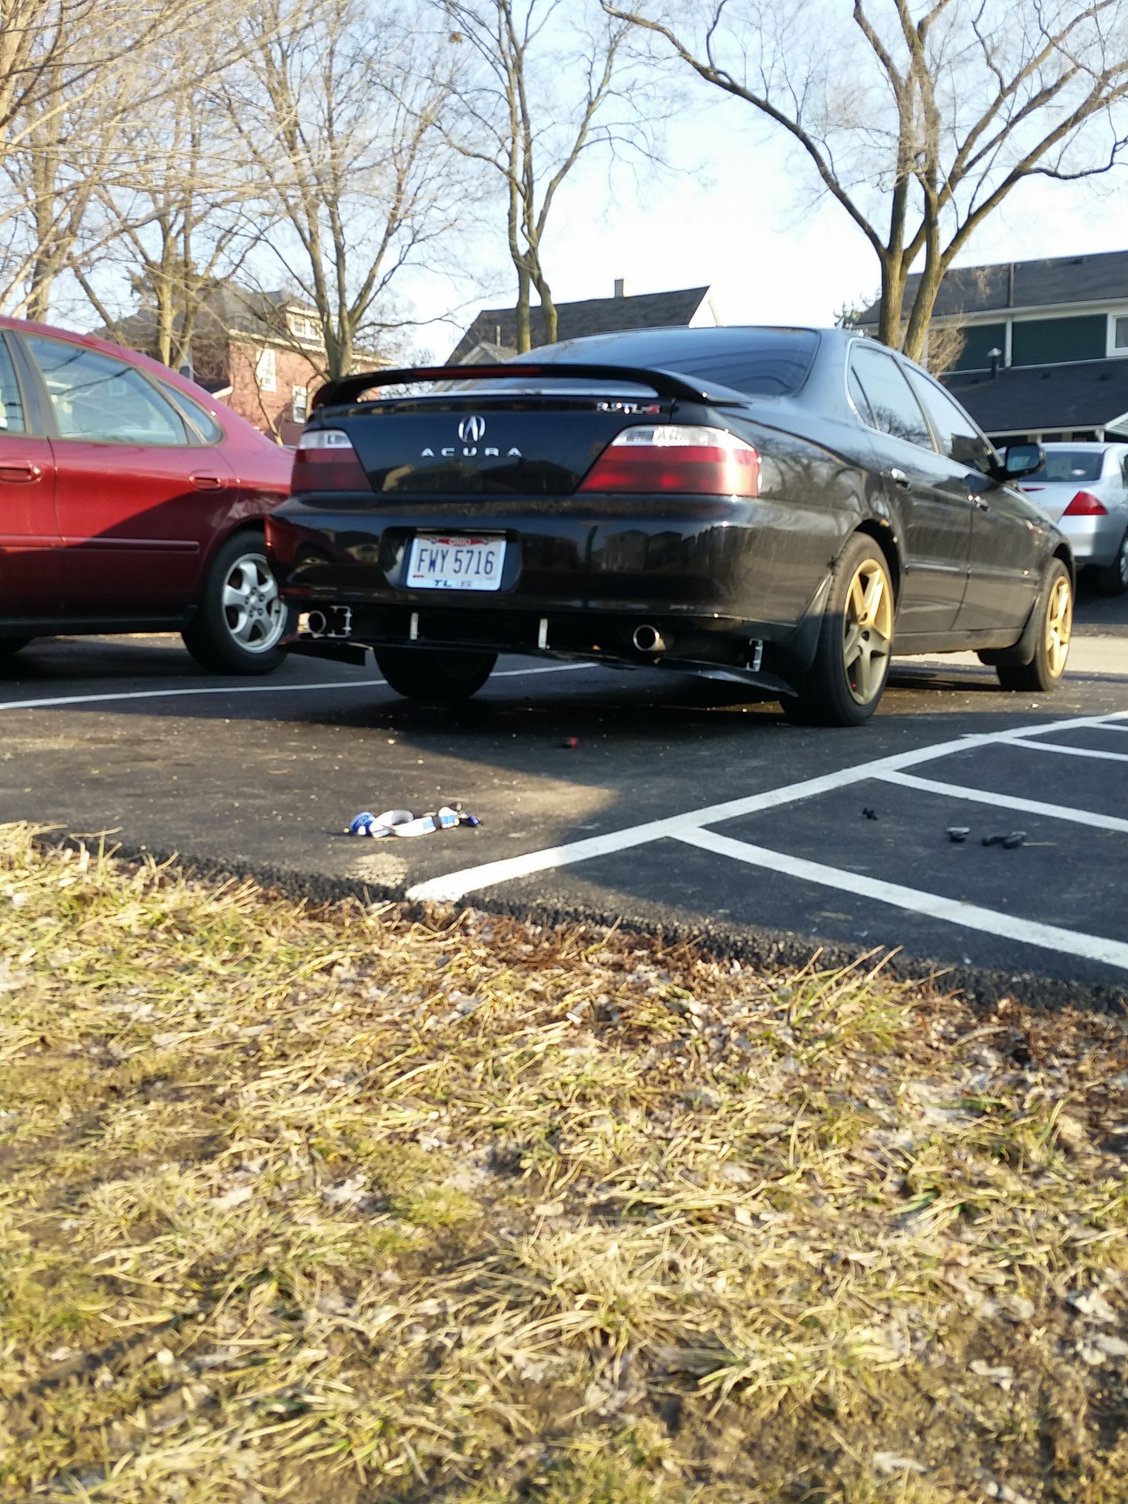
The brackets are more centrally mounted in this one and further underneath the car and should be out of view when its painted black. And then I placed brackets on both sides to provide stability on the edges. The brackets on the sides will be shorter. possibly two inches in order to lift the sides slightly so that its flatter all the way around and then i placed one bracket on the side of the exhaust to improve rigidity of the diffuser. All holes are Pre-existing no drilling required.
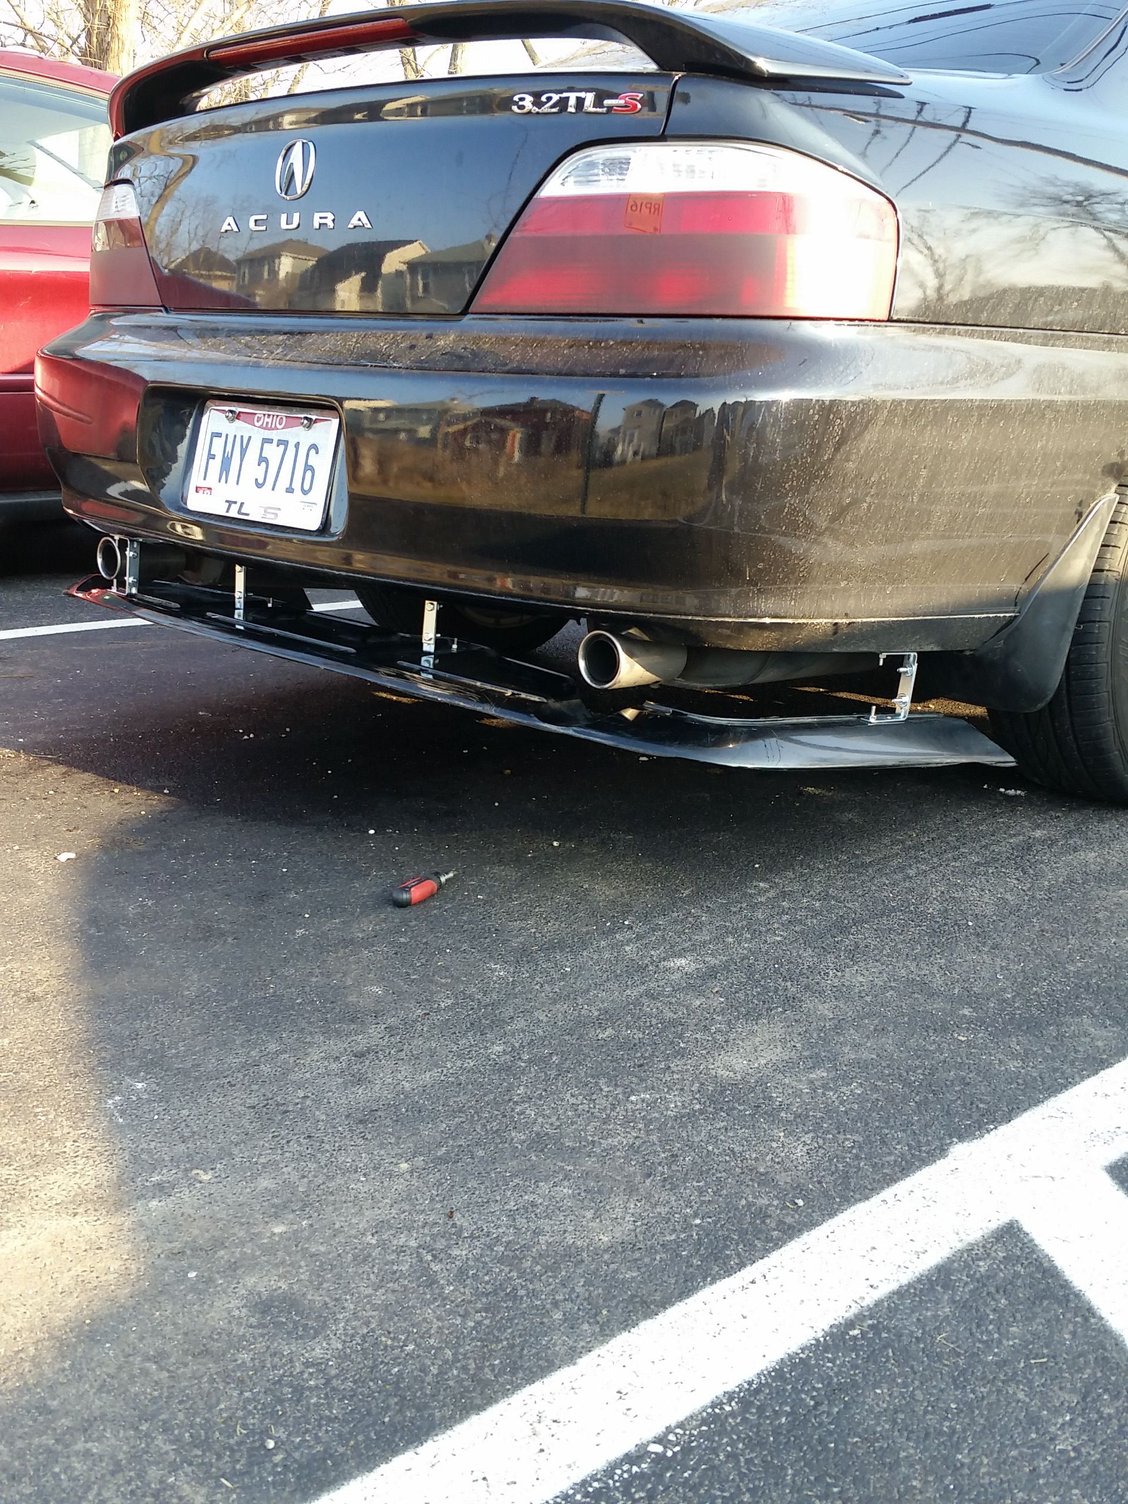
This is for the most part the final design with a few tweaks needing to be done here and there. I was short a bracket so that is why there isnt a bracket to the left of the right exhaust tip. Let me know what you think! I would greatly appreciate the feedback.
Thread
Thread Starter
Forum
Replies
Last Post
SUPRMN84
3G TL Audio, Bluetooth, Electronics & Navigation
5
10-07-2015 09:46 PM
pistacio
2G TL (1999-2003)
10
09-26-2015 09:45 AM


