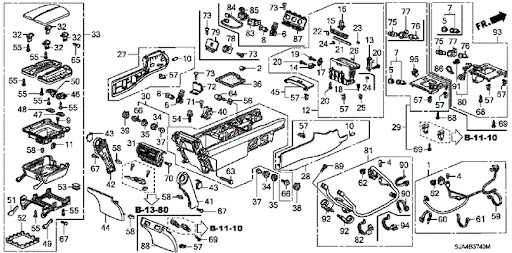
Rear AC Vent removal
#1
Rear AC Vent removal
I bought a replacement rear AC vent as mine had a broken tab but cant figure out how to get it off. I'd assume I start by getting the silver rings off, but how? the replacement vent came with 2 extra screws?
#2
WOOHOO! ALLDATA FTW!!! here's the procedure:
1. remove the flat panel that faces the rear seats (underneath the rear vents) by pulling OUTWARD it from the bottom to release the 2 lower clips, then, from the upper portion of the panel, pull UPWARD to release the 2 upper clips. 4 CLIPS TOTAL
2. remove the 2 side panels (parts with silver rings). there is one clip (accessible with thin flathead) on the top part of the silver ring. the other 2 clips are lower on the interior colored panel. 3 CLIPS TOTAL PER SIDE
3. removing the vent: there is 1 small screw on each side near the bottom of the vent, remove this screw from each side. at the top of the vent, there are 6 clips/tabs, undo them. lastly, the vent has a hook shaped railing on the bottom, unhinge that and remove. 2 SCREWS, 6 TABS AND THE HOOKED BOTTOM
The following users liked this post:
AMI8 (09-30-2022)
Trending Topics
#8
Anytime the front vents are on, the rear ones can be too. There is an adjustment lever between the rear vents. Almost certainly it's closed, that's why there is no air from them. Move the lever to the UP position and see if that works.
#10
WOOHOO! ALLDATA FTW!!! here's the procedure:
1. remove the flat panel that faces the rear seats (underneath the rear vents) by pulling OUTWARD it from the bottom to release the 2 lower clips, then, from the upper portion of the panel, pull UPWARD to release the 2 upper clips. 4 CLIPS TOTAL
2. remove the 2 side panels (parts with silver rings). there is one clip (accessible with thin flathead) on the top part of the silver ring. the other 2 clips are lower on the interior colored panel. 3 CLIPS TOTAL PER SIDE
3. removing the vent: there is 1 small screw on each side near the bottom of the vent, remove this screw from each side. at the top of the vent, there are 6 clips/tabs, undo them. lastly, the vent has a hook shaped railing on the bottom, unhinge that and remove. 2 SCREWS, 6 TABS AND THE HOOKED BOTTOM
1. remove the flat panel that faces the rear seats (underneath the rear vents) by pulling OUTWARD it from the bottom to release the 2 lower clips, then, from the upper portion of the panel, pull UPWARD to release the 2 upper clips. 4 CLIPS TOTAL
2. remove the 2 side panels (parts with silver rings). there is one clip (accessible with thin flathead) on the top part of the silver ring. the other 2 clips are lower on the interior colored panel. 3 CLIPS TOTAL PER SIDE
3. removing the vent: there is 1 small screw on each side near the bottom of the vent, remove this screw from each side. at the top of the vent, there are 6 clips/tabs, undo them. lastly, the vent has a hook shaped railing on the bottom, unhinge that and remove. 2 SCREWS, 6 TABS AND THE HOOKED BOTTOM
Thread
Thread Starter
Forum
Replies
Last Post
snorf
2G RDX (2013-2018)
429
11-04-2019 06:44 AM


