
Blackhousing RoadLamps?
 05-21-2009, 11:48 PM
#1
dont be mad
Thread Starter
Blackhousing RoadLamps?
has anyone blacked out the inside of their roadlamps? wondering what it would look like, and would any light shine with the reflective parts being blacked out? Just a thought i had instead of getting inserts maybe i could do this for like 4$ lol
 05-21-2009, 11:53 PM
#2
Whats up with RDX owners?
iTrader: (9)

I remember seeing someone tint the roadlamps. It didnt look bad, but they are just as functional as the 03 inserts.
05-21-2009, 11:59 PM
#3
dont be mad
Thread Starter
heres an old chop
 05-22-2009, 12:10 AM
#4
To many cars in my garage
Join Date: Feb 2009
Location: Kanata,Ontario,Canada
Posts: 1,501
Likes: 0
Received 2 Likes
on
2 Posts
I tinted mine before I had HIDs Looked good but I wanted them to be bright
But painting the inside would be awesome I just saw some guys on the TL side do it but they never showed the light out put
But painting the inside would be awesome I just saw some guys on the TL side do it but they never showed the light out put
05-22-2009, 01:22 AM
#6

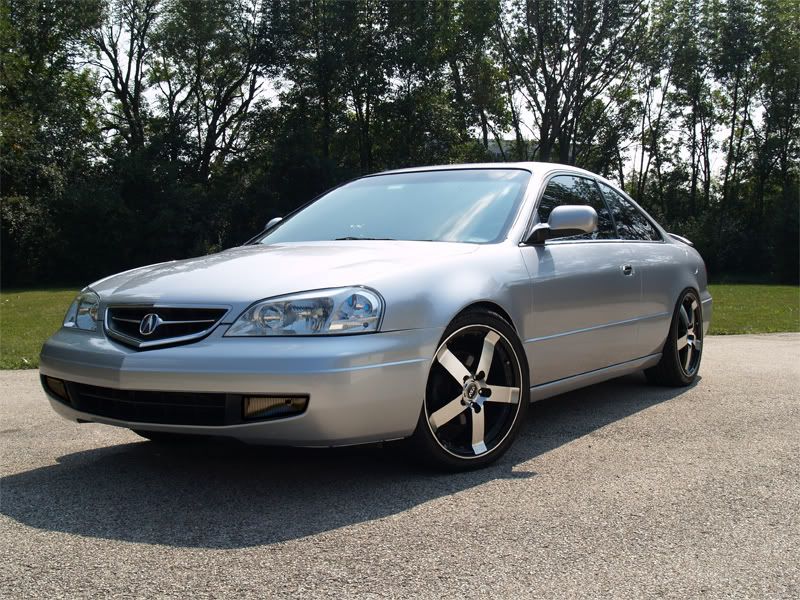
I say do it, hell the rest of your car is black and sick lookin. Just change the bulbs out with leds, it would probably look good they would just be a couple of small orbs of light. Or paint them Glossy black and clearcoat over them so they shine and light up the whole housing or at least I think it will
05-22-2009, 11:19 AM
#7
I say do it, hell the rest of your car is black and sick lookin. Just change the bulbs out with leds, it would probably look good they would just be a couple of small orbs of light. Or paint them Glossy black and clearcoat over them so they shine and light up the whole housing or at least I think it will
Trending Topics
 05-24-2009, 12:16 AM
#11
Regional Coordinator (Texas)
iTrader: (38)
u can't open them up. u have to break the lens on one and the housing on the other and then put them back together,
or like another member did. he replaced the lens with lexan
or like another member did. he replaced the lens with lexan
05-24-2009, 10:54 AM
#13
01 Type-S, Sexy Silver
05-25-2009, 12:47 PM
#14
To many cars in my garage
Join Date: Feb 2009
Location: Kanata,Ontario,Canada
Posts: 1,501
Likes: 0
Received 2 Likes
on
2 Posts
BTW the lexan looks really good
05-26-2009, 02:43 AM
#16
To many cars in my garage
Join Date: Feb 2009
Location: Kanata,Ontario,Canada
Posts: 1,501
Likes: 0
Received 2 Likes
on
2 Posts
did you say you added the trim on later, if so what is the trim made of, and do you know if it can be modified to go on the CL .If I can get some sort of trim Im going to do this tomorow afternoon
any Ideas on trim would help
any Ideas on trim would help
05-27-2009, 05:08 PM
#20
dont be mad
Thread Starter
05-27-2009, 07:24 PM
#21
To many cars in my garage
Join Date: Feb 2009
Location: Kanata,Ontario,Canada
Posts: 1,501
Likes: 0
Received 2 Likes
on
2 Posts
I was going to do it this week but with out a trim piece to hide the epoxy im not sure it will look clean. unless there is another way to get it apart besides cutting?
05-27-2009, 11:49 PM
#22
I guess it comes to down to how much work you want to do, and the look your going for. I mean I think a light tint would work the best:
The biggest problem with our car is the 'parking lights' have such a low output that any tint will just make it worse... I've been toying with the idea of tinting the front lights for so long. Just not sure how I feel about the look...

The biggest problem with our car is the 'parking lights' have such a low output that any tint will just make it worse... I've been toying with the idea of tinting the front lights for so long. Just not sure how I feel about the look...
05-28-2009, 12:00 AM
#23
To many cars in my garage
Join Date: Feb 2009
Location: Kanata,Ontario,Canada
Posts: 1,501
Likes: 0
Received 2 Likes
on
2 Posts
First I put blue bulbs in
then white leds
then tinted them(looked good)
then went back to blue with tint
then took the tint off and put 6000k hids
now I got 8000k hids I like my blacked out headlights and I want my fogs to match and I definitly dont mind putting the work in
then white leds
then tinted them(looked good)
then went back to blue with tint
then took the tint off and put 6000k hids
now I got 8000k hids I like my blacked out headlights and I want my fogs to match and I definitly dont mind putting the work in
05-28-2009, 12:30 AM
#24
First I put blue bulbs in
then white leds
then tinted them(looked good)
then went back to blue with tint
then took the tint off and put 6000k hids
now I got 8000k hids I like my blacked out headlights and I want my fogs to match and I definitly dont mind putting the work in
then white leds
then tinted them(looked good)
then went back to blue with tint
then took the tint off and put 6000k hids
now I got 8000k hids I like my blacked out headlights and I want my fogs to match and I definitly dont mind putting the work in
 05-28-2009, 01:14 PM
#25
To many cars in my garage
Join Date: Feb 2009
Location: Kanata,Ontario,Canada
Posts: 1,501
Likes: 0
Received 2 Likes
on
2 Posts
Theres something about those fog lights they have alot of potential I think blacking them out with HIDs will look the best than finally I will be done
just waiting on typestyling
just waiting on typestyling
05-28-2009, 04:42 PM
#27
To many cars in my garage
Join Date: Feb 2009
Location: Kanata,Ontario,Canada
Posts: 1,501
Likes: 0
Received 2 Likes
on
2 Posts
So wword of caution do not put your fogs in the oven I just did it for 30 sec on 200f and they melted so Im back to tint and plexi another not I took a hack saw to them it was hard but worked well now I got blue tinted fogs looks ok considering one of my fogs is a little mutilated
05-28-2009, 04:51 PM
#28
So wword of caution do not put your fogs in the oven I just did it for 30 sec on 200f and they melted so Im back to tint and plexi another not I took a hack saw to them it was hard but worked well now I got blue tinted fogs looks ok considering one of my fogs is a little mutilated
05-28-2009, 05:04 PM
#29
To many cars in my garage
Join Date: Feb 2009
Location: Kanata,Ontario,Canada
Posts: 1,501
Likes: 0
Received 2 Likes
on
2 Posts
Im covinced once I cut it open that the only way to open it is cut it
BTW i hope my mistakes are helpful at least for any one trying to get it open
Im goin to see tonight but I think the tint cut the light output down alot and I have hids to
BTW i hope my mistakes are helpful at least for any one trying to get it open
Im goin to see tonight but I think the tint cut the light output down alot and I have hids to
05-28-2009, 05:18 PM
#31
To many cars in my garage
Join Date: Feb 2009
Location: Kanata,Ontario,Canada
Posts: 1,501
Likes: 0
Received 2 Likes
on
2 Posts
I may post a pic this weekend But I lost camera so will see if my buddy lets me borrow his
the light out put is alot better but like all fogs they are pointed to the side so in the country there great but on they highway people beside me are not happy
heres an old pic these are 6000k i got 8000k right now

the light out put is alot better but like all fogs they are pointed to the side so in the country there great but on they highway people beside me are not happy
heres an old pic these are 6000k i got 8000k right now
05-28-2009, 05:54 PM
#32
01 Type-S, Sexy Silver
Here's a link to my project back a couple months ago, and some pics:
https://acurazine.com/forums/showthr...ighlight=Lexan
Fluffy you're absolutely right, after cutting my lights open with the dremel, I remember thinking that was the only way to get 'em opened.


https://acurazine.com/forums/showthr...ighlight=Lexan
Fluffy you're absolutely right, after cutting my lights open with the dremel, I remember thinking that was the only way to get 'em opened.
 05-28-2009, 11:47 PM
#39
Step 3: Sand down the exposed outer edge of the roadlamp housing and match up the freshly cut lexan. Sand down rough edges on lexan lens.
Step 4: VERY thin bead of epoxy around sanded edge of roadlamp housing (Too much and it'll ooze out into the housing as I learned the hard way). Use zip-ties or C-clamps to hold lens to housing. Housing is curved, lexan sheet isnt. Keep a steady hand and only set the new lens down once. The more you move it around, the wider the bead of epoxy will spread.
Step 5: After epoxy hardens, use plenty of silicone to keep water out (I wasn't generous enough the first time and had to do it again)
Step 6: Mask off lens except for outer edges where you can see the epoxy through the clear lexan.
Step 7: Sand down exposed front lexan edge (1/4 - 1/2 inch) and paint with color of choice.
Step 8: Wait for paint to dry, carefully remove masking tape, and re-install roadlamps.