
Engine Bay Pics


 11-12-2008, 02:27 PM
#5
Racer
Join Date: Oct 2006
Location: Somerville, ma
Age: 40
Posts: 270
Likes: 0
Received 0 Likes
on
0 Posts
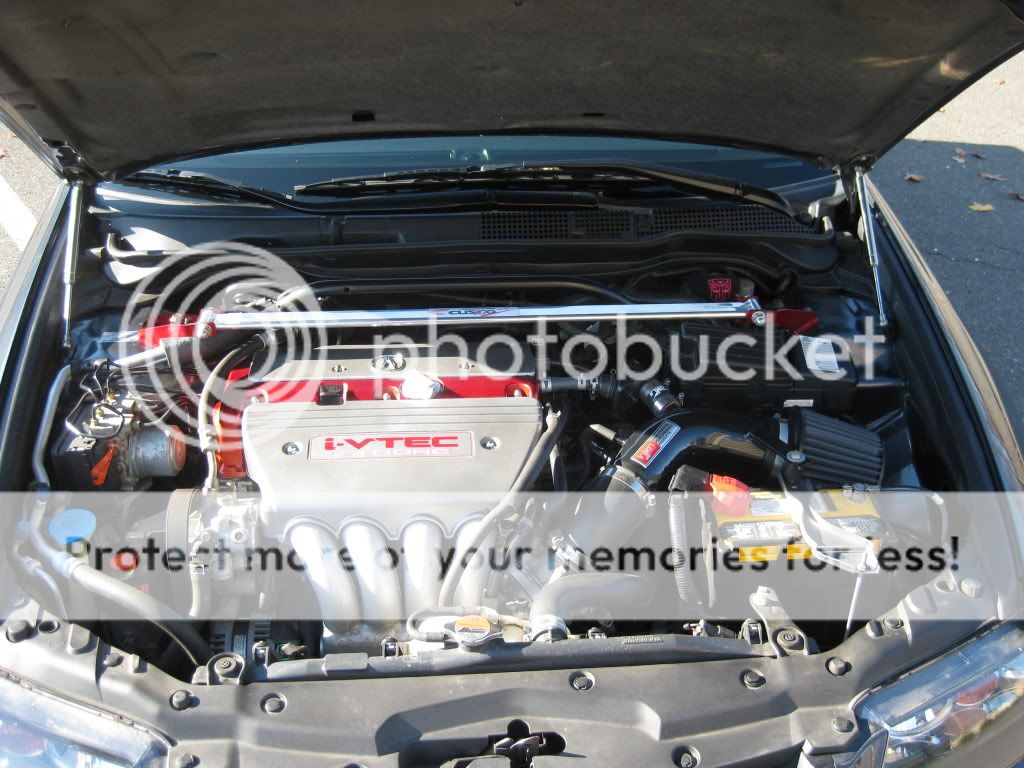
Looks good. I think it would look even better if you painted the silver cover black to match the rest of the stuff in there.... Someone on here painted that and the spark plug cover wrinkle black and it came out really good.
11-12-2008, 03:07 PM
#6
Instructor
Thread Starter
Join Date: May 2006
Location: NJ
Age: 43
Posts: 130
Likes: 0
Received 0 Likes
on
0 Posts
i was thinking of doing that but I might get the carbon kevlar mainfold cover & the spark plug cover to match. I am going to wait a little while to see if there is a good quality kevlar IM cover before I do anything with that.
11-12-2008, 05:29 PM
#7
JDM Addict
http://passwordjdm.com/PasswordJDM-C...X-P2579C0.aspx
the quality is actually very good.
but their true dry carbon process leaves waves in the weave on the piece.
but it's super strong and super light, the fitment is near perfect as well.
it's just the holes for the bolts can be drilled out a tad.
Trending Topics
11-12-2008, 05:31 PM
#8
boost owns
there is only one on the market.
http://passwordjdm.com/PasswordJDM-C...X-P2579C0.aspx
the quality is actually very good.
but their true dry carbon process leaves waves in the weave on the piece.
but it's super strong and super light, the fitment is near perfect as well.
it's just the holes for the bolts can be drilled out a tad.
http://passwordjdm.com/PasswordJDM-C...X-P2579C0.aspx
the quality is actually very good.
but their true dry carbon process leaves waves in the weave on the piece.
but it's super strong and super light, the fitment is near perfect as well.
it's just the holes for the bolts can be drilled out a tad.
We'll see...
11-12-2008, 05:35 PM
#9
boost owns
My contribution:
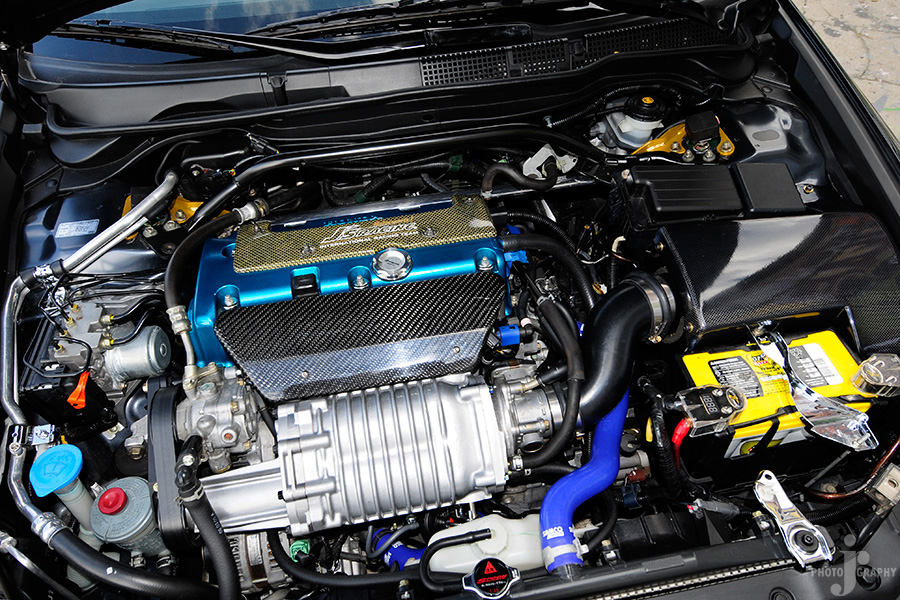
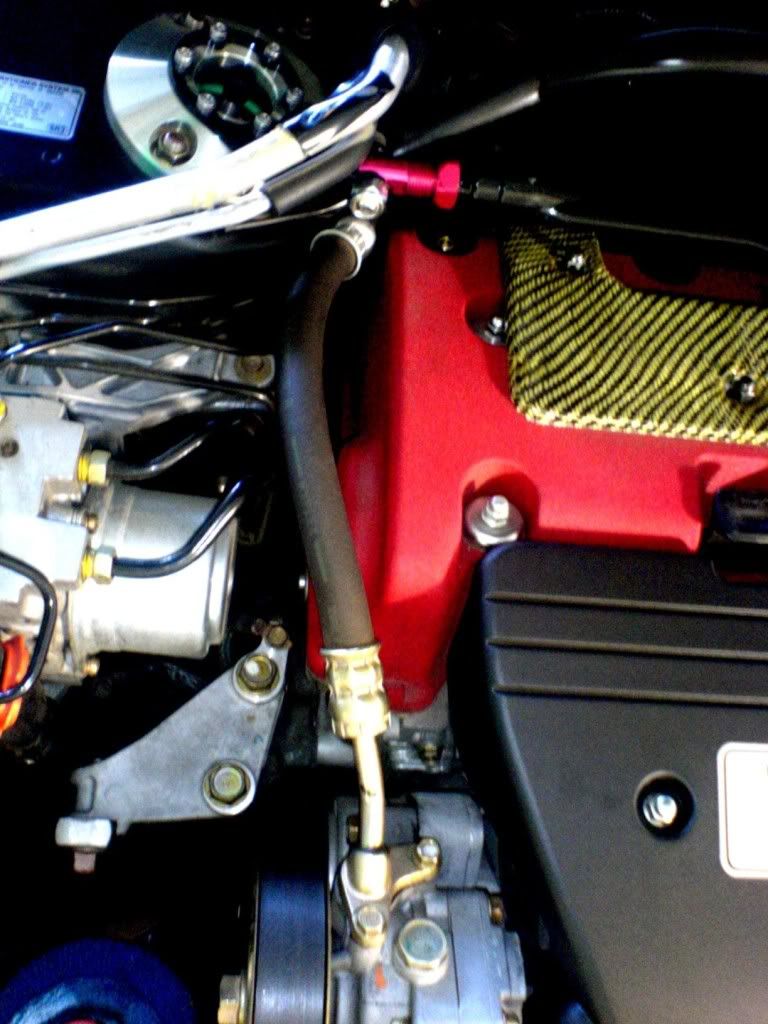
Painted the Cusco brackets and valvecover myself. They came out alright - could definitely be better. I wish I'd put a few more coats of red and some clear on the valve cover. As for the Cusco brackets, even thought I prepped them, laid down many coats of red and clear, the paint still cracked off when I torqued the nuts down, so it looks like shit up close. Not sure what I'll do with it from here.
I figure whether I go blower or turbo, I'm still going to complete the look with cf sparkplug + intake manifold covers... black and red, baby.

 [/IMG]
 . Can't wait to work on mine.
12-02-2008, 12:20 PM
. Can't wait to work on mine.
12-02-2008, 12:20 PM
#15
Moderator
Regional Coordinator (Southeast)
Regional Coordinator (Southeast)
Join Date: Dec 2003
Location: Mooresville, NC
Age: 38
Posts: 43,593
Received 3,791 Likes
on
2,555 Posts


 12-04-2008, 02:23 PM
#20
Drifting

Join Date: Aug 2007
Location: Pittsburgh, PA
Age: 46
Posts: 2,548
Likes: 0
Received 5 Likes
on
5 Posts
It's kind of smelly, especially at first, so if the oven falls under the domain of the woman of the house, best do it when she's not going to be around for a while. For some reason, they don't tend to appreciate it so much.
12-06-2008, 11:37 PM
#24
Team Hybrid
Join Date: May 2005
Location: Orange, CA
Posts: 312
Likes: 0
Received 0 Likes
on
0 Posts
 12-07-2008, 10:05 AM
#25
boost owns
If you ever get up the gumption to mess with those pieces again, try baking them 24 hours after the last coat has been applied. Put em in the oven for 2 hours at about 120 F then another hour at about 180 F. I've done this on a ton of smaller motorcycle parts and the paint ends up being almost as durable as powder coating.
It's kind of smelly, especially at first, so if the oven falls under the domain of the woman of the house, best do it when she's not going to be around for a while. For some reason, they don't tend to appreciate it so much.
It's kind of smelly, especially at first, so if the oven falls under the domain of the woman of the house, best do it when she's not going to be around for a while. For some reason, they don't tend to appreciate it so much.
12-17-2008, 10:18 AM
#27

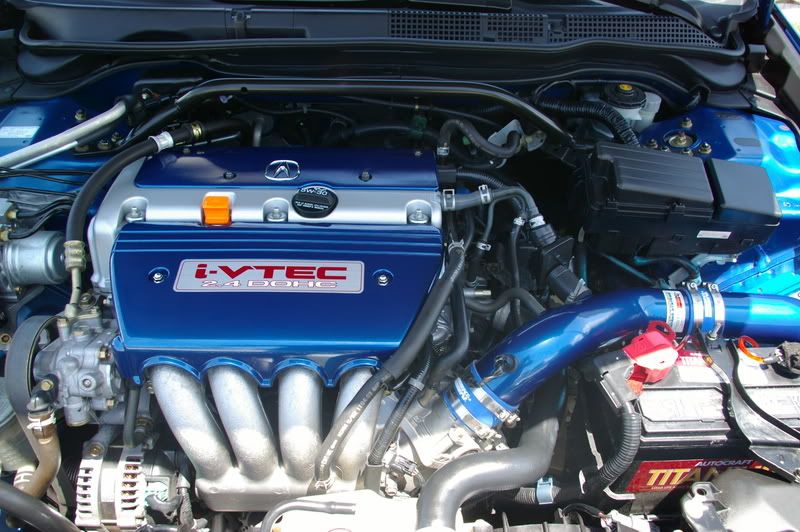
Mine is incredibly unimpressive at the moment since I just took ownership of the car. I will be detailing it and making some new additions in the spring but for now this is the only thing under the hood worth taking a photo of. Apexi SRI


 12-18-2008, 12:25 PM
#30
Team Hybrid
Join Date: May 2005
Location: Orange, CA
Posts: 312
Likes: 0
Received 0 Likes
on
0 Posts
 12-18-2008, 11:02 PM
#31
Moderator
Regional Coordinator (Southeast)
Regional Coordinator (Southeast)
Join Date: Dec 2003
Location: Mooresville, NC
Age: 38
Posts: 43,593
Received 3,791 Likes
on
2,555 Posts
12-22-2008, 04:59 AM
#32
I am actually a mechanic noob.. so do you hav to clamp the hose before you remove it?? Otherwise the power steering fuel will leak out right?? That does look a lot cleaner, notice any difference in the power steering? After I got the struct bar installed, my friend said that when I turn my steering wheel, the rev would go up.
12-22-2008, 06:58 AM
#33
Team Hybrid
Join Date: May 2005
Location: Orange, CA
Posts: 312
Likes: 0
Received 0 Likes
on
0 Posts
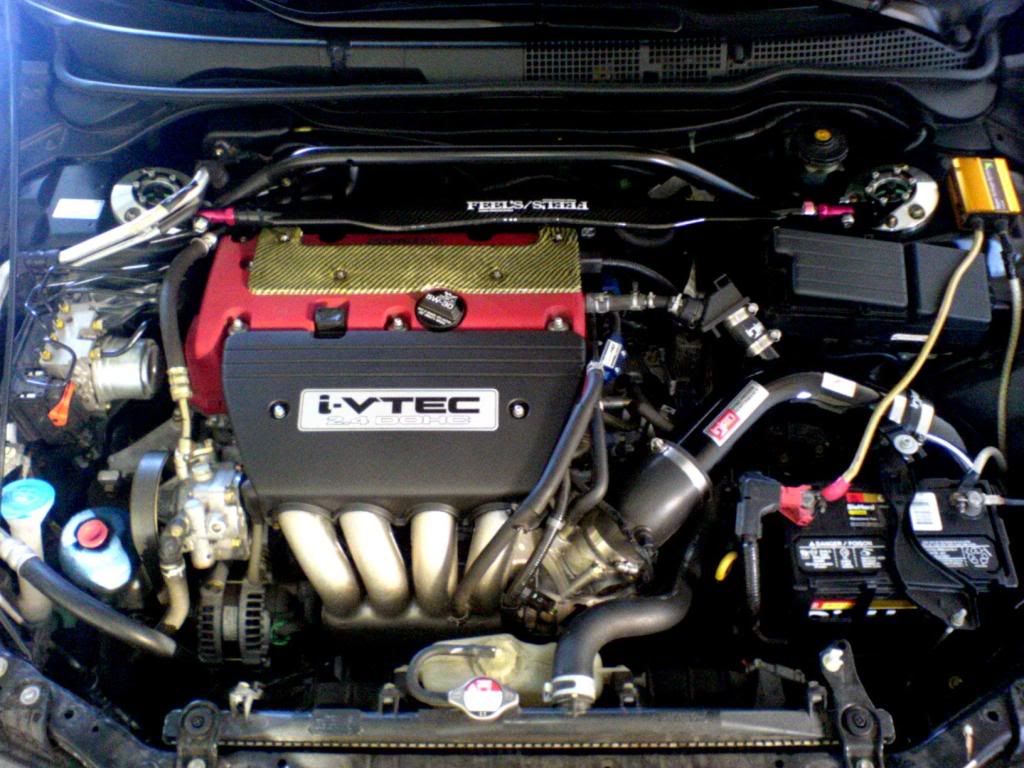
Nice, you got the FEELS car as well??
I am actually a mechanic noob.. so do you hav to clamp the hose before you remove it?? Otherwise the power steering fuel will leak out right?? That does look a lot cleaner, notice any difference in the power steering? After I got the struct bar installed, my friend said that when I turn my steering wheel, the rev would go up.
I am actually a mechanic noob.. so do you hav to clamp the hose before you remove it?? Otherwise the power steering fuel will leak out right?? That does look a lot cleaner, notice any difference in the power steering? After I got the struct bar installed, my friend said that when I turn my steering wheel, the rev would go up.
I didnt clamp the hose. I just act quick and stick something to fill the hole... drained some fluid when I was doing that, but it doesnt effect anything. My power steering oil is still at "max" level.
02-06-2009, 11:26 AM
#40
-Nick-
Join Date: Mar 2008
Location: So Cal
Age: 34
Posts: 212
Likes: 0
Received 0 Likes
on
0 Posts
