Year In Review a.k.a. 03tLsNBP's Progress Thread (56K unfriendly)
 01-14-2011, 01:20 AM
#1
MechEng
Thread Starter
iTrader: (9)
Year In Review a.k.a. 03tLsNBP's Progress Thread (56K unfriendly)
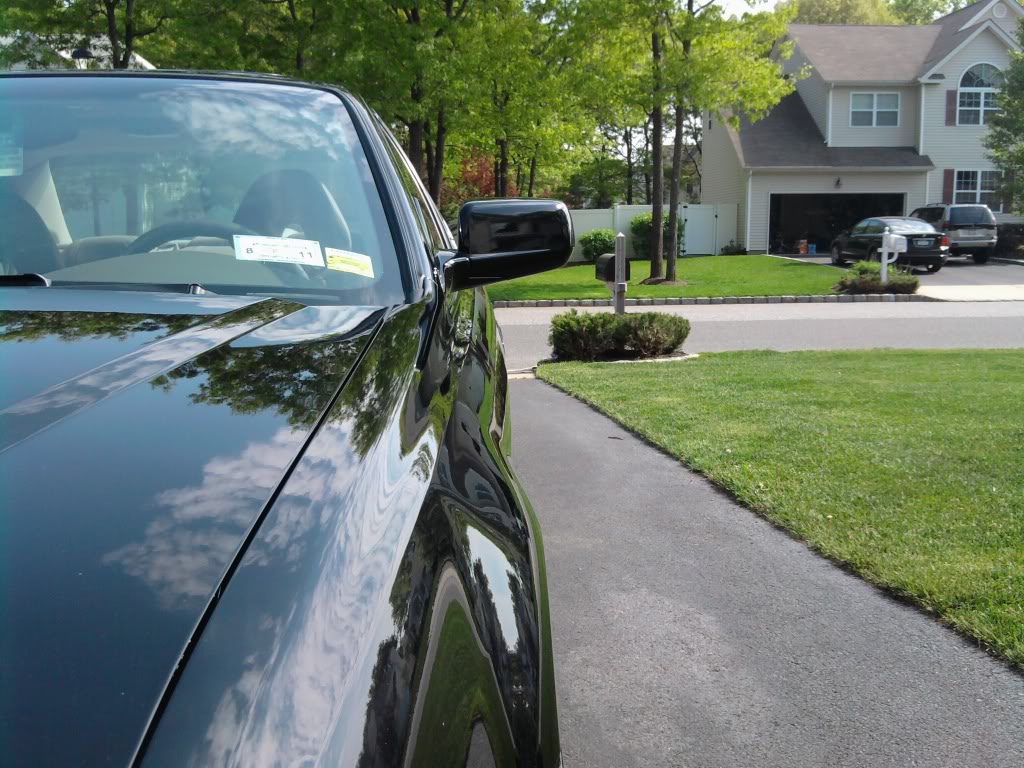
Well it’s been about one year since I got my 2003 Acura TL-S and joined Acurazine. It has been quite a journey. Here is an overview of what I have accomplished so far
JANUARY 2010
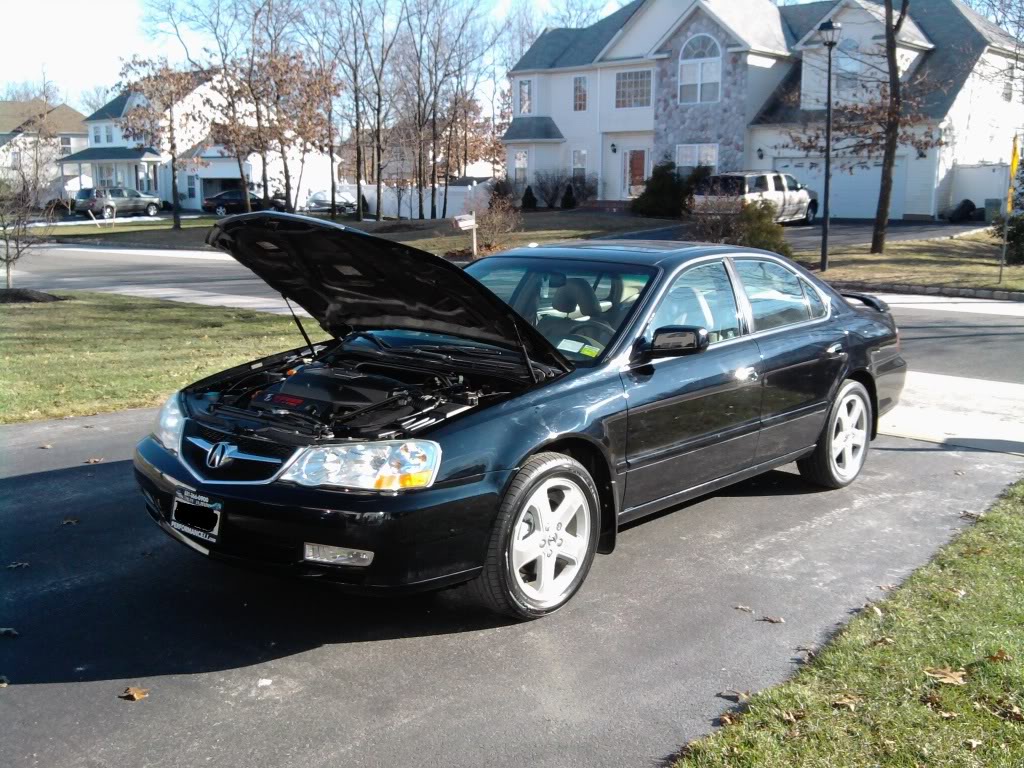
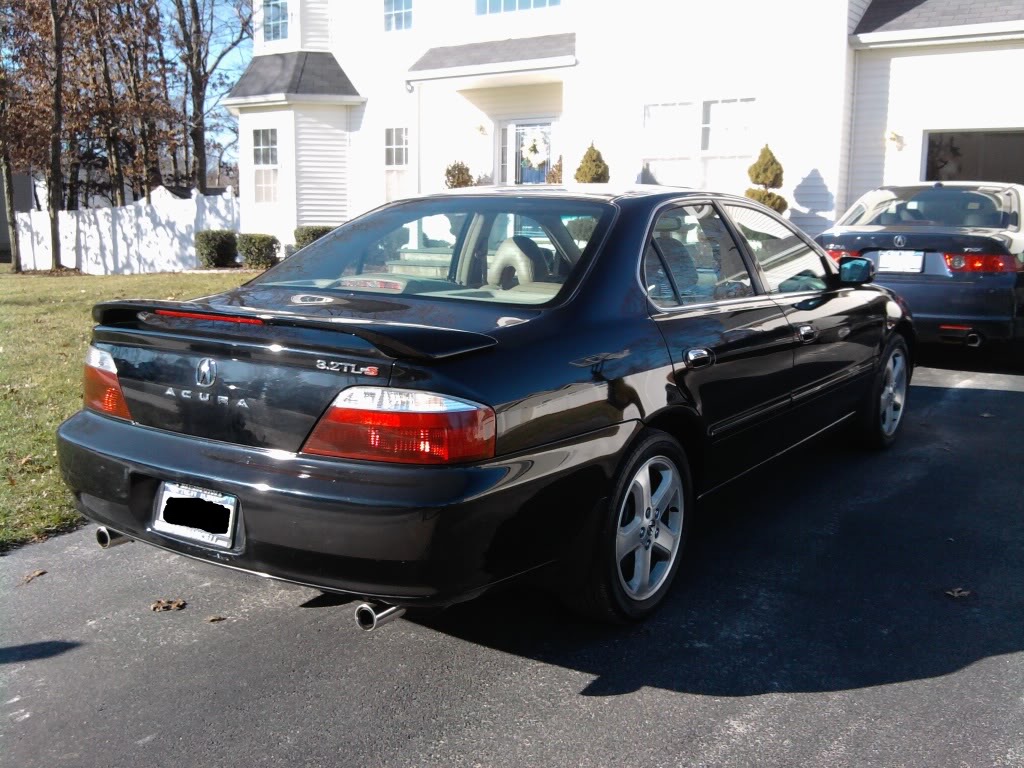
Pics from dealership
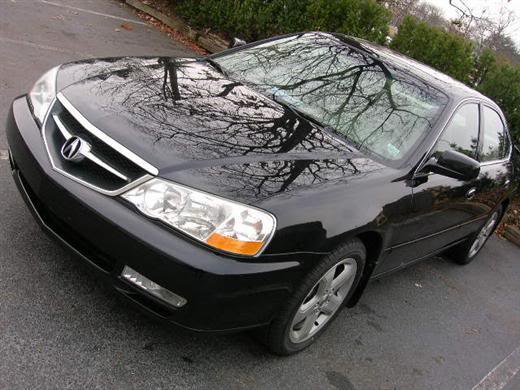
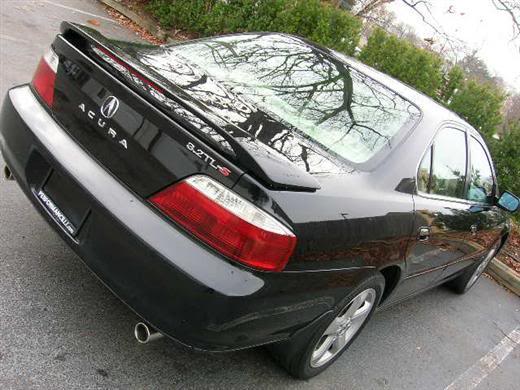
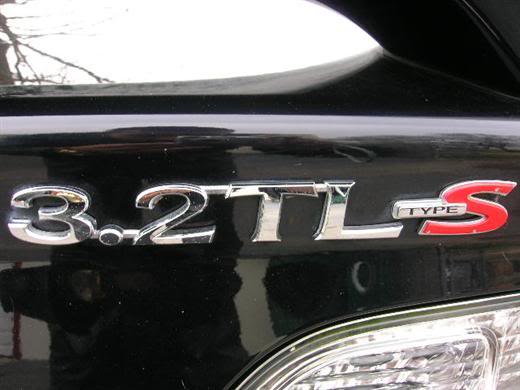
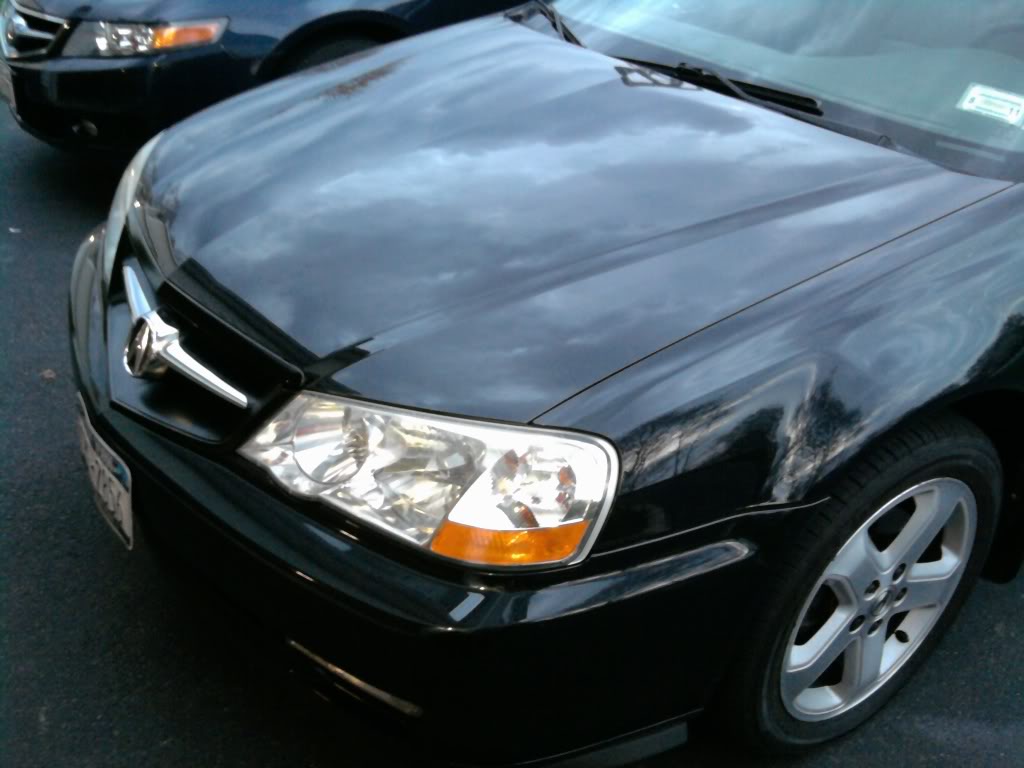
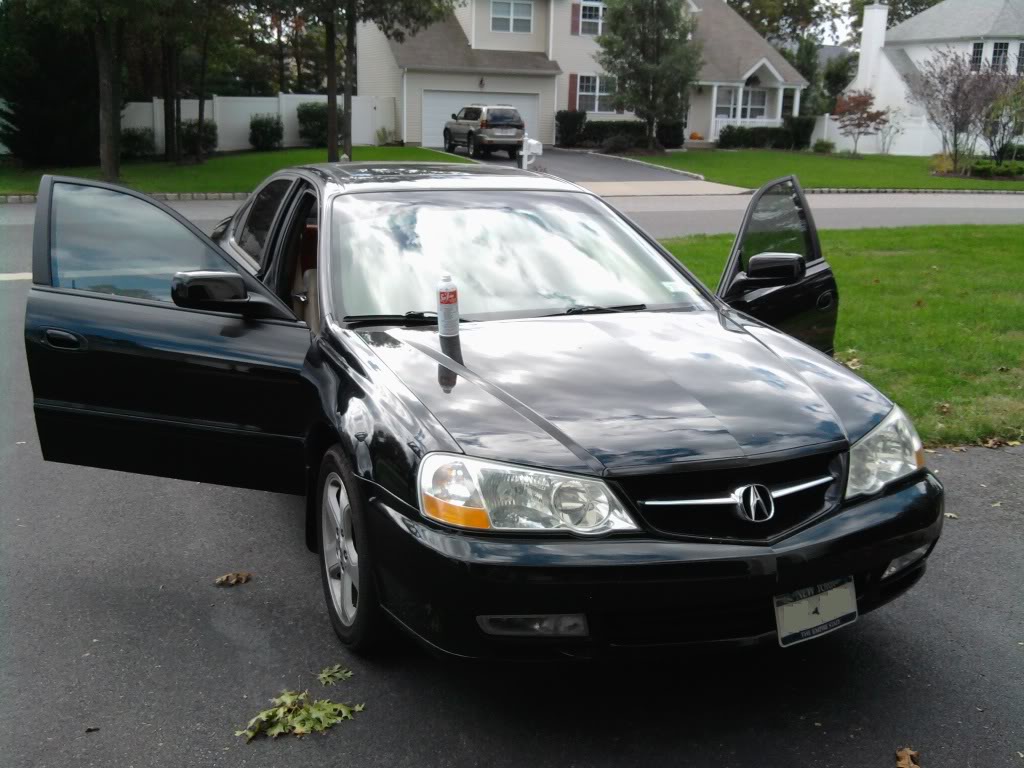
Day I brought it home 1/25/10

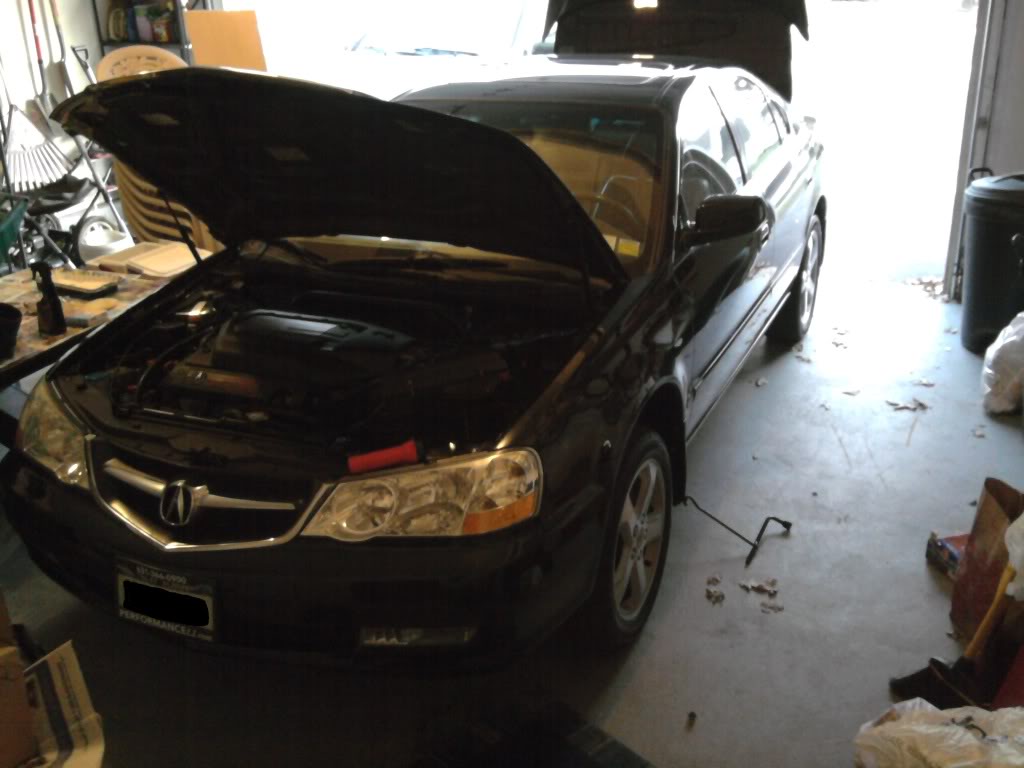
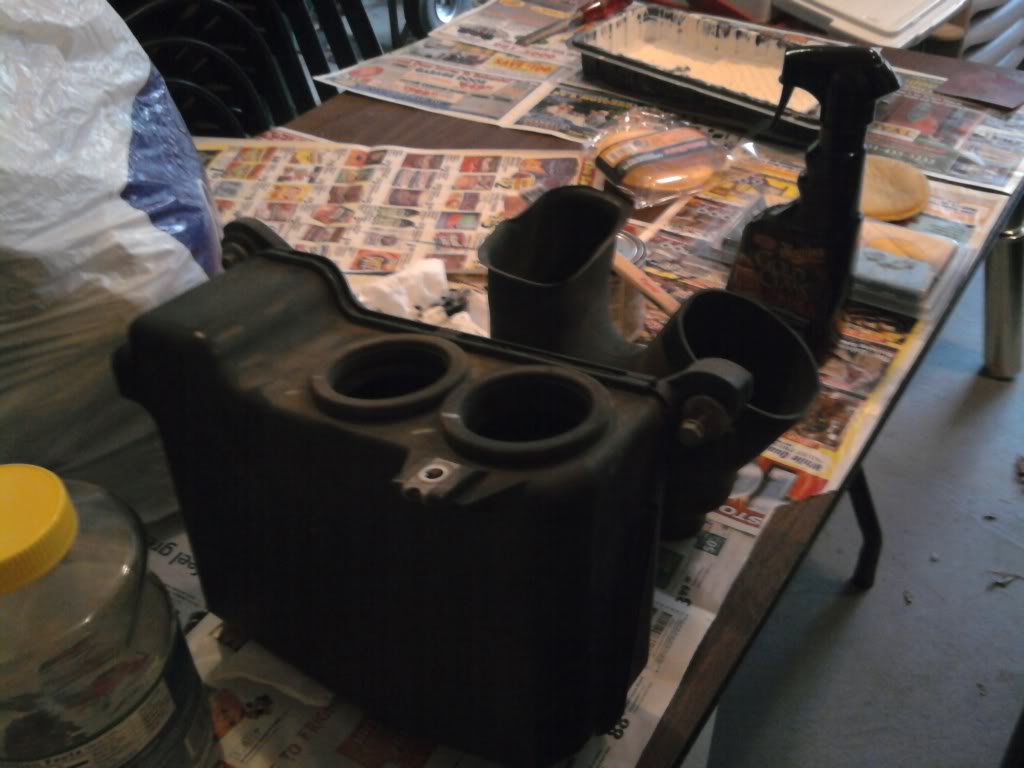
First mod: Intake Resonator Removal
Pretty easy to do and I did it on my TSX and RDX
Cleaned and conditioned leather and interior
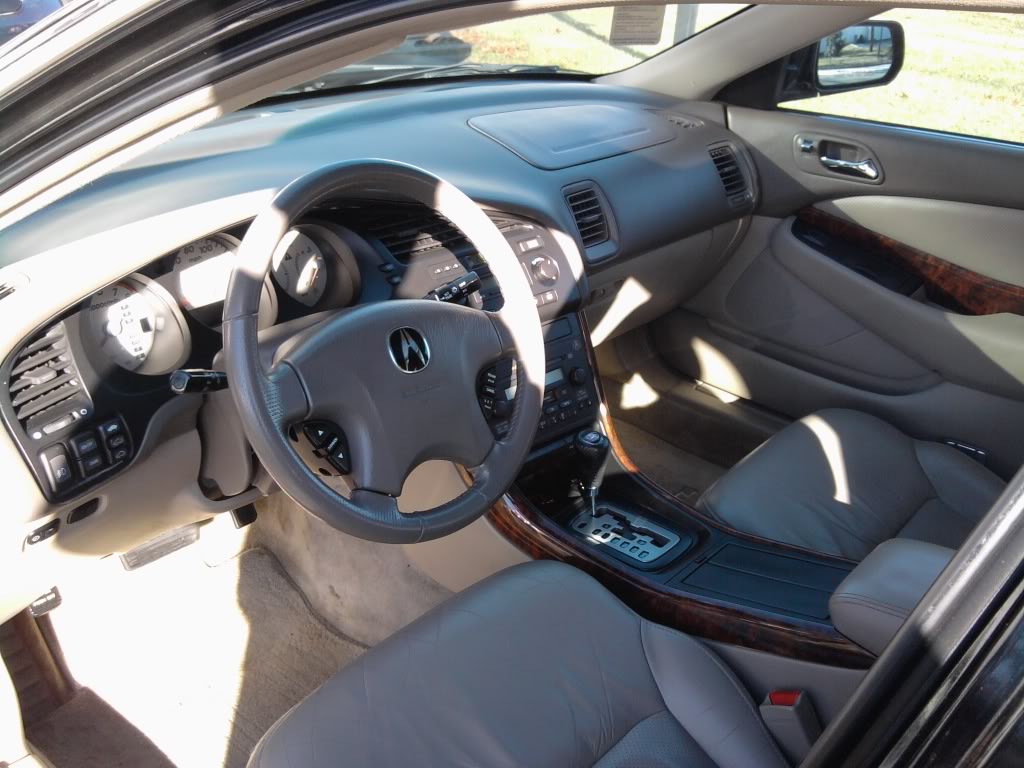
First amateur wash
FEBRUARY 2010
The mods start picking up…
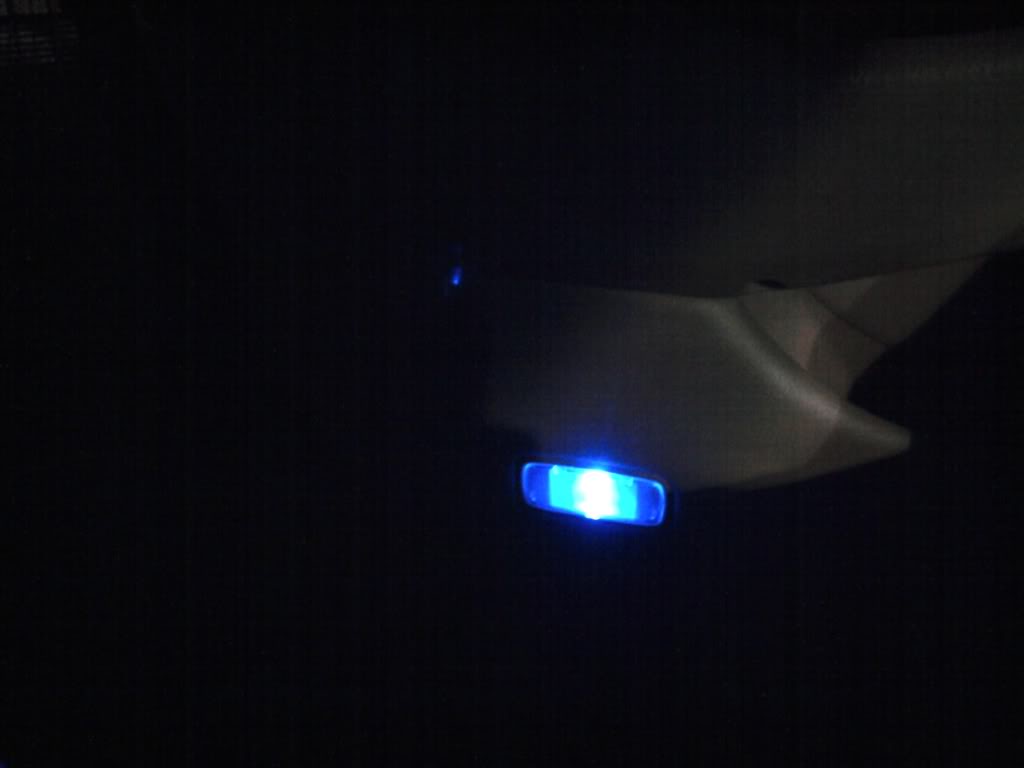
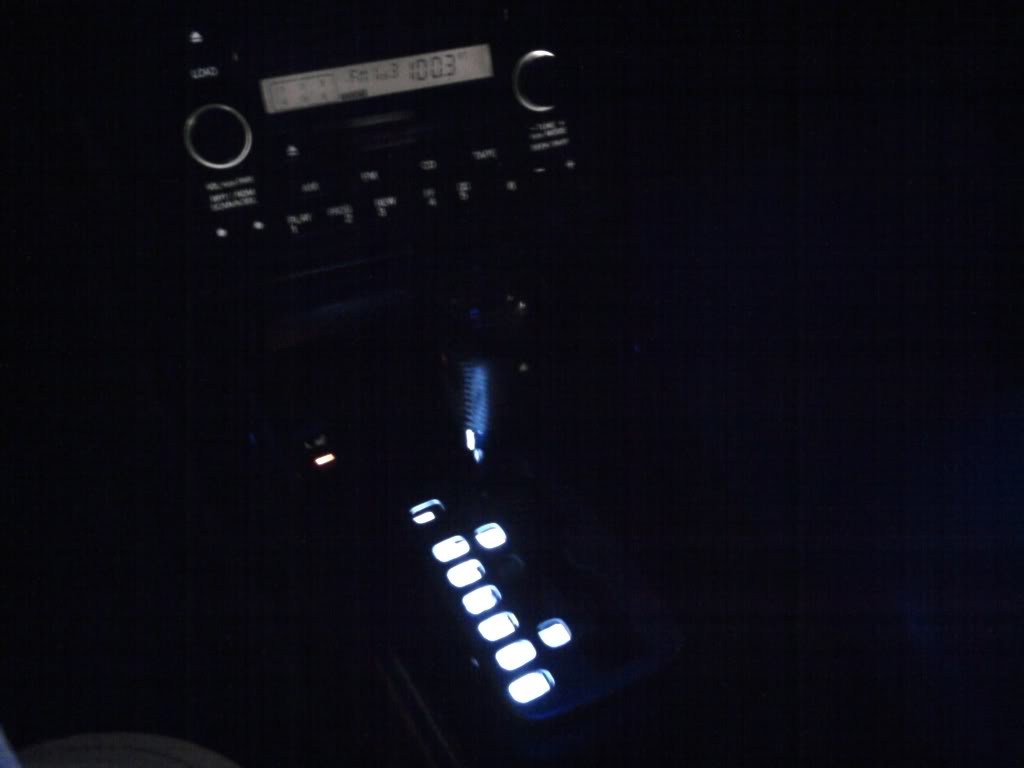
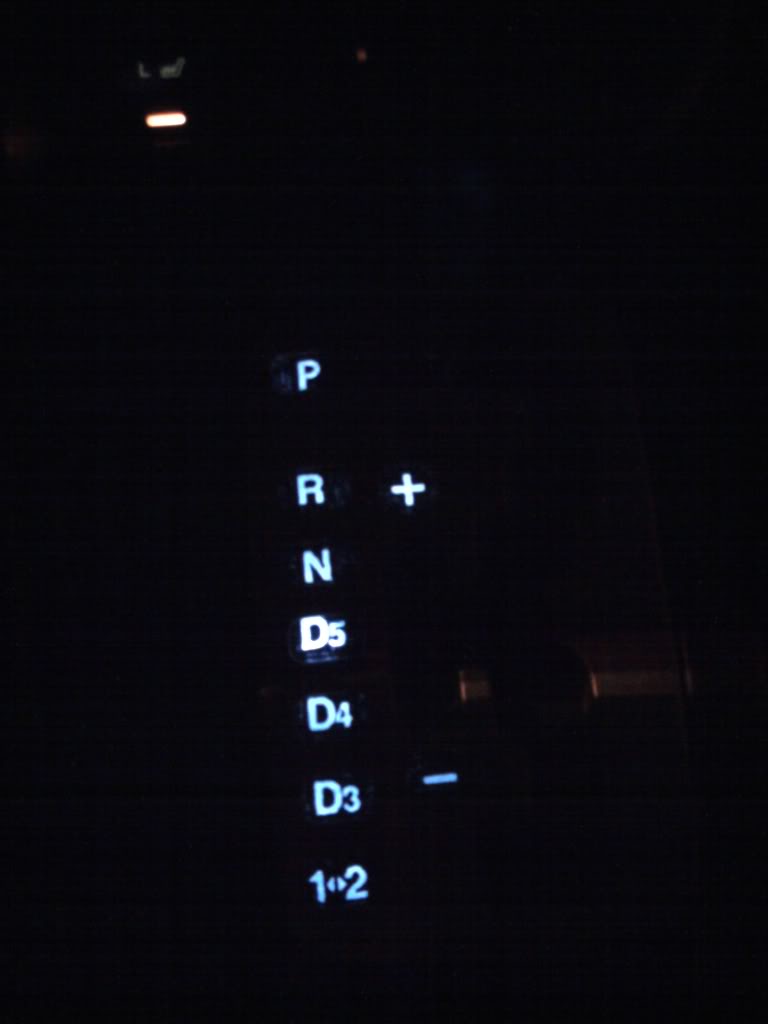
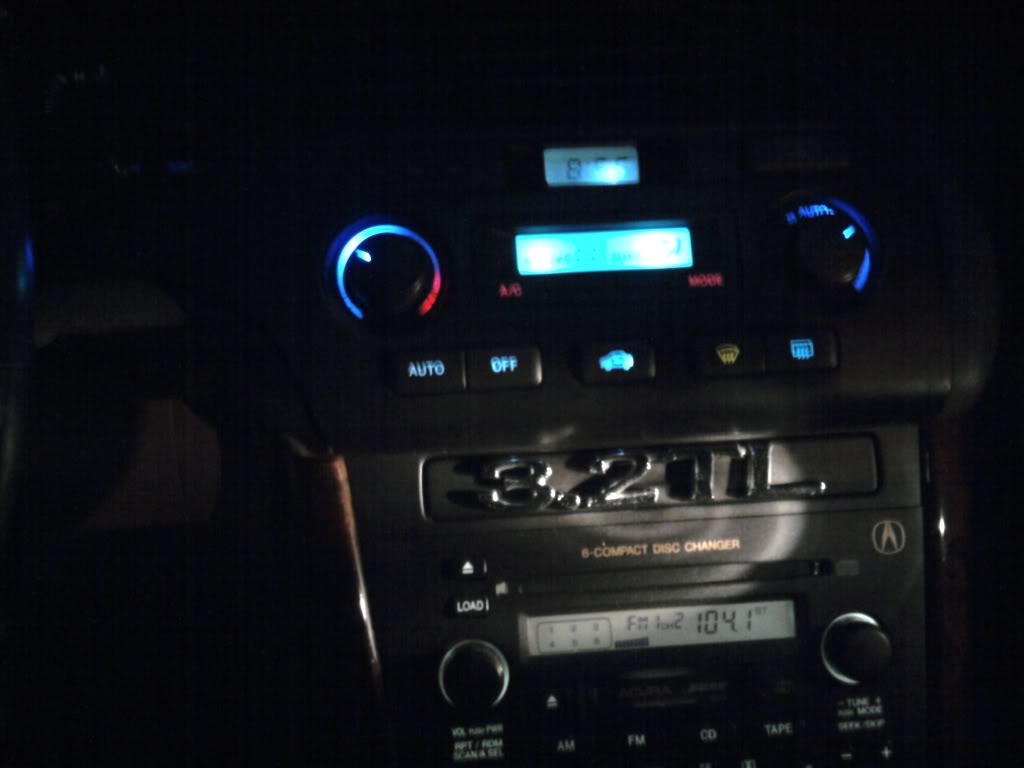
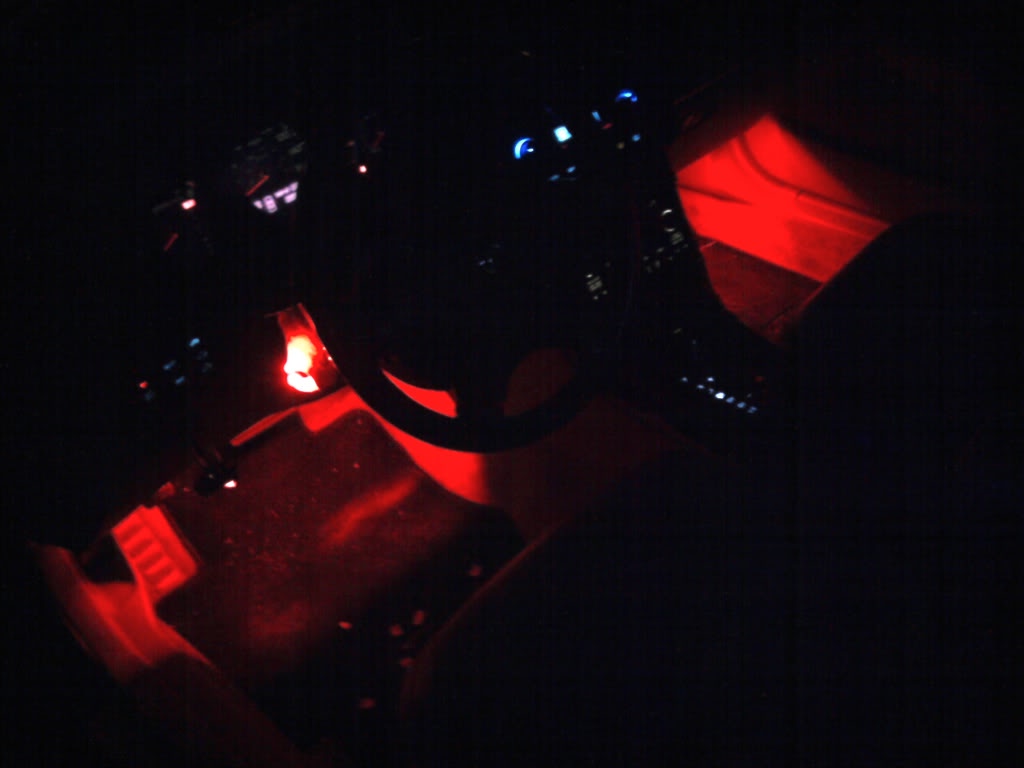
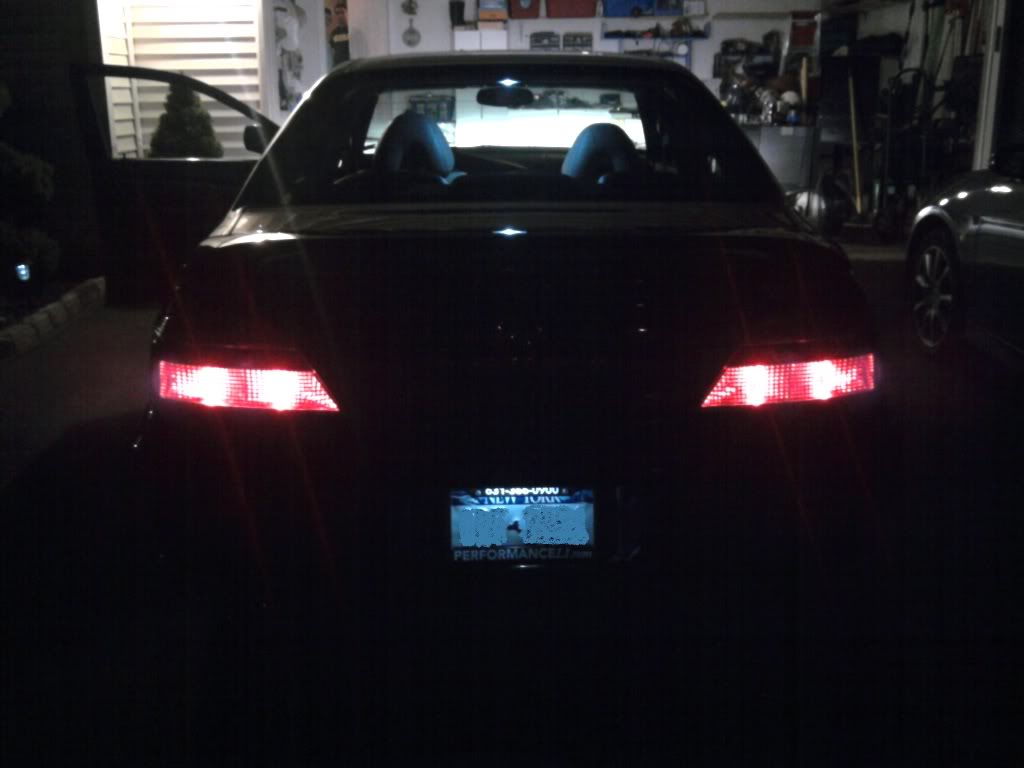
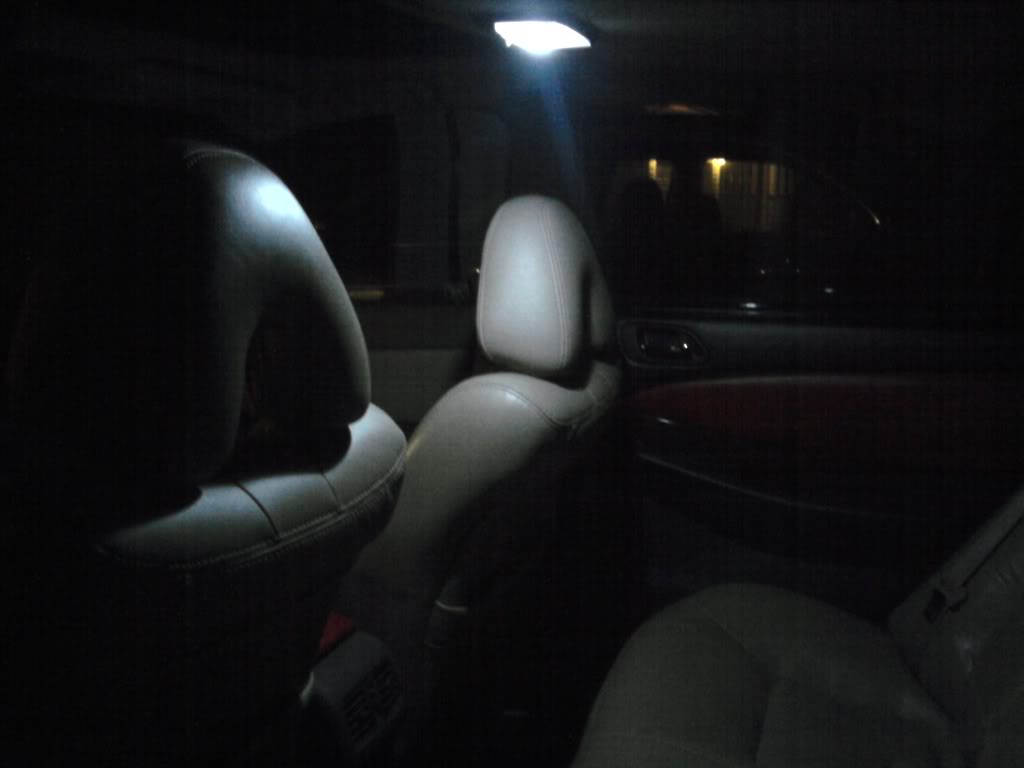
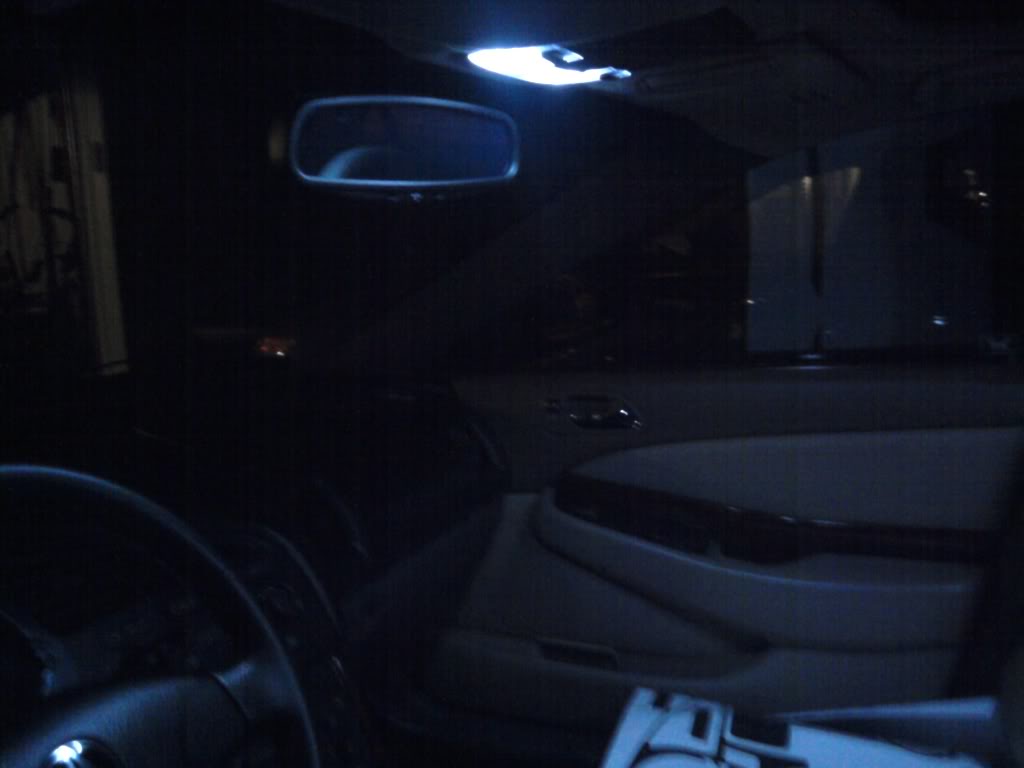
LED Interior
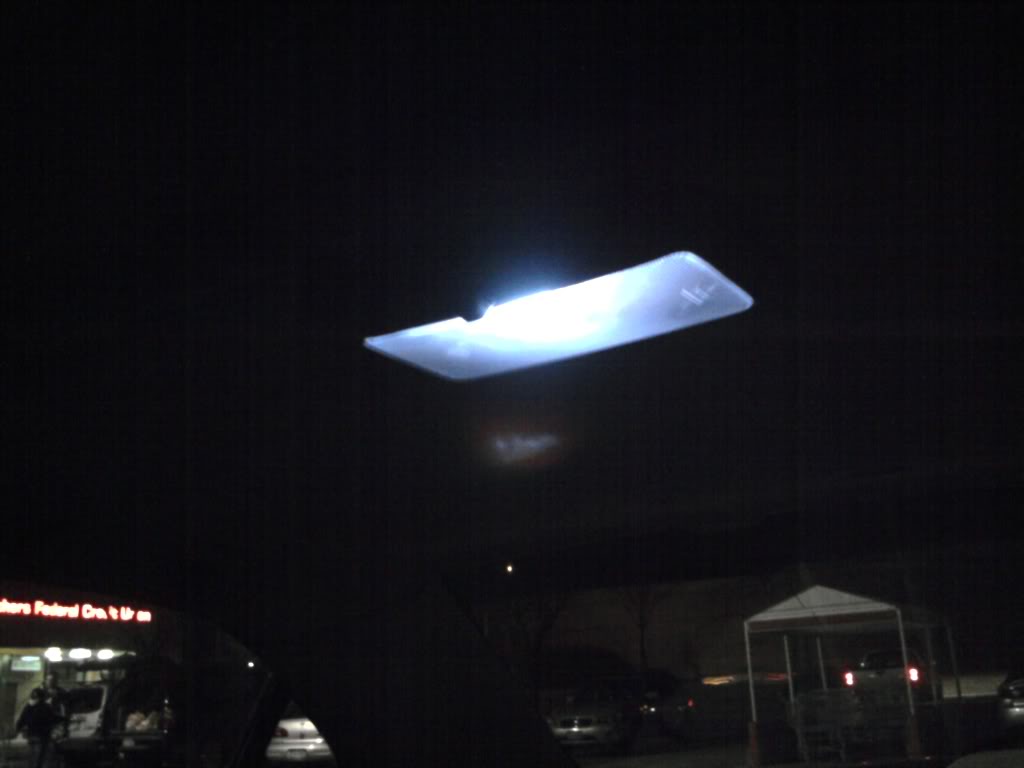
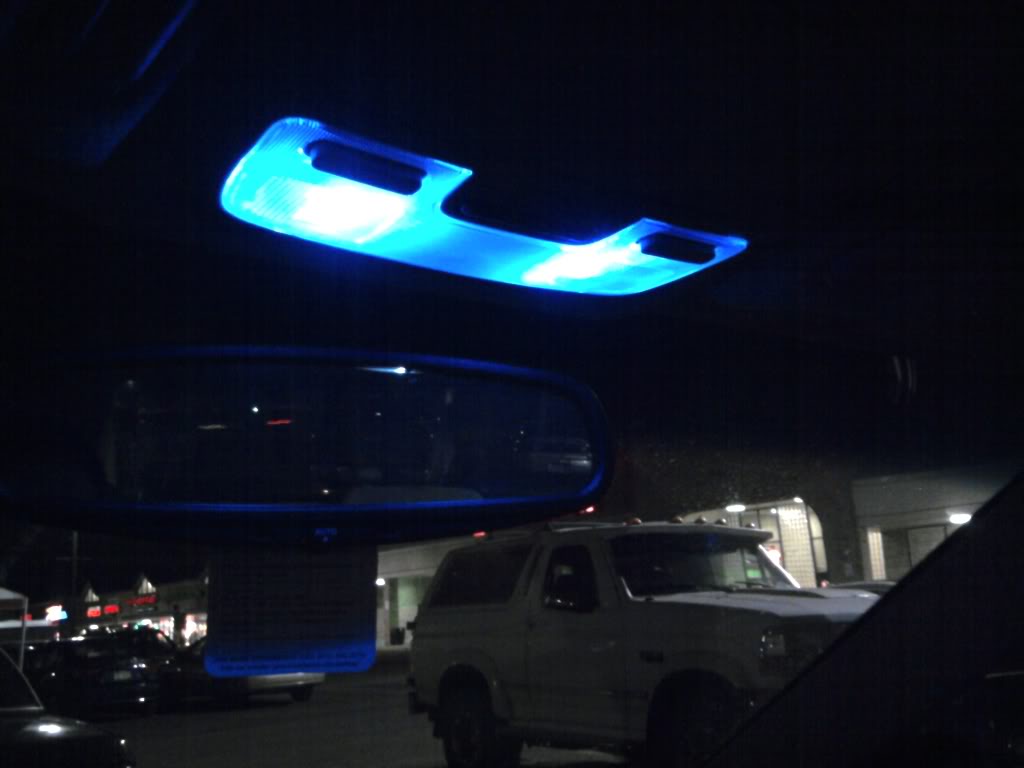
Custom LED shift gate made from printer paper and permanent marker
3A Racing Tips
Before:

After:

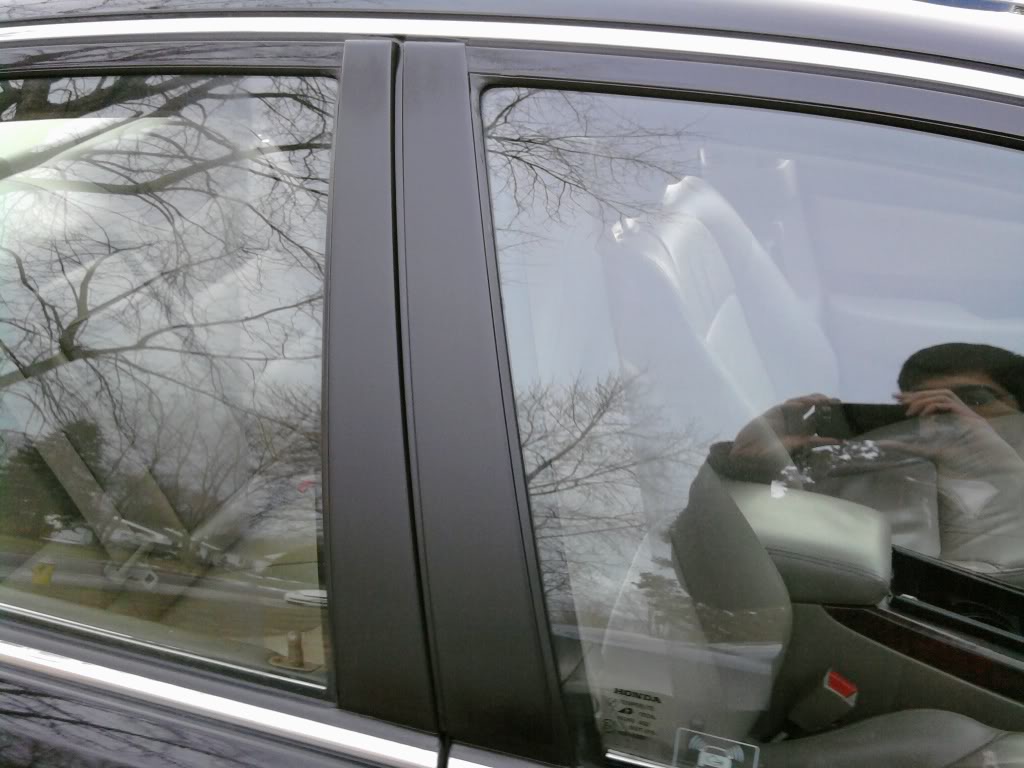
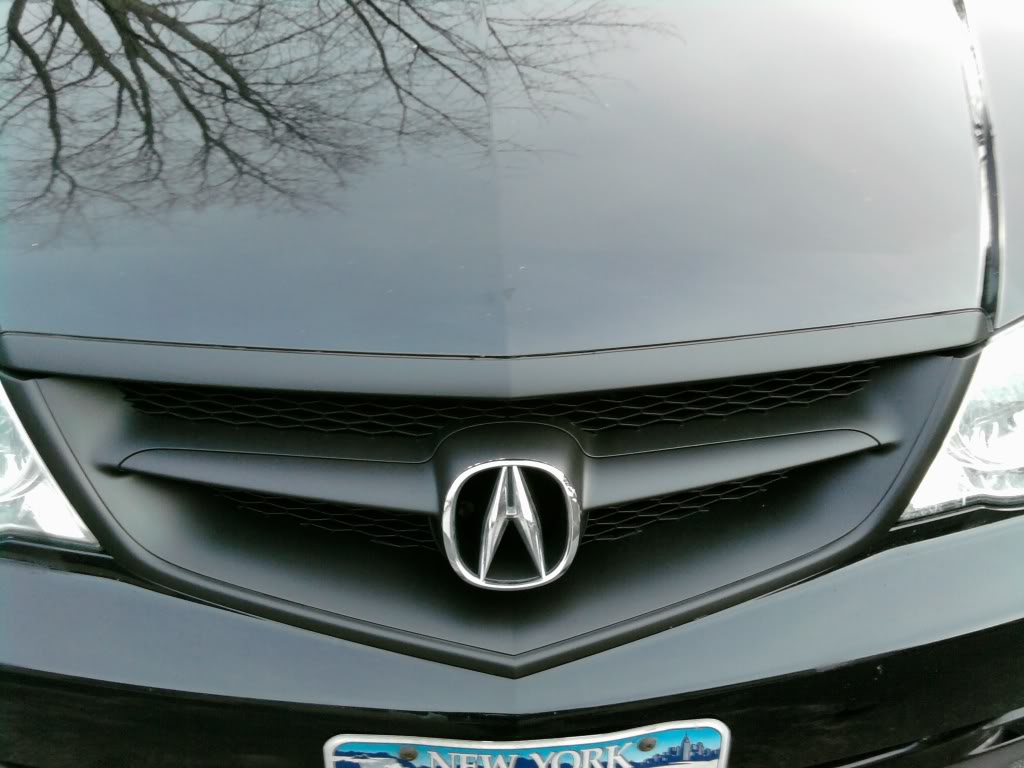
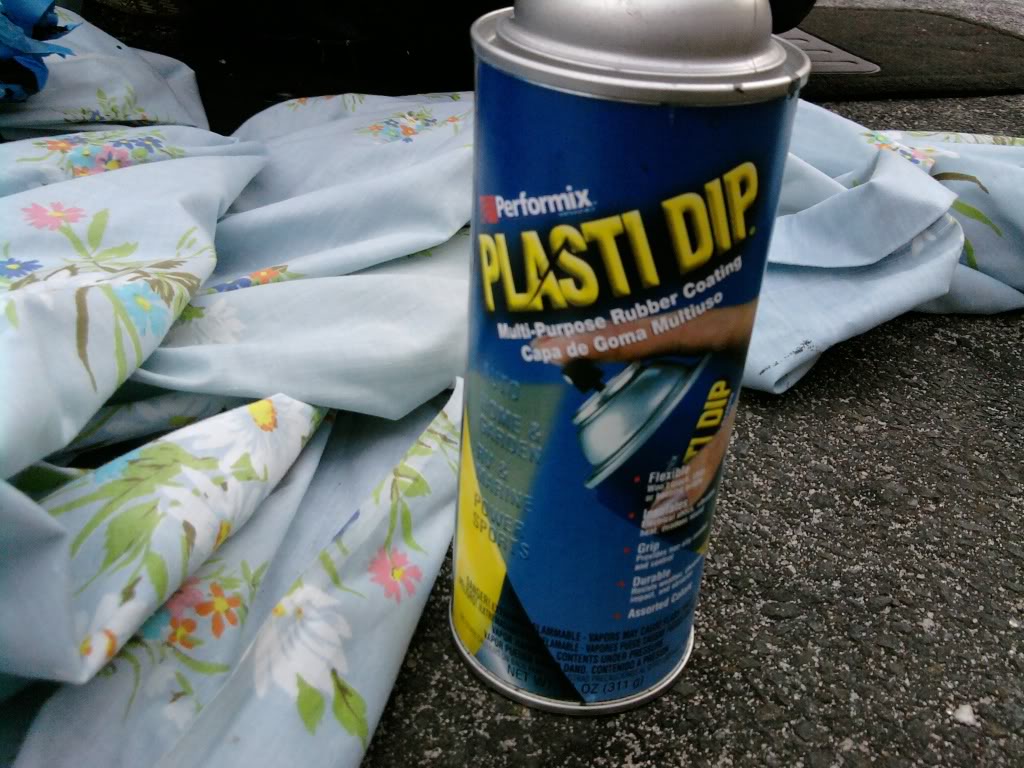
Experimenting with Plasti-dip…
B- Pillars
Grille
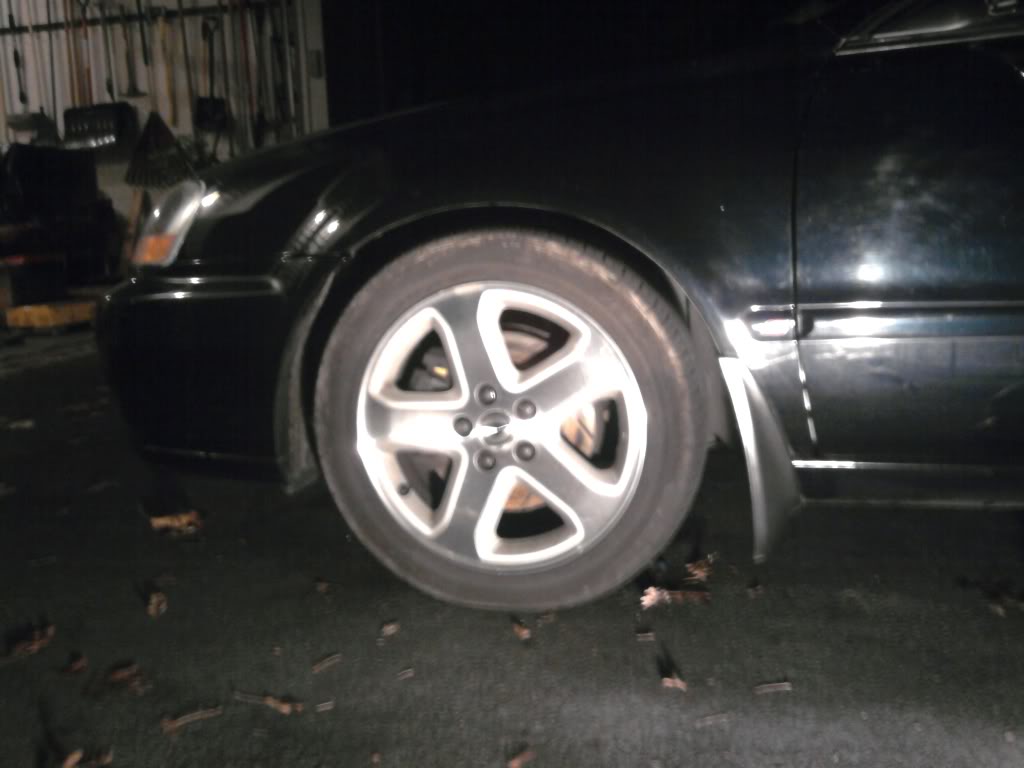
Wheels
HD Lip
I figured, 10 bucks, what the hell why not try it.
MARCH 2010
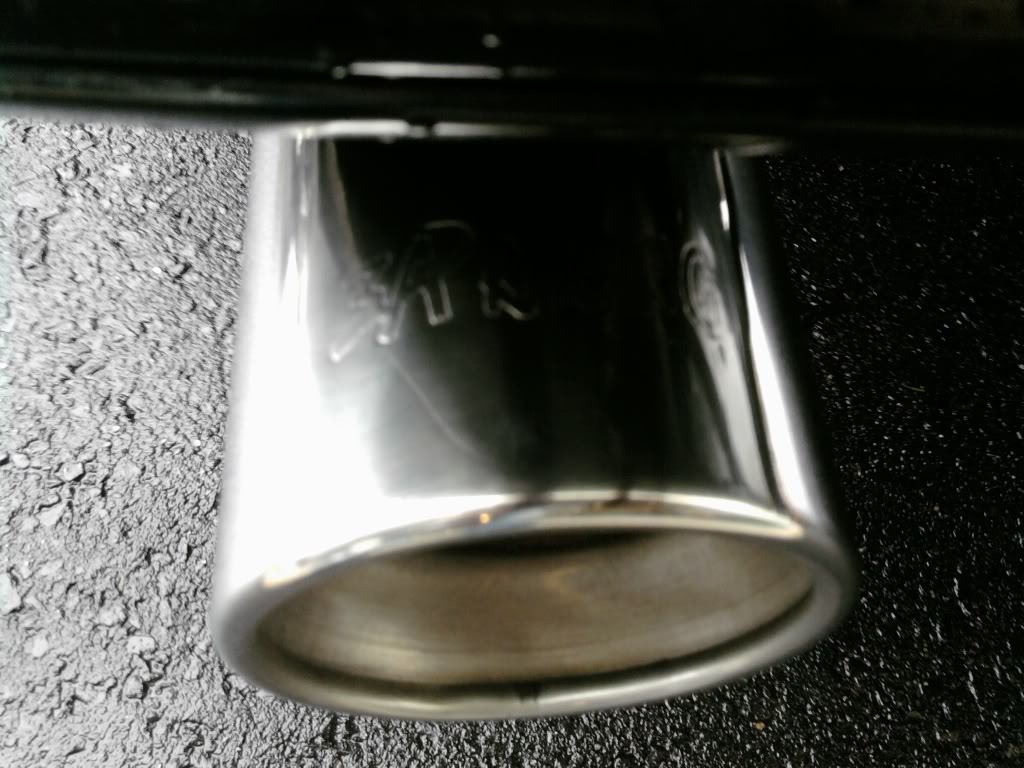
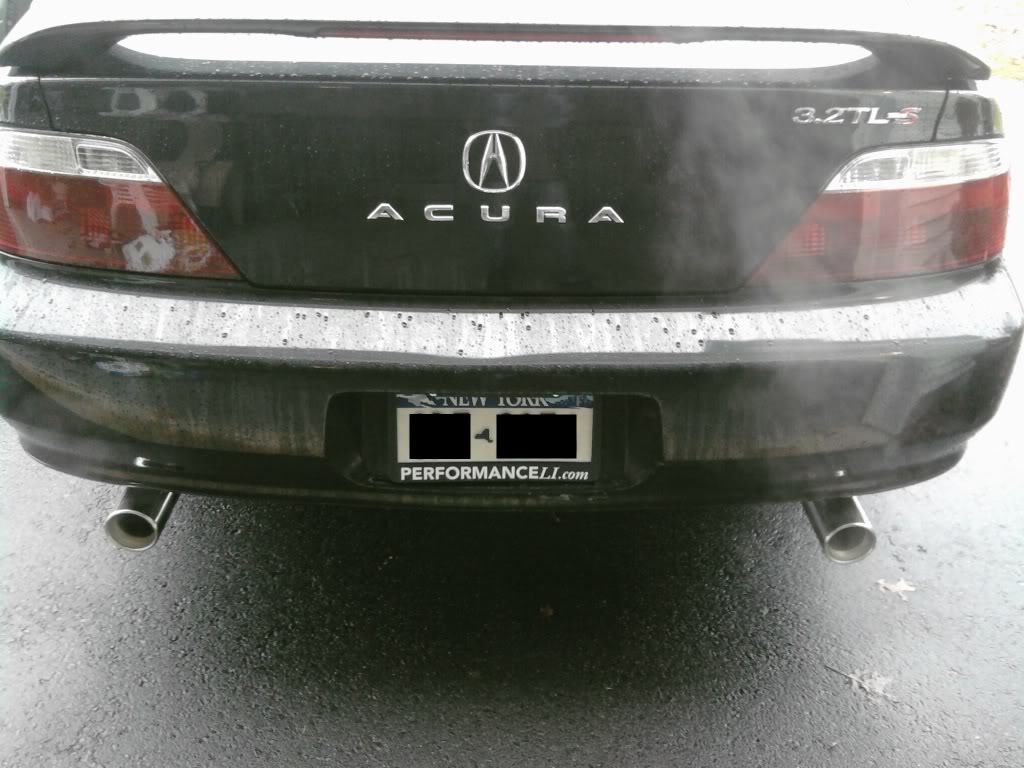
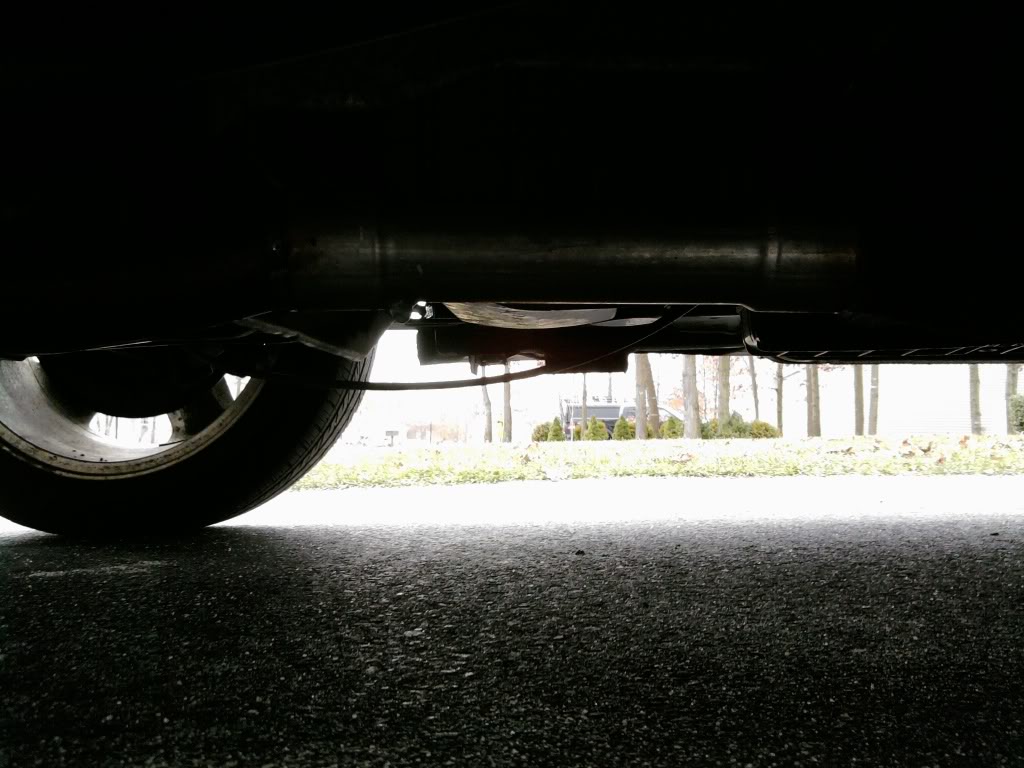
Mid-Muffler Removal
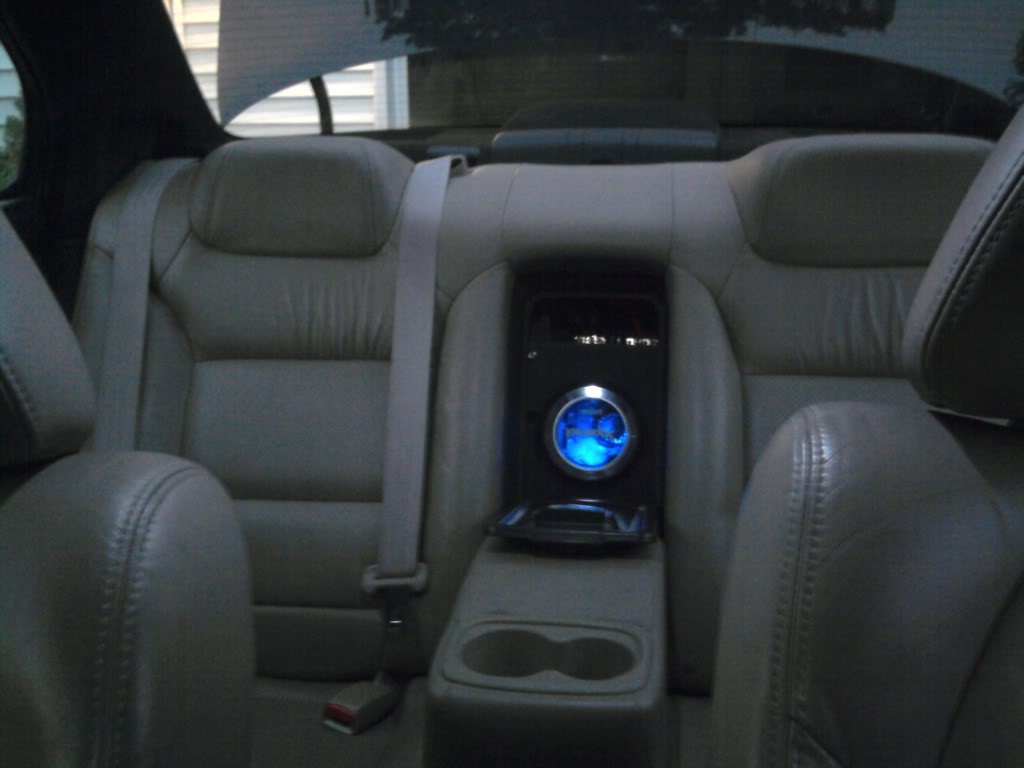
LED cupholders and rear vents
More fun with LEDs
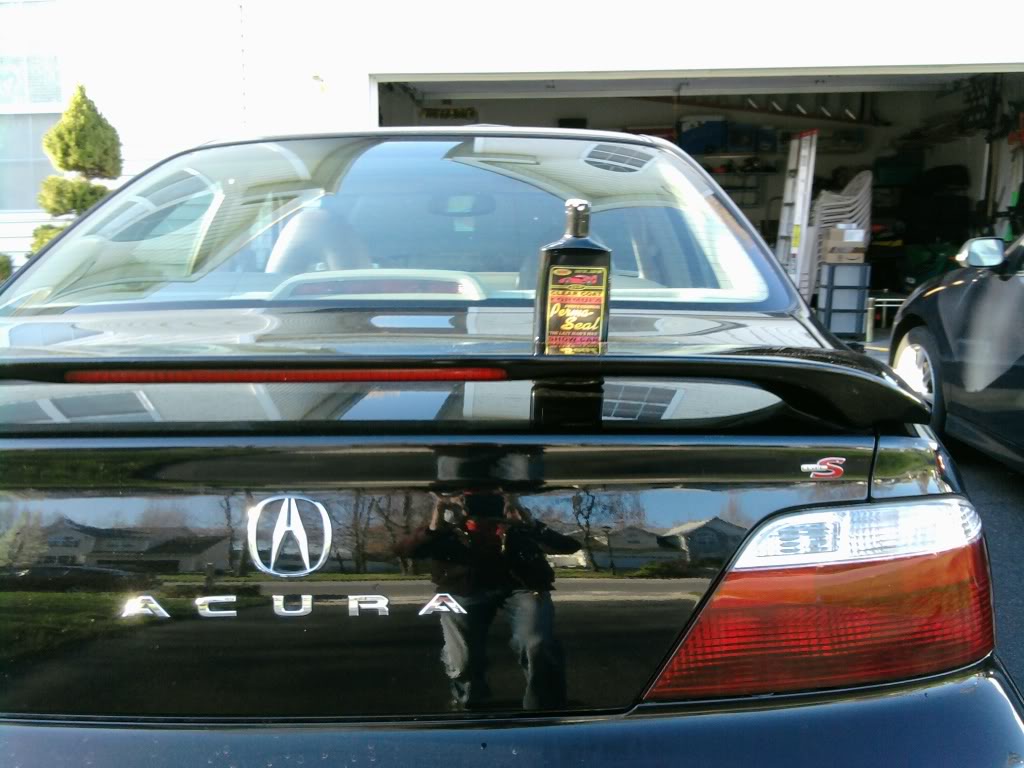
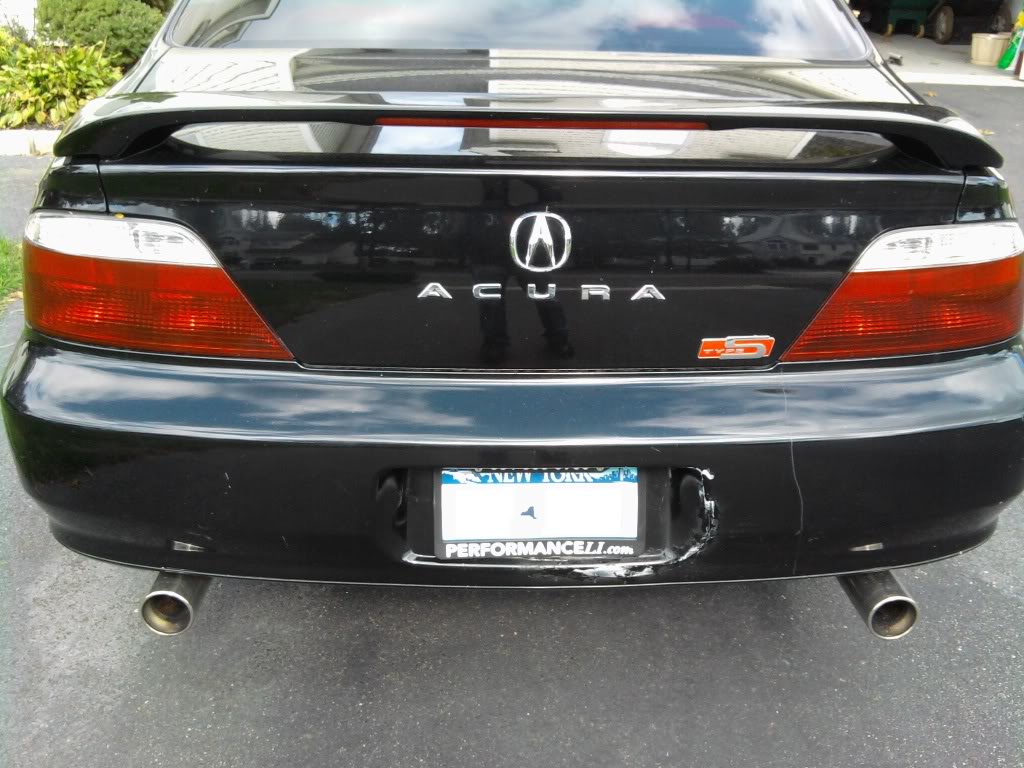
Partial debadge
APRIL 2010
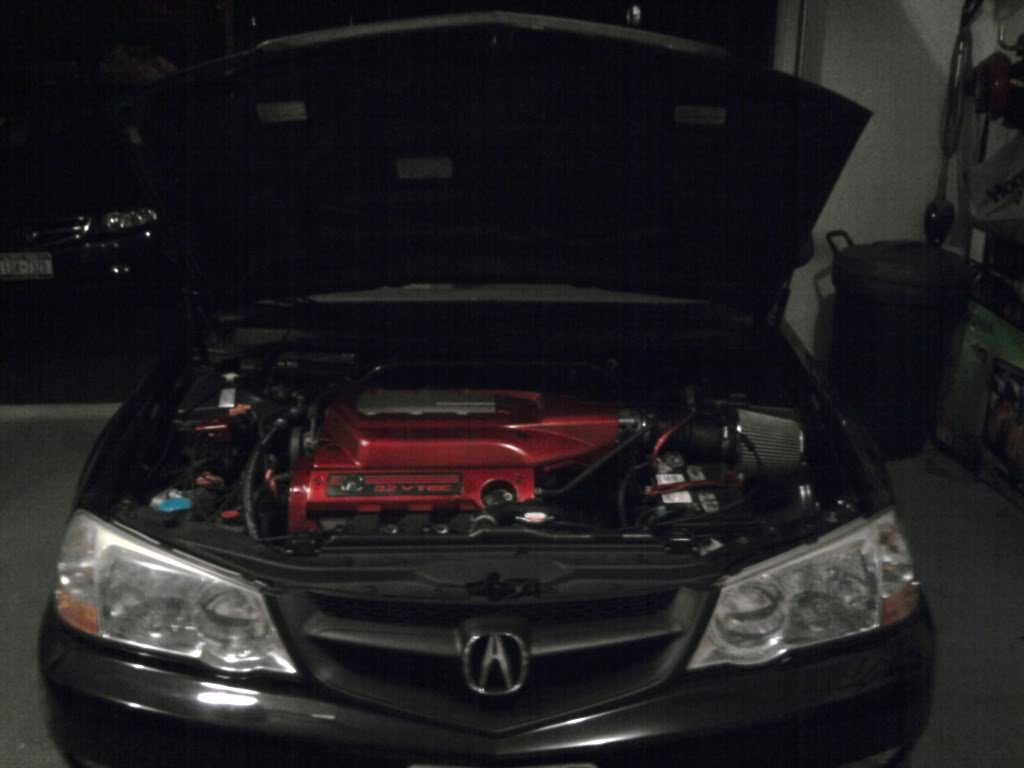
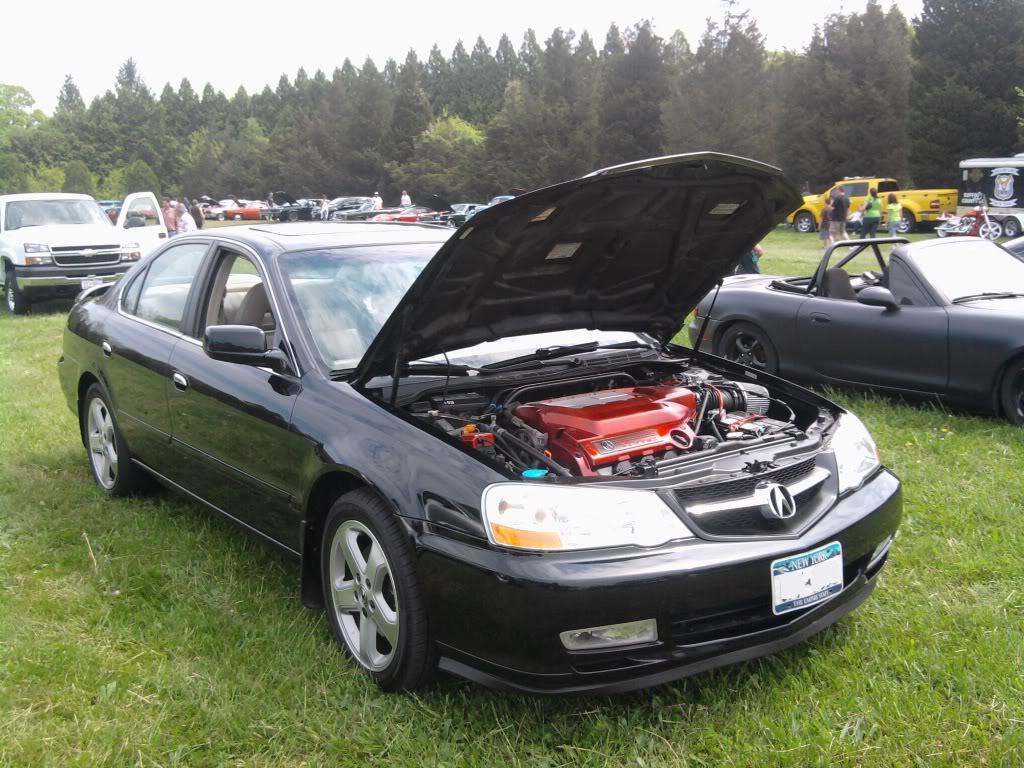
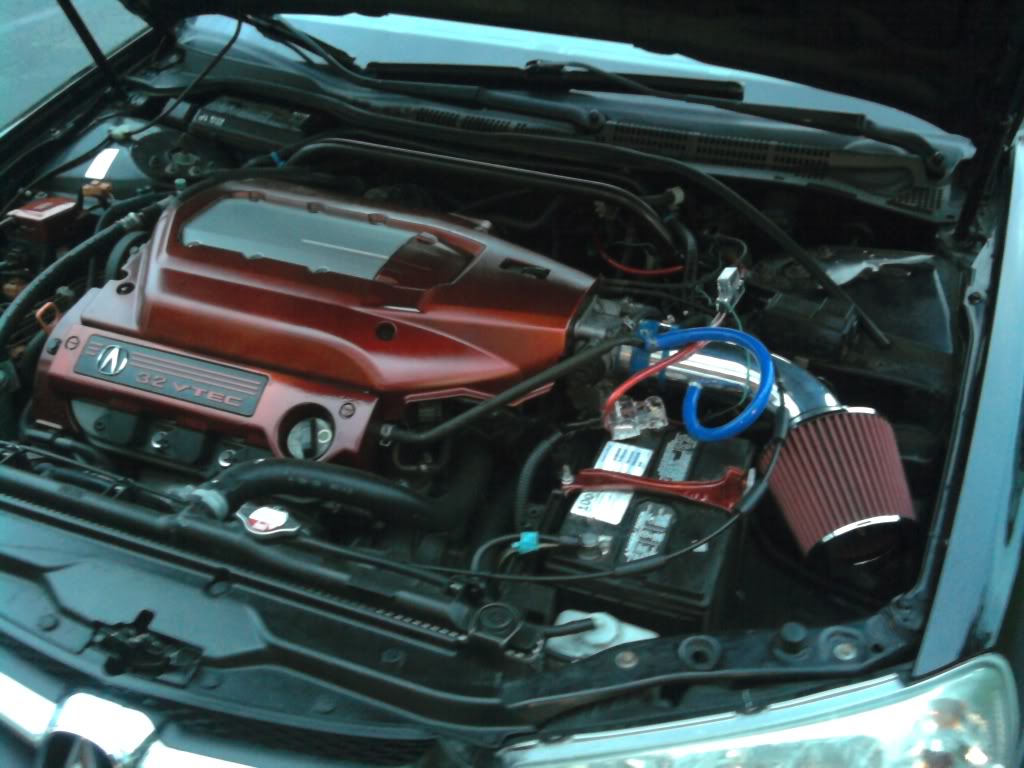
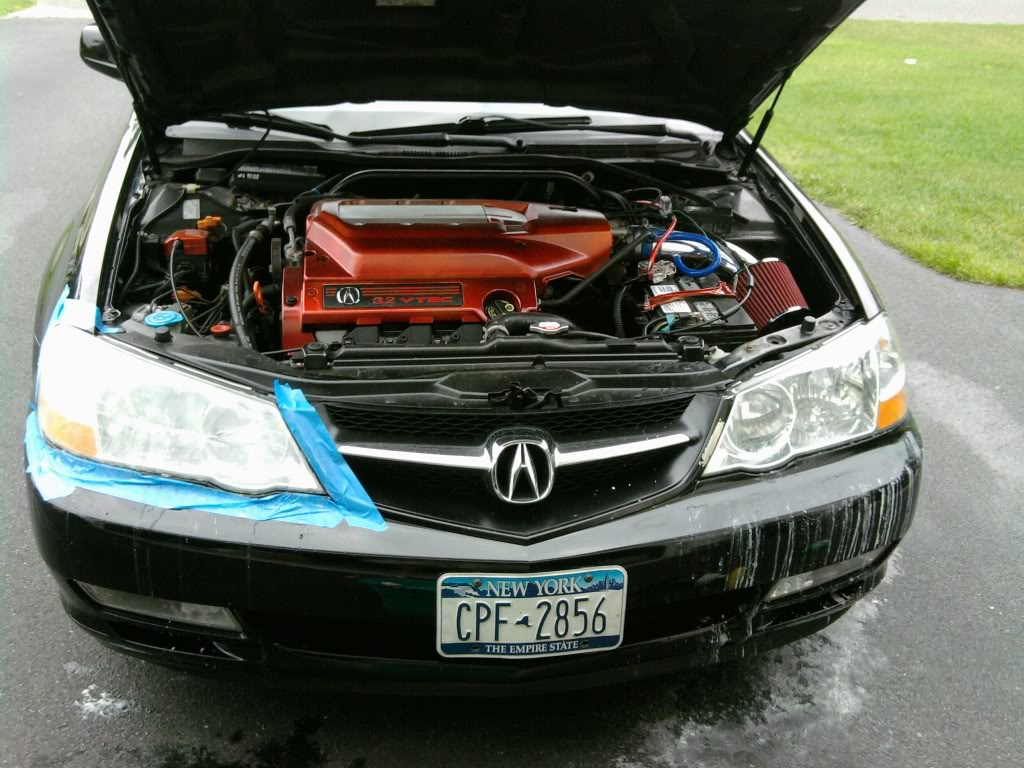
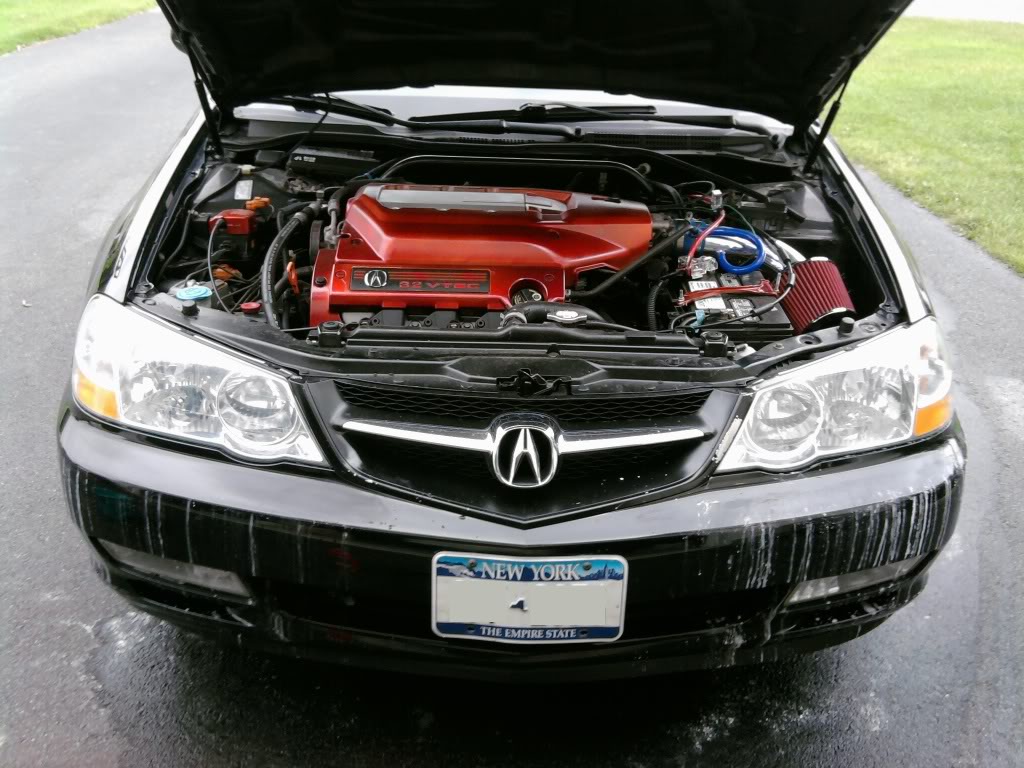
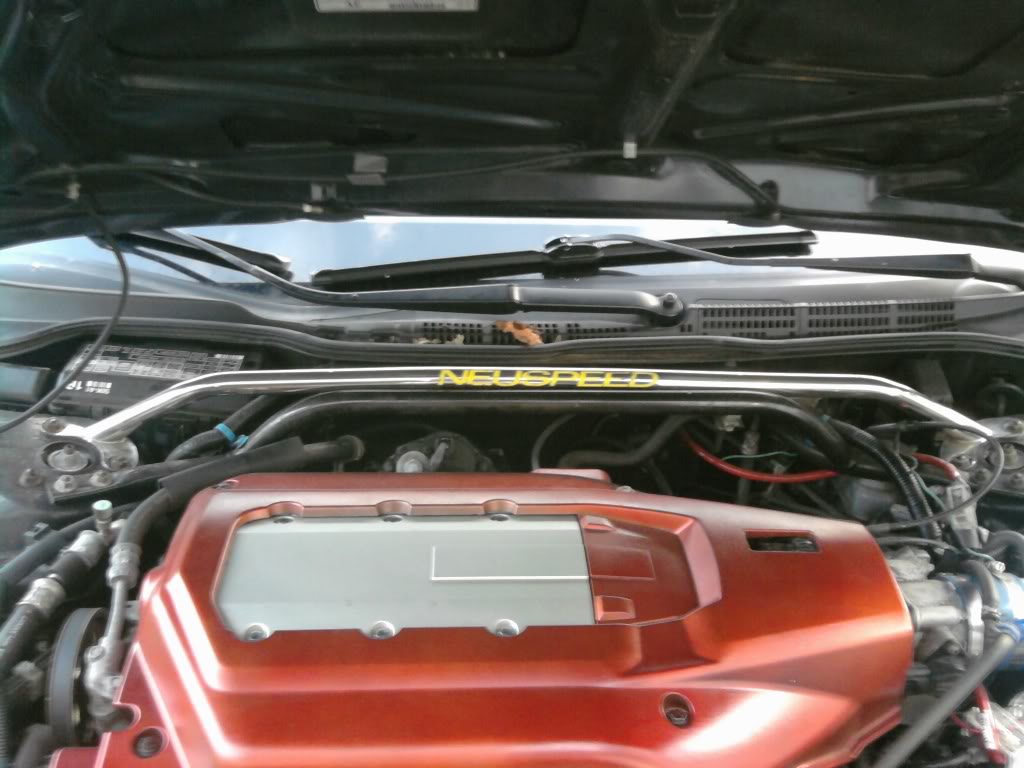
Painted engine cover
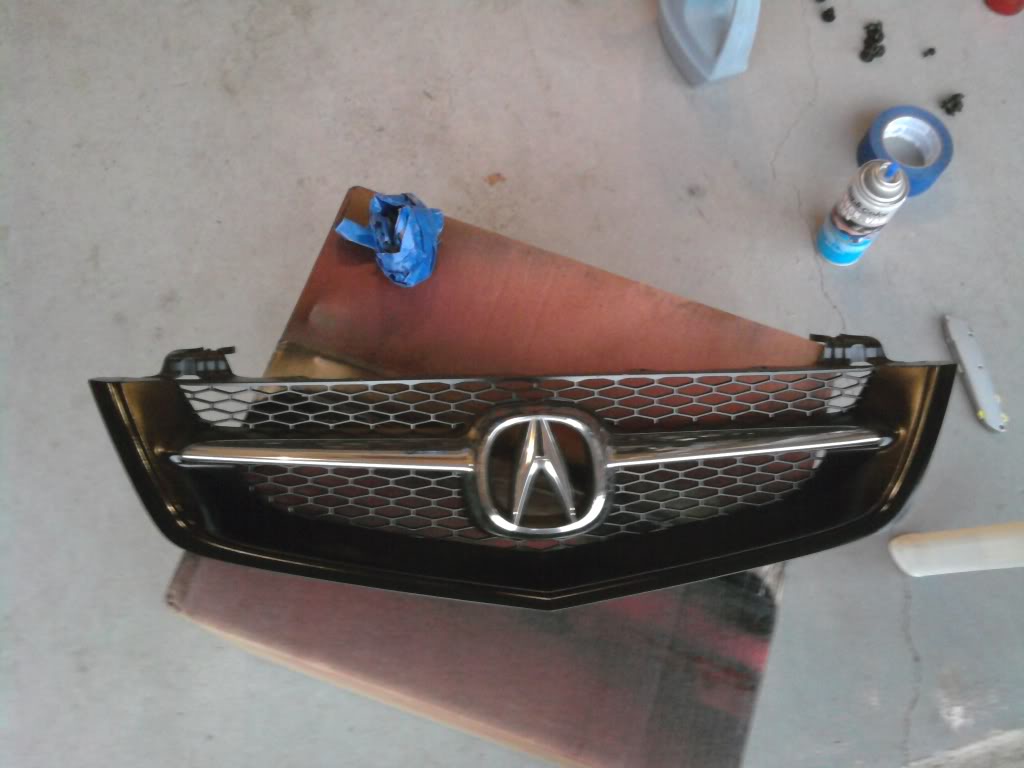
Repainted grille with real paint this time

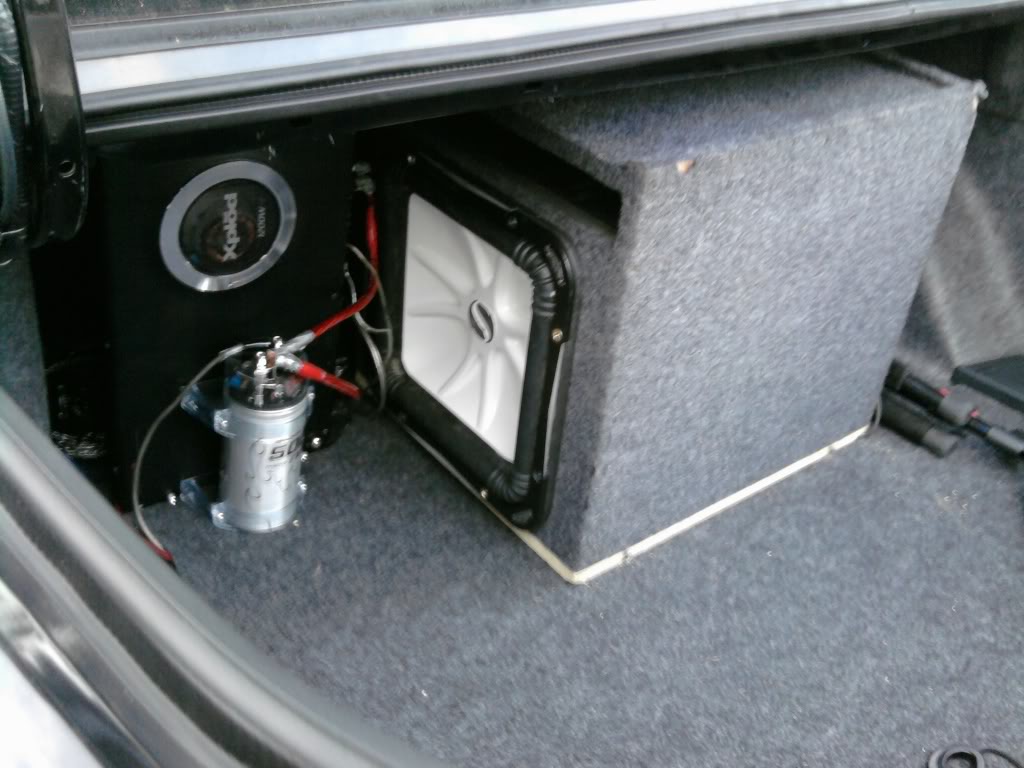
Subwoofer and Amp install
This was quite an interesting experience. I have never done any audio installs before so I recruited a friend to help me out quite a bit. I also didn’t know how to use the search function on Azine yet
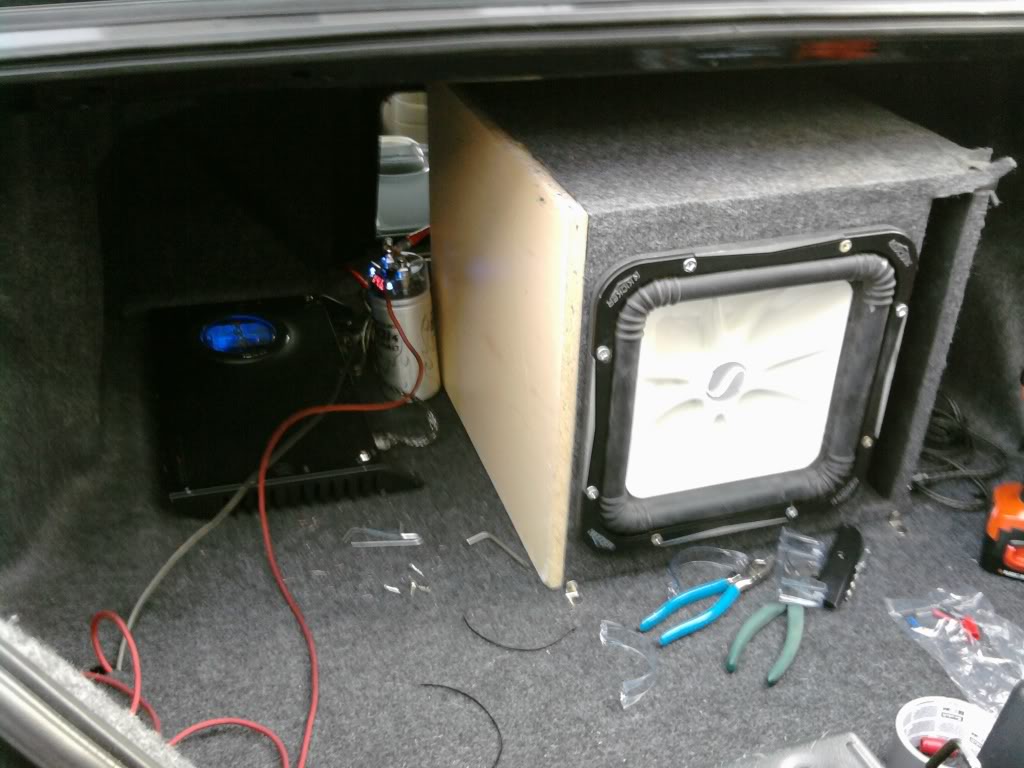
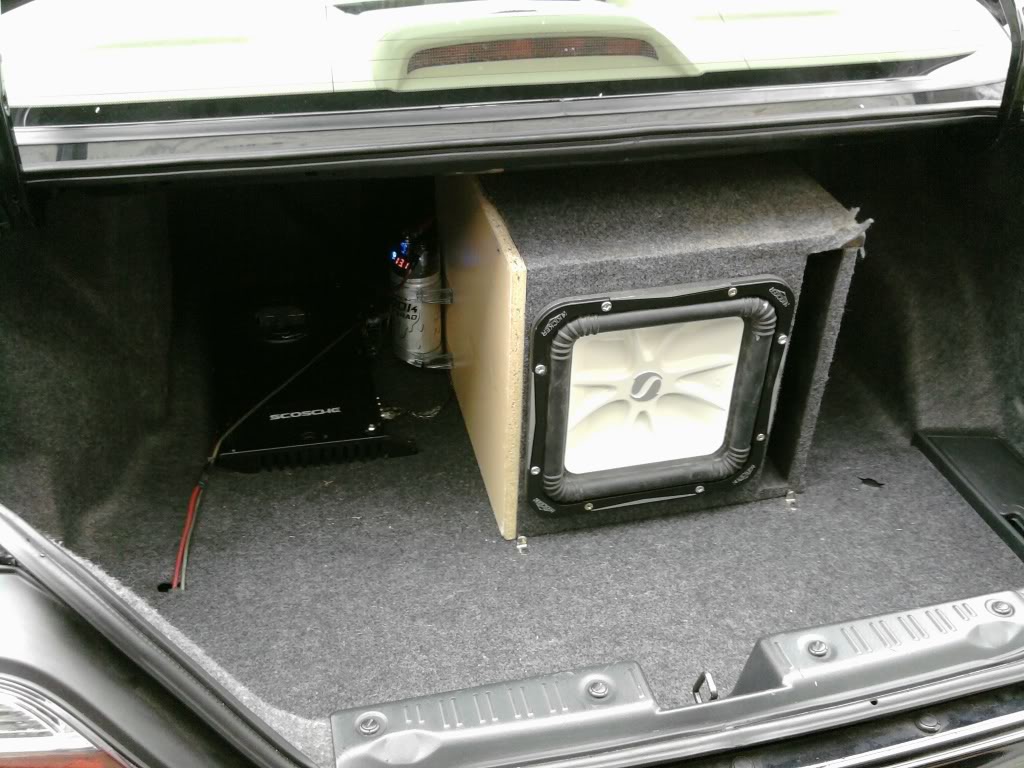
Jumping forward a few months, but this is the final setup:
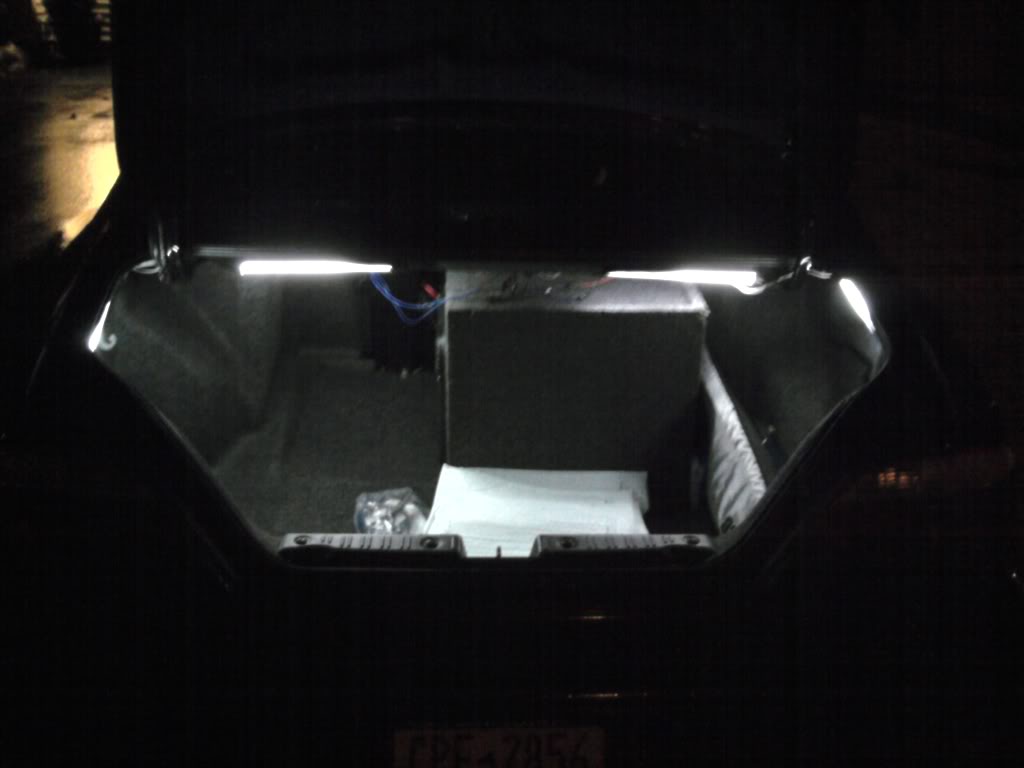
Amp is seen through the pass through and subwoofer is sideways, similar to this picture. It gives me more trunk space.
MAY – AUGUST 2010: SCHOOLS OUT BITCH!
Modding season is in its full stride…
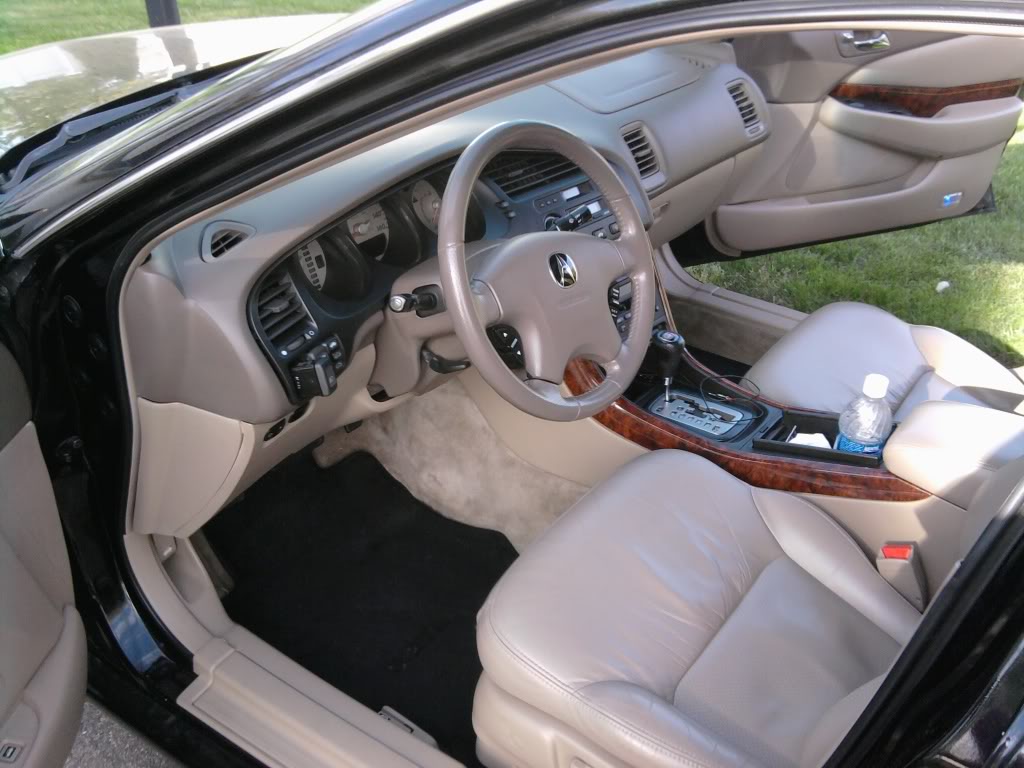
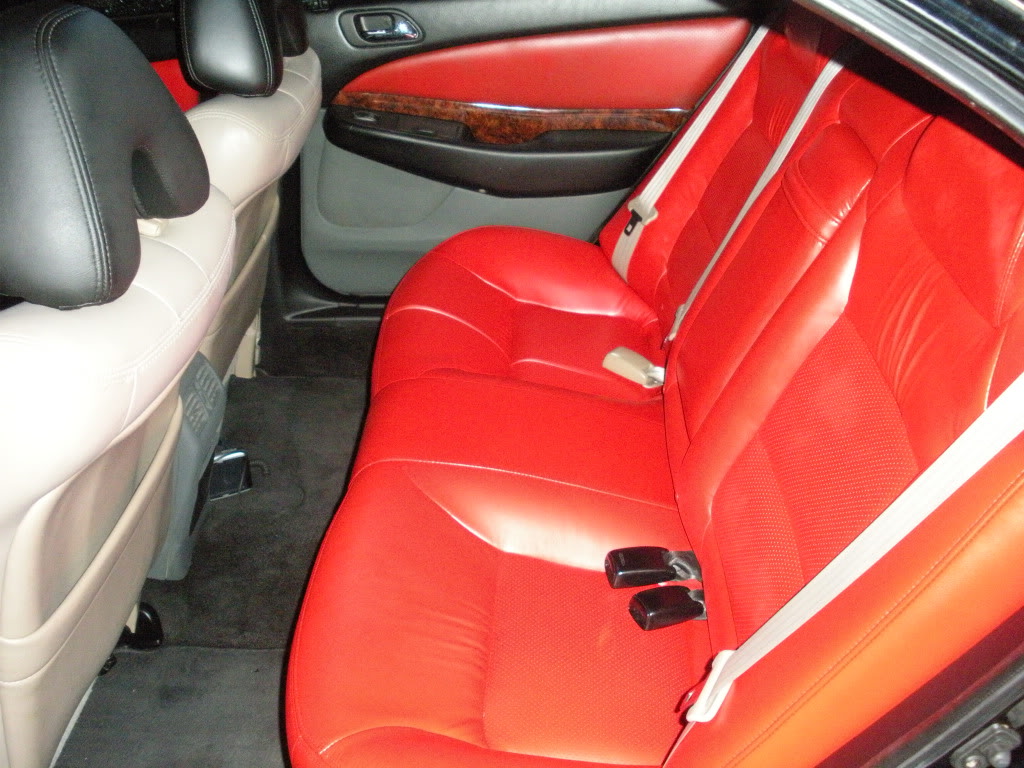
This is when I decided I was sick of my tan shit brown interior. I wanted something different but did not want to spend thousands on a custom interior. I researched and found out about Duplicolor Vinyl & Fabric paint as well as SEM. But SEM was just too damn expensive (though it may be worth it).
Started off with the floor mats
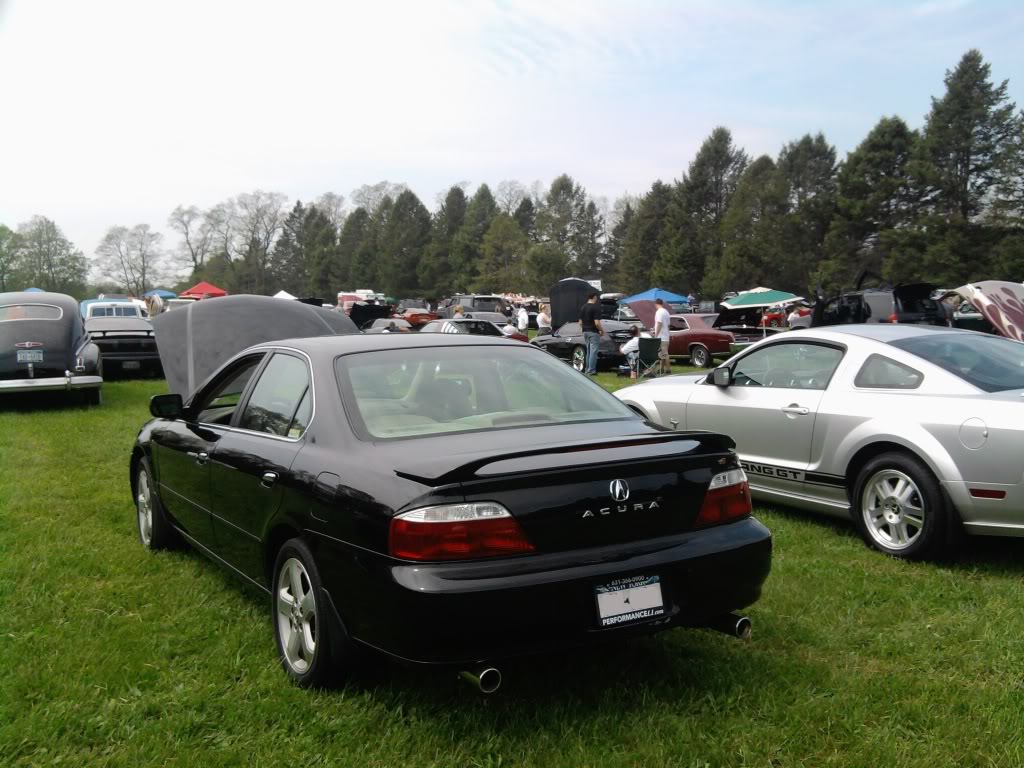
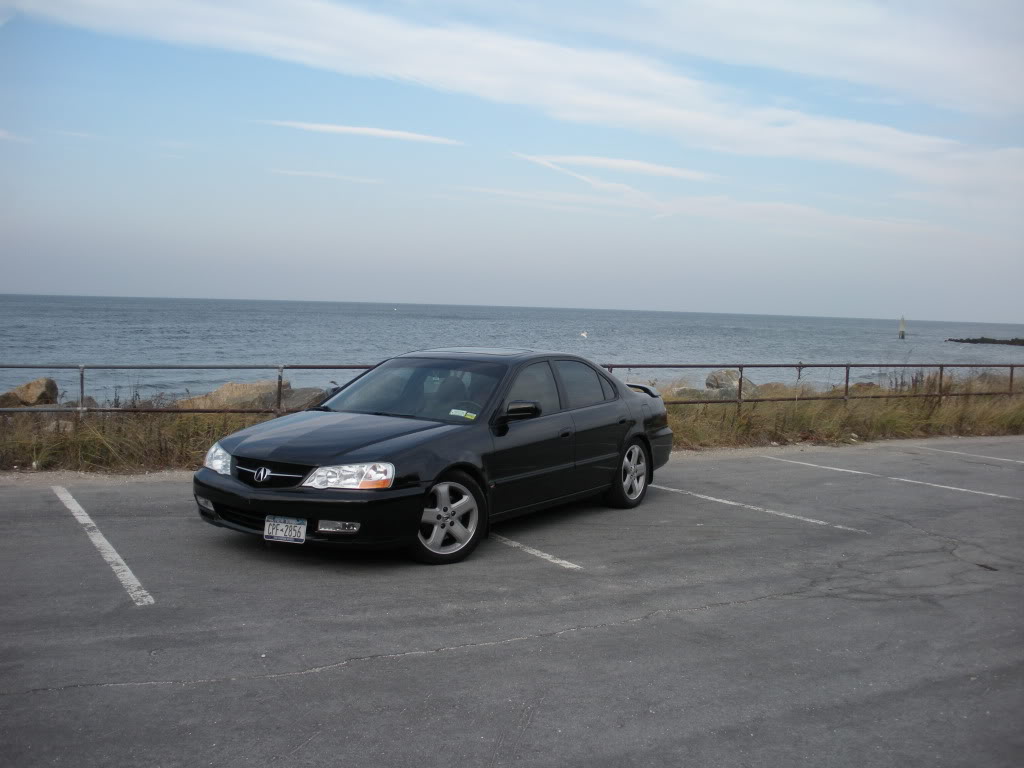
My car at its first car show (Swap meet at Flowerfield)
First clay bar and wax
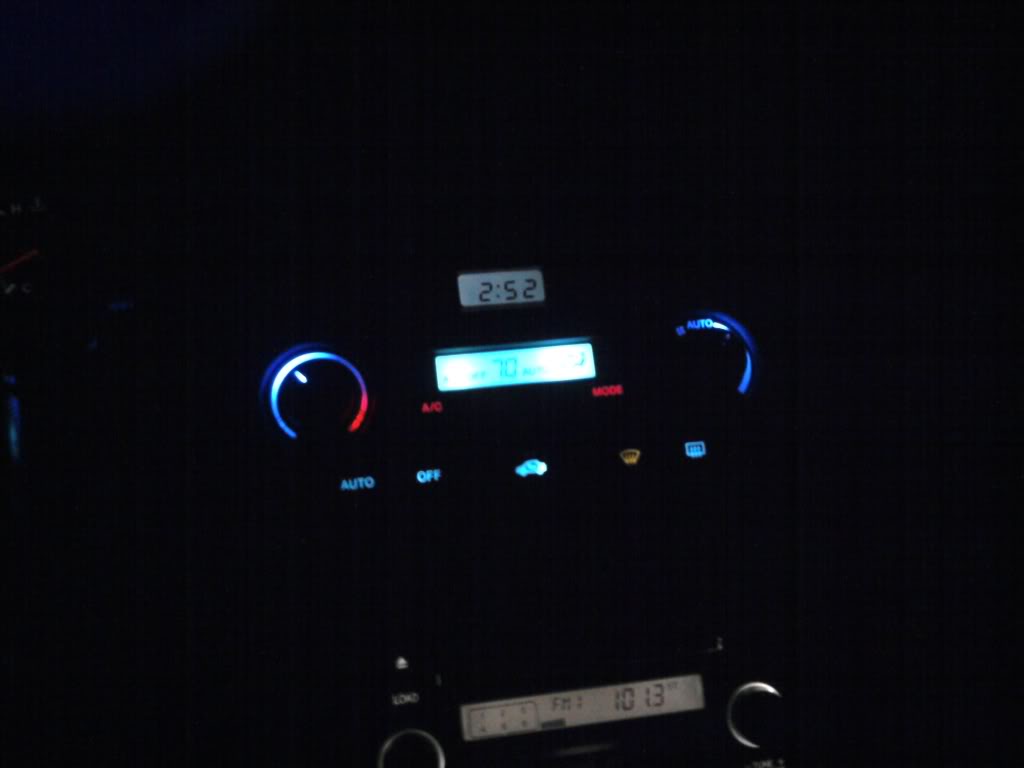
More LED mods
Got sidetracked even more and did some footwell lighting using cold cathode tubes
Back to the custom interior…
Tried out a black and gray theme
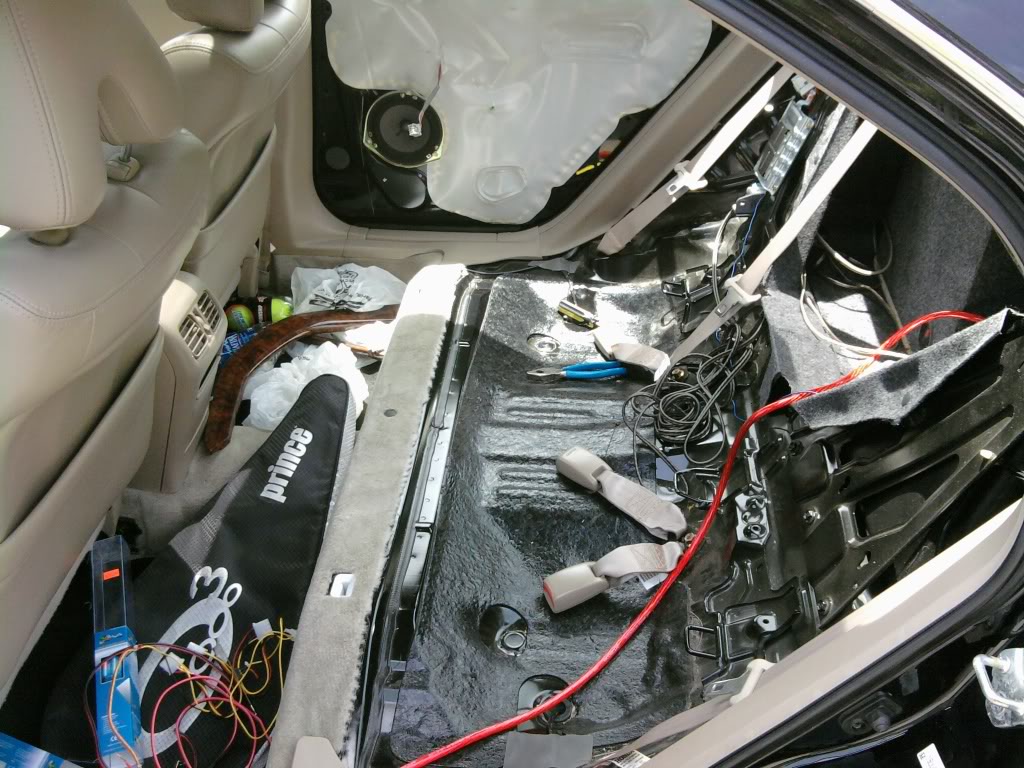
Stripped out the rear
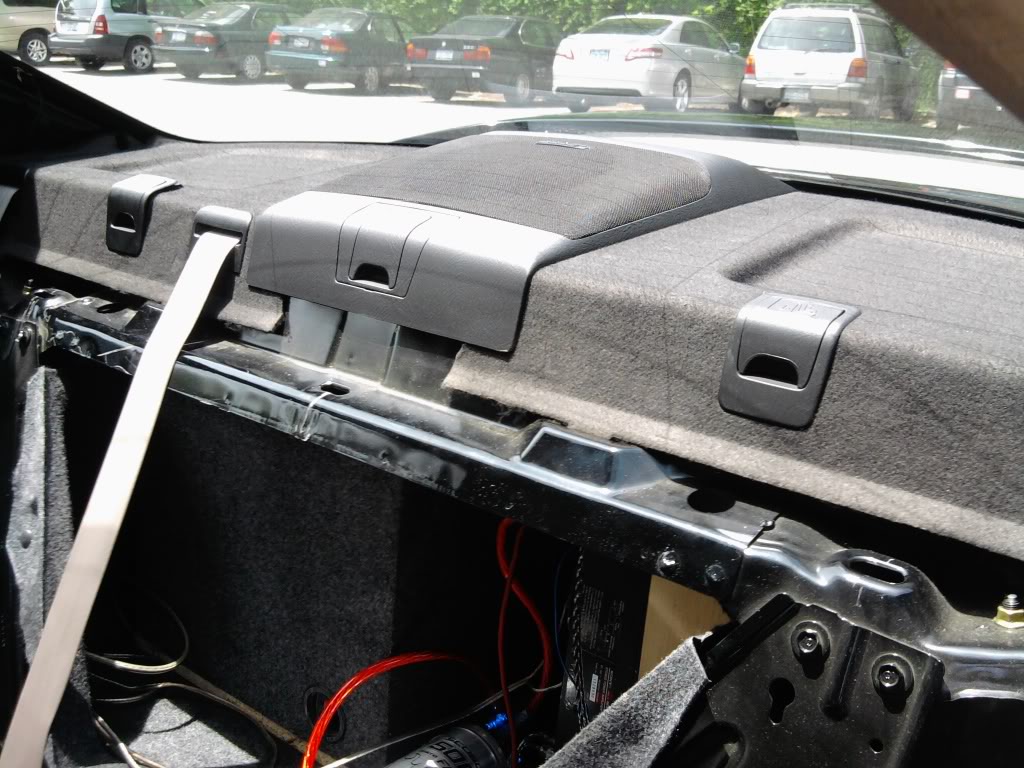
To do the rear deck
Got an ebay account and got distracted some more…
Ebay SRI
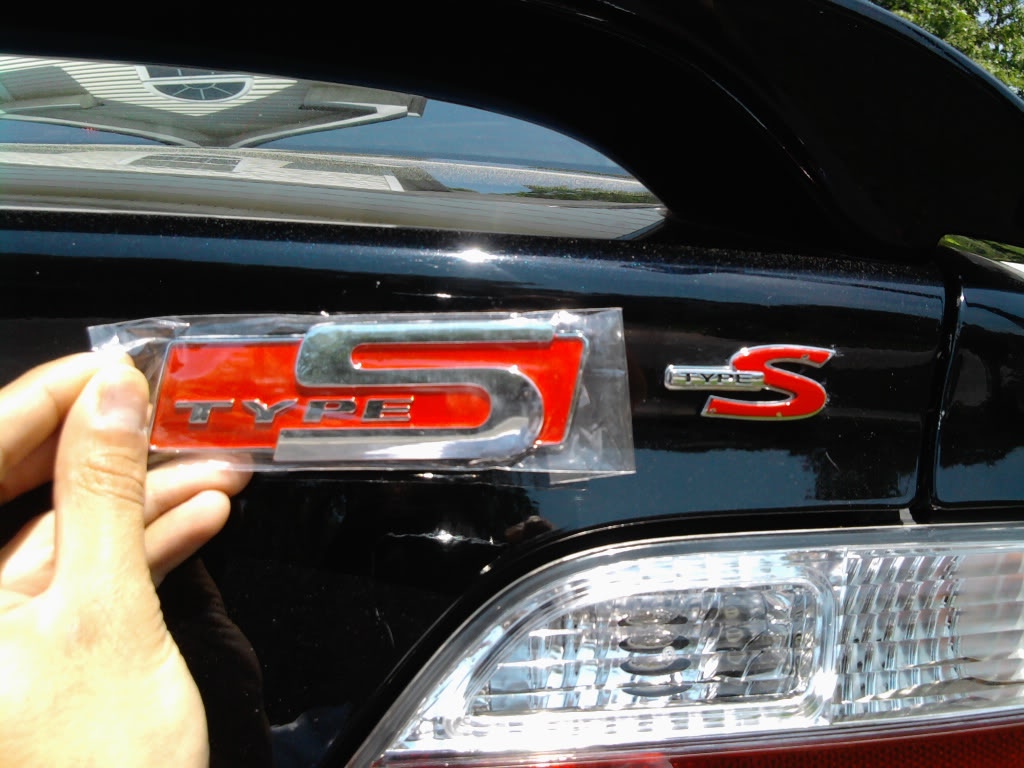
3G Type S badge (not on the car anymore, don’t worry)
More custom colors…
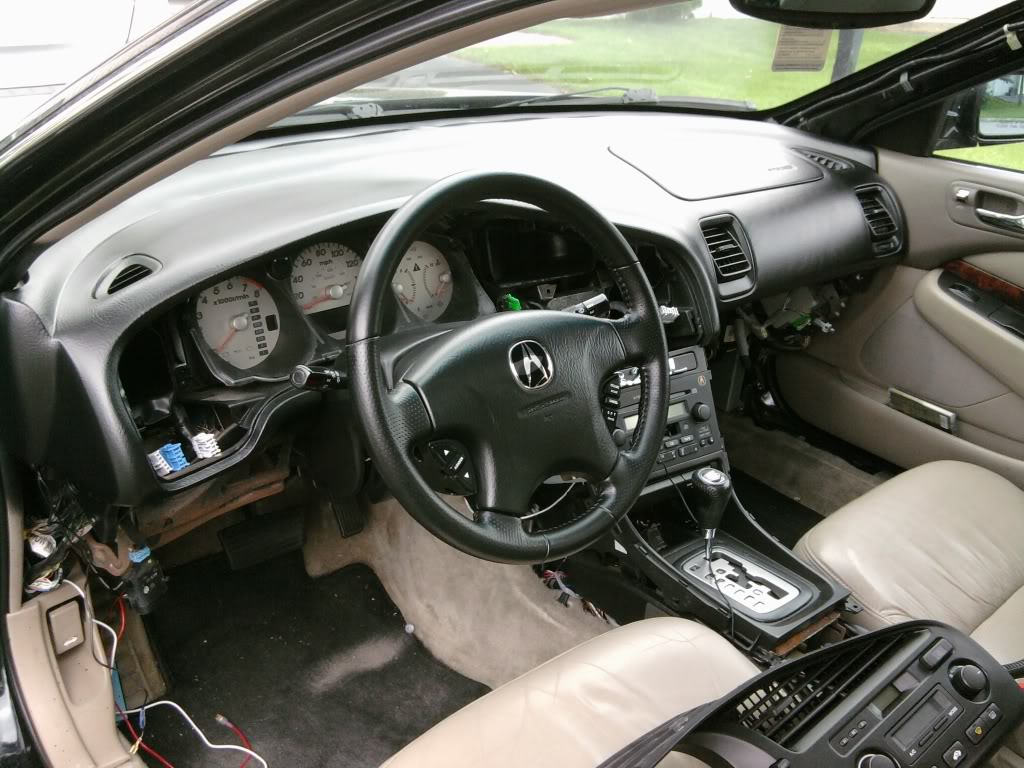
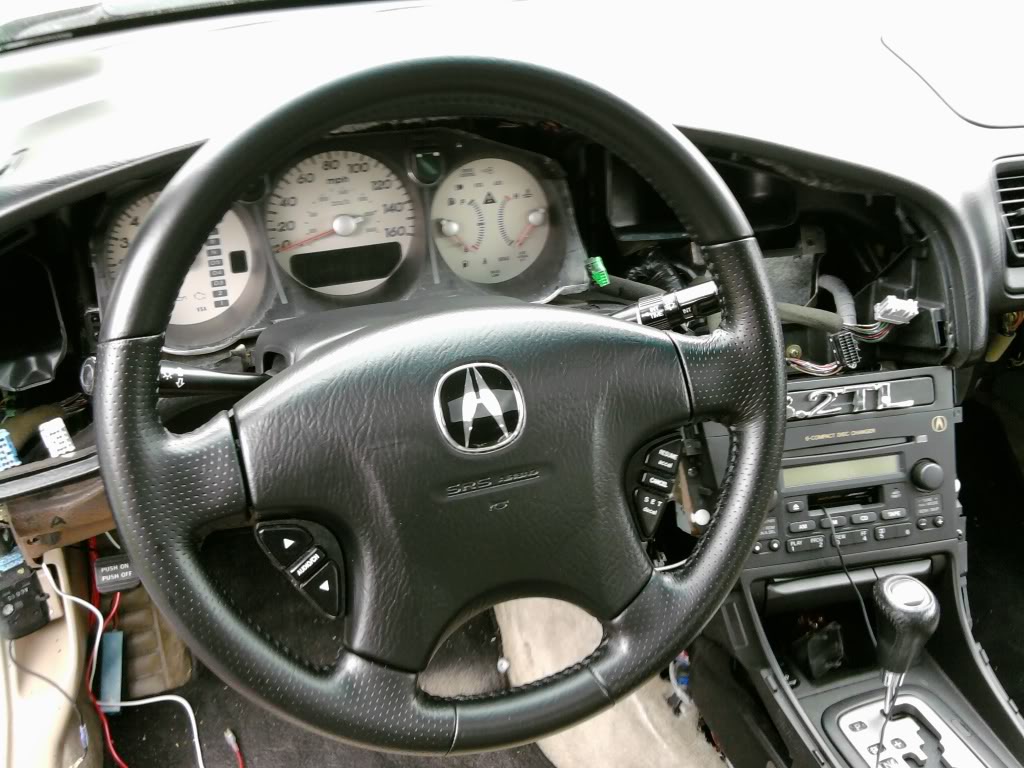
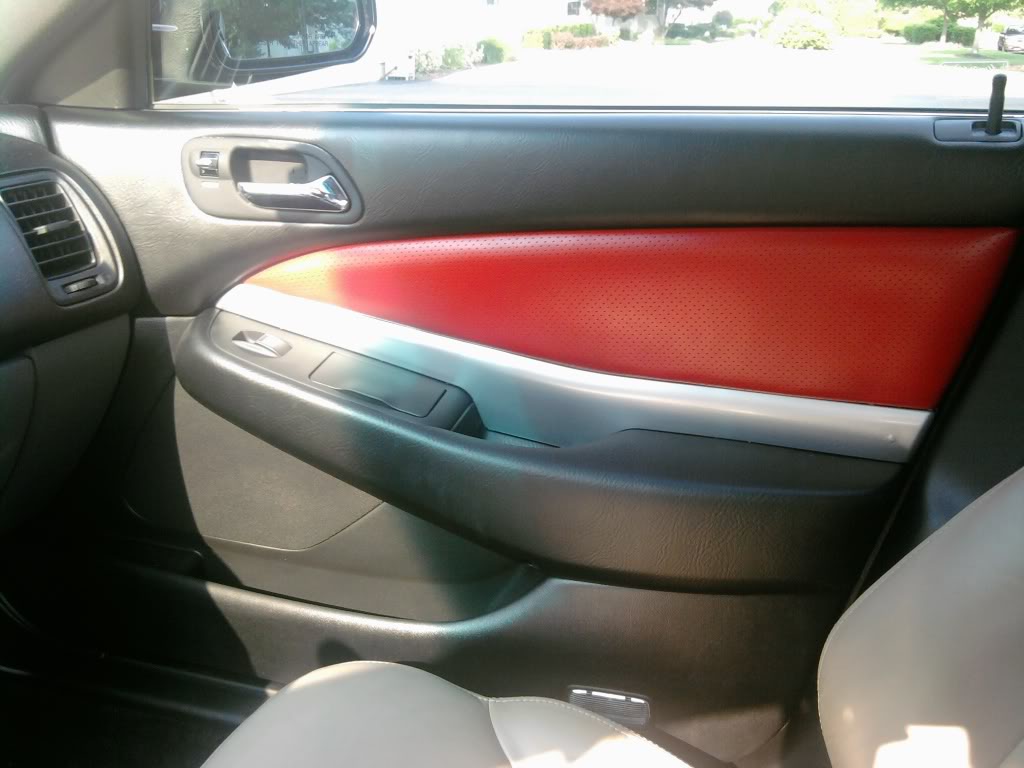
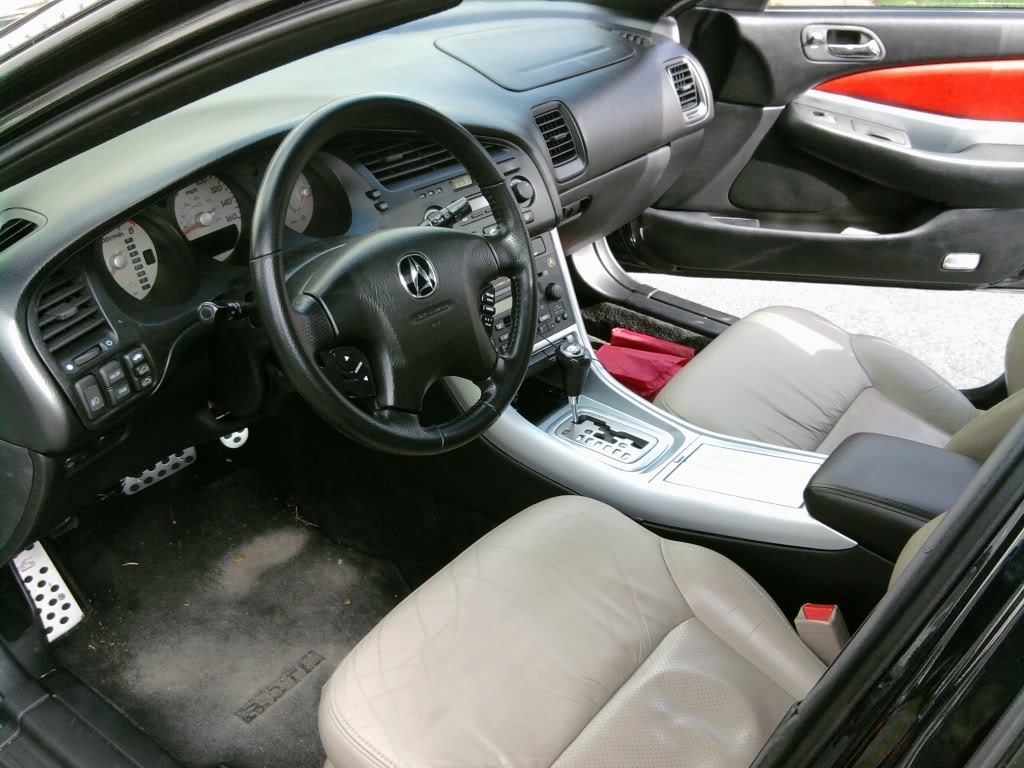
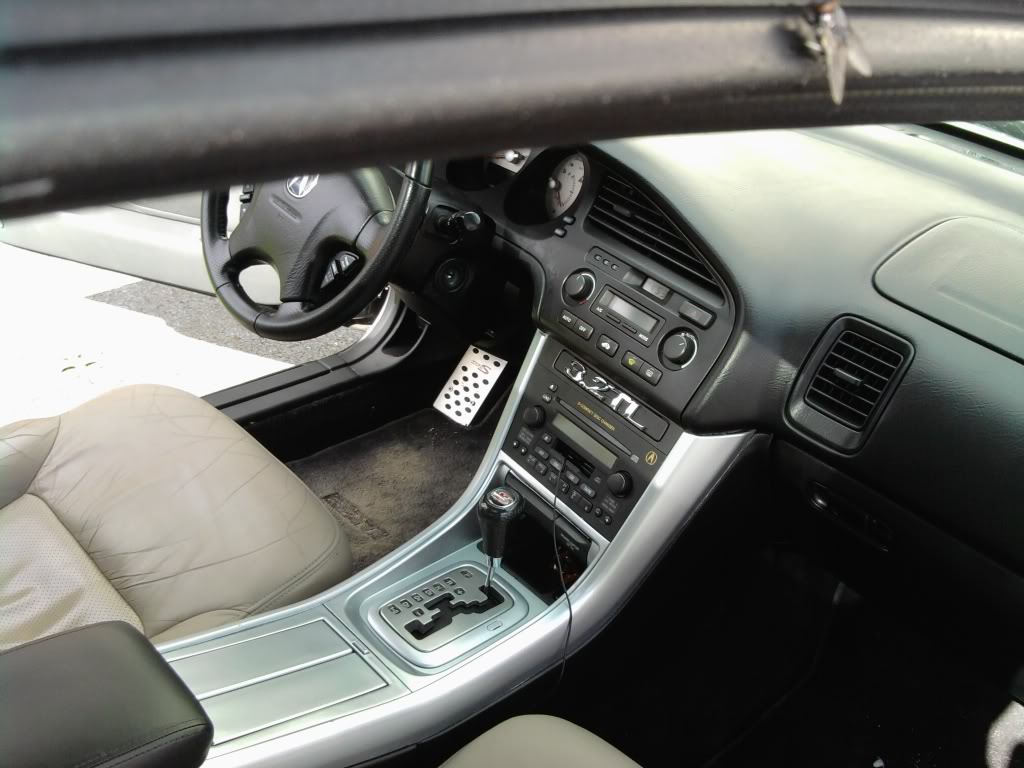
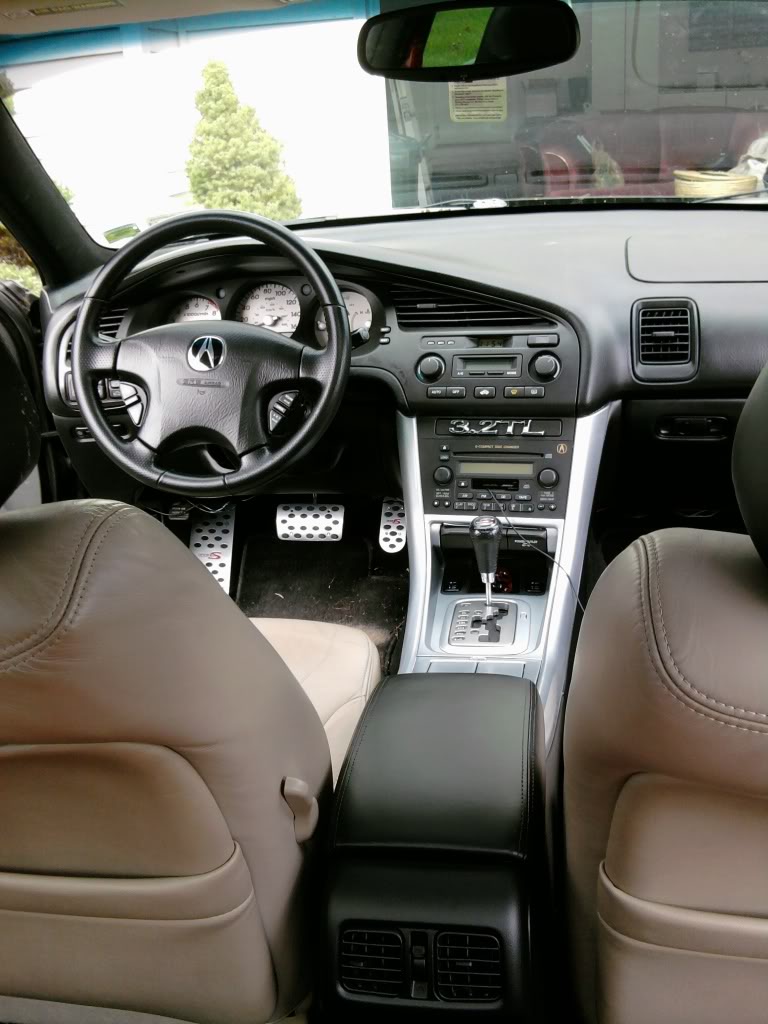
Painted dash and steering wheel
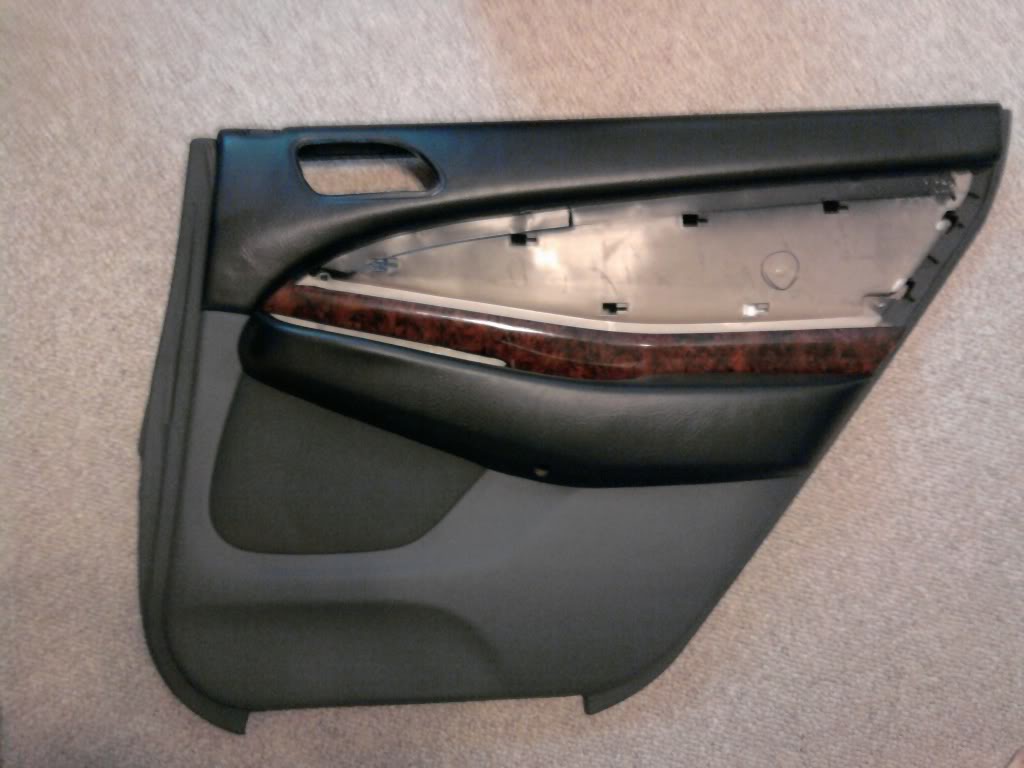
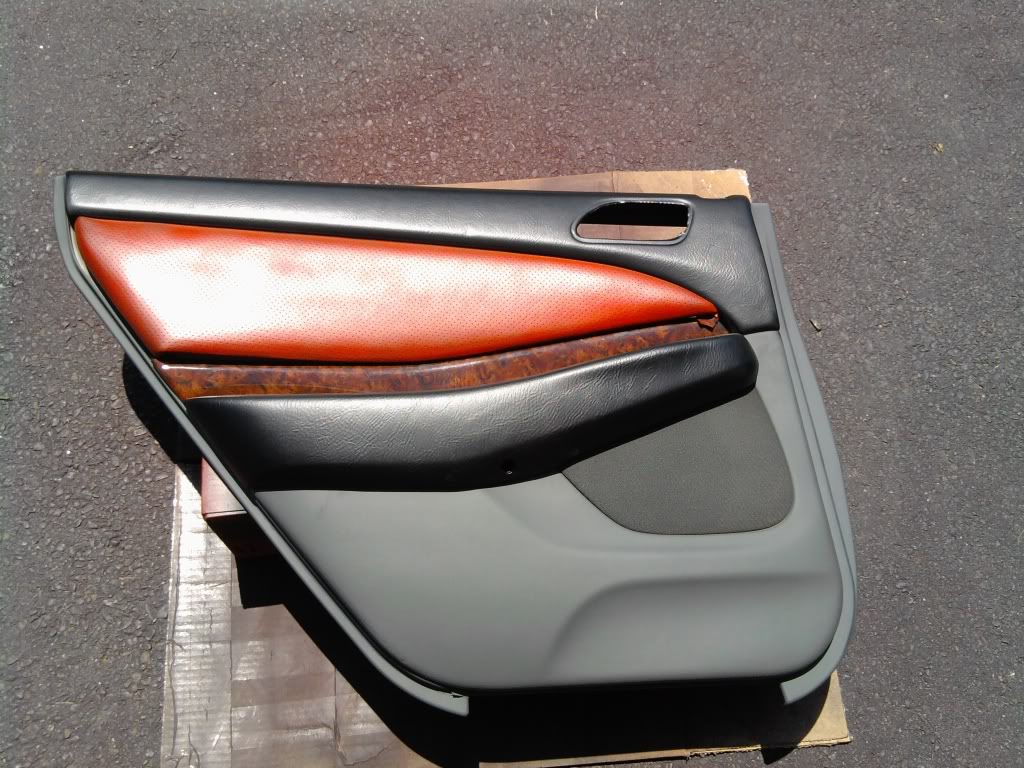
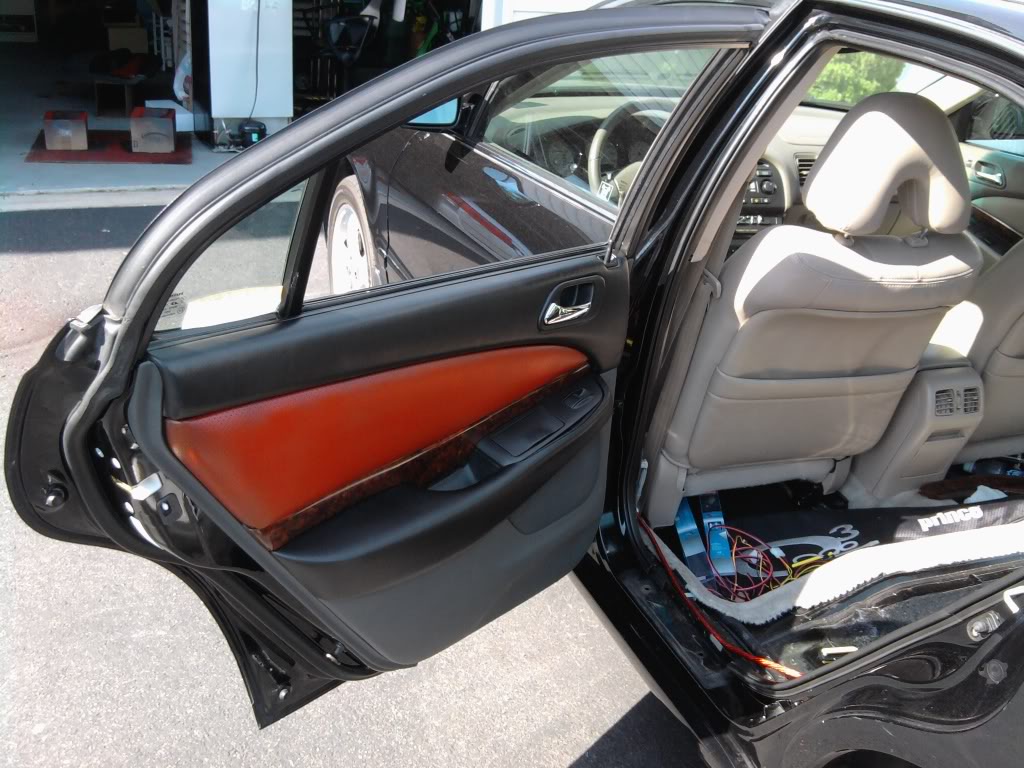
Driver door panel
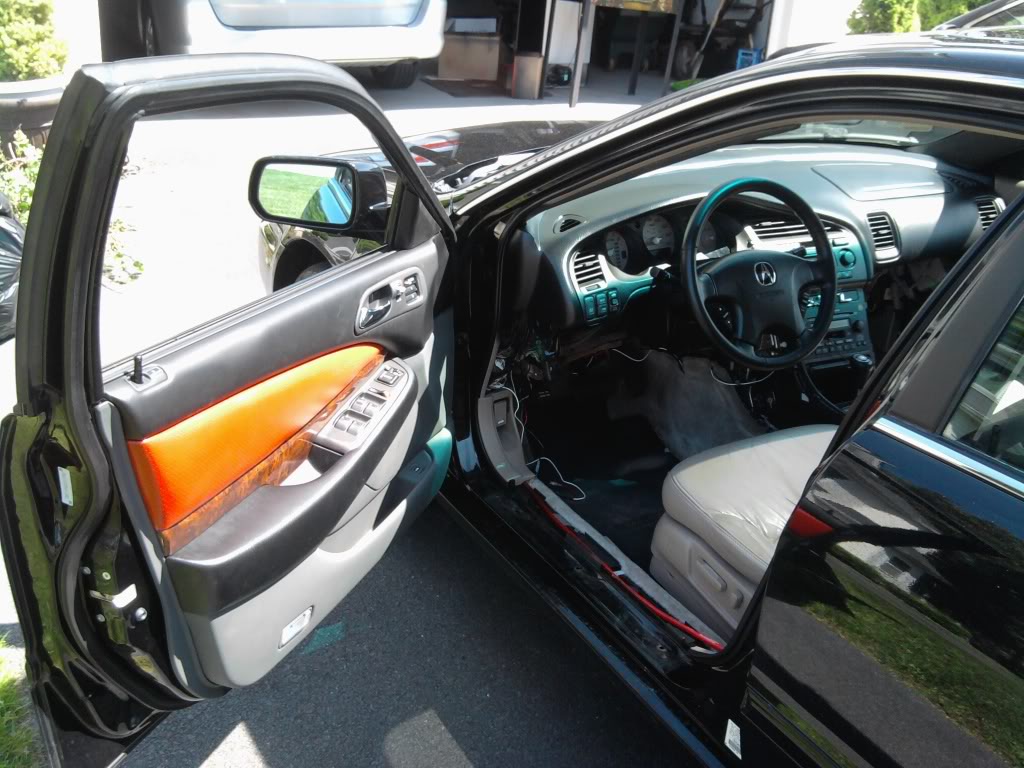
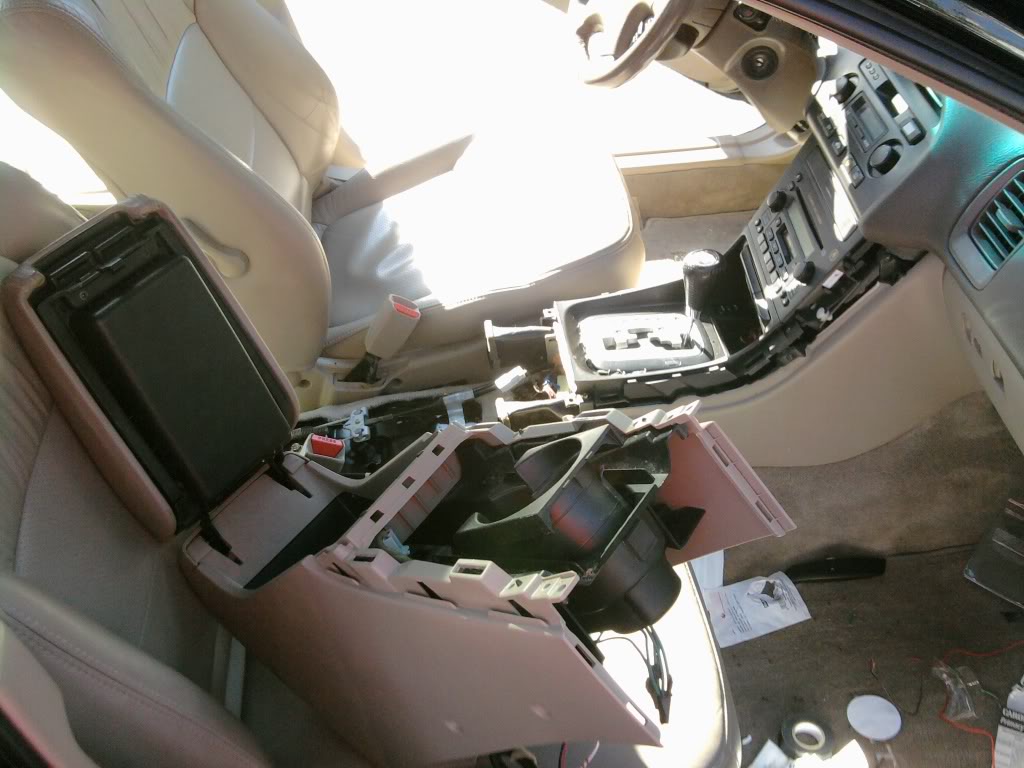
Center console

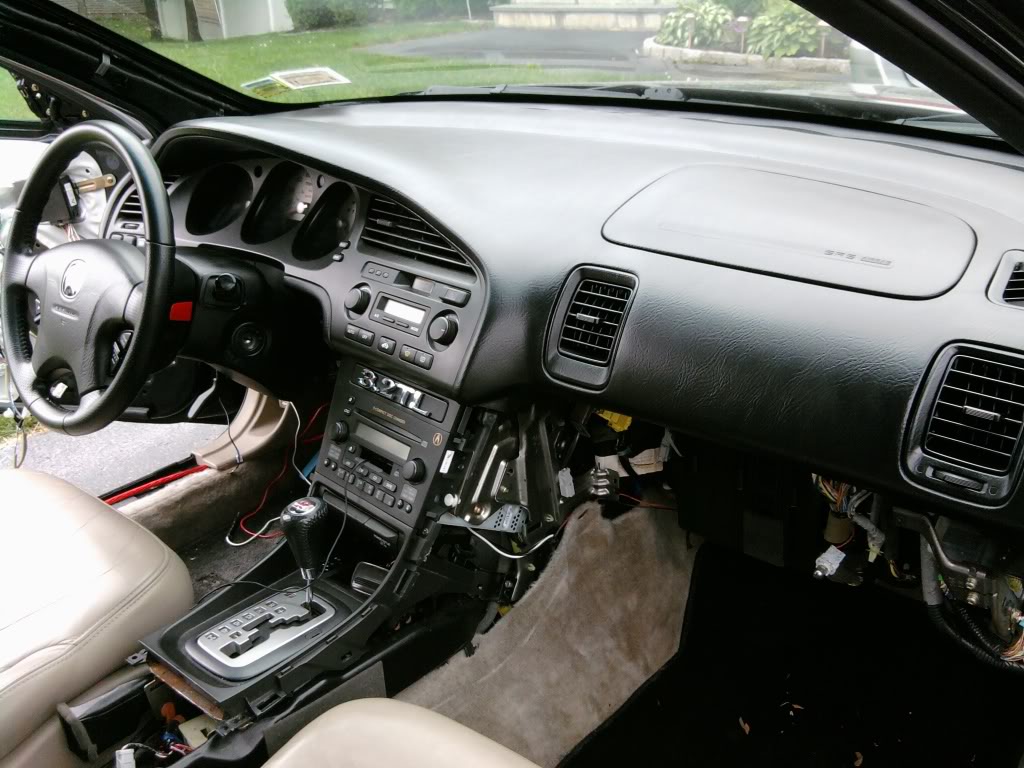
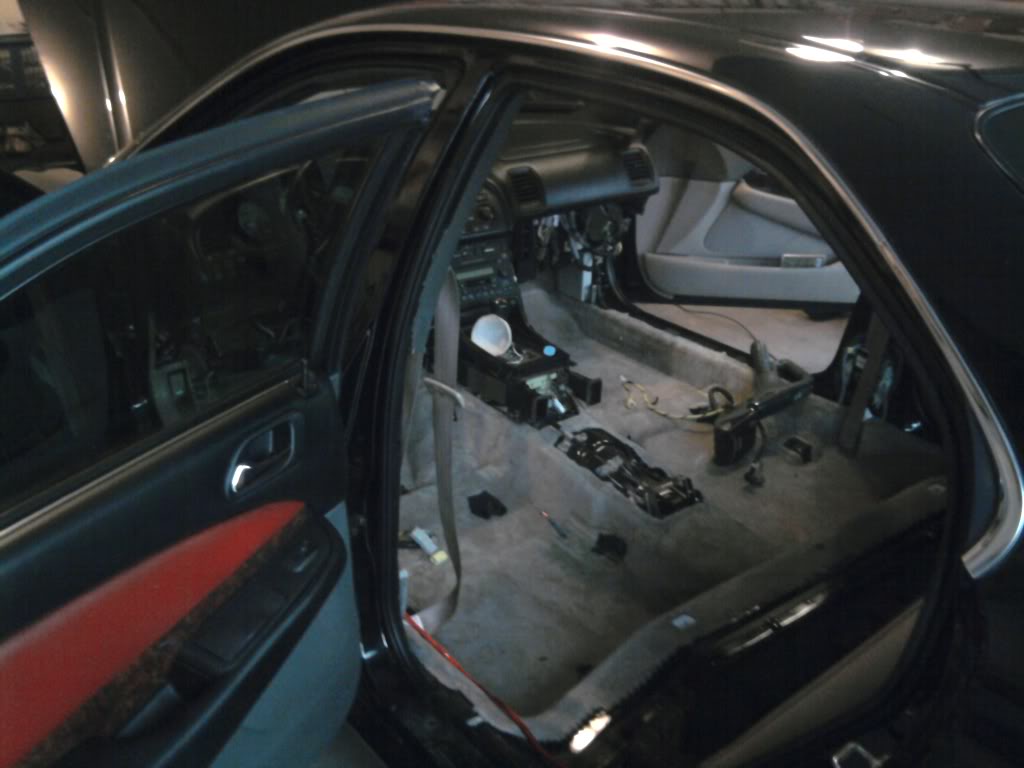
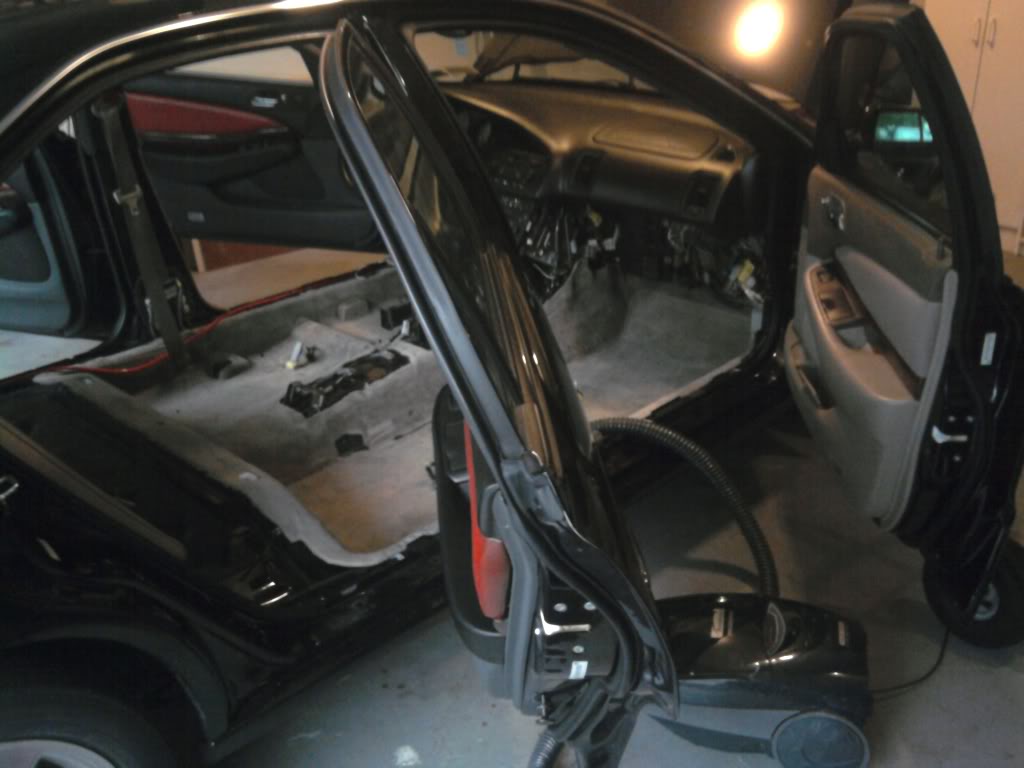
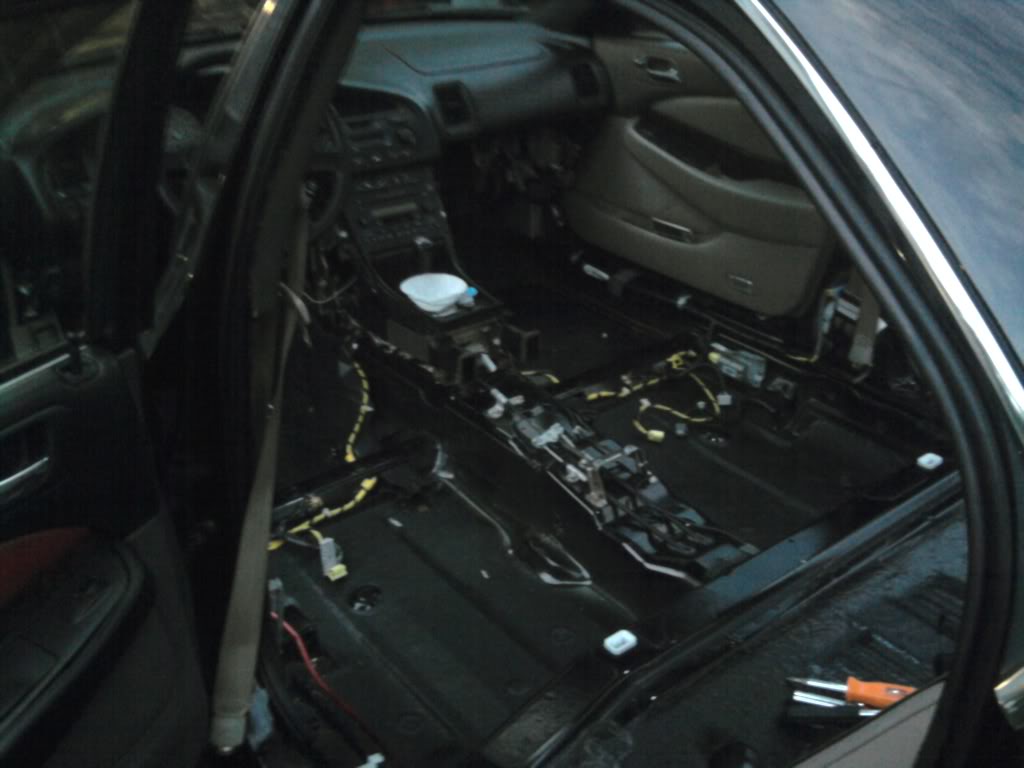
Decided that the carpet needed to be tackled so I started stripping the car
My dedications to modz, modding during a lighting storm

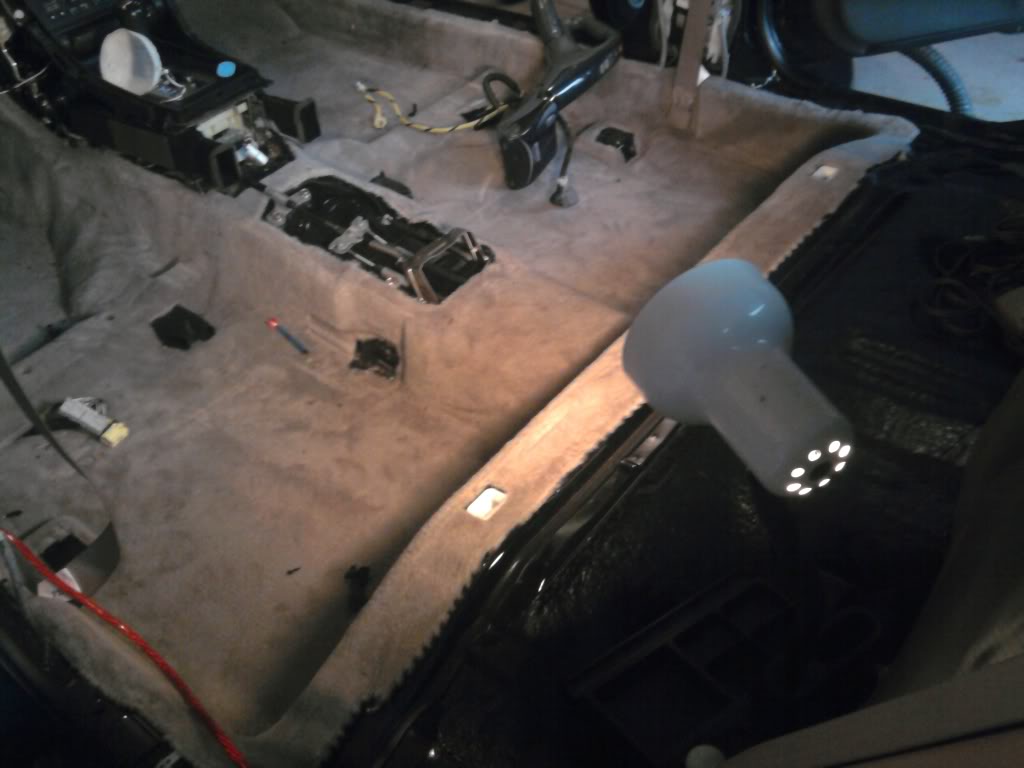
Gave the interior a much needed vacuuming
My “shop light” a.k.a. desk lamp
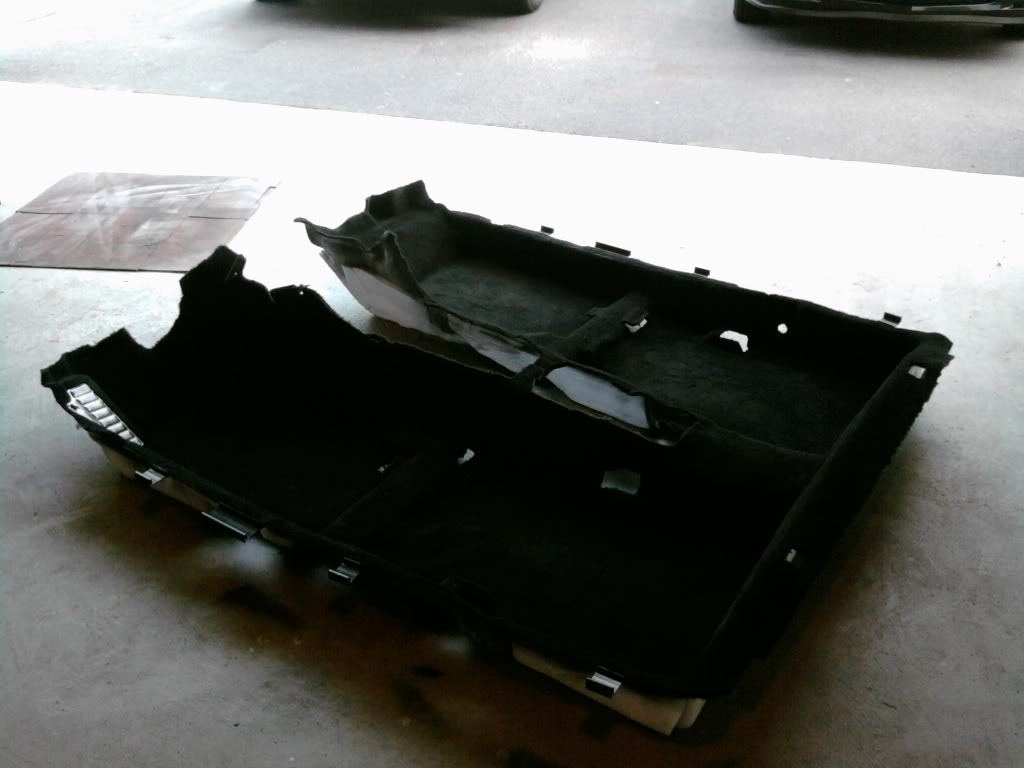
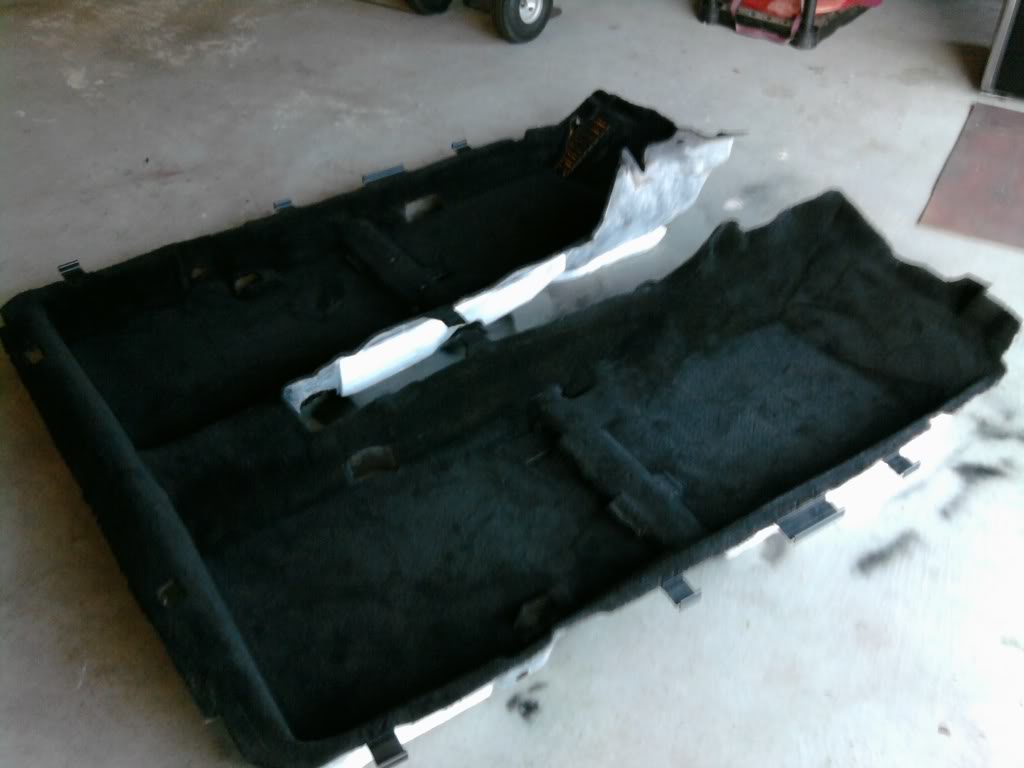
Got the carpet out finally
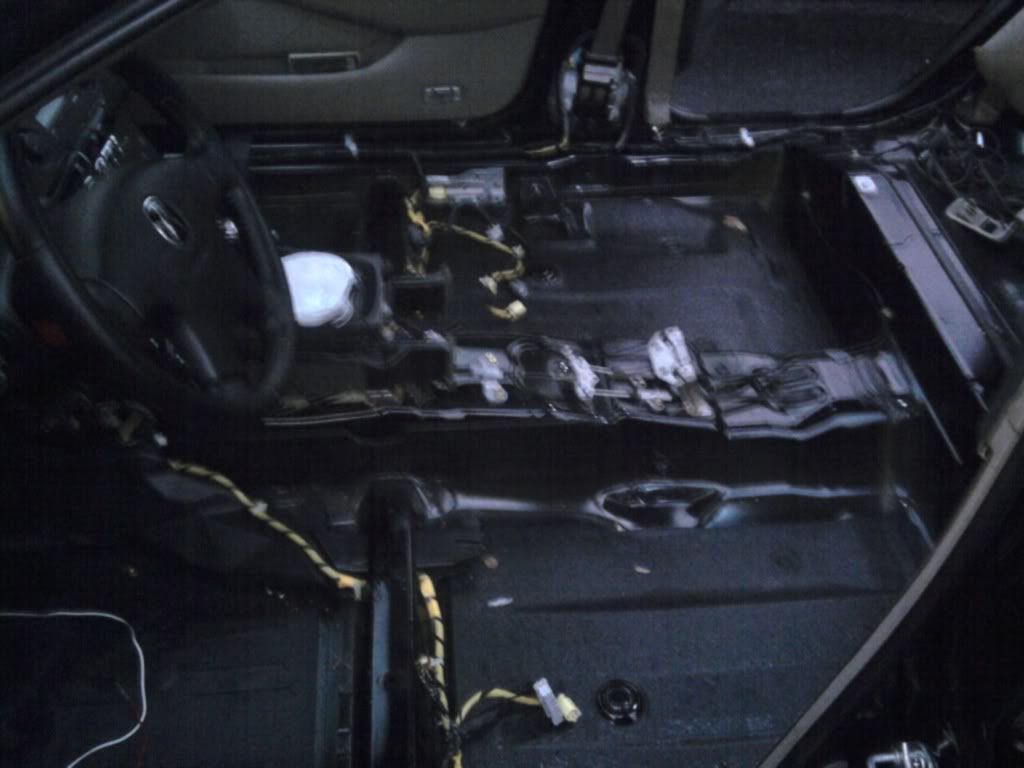
Andddd painted it black
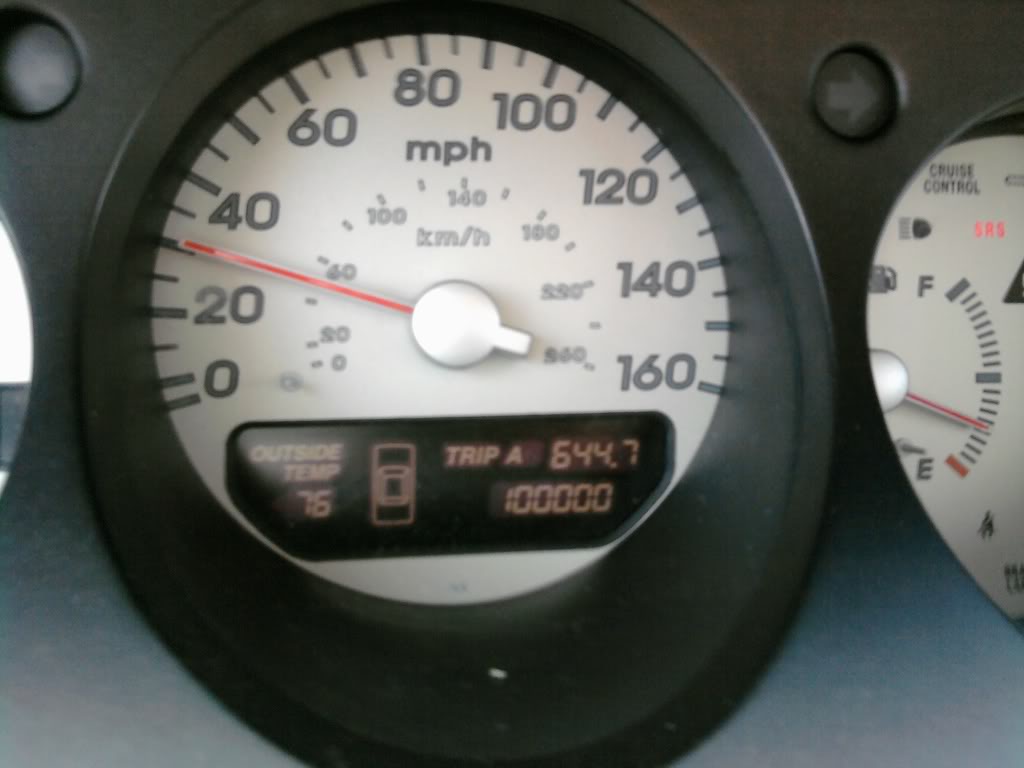
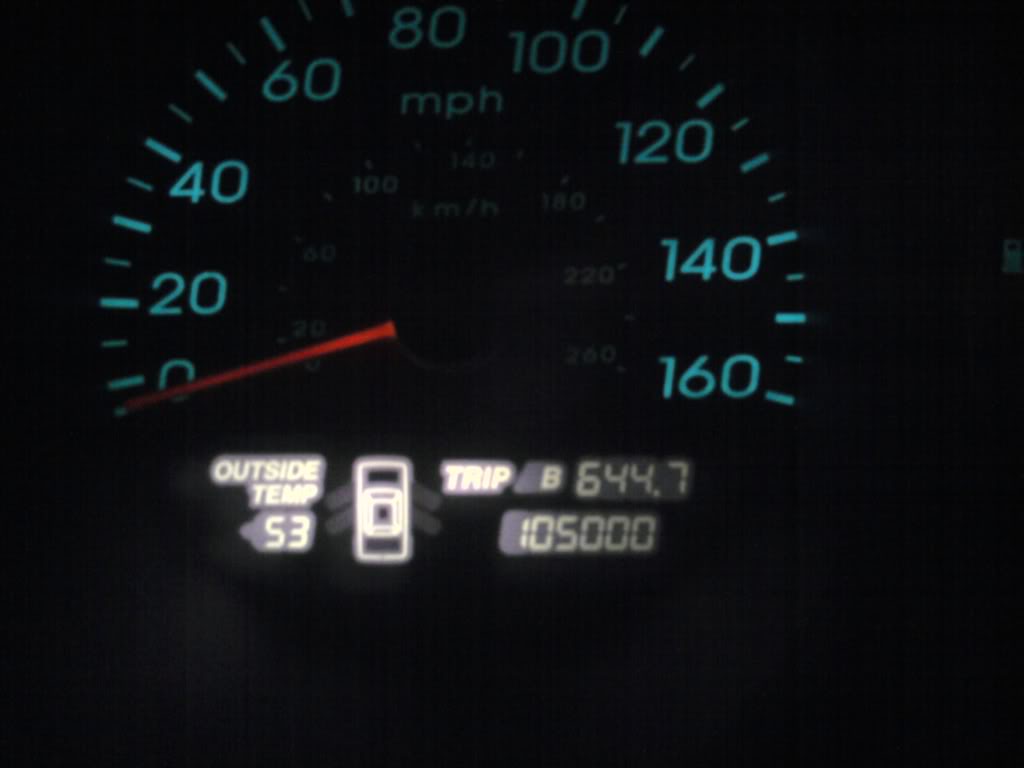
Hit 100K!
Got sick of the dim LEDs and ordered some nicer ones on ebay
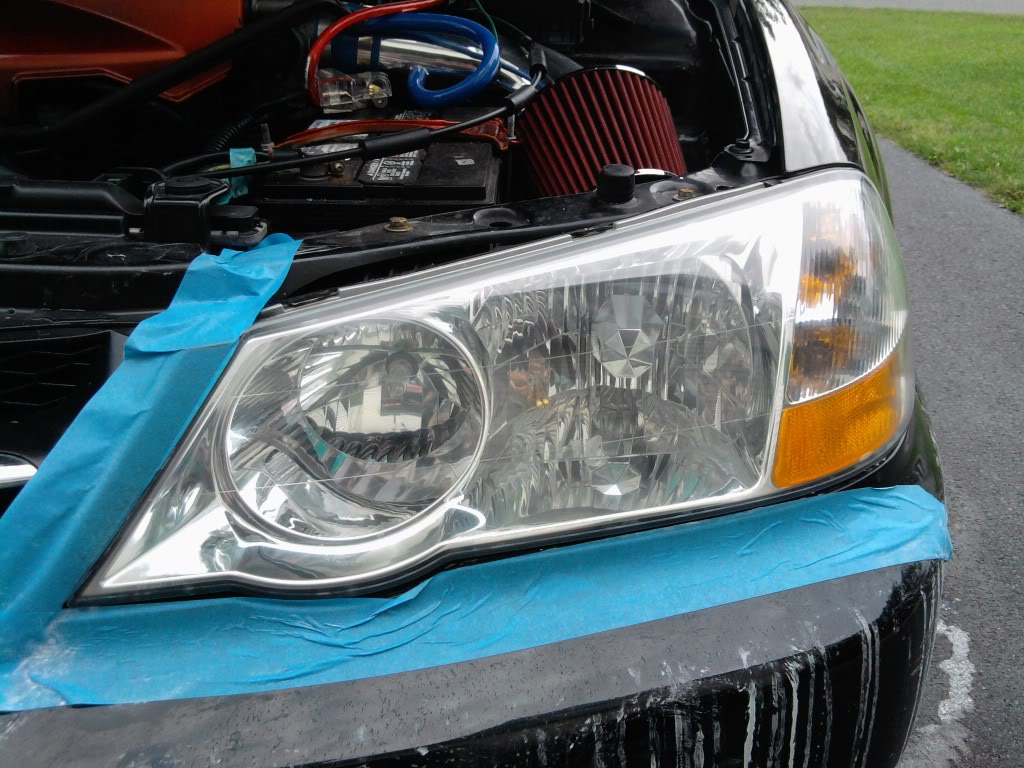
Wetsanded and polished head lights
Then I realized that the color combo I had done was hideous. So I changed it to just black and red.
By this time, it is around July and everyday was about 90+ degrees outside. I was working full time and traveling 30 min each way against the sun. I was getting cooked in my own car. Tint was needed.
Tint shop:

35% Tint done
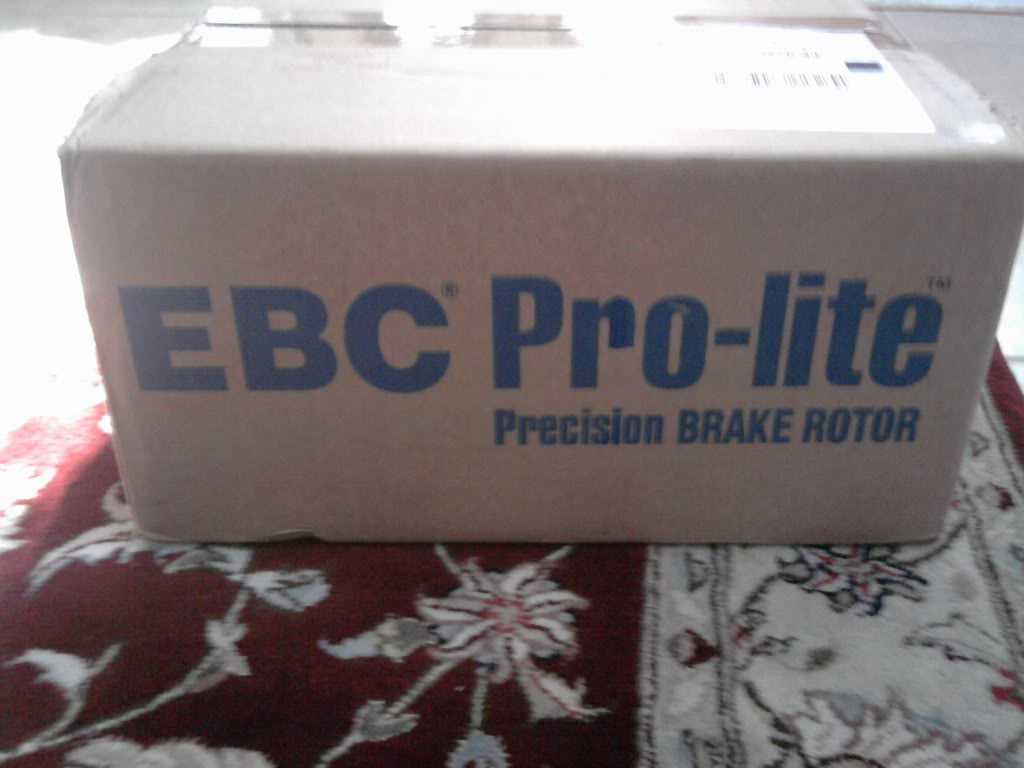
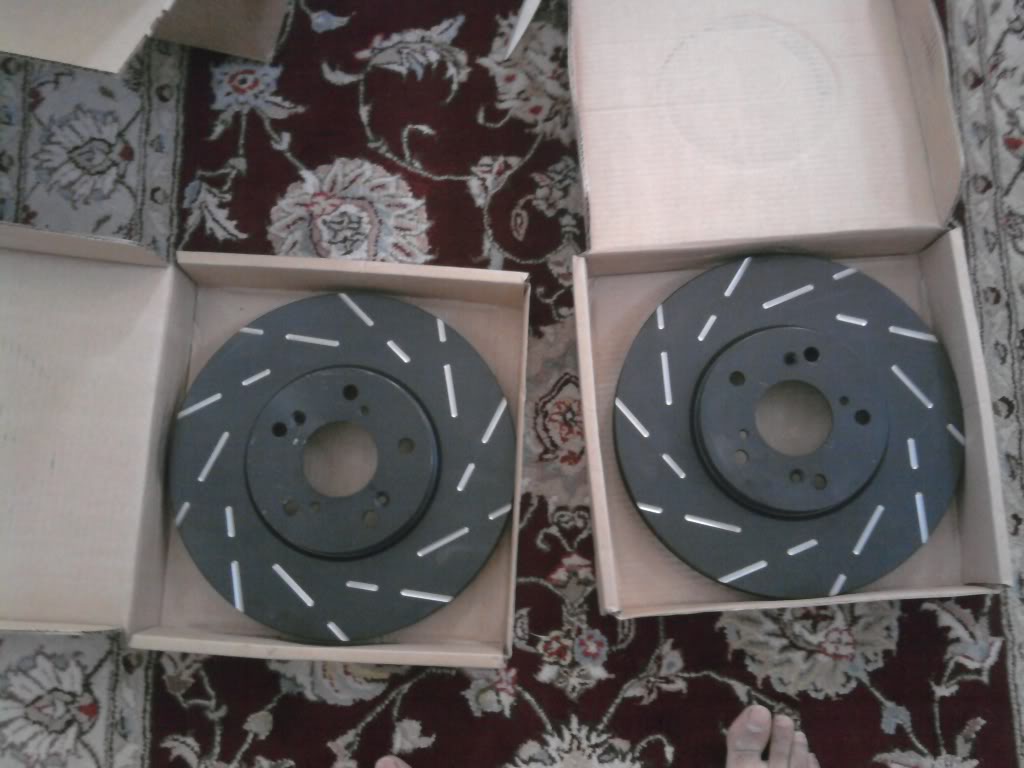
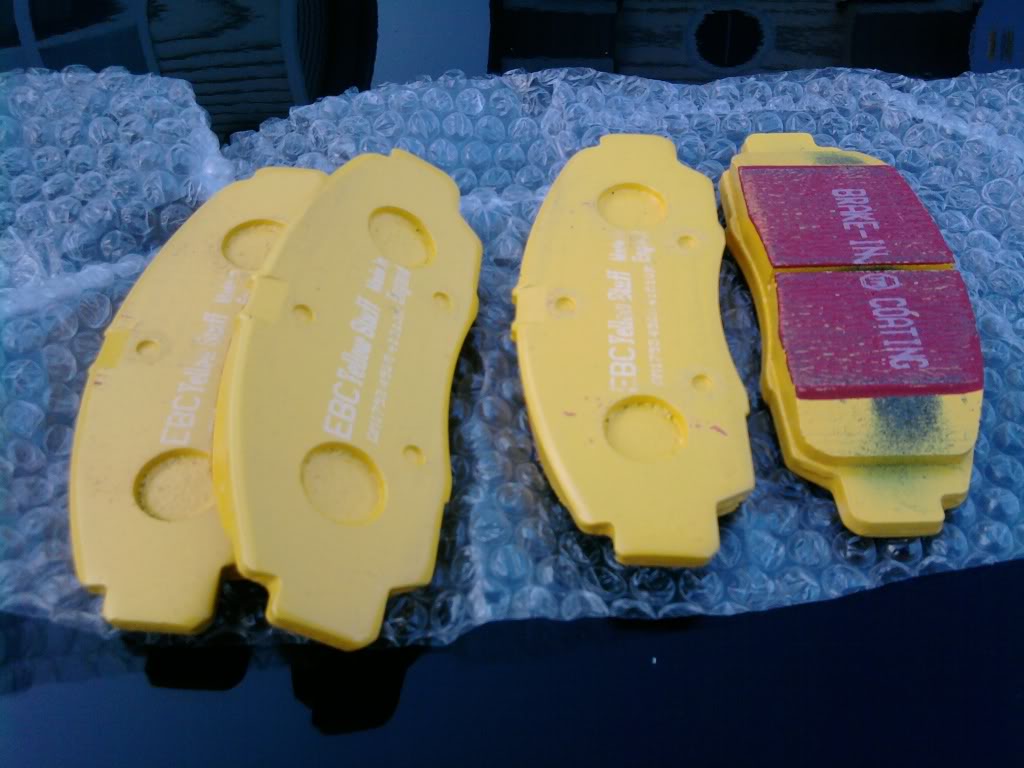
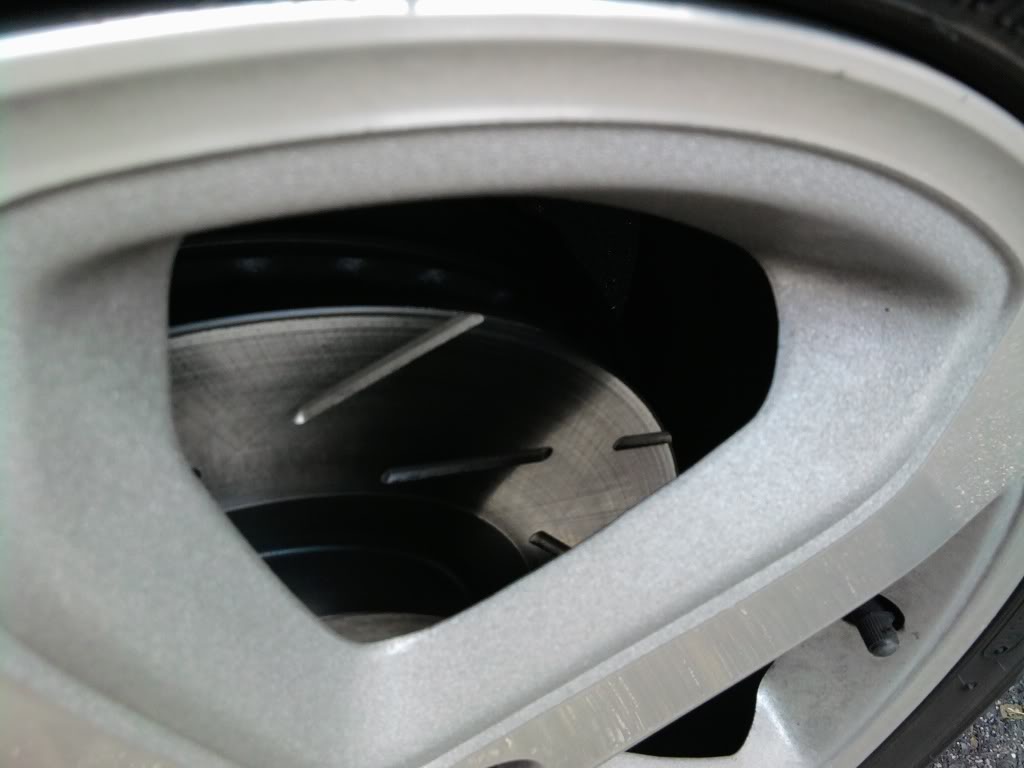
Brakes were also shot so upgrades were ordered
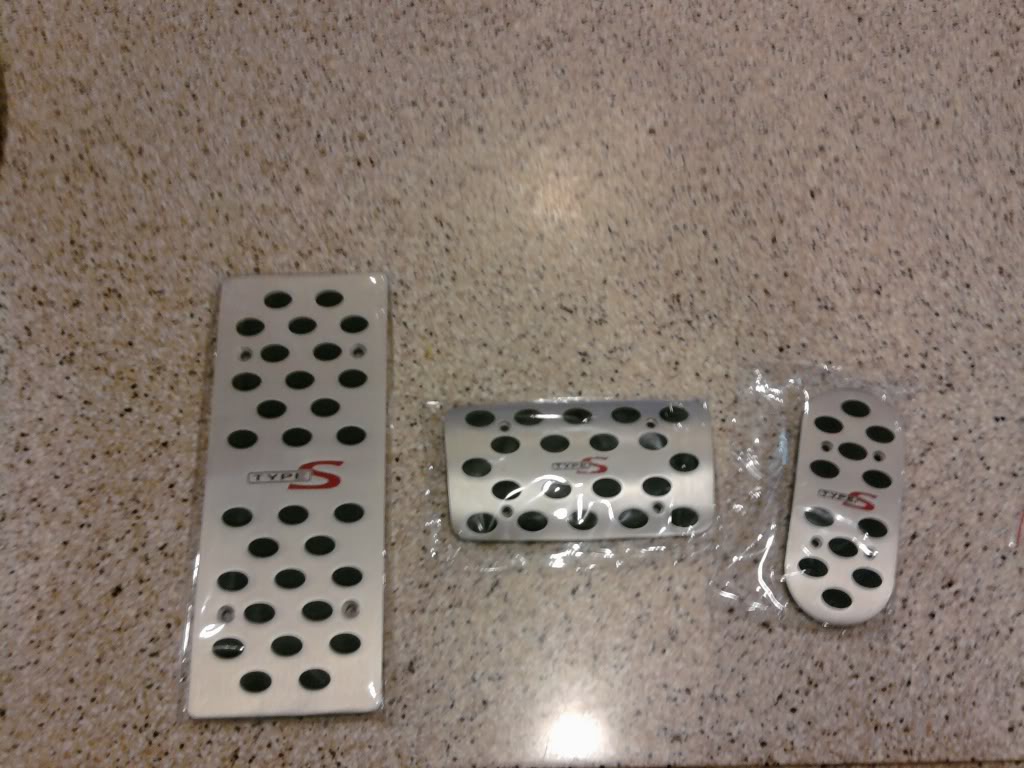
Ordered myself a little gift for working so hard
As well as this off the BM
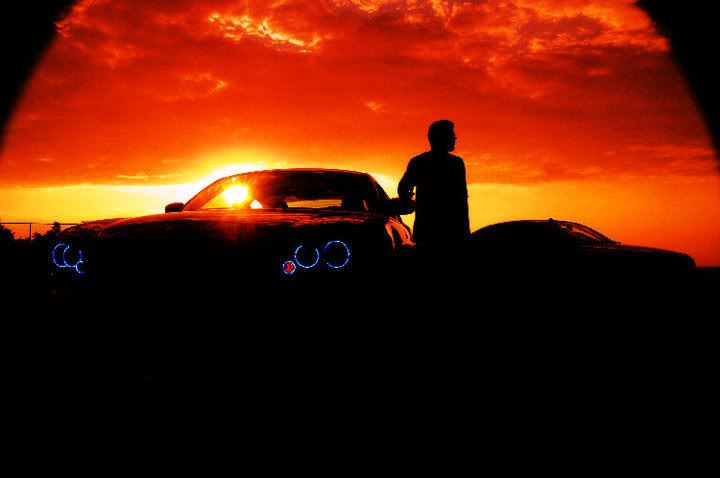
One day in early August, my friend (with the Charger) calls me up and asks me if I wanted to come do a photoshoot with some girls. I said I will be right over. (they are over 18 don’t worry)

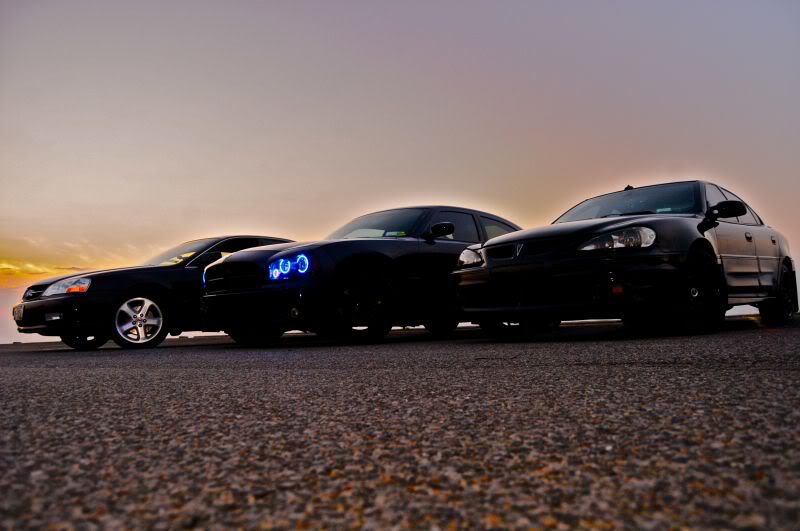
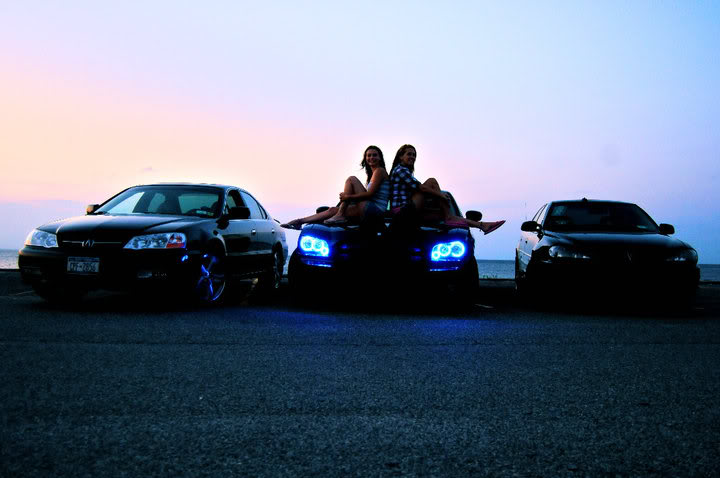


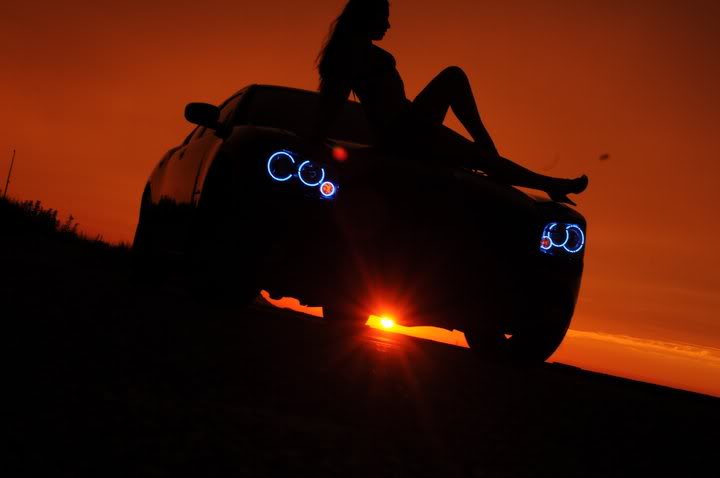
My friend:
Now it is nearing the end of August and the semester is starting so I had to slow down on the mods
But one last mod for the summer…
Well that one didn’t go so well. The paint stuck GREAT to the vinyl on the seats, but not at all to the leather. But hey, no one had tried it before so I took the risk and went for it.
SEPTEMBER 2010
BAM! Get hit with a $600 bill for lower ball joints and various other necessities
And school sucks…
OCTOBER 2010
Started to get back into the groove of school and found some extra time…
…to hit 105K!
I already did the 105K service at 97K though.
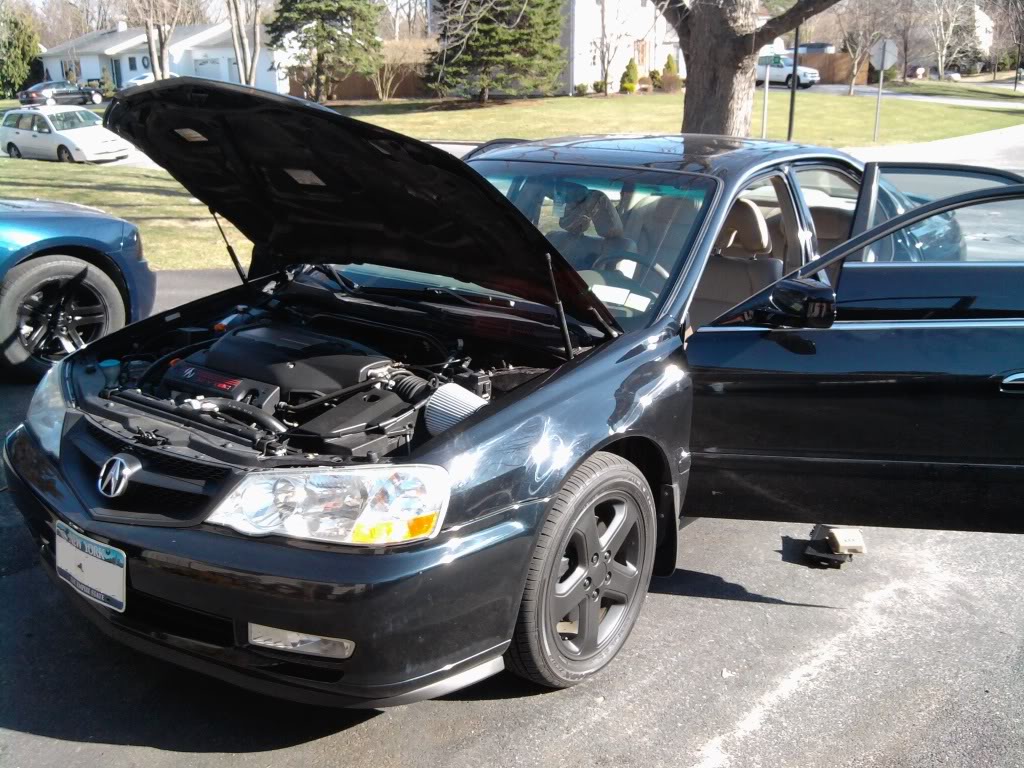
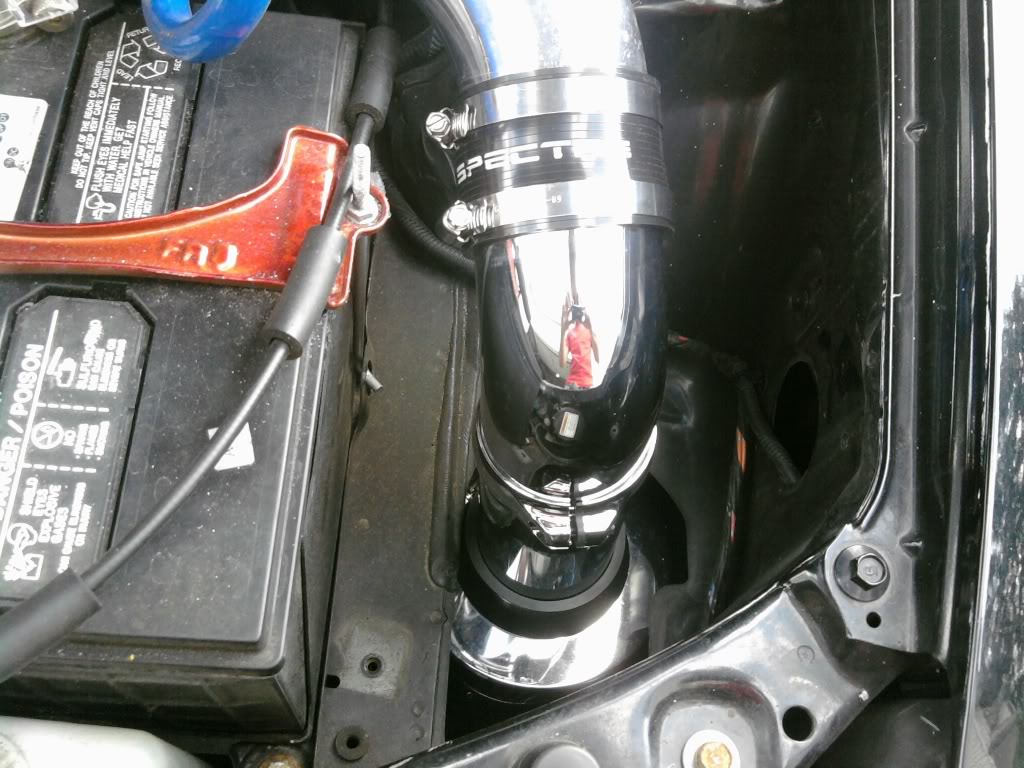
Converted the SRI to a CAI
And painted some more interior stuff
Seafoam! 01tl4tl will be damn proud
Placement of 3G-S badge (not on car anymore)
NOVEMBER 2010
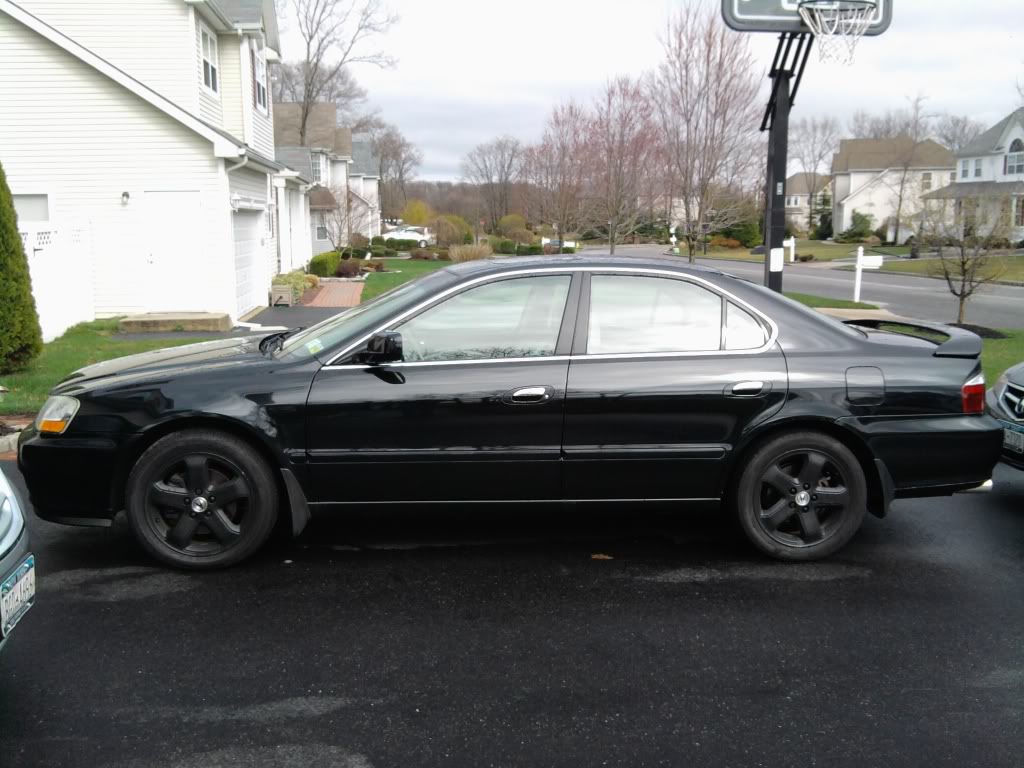
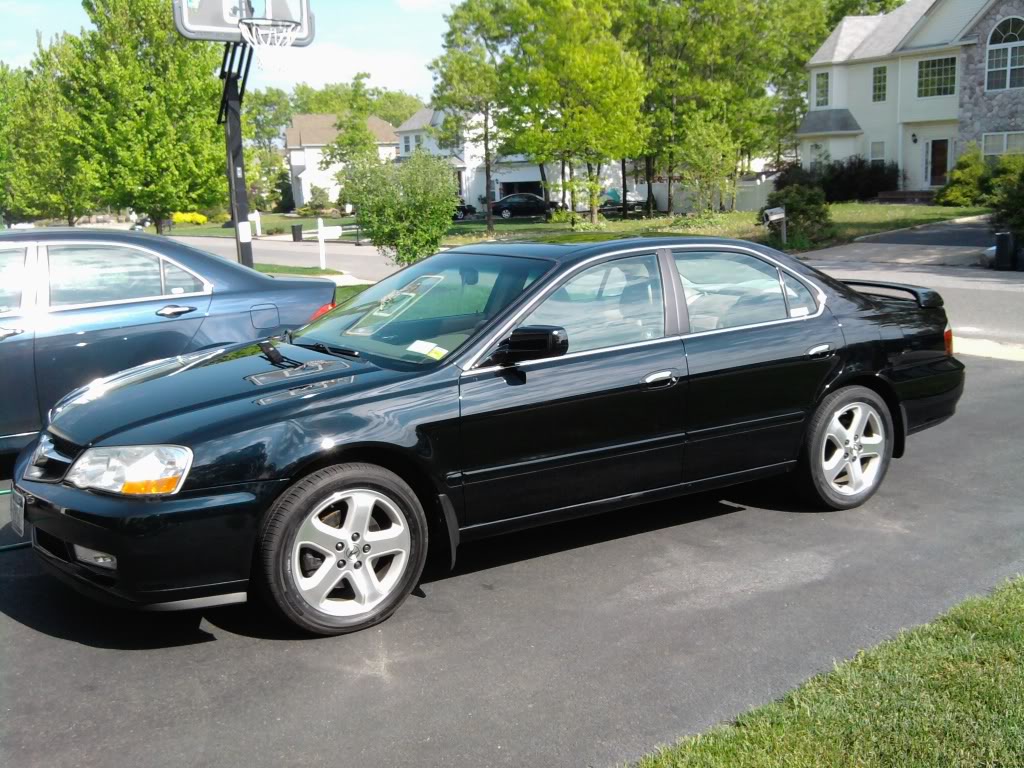
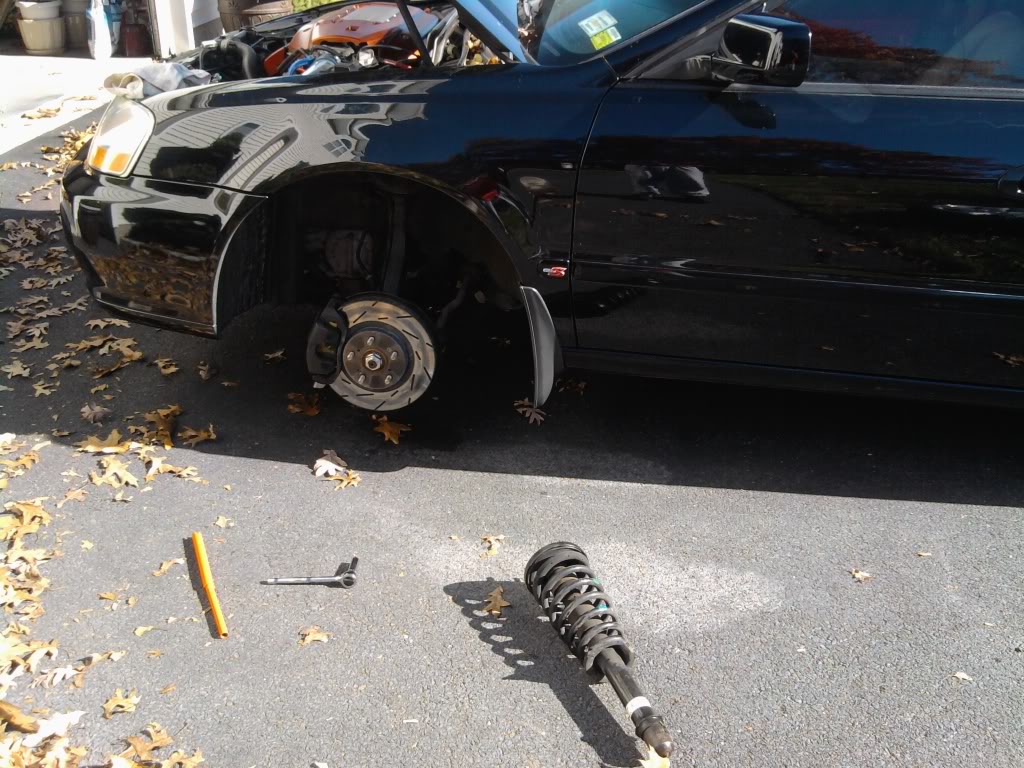
Springs and shocks installed. It was about time I lowered it… and boy, what an experience.
Eibach Pro Kit and KYB-GR2

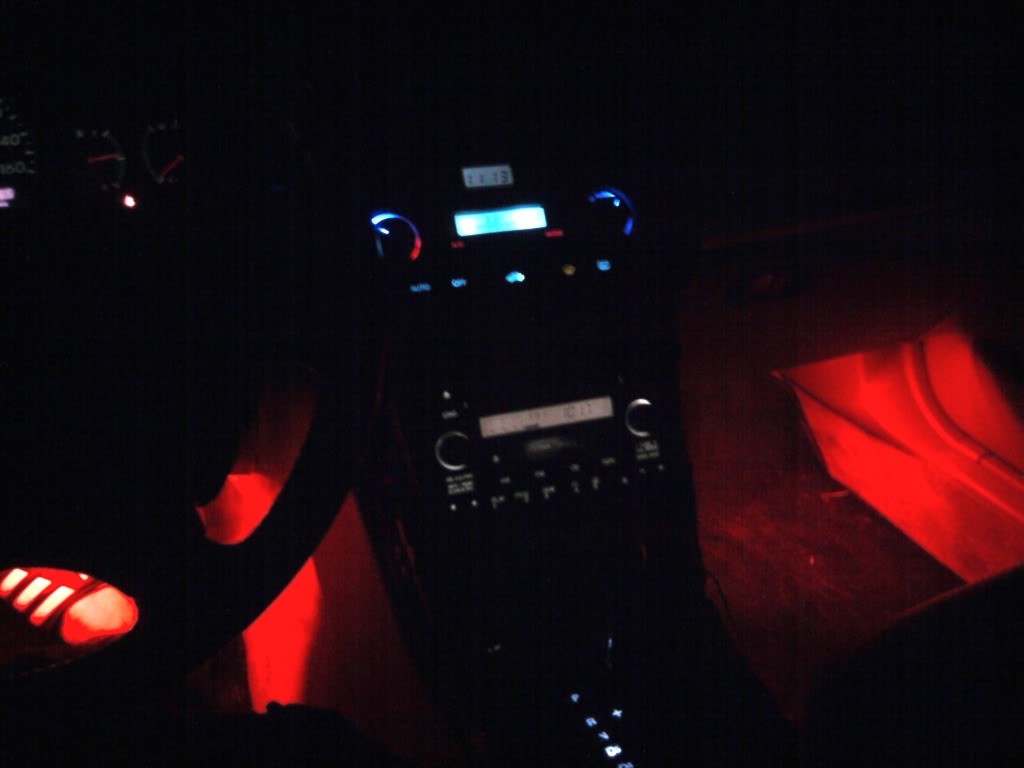
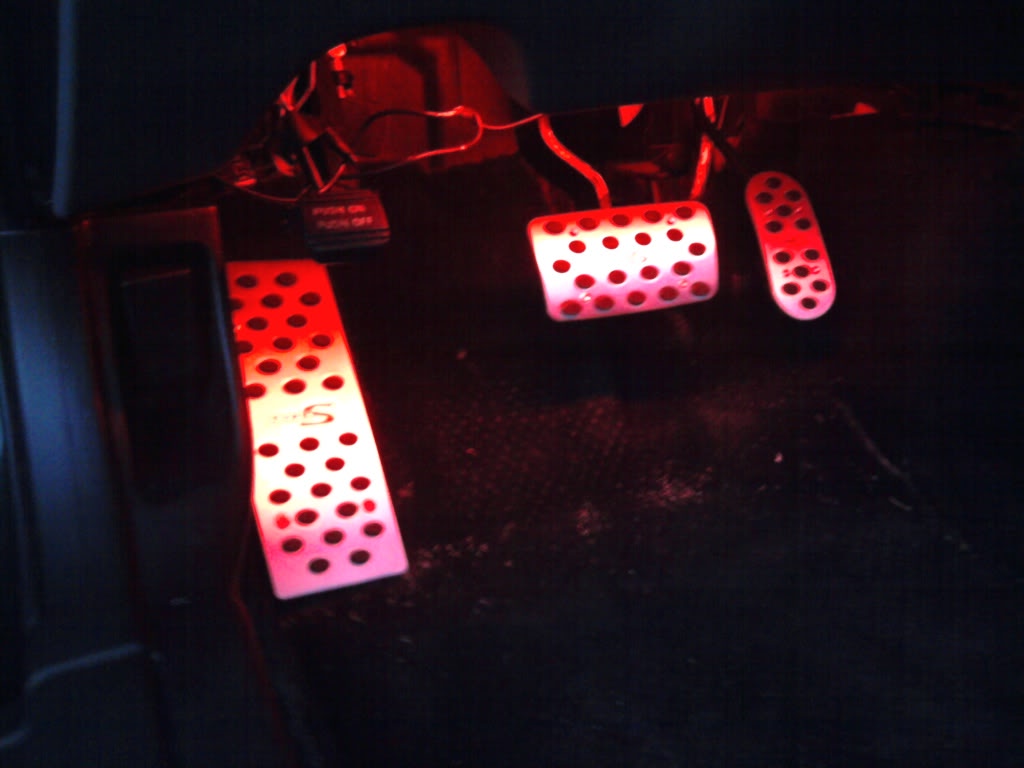
Got tired of rummaging around my trunk in the dark at night so I went crazy with some cold cathode tubes
DECEMBER 2010
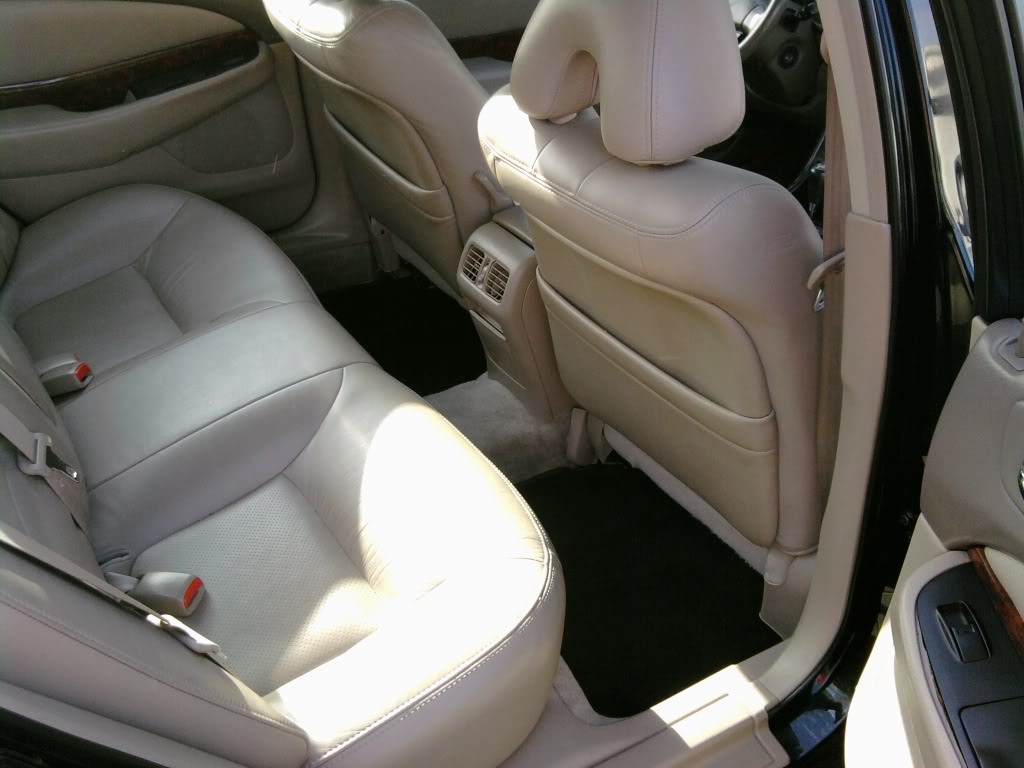
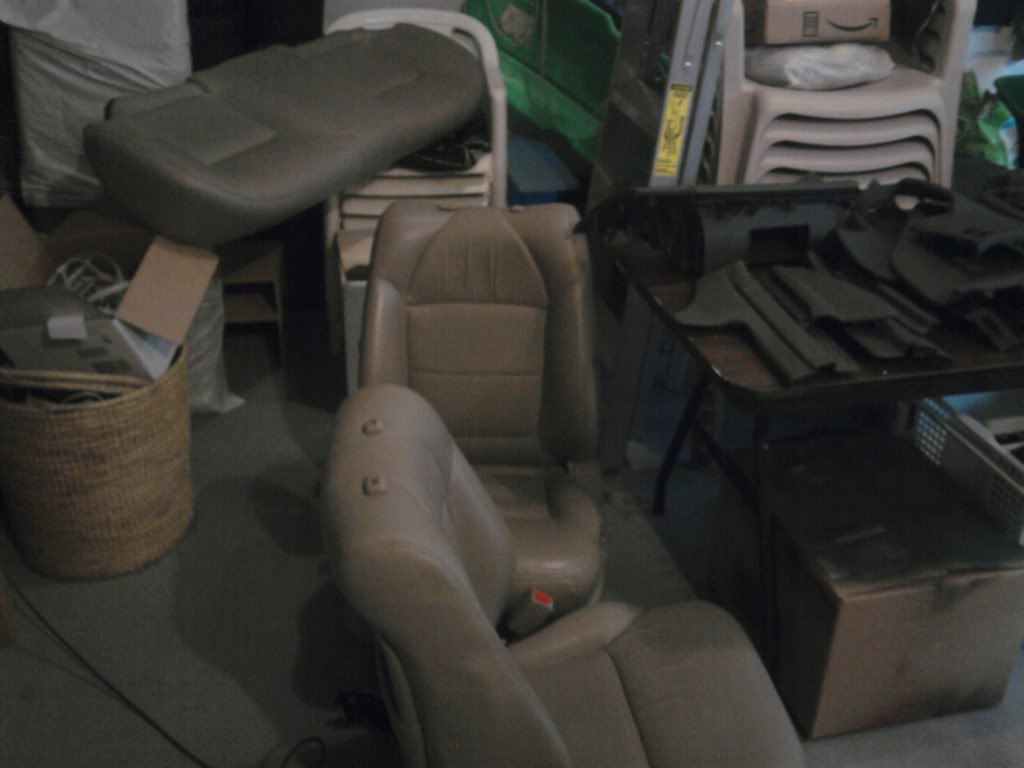
Picked up black TL-P rear seats from another member
(sorry no pics yet)
By this time, final exams are going on and I am just getting raped so no time to work on the car
JANUARY 2011
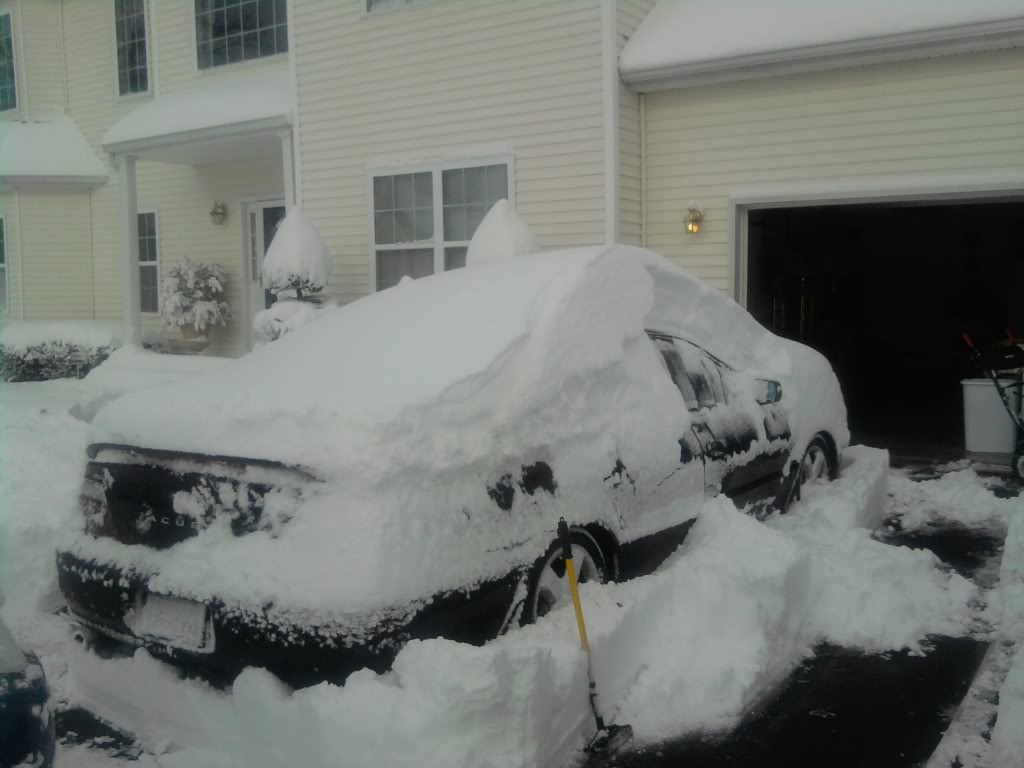
First snow storm of the new year!
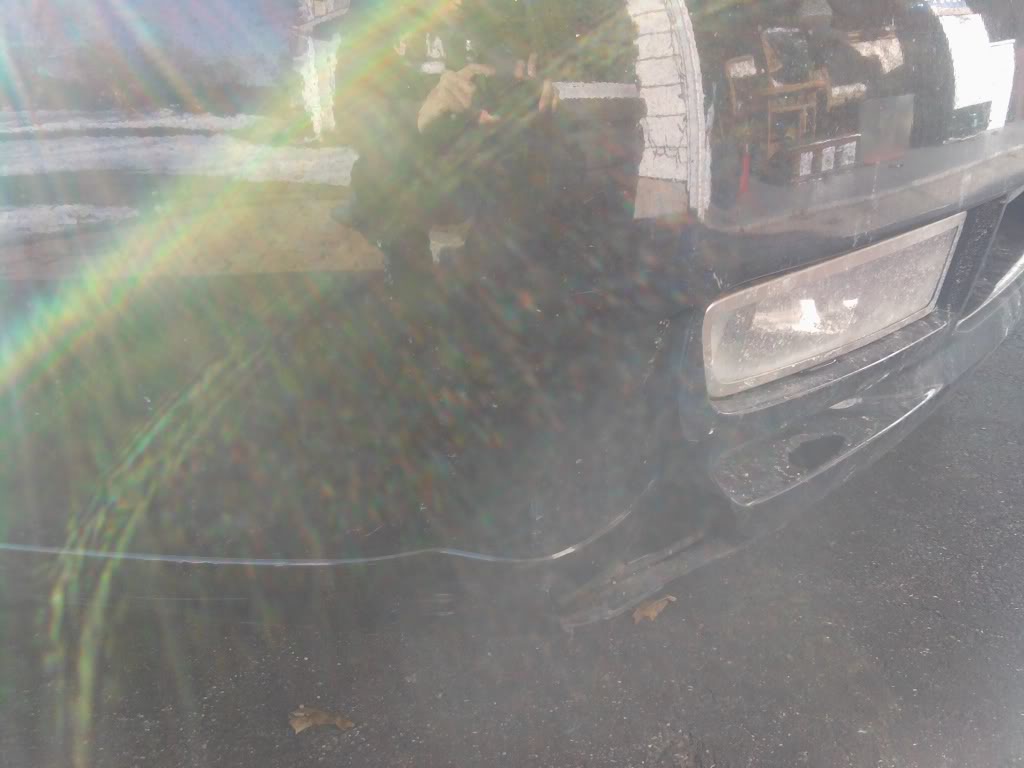
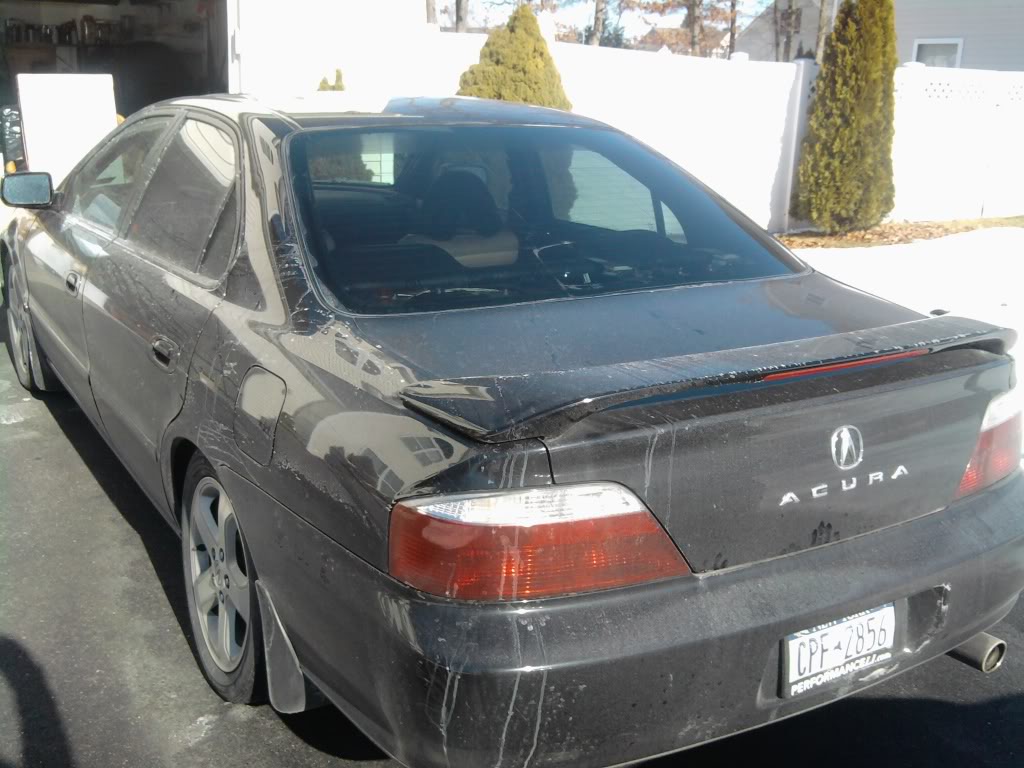
Hit something. I have no idea what. But now I need a new bumper.
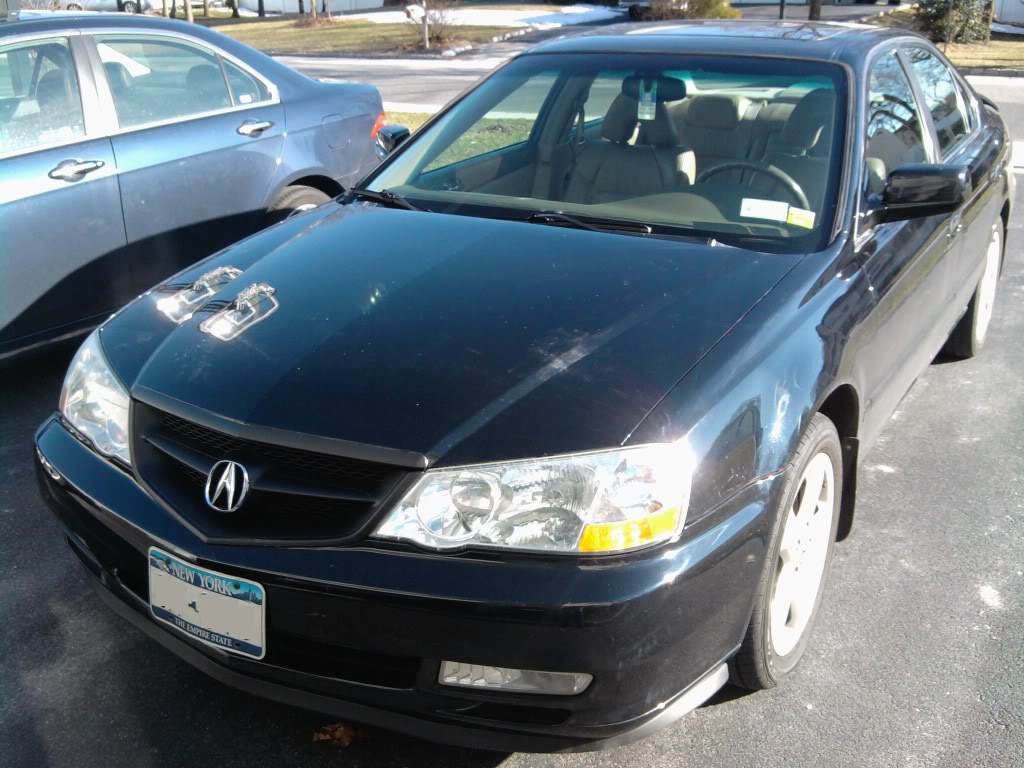
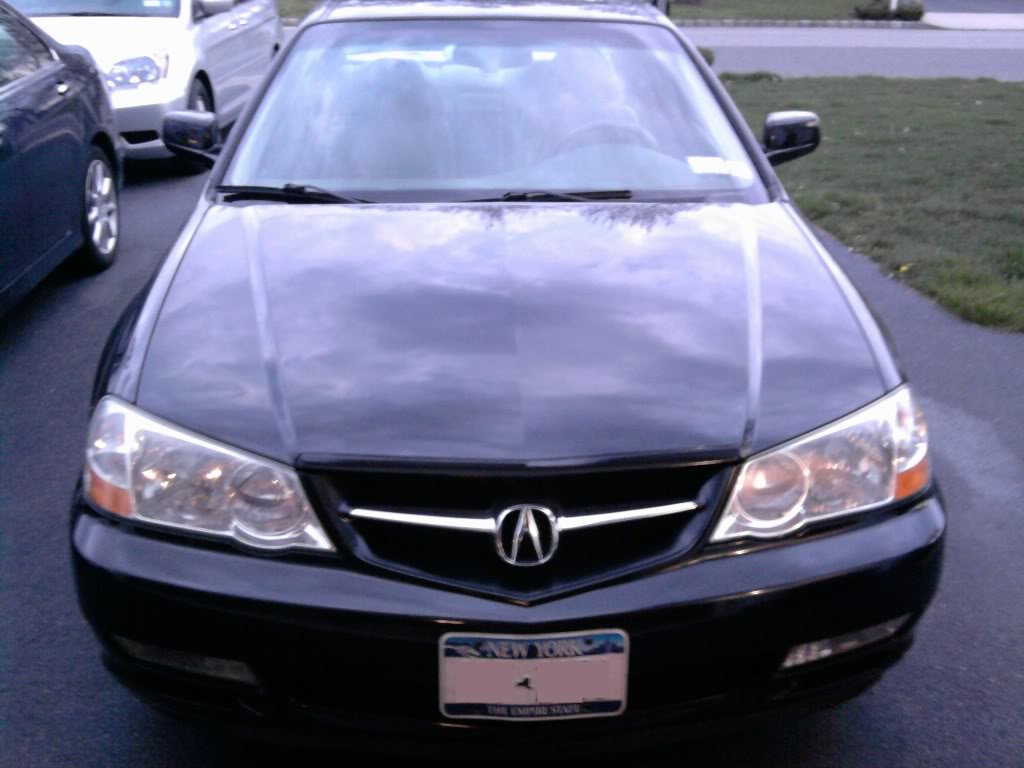
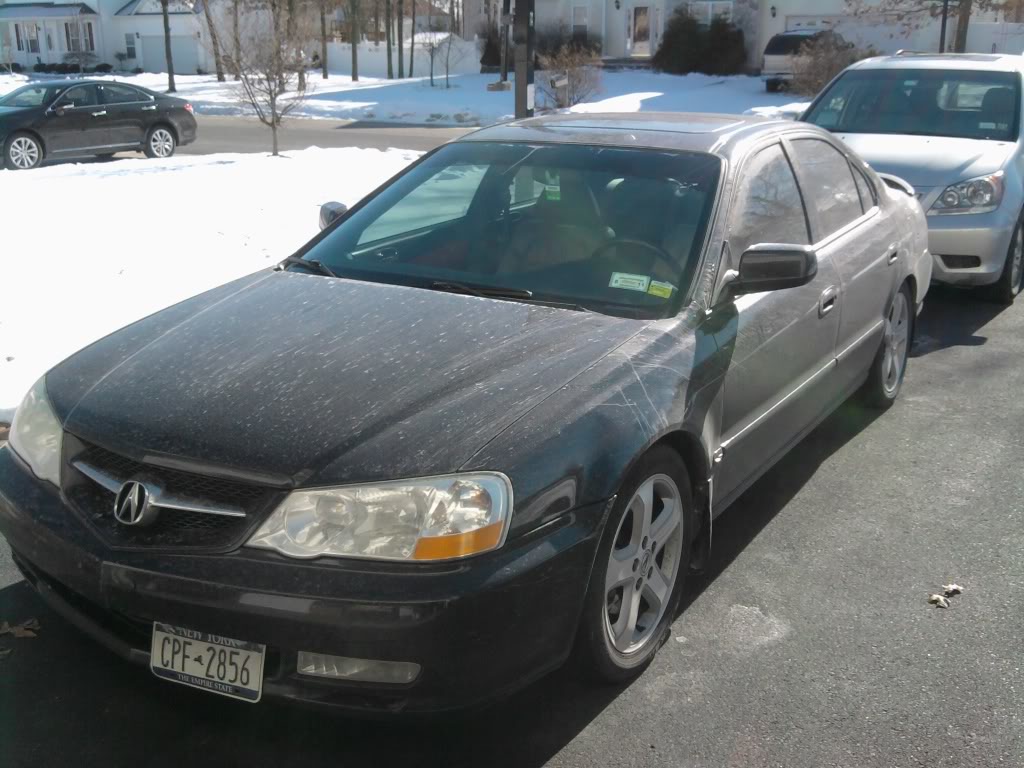
NY > DC > NY = dirty ass TL

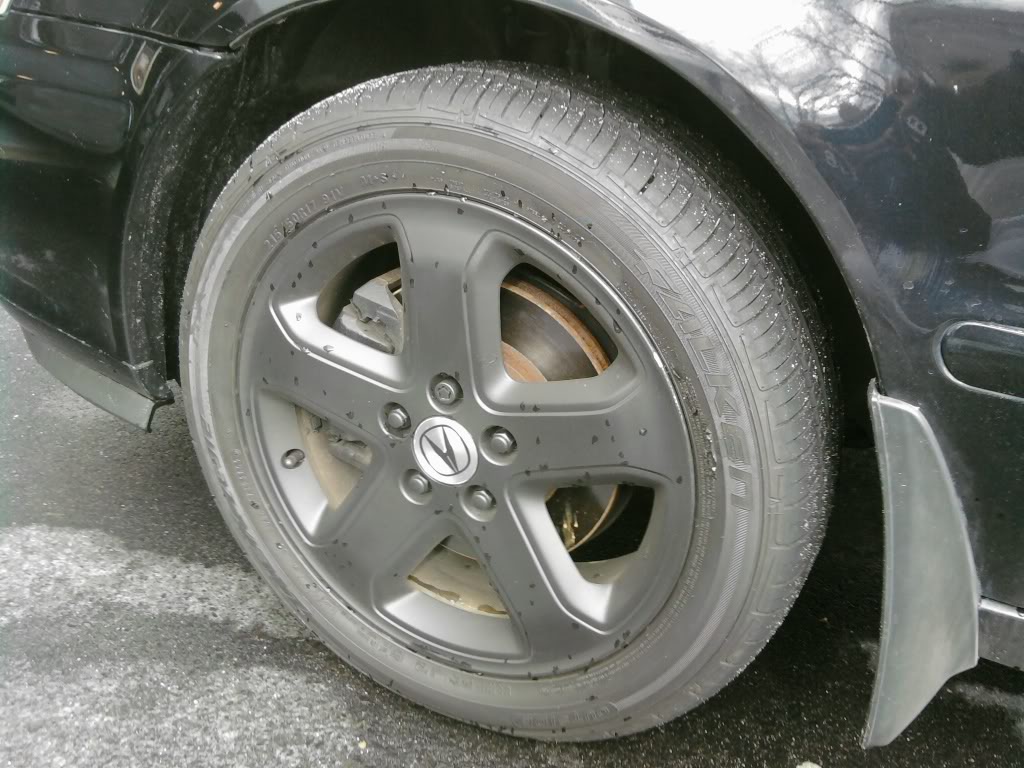
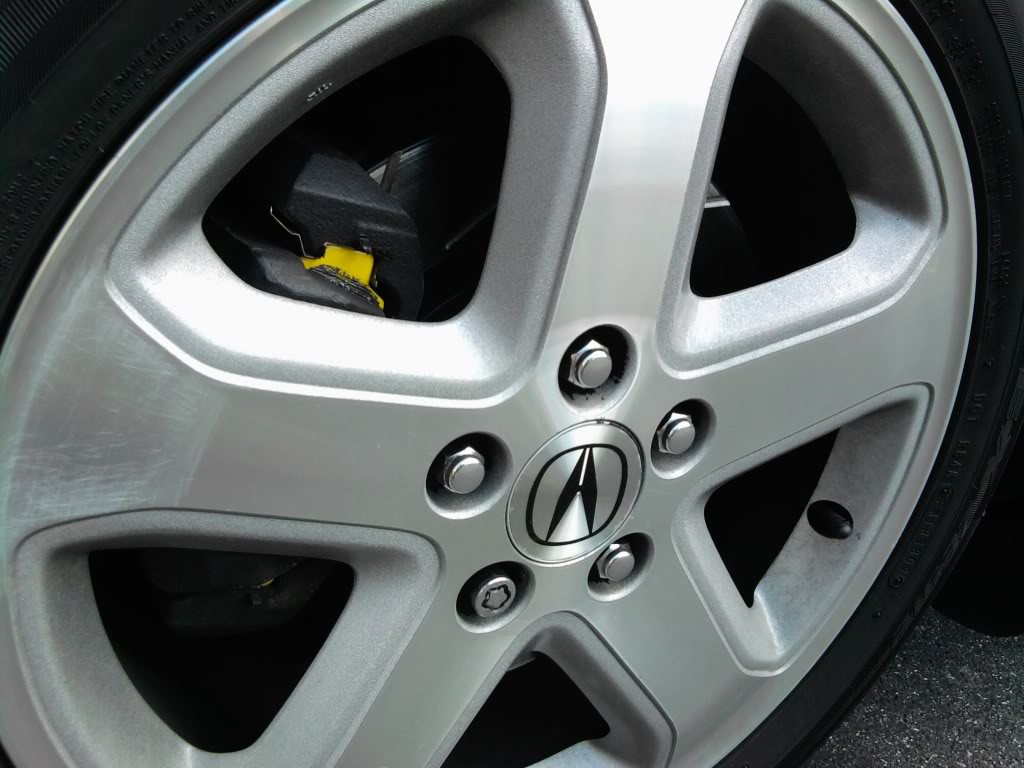
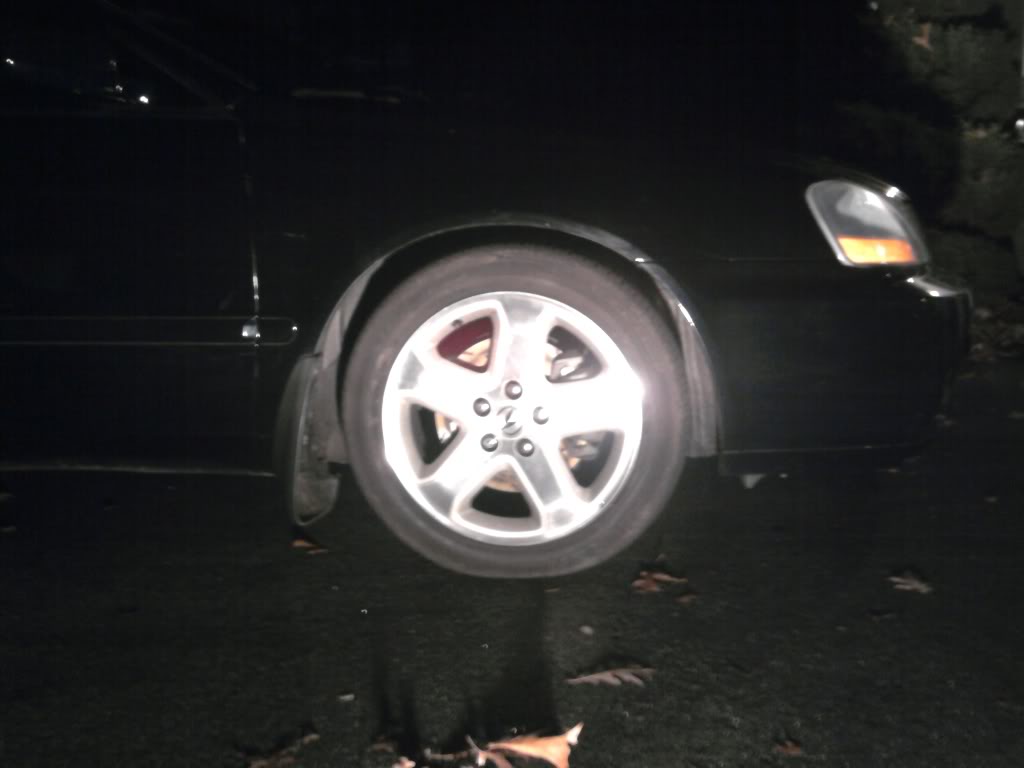
New centercaps. Gonna wait till the Spring to put em on.
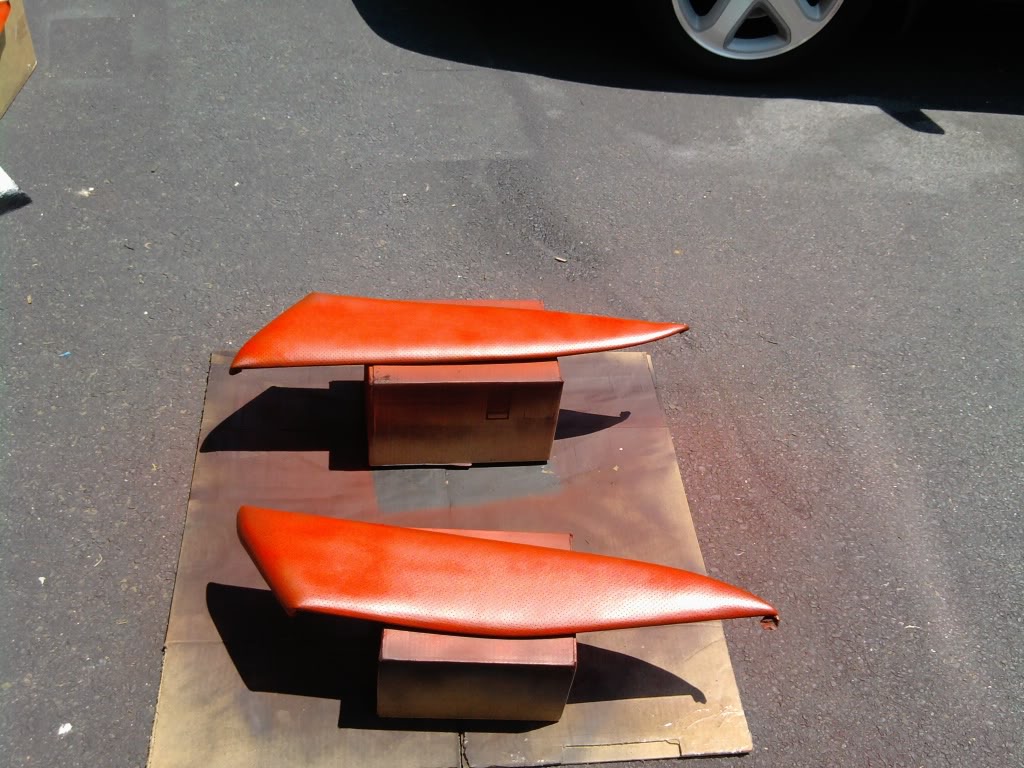
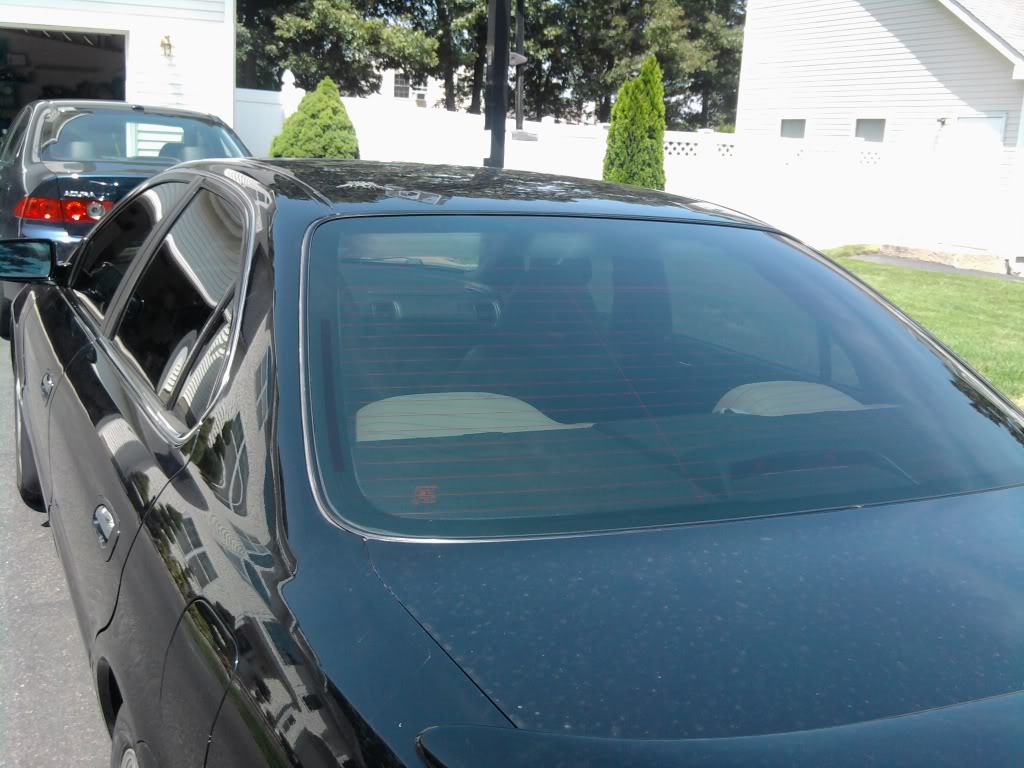
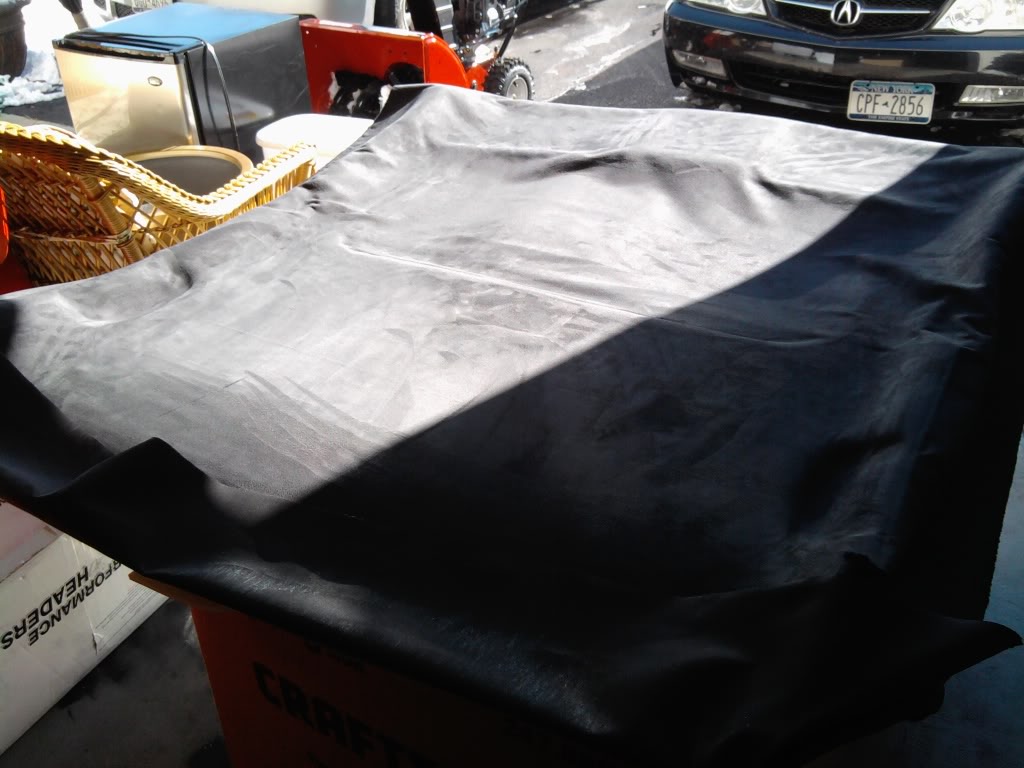
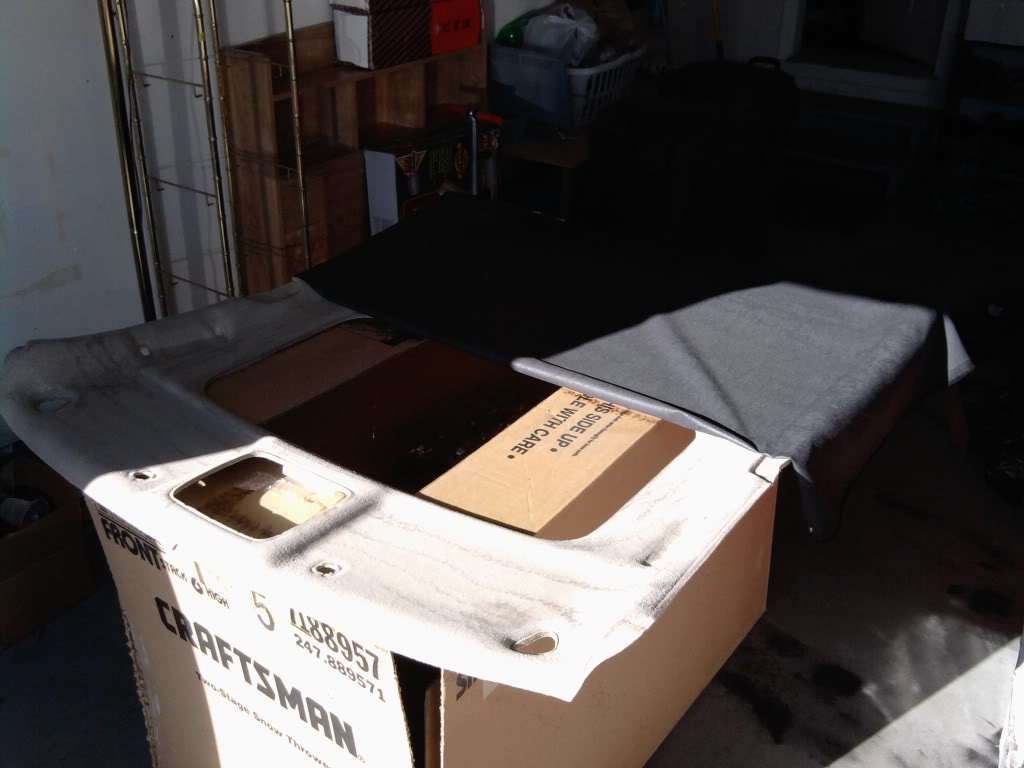
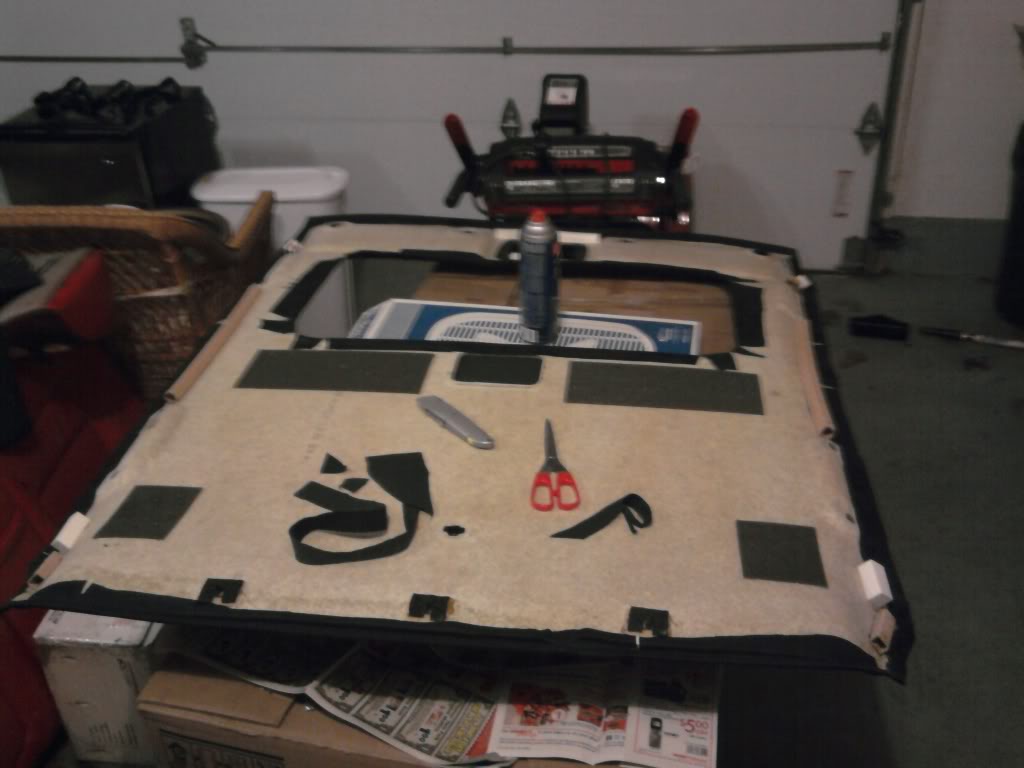
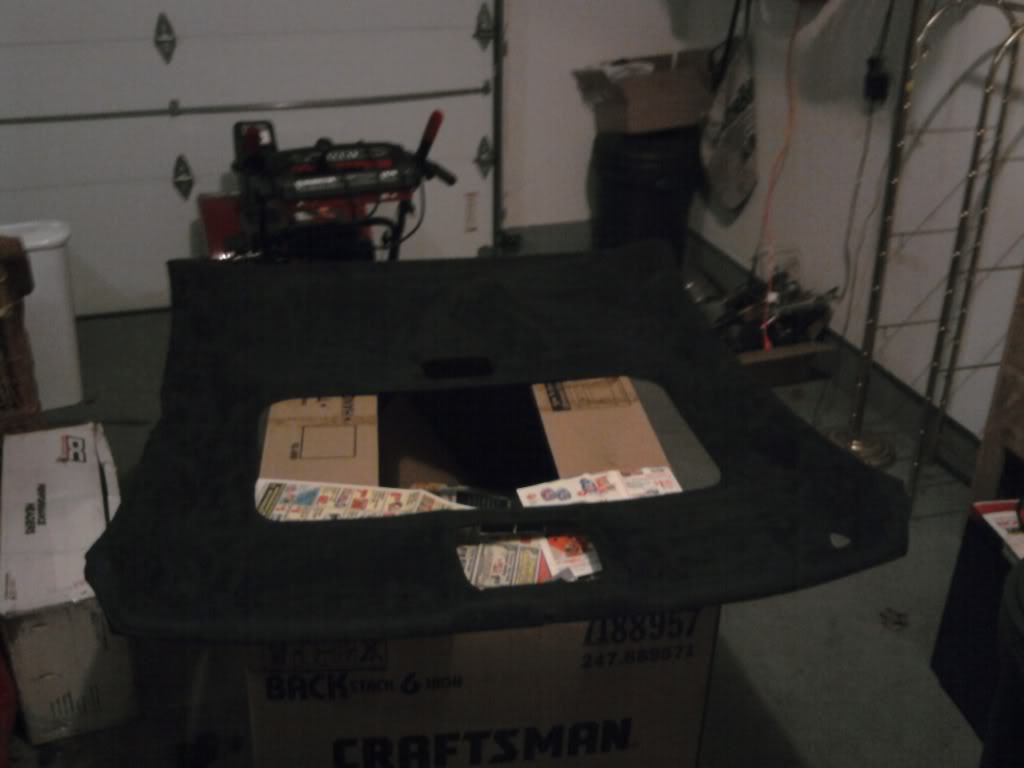
I desperately needed to do something about the headliner. I thought about just painting it like I did the carpet, but the paint makes everything kind of crisp. The headliner needed to stay luxury, so I got a couple yards of black suede and went to work. It actually turned out be cheaper than buying 6 cans of paint.
Soooo that is all for now. The Spring semester is starting very soon and it’s going to be a tough one (Junior year Mechanical Engineering). So progress will most likely be slow. But I am experiment with different carbon fiber vinyls so we shall see what the next few months will bring to my doorstep.
As you can see, I still have quite a lot of work to do. A lot of minor stuff, like finish my LED gauge conversion, blackout headlights, etc. A major one though is to reupholster the front seats or get hold of a decent pair of black Type S seats. I am going to get them professionally dyed. I also need to get a new front bumper and lip kit, but I am going to wait and see was RonJon comes up with.
I also was thinking about getting the Sarona front bumper like the one that Rejekt has. I know it is a bit but I don’t think it would look too bad in all NBP. I really want my TL to be different. Just a thought…
Thanks for looking and a big shout out to everyone who has helped me out this past year
I will try to keep this thread updated and exciting!
JANUARY 2010
Pics from dealership
Day I brought it home 1/25/10
First mod: Intake Resonator Removal
Pretty easy to do and I did it on my TSX and RDX
Cleaned and conditioned leather and interior
First amateur wash
FEBRUARY 2010
The mods start picking up…
LED Interior
Custom LED shift gate made from printer paper and permanent marker
3A Racing Tips
Before:
After:
Experimenting with Plasti-dip…
B- Pillars
Grille
Wheels
HD Lip
I figured, 10 bucks, what the hell why not try it.
MARCH 2010
Mid-Muffler Removal
LED cupholders and rear vents
More fun with LEDs
Partial debadge
APRIL 2010
Painted engine cover
Repainted grille with real paint this time
Subwoofer and Amp install
This was quite an interesting experience. I have never done any audio installs before so I recruited a friend to help me out quite a bit. I also didn’t know how to use the search function on Azine yet
Jumping forward a few months, but this is the final setup:
Amp is seen through the pass through and subwoofer is sideways, similar to this picture. It gives me more trunk space.
MAY – AUGUST 2010: SCHOOLS OUT BITCH!
Modding season is in its full stride…
This is when I decided I was sick of my tan shit brown interior. I wanted something different but did not want to spend thousands on a custom interior. I researched and found out about Duplicolor Vinyl & Fabric paint as well as SEM. But SEM was just too damn expensive (though it may be worth it).
Started off with the floor mats
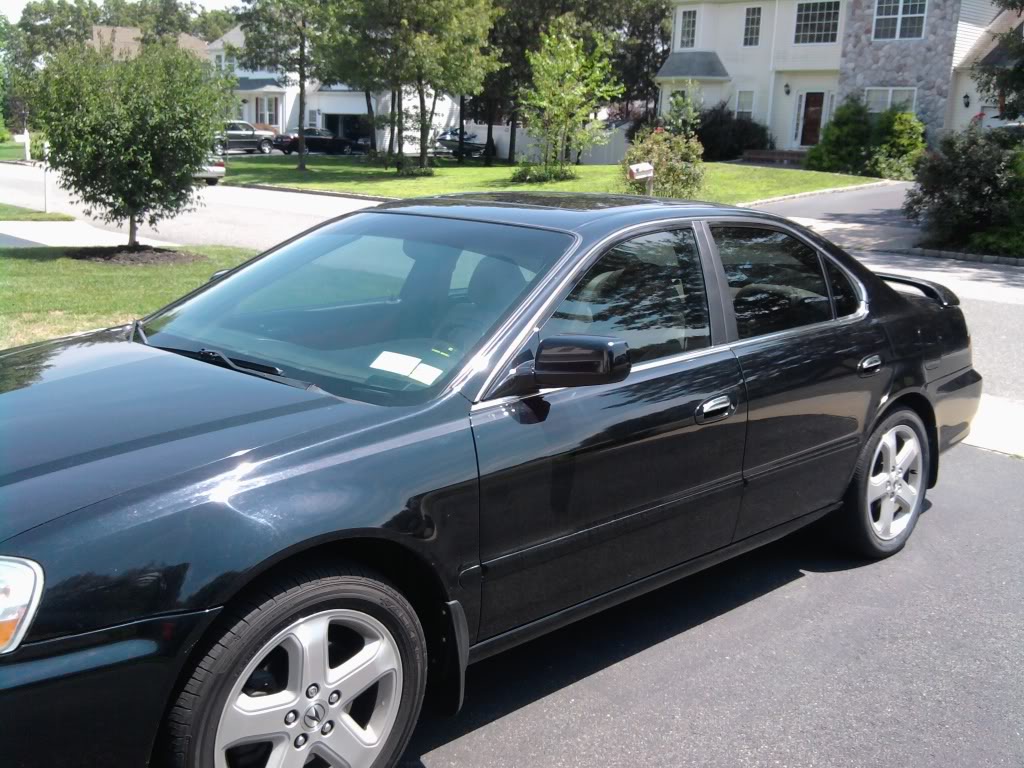
My car at its first car show (Swap meet at Flowerfield)
First clay bar and wax
More LED mods
Got sidetracked even more and did some footwell lighting using cold cathode tubes
Back to the custom interior…
Tried out a black and gray theme
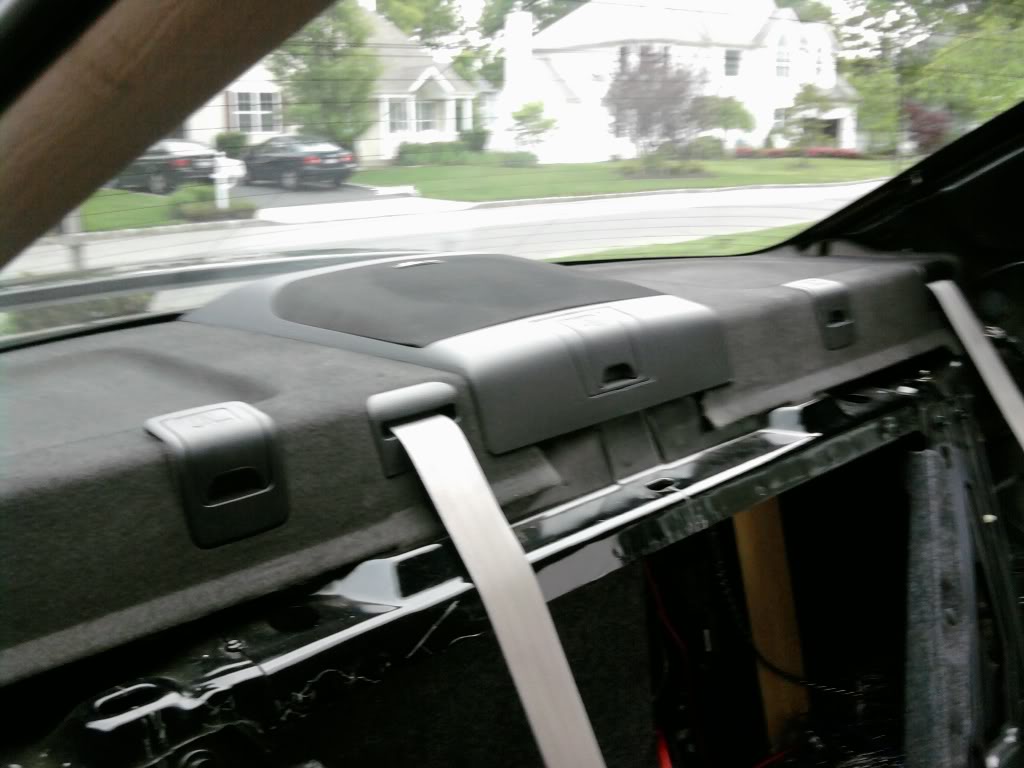
Stripped out the rear
To do the rear deck
Got an ebay account and got distracted some more…
Ebay SRI
3G Type S badge (not on the car anymore, don’t worry)
More custom colors…
Painted dash and steering wheel
Driver door panel
Center console
Decided that the carpet needed to be tackled so I started stripping the car
My dedications to modz, modding during a lighting storm
Gave the interior a much needed vacuuming
My “shop light” a.k.a. desk lamp
Got the carpet out finally
Andddd painted it black
Hit 100K!
Got sick of the dim LEDs and ordered some nicer ones on ebay
Wetsanded and polished head lights
Then I realized that the color combo I had done was hideous. So I changed it to just black and red.
By this time, it is around July and everyday was about 90+ degrees outside. I was working full time and traveling 30 min each way against the sun. I was getting cooked in my own car. Tint was needed.
Tint shop:
35% Tint done
Brakes were also shot so upgrades were ordered
Ordered myself a little gift for working so hard
As well as this off the BM
One day in early August, my friend (with the Charger) calls me up and asks me if I wanted to come do a photoshoot with some girls. I said I will be right over. (they are over 18 don’t worry)
My friend:
Now it is nearing the end of August and the semester is starting so I had to slow down on the mods
But one last mod for the summer…
Well that one didn’t go so well. The paint stuck GREAT to the vinyl on the seats, but not at all to the leather. But hey, no one had tried it before so I took the risk and went for it.
SEPTEMBER 2010
BAM! Get hit with a $600 bill for lower ball joints and various other necessities
And school sucks…
OCTOBER 2010
Started to get back into the groove of school and found some extra time…
…to hit 105K!
I already did the 105K service at 97K though.
Converted the SRI to a CAI
And painted some more interior stuff
Seafoam! 01tl4tl will be damn proud
Placement of 3G-S badge (not on car anymore)
NOVEMBER 2010
Springs and shocks installed. It was about time I lowered it… and boy, what an experience.
Eibach Pro Kit and KYB-GR2
Got tired of rummaging around my trunk in the dark at night so I went crazy with some cold cathode tubes
DECEMBER 2010
Picked up black TL-P rear seats from another member
(sorry no pics yet)
By this time, final exams are going on and I am just getting raped so no time to work on the car
JANUARY 2011
First snow storm of the new year!
Hit something. I have no idea what. But now I need a new bumper.
NY > DC > NY = dirty ass TL
New centercaps. Gonna wait till the Spring to put em on.
I desperately needed to do something about the headliner. I thought about just painting it like I did the carpet, but the paint makes everything kind of crisp. The headliner needed to stay luxury, so I got a couple yards of black suede and went to work. It actually turned out be cheaper than buying 6 cans of paint.
Soooo that is all for now. The Spring semester is starting very soon and it’s going to be a tough one (Junior year Mechanical Engineering). So progress will most likely be slow. But I am experiment with different carbon fiber vinyls so we shall see what the next few months will bring to my doorstep.
As you can see, I still have quite a lot of work to do. A lot of minor stuff, like finish my LED gauge conversion, blackout headlights, etc. A major one though is to reupholster the front seats or get hold of a decent pair of black Type S seats. I am going to get them professionally dyed. I also need to get a new front bumper and lip kit, but I am going to wait and see was RonJon comes up with.
I also was thinking about getting the Sarona front bumper like the one that Rejekt has. I know it is a bit
but I don’t think it would look too bad in all NBP. I really want my TL to be different. Just a thought…Thanks for looking and a big shout out to everyone who has helped me out this past year
I will try to keep this thread updated and exciting!

Trending Topics
The following users liked this post:
lvlarkeo (10-20-2012)
01-14-2011, 08:45 AM
#10
MechEng
Thread Starter
iTrader: (9)
thanks!
thanks man. i just taped off the windshield and surrounding area. the prep took about 2 or 3 hours alone just to make sure nothing went wrong. i didnt want to mess with taking the entire dash out of the car.
thanks
http://www.uniquestyleracing.com/19992003-19992003.html
thanks! yeah i wasnt too happy about the way they turned out. but im all about doing something unique. im going to get the seats and door inserts professionally dyed either a dark red like you see in BMWs or a dark brown.
thanks!
haha i know right? i was supposed to do them a while ago with a friend but i decided i really didnt want to mess up the resealing. i think i may go with some custom work from AckTL05 on the headlights.
hahah yes i did. costed less than an interior swap too
thanks
thanks!
hahah yes i did. costed less than an interior swap too
01-14-2011, 09:58 AM
#12
MechEng
Thread Starter
iTrader: (9)
so the blue inserts in a TL Aspec are also rice?
red interior in a BMW is rice?
i dont remember the last time i saw a riced out Civic with red inserts.
haha jk. yeah i can see why people think its rice. but honestly why is a bright color associated with being rice?
now the fact that i painted my leather....that is rice
im going to get it done properly though. i took a gamble using the paint on the seats and door inserts and i lost.
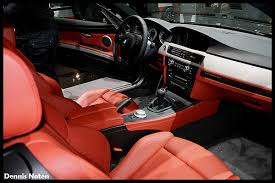
this is what i was going for by the way...
328i_Interior1.jpg&t=1
i dont think i am going to do that anymore though. i havent taken updated pictures of the interior yet. there is no more red in the car....at all.
red interior in a BMW is rice?
i dont remember the last time i saw a riced out Civic with red inserts.
haha jk. yeah i can see why people think its rice. but honestly why is a bright color associated with being rice?
now the fact that i painted my leather....that is rice
im going to get it done properly though. i took a gamble using the paint on the seats and door inserts and i lost.
this is what i was going for by the way...
328i_Interior1.jpg&t=1
i dont think i am going to do that anymore though. i havent taken updated pictures of the interior yet. there is no more red in the car....at all.

 01-14-2011, 01:28 PM
#15
I think that if you left the inserts on the sides like black, and had red seats and some matching accents on your dash it'll look better, I think rice was too harsh, it looks out of place how about that. I can see where you're going though, looks a little unorganized at the moment thats all.
01-14-2011, 02:49 PM
#16
MechEng
Thread Starter
iTrader: (9)
i think i will be wrapping the rear deck and maybe the pillars in suede as well. its a lot easier than i thought it would be.
I think that if you left the inserts on the sides like black, and had red seats and some matching accents on your dash it'll look better, I think rice was too harsh, it looks out of place how about that. I can see where you're going though, looks a little unorganized at the moment thats all.
01-14-2011, 05:15 PM
#17
MechEng
Thread Starter
iTrader: (9)
proof that my seats are not red anymore haha. i got the rears from another member's TL-P. should i just go ahead and buy the front seats as well?
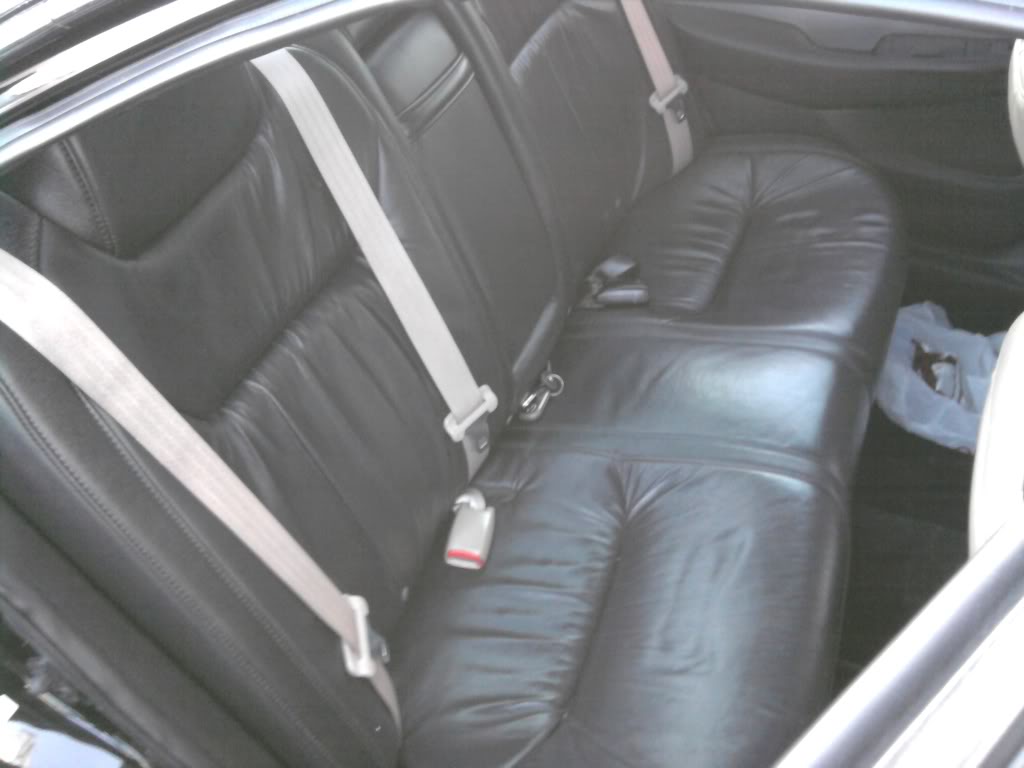
i have black seat belts coming soon as well from another member.
finished the headliner! i think i might just paint the sunroof cover. its damn near impossible to take out.
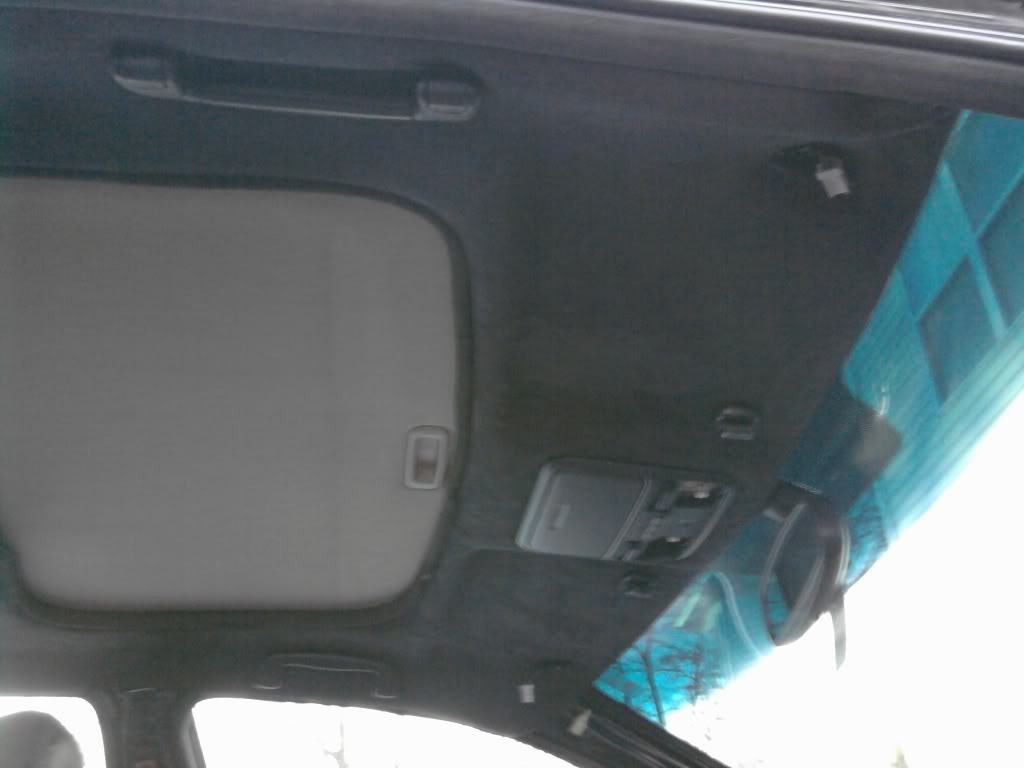
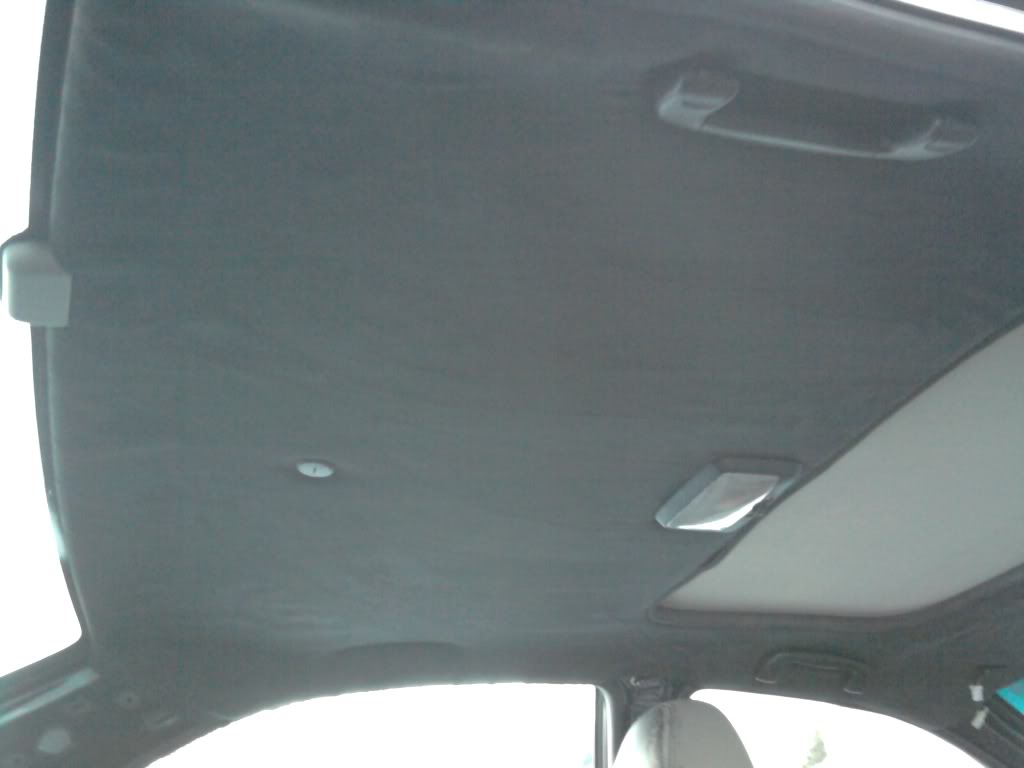
there are a few wrinkles here and there but not in places people normally look. i am really happy with the way it came out
i have black seat belts coming soon as well from another member.
finished the headliner! i think i might just paint the sunroof cover. its damn near impossible to take out.
there are a few wrinkles here and there but not in places people normally look. i am really happy with the way it came out
01-14-2011, 07:29 PM
#19

Plasti-Dip is a coating that you can easily peel off. It works quite well for interior and exterior mods.
OP my question is; how much did the suede material cost you in total. I wanted to do this on my tl but am too cheap to pay 350 for a shop to do it.
Thanks!
OP my question is; how much did the suede material cost you in total. I wanted to do this on my tl but am too cheap to pay 350 for a shop to do it.
Thanks!
01-14-2011, 07:56 PM
#20
MechEng
Thread Starter
iTrader: (9)
btw i recommend having another person help you with the headliner if you decide to DIY. itll make your life a lot easier. in my case, my mom helped me out haha.
01-15-2011, 08:01 PM
#22
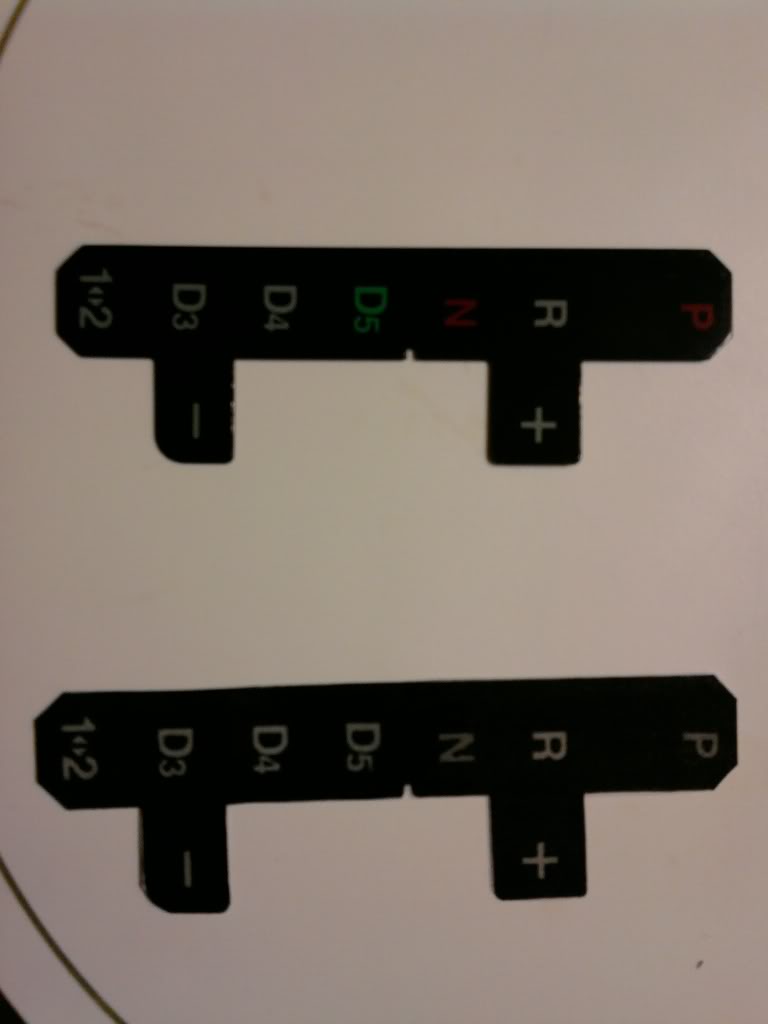
i have a quick question on the diy led shift gate. how did you exactly make it like that? i like it visible during the day even though i don't look at it to shift. it just looks much cleaner the way you did it. the one i have right now.. is just clear so you can't see crap during the day. and plus i wanted all the words and symbols but i only have p, r, n, d, 1, 2. i wanted everything the stock had.
for ex. p, n, d5, d4, d3, d2, 1<>2
--
and i did try and photocopy the shift gate but it's light barely goes through :x
for ex. p, n, d5, d4, d3, d2, 1<>2
--
and i did try and photocopy the shift gate but it's light barely goes through :x
01-15-2011, 11:54 PM
#23
MechEng
Thread Starter
iTrader: (9)
i have a quick question on the diy led shift gate. how did you exactly make it like that? i like it visible during the day even though i don't look at it to shift. it just looks much cleaner the way you did it. the one i have right now.. is just clear so you can't see crap during the day. and plus i wanted all the words and symbols but i only have p, r, n, d, 1, 2. i wanted everything the stock had.
for ex. p, n, d5, d4, d3, d2, 1<>2
--
and i did try and photocopy the shift gate but it's light barely goes through :x
for ex. p, n, d5, d4, d3, d2, 1<>2
--
and i did try and photocopy the shift gate but it's light barely goes through :x
it was almost a year ago. but it could just be that i have a decent copier, im not sure. i think i just put the shift gate in the copier and hit black copy. then i just used a permanent marker to shade in the black parts completely. the letters came out a little gray out of the printer. they were not completely white. but white enough for it to look decent. i used regular printer paper because light easily passes through it.
i dont know if that helped but thats basically everything i did.
01-16-2011, 01:17 AM
#24
I'm a thrill seeker in my
Many bold choices on your mods and I like how dedicated you are to your progress. Considering it's only been a year you've done more than many of us have in at least three. Some great choices made that turned out great, and other questionable ones that were worth trying; I'm sure you know which ones.
Fantastic progress so far and I hope you get the interior sorted out. I'd really look hard for type-s seats, they simply look much nicer and sportier.
Fantastic progress so far and I hope you get the interior sorted out. I'd really look hard for type-s seats, they simply look much nicer and sportier.
01-16-2011, 08:46 PM
#26
Moderator
iTrader: (3)
Damn you did all of that in only a year? Nicely done sir
What kind of paint did you use for the interior parts? How's it holding up? I want Ebony interior but it's too pricey
What kind of paint did you use for the interior parts? How's it holding up? I want Ebony interior but it's too pricey
01-17-2011, 09:00 AM
#27
MechEng
Thread Starter
iTrader: (9)
Many bold choices on your mods and I like how dedicated you are to your progress. Considering it's only been a year you've done more than many of us have in at least three. Some great choices made that turned out great, and other questionable ones that were worth trying; I'm sure you know which ones.
Fantastic progress so far and I hope you get the interior sorted out. I'd really look hard for type-s seats, they simply look much nicer and sportier.
Fantastic progress so far and I hope you get the interior sorted out. I'd really look hard for type-s seats, they simply look much nicer and sportier.
i do know which ones
it is very hard to find Type-S seats in good shape for a decent price. ive been looking for the past 6 months.
does anyone know which seats can be easily modified to fit? i know CL-S is a direct swap, but what about like RSX, 3G/4G TL, 6G Accord.
i was also thinking about getting racing seats but i am not sure where i would mount the racing harness because i want to keep my back seats.
no problemo
SEM also makes great paint but it was a little out of my budget.
01-17-2011, 01:03 PM
#29
Banned
Exterior is nice but interior other than carpet and dash, the rest is just TOO much. Red footwell lights and th red inserts in doors. U wasted a lot of timedoing stupid stuff to then replace it... It's just a fiasco inside... If you don't like critisism then you should have never posted. I hope you dont think EVERY member was gonna say just great things about it right? REALLY? I hope not. Good luck with your project. Can not wait to see the next set of pix
01-17-2011, 02:26 PM
#30
MechEng
Thread Starter
iTrader: (9)
i have OBX headers sitting in my garage and plan to upgrade sway bars. but other than that, im not really interested in power mods. unless its a supercharger or 6 spd swap.
now if i bought a rear wheel drive coupe, it might be a different story...
Exterior is nice but interior other than carpet and dash, the rest is just TOO much. Red footwell lights and th red inserts in doors. U wasted a lot of timedoing stupid stuff to then replace it... It's just a fiasco inside... If you don't like critisism then you should have never posted. I hope you dont think EVERY member was gonna say just great things about it right? REALLY? I hope not. Good luck with your project. Can not wait to see the next set of pix
i do not think i wasted a lot of time. how would i know how things would turn out if i had not tried it? everything is trial and error here because this is my first car that i actually own and modify. next time around i will be more focused on a theme/goal for the car.
yeah maybe i did stupid stuff, but hey im only 20. i can get away with doing stupid stuff for a couple more years until i graduate college
by the way, the red footwell lighting and red door inserts are a real eye catcher at nighttime car shows. a lot of people come up and talk to me over the guy next to me with the dime a dozen 2010 Camaro. but of course some people do not like it. its all good
thanks again for your input though
01-17-2011, 07:03 PM
#31
MechEng
Thread Starter
iTrader: (9)
had enough suede left over from the headliner to do 1 A-pillar. i shall go to joann fabrics tomorrow and get another 2 or 3 yards to finally finish it off and put my interior back together.
i dont understand why shops charge so damn much to do this kind of stuff. its only slightly labor intensive
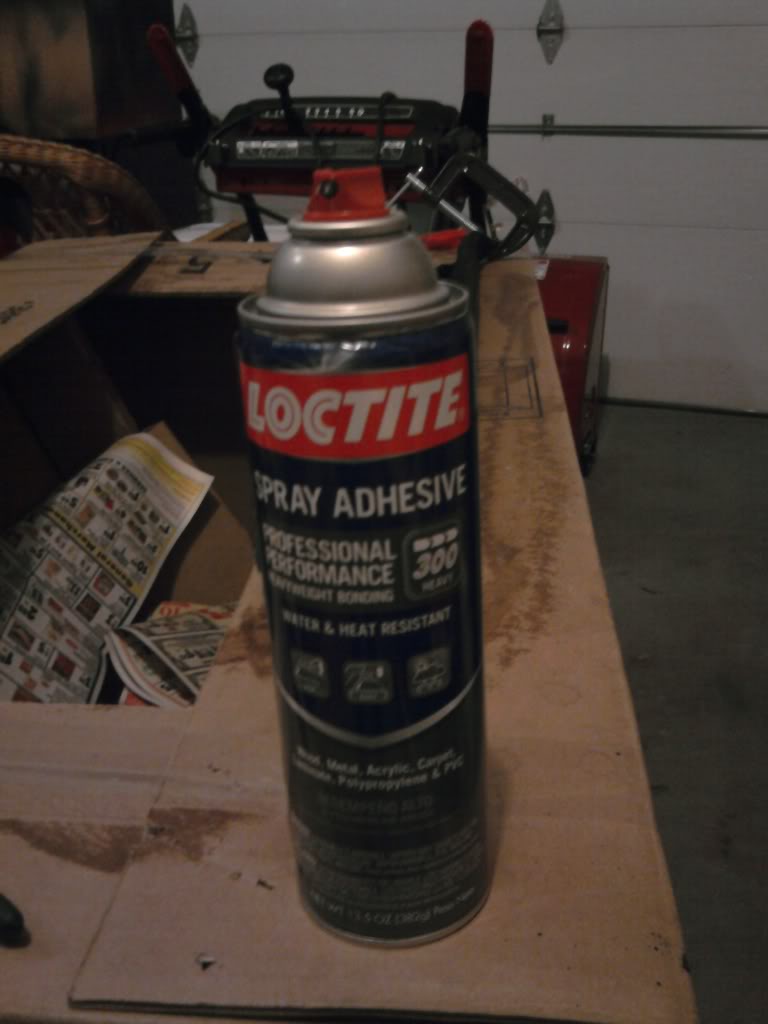
and here is the glue i have been using in case anyone was wondering...
i dont understand why shops charge so damn much to do this kind of stuff. its only slightly labor intensive
and here is the glue i have been using in case anyone was wondering...
01-17-2011, 11:02 PM
#34

MAAAAD props for all the work! I view modding as one of those true labors of love!
Reminds me of the days when I worked my TL.
On a side note if you like your current suspension might I recommend coilovers? I think you will appreciate the adjustability and sometimes the degree of versatility they offer.
So... when is the 6-Speed Swap coming? lol, I thought for sure when you had your whole interior out the 6-Speed would be laying around somewhere random to be installed. :P
01-17-2011, 11:38 PM
#35
MechEng
Thread Starter
iTrader: (9)
MAAAAD props for all the work! I view modding as one of those true labors of love!
Reminds me of the days when I worked my TL.
On a side note if you like your current suspension might I recommend coilovers? I think you will appreciate the adjustability and sometimes the degree of versatility they offer.
So... when is the 6-Speed Swap coming? lol, I thought for sure when you had your whole interior out the 6-Speed would be laying around somewhere random to be installed. :P
Reminds me of the days when I worked my TL.
On a side note if you like your current suspension might I recommend coilovers? I think you will appreciate the adjustability and sometimes the degree of versatility they offer.
So... when is the 6-Speed Swap coming? lol, I thought for sure when you had your whole interior out the 6-Speed would be laying around somewhere random to be installed. :P
thanks man!
i do want to upgrade to Function and Form but this winter is actually bruising my TL more than expected. i am glad i am not any lower than i am. im pretty comfortable with the drop i have now. its about 1.5 finger gap in the front and 0.75 finger gap in the back.
haha as far as the 6 speed swap, my transmission is doing okay so far but whenever it dies, i should have enough funds to do the swap.
however my next large purchase will be a new front bumper and a lip kit.
01-18-2011, 12:09 AM
#36
Advanced
Join Date: Apr 2007
Location: NY
Age: 37
Posts: 71
Likes: 0
Received 0 Likes
on
0 Posts
looks good man..that's a lot of devotion to the car. just wondering why you didn't paint the front seats tho? does the paint chip off or rub off? it looks pretty funky with tan seats and black headrest.
also i kind of liked the red. i think it would've been cool if you went ahead and did a full red interior like on some of the MY02 s2000's. or even just red seats, inserts, and carpet. i think some new wheels and lip kit and you'll be set!
also i kind of liked the red. i think it would've been cool if you went ahead and did a full red interior like on some of the MY02 s2000's. or even just red seats, inserts, and carpet. i think some new wheels and lip kit and you'll be set!
01-18-2011, 10:02 AM
#37
MechEng
Thread Starter
iTrader: (9)
looks good man..that's a lot of devotion to the car. just wondering why you didn't paint the front seats tho? does the paint chip off or rub off? it looks pretty funky with tan seats and black headrest.
also i kind of liked the red. i think it would've been cool if you went ahead and did a full red interior like on some of the MY02 s2000's. or even just red seats, inserts, and carpet. i think some new wheels and lip kit and you'll be set!
also i kind of liked the red. i think it would've been cool if you went ahead and did a full red interior like on some of the MY02 s2000's. or even just red seats, inserts, and carpet. i think some new wheels and lip kit and you'll be set!
i am still considering having a shop dye the seats. its about $800 for the front and the back though.
01-19-2011, 10:38 PM
#38
MechEng
Thread Starter
iTrader: (9)
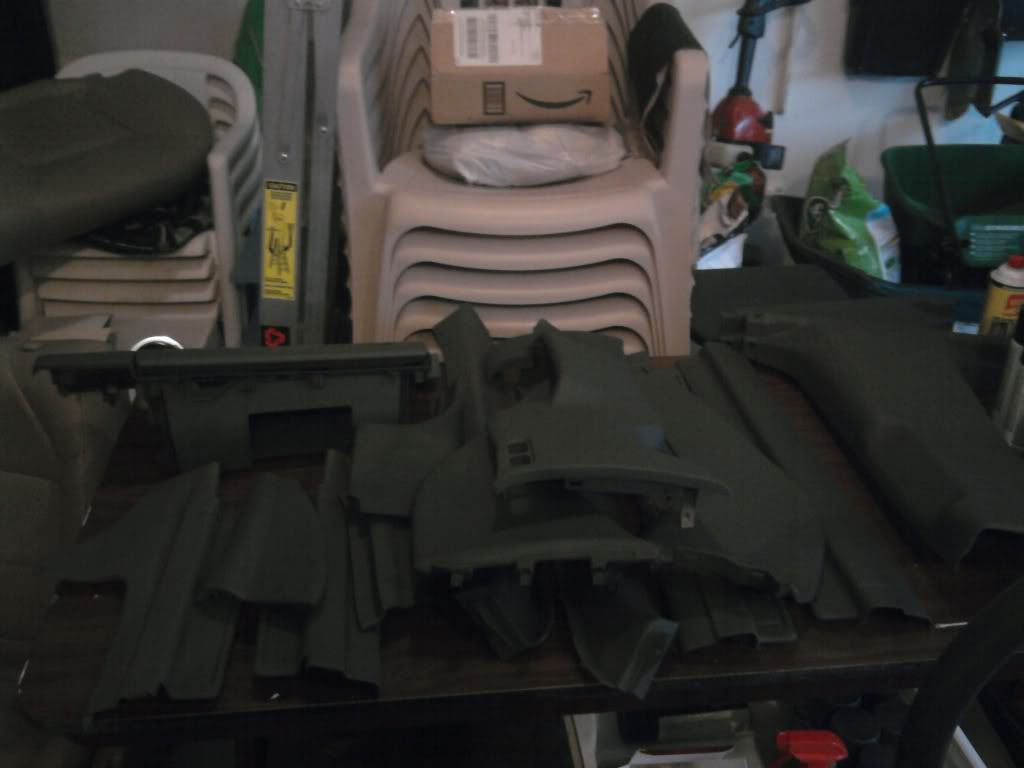
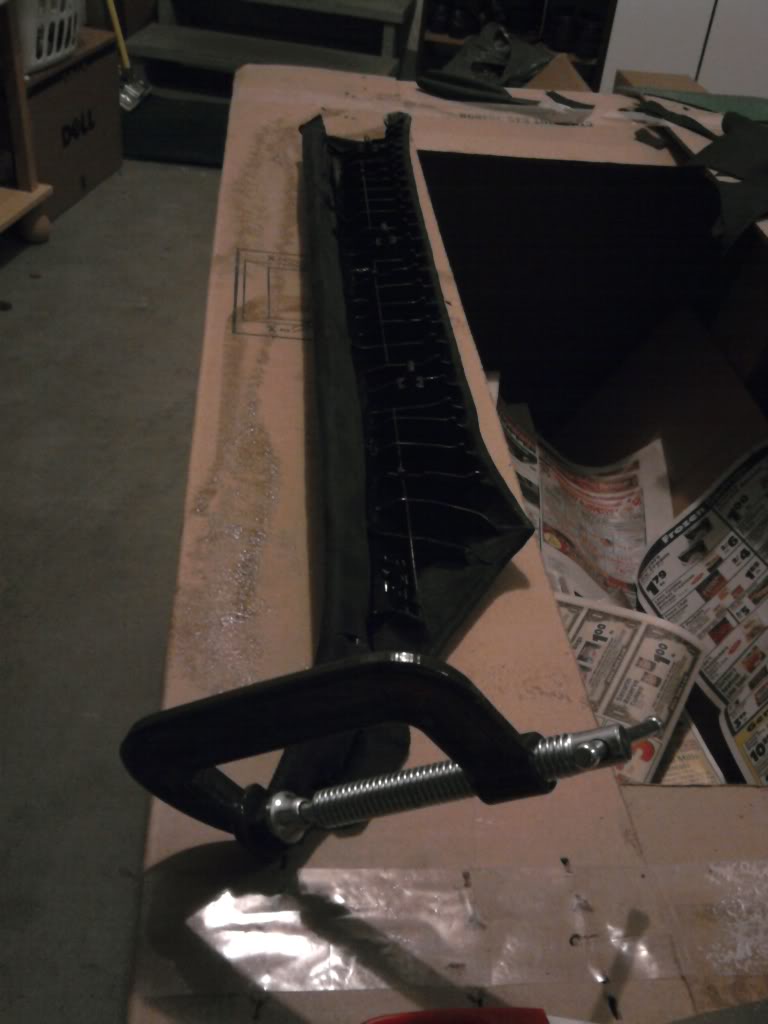
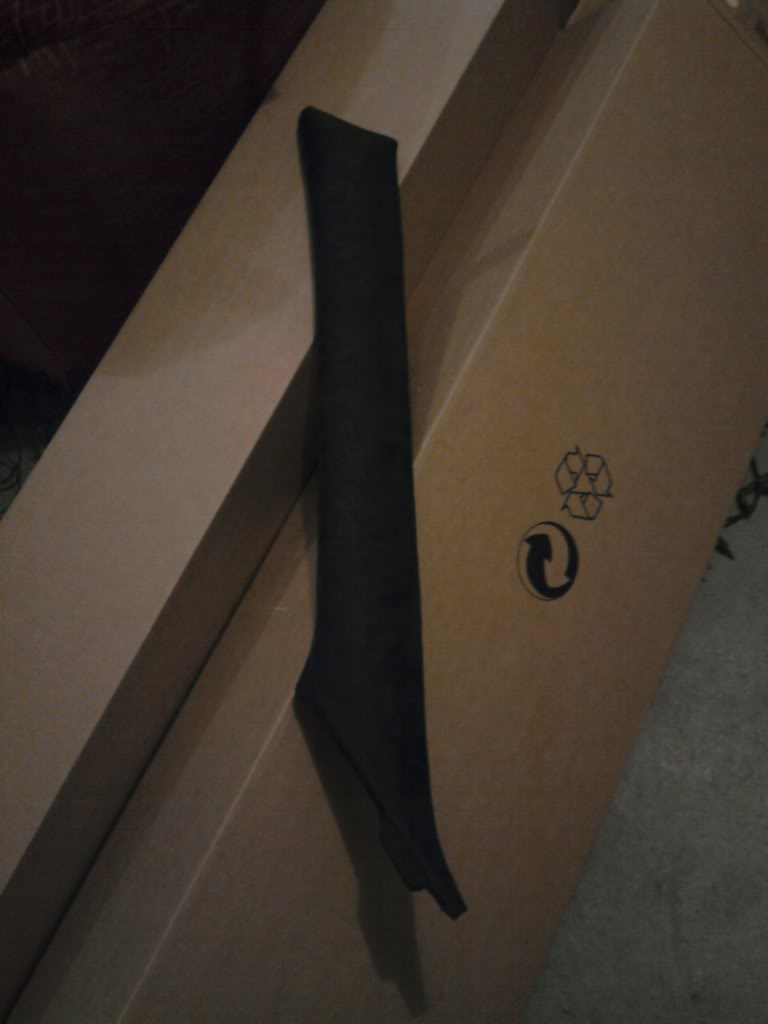
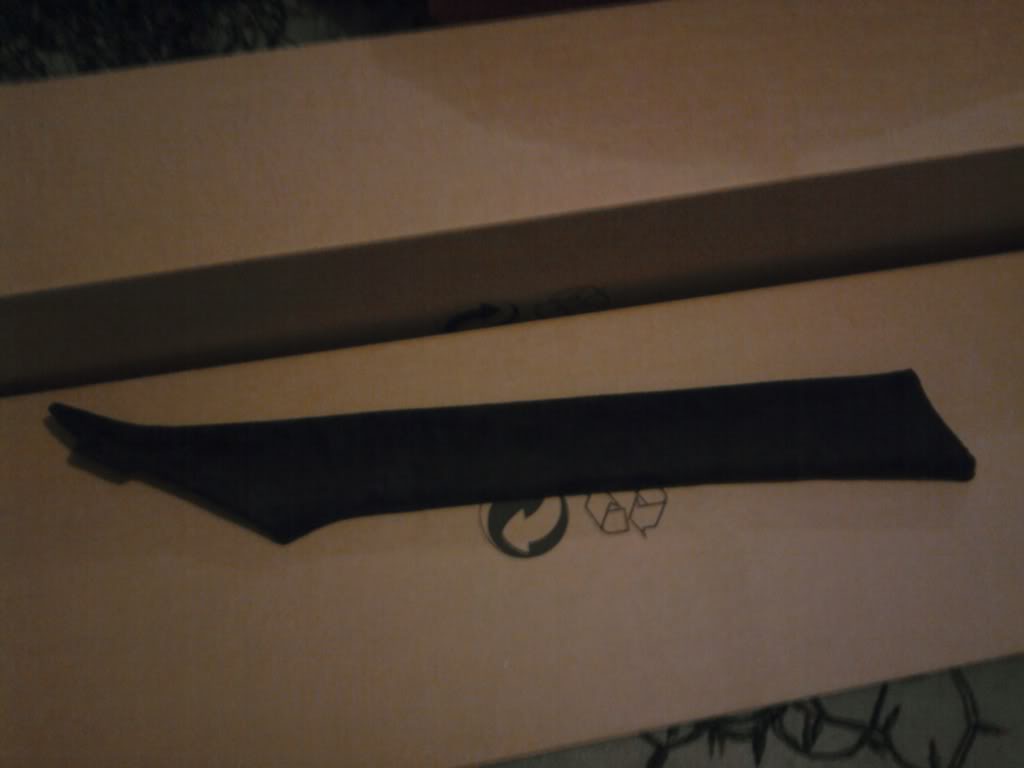
did a couple more interior panels in suede.
C-pillar driver side
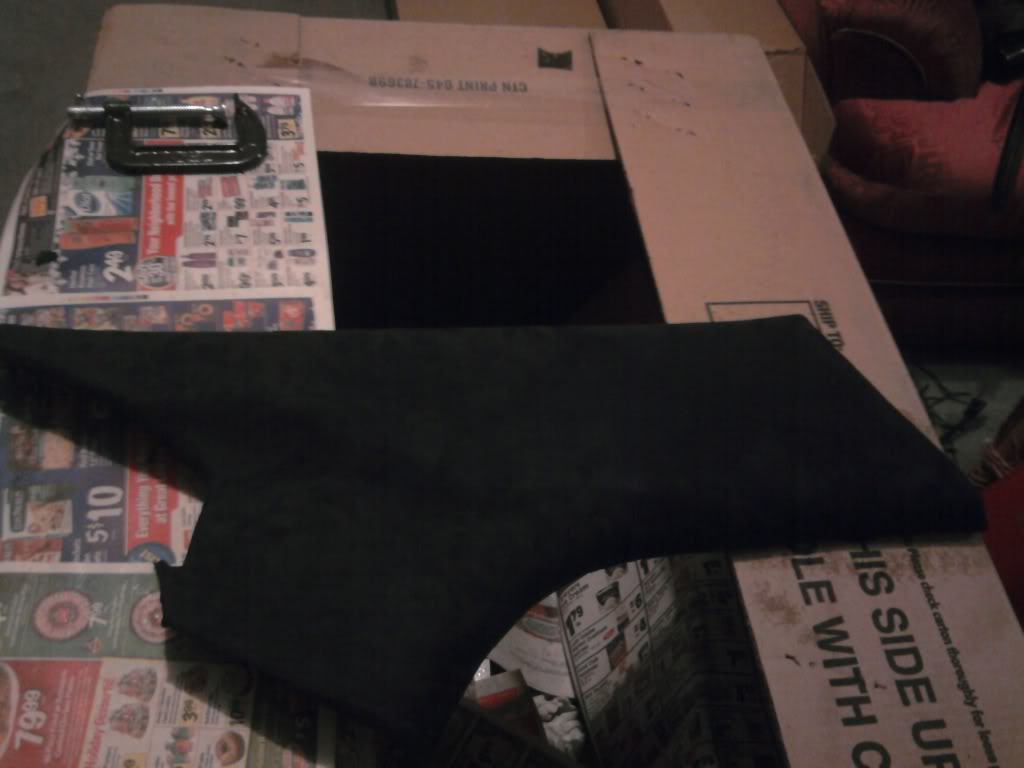
Rear deck piece passenger side
that deck piece was a BITCH. so many contours that are unseen when installed but still matter when wrapping it. it didnt come out perfect like the other panels, but hey what are you gonna do... i saved $125 per panel over a shop doing it for me.
C-pillar driver side
Rear deck piece passenger side
that deck piece was a BITCH. so many contours that are unseen when installed but still matter when wrapping it. it didnt come out perfect like the other panels, but hey what are you gonna do... i saved $125 per panel over a shop doing it for me.
01-20-2011, 04:25 AM
#39
Wow - so this is what you were talking about w/ ur interior swap. Very nicely done - I appreciate all DIY mods and good on ya for trying things out.
The black suede on the pillars and overhead are a great touch - how does it hold up against lint/dust? I know the lighter colors don't show up the dust as much.
BTW - I know you've been painting a lot of interior stuff, but ever thought about just painting PARTS of the seats, do a two-toned scheme like the 3G's? Specifically, black and gray?
Anyways, I'll get on the seatbelts ASAP for yah - and I'll throw in the black floor mats if you're willing to come down here and help me take out the pillars and overhead for wrapping in suede lol
Great job with the ride overall!
01-23-2011, 11:39 PM
#40
MechEng
Thread Starter
iTrader: (9)
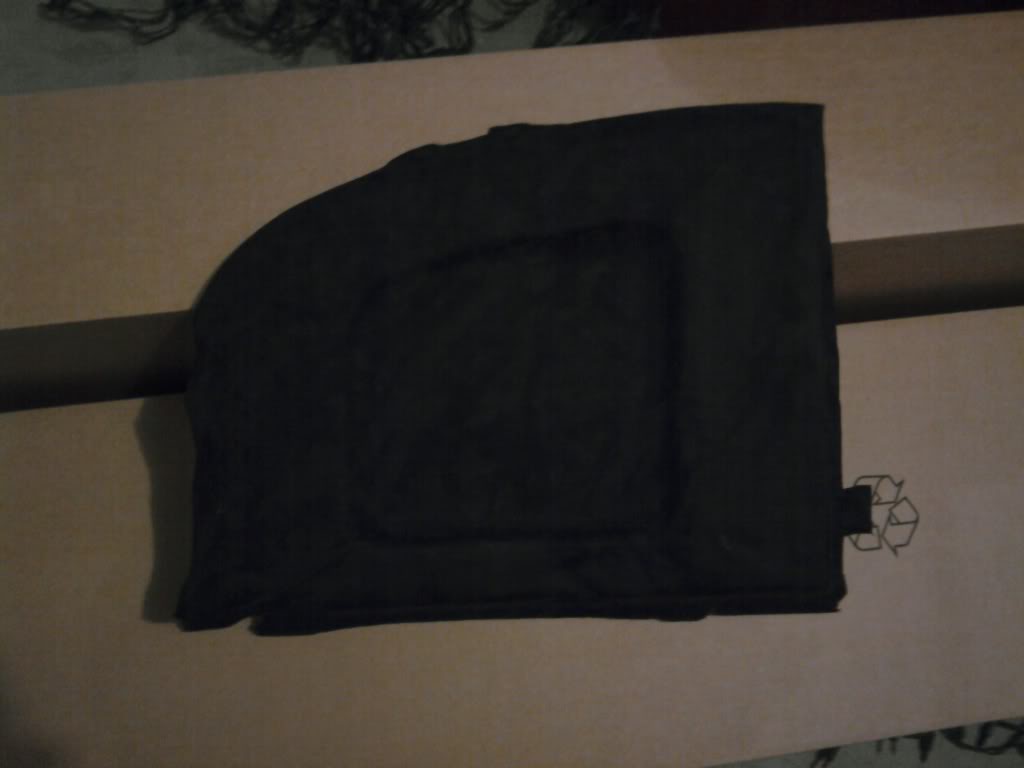
A-Pillar passenger side
C-Pillar passenger side
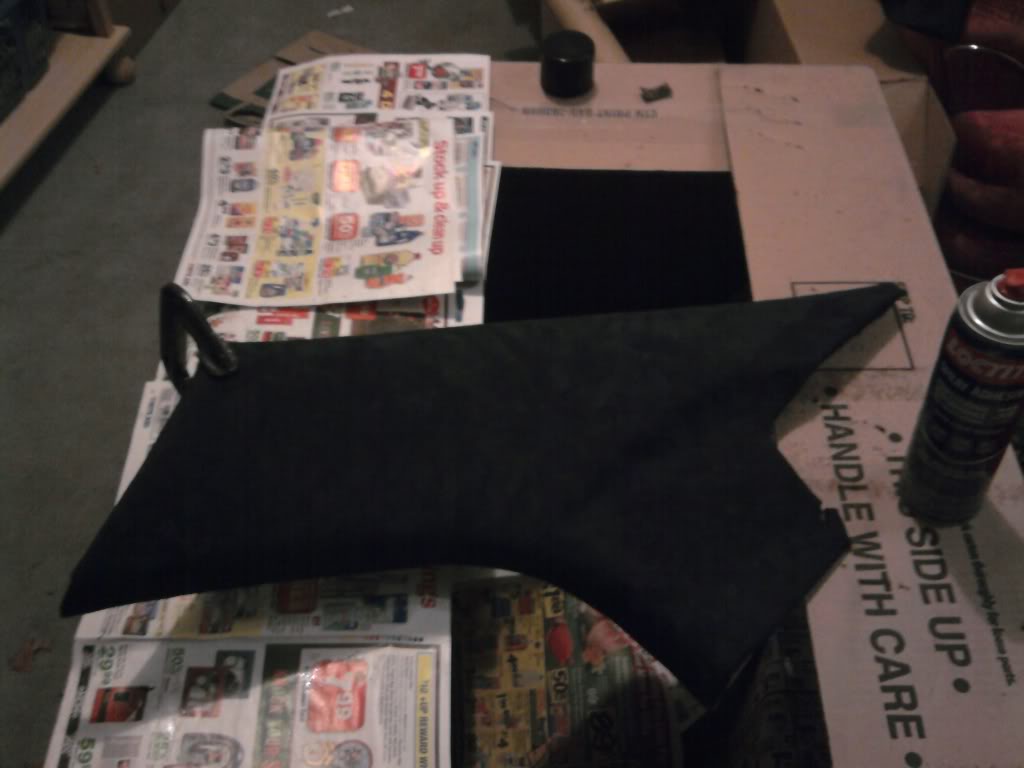
Done:
A-Pillars
C-Pillars
half of rear shelf
headliner
Whats left:
B-Pillars
other half of rear shelf
sunroof cover (might just paint it in place)
visors (might paint as well, the mirror poses an issue when wrapping. or i might get the shop to do em)
i am forced to work only a few hours a day because my garage is more or less in the 30-35 degree range. each piece takes about 2 or 3 hours, except the rear shelf piece which took 4 hours total. remember i am no expert. so i am being extremely slow and careful. with temperatures dropping this week to the teens, progress is going to be slow. the glue has a recommended application temperature of 65-95 degrees, so i am having a lot of trouble getting the glue, as well as my hands (cant wear gloves doing this kind of work), to work. i am trying to use a heat gun to heat up the parts but its only kinda working. hopefully the glue sets properly!
C-Pillar passenger side
Done:
A-Pillars
C-Pillars
half of rear shelf
headliner
Whats left:
B-Pillars
other half of rear shelf
sunroof cover (might just paint it in place)
visors (might paint as well, the mirror poses an issue when wrapping. or i might get the shop to do em)
i am forced to work only a few hours a day because my garage is more or less in the 30-35 degree range. each piece takes about 2 or 3 hours, except the rear shelf piece which took 4 hours total. remember i am no expert. so i am being extremely slow and careful. with temperatures dropping this week to the teens, progress is going to be slow. the glue has a recommended application temperature of 65-95 degrees, so i am having a lot of trouble getting the glue, as well as my hands (cant wear gloves doing this kind of work), to work. i am trying to use a heat gun to heat up the parts but its only kinda working. hopefully the glue sets properly!
Last edited by 03tLsNBP; 01-23-2011 at 11:53 PM.