Acura TSX: How to Replace Wheel Hub and Bearings
You may not have the tools needed to replace them, but you can do most of the job yourself and save a couple hundred dollars. Follow our lead and we'll help you get the job done.
This article applies to the Acura TSX (2004-2014).
Wheel bearings and hubs play an important role in keeping your car rolling smoothly down the road. When they start to wear out, you'll most likely begin to hear a variety of noises, including clunks, grinding, a dull roar and rumbling. You may also feel vibrations at speed, a pull to one side, or uneven braking and tire wear. Swapping out the rear hubs and bearings on a TSX isn't too hard, but the front does require a professional shop press. Taking the steering knuckle to your local shop, and having the bearings and hubs pressed in, will still save you several hundred dollars over having a garage do the entire job. Keep reading and we'll walk you through the process.

Materials Needed
- Floor jack and jack stands
- Ratchet
- 36mm axle nut socket
- Assorted common socket sizes
- Impact gun (optional, but helpful)
- Breaker bar
- Phillips head screwdriver
- Penetrating oil
- Bungee cord
- Flat head screwdriver
- Hammer
- Ball joint separator
- 12 ton hydraulic press (optional)
We'll cover the rear wheel bearings in the first section. For the front bearings, skip down to Step 3 below. Of course, to change either of them, the first step is to get the car up on jack stands and take off the wheels.
Step 1 – Remove rear hub/bearing
The rear of the TSX uses a bolt-in hub bearing assembly that is very easy to change out, once you get to it.
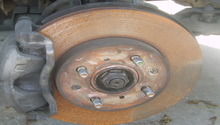
- Remove the two caliper bolts and pull the caliper off the rotor, then suspend it from the suspension using a bungee cord so you don't damage the brake line.
- It's a good idea to remove the bolt holding the brake hose to the suspension so you can move it out of the way, too.
- Remove the two screws in the rotor (use an impact screwdriver if need be) and pull the rotor off.

Figure 1. Caliper bolt. 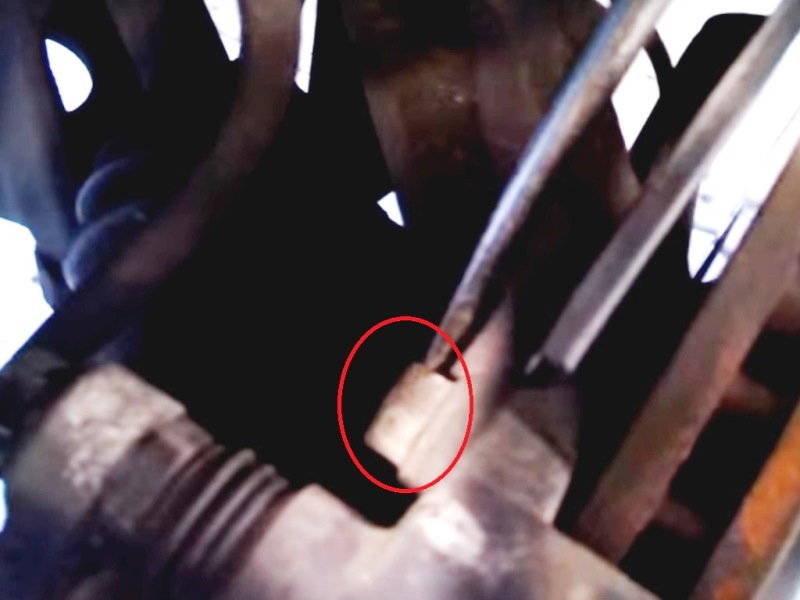
Figure 2. Upper caliper bolt.
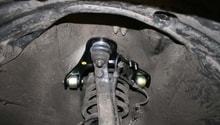
- Unbolt the four bolts holding the hub to the rear suspension, and pull it off.
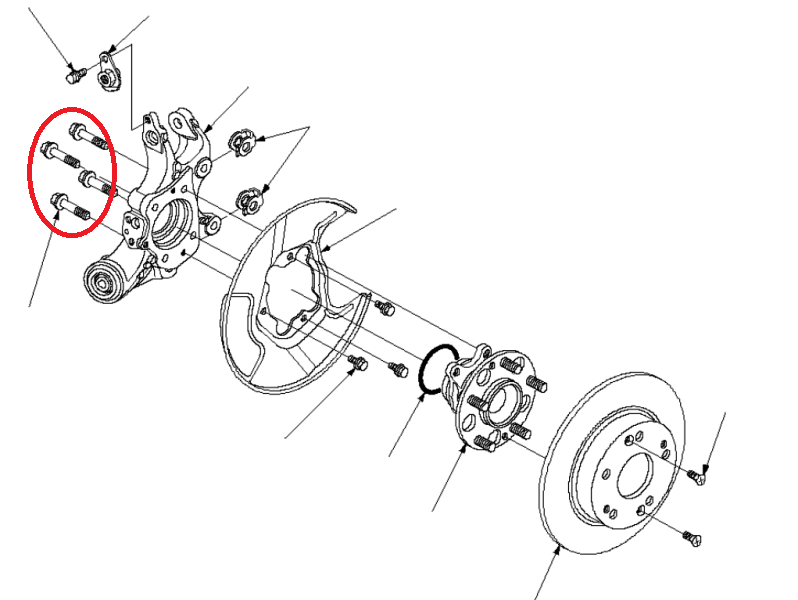
Figure 3. These four bolts hold the hub in place. 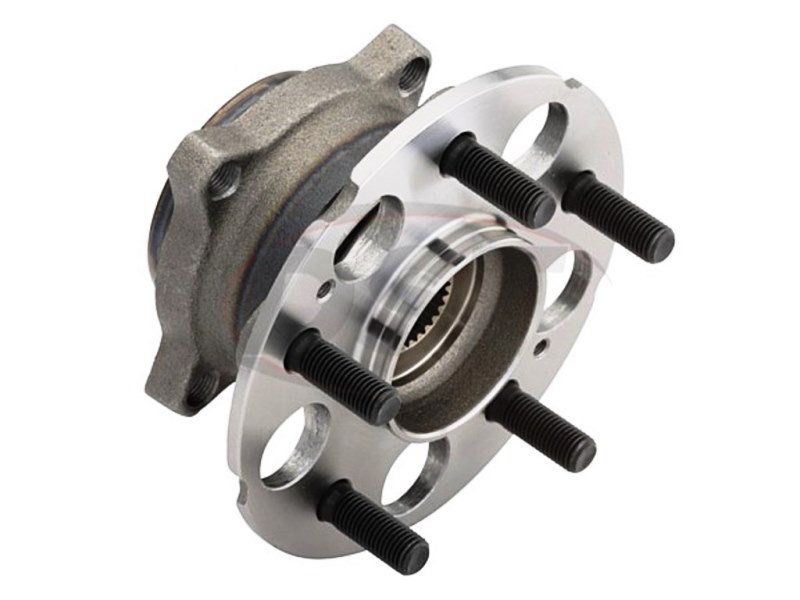
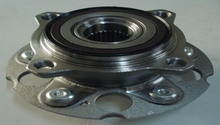
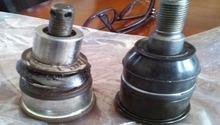
Figure 4. Typical rear hub/bearing assembly.
Step 2 – Install new rear hub/bearing
Installation is just the reverse of what you just did. Slide the new rear hub and bearing assembly (comes already pressed together) in place and make sure to tighten the bolts fully. Slide the rotor back on and replace the rotor screws. Replace the brake line and bolt, then the caliper and caliper bolts. You can even put the wheels back on. If you only have to do the rear, you are done!
Step 3 – Remove steering knuckle
Because the front axle nut is typically very hard to get off, you may want to start by popping out the dust cap, unstaking the nut and breaking it free while the wheels are still on. If you try to loosen it with the weight of the car on the wheels, it is much easier to apply the large amount of torque you need to.
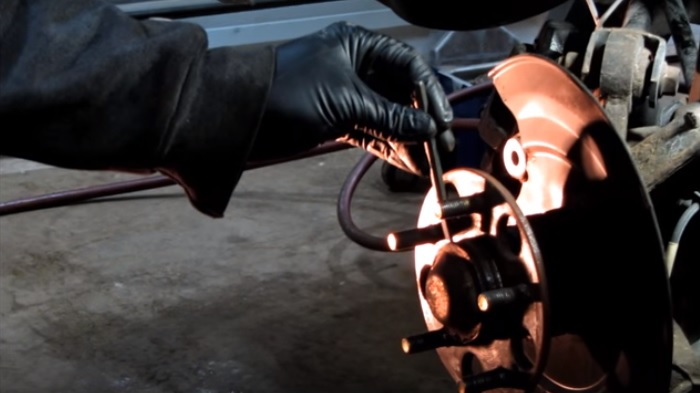
Figure 5. Pop off the center dust cover with a small chisel or screwdriver. 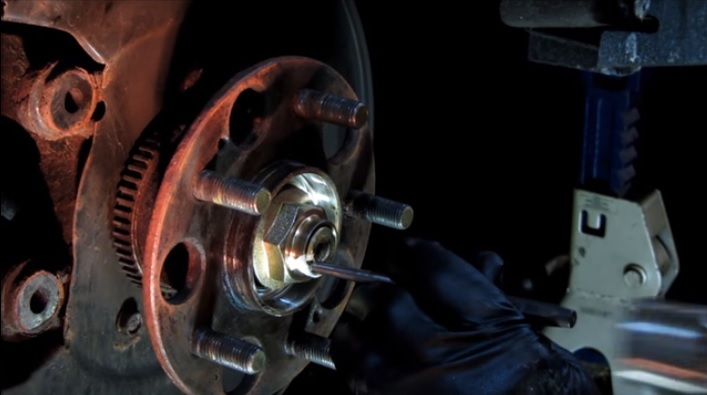
Figure 6. Hammer the indented part of the axle nut out of the groove that it is locked into.
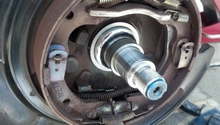
- Remove the caliper bolts and caliper, then the rotor screws and rotor, just like the rear.
- Disconnect the ABS sensor on the back by removing the bolts that hold it in place and wiggle it free.
- Remove the cotter pins from the upper and lower control arm as well as the tie rod end.
- Undo the 19mm castle nuts from the ball joints, and the 17mm nut on the tie rod end.
- Use the ball joint separator to remove the upper and lower control arms, then the tie rod end ball joints.
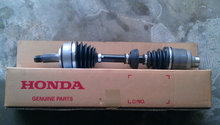
- Pull the steering knuckle out; the axle may require a tap to free, but be careful not to damage it.
Step 4 – Install new front hub/bearing
At this point, you must either have a 12 ton hydraulic press to separate the knuckle from the hub and install the new one, or you take it to a shop that does it. Once you've got them separated, press the new bearing in the hub. Then, just reverse the process. Slide the axle into the new hub, and bolt up the ball joints as well as tie rod. Always use new cotter pins. Put the axle nut back on and torque to 181 lb-ft, or just as much as possible if your torque wrench doesn't go that high. Reinstall the ABS sensor, brake rotor and screws, and caliper as well as caliper bolts.
Featured Video: Bearing Replacement
Related Discussions and Video
- Replacing Front Wheel Bearings - AcuraZine.com
- Rear Bearing Replacement - AcuraZine.com
- Acura TL Wheel Bearing Replacement - YouTube.com