Acura TSX: How to Replace Brake Fluid
Flushing your brake system is a relatively easy task and should be done no longer than every three years, regardless of mileage.
This article applies to the Acura TSX (2004-2014).
Changing the brake fluid in your brake system doesn't have to be something from which you shy away from. Performing a system bleed is an easy maintenance job that is very similar to do on just about any other car. You just need a garage and some basic tools. If you want to make the job super easy, investing in a pressure bleed system as well as speed bleeder valves will make the job more of a joy instead of a chore. If the thought of messing with your brakes gives you the willies, just about any pro can do this job for you, so shop around for a good price from a reputable shop. If you are interested in saving money however, read on and get started.

Materials Needed
- Large jars or other receptacles for catching old fluid
- Aquarium tubing
- New brake fluid
- Shop rags
- Pressure brake bleed system (optional)
- Speed bleeder valves (optional)
Step 1 – Prep for job
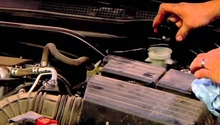
Break the lugs free on your wheels. Raise the hood, lift the car with a hydraulic floor jack, and then set it on jack stands. Remove the lugs and pull the wheels. You should be able to see as well as have easy access to the master cylinder under the hood and the bleeder valves on the calipers.
Figure 1. Although you technically do not need to lift your car, it does make the job much easier. 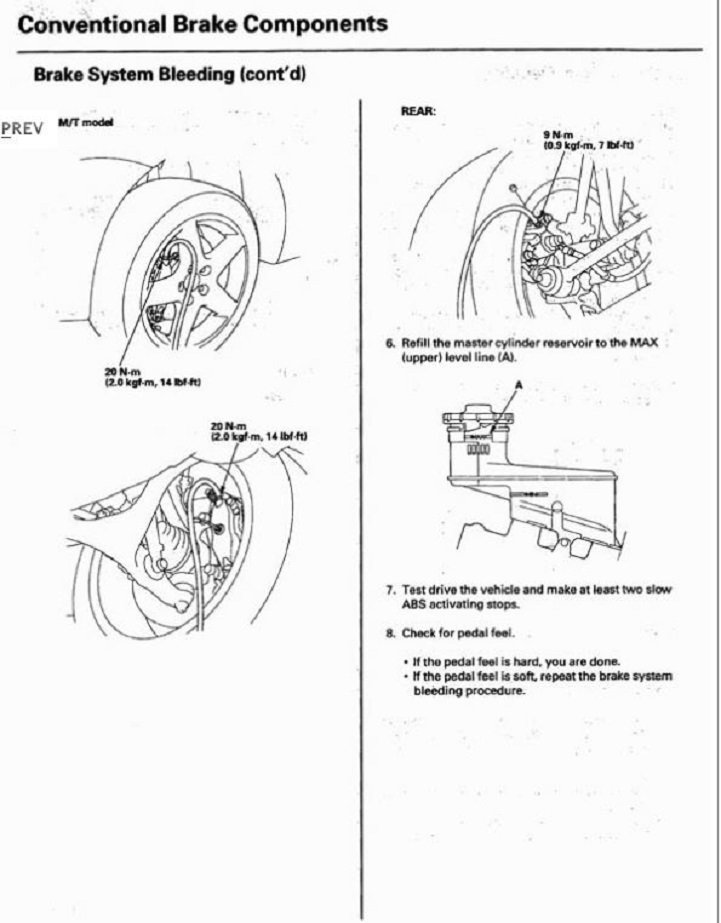
Figure 2. You should see the bleed valves on the calipers, especially with your wheels off.
Step 2 – Drain master cylinder
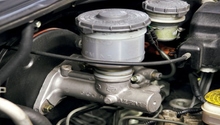
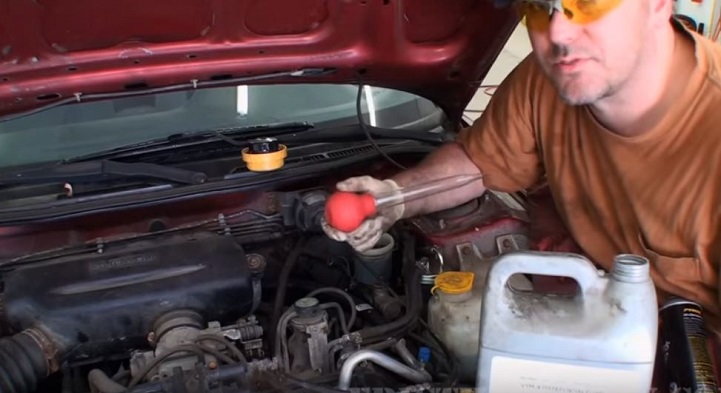
Find the master cylinder under the hood and give it a good cleaning on the outside. You do not want anything getting inside of the cylinder, wrecking havoc on your brake system. At least, wipe the cap down real well and make sure nothing loose is hanging around. Remove the cap of your master cylinder and use a turkey baster to suck out as much of the old brake fluid as possible. You could technically skip this step, but you'll go through much more new fluid and time than necessary. Put the old fluid in a receptacle that you can turn in to an oil change shop for proper disposal. Brake fluid eats paint within seconds, so make sure you take the proper care and avoid getting any on your ride.
Step 3 – Connect aquarium tubing to bleeder valve
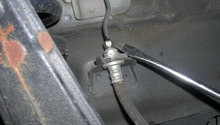
Slide the tubing over the end of the bleeder valve and put the other end in the catch container that you are using to collect the old brake fluid. You will repeat this process four times: once for each wheel. You will drain the brake fluid in the order recommended by Honda: left-front, right-front, right-rear, left-rear
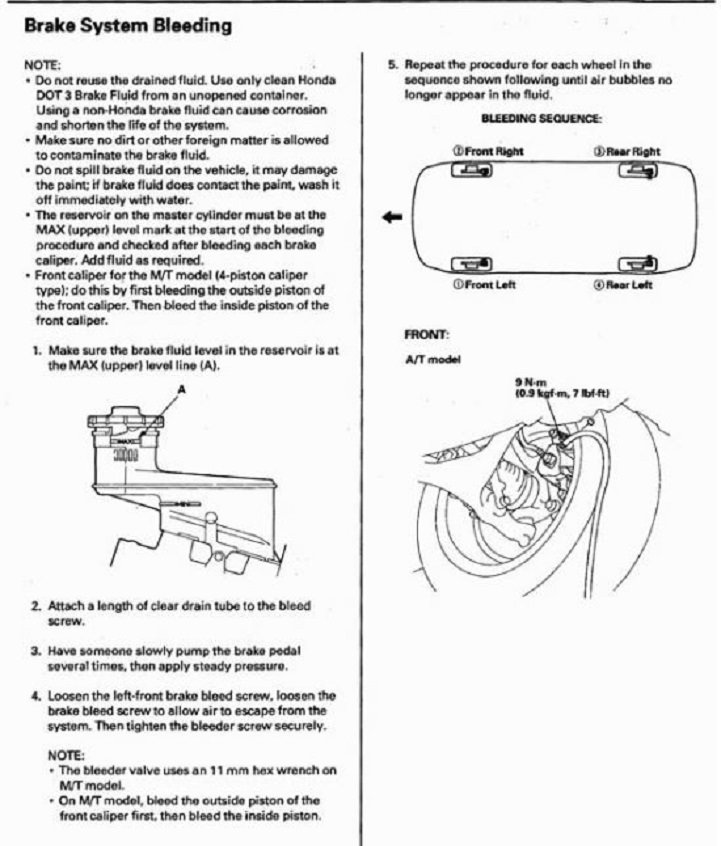
Figure 4. Bleed your brakes in the order recommended by Honda. 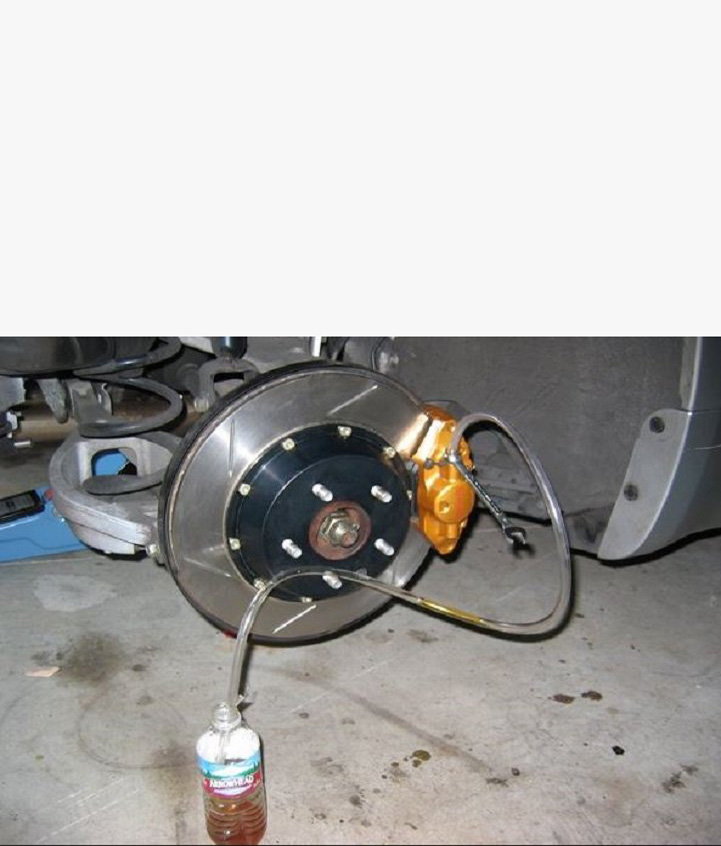
Figure 5. Connect the tube to the bleeder valve and the other end in your catch container.
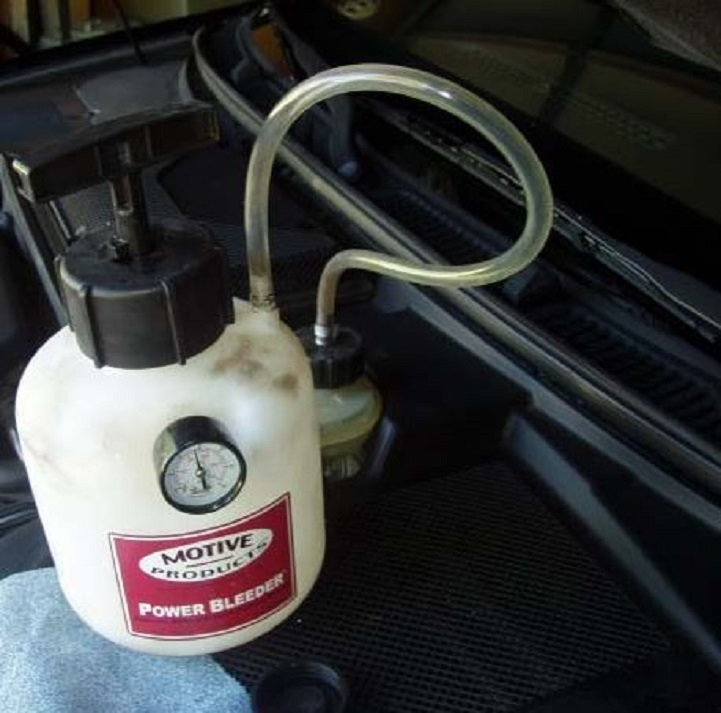
Step 4 – Connect pressure system to master cylinder
If you prefer to not purchase any extra tools, such as a pressure bleed system, you can use the gravity method and start filling your master cylinder with new brake fluid. Crack open the bleeder valve and let the fluid run into your catch container until is starts running clean and clear. Always make sure that you maintain a full master cylinder, so you do not introduce air into your brake lines. If using a pressure system, fill that container with the required amount of fresh fluid and screw the pressure bleed cap onto your master cylinder. Follow the instructions for the pressure system. You will find this process is fast and easy.
Step 5 – Crack the bleeder valve
With the pressure system hooked up and ready to go, use a small box wrench to crack open the bleeder valve and let the fluid flow into your catch contained until it flows clear. Repeat this process for each wheel. Be sure that you always maintain adequate brake fluid in the reservoir or in your pressure tank at all times. Make sure you close the bleeder valve before removing the hose. Move on to the next wheel, connect the tube to the valve, pressurize your system if you are using it, then crack this valve and let it drain until clear. Repeat for the remaining tires. As long as you maintain adequate fresh fluid at all times, you will not introduce any air into your break lines and will not have to make any additional bleeding tasks.
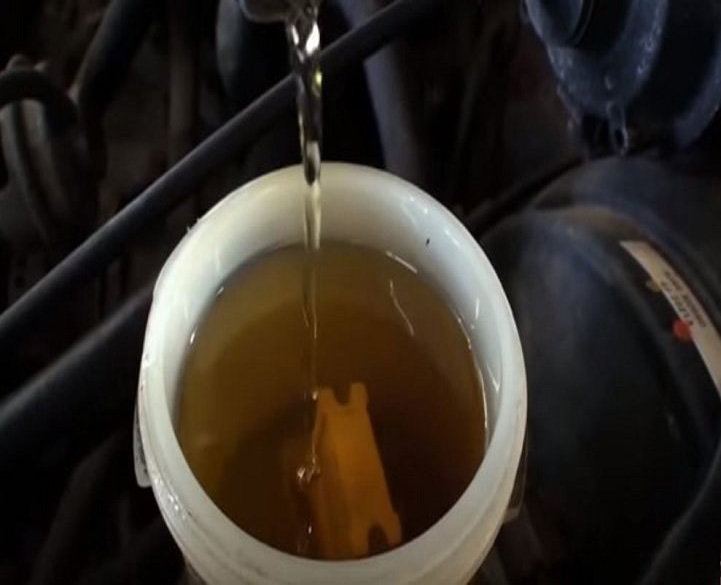
Figure 7. Always maintain a full master cylinder when performing this process. 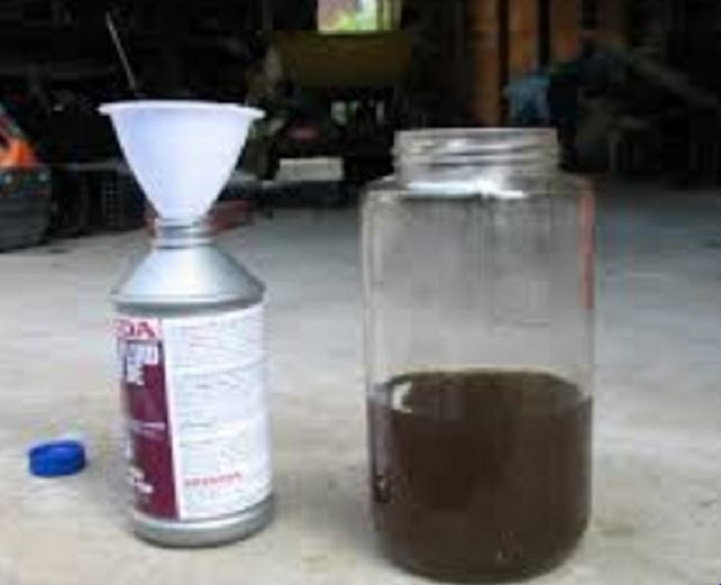
Figure 8. This brake fluid was well overdue for a changing.
Step 6 – Put components back in order
Once you have bled all the lines, make sure that all your bleeder valves are closed tightly. Replace your wheels and drop your car. Remove your pressure system, but make sure your master cylinder is full. Replace the cap on your master cylinder. Sit in your car and pump your brake pedal. Make sure it feels normal and not spongy, or that it drops easily to the floor. If so, double check your work, no need to re-lift the car. Make sure the reservoir is full of fluid, you may need to bleed a little off to remove some air from the lines. Once your brake pedal feels normal, take her for a test spin. It's an easy job well done.

Featured Video: How to Replace Brake Fluid
Related Discussions
- How Much Brake Fluid do I need for a Bleed / Flush? - AcuraZine.com
- Brake Bleed Question for a 2009 Acura TSX - AcuraZine.com