Acura TSX 2009-2014: How to Replace the Parking Lights
Whether the parking light bulb in your Acura TSX is dying or has already burned out, you need to replace it sooner rather than later.
This article applies to the 2nd Gen Acura TSX (2009-2014).
A burned out parking light is not only dangerous, it can also lead to a ticket in some cases. If the parking light bulb in your Acura TSX has already died out, or is otherwise on its way out, you should replace it. The good news is that it’s fairly easy to do in about a half hour or so.

Materials Needed
- Parking light bulb
- Gloves
- Panel popper
- Screwdriver
- Socket and wrench set
Step 1 – Gain access to the bulb
Open the hood of the car. This will provide you with the light necessary to locate the lighting unit.
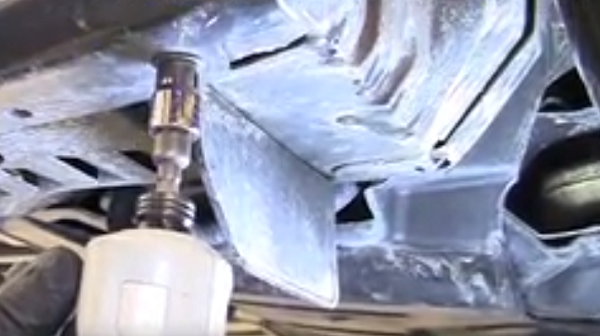
Turn the wheel of your car away from the headlight area so that you have more room to work with. Using a socket wrench, locate the bolts within the wheel well that lead to the inner cavity of the engine bay. Remove them and place to the side.
Once all of the bolts have been removed, use a panel popper to peel back the wheel well liner. Once it’s out of the way, locate the headlight area.
Step 2 – Remove the old parking light bulb
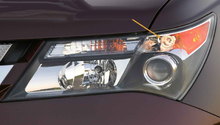
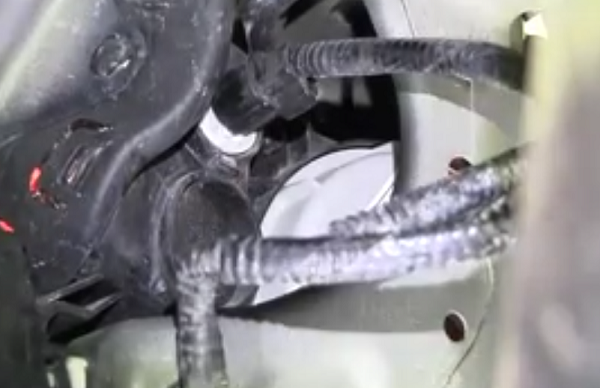
Once you’ve located the headlight area, locate the parking light bulb; it will be immediately behind the orange housing unit on the front of the car. There are wires that lead to the bulb’s location; twist the bulb holder and pull out. Remove the old bulb.
Step 3 – Replace bulb and all removed components
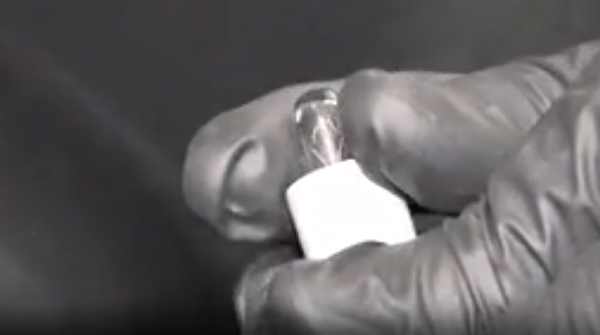
Place the new parking light bulb into the bulb holder using gloved hands (you do not want to get oil from your skin on the bulb, as this will adversely affect its performance). When it is secure, place the bulb back into the parking light housing unit. Then test the bulb to ensure it works. If the bulb works, replace the wheel well liner and secure in place by replacing bolts.
Related Site
Parking Light - CarCarekiosk.com

