Acura TSX 2004-2008: How to Remove Center Console
Removing the center console may seem like a lot of work, but we break it down into easy steps for you. Read on to learn how to remove the center console of the Acura TSX.
This article applies to the Acura TSX (2004-2008).
Removing the center console on your Acura TSX may seem like a very intimidating procedure, especially when you look at it as a whole. However, breaking it down into small steps makes it much easier to do. If your center console's trim broke, you need to reach under it to replace a bulb, or you just want to paint it, removing it can be done. And since there are many steps to it, the dealership will love this procedure, and they will charge you hundreds of dollars on labor. Grab some very basic tools and read this guide to learn how you can remove the center console in your Acura TSX.

Materials Needed
- Flat head screwdriver
- Phillips screwdriver
Step 1 – Remove transmission lever trim
Using both your hands, pull the transmission lever trim up to release it from the two clips, then remove it.
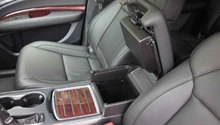
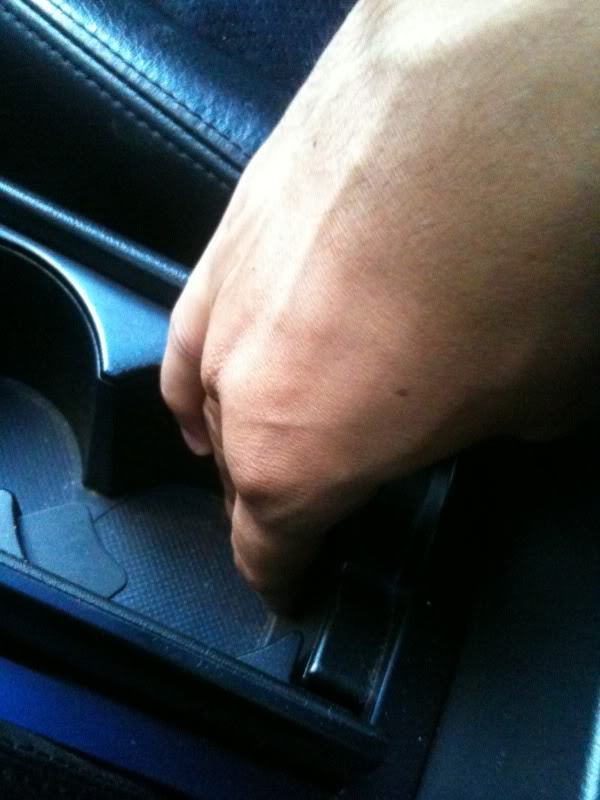
Step 2 – Remove cup holder
Pull up on the cup holder to remove it. It's connected with some clips, so do it firmly but gently; you don't want to break off the clips. If you pull it straight up, you will pop them off with no damage. Don't pull the cup holder out all the way until you finish Step 3.
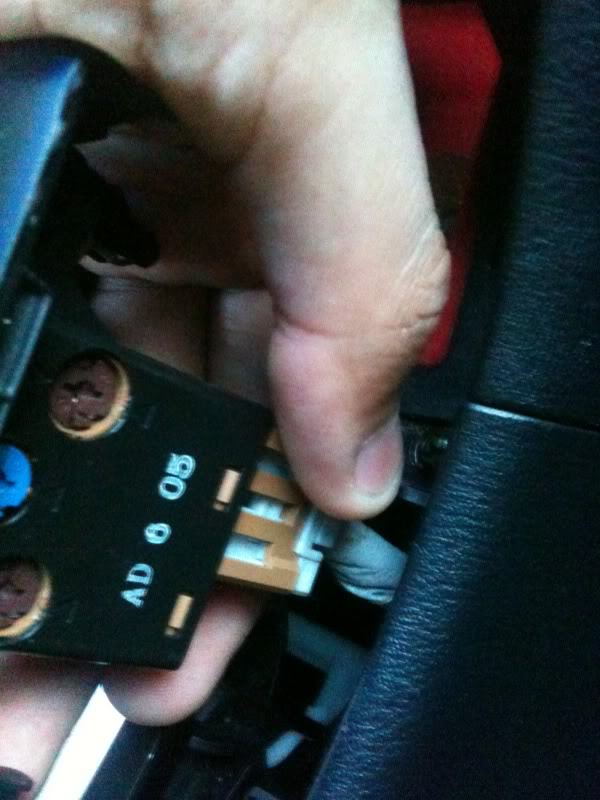
Step 3 – Disconnect heated seats
Once you remove the cup holder, you will find an electrical harness underneath it, this is your heated seats' wires. Squeeze the plastic tab on the electrical harness, then pull it apart to release it. Don't pull the cup holder out all the way until you disconnect the wire.
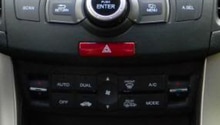
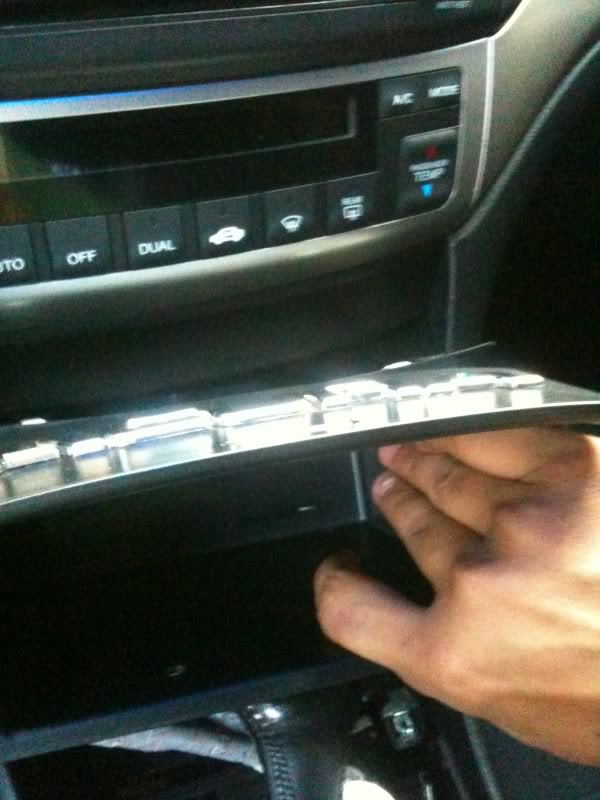
Step 4 – Remove four screws
Pull on the storage area, where the lighter is located, to remove it, then locate the four Phillips screws inside there. Remove all four screws.
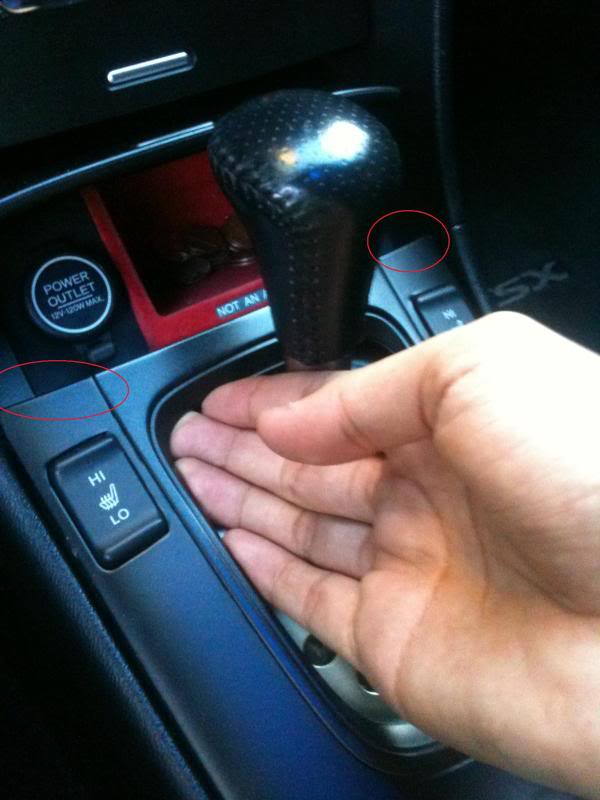
Step 5 – Remove two trim pieces
Remove the two trim pieces on each side of the center console. The left one is on the driver's side, and the right one is on the passenger's side. Use your flat head screwdriver and pry them off very gently if you plan on re-using them.
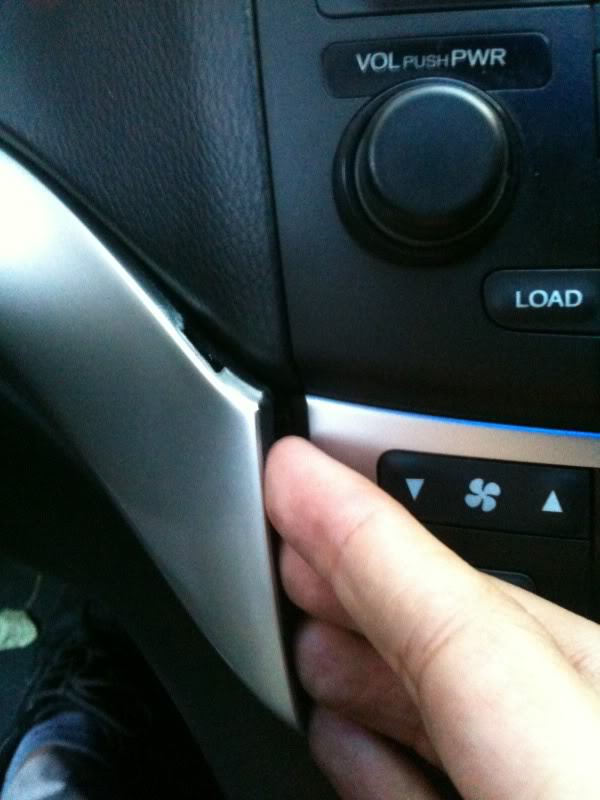
Figure 5. Remove left trim piece. 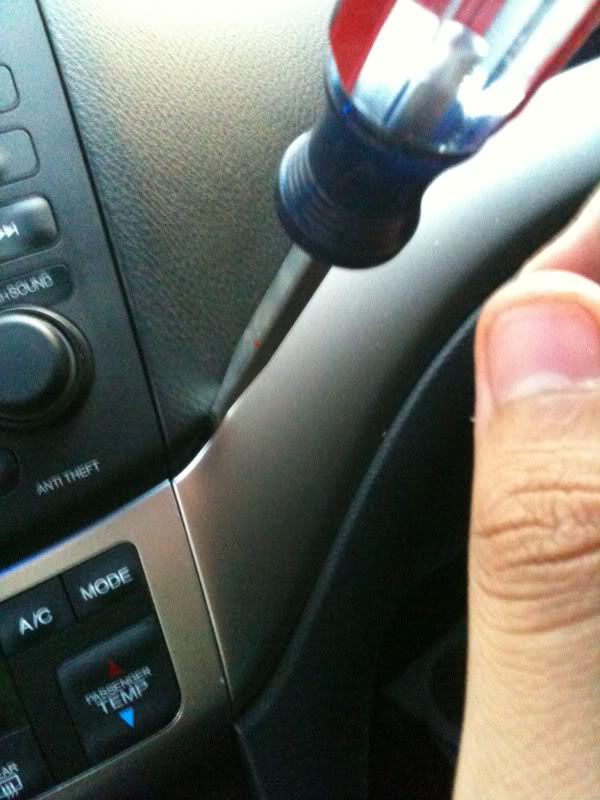
Figure 6. Remove right trim piece.
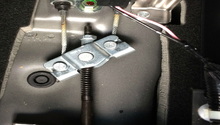
Step 6 – Remove center console
Remove the two screws, one on each side of the center console, under the trim pieces you just removed. Then find the two screws on the inside (Figure 8), then remove them as well. Pull the whole center console off, but don't pull it too far until you remove any electrical wires on the back. All the electrical wires connected to it in the back can be removed by squeezing their plastic tabs and disconnecting them.
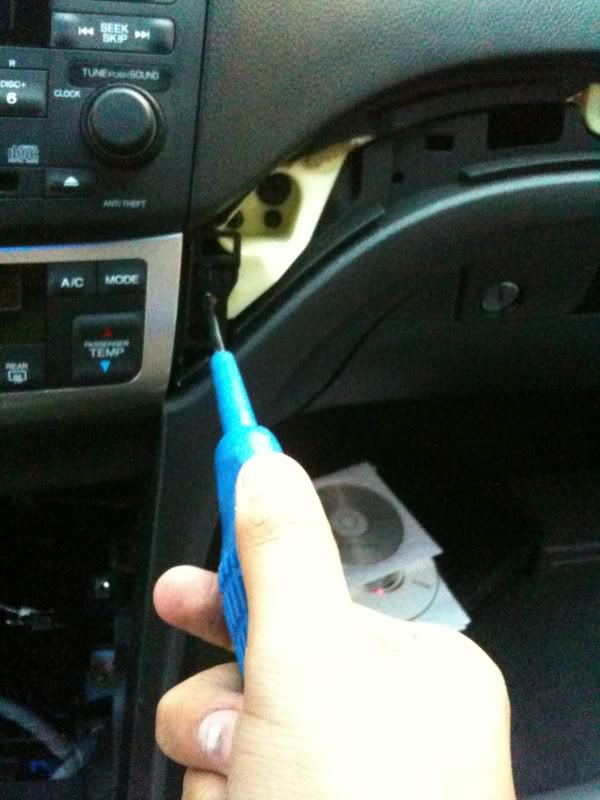
Figure 7. Remove the two screws. 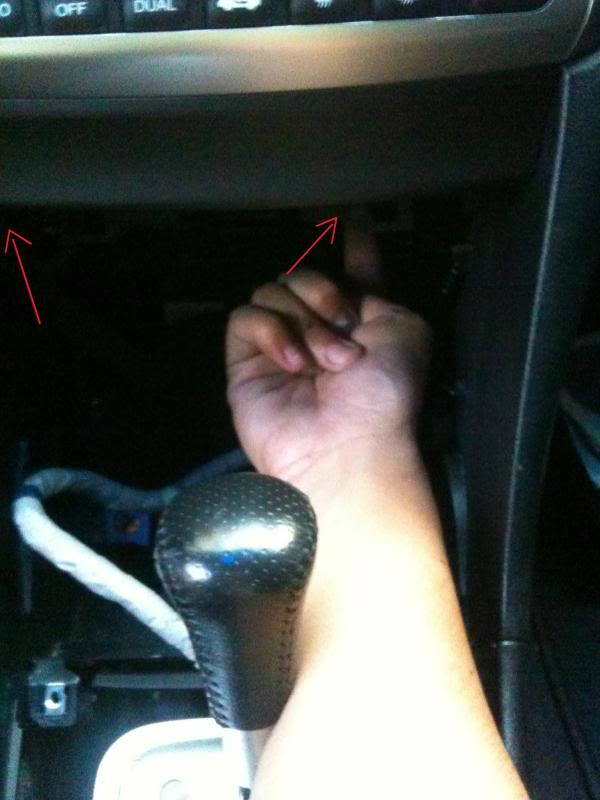
Figure 8. Remove the inside screws. 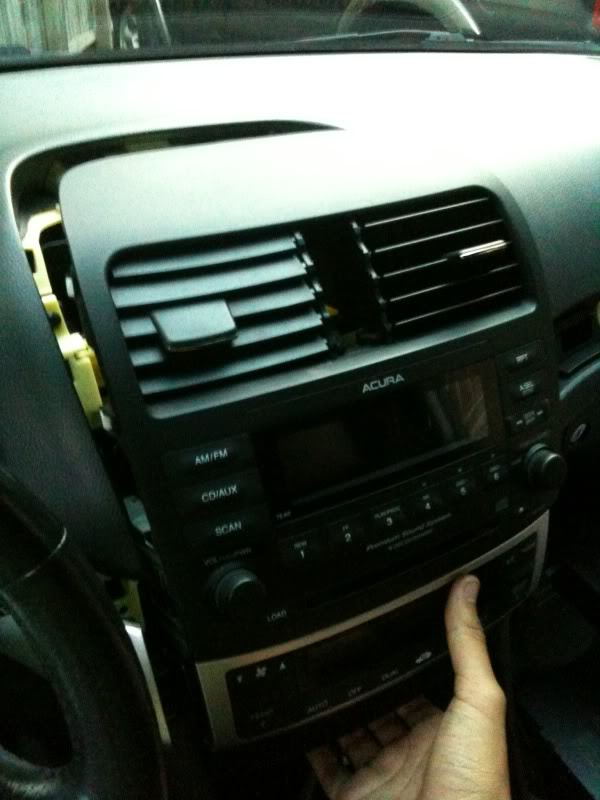
Figure 9. Remove the center console.
Related Discussions
- Removing Center Console - AcuraZine.com
- How to Remove Center Console - AcuraZine.com