Acura TSX 2004-2008: How to Install LED License Plate Lights
Replacing the license plate's lights with LED ones can add a very unique, special look to your Acura TSX. Read on to learn how to replace it yourself.
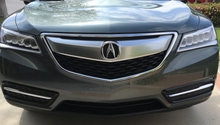
This article applies to the 1st Gen Acura TSX (2004-2008).
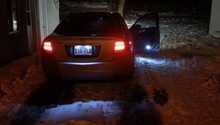
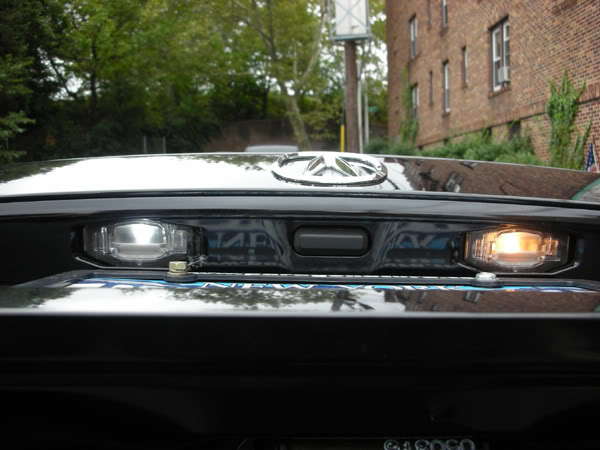
The license plate lights on your Acura TSX have to be there by law. It allows police officers to read your license plates. However, there is a way to get rid of the ugly yellow lights and give the rear side of your Acura a modified look. Replacing the stock light bulbs on your license plate lights to LED can give it a blue look that is sure to make it look different than most Acura TSXs on the road. The process is simple and can be done at home without the help of the dealership. Just purchase the appropriate LED bulbs and read this guide to learn how to replace them in the Acura TSX.

Materials Needed
- Phillips screwdriver
- License plate LED bulbs
Step 1 – Remove rubber tab
The rubber tab, along with the clip, needs to be remove so you can move the trunk liner out of the way, which will give you access to the license plate lights. Slide the tab to the left, then pull it out to remove it. The clip can be removed with a Phillips screwdriver. Do this for both sides to remove the liner and reach both license plate lights.
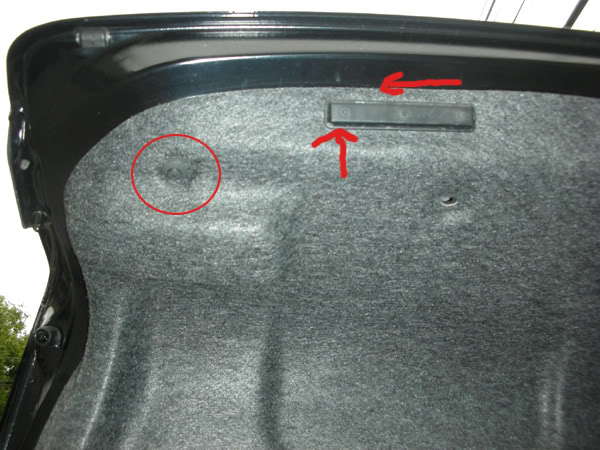
Figure 1. Remove rubber tab and clip. 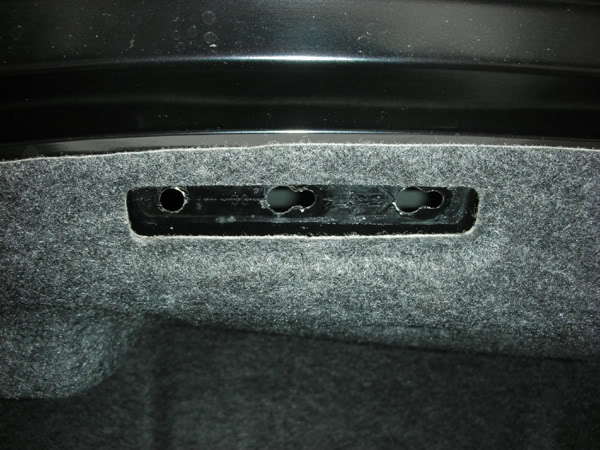
Figure 2. Rubber tab removed.
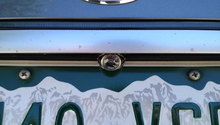
Step 2 – Remove light assembly
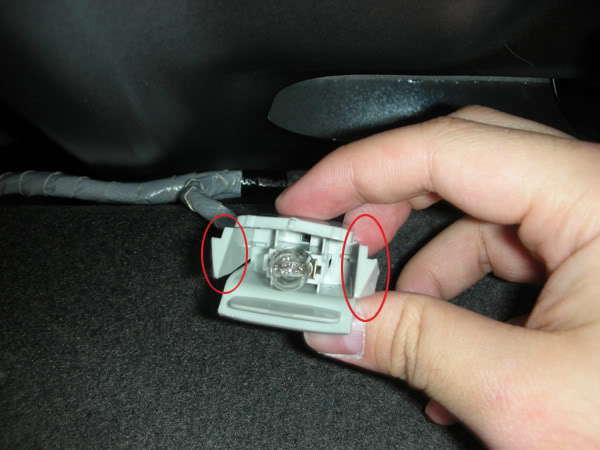
Remove the light bulb assembly by squeezing the plastic tabs on the side, then pull it out. Repeat this for both license plate lights.
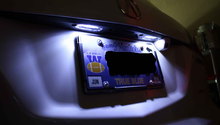
Step 3 – Replace bulb with LED bulb
Pull the bulb straight out to remove, then install the LED one in place by gently pushing it in. Clip the light bulb assembly in place, then put the liner back in place. Tighten the clip holding it in place, then install the rubber tab. Make sure to do this on both sides.
Related Discussion
- License Plate LEDs DIY - AcuraZine.com