Acura TL: How to Replace Brake Pads/Calipers/Rotors
Replacing your Acura TL's worn brake pads, rotors, or faulty calipers is critical to your safety. Read on to learn how to do it.
This article applies to the Acura TL (2004-2014).
Replacing any worn or faulty brake components in the Acura TL is one of the most important procedures to do. Worn brake parts are usually accompanied by squeaks or burning smell when braking. The brake pads are recommended to be replaced every 50,000 miles, and the brake rotors should be replaced every second or third brake pad replacement, depending on their condition. The brake calipers, however, shouldn't be replaced unless they're faulty, or unless you want to install aftermarket ones. The calipers have been known to go bad by sticking, which means their pistons would stay decompressed, thus forcing the pads to rub on the rotors even without the brake pedal applied. This guide will show you how to replace the brake pads, calipers, and rotors in your Acura TL.

Materials Needed
- Socket
- Jack and jack stands
- Tire iron
- Bottle
- Clear hose
- Wrench
- Phillips screwdriver
- Rubber mallet
- C-clamp
- Brake fluid
- Brake pads
- Brake rotor
- Brake caliper
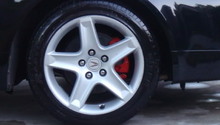
Step 1 – Raise the car
Loosen the lug nuts on the wheel you will be replacing the brakes on, then raise the car. Secure the car with jack stands, then remove the wheel.

Step 2 – Replace brake pads
Use your socket to remove the two bolts on the back of the brake caliper, then pull the brake caliper off of the rotor. Don't let the caliper hang from the brake line, so place it somewhere safe. The brake pads will remain on the bracket on top of the rotor, you can simply pop the pads off and install the new ones in place. If the pads replacement is all you're doing, then use your c-clamp to compress the brake caliper's pistons, then install it back on top of the pads and tighten the two bolts in the back.
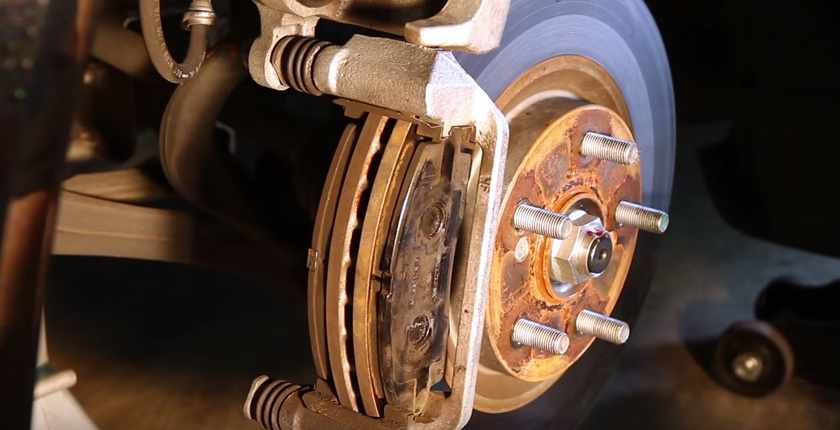
Figure 2. Remove pads. 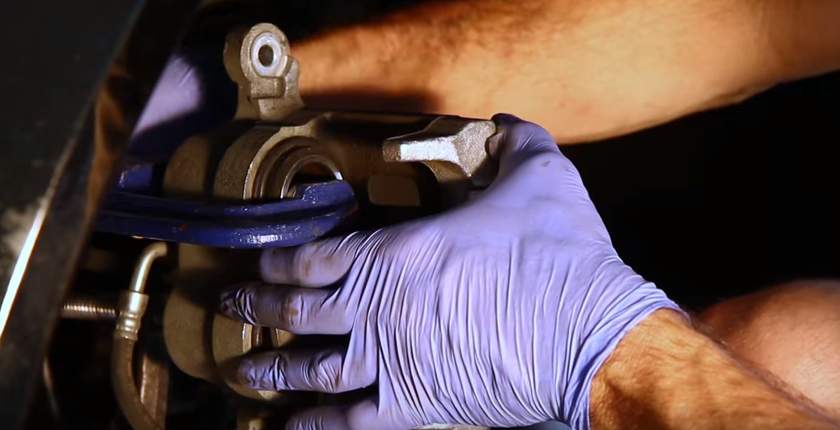
Figure 3. Compress pistons before installing caliper back.
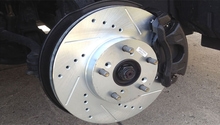
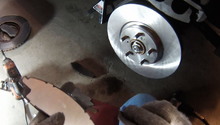
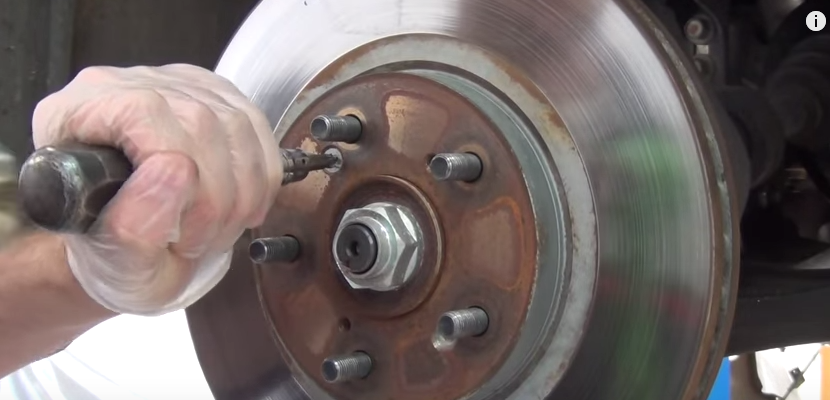
Step 3 – Replace brake rotor
Use your Phillips screwdriver to remove the Phillips screw on the rotor, and with the caliper and pads off of it, tap the center of the rotor with a rubber mallet, then, once it comes loose, pull it straight out to remove. Install the new one in its place, then tighten the Phillips screw.
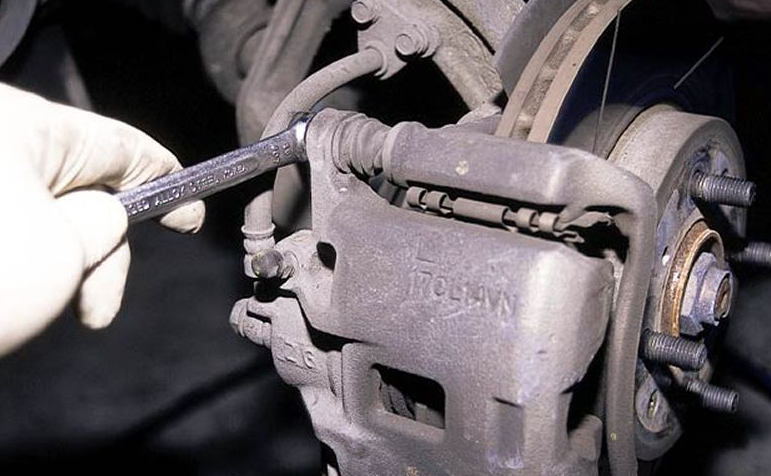
Step 4 – Replace brake caliper
At this point, and with the caliper off, the only thing attached to the caliper is the brake line. Use your wrench to remove the line nut, then remove the line and install it onto the new brake caliper. Install the caliper on top of the rotor, then tighten the two bolts on the back of it. The new calipers come with their pistons compressed, so you don't have to compress them.
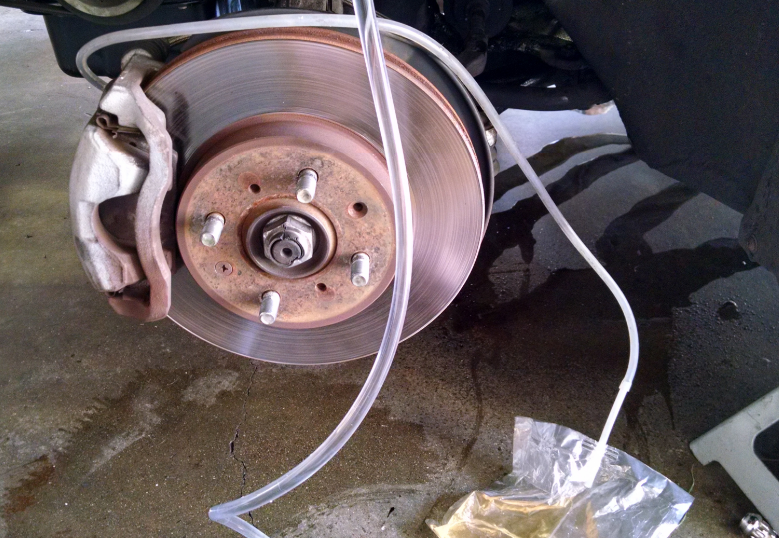
Step 5 – Bleed the brakes
You only need to bleed the brakes if you change your brake caliper, since removing the brake line would introduce air into the brake system. Locate the bleeder screw on the back of each caliper, then connect the hose to it, and connect the other end of the hose into a bottle. The sequence to bleeding the brakes starts from the passenger side's rear caliper, driver side's rear caliper, then the passenger front caliper, and finally end with the driver's caliper.
Ask a friend to pump the brake pedal a few times, then keep it pressed down. Loosen the bleeder screw, then watch the fluid coming out of the caliper. After a few seconds, tighten the bleeder and repeat the process of pumping the pedal, holding it down and opening the bleeder. As soon as you stop seeing air bubbles in the fluid leaving the caliper, tighten the bleeder screw first, then release the brake pedal. Repeat the process for the rest of the calipers, but don't forget to top of the brake fluid between each caliper. If the fluid gets too low, air will go into the system and you will have to repeat the bleeding process.
Related Discussions
- Rotor Replacement - AcuraZine.com
- Replacing Brakes - AcuraZine.com
- Front and Rear Pads - AcuraZine.com