Acura TL: How to Replace Brake Fluid
If you step on the brake pedal and the vehicle stops, no worries, right? Maybe not. Read on through this article to learn how to flush the brake system. The basic procedures here will work for most any vehicle.
This article applies to the 3rd/4th Gen Acura TL (2004-2014).
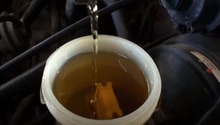
Without the brakes, the car will not stop, but that should be obvious. Just like with brake pads, the brake fluid needs to be changed out and kept fresh. This is done because brake fluid is hygroscopic, which means it will attract and hold water. Over time, this lowers the boiling point of the fluid and can cause corrosion to parts such as brake lines, master cylinder, as well as calipers. Keeping the fluid properly maintained will keep the car safe and stopping correctly. For a DIY'er, this job isn't too rough, but without a vacuum pump or a power bleeder, this is a two person job. If you don't have one of these two tools and no helper, you cannot do this job correctly.

Materials Needed
- Clear 1-liter bottle
- 3' of clear 1/4" tubing
- Nitrile gloves
- Shop rags
- Line wrench
- Ratchet and socket
- Power bleeder (optional)
- Vacuum pump (optional)
There are several brake fluids which are available for sale. Among the ones you can use are DOT3, DOT4, and DOT5.1. The higher the number, the better the quality of the fluid, with the main difference being the wet and dry boiling points. There is also DOT5 brake fluid which is silicone based fluid and will not work in vehicles with anti-lock brakes. It has other drawbacks for passenger vehicles as well, but needless to say, just stay away from it. Most of the same benefits can be had from DOT5.1. You will need three to four quart bottles of brake fluid to do a good brake flush. Ensure you use new, unopened bottles to do the flush. As soon as brake fluid is opened, it starts absorbing water from the air and will become contaminated. A fresh bottle with seal will sit on the shelf without issue for some time. Discard whatever isn't used of an opened bottle and don't open a new bottle unless needed.
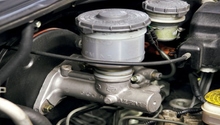
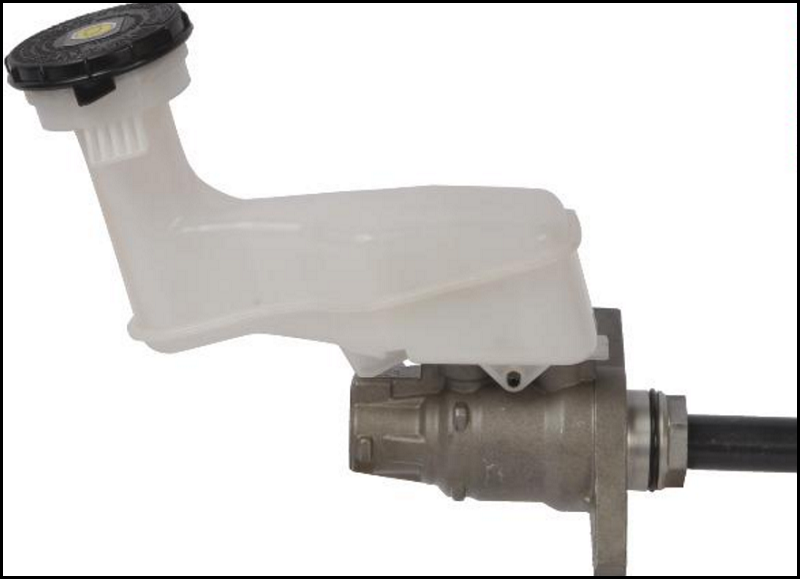
Step 1 – Open master cylinder
Seems simple enough. Ensure the parking brake is not engaged. Raise the hood. Once there, remove the engine cover located at the back of the engine bay on the driver's side. Locate the master cylinder, located on the firewall. Clean the cap with a clean rag. Ensure no dirt or grime is on the cap prior to removal. When clean, remove the cap. Open a fresh bottle of brake fluid and top off the brake master cylinder reservoir.
Notes
- While bleeding the brakes, ensure the master cylinder reservoir has a continuous supply of brake fluid by checking it often and topping as needed. If it runs dry, you'll have to start from the beginning and re-bleed all of calipers as air will have entered the brake system and cause decreased braking performance.
- Avoid spilling brake fluid on painted surfaces, as it will damage the finish. Clean any spills up quickly to avoid this damage.
Pro Tip
Bleeding brake calipers needs to be done in a certain order. There is the possibility every vehicle may be done in a different order. Don't assume.
Step 2 – Flush brake system
As stated in the Pro Tip, go to the left front caliper to start the bleeding sequence. Turning the steering wheel to the right may ease access to the caliper. The caliper is located on the back side of the wheel. Locate the bleeder valve. It should have a black rubber protective nipple over it. Pop the nipple off without damaging the thin connecting piece, which holds it to the bleeder. If it does pop off completely, place it aside to make it easier to find when done. Crack open the bleeder by using the box end wrench. If it doesn't turn easily, try using a deep-well 6-point socket to allow for a little more torque. Be cautious, though, using too much torque can cause catastrophic results in that the bleeder may twist off inside the bore. This would promote the need for removal of whatever is left of the bleeder, and quite possibly the replacement of the caliper itself. Once the bleeder is broken free, ensure it remains closed, but easily opened. Several different options, depending on which method is used:
Bottle and Hose Method (Old Fashioned)
Leave the boxed end wrench on the bleeder in a position, which will allow about 60°.
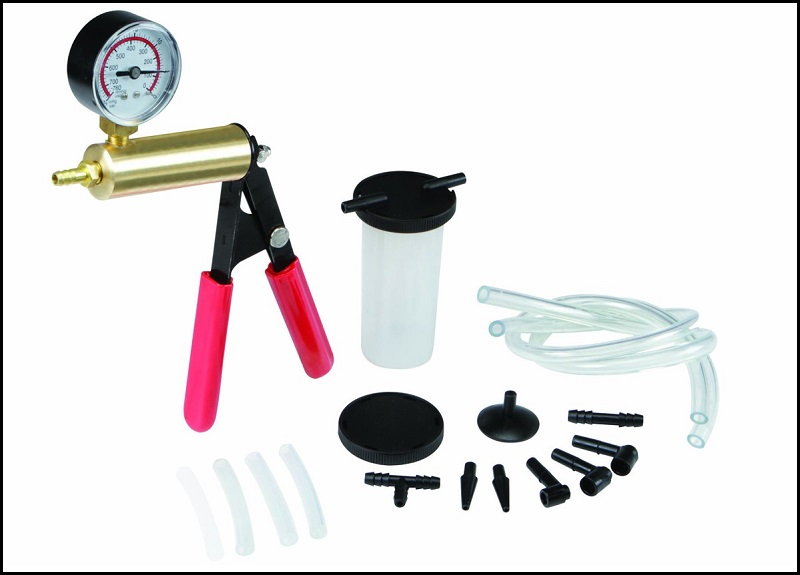
Power Bleeder Method
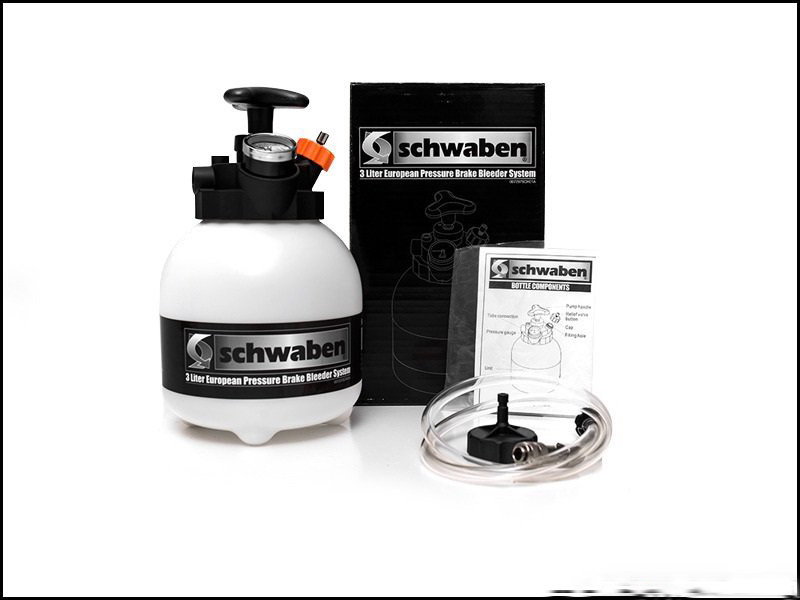
Assemble the power bleeder, ensure a proper amount of brake fluid is inside the bleeder. Figure 3 is an example of a power bleeder system. You'll need to research in order to find which system will work right for your needs, as the bleeder attaches in place of the master cylinder reservoir cap. Place the cap on the master cylinder and pressurize the system. At the caliper, place the combination wrench boxed end on to the bleeder valve, then place clear tubing onto the bleeder nipple. Place the free end of the clear tubing into the clear bottle. Open the bleeder valve to allow brake fluid to flow into the bottle. Allow it to flow until the fluid runs clear. Close up the bleeder firmly, but not over-tight. Use the same procedure for all the calipers. This is a very easy process and works very well. The added expense of the bleeder system may be worth the cost if you have several vehicles to do every year.
Pro Tip
Using clear tubing will allow the person at the caliper the chance to see when fresh brake fluid has been reached.
Step 3 – Close up the master cylinder
Again, this is very self explanatory. There are a couple of things to do, though. Ensure all of the nipple caps are back in place on the bleeder valves. This helps keep them clean. Ensure the brake fluid in the master cylinder reservoir is up to max level. Firmly twist the cap back into place on the reservoir so it securely attached. Ensuring the cap is in place correctly will help keep the new fluid clean, plus will seal the reservoir preventing premature aging of the brake fluid from moisture.
Related Discussions
- Brake Fluid Change - AcuraZine.com
- Brake Fluid Flush Question - AcuraZine.com
- DIY Brake Fluid Bleed Flush - AcuraZine.com