Acura TL 2009-2014: How to Remove Door Panels
Removing your door panel is actually really simple to do, especially with our help.
This article applies to the 4th Gen Acura TL (2009-2014).
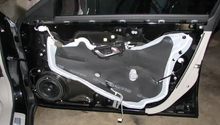
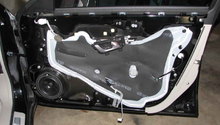
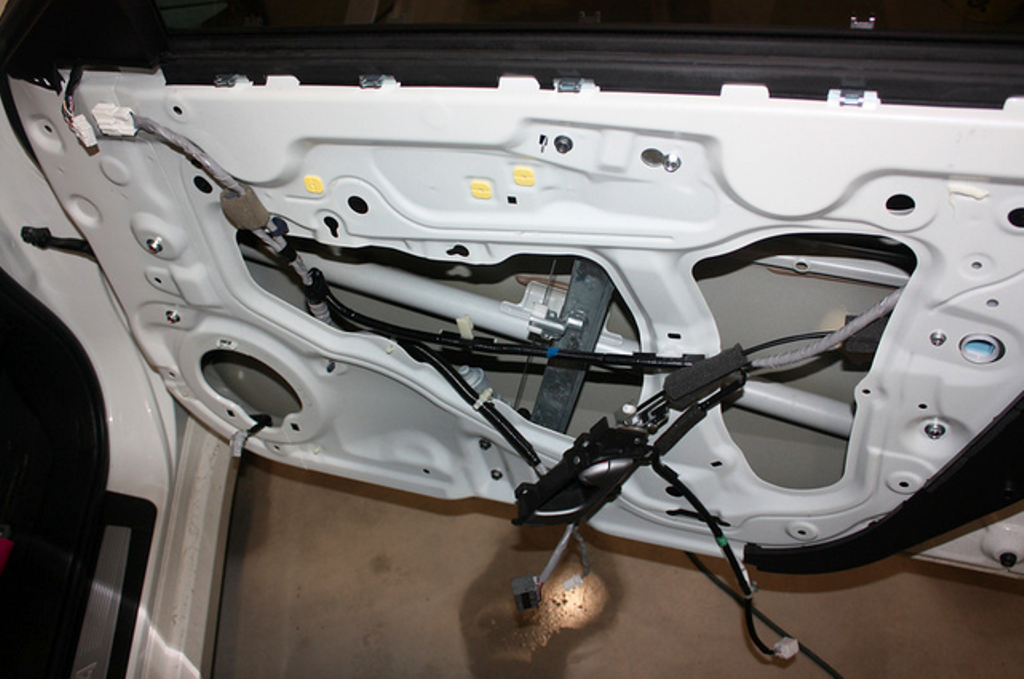
The door panels serves no functions other than keeping everything in one place, and looking good. It does, however, cover some important pieces, and so occasionally need to come off. These include the door speakers, locks and power window assembly. The following procedure lists how to properly remove the door panel from your Acura TL.

Materials Needed
- Screwdriver
- Trim removal tool
Step 1 – Remove the screw covers
There are several trim screw covers located around the door panel. You can either use a small flat head screwdriver or trim tool to pop off all of them. There is one behind the door pull handle, another little cap under the arm rest, one hidden in the arm rest, and a forth up near the tweeter.
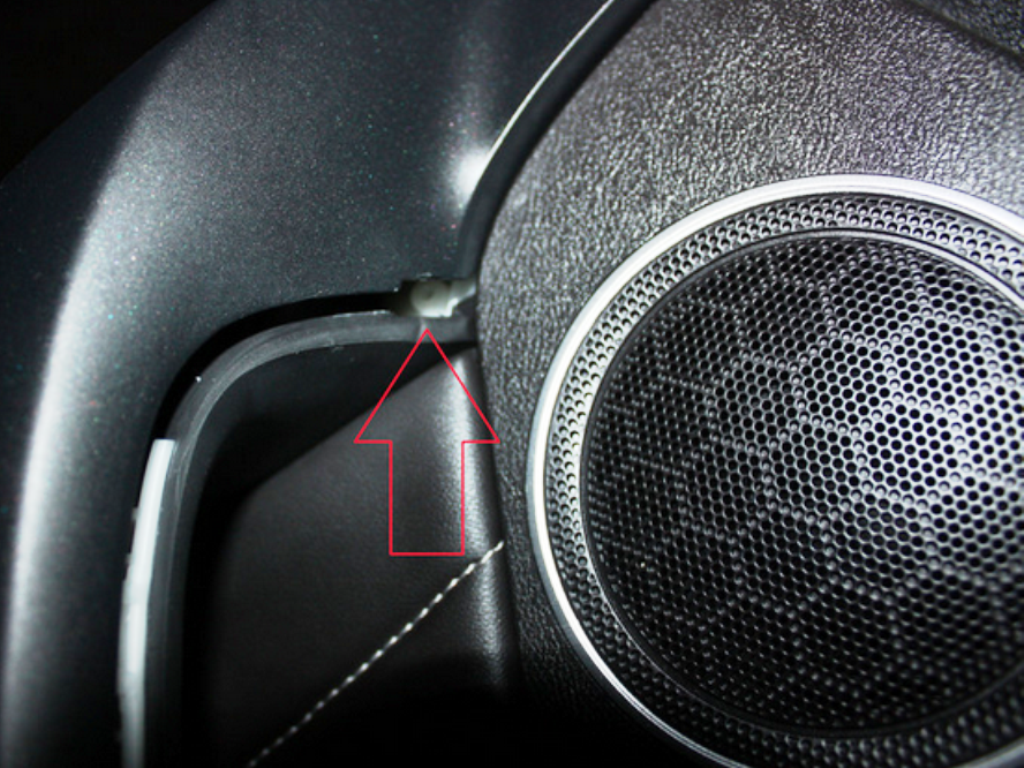
Figure 1. Remove trim panel next to the tweeter. 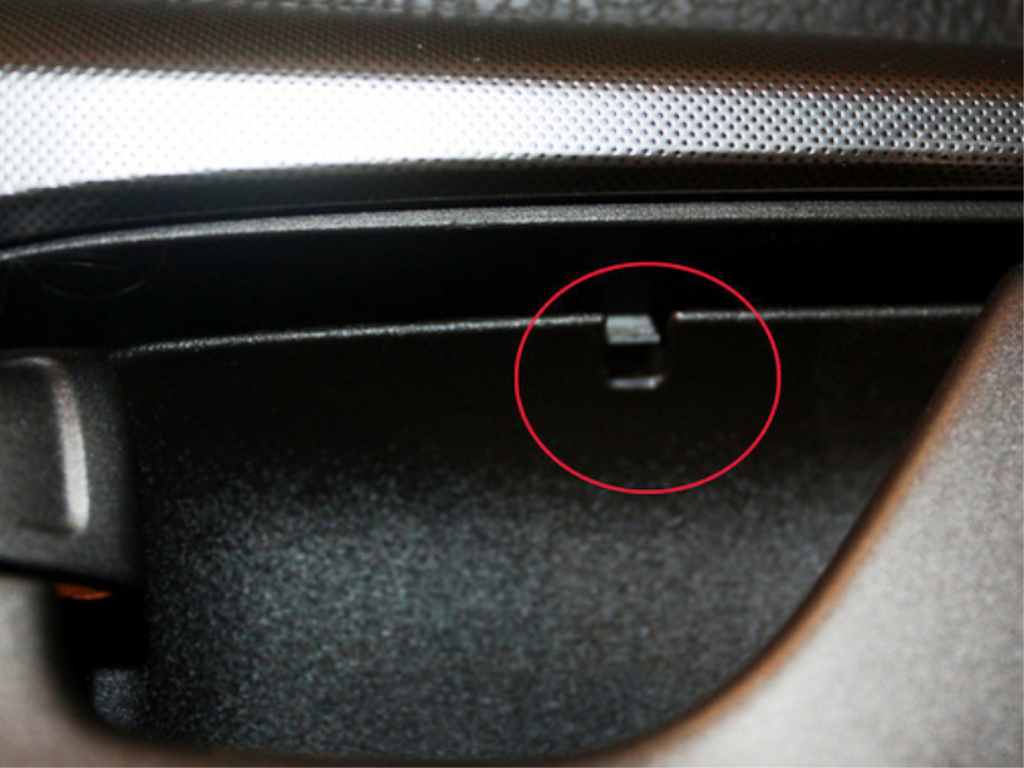
Figure 2. The trim piece behind the door handle. 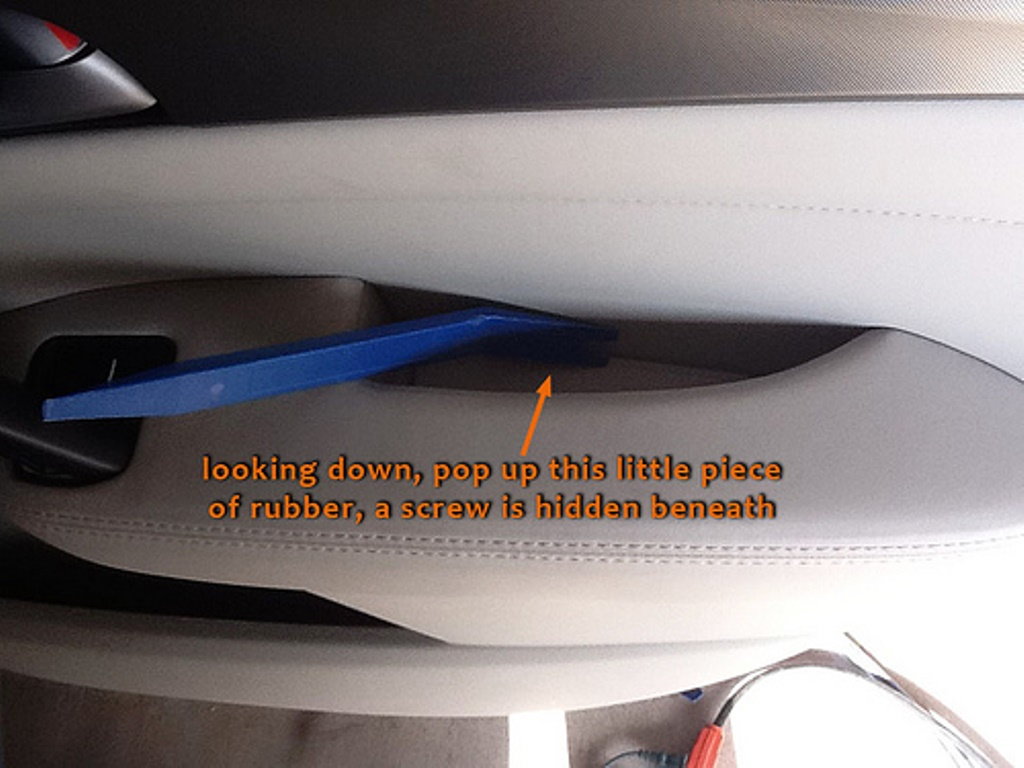
Figure 3. Trim behind arm rest. 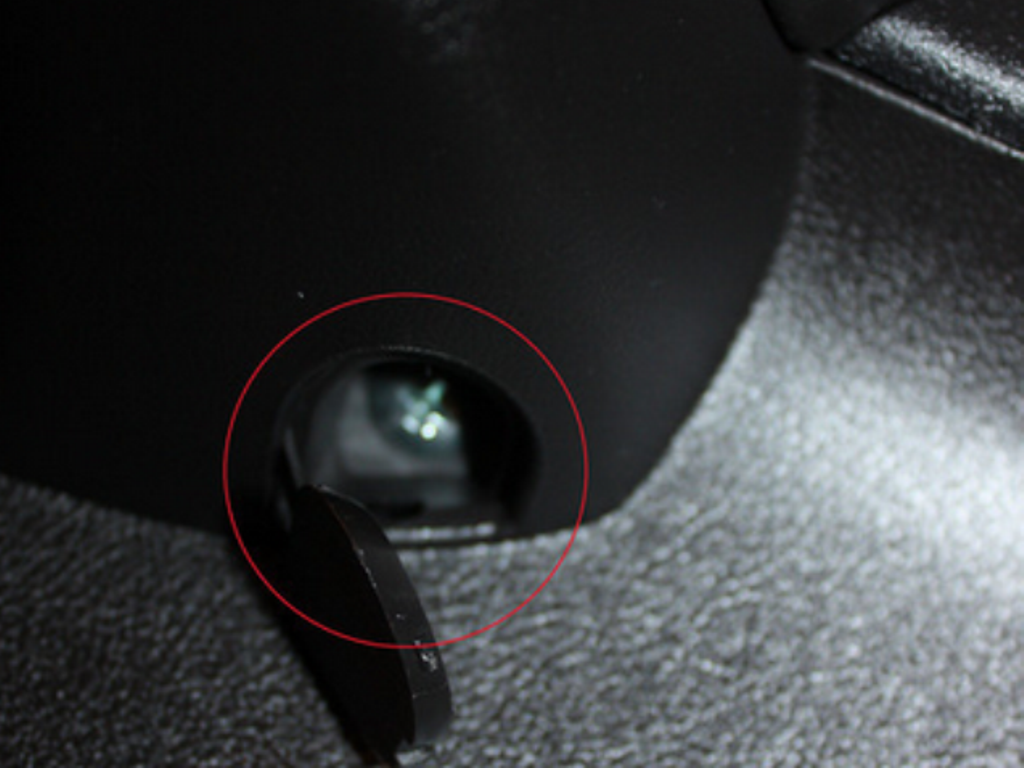
Figure 4. Cap under arm rest.
Step 2 – Remove panel screws
Below are all of the locations for the screws that your have to remove.
- There are two located behind the door pull handle.
- There is one screw under the arm rest.
- One screw is behind the trim panel, near the tweeter.
- Another screw is located under the rubber trim of the arm rest.
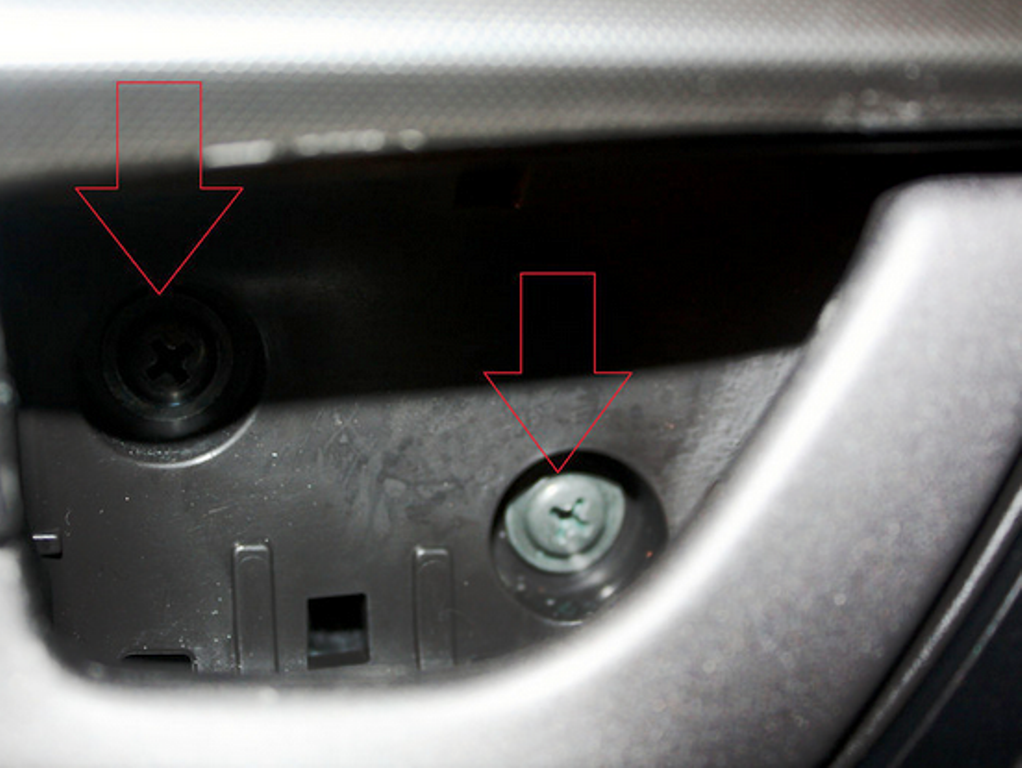
Figure 5. Screws behind the door handle. 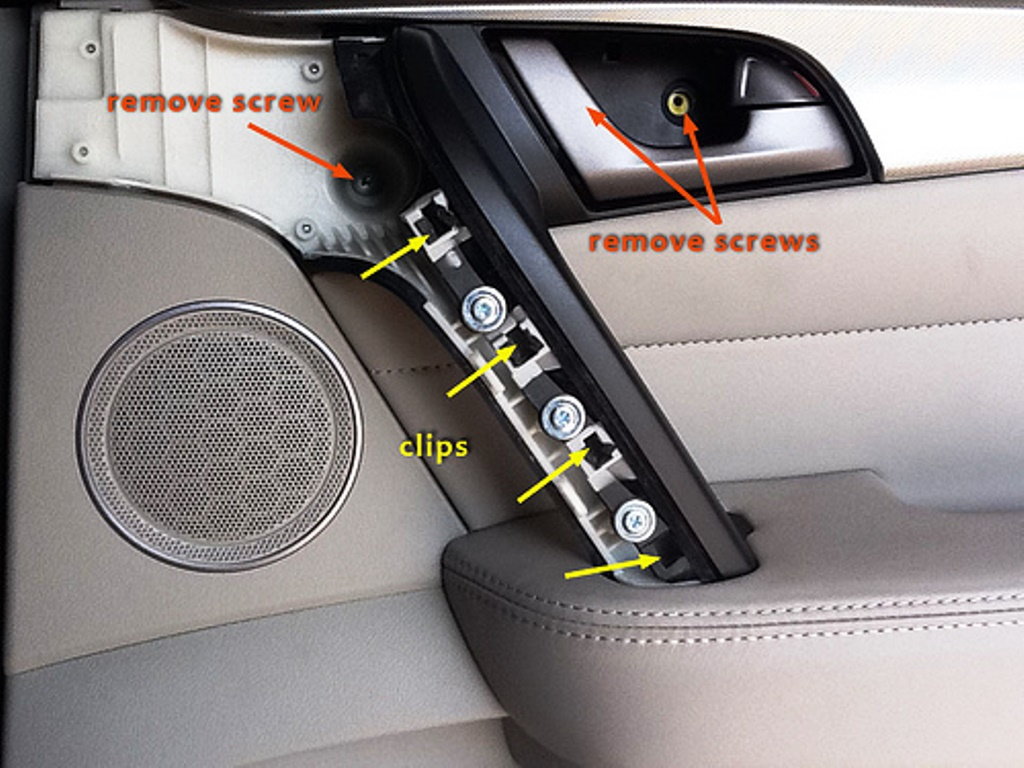
Figure 6. The screw under the tweeter trim piece.
Step 3 – Remove the panel
Use the trim wedge to pry along the bottom of the panel. Slowly make your way around the door until the panel pops off. Then disconnect the wire harness and you are done! The installation is the reverse of the removal procedure.
Related Discussions and Video
- 4G DIY: Removing Door Panels - AcuraZine.com
- Replacing Door Speakers in Acura TL - YouTube.com

