Acura TL 2009-2014: How to Change Automatic Transmission Fluid
Changing your Acura TL’s automatic transmission fluid is similar to the way you'd do it in many other cars in the past, but with some very important differences.
This article applies to the 4th generation Acura TL (2009-2014).
Like most recent-vintage cars, the 4th generation Acura TL will tell you when you need to replace the automatic transmission fluid with its “maintenance minder.” This alert is not only based on mileage, but the climate where you live, the driving conditions, as well as your driving style. If your service code is a “3,” it’s because your Acura believes it’s time for you to change-out your transmission fluid.
Experienced Acura enthusiasts are adamant about three things when it comes to automatic transmissions:
- Always remember to check your fluids with your ENGINE OFF!
- Always use genuine Acura Automatic Transmission Fluid. (Note that in 2011 the ATF-Z1 fluid was replaced by DW-1, a synthetic blend.)
- Never have a machine power flush performed on you transmission.

Materials Needed
- 3/8-inch socket set with 10 and 17mm sockets, plus long (16-inch) and short extensions
- 3/4-inch square drive socket
- Torque wrench
- Extra plastic panel attachment tabs
- Spare crush washer for ATF drain plug
- 4 quarts of Z1 ATF (DW-1 after 2011 model year)
- Drain pan, ideally with measuring markings
- Long funnel
- Floor jack, jack stands, and wheel chocks
Step 1 – Remove the plastic undertray
Warm up the motor/transmission with a 15-minute drive, and be sure to put the shifter in drive and reverse for ate least 30 seconds (with the car sitting still) to circulate all the fluid and make it drain faster. Jack up the car and put the front end up on jack stands to make draining the automatic transmission fluid much easier. Be sure to put the car in "park" and chock the rear wheels. Also, remember that draining and refilling operations should always be performed with the car on level ground.
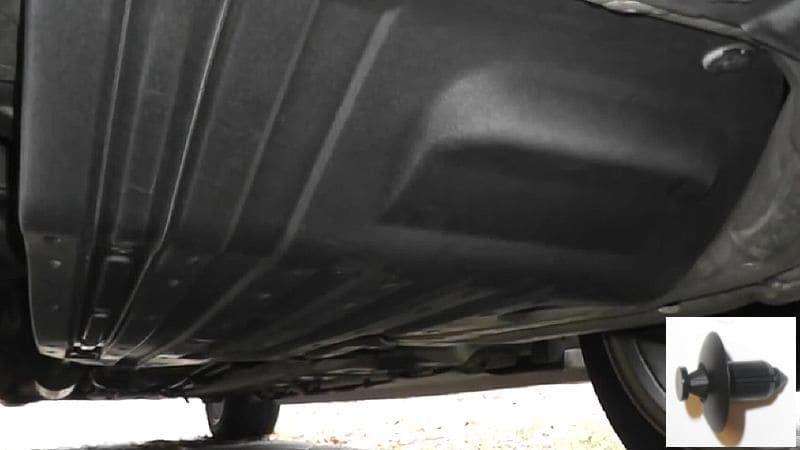
First, remove the front plastic undertray (also know as the splash shield or "aeropan") on the front passenger side of the car. It’s held on by four 10mm bolts—two in the front and two in the rear—and a number of plastic body panel rivets. The proper way to remove them is to pry the center portion out to collapse the inner part. It’s hard to do this without breaking at least a few rivets, so having some spares on hand beforehand can be a good idea.
Step 2 – Loosen the ATF fill cap
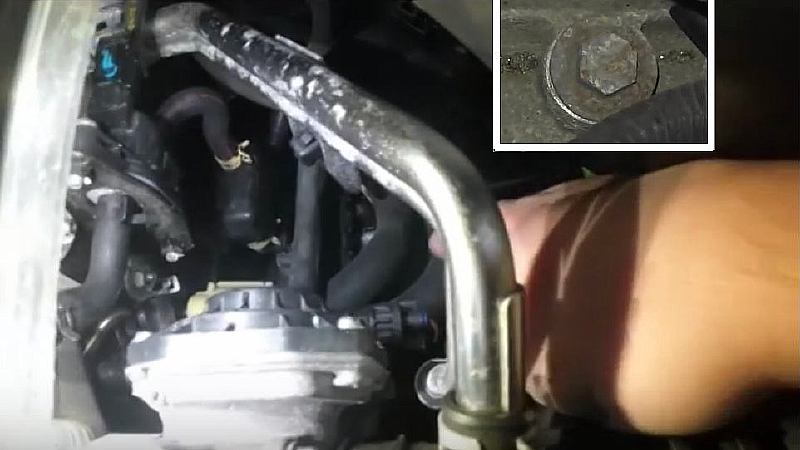
Before you drain the old fluid, it is a very good idea to make sure you can get the fill cap opened. With a 17mm socket on a long extension, loosen (but don’t remove) the ATF filler cap. This cap is labeled "ATF" and located on the driver's side of the engine compartment close to the fire wall, but inconveniently tucked under two hoses.
Pro Tip
If you can't access the ATF filler cap, or can't open it, you can refill the transmission via the transmission dipstick tube, but this would require a long, small-diameter funnel, and takes a lot more time.
Step 3 – Drain the ATF fluid
The drain plug is a 3/4-inch square recessed head. You can use a 3/4-inch drive ratchet without a socket attached, or a 1/2-inch or 3/8-inch to 3/4-inch socket adapter to remove it. The drain plug is found underneath the transmission on the passenger side. This plug can be hard to remove, so you may need to use a breaker bar to gain more leverage.
Drain the ATF into the oil pan. If you see tiny bright metal pieces, like greeting card glitter, that’s normal. But any larger chunks of metal could mean the transmission needs to be repaired, or replaced. The drain plug has a magnet on it, specifically to catch metal pieces and protect the inner workings. Carefully clean off this magnet while the fluid is draining.
Replace the ATF drain plug and tighten it to 35 lb-ft (47.5 Nm).
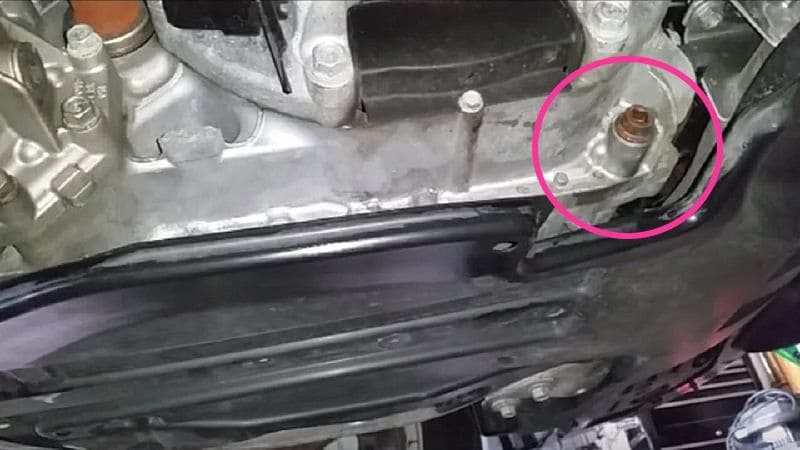
Figure 3. Location of the ATF drain boll/plug (circled). 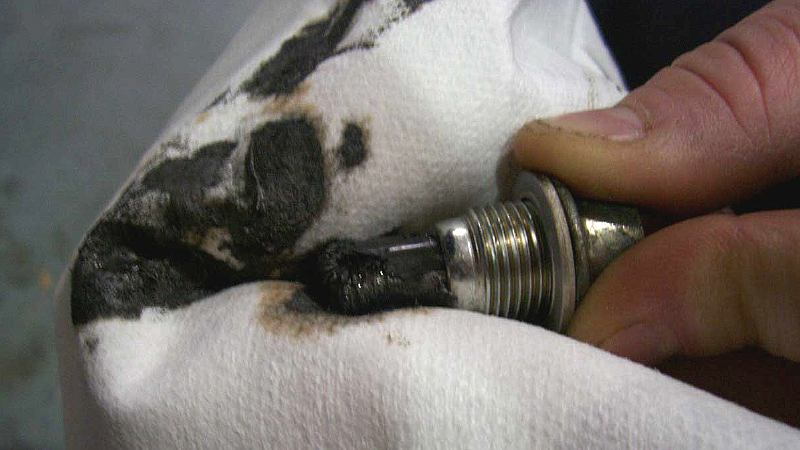
Figure 4. Clean the magnet attached to ATF drain bolt/cap. 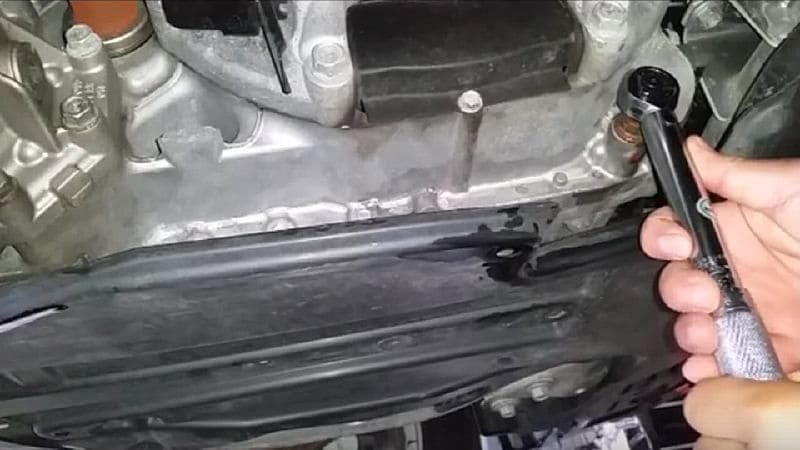
Figure 5. Replacing the crush washer with the drain cap is recommended, but many DIYers reuse it.
Step 4 – Refill the transmission with fluid
When your transmission is finished draining, if your drain pan has marks on the inside, put the pan on a level surface and note how much fluid came out. If you don’t have a measured drain pan, you can use one of the new ATF bottles to measure the old fluid, once you have emptied it into the transmission.
Using the 17mm socket with an extension, fully remove the filler cap. Carefully inspect its washer and replace it if need be. Put the same amount of the proper new ATF (either ATF-Z1 or DW-1) into the transmission as drained out. This will likely require a bit more than three quarts (about 3.2 quarts, officially). That's why you have four quarts on hand.
Replace the filler cap and tighten, factory torque setting is 33 lb-ft. You may have to remove it again, but best not to leave it loose only to forget about it later.
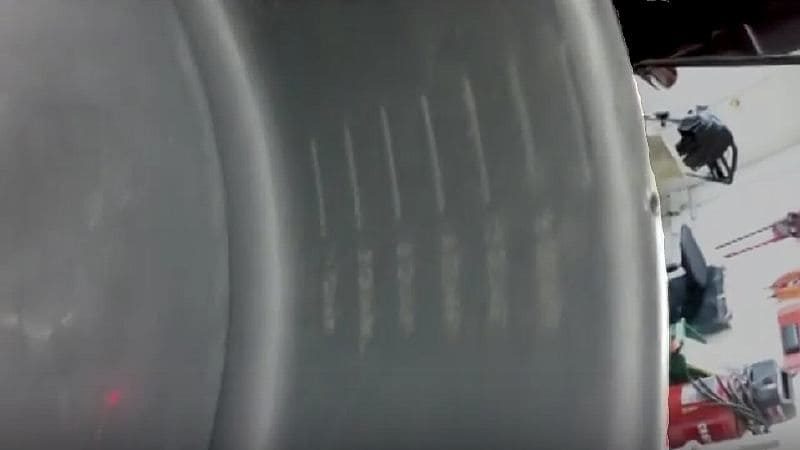
Figure 6. Drain pan with measuring marks on its side. 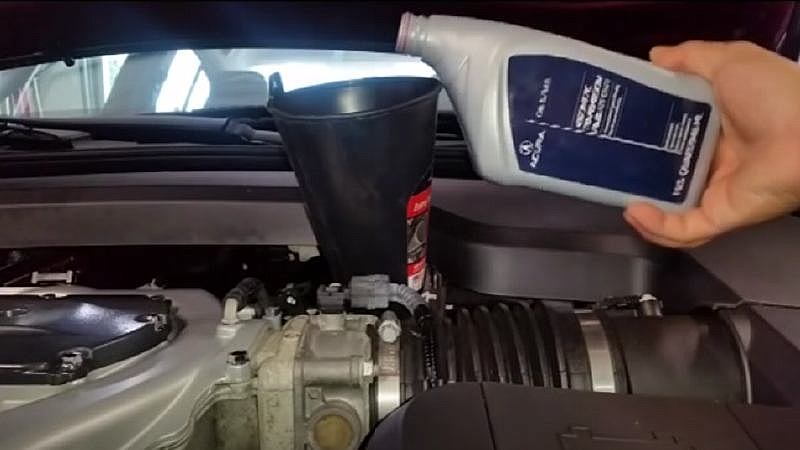
Figure 7. Fill the transmission with fluid.
Step 5 – Check the level
Lower the car off the jack stands, start the motor, and once again cycle the transmission through reverse, drive and back to park to circulate the new fluid. Then, with the engine off, check the transmission dipstick again, and top off the fluid to get its level line between the marks on the dipstick. The transmission dipstick is located under the hood, conveniently at the front of the engine compartment on the driver’s side. Add more fluid if needed, and re-tighten the filler bolt/cap to 33 lb-ft (44.5 Nm).
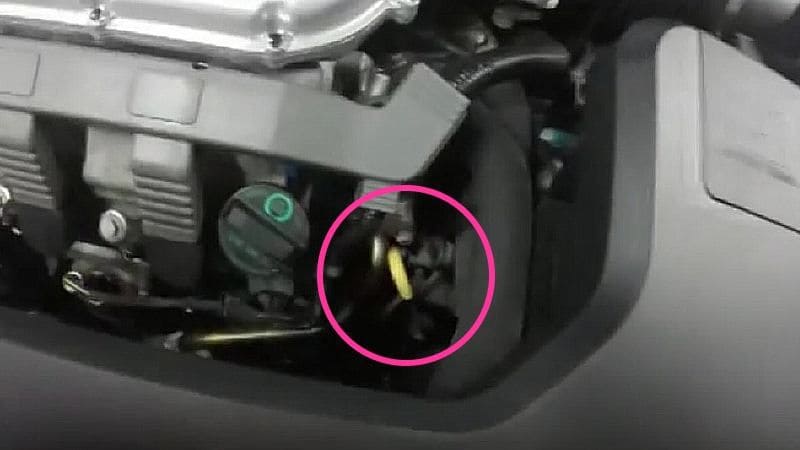
Figure 8. Convenient location of automatic transmission dipstick. 
Figure 9. Transmission fluid dipstick full marks.
Step 6 – The 3 x 3 flush
Often referred to as a “3 x 3” flush, this means at least three quarts of ATF changed three times within a short period of time. Many experts believe this is unnecessary if regular drain and fills are done every 30,000 miles come rain or shine. The reason for the multiple drain and fill is because the fluid you drain out of the transmission doing the above procedure is less than half of the total fluid in the system, with a good amount stored in the torque converter most of the time. Note that this is also why you shouldn’t wait over a minute before taking a reading from the transmission dipstick, because some of the fluid drains back into the transmission, giving you a false reading.
Featured Video: Acura TL Transmission Change
Related Discussions
- List of "to do" steps to change ATF fluid and reset the Maintenance Minder - AcuraZine.com
- When and why to do a "3 x 3" transmission fluid change - AcuraZine.com
