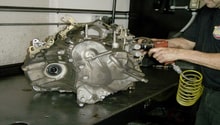
Acura TL 2004-2008: Transmission Diagnostic Guide
Transmission problems really stink, but here's a guide that will help you pinpoint and rectify the problem.
This article applies to the Acura TL (2004-2008).
Transmission problems can be some of the most aggravating issues to deal with in any automobile, let alone the Acura. There are some very common problems with this vehicle and other not so common things that can drive you up a wall. Don't get too frustrated and fall into the trap of taking it to a professional to hunt and peck at it until it's fixed. Searching for the cause of an issue can be very time consuming and labor intensive, adding lots of dollars to your service bill. You may not be able to fix it yourself, but the diagnostic work you complete will give your pro a road map to finding the source of the issue much quicker, saving you a great deal of labor costs. Read on to learn about some of the issues you may come across with your Acura's transmission and what you can do to find and fix it in the most economical way possible.

Materials Needed
- Ratchet and socket set
- Flat head screwdriver
- New transmission fluid
- New 3rd and 4th gear pressure sensor switches
- Jack and jack stands
- Drain pan
- Torque wrench
- Magnet
Step 1 – Check the transmission fluid
If your car has a major problem, the fluid will tell the story.
What you likely fear most is that you need a new transmission, or in the least, you need yours to be rebuilt. Let's put these fears to the test up front so you can make a tough decision or begin to relax. The transmission fluid tells a good tale of what is going on internally. If your fluid is burnt, smells burnt, looks black and there are a lot of chunks of debris in it....well, it's time to start looking for a good pro to replace that transmission. Unfortunately, there is no other way around that truth. Otherwise, if the fluid is simply dark brown, not overly stinky and there are minimal pieces of metal shavings in it, you likely have many more miles to put on your car, so exhale and let's start poking around.
- Jack up the front end.
- Remove the plastic skid plate or splash guard.
- Find and remove the 17 mm drain plug and drain the tranny fluid into an appropriate container.
- Inspect the end of the drain plug which is magnetic as well as run a magnet through the fluid in the drain pan.
- If you find large chunks of metal in the pan or on the plug, you have some internal problems to take care of.
- Replace the drain plug and torque to 36 foot pounds.
- Replace the splash guard.
- Drop your front end, remove the air box and the intake hose.
- The 17 mm fill plug is just below and to the left of the fuse box.
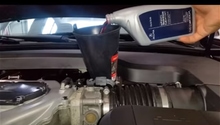
- Add the appropriate amount and type of transmission fluid.
- Replace the fill plug and torque to 36 foot pounds.

If your transmission fluid is of an acceptable condition, then you need to dig a little deeper.
Step 2 –Change the type of transmission fluid you use
Many folks have found much success with Redline Racing ATF.
A very common problem with these transmissions is the dreaded low speed shudder and some rough shifting. From test and trial, it seems that there are two possible ways to fix this problem. Either use the Honda OEM transmission fluid and change it at every other engine oil change, or switch to Redline Racing automatic transmission fluid and change that every 50,000 miles or so. There has been much success reported using either option.
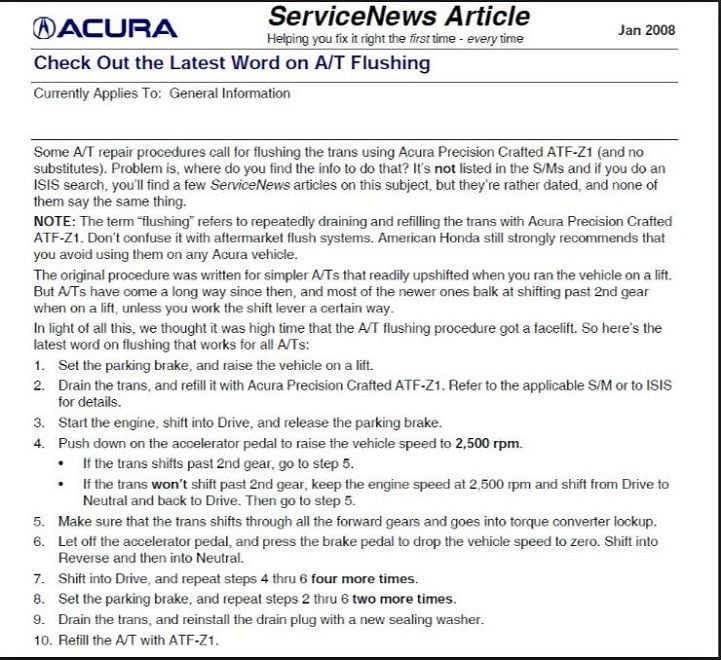
If you have done the flush and fill and switched to Redline, you may need to replace your transmission fluid sensor switch(es).
Step 3 – Swap out your transmission fluid sensor switch
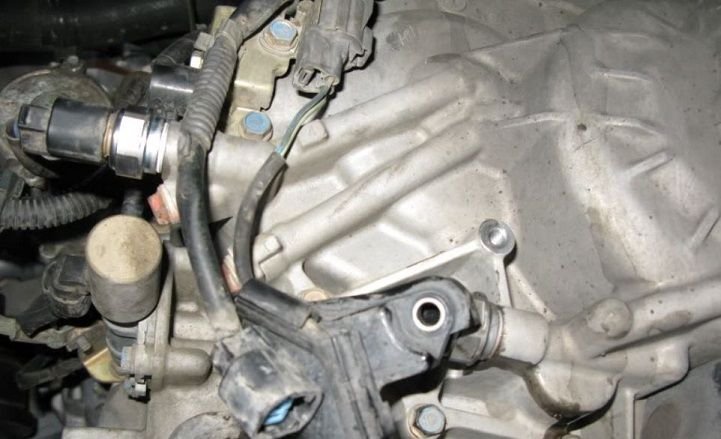
Just about every three years or so, the transmission fluid pressure sensor switches seem to die.
When your transmission fluid pressure sensor switch is shot, your car will show plenty of signs. You'll have a shimmy or shudder when idling or at low speeds. Up or down shifting from 3rd to 4th and back will be significantly rough. In some cases, changing the ATF more often than suggested will solve the problem or switching to a fully synthetic or racing ATF can do. When these methods fail, it is usually because the swtiches are beyond help. It's time to put them out to pasture and replace them with a couple of new ones that will work happily for the next few years.
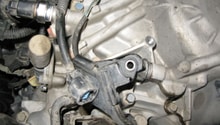
Fortunately, this is a very easy job that is only marginally more difficult than doing this on an MDX. There are two switches. Replace both, one at a time. You should also change or swap your fluid when you do these, and your transmission issue will be resolved for a few more years and many more happy miles.
If none of the above methods have fixed the underlying issue, then you may need to replace the transmission entirely.
Step 4 – Replace your transmission
If you have found debris in your fluid or have let the small problems go far too long, this may be your only solution.
If your transmission is completely gone, based upon the results in Step 1 or the failed results in Steps 2 and 3, you may have no choice other than having the transmission replaced or selling your car, of course.
While replacing the transmission can be a DIY job, you may want to consider having a pro do the job for you, considering the track record Acura has had with these older models. You should consider looking into the latest generation transmission that will fit in your car to alleviate future problems. An Acura dealership could set you back up to $4,000 or more, while an independent shop will usually be much less expensive. If you go the indy route, just make sure you find one that has extensive experience with these cars and their transmission history.

Related Discussions and Sites
- Acura transmission problems - Acurazine.com
- Looking to buy...Acura TL transmission issue, what year? - Acurazine.com
- Transmission problems? 3rd generation TL - Acuraworld.com
- Transmission problem FAQ - Acurazine.com
- Transmission problem Acura TL s 2003 auto - Acurazine.com
- How true to the transmission problem story - Acuraworld.com
- A-110: DIY guide to replacing 3rd and 4th gear pressure switches for 3G TL - Acurazine.com

