Acura TL 2004-2008: How to Replace Gear Position Sensor
Swapping out your transmission gear position sensor is a simple DIY job that you can knock out in less than an hour.
This article applies to the Acura TL (2004-2008).
If you are having some really odd transmission issues, you need to deal with them sooner rather than later. This includes any type of issue, not just the obvious ones felt while driving, such as slippage, sticking, grinding or refusal to shift period. Some other symptoms that might not be so obvious or at least, not felt, is the gear indicator light blinking or going off completely while in drive. Unwarranted downshifting, often times accompanied by the drive indicator light turning off is another indication that something is amiss. These may seem like simple annoyances, but left unchecked, they could possible lead into bigger, more costly problems. Luckily, at this time, it is likely that all you need to do is swap out the gear position sensor, or transmission range switch as it is sometimes called. This is really a pretty straightforward and easy DIY job. You can knock this out in about an hour, saving yourself a nice bit of change that you don't have to fork over to the professionals. The only tool that you'll need to remove and replace the sensor with is a ratchet and 10mm socket. Isn't that awesome? Now get to work.

Materials Needed
- Hydraulic floor jack
- Jack stands
- Ratchet and 10mm socket
- Lug wrench or tire iron
Step 1 – Jack up the front end and place on jack stands
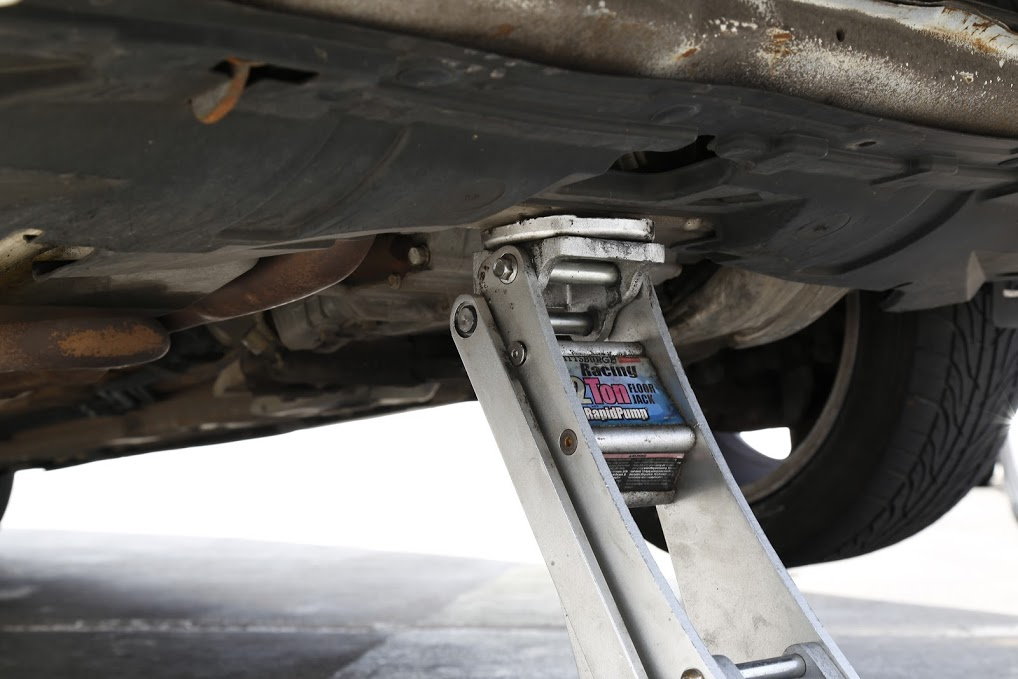
Put your car on a level surface, and break the lugs free on the driver's side front tire. Put it in neutral and put on the emergency brakes, or chock in front of and behind the rear wheels. Use the correct points for jack and setting your car up safely. Never work under your car with only a floor jack even for a quick job like this one. It may take you 15 minutes to get the job done, but only a few seconds for your car to drop on your head, and that makes for a bad day. You can get by with only jacking the driver's side, but it's just as easy and there's more room if you get the entire front end up and off the ground.
Step 2 – Remove the driver's side front tire
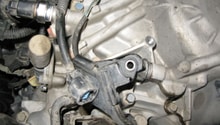
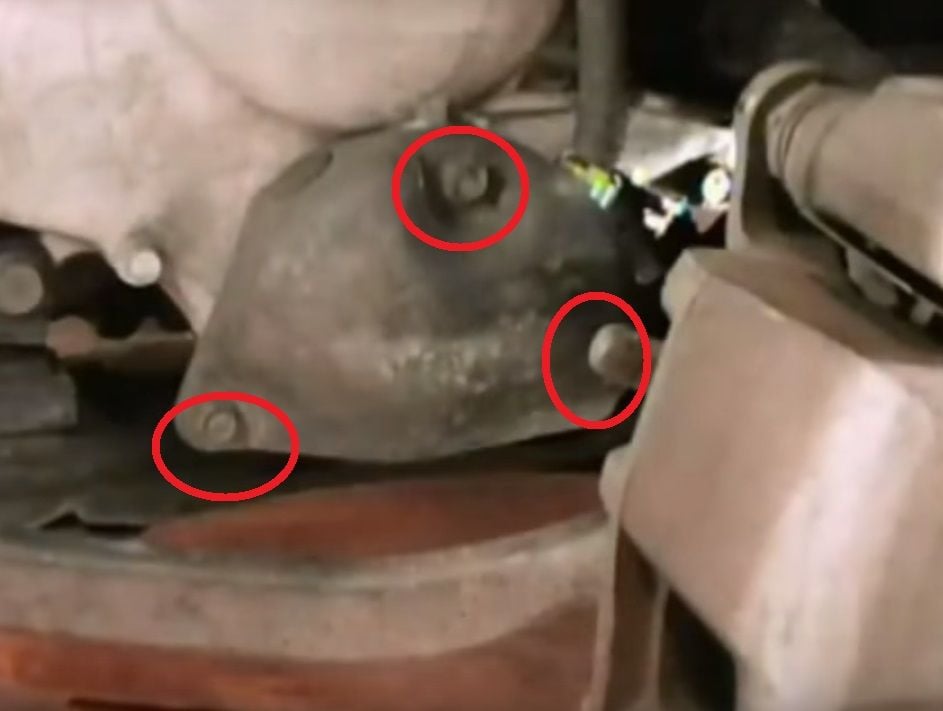
With the lugs already loosened, you should be able to remove them completely with just your fingers. Remove the lugs and the tire, then set it aside. You should be able to see the transmission position sensor shroud behind the rotors.
Step 3 – Remove the gear position sensor and cover
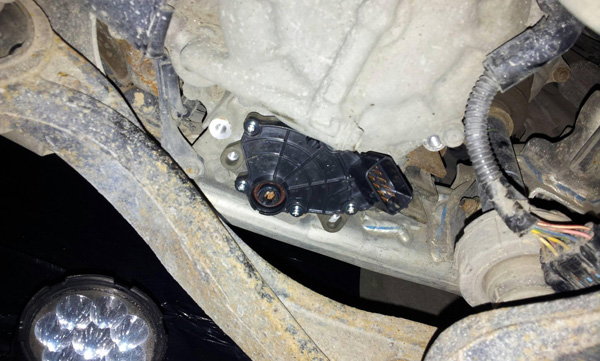
Use a 10mm socket to remove the two bolts that hold the cover in place. Set these aside. Once the cover is removed, there are another two 10mm mounting bolts and a wiring harness to remove. Once these are removed, the sensor is free to find a new home in the garbage can. You may have a little trouble getting the old sensor out. Grip both sides and pull pretty hard. It should pop right off.
Step 4 – Install new sensor, lower car and take her for a spin
Install the new gear position sensor. This should be a basic plug and play part. If you are having some significant problems getting the new one back on, you may want to re-check the part number or exchange for another. It should be very simple to put the new one back on. Replace the two 10mm mounting bolts and re-connect the wiring harness. Replace the cover and reinstall those two 10mm bolts. Replace the front tire, drop the car and re-tighten the lugs. Take her for a test drive and celebrate, not only your accomplishment, but the fact that you kept some money in your pocket.
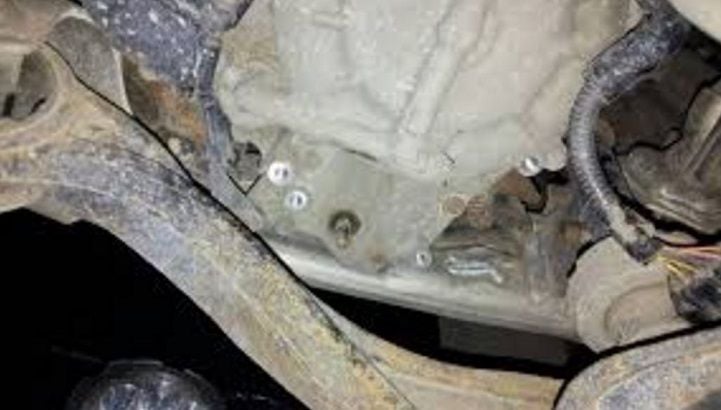
Featured Video: DIY Honda/Acura Transmission Range/Neutral Safety Switch
Related Discussion and Site
- DIY: Gear Posotion Sensor Replacement - AcuraZine.com
- OEM Sensor Position Part Information - OEMAcuraParts.com

