Acura TL 2004-2008: How to Replace Cabin Air Filter
The cabin air filter is tasked with cleaning the air that comes into the car's interior by way of its heating, ventilation, and air conditioning systems. Follow along and we'll have you breathing easy again in no time.
This article applies to the 3rd Gen Acura TL (2004-2008).
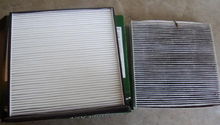
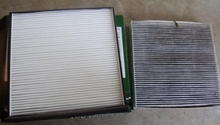
If you've never changed the cabin air filter in your Acura TL, then you'd be best served to do it sooner rather than later. The cabin air filter is responsible for filtering the air you breath in the car, via the heat and A/C. It should be replaced every 15-20,000 miles to ensure the air you're breathing in while driving is clean of dust, pollen, and if you choose a charcoal filter, even bad smells.

Materials Needed
- Phillips-head screwdriver
- New cabin air filters
- Socket wrench set
Step 1 – Remove the glove box
The filter is located behind the glove box in the 2004 to 2008 Acura TL, but before you can get to it, you first have to pull off the bottom panel of the dash below the glove box door. Grab it from the edge nearest the passenger door, and pull down with your hand to pop it out. Open the glove box and unhook the arm on the right side by pushing down until it pops out. Push in on both sides of the glove box and the whole thing should now swing down out of the way.
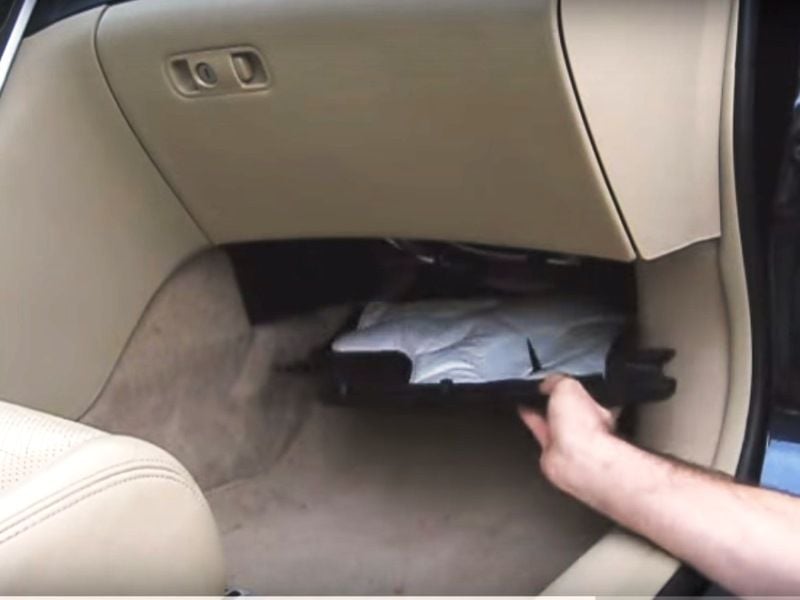
Figure 2. Pull down on lower panel until clips pop free. 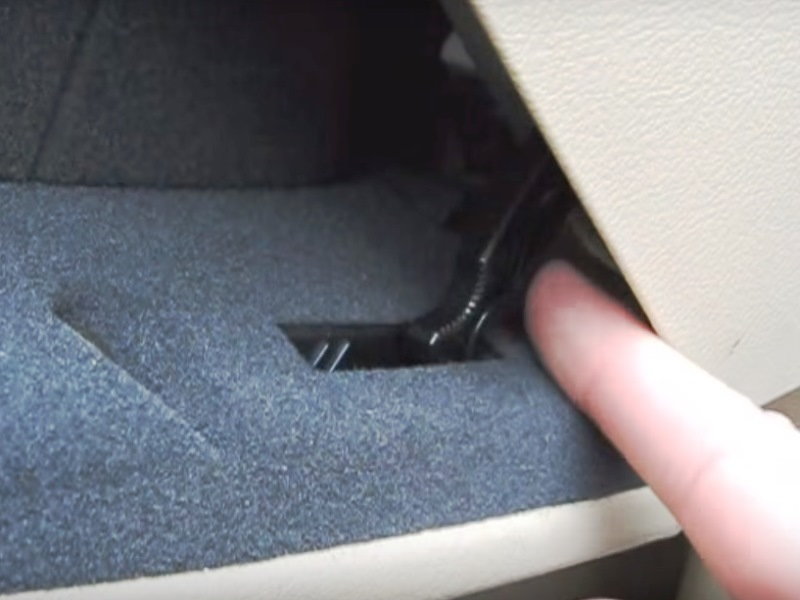
Figure 3. Press down on arm until it pops and the door hangs free. 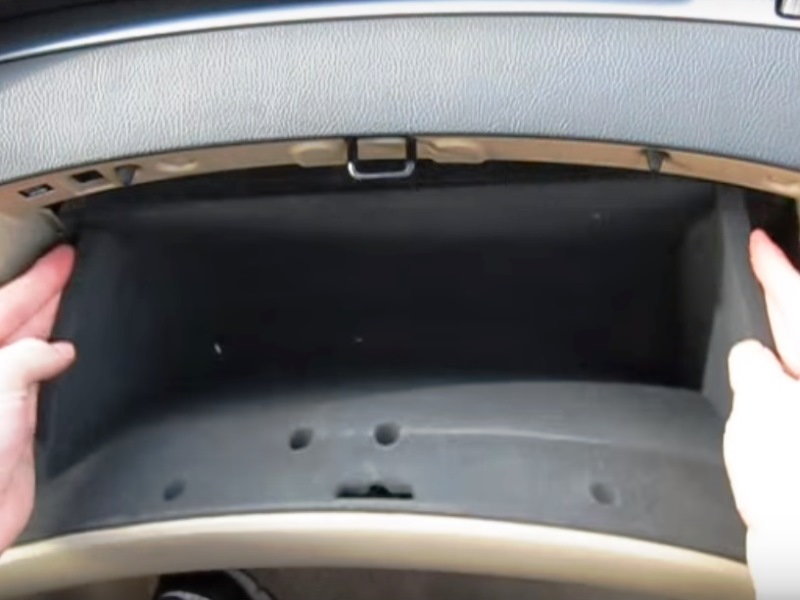
Figure 4. Press in on both sides of glove box and let door hang down.
Now you need to remove the entire assembly from the dash to get behind it. Push in on the center of the two plastic rivets to release them and pull out. Don't worry about replacing these, as you can reset them and reuse them once they are out. Next remove the two screws holding the assembly to the dashboard with a socket. Now the entire glove box assembly can be pulled out in one piece. All that is left to do now is unplug the electrical connections for the trunk release button and the light switch.
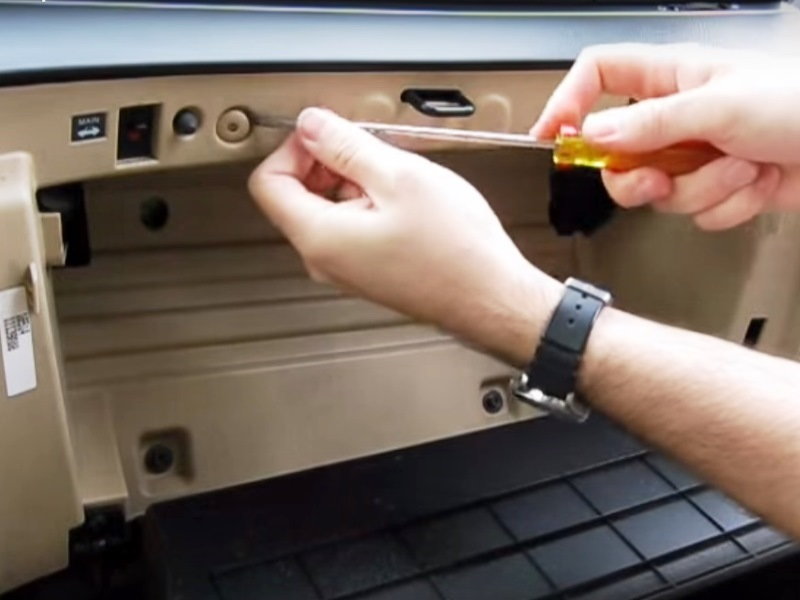
Figure 5. Press in on the center of the rivets and pull them out. 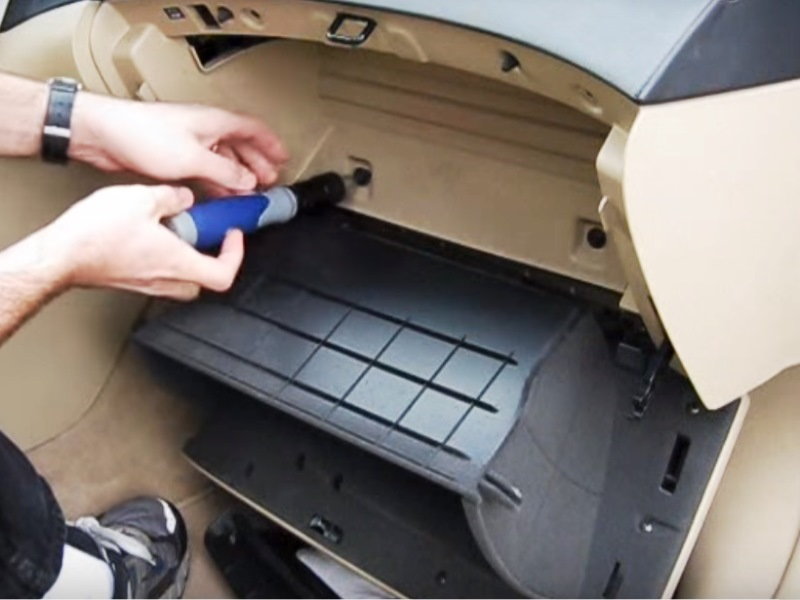
Figure 6. Unscrew the two screws with a socket or nut driver. 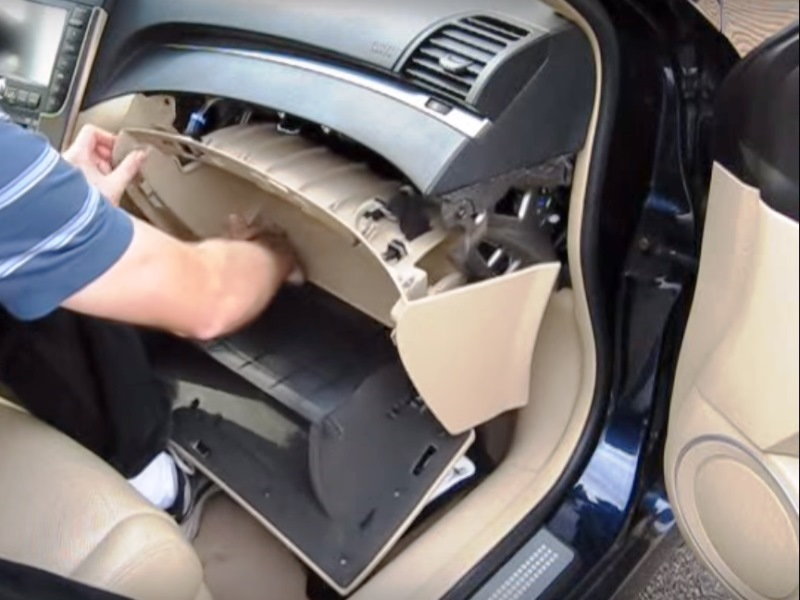
Figure 7. Pull the entire glove box assembly free.
Step 2 – Access cabin air filter housing and replace filter
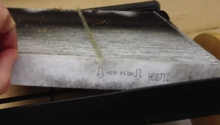
Now with the glove box out of the way you can see the rectangular cabin air filter. Press in the tabs on either side of it and pull the whole tray out. The new filter drops into the tray and slides back into the same spot.
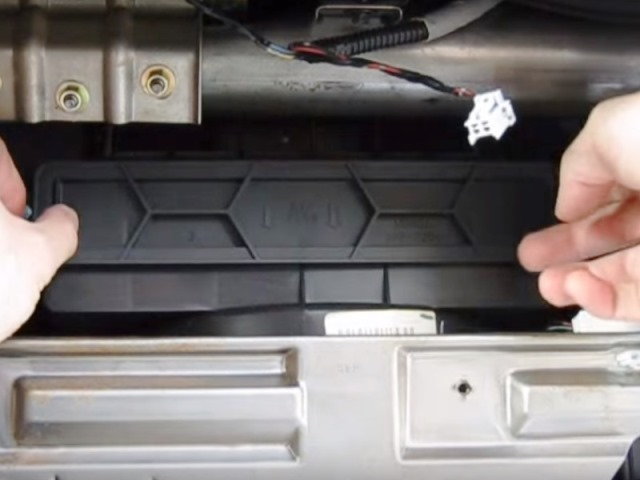
Figure 8. Push in the clips on either side and pull filter out. 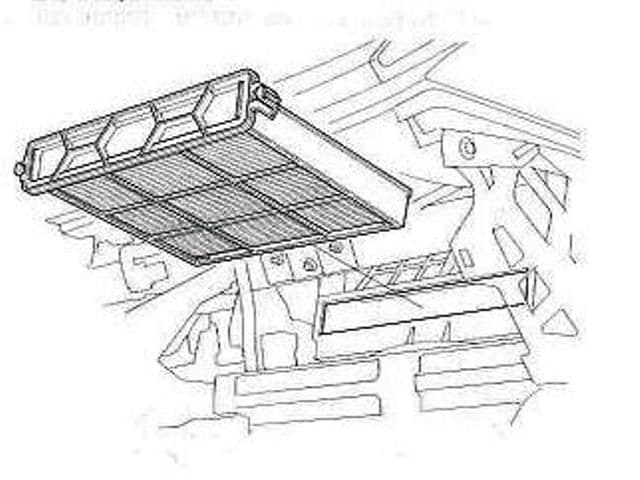
Figure 9. Pull out the tray with old filter. 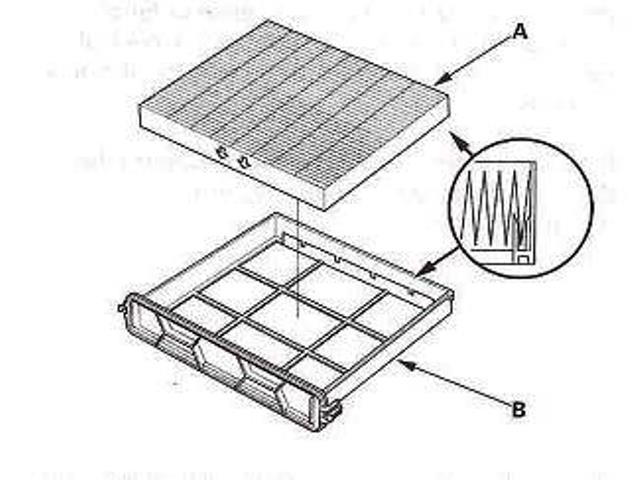
Figure 10. Be sure air flow arrow is pointing the correct direction.
Step 3 – Reassemble glove box area
Now that the new filter is in place, you just have to put it all back together. Plug the electrical connectors back into where they go. Screw the two screws back into the rear of the glove box assembly, and replace the plastic rivets. Press in on the sides of the glove box and pivot it back into place, then pop the arm back into the side.
Finally, pull up the under-dash panel that was removed at the very beginning and push it into place. There are three snaps here, so you should hear a click each time.
Featured Video: Cabin Air Filter Replacement
Related Discussion
- DIY Replacing Cabin Air Filter - AcuraZine.com