Acura TL 2004-2008: How to Change Oil
Changing the oil in most cars is fairly easy. The 3G TL is no different. Following these basic steps will allow you to get some fresh oil into your engine's innards without too much fuss. Read on to learn how.
This article applies to the Acura TL (2004-2008).
For anyone who wants their vehicle to last as long as possible with as few issues that can be prevented, regular maintenance needs to be completed. At the top of that list should be changing the engine oil and filter. The maintenance schedule asks for the oil change every 7,500 miles. Changing it at home is not difficult at all. The only time you may not want to change the oil at home is if you do not have an easy disposal method for the waste oil. Alternatively, if you purchase a Mityvac, you can change your oil from the top side by sucking all of the oil from the pan. This gets about 4 of the 4.3 quarts out of the pan, which isn't too bad, but not perfect.

Materials Needed
- Jack, jack stands, and wheel chocks (alternately, vehicle ramps)
- Oil drain pan
- 17mm combination wrench
- Oil filter wrench with ratchet and extension (if needed)
- Funnel
- Nitrile gloves
- Shop rags
Standard oil to use during an oil change for the TL is 5W-30. You'll need ~4.3 quarts of oil to fill it up. Using synthetic oil, while not required, can lengthen the life of your vehicle. It is highly recommended to replace the oil pan drain plug washer every time the oil is changed. This helps to prevent drips from the bolt.
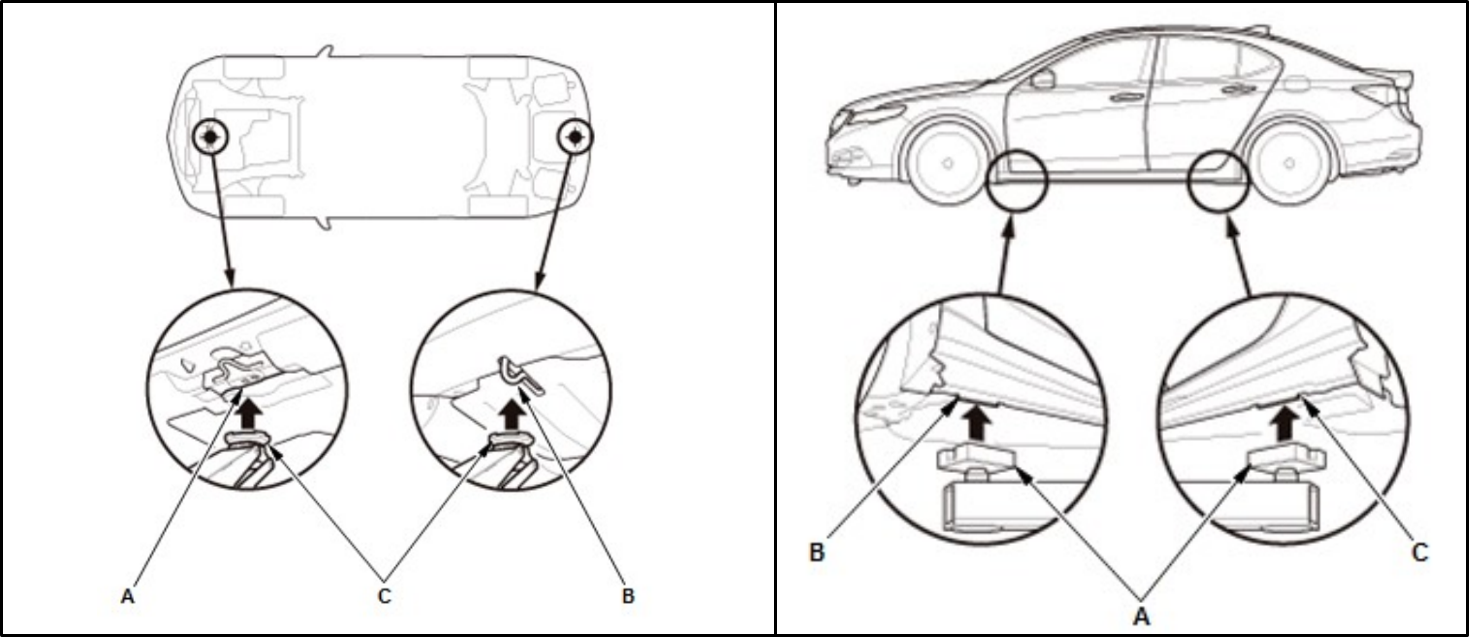
Step 1 – Jack up and support the vehicle
Place wheel chocks forward and aft of a single rear tire. Set the parking brake. Jack the front of the vehicle up and support with jack stands, placing the stands in supported positions.
Step 2 – Drain oil
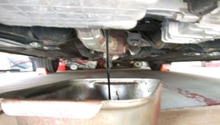
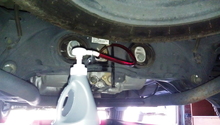
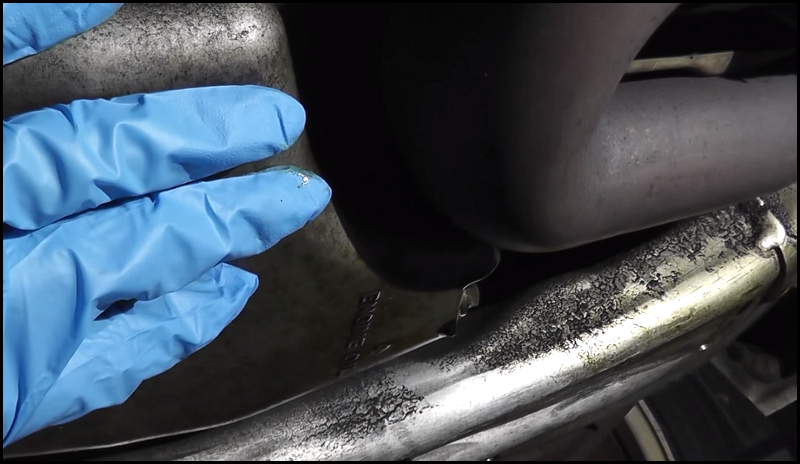
Place the drain pan under the vehicle. Find the oil drain plug located at the back of the oil pan, just behind words printed on the pan which states "Engine Oil" (Figure 2). Place the boxed end of the combination wrench onto the drain plug and loosen it. Place the drain pan under the plug and loosen it the rest of the way, pulling the drain plug away and allowing the oil to fall into the pan. Allow the oil to drain fully, then replace the drain plug with a new washer. Do not over-tighten the drain plug, as this can strip the threads from the aluminum oil pan.
Pro Tip
Warming the engine up for a couple of minutes will warm the oil enough to allow it to drain faster and more completely.
Step 3 – Replace filter
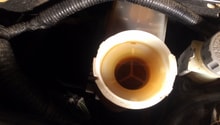
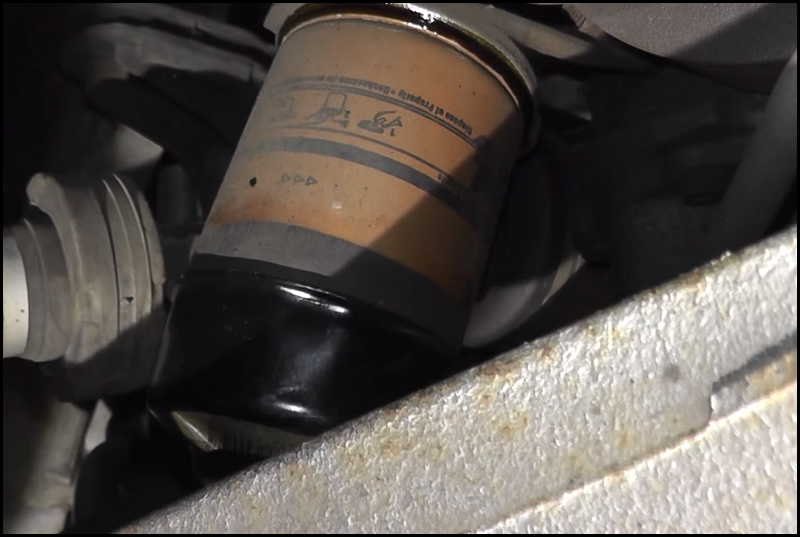
While under the vehicle, find the oil filter on the passenger side of the vehicle. Using the oil filter removal tool, loosen the oil filter. Ensure the drain pan is under the filter area to catch oil as it starts to flow out. Once the oil starts flowing, allow it to drain to a slow trickle, then remove the filter completely, turning it upside down for proper draining. Clean up the oil filter base with the shop rags. Ensure the rubber seal from the oil filter detached from the engine with the oil filter. It will cause a poor seal with the new filter and leak. Using clean oil, lubricate the rubber seal on the new oil filter. Screw the new oil filter into place on the oil filter housing, turning it one full turn past the point where the seal touches the housing.
Step 4 – Fill with new oil
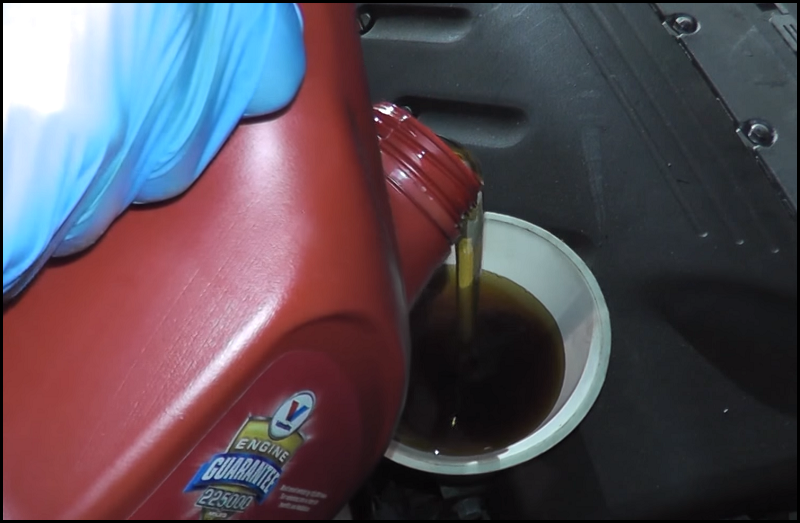
Back on top of the engine, clean the area around the oil filler cap to ensure no dirt or debris might fall into the engine. Unscrew the filler cap and set it aside. Place the funnel into the oil filler hole. Fill the engine with 4.3 quarts of oil. Replace the oil filler cap.
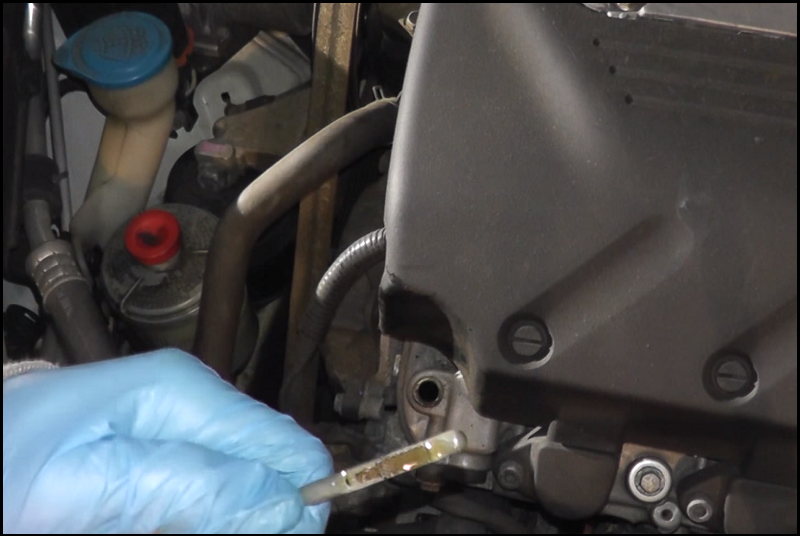
Step 5 – Check oil level
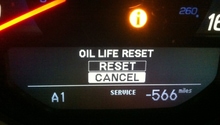
Take the vehicle down off of the jack stands so it's on level ground. Start and run the engine for several minutes. Check under vehicle for leaks while running. Shut the vehicle off and allow it to sit for a couple of minutes to allow the oil to settle back into the oil pan. Pull the dipstick, wipe it with a rag, then re-stick and check the oil level (Figure 5). Top off oil as needed to get it to the proper level. Dispose of old oil properly.
Featured Video: Acura TL Engine Oil and Filter Change
Related Discussions
- High Mileage Oil - AcuraZine.com
- Oil Dipstick Incorrect Reading - AcuraZine.com
- Oil Life Monitor - AcuraZine.com
- Mityvac Oil Change Mobil 1 - AcuraZine.com