Acura RDX: How to Replace Wheel Hub and Bearings
Wheel bearings are a known weak point of the Acura RDX, and tend to wear out on cars with rather low mileage. This article will walk you through the process of replacing that worn out bearing before severe damage occurs.
This article applies to the Acura RDX (2007-2014).
The most common sign of a bad wheel bearing is a hum, rumble or grinding noise coming from one corner of your vehicle. They can also exhibit other symptoms like snapping, clicking, popping. knocking or clunking, especially when cornering, braking or accelerating. Bad bearings can also lead to uneven tire, brake pad, and brake rotor wear due to looseness or runout. If you're experiencing any of these signs of premature wheel bearing failure, it's time to take action. Acura changed the design of the front bearing and hub on the second generation RDX to make it easier to service, so it is almost exactly like the rear. First generation RDX owners unfortunately will still need a slide hammer, and possibly a shop with a press to change it out. Keep reading and we'll walk you through the relatively easy process of changing out a wheel bearing.

Materials Needed
- Jack and jack stands
- Socket set and ratchet with breaker bar
- Flat head screwdriver
- Phillips head screwdriver
- Wire coat hanger or bungee cords
- New wheel bearings
- Hammer
- Torque wrench
- Slide hammer or hub removal tool
- Circlip pliers
Front Wheel Bearings
Step 1 – Remove the front brakes
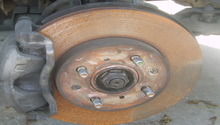
Jack the car up and place jack stands under something solid, like the suspension mounting points. Remove the front wheels and tires. Remove the two 10mm bolts holding the brake line in place so it is out of your way. Remove the two 17mm bolts on the back side of the caliper bracket and use a bungee cord or wire hanger to suspend the caliper to avoid damaging the brake line. Typically there are two Phillips head screws holding the rotor to the hub that need to be removed with an impact driver. If the rotor is rusted on, give it a few gentle taps all around with a hammer to break it loose, or you use two 8mm bolt inserted into the threaded holes to apply pressure and press it off. Remove the 10mm bolt holding the ABS sensor in place.
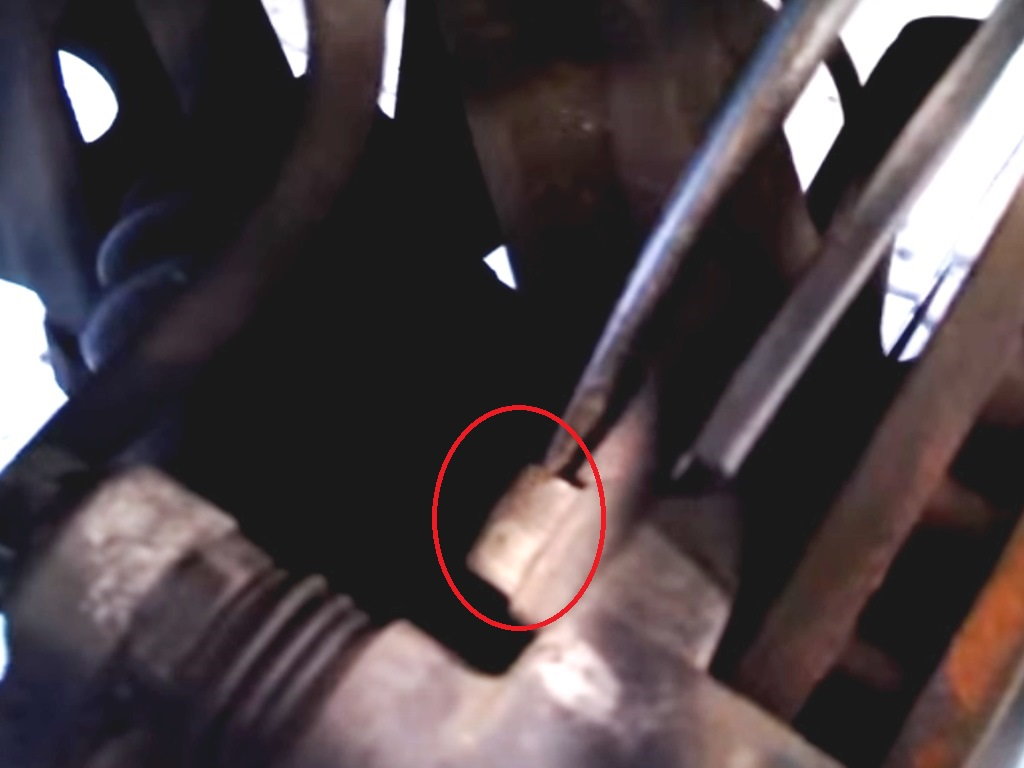
Figure 1. Remove the upper bolt from the caliper bracket. 
Figure 2. Remove the lower bolt from the caliper bracket. 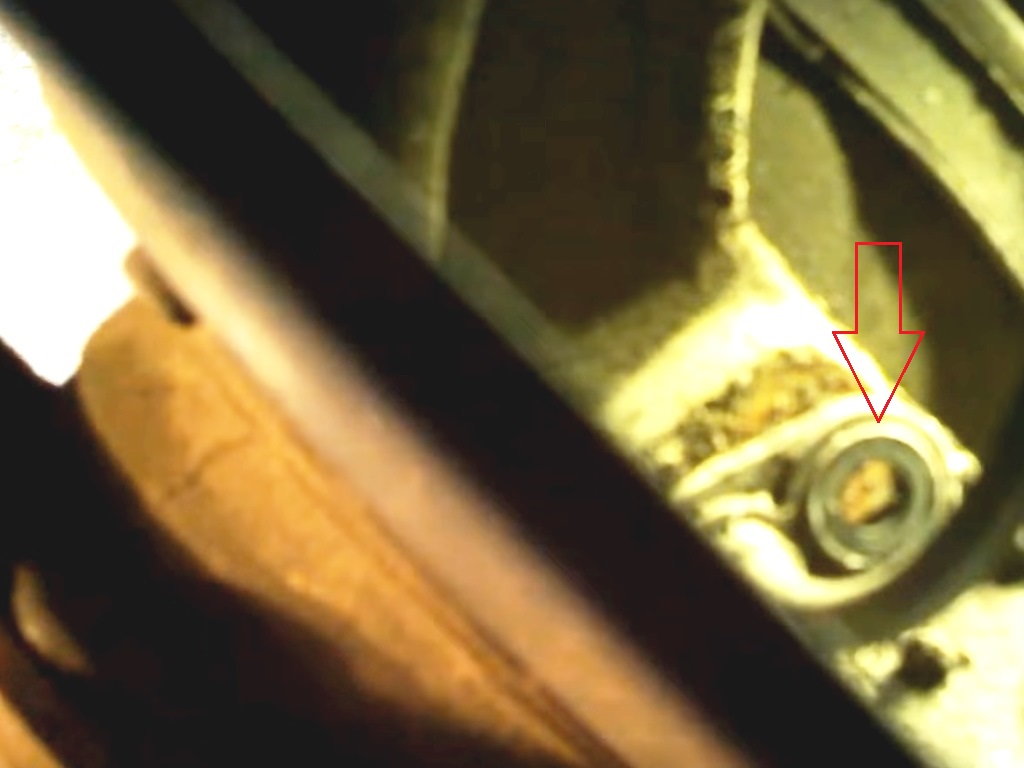
Figure 3. Remove the ABS sensor bolt.
Step 2 – Remove the steering knuckle/hub
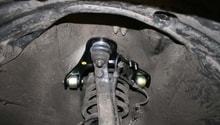
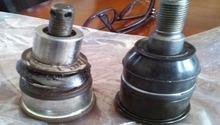
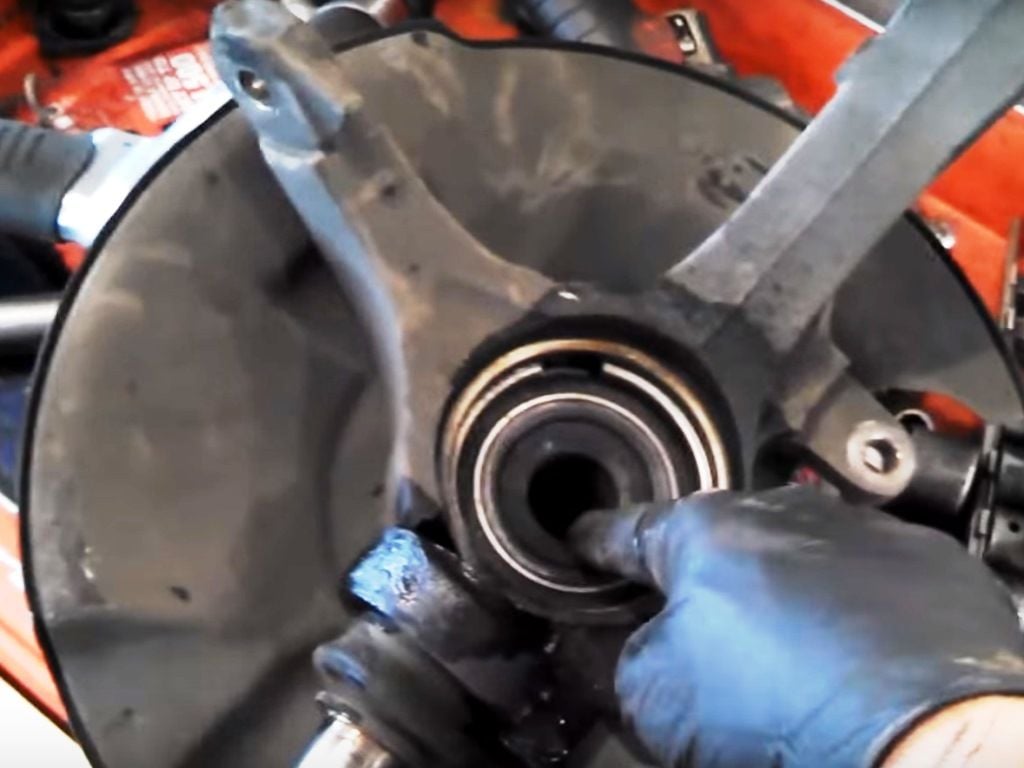
If you have a slide hammer, you can go as far as removing the hub before you need a shop press to put the new bearings in. However, you might as well just pull the whole steering knuckle and hub off, then take it to a shop together. It won't cost you any more to have the new bearing pressed in if you leave the hub together. You will need to take the axle out, as well as get the the ball joint and tie rod ends loose.
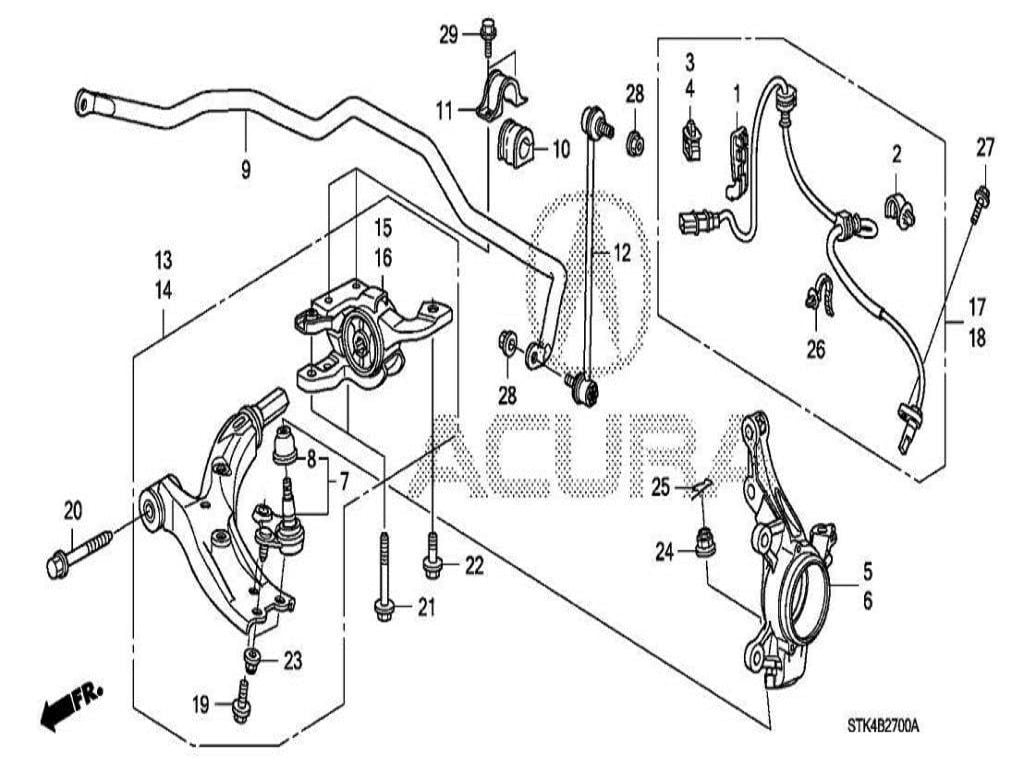
Use a flat head screwdriver and hammer to release the tab holding the hub nut, then use a 36mm socket and breaker bar or impact wrench to remove the nut. Remove the cotter keys and 17mm nuts from the lower ball joint, along with the cotter pin and 19mm nut on the tie rod end. Use a hammer and pickle fork or ball joint removal press to separate the assembly for removal. Mark the position of the steering knuckle bolts on the strut, so you can roughly align it after reassembly. Unbolt the two remaining bolts that hold the hub/knuckle assembly and remove it from the strut.
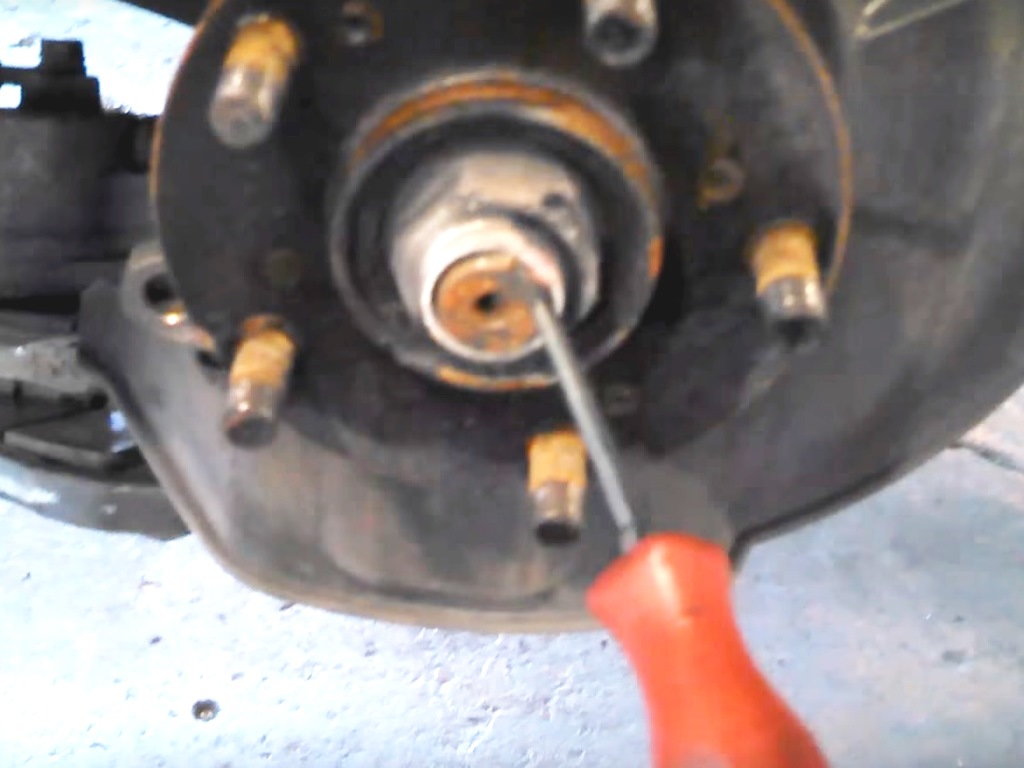
Figure 5. Pry off the cap for the hub nut. 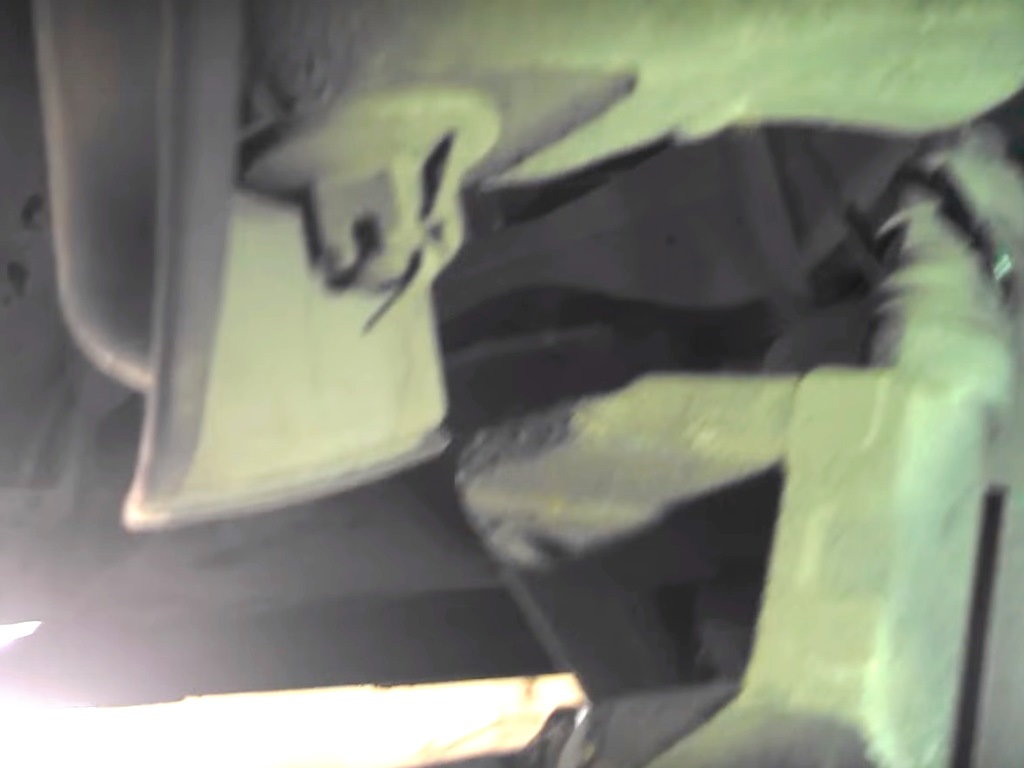
Figure 6. Remove the cotter pins and bolts from the lower steering knuckle/ball joint and tie rod end.
Step 3 – Replace front wheel bearings
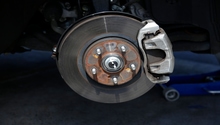
Once the new wheel bearings are in place with the hub reinstalled in it, slide the steering knuckle back in place and reinstall the nuts as well as cotter pins. Replace the hub nut and torque to 180 ft-lbs, then stake in place with a hammer and punch. Reinstall the ABS sensor, rotor, brake caliper, and brake line.
Rear Wheel Bearings
Step 1 – Remove rear wheel hub and bearings
This rear wheel bearing how-to is nearly the exact procedure you would use on the front of 2nd generation, the 2014 and newer RDX.
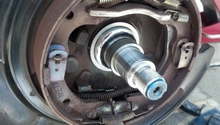
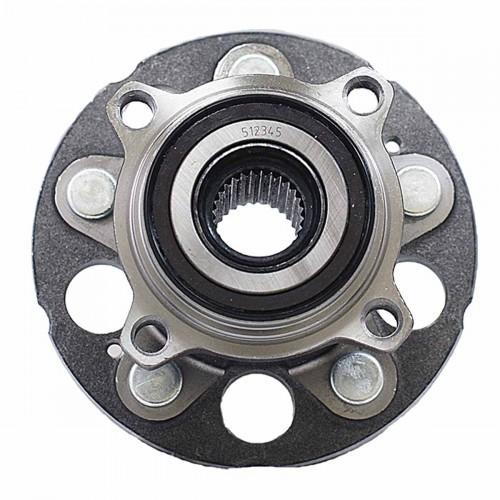
Jack up the rear of the vehicle and place it on jack stands. Remove the wheels and tires. Just like with the front bearings, remove the assorted brake hardware, including the caliper, and move the lines, ABS sensor as well as emergency brake cable out of the way. Release the hub nut using a flat head screwdriver and hammer as you did in Step 1, then remove the hub nut. The rear wheel bearings are a complete, bolt-on assembly with the hub already attached. There are four bolts accessible from the back that hold it to the knuckle. Loosen those, and it should pull right off of the axle. If the axle refuses to give it up, use a little penetrating oil and tap it with a hammer a few times to get it off.
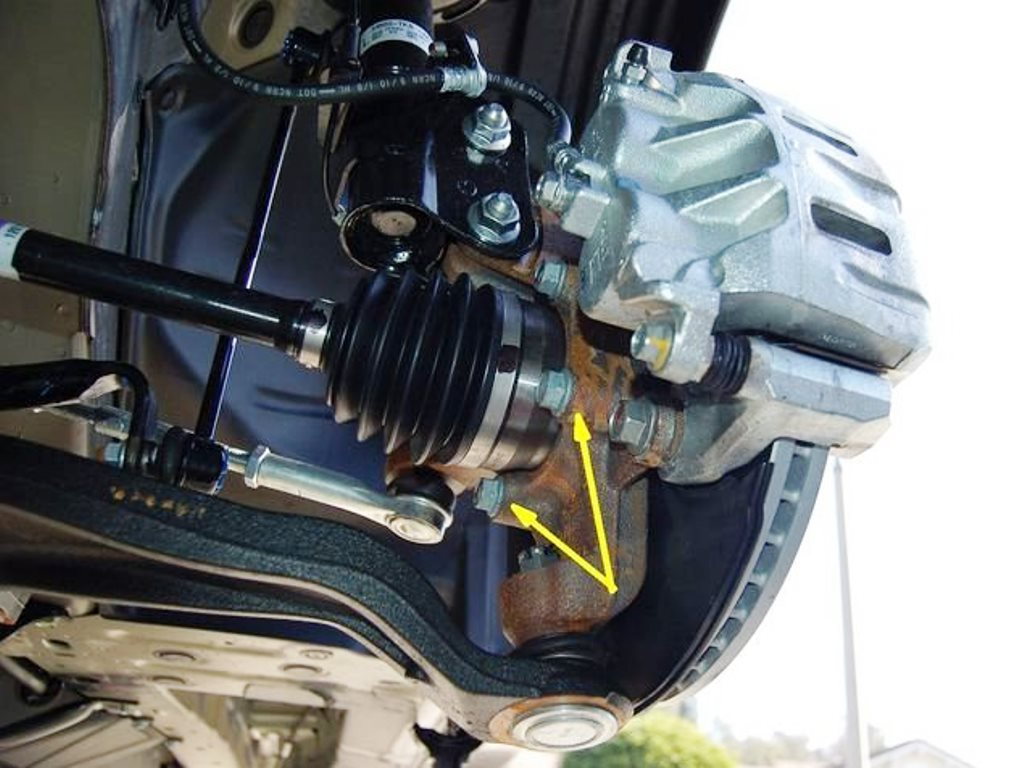
Figure 8. Arrows point to bearing bolts (this is the front of an Odyssey, but the rear of the RDX is similar). 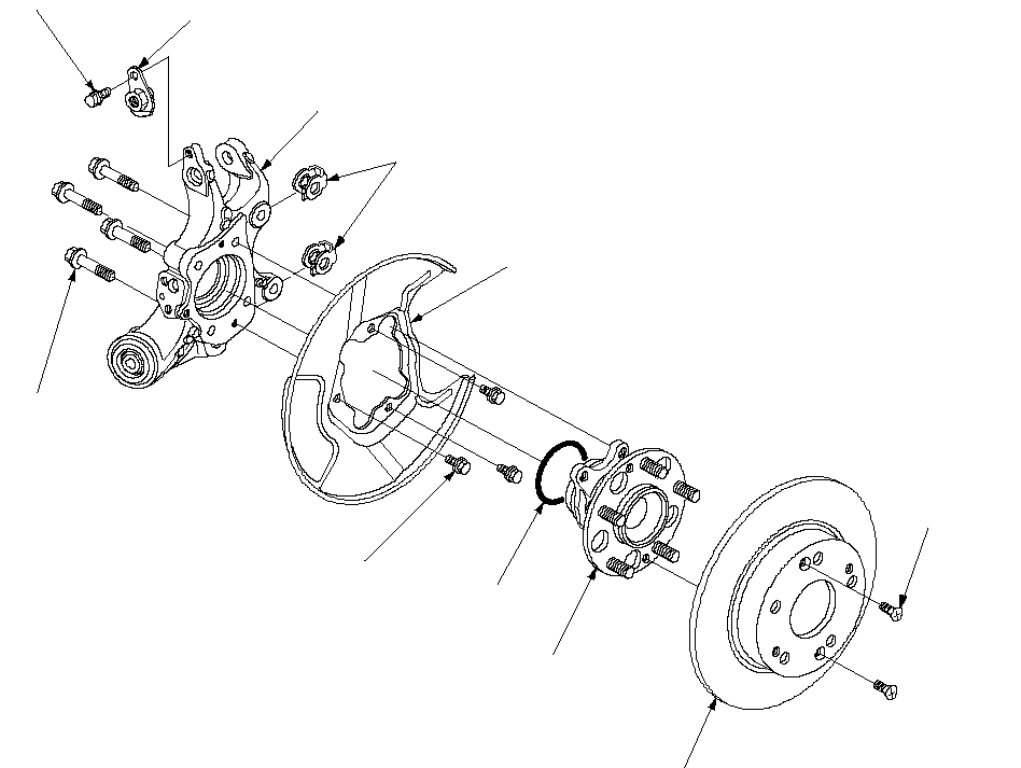
Figure 9. Exploded view of Honda/Acura rear hub (this is a Fit, but RDX is similar).
Step 2 – Install new rear bearings
Clean the axle splines, and slip the new hub assembly onto the axle. Install the four bolts that hold the hub to the knuckle and torque to 73 ft-lbs. Put the nut back on the axle and torque to 180 ft-lbs, then stake the lock with a hammer and punch. Reinstall the dust cap. Then reinstall the rotor and screws, and re-bolt the caliper and brake like to the knuckle.
Featured Videos: Wheel Bearing Replacement
-
Wheel Bearing Replacement Overview
-
Wheel Bearing Hub Replacement
Related Discussion and Site
- Wheel Bearing Replaced at 20,000 Miles - AcuraZine.com
- Rear Knuckle/Hub Bearing Replacement - HondaFitJazz.com