Acura RDX: How to Replace Tail Light Assembly
Changing out a broken tail light assembly is actually not hard at all. Read on and we'll make it even easier with our step-by-step guide.
This article applies to the Acura RDX.
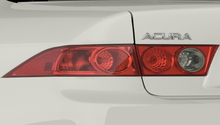
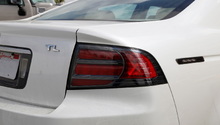
Old, busted tail lights don't just look bad, they are also a good way to get a ticket from your friendly local police. Thankfully, the Acura RDX has an easily removable tail light, even though you might not think so when looking at those multi-part tail lights. Removing and replacing each one doesn't require any sort of special tools or gadgets, or hardly any tools at all really. The inner unit just pops out, and the outer ones have just two screws. With a few basic tools and a few minutes of your time, you can swap out that nasty looking cracked plastic housing with a nice, shiny new one. Keep reading and we'll walk you through the process.

Materials Needed
- Socket set
- Replacement tail light assembly or bulbs
- Flat head screwdriver
- Phillips head screwdriver
Step 1 – Remove inner tail light lens
Pop the tailgate and locate the tail light access panel. Remove the panel by prying it open with a flat head screwdriver. Turn the bulb socket counterclockwise and pull it out. If all you need to replace is a blown bulb, just pull out the old and put a new one in the socket, then reinstall everything. To remove the entire assembly, push the tail light out until it pops free from the clips. The new lens will just pop back into place the same way, with plastic posts that pop into rubber grommets. Install it, reinsert the bulb sockets and then replace the trim panel.
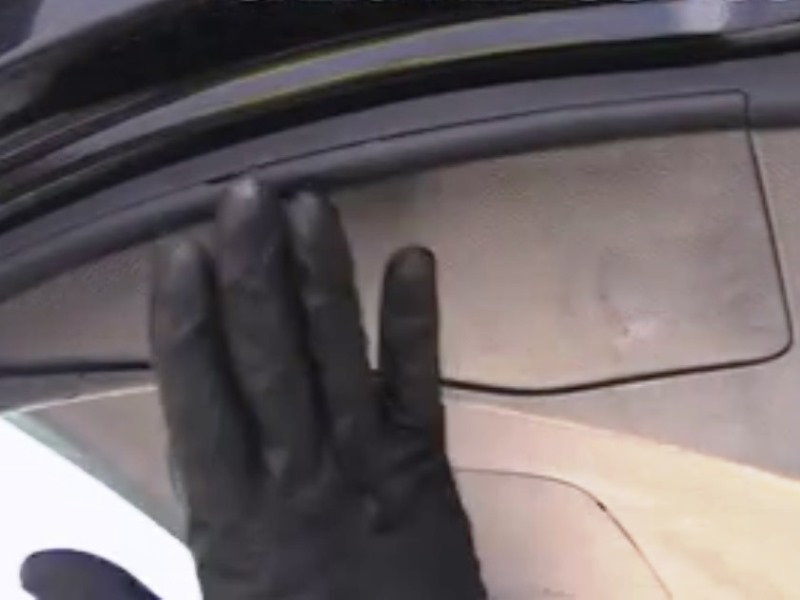
Figure 1. Tailgate inner access panel. 
Figure 2. Pry open inner panel. 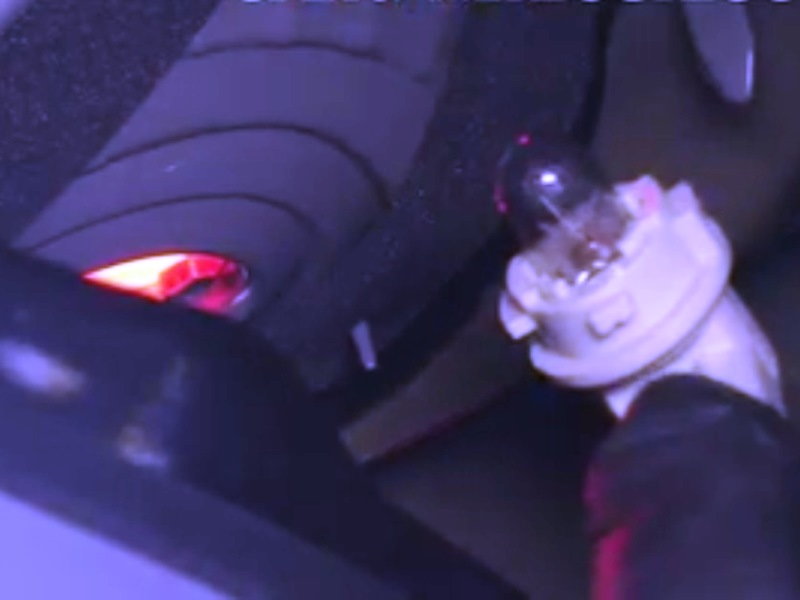
Figure 3. Turn socket counterclockwise and pull out.
Step 2 – Remove outer tail light
Pry out the two screw covers just to the inside of the tail light lens. Now remove the two screws found there that hold the lens into the body, and pull the tail light assembly straight back to pop it out of the rubber grommets. Now you can change the bulbs in the sockets, or change the lens assembly itself.
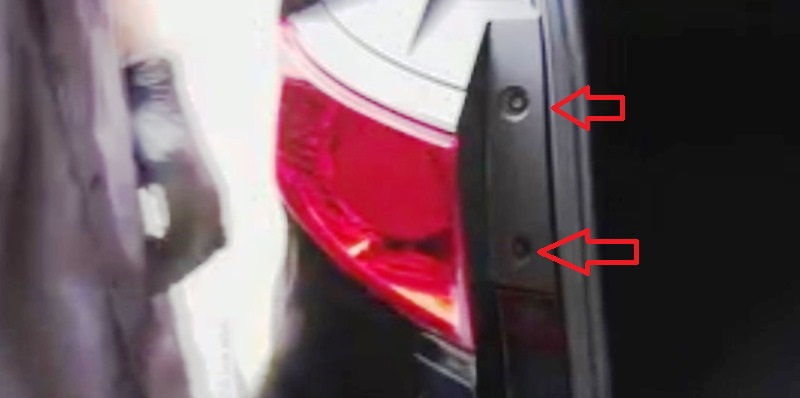
Figure 4. Pry off the plastic covers and remove the two screws at the red arrows. 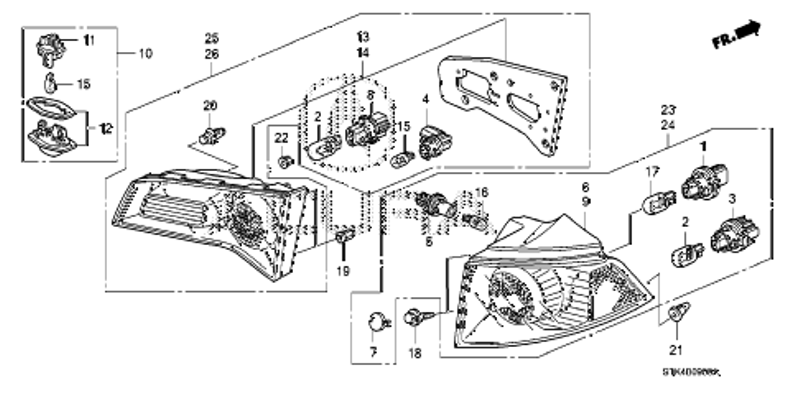
Figure 5. This diagram shows where all the screws, clips and bulbs go.
Related Discussions and Site
- Tail Light Lens Removal How To - AcuraZine.com
- 2009 Acura RDX Tail Light Assembly Removal - CarCareKiosk.com
- Replacing Tail Light Bulbs - AcuraZine.com