Acura RDX: How to Replace Brake Fluid
Replacing the brake fluid in your Acura RDX ensures a healthy brake system. Read on to learn how to do it yourself.
This article applies to the Acura RDX.
Brake fluid is hygroscopic, meaning that over time, it absorbs moisture, reducing its efficacy. If let unserviced for too long, your brake fluid can gum up, or cause premature brake failure as the internal components of the braking system rust and fail. Replacing the brake fluid isn't a hard process; however, it requires you to work on the brakes, which can be intimidating for the average shadetree mechanic. The manufacturer recommends you replace your brake fluid every two years. The dealership could charge a lot of money for this procedure, not because it's difficult to do, but because it could take a little time for the bleeding process. Save your money and read this guide to learn how to replace your brake fluid on your own in the Acura RDX.

Materials Needed
- An assistant
- Wrench
- Jack, jack stands, and tire iron (optional)
- Turkey baster
- Clear hose
- Bottle
- Brake fluid
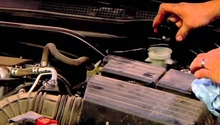
Step 1 – Remove old fluid
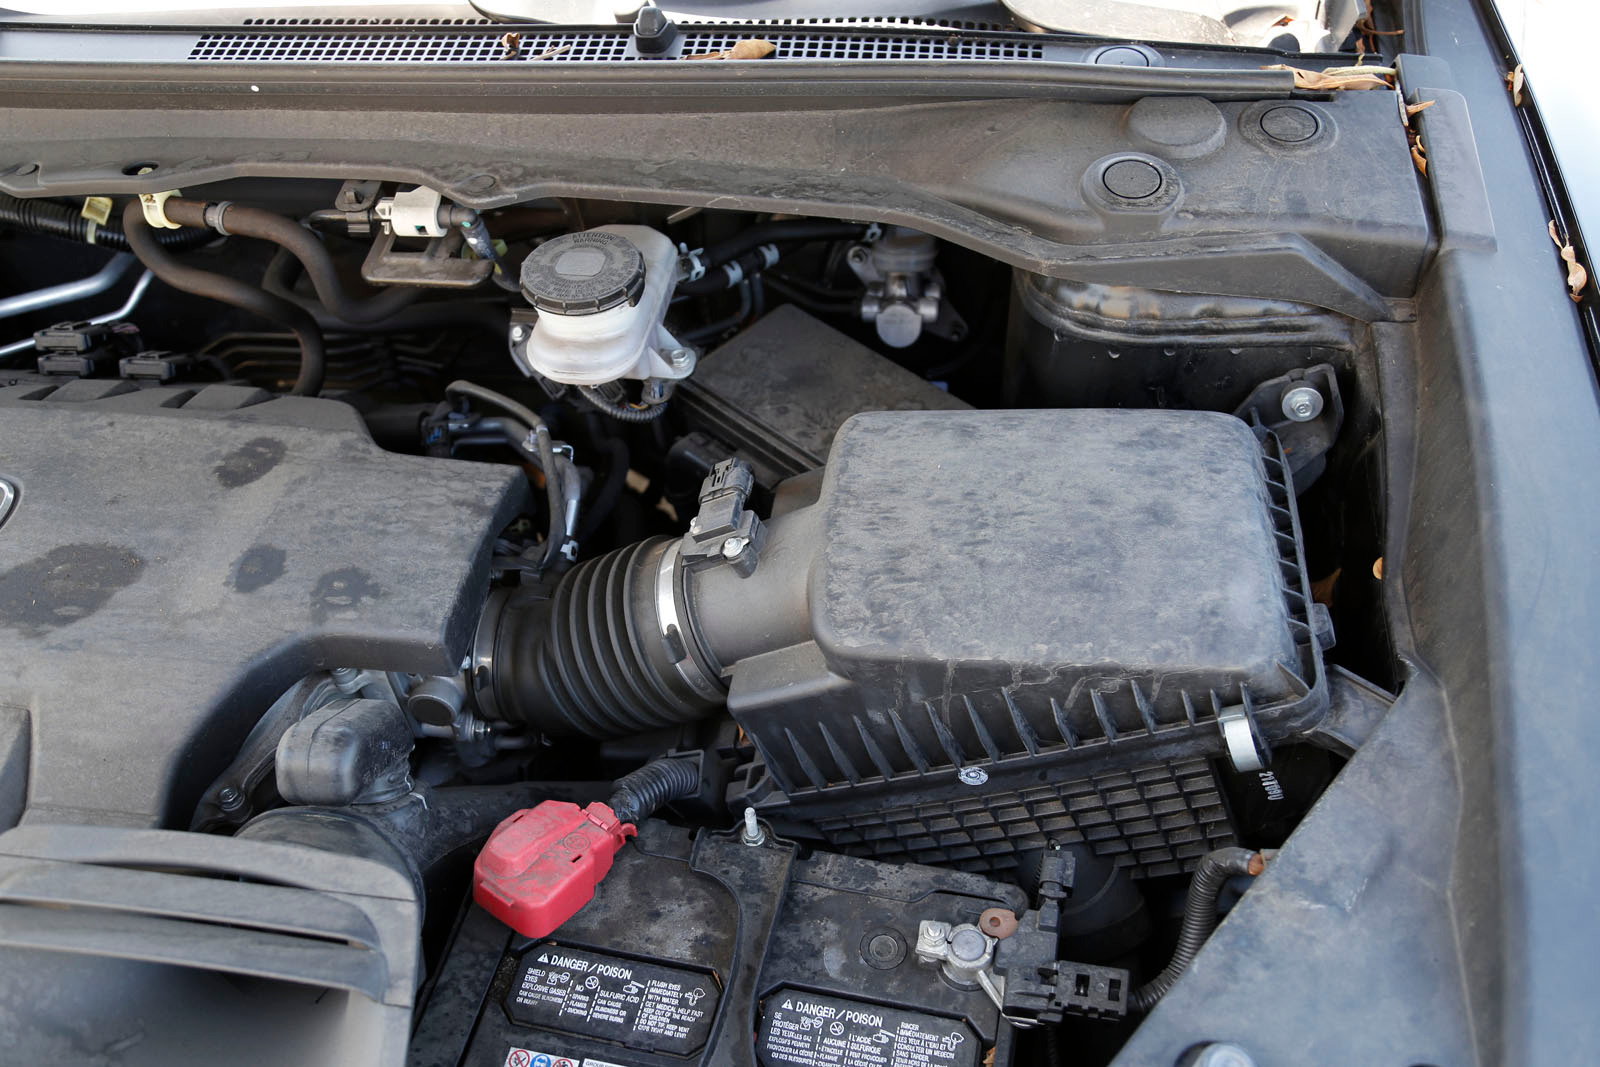
Use your turkey baster to remove the fluid from the brake fluid reservoir. Don't remove all of it, you want to leave a small layer of fluid to prevent air from going into your brake system.
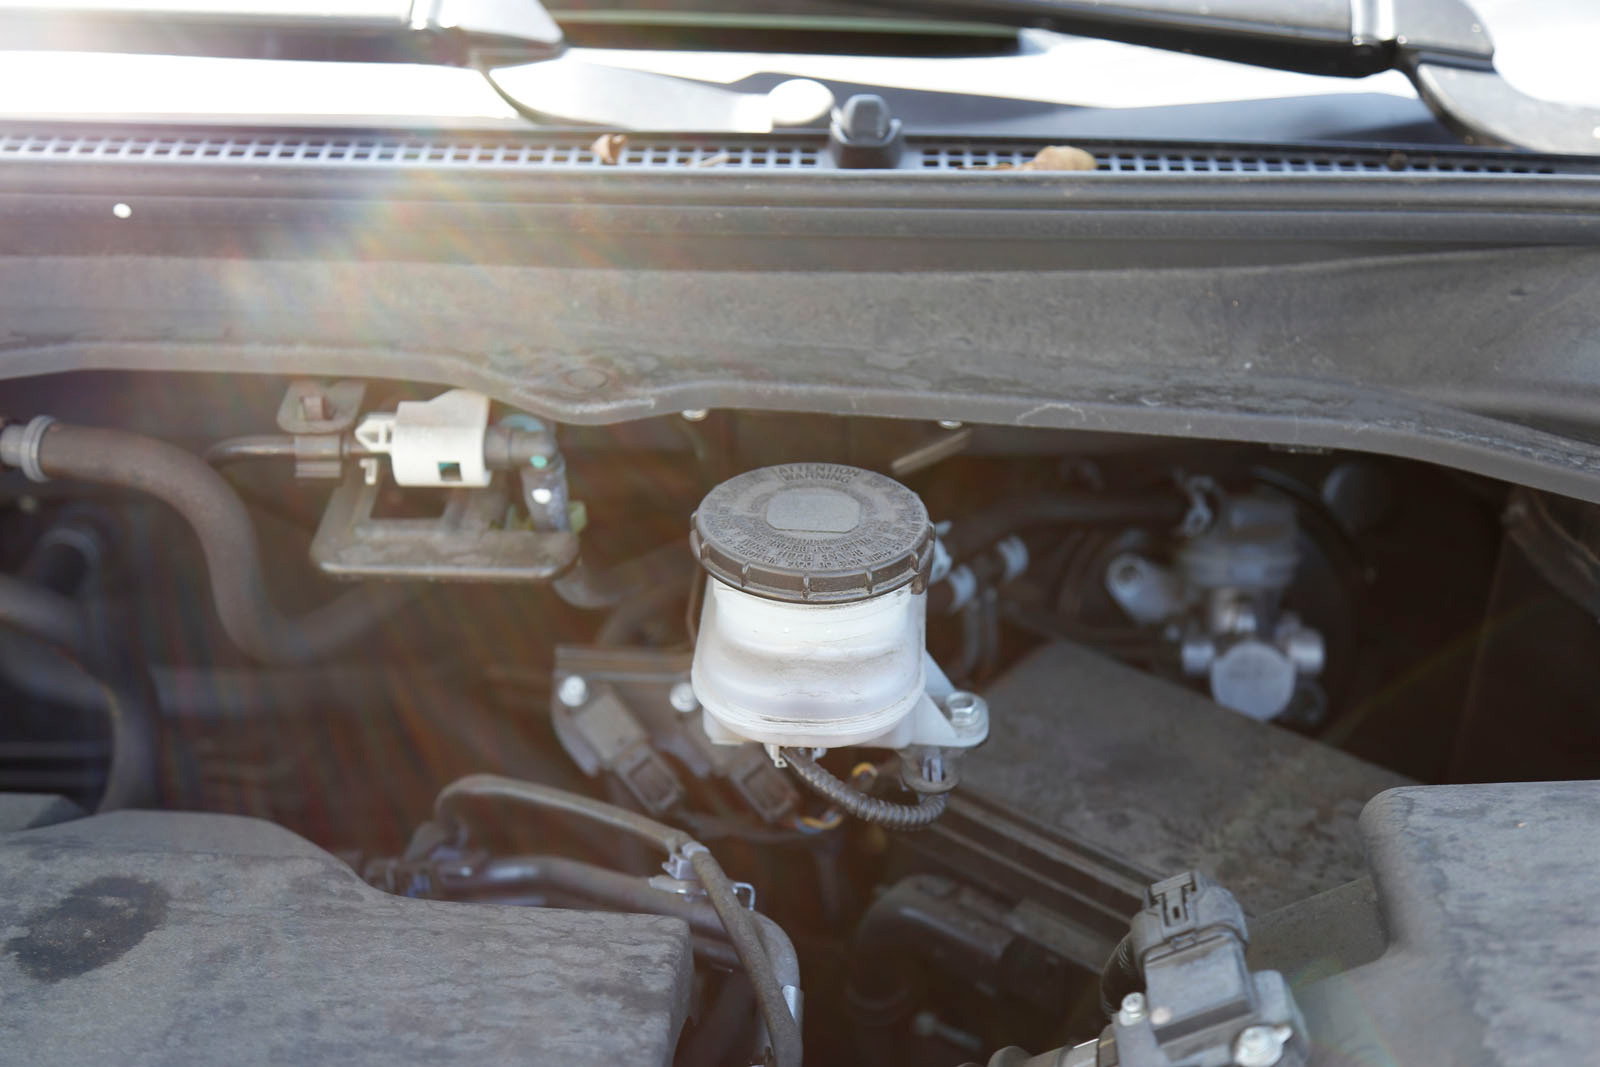
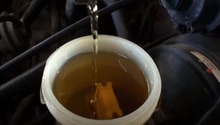
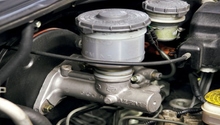
Step 2 – Fill reservoir with fresh fluid
Pour the fresh fluid into your brake fluid reservoir until you reach the max line. Be careful not to get the fluid all over the place; the brake fluid is corrosive to paint.
Step 3 – Bleed the brakes
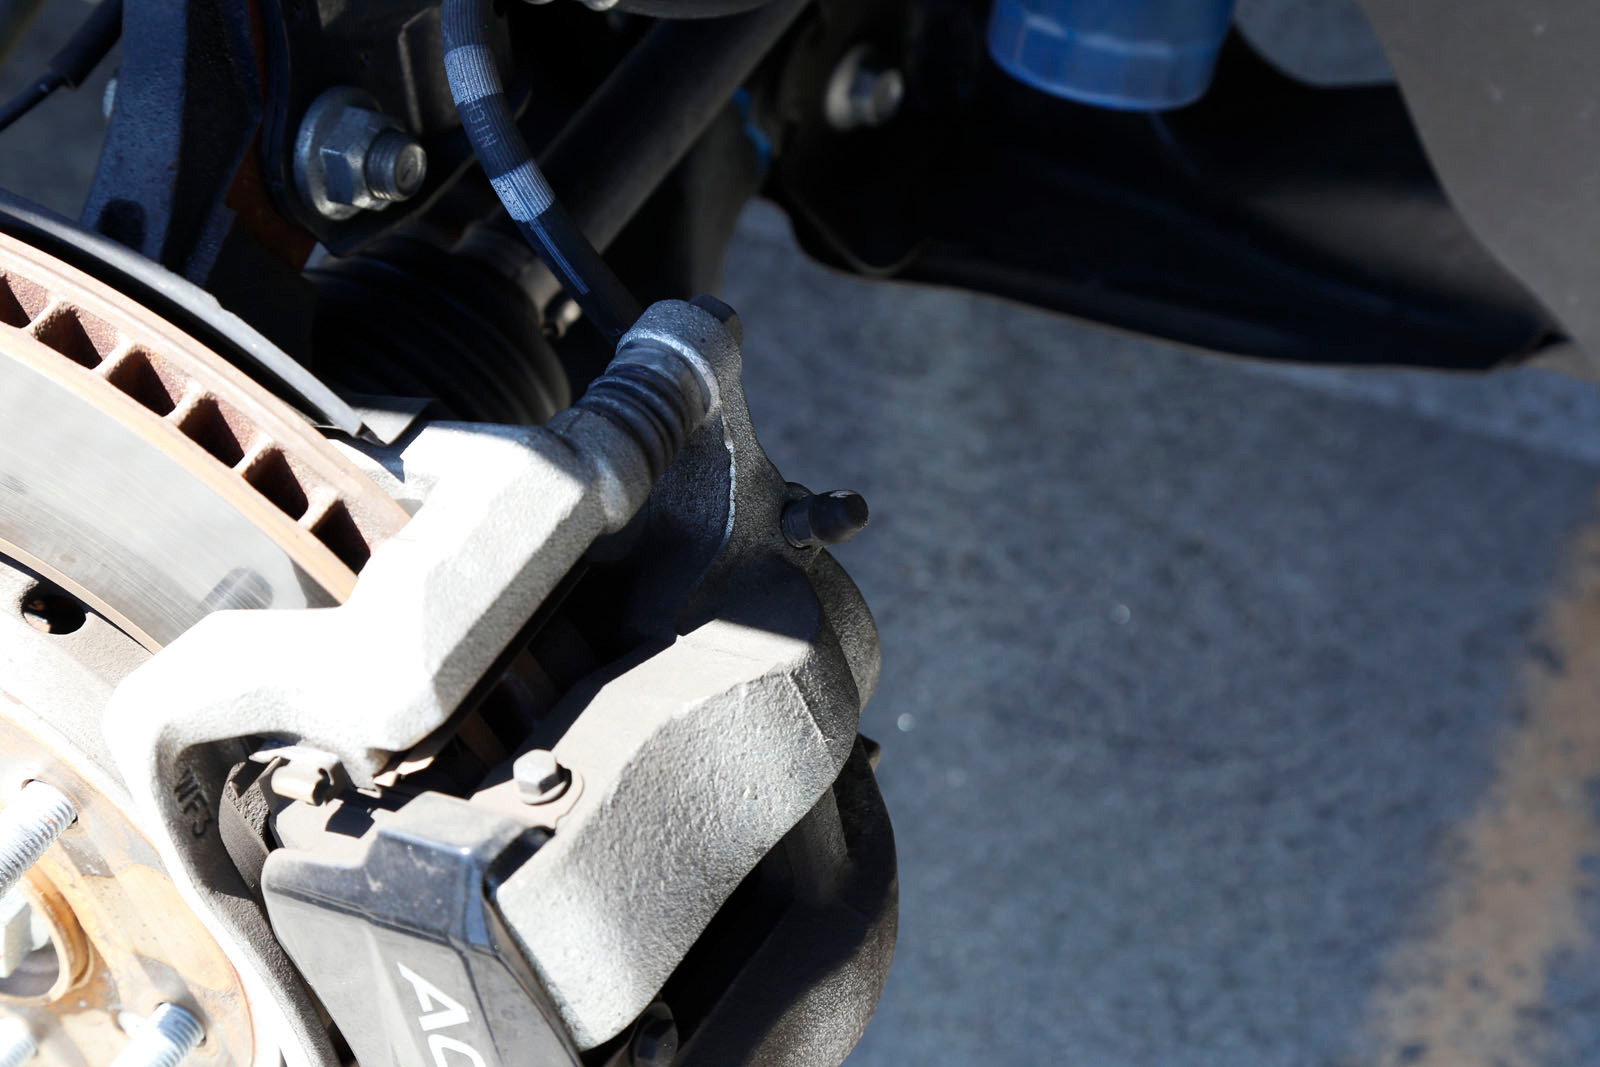
Before we get going, we have to address a quick note: when servicing brake fluid, you want to start at the caliper farthest away from the master cylinder, and then work towards it; this means going in the following order: passenger-rear, driver-rear, passenger-front and driver-front.
Locate the bleeder screw on the back of each caliper, then install the hose onto it. Install the other end of the hose into a bottle, then ask a friend to pump the brake pedal. With the brake pedal pressed down, loosen the bleeder screw on the caliper, then watch the fluid coming out. As soon as you see the fresh, clear fluid that's free of bubbles, tighten the bleeder screw first, then let go of the brake pedal. It will take a few shots of opening and closing the bleeder and pumping the pedal.
Remember, your assistant should never lift their foot off the brake pedal before the bleeder is closed; this will let air go back into the caliper, ruining the process. Repeat the process for the rest of the calipers, but don't forget to top of the brake fluid reservoir between each caliper; never let the reservoir get to or below the min. line.
Related Discussions
- Brake Fluid Change - AcuraZine.com
- Brake Fluid Type - AcuraZine.com
- Brake Fluid Bleeding - AcuraZine.com