Acura RDX: How to Change Transfer Case Fluid
The transfer case is what gives power to the front and the rear axle of your Acura RDX; learn how to replace its fluid and keep it performing at full potential.
This article applies to the Acura RDX (2007-2013).
The transfer case is a part of your drivetrain, and it's only found in the all wheel drive vehicles or the four wheel drive vehicles. The Acura RDX is equipped with a transfer case, which is designed to get power from the transmission and give power to both your front axle as well as rear axle. Acura owners tend to overlook the transfer case fluid, and even though it's not meant to be replaced as often as the engine oil, you should replace it as often as 30,000 miles. Replacing the transfer case fluid is a process that could cost you a lot of money if you let the dealership do it, but it could be as cheap as 20 dollars if you do it yourself. Read on to learn how to replace the transfer case fluid in your Acura RDX.

Materials Needed
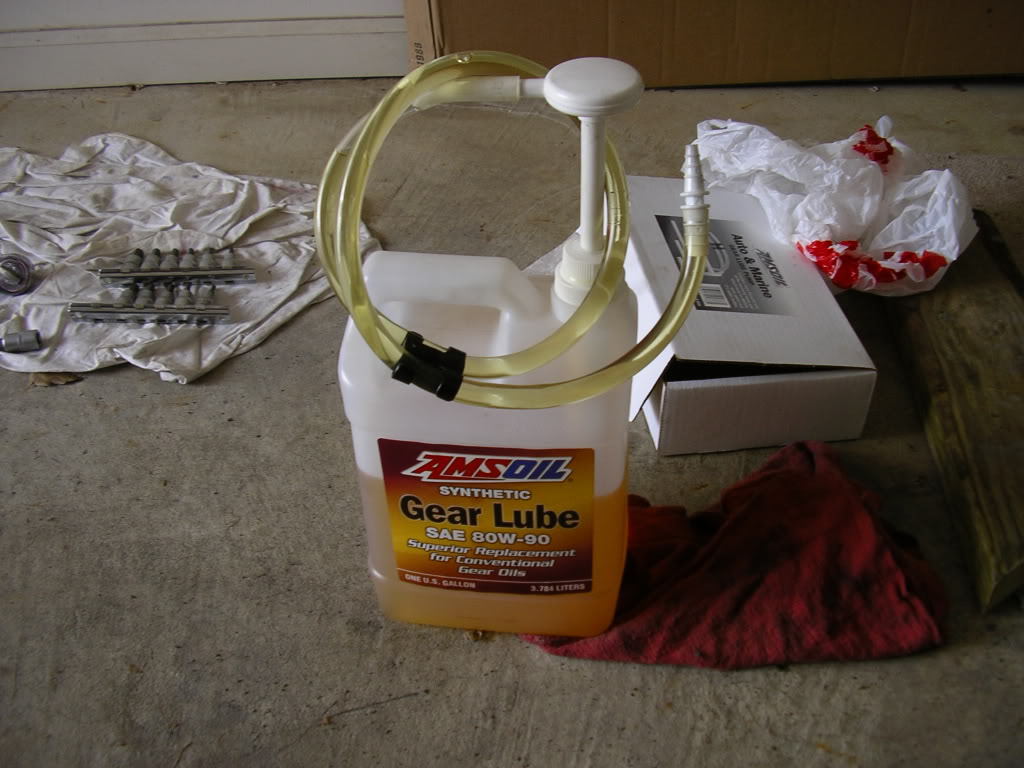
- Fluid pump
- Jack and jack stands
- Drain pan
- 3/8" ratchet with extension
- Transfer case fluid
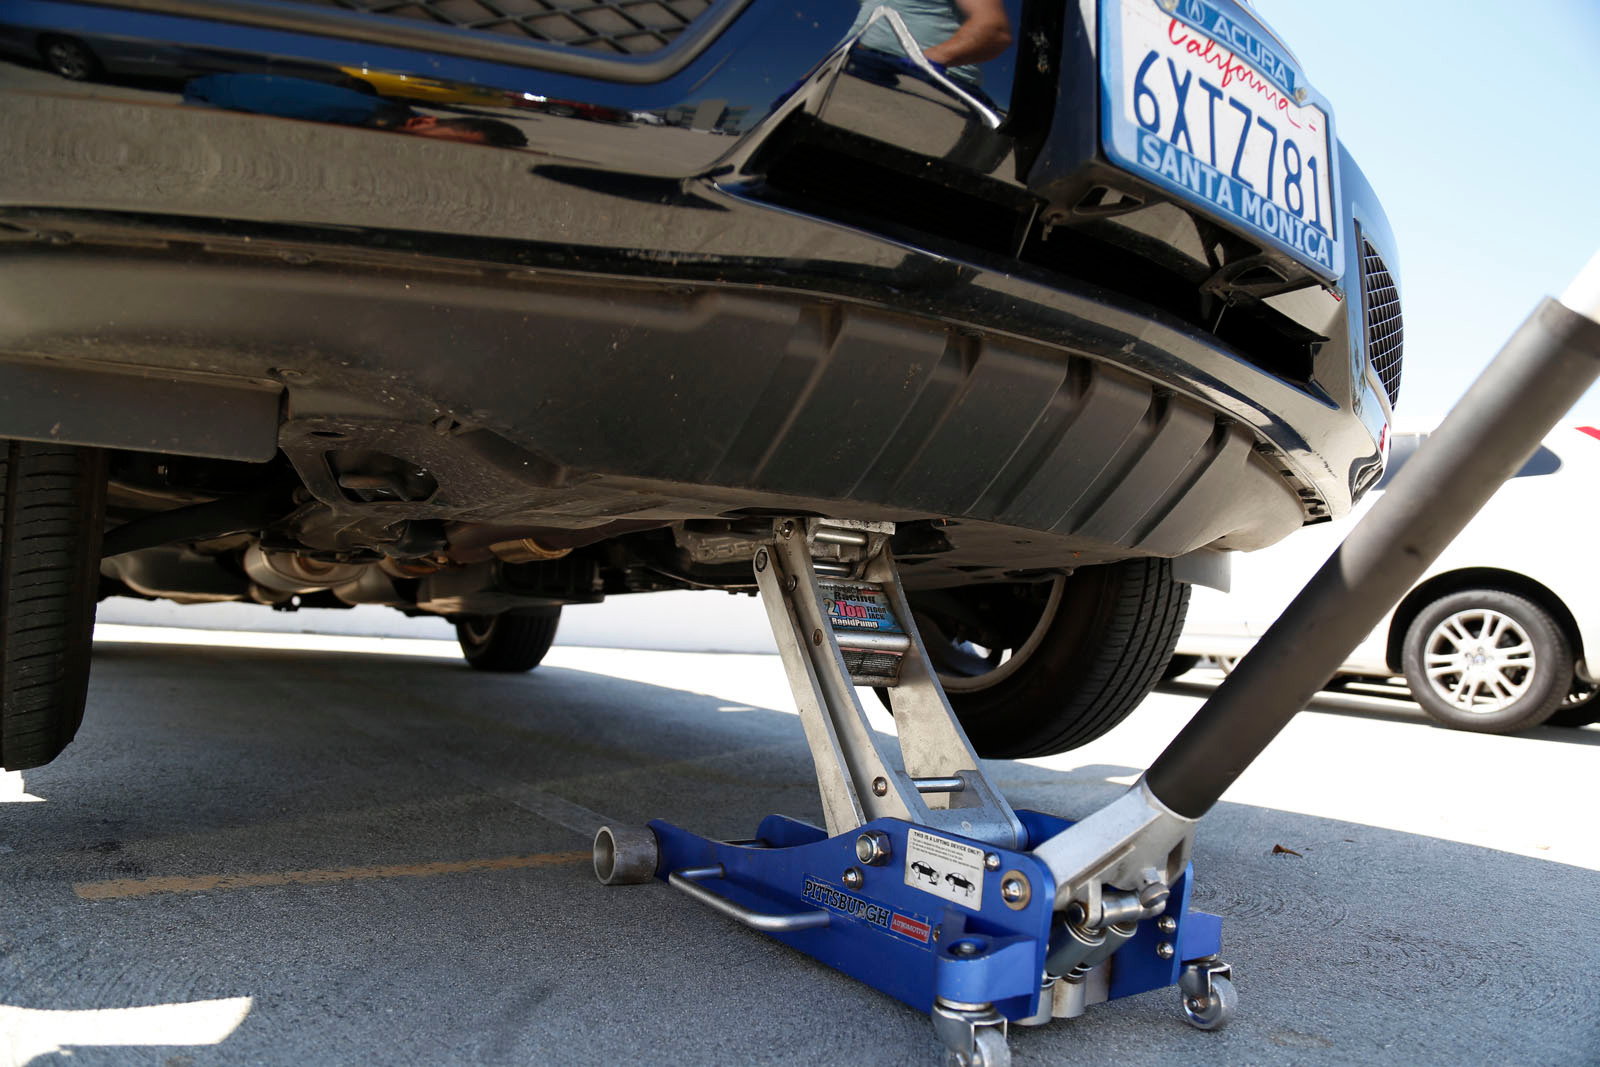
Step 1 – Jack up the car
Jack both the front and the rear of your vehicle to keep it leveled. Locate the jacking plate in the center front, and the one in the center rear, then jack up one side at a time. Secure the front with two jack stands behind the front wheels, on each side of the frame rail, and same on the rear, only in front of the rear wheels.
Step 2 – Drain transfer case
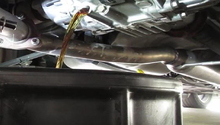
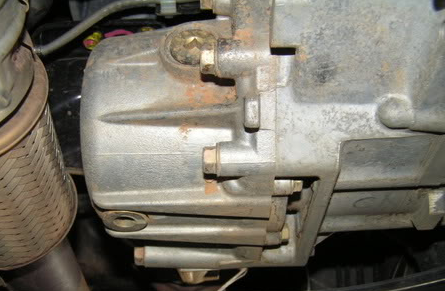
With the engine warm, but not hot, locate the transfer case. You can find it in the rear of your car, attached to the passenger side of the transmission. The transfer case has two plugs: the drain plug, which faces the bottom of the car, and the fill plug, which faces the front of the car. Place the drain pan under the drain plug, remove the fill plug first, then remove the drain plug. Let the transfer case drain completely.
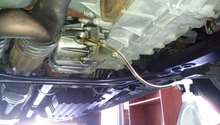
Step 3 – Fill transfer case with fluid
Make sure to close and tighten the drain plug, then torque to 33 ft-lb. Use your fluid pump to pump fluid into your transfer case's fill hole. Keep pumping fluid until it overflows, then install the fill plug, and again, tighten to 33 ft-lb. Make sure to clean the area so you can detect any future leaks. Lower the car back to the ground.
Related Discussions
- Transfer Case Fluid Change - AcuraZine.com
- How to Replace Transfer Case Fluid - AcuraZine.com