
Subaru BRZ Detail+Correction

Thread Starter
Pro
Joined: Apr 2010
Posts: 699
Likes: 40
From: Edmonton, Alberta
Subaru BRZ Detail+Correction
Hey everyone, here's the second detail and last of the season that my buddy and I did at the end of August. Written by my buddy, enjoy:
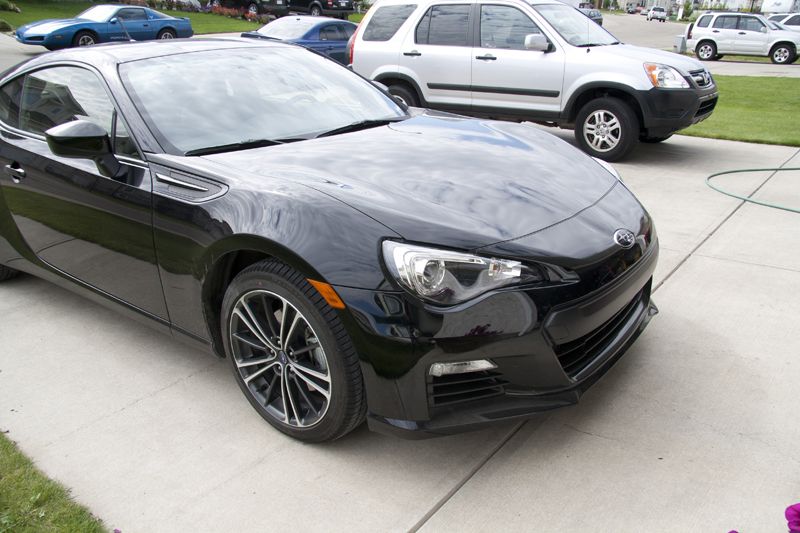
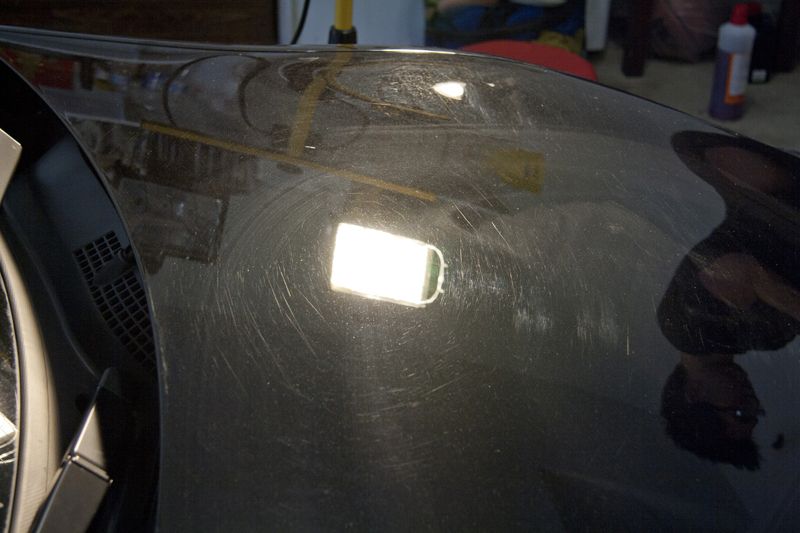
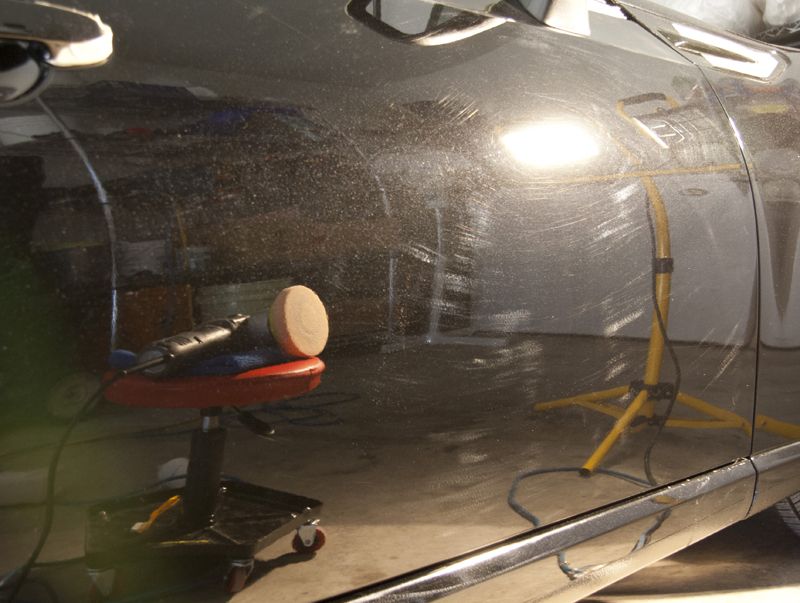
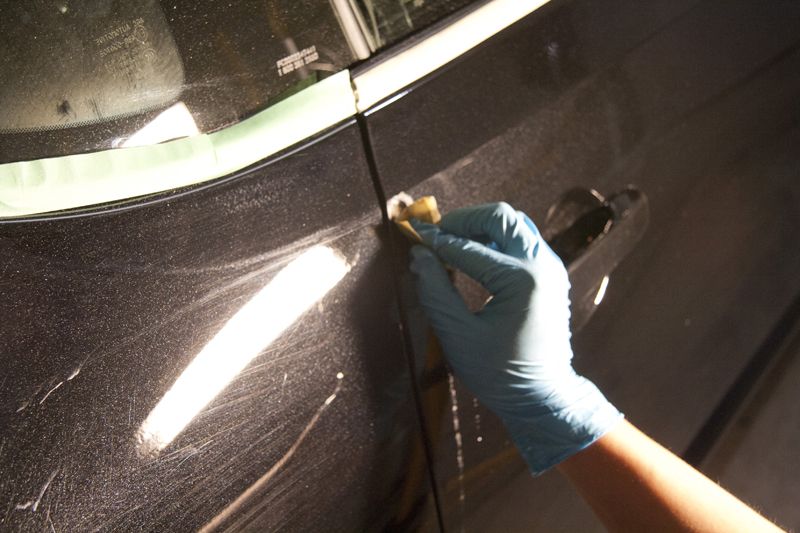
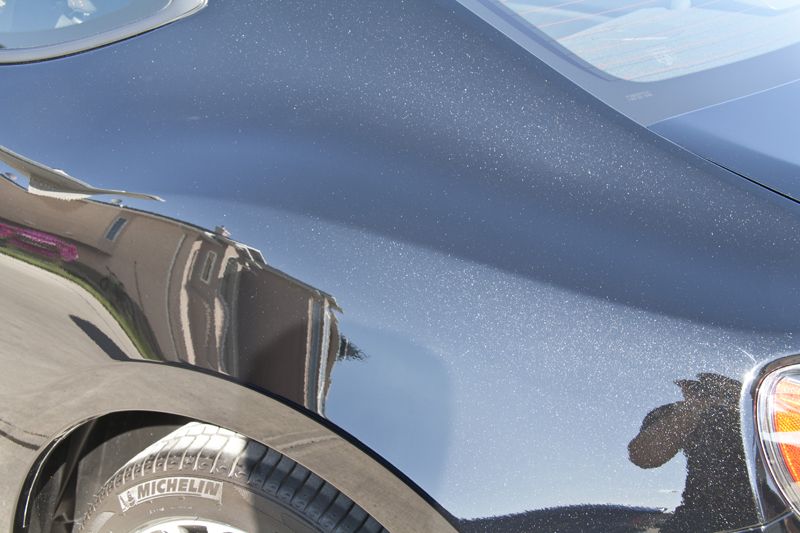
So the last detail of the season for myself and Vince (v|nsan|ty) worked on a Subaru BRZ in the gorgeous Crystal Black Silica. When the vehicle first arrived it was clear the paint was in dire need of attention as heavy swirling was present throughout the vehicle in addition to some VERY deep rids which required wet sanding as we will later see. A combination of improper washing and mishaps resulted in a 12 hour paint correction to restore the paint and a total time of 16 hours to bring the vehicle back to life.
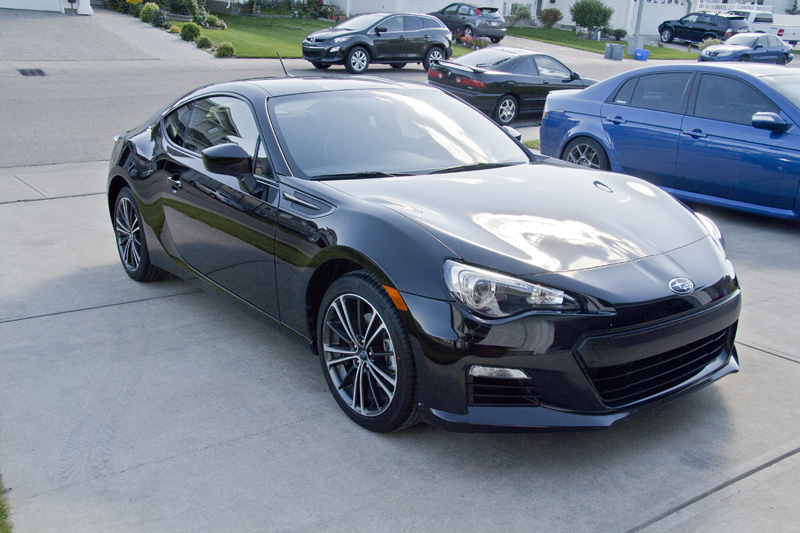
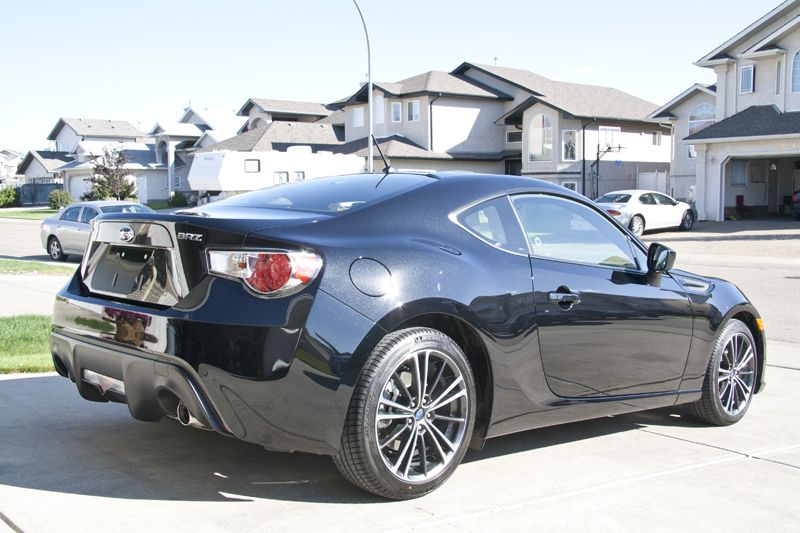
The subject:
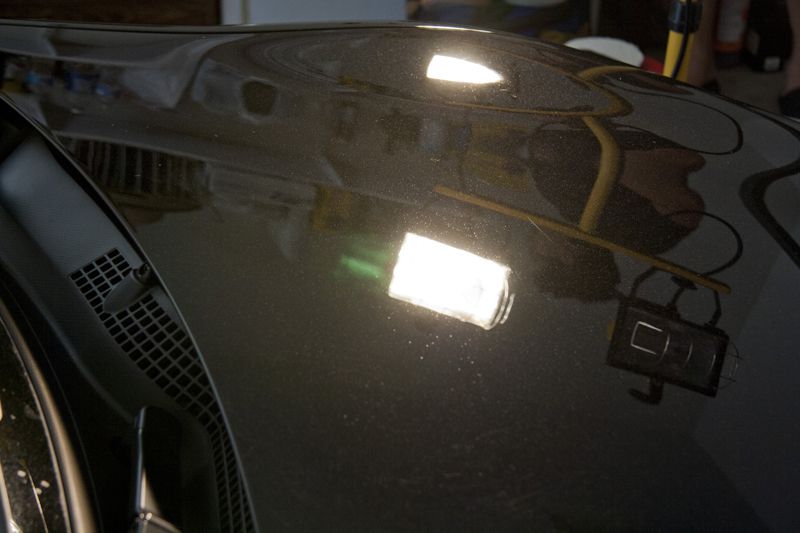
Initial inspection:

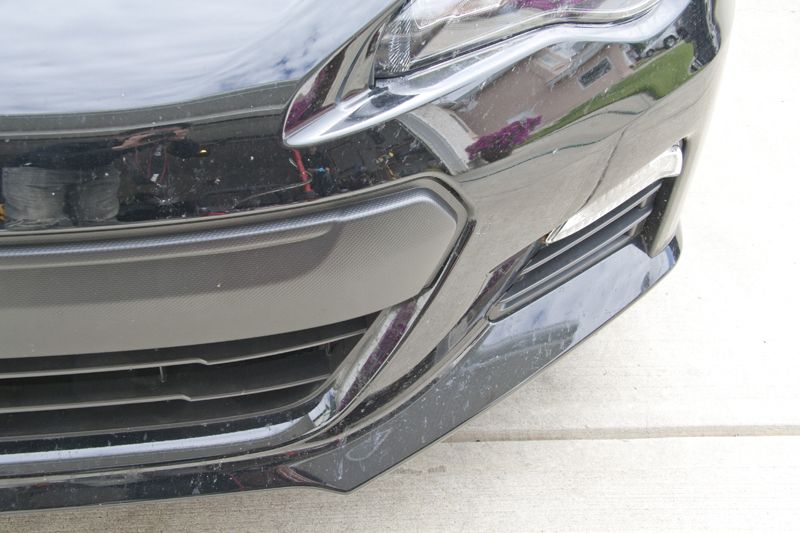
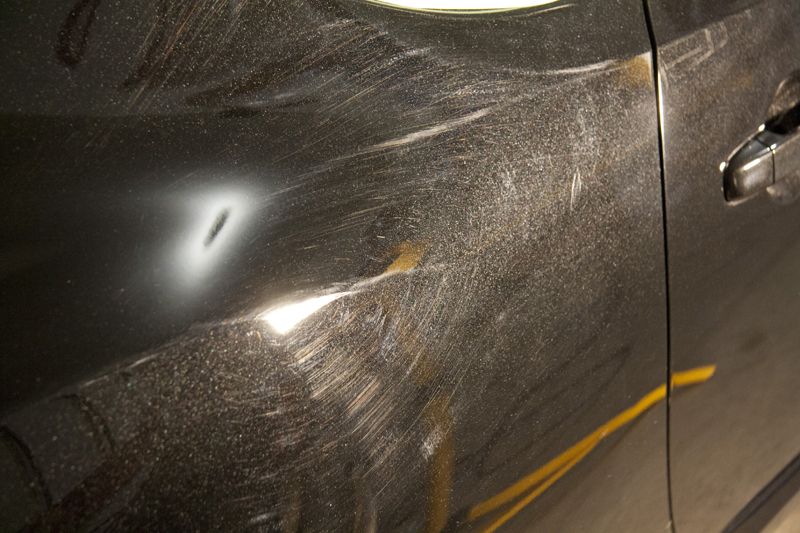
Plenty of insect stains:
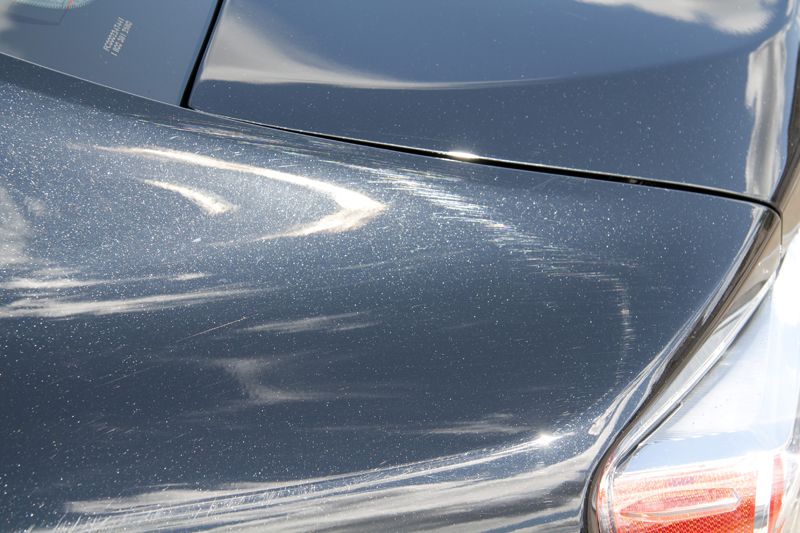
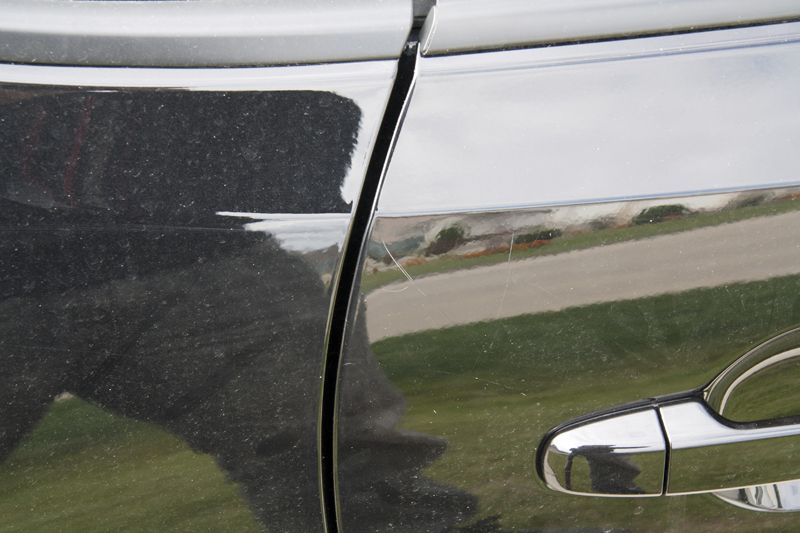
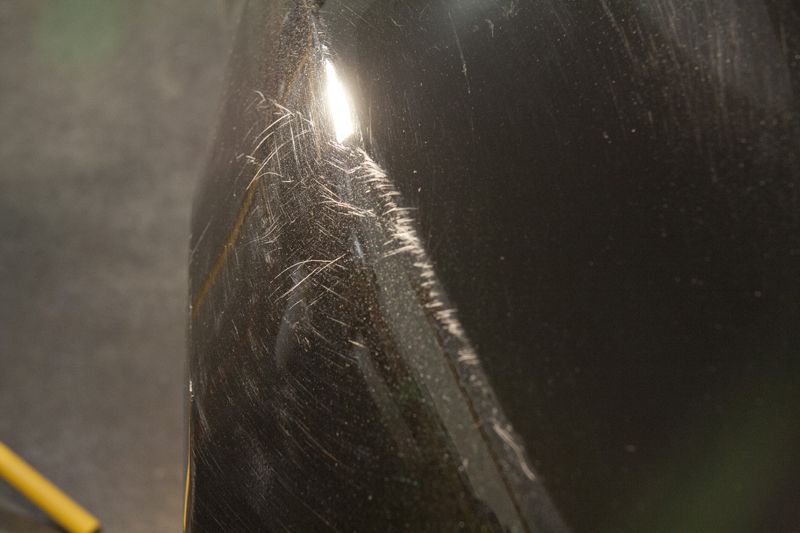
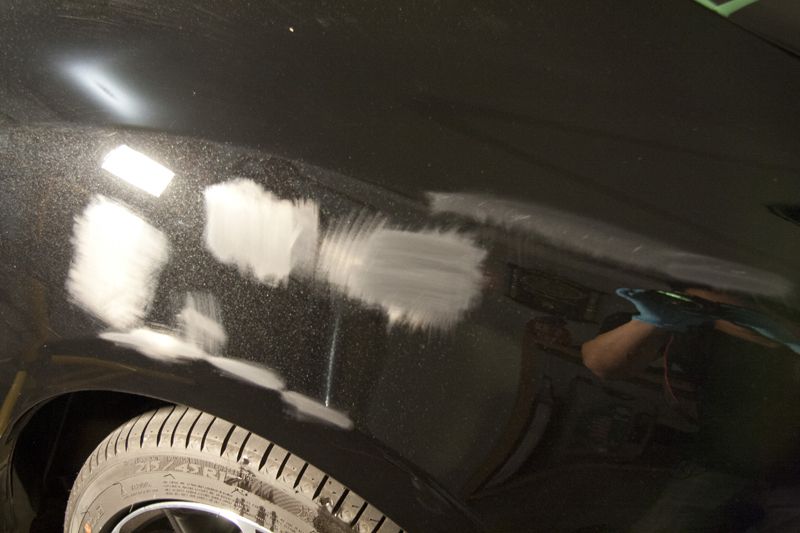
Here are two areas which required wet-sanding due to the depth of the imperfections:
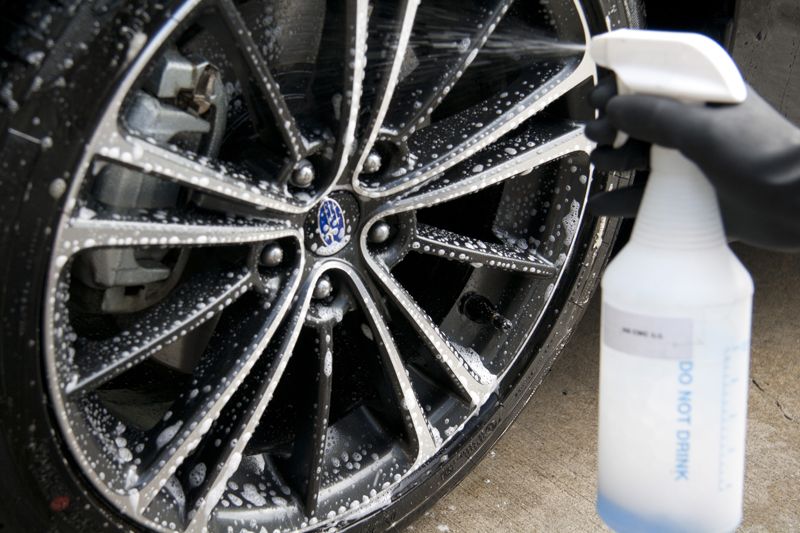
To begin, the wheels were cleaned with Autoglym Custom Wheel Cleaner:
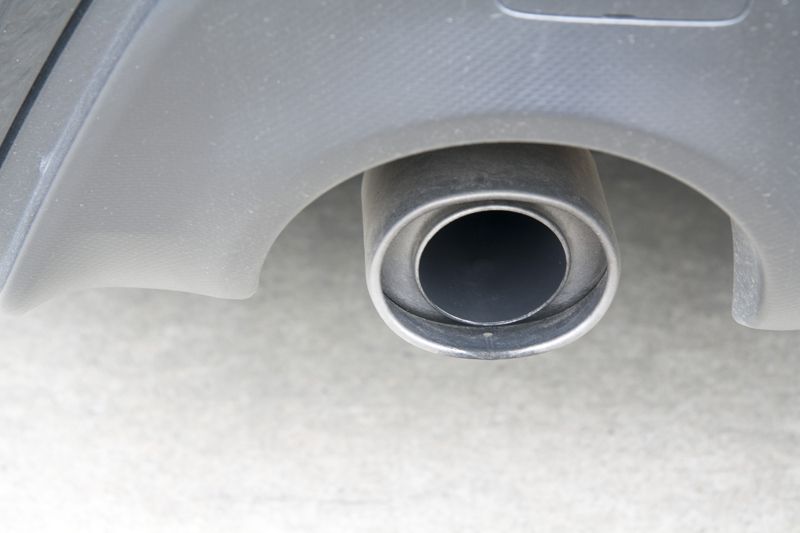
Exhaust was cleaned with 1z W99, Before:
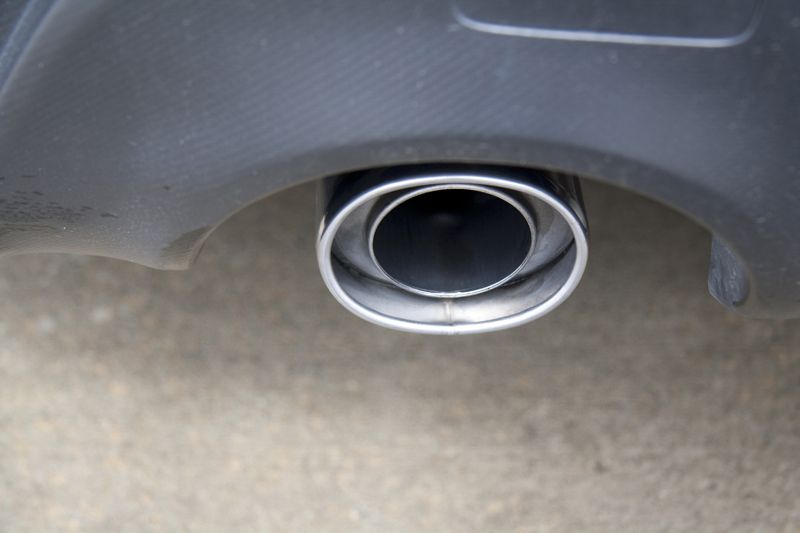
After:
We treated the insect casualties with 1z W99 in 1:5 ratio:
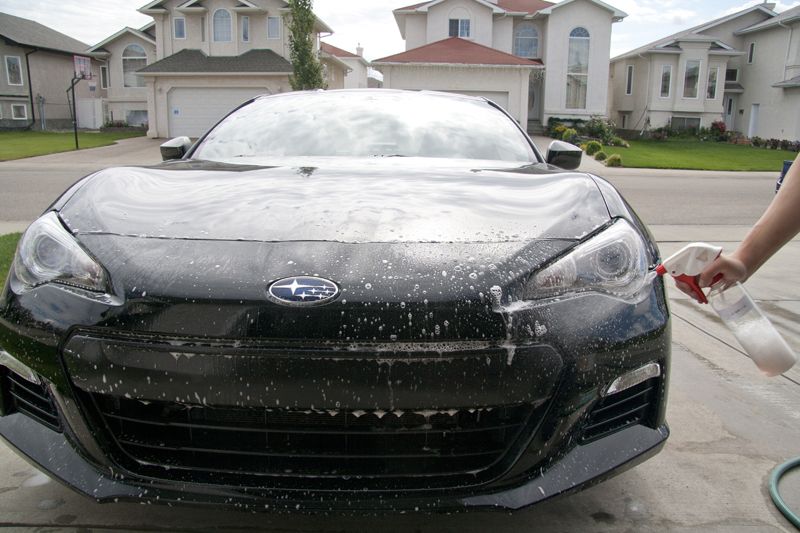
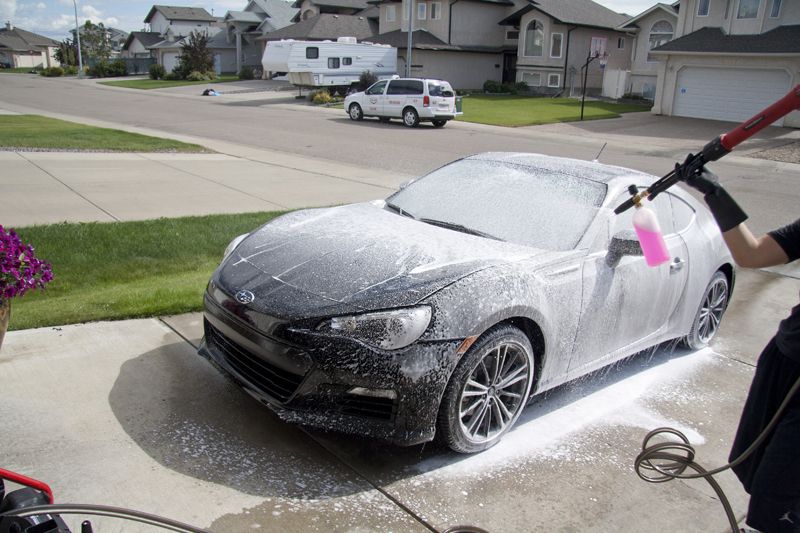
Then foamed and washed the vehicle using Citrus Wash n Clear and Maxi suds:
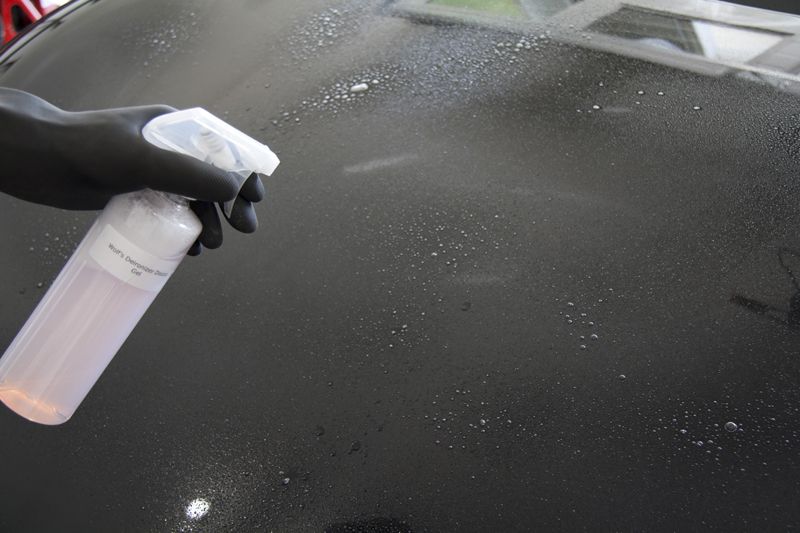
With the vehicle dried we brought it in for a Wolf's de-ironizer treatment before doing a final wash:
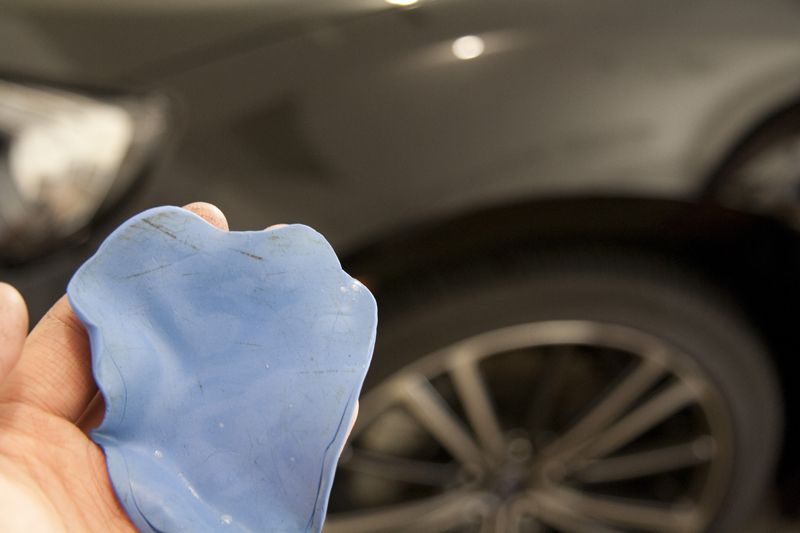
The vehicle was heavily contaminated resulting in the paint feeling very rough, aggressive clay had to be used:
The paint correction:
Because the defects present in the paint were very deep, Meguiar's D300 (and in some areas, M101) and MF Cutting Pads were used, while the paint was refined with M205 on a LC Green Pad.
Hood before:
After:
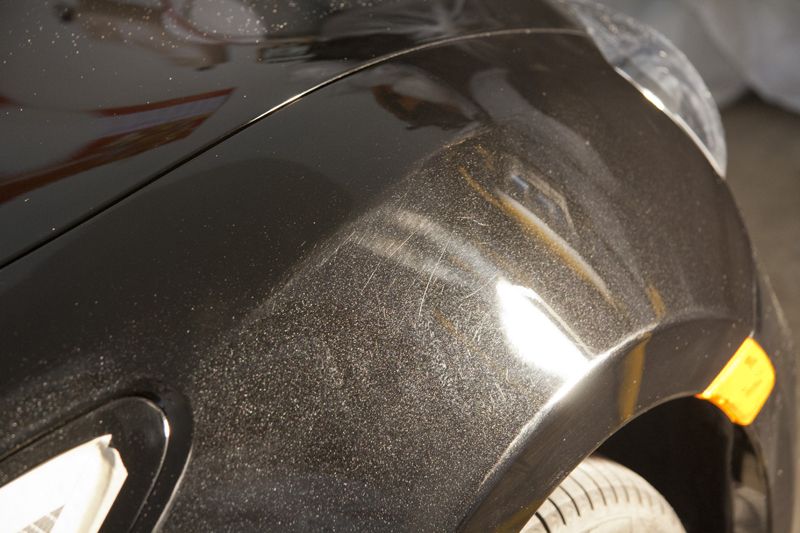
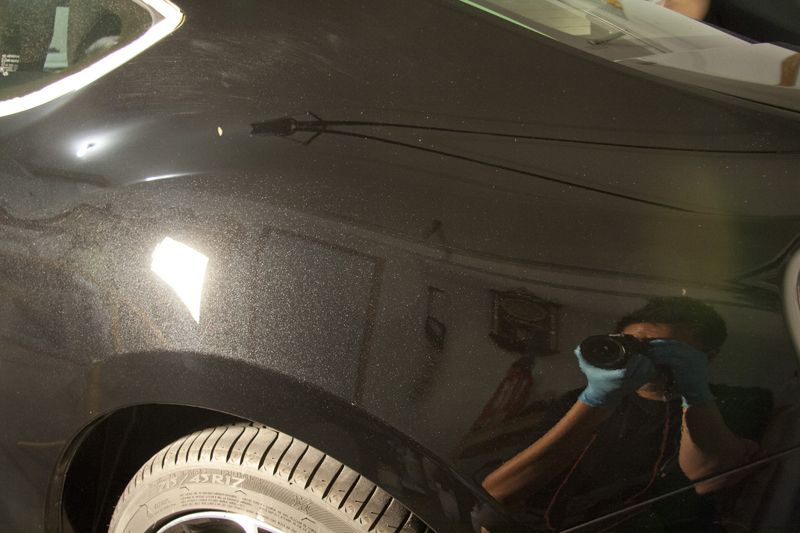
Fender before:
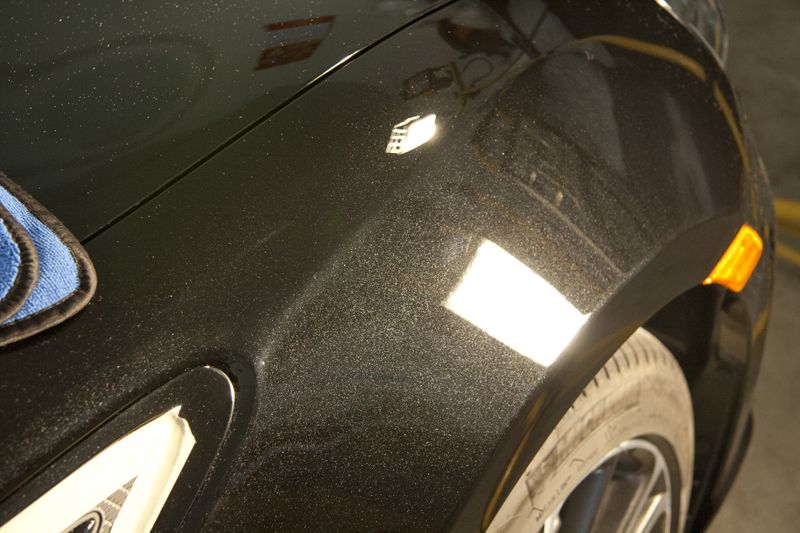
After:
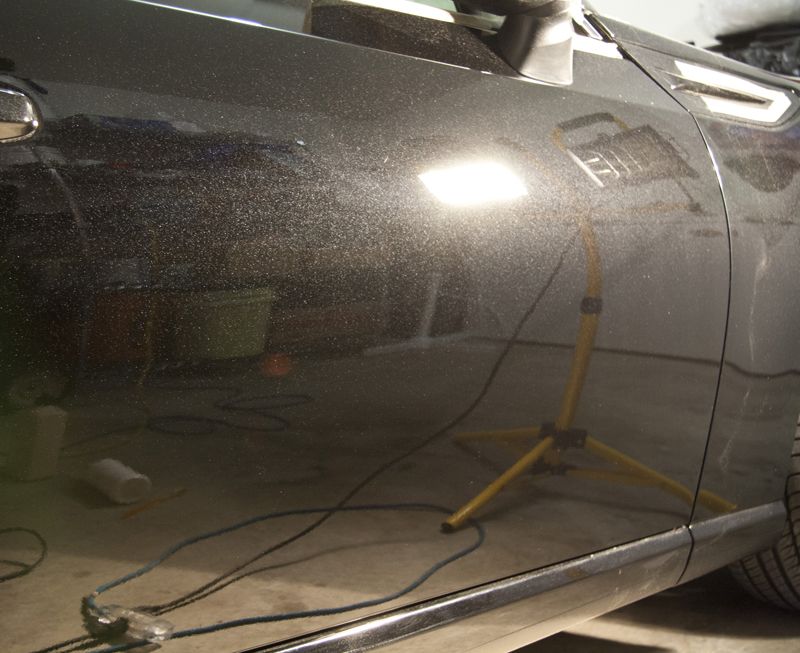
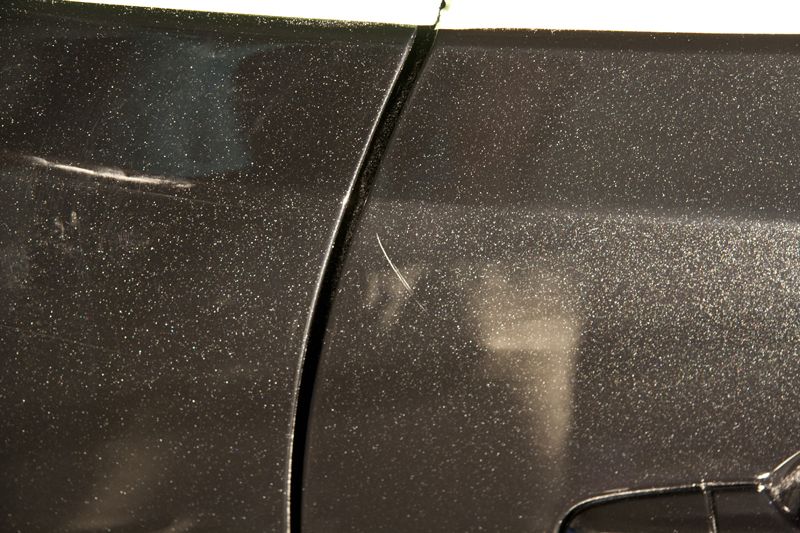
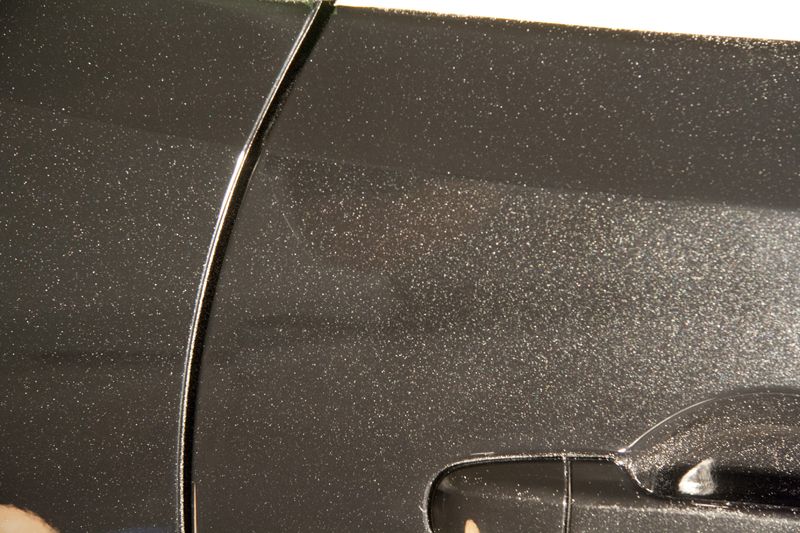
Passenger door before:
After:
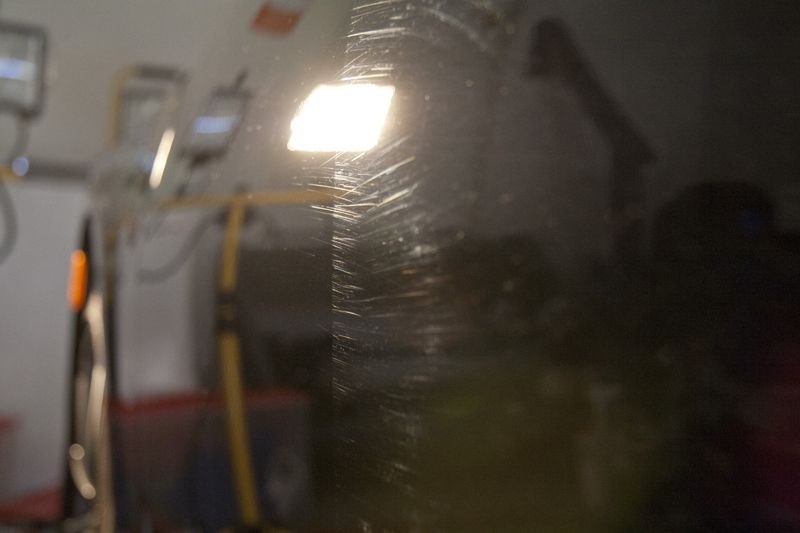
50/50 of the driver side door:
Quarter panel before:
After:
http://i1086.photobucket.com/albums/...S/IMG_8727.jpg
Wetsanding:
The next few photos are of the areas which contained defects too deep to be corrected in a timely manner with compounding, 2500 grit sandpaper was utilized to assist in the levelling of the paint:
After:
Before:
Wetsanded:
After:
Here's a photo of the defects again upon arrival:
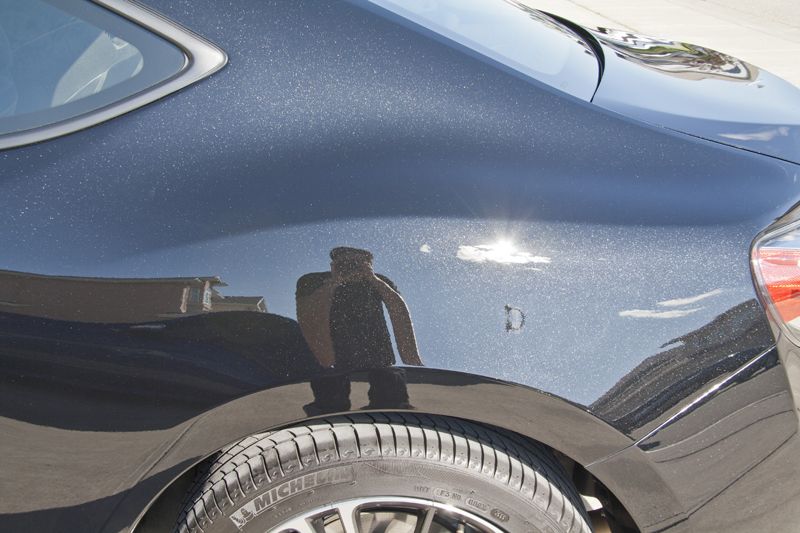
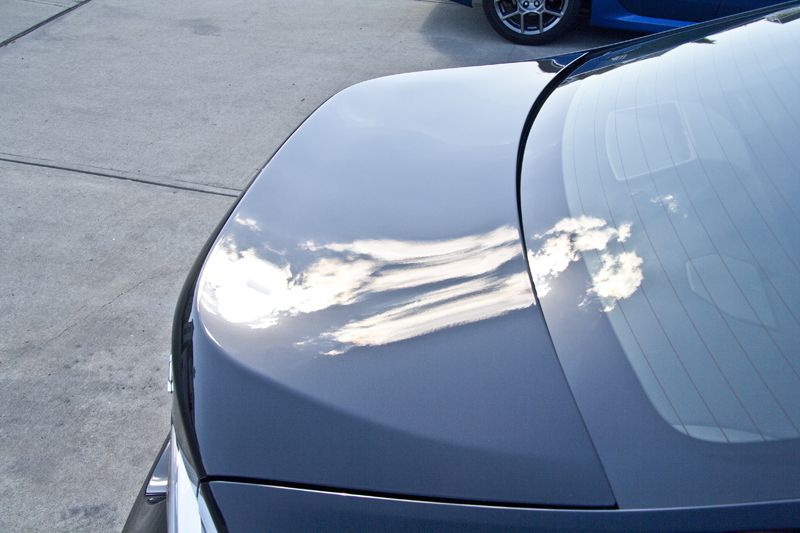
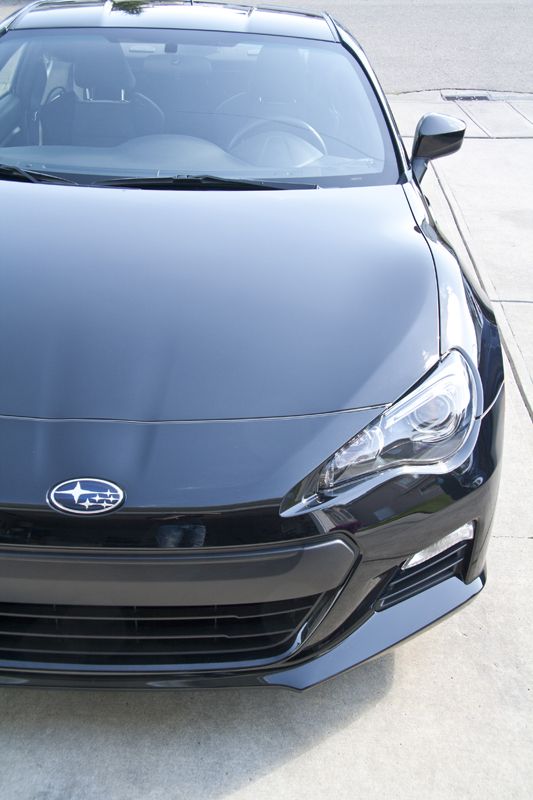
The end product:
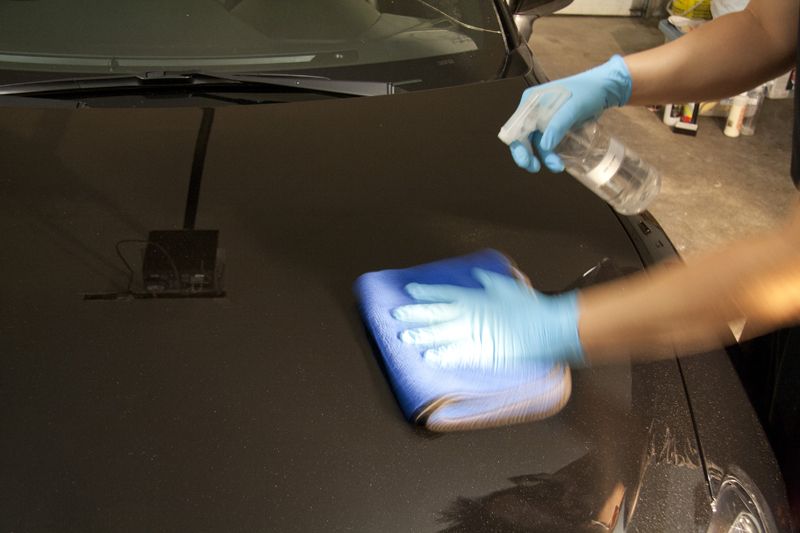
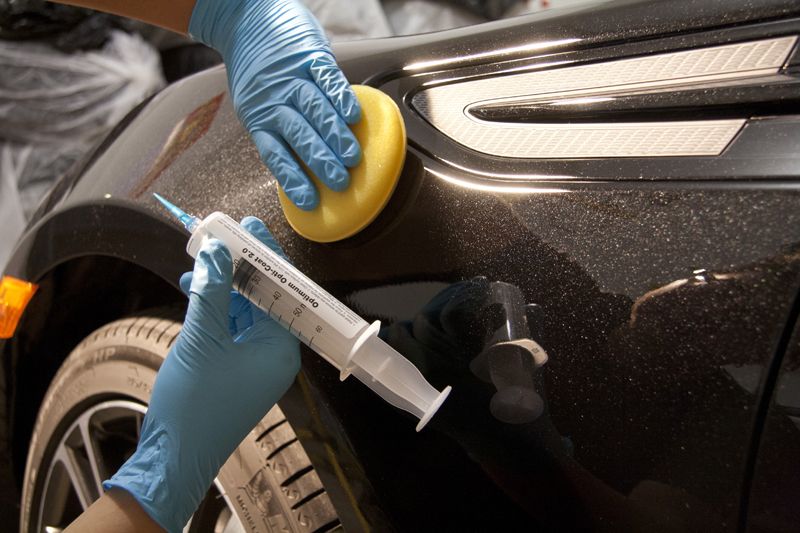
With the paint correction completed, it was time to wipe down the vehicle with IPA prior to the application of Opti-Coat:
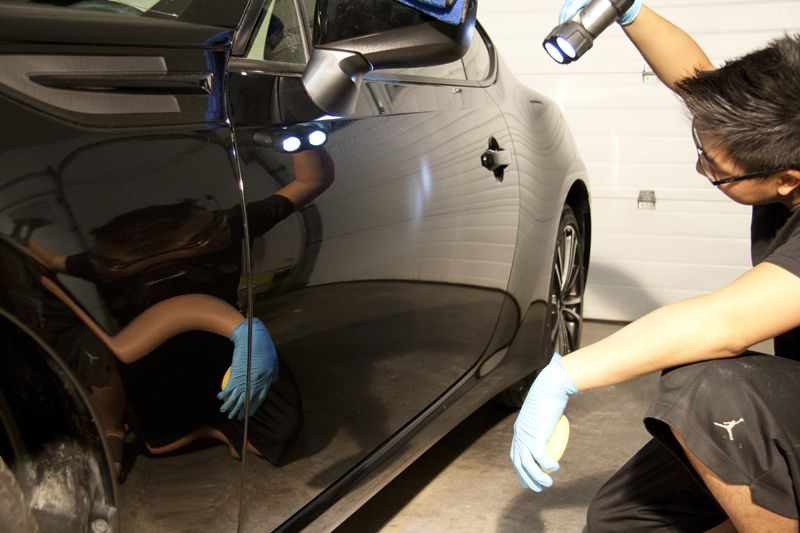
Because it was approaching sunset when we began opti-coating, we looked for high spots using LED's and Halogens:
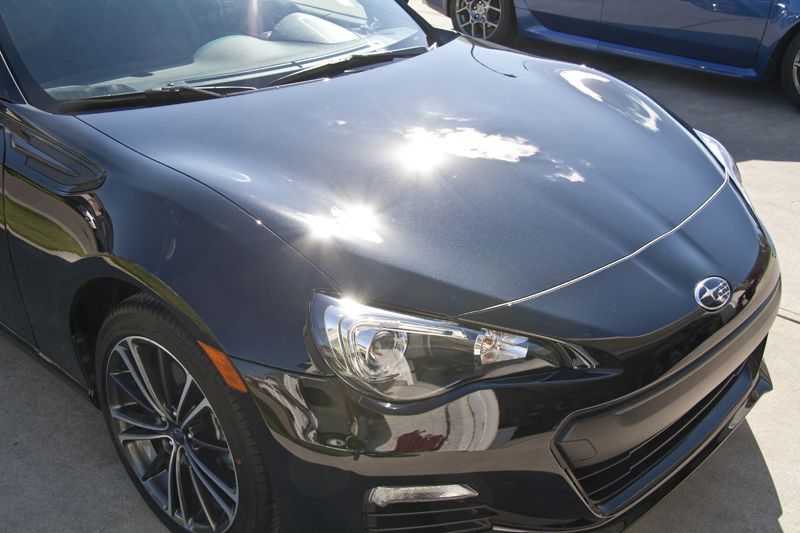
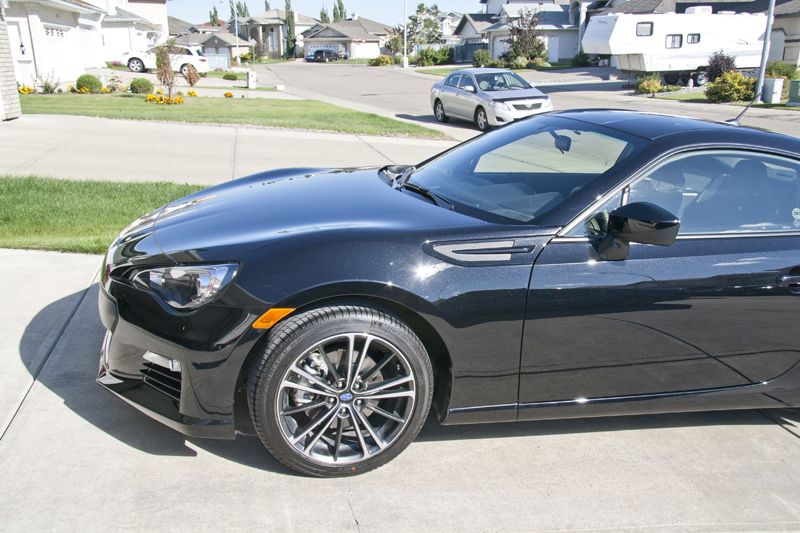
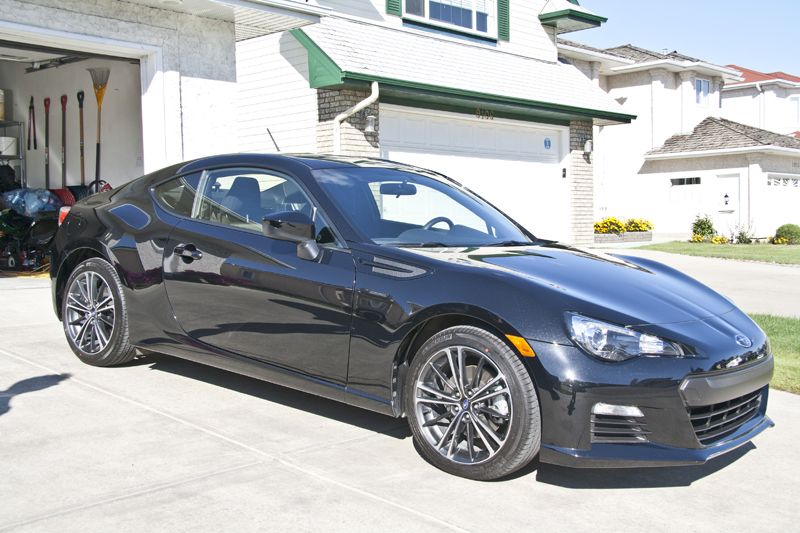
The next morning we took the vehicle out for a final inspection for high spots and a photoshoot:
Thanks for reading!
So the last detail of the season for myself and Vince (v|nsan|ty) worked on a Subaru BRZ in the gorgeous Crystal Black Silica. When the vehicle first arrived it was clear the paint was in dire need of attention as heavy swirling was present throughout the vehicle in addition to some VERY deep rids which required wet sanding as we will later see. A combination of improper washing and mishaps resulted in a 12 hour paint correction to restore the paint and a total time of 16 hours to bring the vehicle back to life.
The subject:
Initial inspection:
Plenty of insect stains:
Here are two areas which required wet-sanding due to the depth of the imperfections:
To begin, the wheels were cleaned with Autoglym Custom Wheel Cleaner:
Exhaust was cleaned with 1z W99, Before:
After:
We treated the insect casualties with 1z W99 in 1:5 ratio:
Then foamed and washed the vehicle using Citrus Wash n Clear and Maxi suds:
With the vehicle dried we brought it in for a Wolf's de-ironizer treatment before doing a final wash:
The vehicle was heavily contaminated resulting in the paint feeling very rough, aggressive clay had to be used:
The paint correction:
Because the defects present in the paint were very deep, Meguiar's D300 (and in some areas, M101) and MF Cutting Pads were used, while the paint was refined with M205 on a LC Green Pad.
Hood before:
After:
Fender before:
After:
Passenger door before:
After:
50/50 of the driver side door:
Quarter panel before:
After:
http://i1086.photobucket.com/albums/...S/IMG_8727.jpg
Wetsanding:
The next few photos are of the areas which contained defects too deep to be corrected in a timely manner with compounding, 2500 grit sandpaper was utilized to assist in the levelling of the paint:
After:
Before:
Wetsanded:
After:
Here's a photo of the defects again upon arrival:
The end product:
With the paint correction completed, it was time to wipe down the vehicle with IPA prior to the application of Opti-Coat:
Because it was approaching sunset when we began opti-coating, we looked for high spots using LED's and Halogens:
The next morning we took the vehicle out for a final inspection for high spots and a photoshoot:
Thanks for reading!


Burning Brakes
Joined: Sep 2012
Posts: 867
Likes: 84
^^ exactly what I was thinking.
My guess is the owner is a younger fellow who would rather save time and just run the car through a wash at the gas station or maybe even the coin up pay n scratch stations.
I was one of those fellows in my early years.
Brushing the hell out of my cars with that nasty brush thinking I was doing a good job. Lol

Thread Starter
Pro
Joined: Apr 2010
Posts: 699
Likes: 40
From: Edmonton, Alberta
Thanks guys!
Haha yeah the owner admitted to going to the coin operated car wash and using the supplied brush. Hopefully he hasn't done any of that since I instructed him on how to properly do a 2 bucket method wash. It should be much easier to keep clean since it has been opti-coated too.
Haha yeah the owner admitted to going to the coin operated car wash and using the supplied brush. Hopefully he hasn't done any of that since I instructed him on how to properly do a 2 bucket method wash. It should be much easier to keep clean since it has been opti-coated too.
Trending Topics

Thread
Thread Starter
Forum
Replies
Last Post
Ponsey_Scheme
2G RDX (2013-2018)
32
Oct 23, 2015 09:16 PM