
The Garage Remodel has Begun...
 08-04-2009, 02:48 AM
#1
Evil Mazda Driver
Thread Starter
The Garage Remodel has Begun...
Well folks, I'm performing a LONG-overdue remodel of the garage. My dad has agreed to foot the bill and he's even paying me for my work.  My friends and I started today with the tear-down of the existing shelves and get the walls ready for paint. Here is what we've got planned:
- Fill several holes in the wall and scars on center column
- Repaint the walls, window sill, ceiling, and center column (regular white)
- Fill the awful gap between concrete floor and walls
- Apply gray floor epoxy
- Replace white sockets, switches and wall plates - fitting black sockets and switches with brushed stainless wall plates.
- Replace incandescent flood lights with T5 florescent fixtures
- Remove ugly metal and particle board shelves; fit white closets and storage spaces
Pictures are being taken and I'll post them here when the work is all done. I'm hoping to have the work finished by early next week. I'm off to bed now as I have to drive to Tacoma tomorrow to pick up the ten gallons of floor epoxy from Griot's Garage.
My friends and I started today with the tear-down of the existing shelves and get the walls ready for paint. Here is what we've got planned:- Fill several holes in the wall and scars on center column
- Repaint the walls, window sill, ceiling, and center column (regular white)
- Fill the awful gap between concrete floor and walls
- Apply gray floor epoxy
- Replace white sockets, switches and wall plates - fitting black sockets and switches with brushed stainless wall plates.
- Replace incandescent flood lights with T5 florescent fixtures
- Remove ugly metal and particle board shelves; fit white closets and storage spaces
Pictures are being taken and I'll post them here when the work is all done. I'm hoping to have the work finished by early next week. I'm off to bed now as I have to drive to Tacoma tomorrow to pick up the ten gallons of floor epoxy from Griot's Garage.
 08-04-2009, 09:49 AM
#3
Senior Moderator
Regional Coordinator
(Mid-Atlantic)
Regional Coordinator
(Mid-Atlantic)
iTrader: (6)
Almost exactly what I want to do with my garage, good luck

 08-04-2009, 10:02 AM
#5
Your Friendly Canadian
Join Date: Dec 2007
Location: Toronto, Ontario
Age: 32
Posts: 17,433
Received 1,491 Likes
on
1,050 Posts
Congrats on finally getting started with the remodel. Are you throwing any junk out?
08-04-2009, 10:10 AM
#6
Burning Brakes
Nice! Now the garage will be more accommodating for your detailing business. Do keep us posted on the remodeling process! One of these days I will transform my garage into something more then rat pack storage.
08-04-2009, 11:15 AM
#7
Senior Moderator
Join Date: May 2003
Location: Better Neighborhood, Arizona
Posts: 45,641
Received 2,329 Likes
on
1,309 Posts
Nice, looking forward to seeing the transformation 
Trending Topics

 08-04-2009, 06:00 PM
#10
Evil Mazda Driver
Thread Starter
Thanks, guys. Picked up the ten gallons of floor epoxy this morning and my friend worked on filling holes and scars in the walls. Once we get everything primed, we may get to painting tonight...it all depends.
 08-05-2009, 01:25 AM
#12
Evil Mazda Driver
Thread Starter
Alrighty, guys...here are a few photos that comprise of yesterday's and today's work.
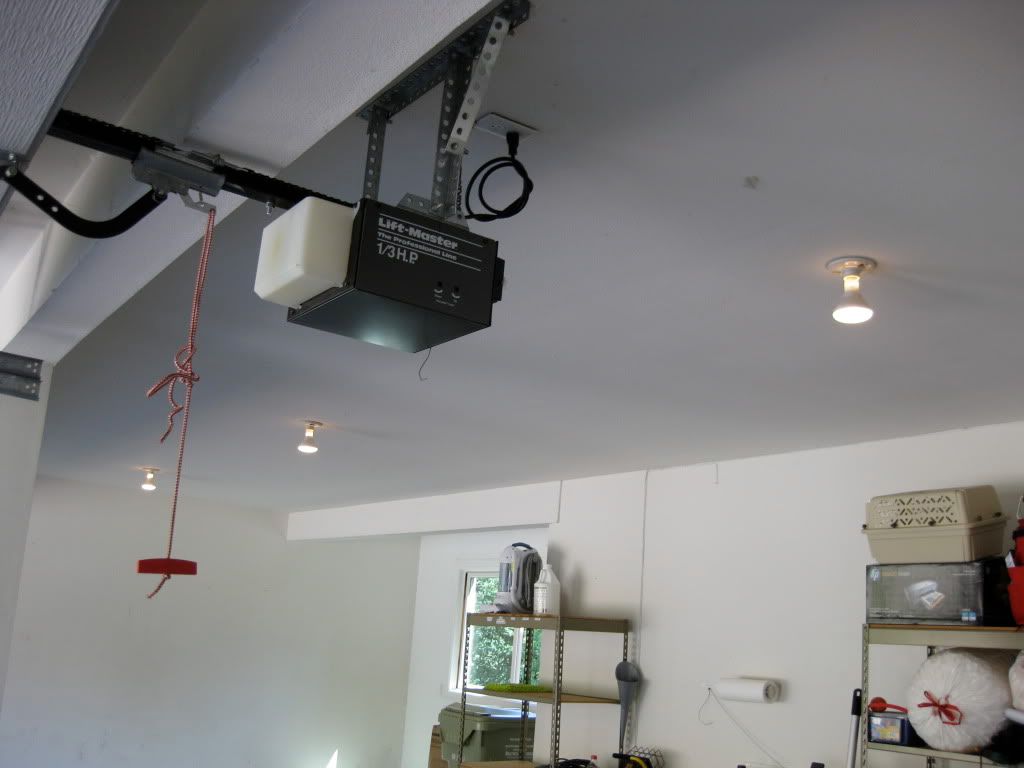
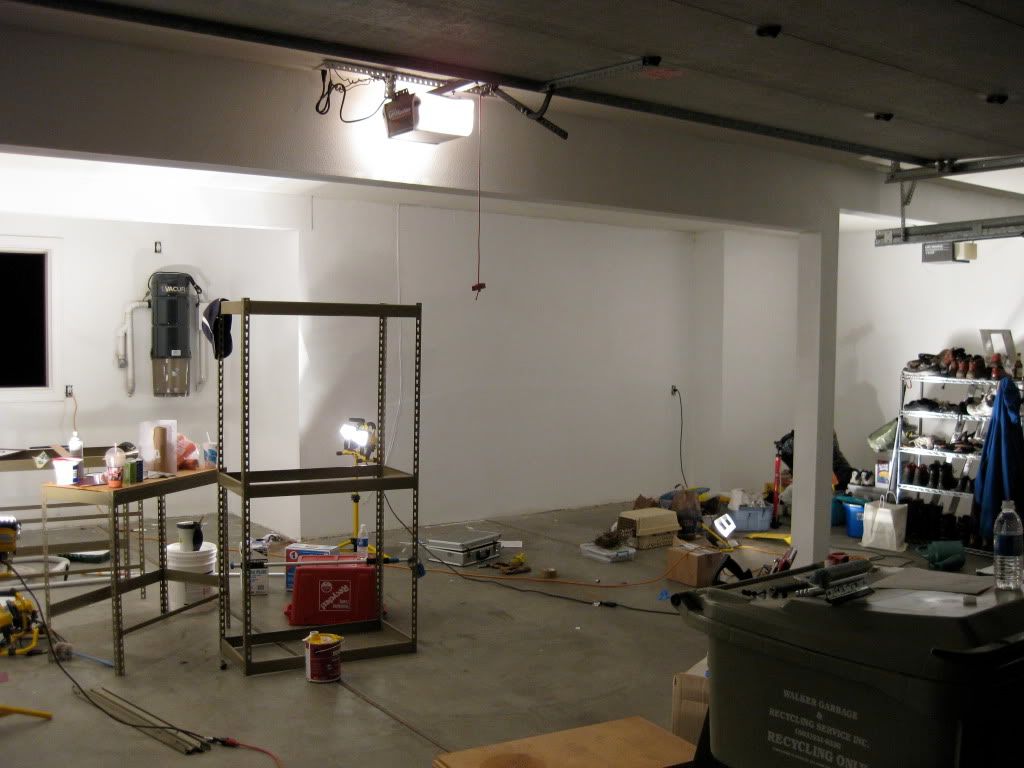
About as much of a 'before' shot as we can get. I had already boxed up all my detailing equipment (seen on the floor near the column) when I shot this photo.
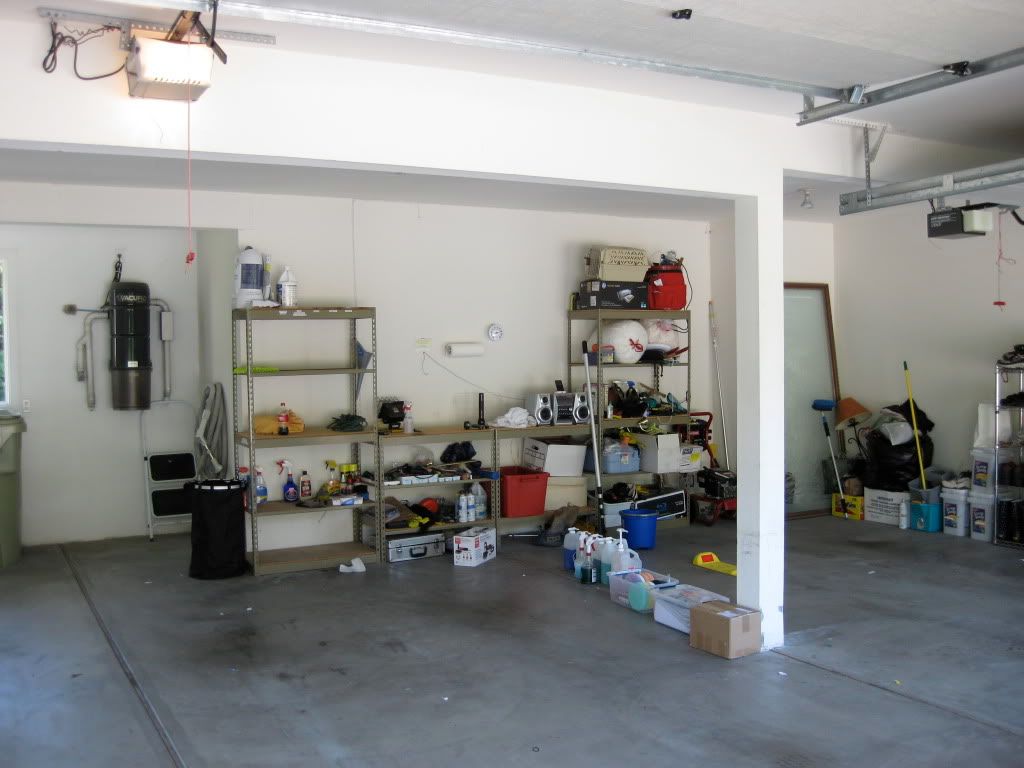
The garage floor is in need of some
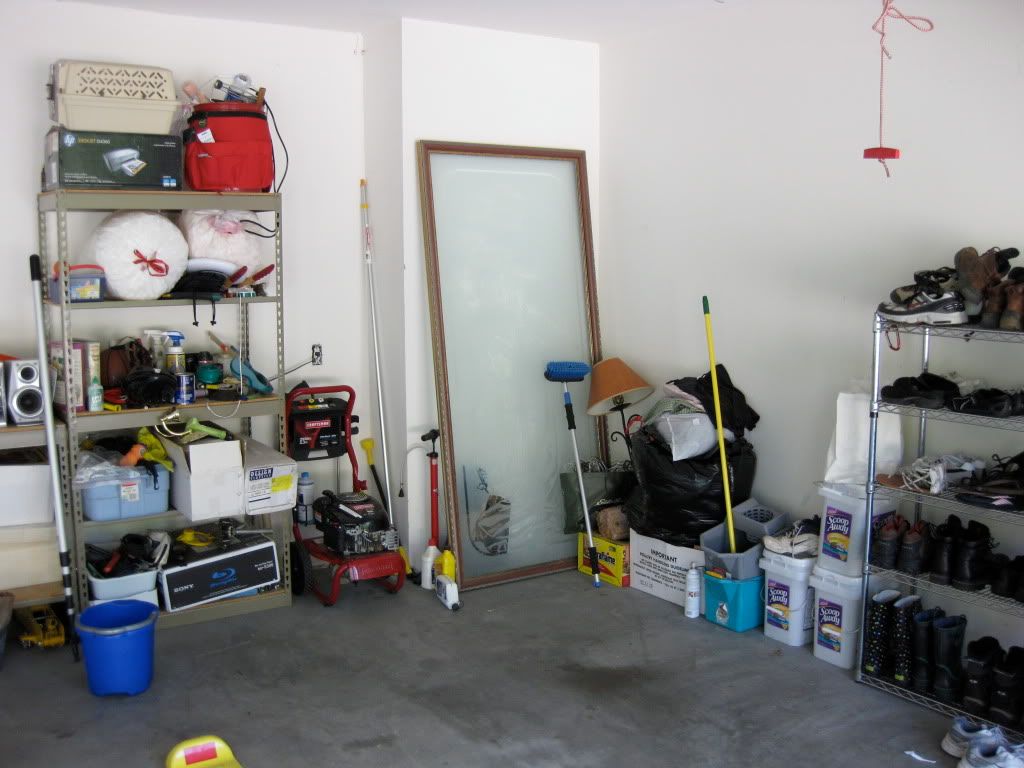
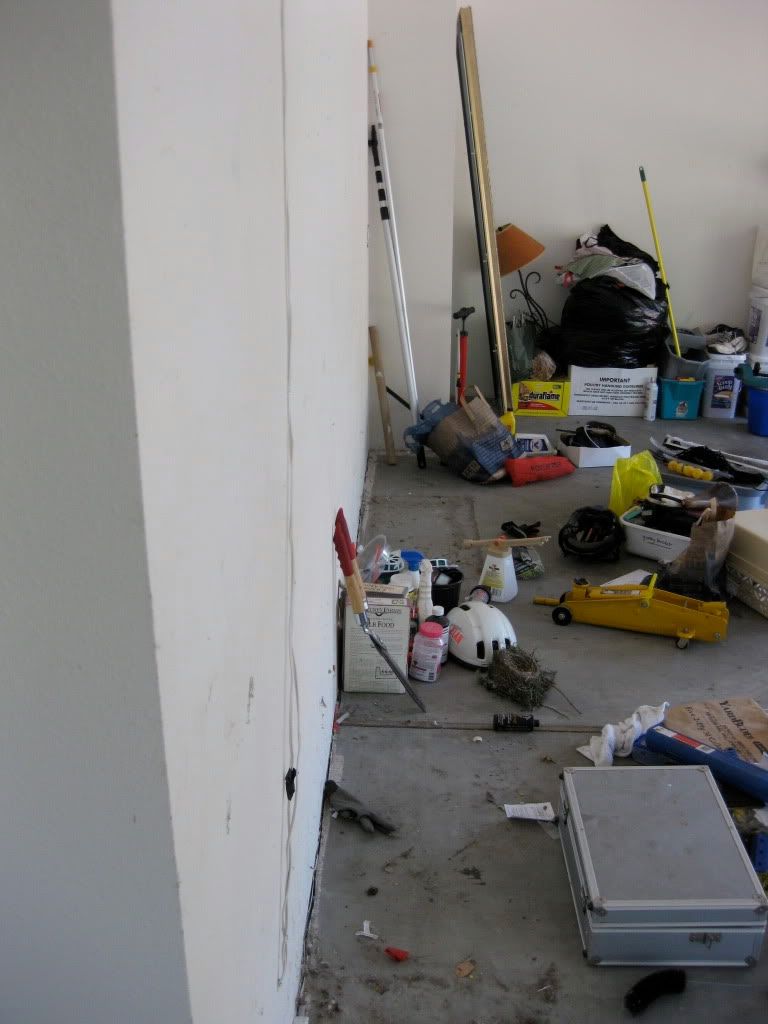
Total chaos in this section...
And sub-par lighting...
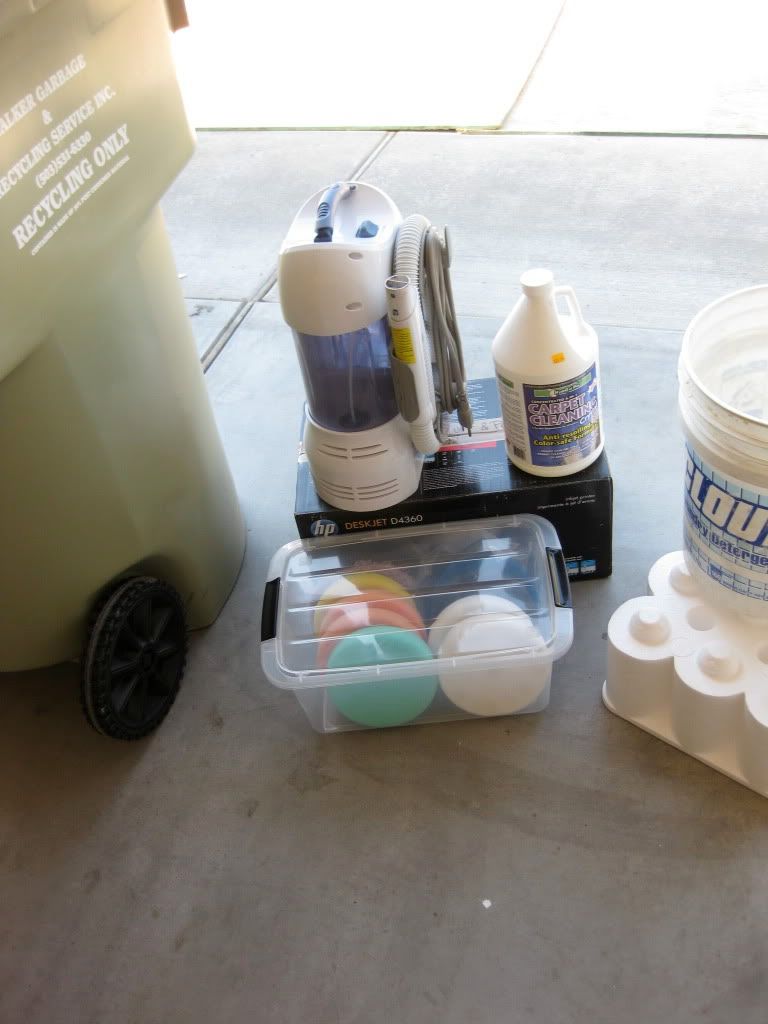
Some of my detailing stuff boxed up...
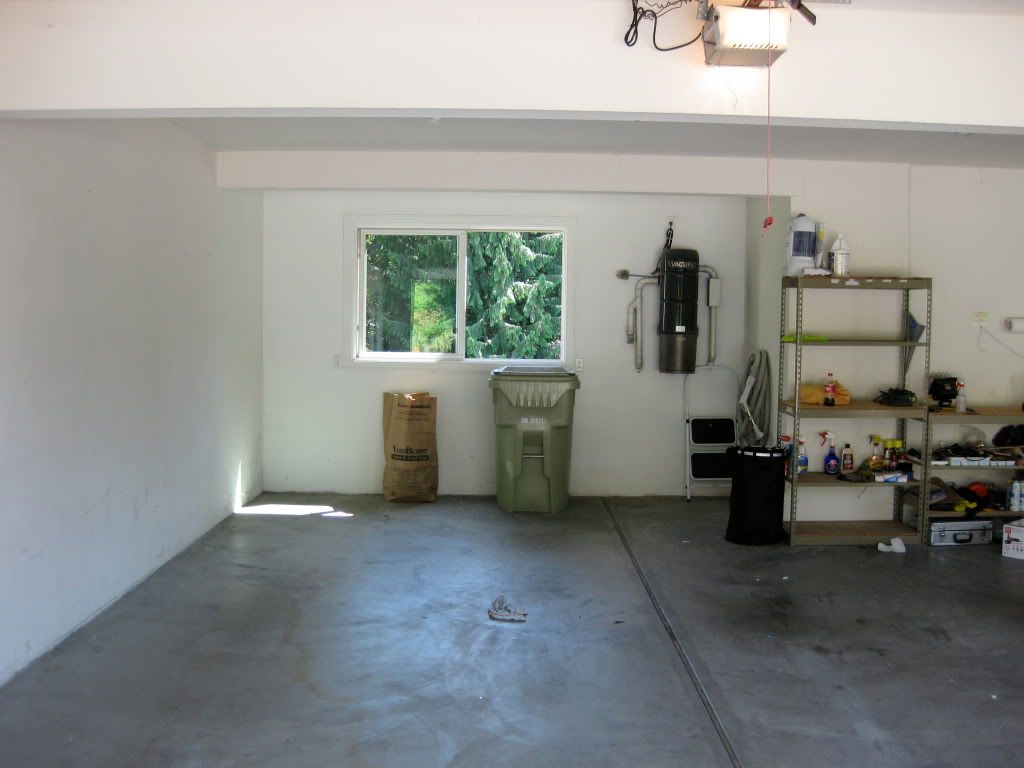
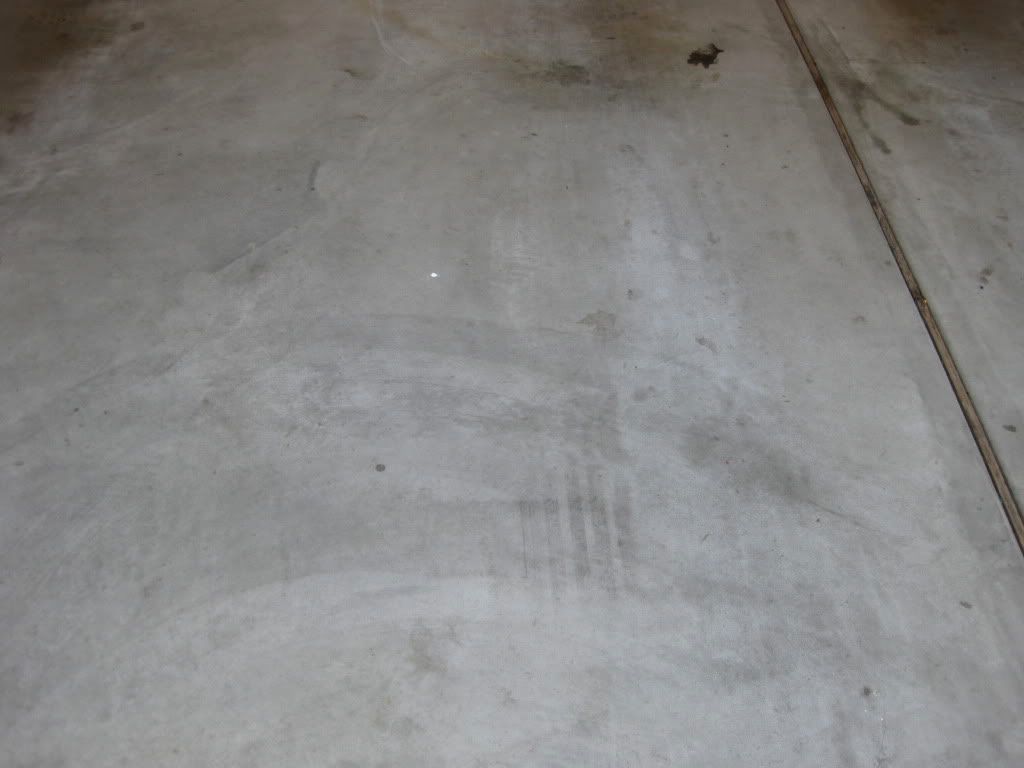
With the old metal and particle board shelves removed and broken down, we can begin to clean and prep for paint.
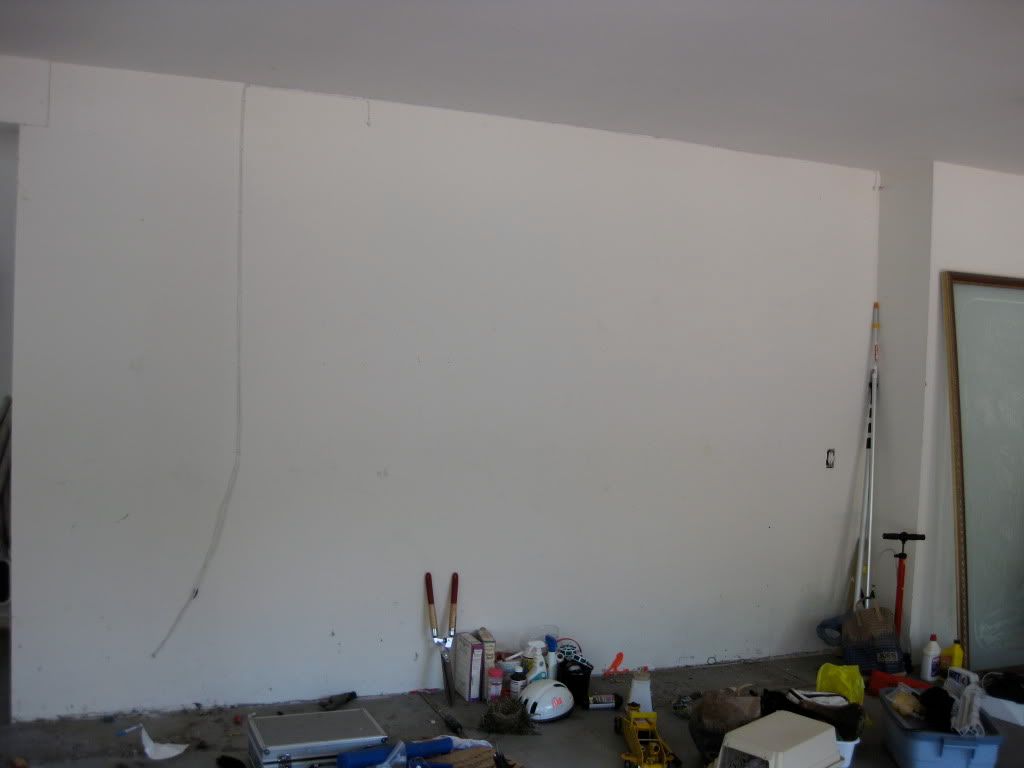
Years of dust, grit, dirt, and junk had accumulated under the shelves...
Yours truly applying some primer to the door frame.

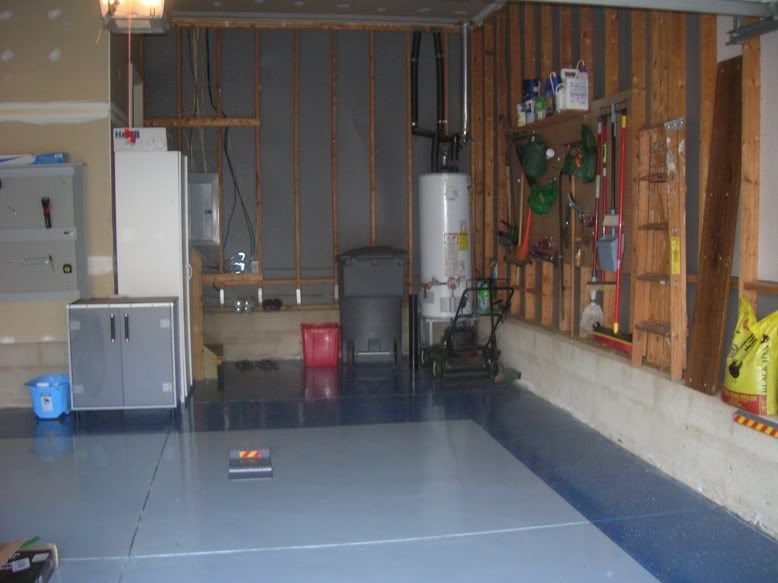
And a final shot tonight after we applied primer to most of the garage walls. Eventually the garage will be completely stripped clean but for the moment, we've kept things inside.
About as much of a 'before' shot as we can get. I had already boxed up all my detailing equipment (seen on the floor near the column) when I shot this photo.
The garage floor is in need of some
Total chaos in this section...
And sub-par lighting...
Some of my detailing stuff boxed up...
With the old metal and particle board shelves removed and broken down, we can begin to clean and prep for paint.
Years of dust, grit, dirt, and junk had accumulated under the shelves...
Yours truly applying some primer to the door frame.
And a final shot tonight after we applied primer to most of the garage walls. Eventually the garage will be completely stripped clean but for the moment, we've kept things inside.
08-05-2009, 02:41 AM
#13
AZ Community Team

Join Date: May 2007
Location: N35�03'16.75", W 080�51'0.9"
Posts: 32,488
Received 7,771 Likes
on
4,342 Posts
Make sure to put extra effort to clean and prep the floor for the epoxy. I did my garage in the spring of '08 and the floor has held up really well - we cleaned, swept and mopped it everyday for a week before etching and painting.
 08-05-2009, 09:56 AM
#15
Senior Moderator
Regional Coordinator
(Mid-Atlantic)
Regional Coordinator
(Mid-Atlantic)
iTrader: (6)
 Tips and tricks please
08-05-2009, 09:45 PM
Tips and tricks please
08-05-2009, 09:45 PM
#16
AZ Community Team
Join Date: May 2007
Location: N35�03'16.75", W 080�51'0.9"
Posts: 32,488
Received 7,771 Likes
on
4,342 Posts
Clean, Clean, CLEAN!! No dust, no oil, no grime. I used Simple Green to degrease/clean oily spots. A putty knife to scrap up misc grunge. Then, like I said, we literally swept and mopped everyday for a week.
After that it was good materials (I'm sure the Griots is very good; I used the Quik-Crete/Valspar kit) and following instructions. Etched with the included acid solution then rinsed VERY well and made sure the surface was completely dry before paint.
Applied paint as per kit instructions. Including NO heavy traffic or cars for (iirc) 7 days.
2 coats of clear acrylic on top to seal and add shine; makes for easier clean up too I think. Because of the 2-color PLUS the 2-coats of Acrylic, the painting took almost a week (paint a coat, dry for 24 hours, paint a coat, dry for 24 hours .... ).
As you might imagine - patience is also a key.

Regardless, it's 18 months and the surface is still in great shape. And slicker than snot when wet (I've nearly busted my ass a couple of times).

Last edited by Bearcat94; 08-05-2009 at 09:48 PM.
08-07-2009, 02:14 AM
#17
Evil Mazda Driver
Thread Starter
Bearcat...thanks for the epoxy tips. We're going to have the floor shot-blasted instead of using the acid but I appreciate it nevertheless.
We are making great progress on the garage although a friend of mine seems to have made up his mind that this whole project is his to decide and manage. Because of this, I'm about ready to cut him short as he doesn't listen to anything I say, refuses to agree to my plans and goes behind my back to do things he think should be done. For example, he fitted the new BLACK sockets before the second coat of WHITE paint had gone on despite me telling him four or five times that I did not want the new sockets put on until the final coat of paint was applied. Thankfully we dodged the bullet and no paint got on them but still...it's the principle of the thing. My dad has already appointed me as the foreman of this whole deal as it is my idea and my execution. I'm not one to let power go to my head but the fact he can't respect a simple request or instruction makes me wonder where his loyalties truly lie. Thankfully, my other two friends and my sister have been WONDERFUL helpers, pointing out where improvements could be made and taking a genuine interest and respect in how I think things should be done.
Since my last update this is what we have accomplished:
- All walls and ceiling painted (two coats on walls)
- Hung and wired two sets of new T8 florescent lights
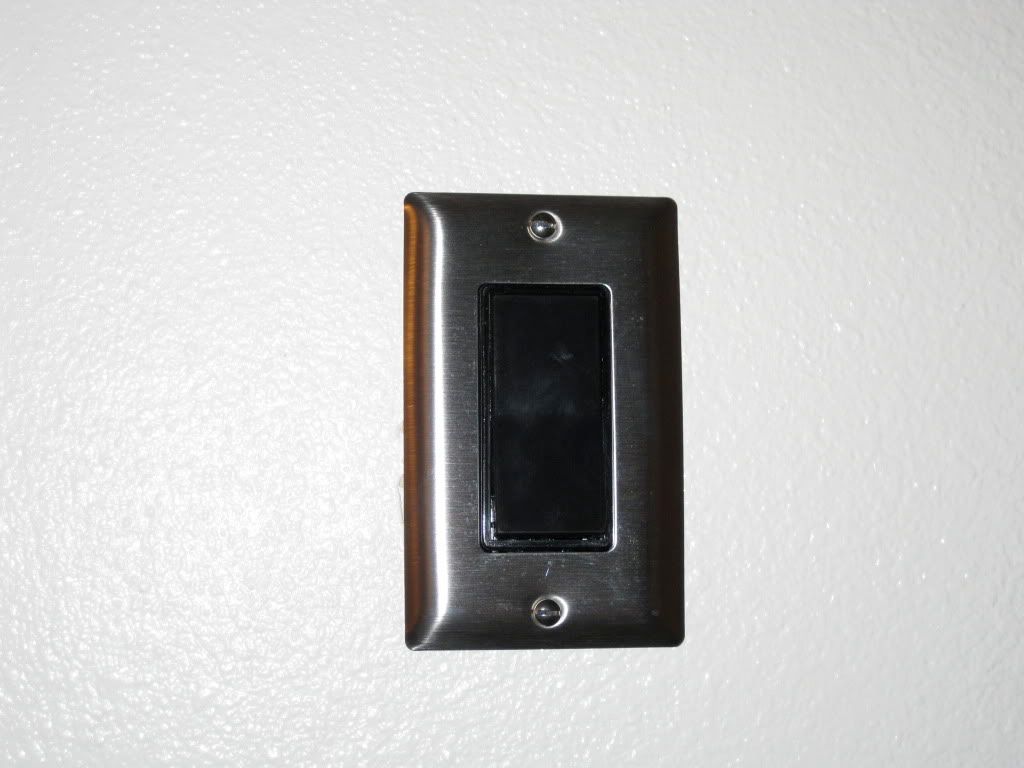
- Fitted new black sockets/switches and stainless plate fixtures
As promised...new photos!!!
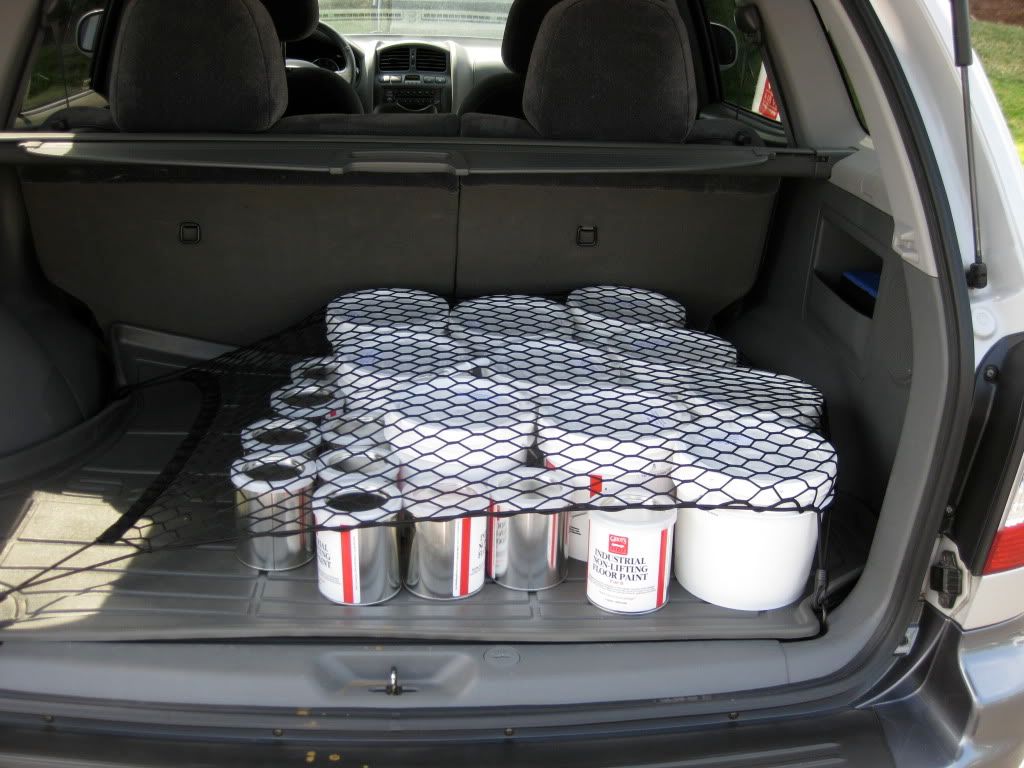
The epoxy picked up at the Griot's store in Tacoma, Washington.
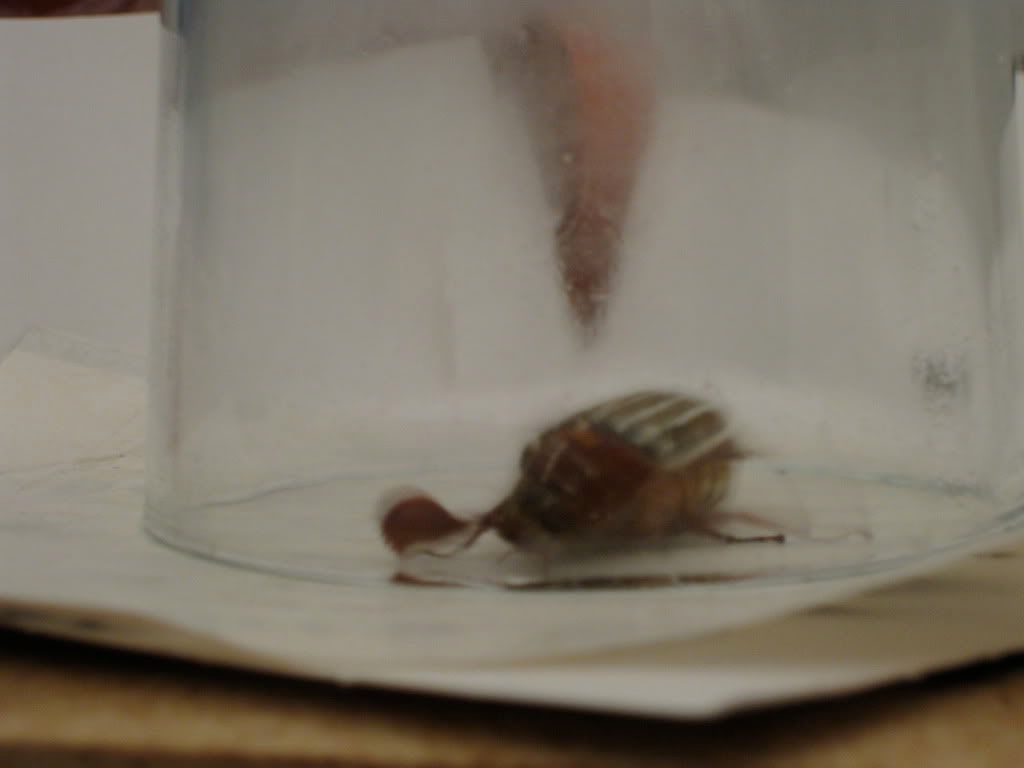
This Ten-Striped June Beetle flew into the garage and kept us company for a while. We named him Jeff after comedian Jeff Dunham.
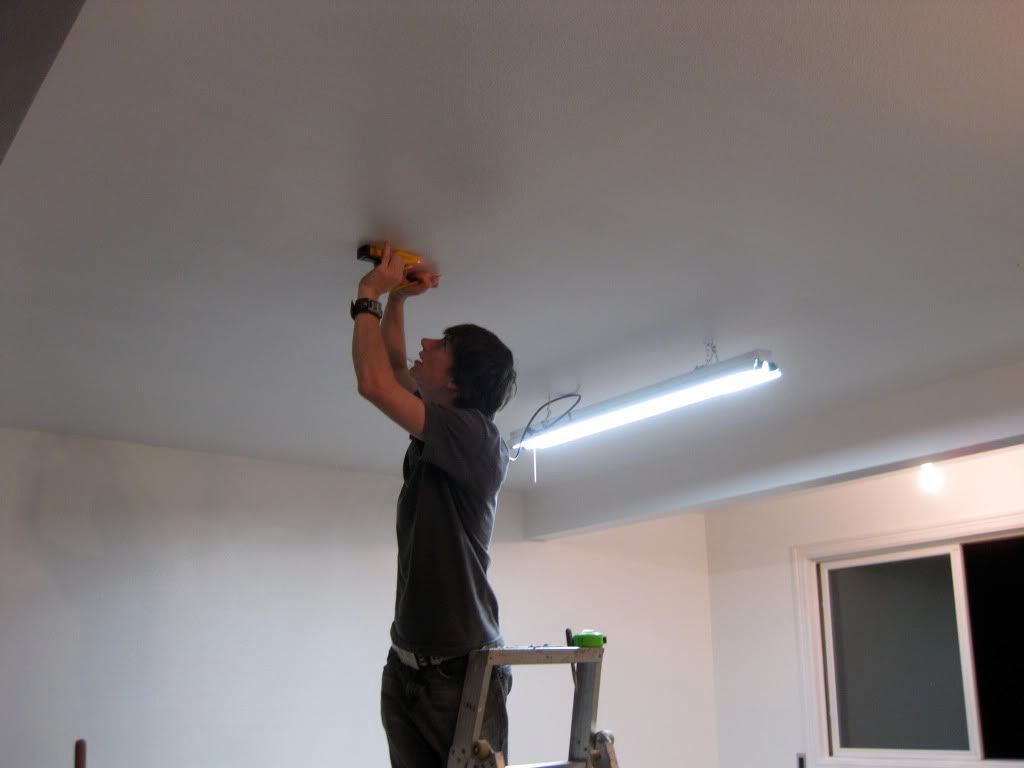
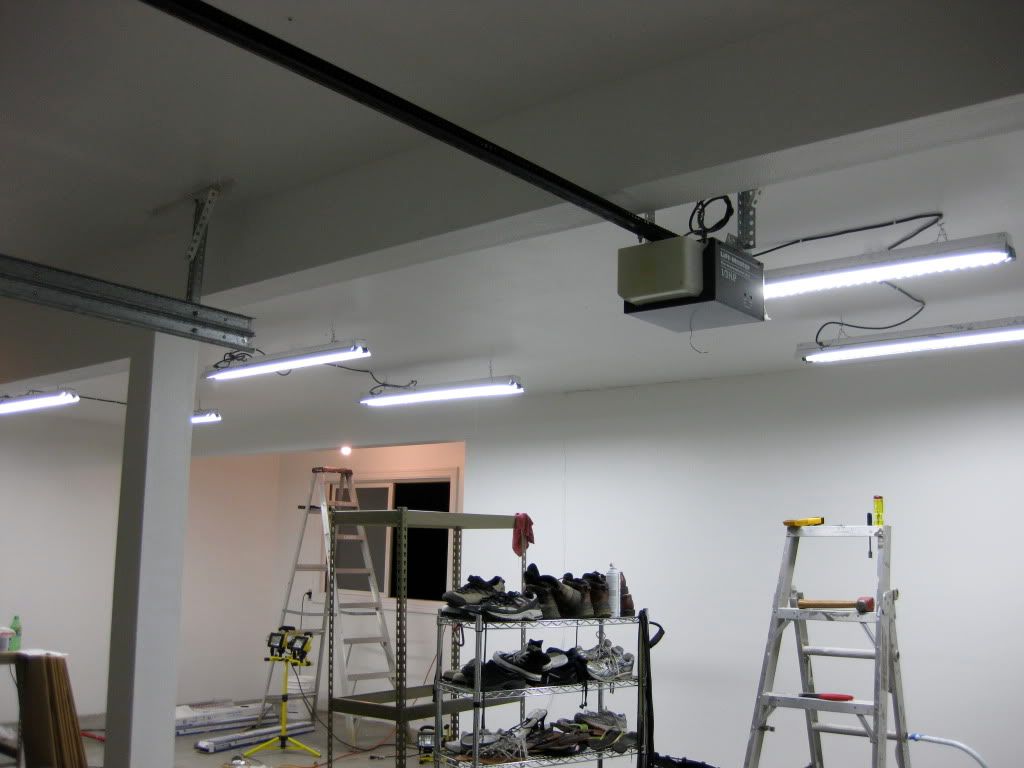
My friend Rob is our resident electrician. With one set of the new florescent lights up, he's marking off the studs for the second set here. The junction boxes used for the original lights were too small to accommodate the new plugs so we have to replace them all without damaging the drywall. Needless to say it's slow going.
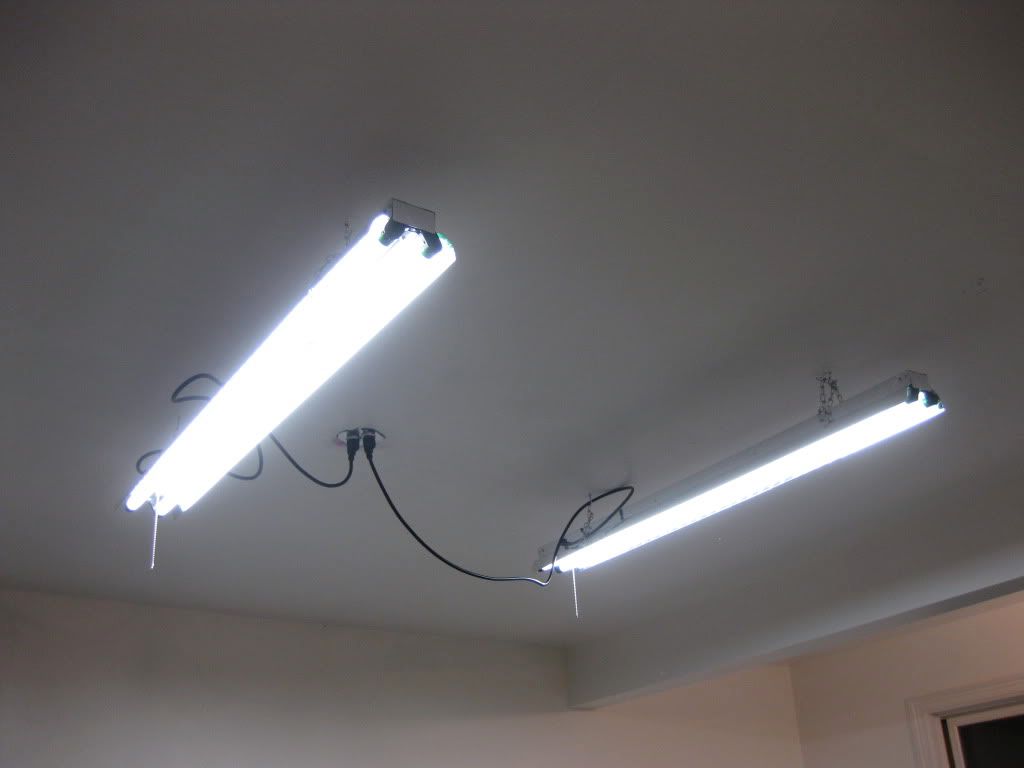
The new lights up and working and damn are they bright!! Don't worry, we're going to clean up the appearance by getting the black power cords straightened out. That and since the pull chains won't be used, we'll tuck them out of the way.
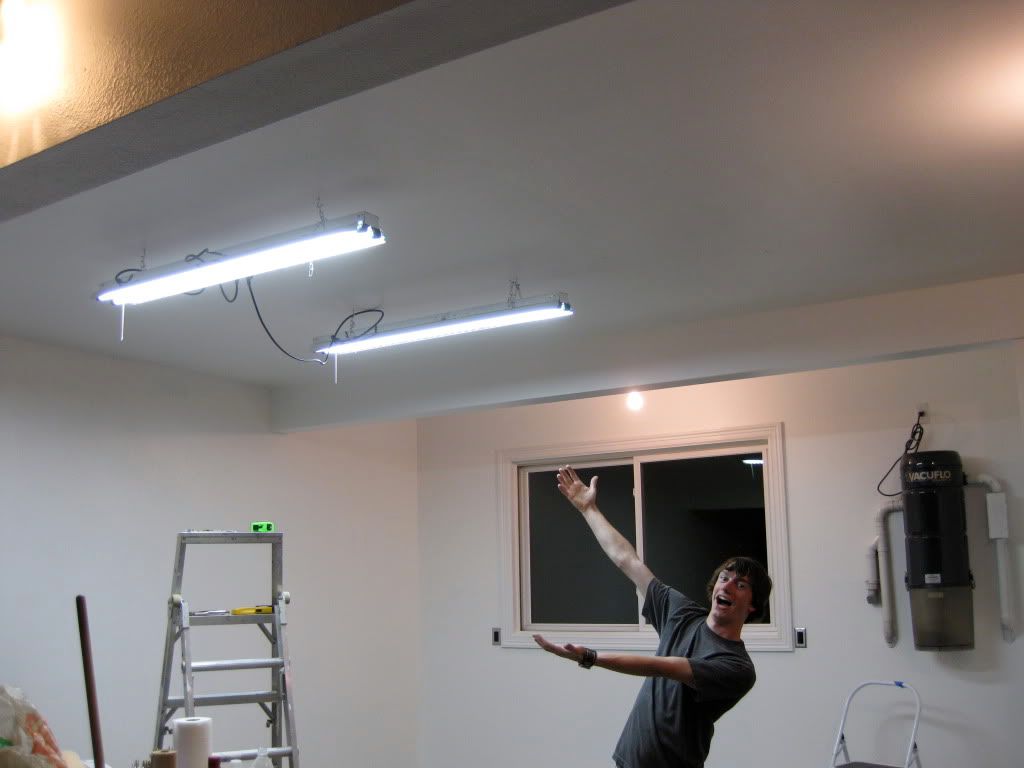
Rob's excited about his work...
New stainless plates with black switches look gooood.
Thanks for checking in and be sure to stay tuned!
We are making great progress on the garage although a friend of mine seems to have made up his mind that this whole project is his to decide and manage. Because of this, I'm about ready to cut him short as he doesn't listen to anything I say, refuses to agree to my plans and goes behind my back to do things he think should be done. For example, he fitted the new BLACK sockets before the second coat of WHITE paint had gone on despite me telling him four or five times that I did not want the new sockets put on until the final coat of paint was applied. Thankfully we dodged the bullet and no paint got on them but still...it's the principle of the thing. My dad has already appointed me as the foreman of this whole deal as it is my idea and my execution. I'm not one to let power go to my head but the fact he can't respect a simple request or instruction makes me wonder where his loyalties truly lie. Thankfully, my other two friends and my sister have been WONDERFUL helpers, pointing out where improvements could be made and taking a genuine interest and respect in how I think things should be done.
Since my last update this is what we have accomplished:
- All walls and ceiling painted (two coats on walls)
- Hung and wired two sets of new T8 florescent lights
- Fitted new black sockets/switches and stainless plate fixtures
As promised...new photos!!!
The epoxy picked up at the Griot's store in Tacoma, Washington.
This Ten-Striped June Beetle flew into the garage and kept us company for a while. We named him Jeff after comedian Jeff Dunham.
My friend Rob is our resident electrician. With one set of the new florescent lights up, he's marking off the studs for the second set here. The junction boxes used for the original lights were too small to accommodate the new plugs so we have to replace them all without damaging the drywall. Needless to say it's slow going.
The new lights up and working and damn are they bright!! Don't worry, we're going to clean up the appearance by getting the black power cords straightened out. That and since the pull chains won't be used, we'll tuck them out of the way.
Rob's excited about his work...
New stainless plates with black switches look gooood.
Thanks for checking in and be sure to stay tuned!
Last edited by PortlandRL; 08-07-2009 at 02:18 AM.
08-07-2009, 09:20 AM
#18
Senior Moderator
Regional Coordinator
(Mid-Atlantic)
Regional Coordinator
(Mid-Atlantic)
iTrader: (6)
jealous, I need those lights in my garage
08-07-2009, 10:42 AM
#23
Racer
Join Date: Apr 2005
Location: Middletown OH
Age: 44
Posts: 428
Likes: 0
Received 0 Likes
on
0 Posts
Very nice indeed so far.
Love the T8 lights, I might have to upgrade to those when my garage starts to get some lovin.
Those outlet covers and switches look pimp.
Love the T8 lights, I might have to upgrade to those when my garage starts to get some lovin.
Those outlet covers and switches look pimp.
08-07-2009, 10:52 AM
#24
2012 SH-AWD / Advanced
If your makeover ends up like mine did this past winter, it will be like a government project...took about 4 times as long as planned, and went waaaaay over budget! 
 08-07-2009, 01:05 PM
#26
Evil Mazda Driver
Thread Starter
Thanks for the compliments, guys!
If it were up to me, we would. However, you would be amazed how difficult it is to find a decent set of T8 lights at Home Depot. I really would love to hard wire them in but that would involve tearing out part of the ceiling and patching the holes where the hold bulb sockets were.
Don't worry, when I'm done you'll barely noticed those cords. My OCD will not allow it.
Todd...it's so funny you should say that I was comparing it to a government project myself. Hmm...here's a checklist to help us figure it out:
- We only work when we feel like it - √
- It's already way over budget - √
- It's already beyond schedule - √
- Somebody else is paying for it. - √
Yep. It's DEFINITELY a government project.
$500 plus $40 for gas.
Don't worry, when I'm done you'll barely noticed those cords. My OCD will not allow it.
- We only work when we feel like it - √
- It's already way over budget - √
- It's already beyond schedule - √
- Somebody else is paying for it. - √
Yep.
It's DEFINITELY a government project. $500 plus $40 for gas.
08-07-2009, 02:36 PM
#27
Racer
Join Date: Apr 2005
Location: Middletown OH
Age: 44
Posts: 428
Likes: 0
Received 0 Likes
on
0 Posts
WOW, is it really worth it to have garage floor epoxy from Griots at the tune of $540??
I would have to think you could get comparable if not the same type of application at the big box stores for about half of that, and then you could have invested that other 250 into something else..but I guess when your not paying for it, you really don't care.
I would have to think you could get comparable if not the same type of application at the big box stores for about half of that, and then you could have invested that other 250 into something else..but I guess when your not paying for it, you really don't care.
08-07-2009, 03:37 PM
#28
Evil Mazda Driver
Thread Starter
WOW, is it really worth it to have garage floor epoxy from Griots at the tune of $540??
I would have to think you could get comparable if not the same type of application at the big box stores for about half of that, and then you could have invested that other 250 into something else..but I guess when your not paying for it, you really don't care.
I would have to think you could get comparable if not the same type of application at the big box stores for about half of that, and then you could have invested that other 250 into something else..but I guess when your not paying for it, you really don't care.
I spoke with other people and they have had trouble with OTC floor paints and epoxies. Hence...Griots. I think it's a little unfair to say that I don't care how much it costs. I seriously respect how hard my dad works and I approve all costs and products through him before purchasing them. If he hadn't signed off on it, we wouldn't be getting it.
Last edited by Ken1997TL; 08-07-2009 at 05:27 PM.
08-07-2009, 04:38 PM
#29
Damn Andrew it's gonna look GQ when you're finished, already a much improved appearance from the begining, but it wasn't all that bad in the begining, but then again I feel you when you talk about your OCD traits...can't wait for my next detail from you now with a garage like that!!!! Awesome lighting, will really show all of NBP's inperfections
08-07-2009, 05:29 PM
#30
Senior Moderator
Join Date: May 2003
Location: Better Neighborhood, Arizona
Posts: 45,641
Received 2,329 Likes
on
1,309 Posts
Thats a nice setup you have there 
08-09-2009, 10:16 PM
#32
Stage 1 Audi S5
Thanks for the compliments, guys!
If it were up to me, we would. However, you would be amazed how difficult it is to find a decent set of T8 lights at Home Depot. I really would love to hard wire them in but that would involve tearing out part of the ceiling and patching the holes where the hold bulb sockets were.
Don't worry, when I'm done you'll barely noticed those cords. My OCD will not allow it.
08-10-2009, 02:46 AM
#33
Evil Mazda Driver
Thread Starter
Alrighty guys...we got a bit more done tonight. We tore out two more of the old junction boxes and got all but the last florescent fixture in. My friend has work in the morning and it was 10:30 by the time we finished so we're holding off on the last one until he's free again.
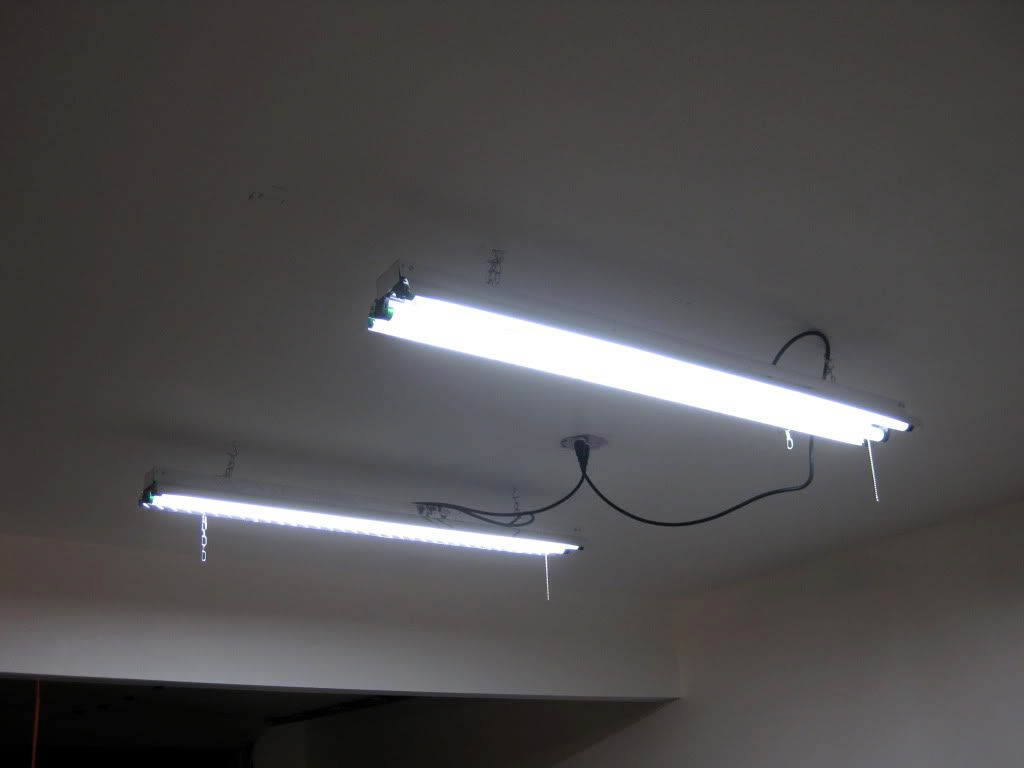
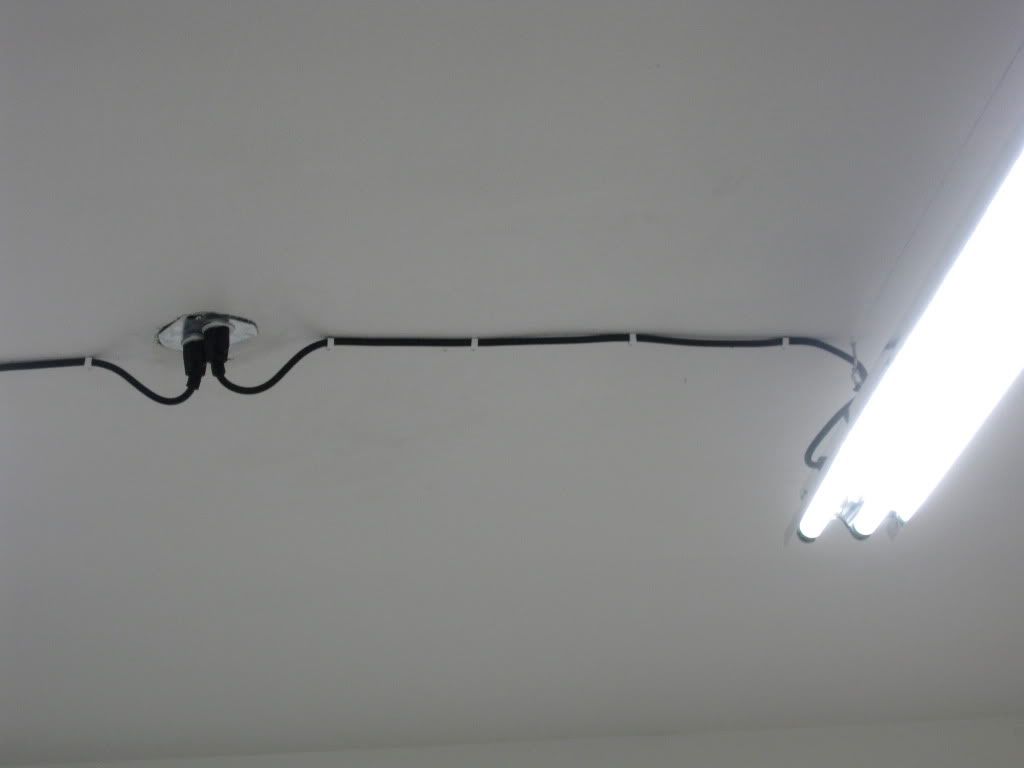
We put the power cords into ceiling brackets and while it doesn't look 100% but it looks much better. We also got the excess chains tucked out of the way and trimmed the unused pull chains.
The light is INCREDIBLE now!!!
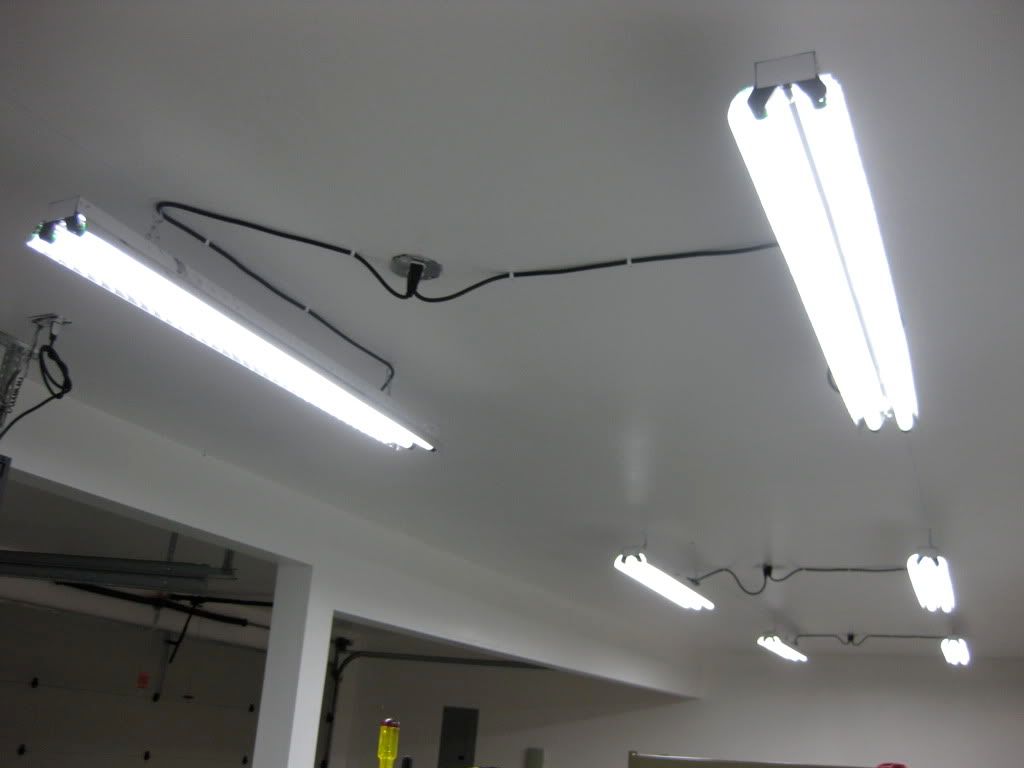
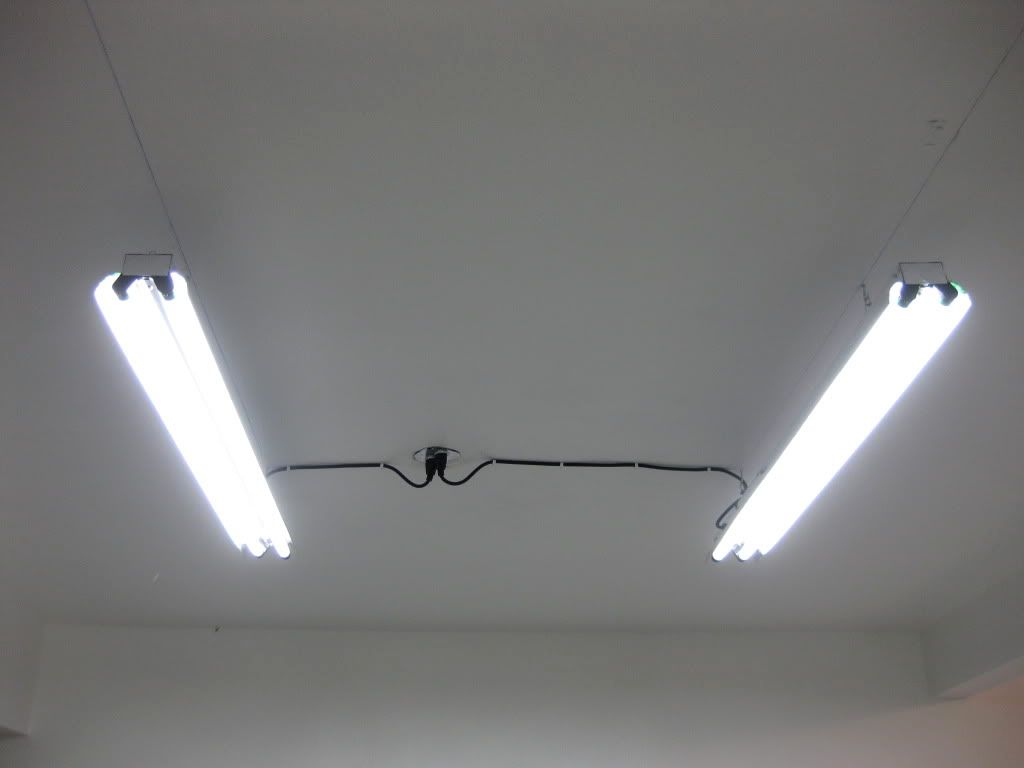
A close-up of the power cord solution. Like I said, effective but not quite elegant.
We put the power cords into ceiling brackets and while it doesn't look 100% but it looks much better. We also got the excess chains tucked out of the way and trimmed the unused pull chains.
The light is INCREDIBLE now!!!
A close-up of the power cord solution. Like I said, effective but not quite elegant.
08-10-2009, 12:13 PM
#34
Senior Moderator
Regional Coordinator
(Mid-Atlantic)
Regional Coordinator
(Mid-Atlantic)
iTrader: (6)
wow, I would need sunglasses to be in that garage 
So you just installed sockets where the old lights were?
So you just installed sockets where the old lights were?
08-10-2009, 04:58 PM
#37
Senior Moderator
Join Date: May 2003
Location: Better Neighborhood, Arizona
Posts: 45,641
Received 2,329 Likes
on
1,309 Posts
Thats one hell of a transformation since I saw it, looks great!
08-10-2009, 08:17 PM
#38
Evil Mazda Driver
Thread Starter

We were hoping to simply pull the old ceramic bulb sockets out and wire in the new dual plugs. In typical project fashion, it did not work out that way. Turns out the existing junction boxes were too small to accommodate the new plugs so we had to shut the power off and tear the old ones out to fit new ones.
What we hoped would take a day has so far taken three. Such is life, eh?
Thanks, Ken. I'll make sure to invite you up to see the finished product.