
2011 Lexus IS350 Starfire Pearl, Detail + Correction
 05-22-2011, 08:29 PM
#1
Pro
Thread Starter
2011 Lexus IS350 Starfire Pearl, Detail + Correction
So me and my buddy did our first major detail. He wrote the write up and we're just posting it on a few forums. Feel free to comment 
Me and v|nsan|ty began to document our detailing work. Here's our first write up that I was in charge of.
The subject:
Total Time: 10 hours
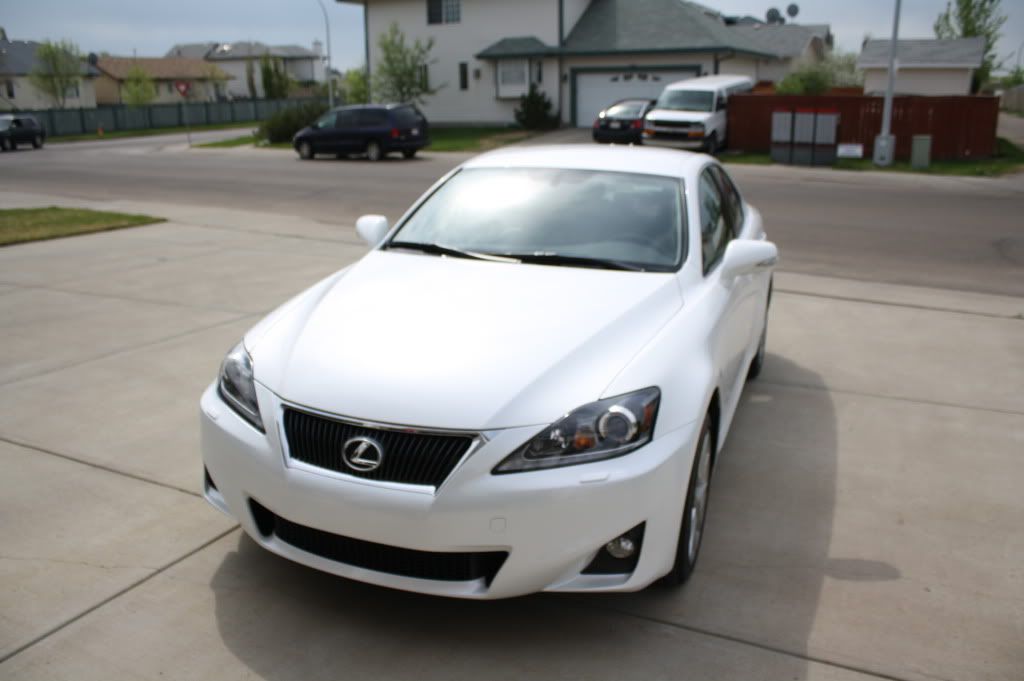
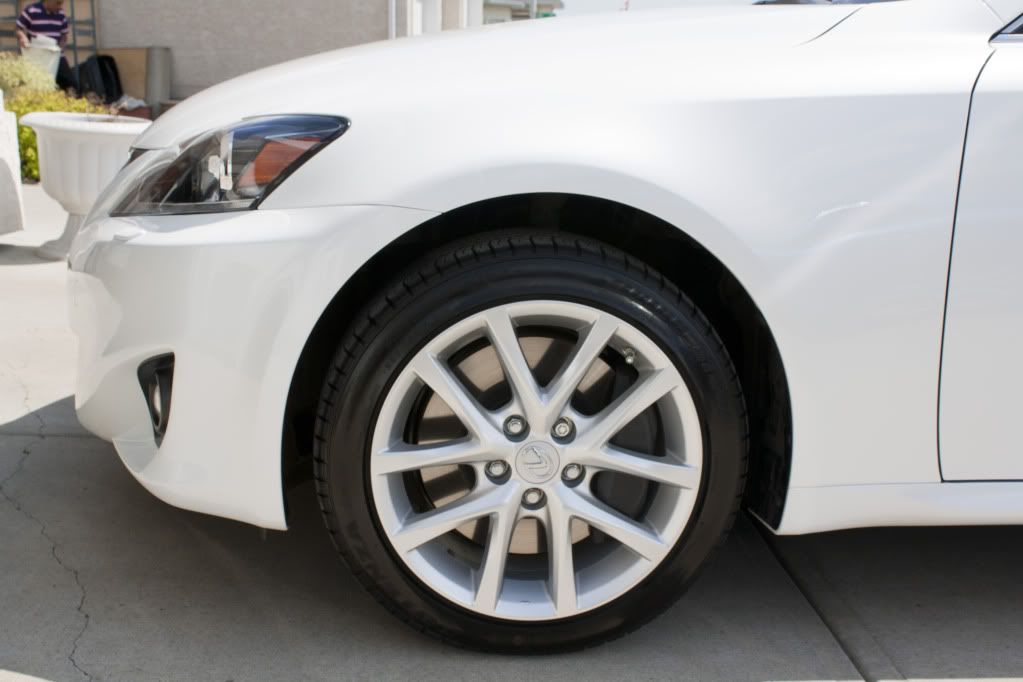
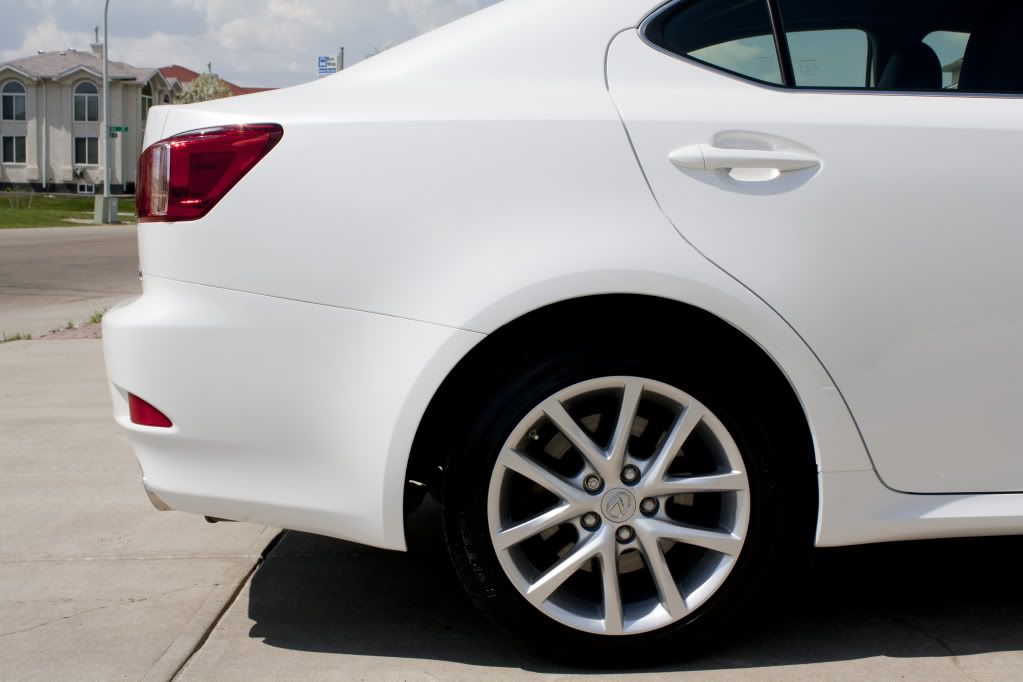
Our friend has taken delivery of this 2011 IS350 in Starfire Pearl just 6 months ago in the middle of winter here in Edmonton, Alberta. V|nsan|ty and I knew this was going to be more than just a quick detail job as it has faced our harsh winters and the dealership fiasco with no protection. Here's a quick look at the car before a wash:
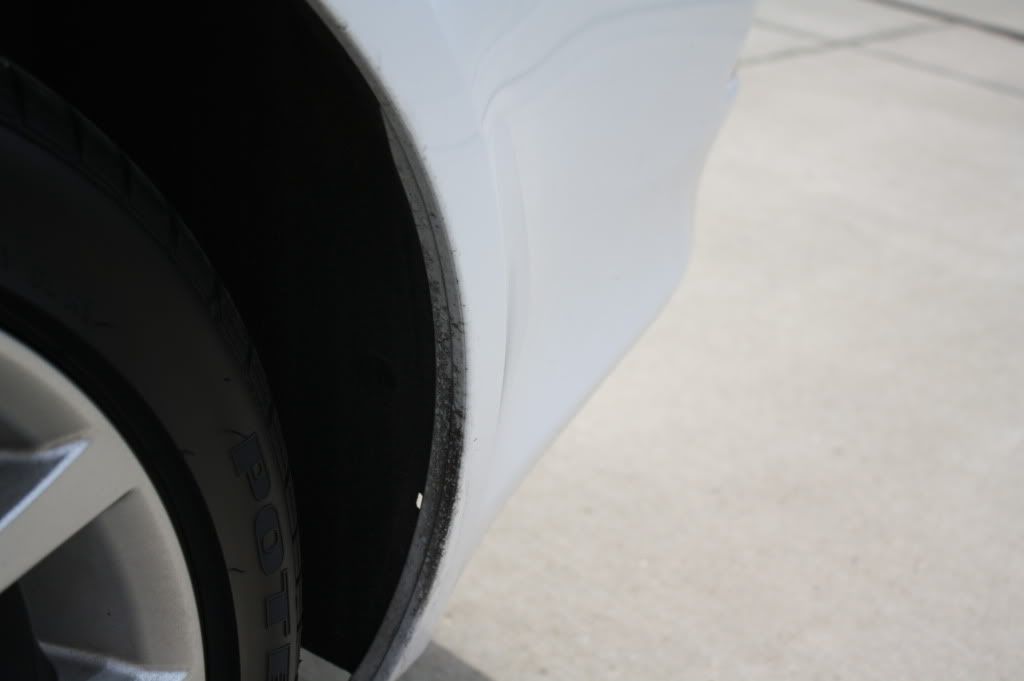
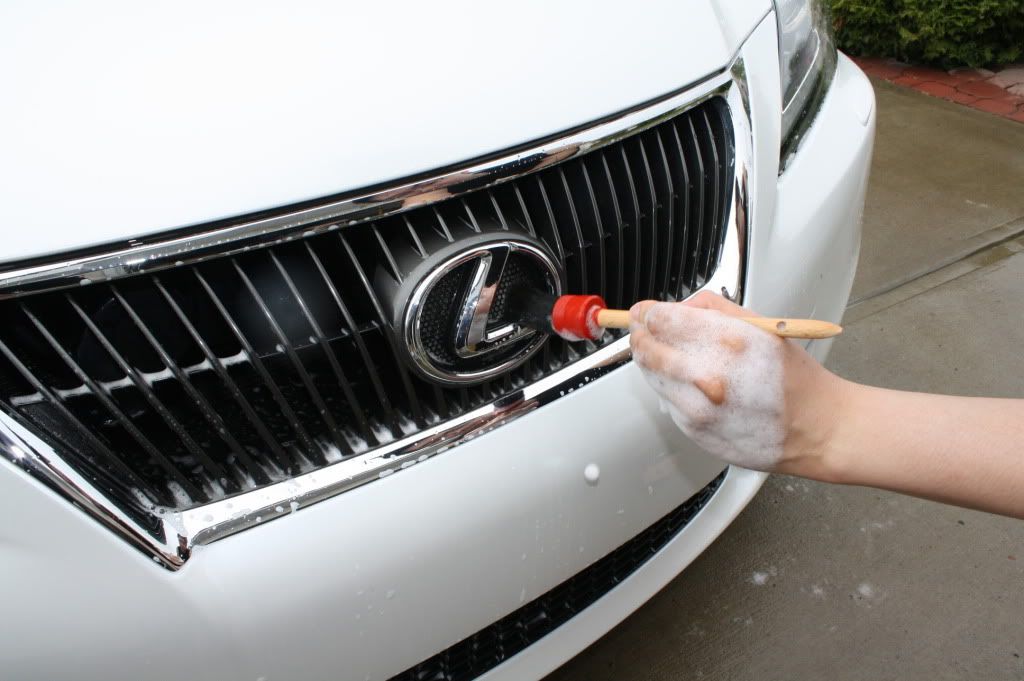
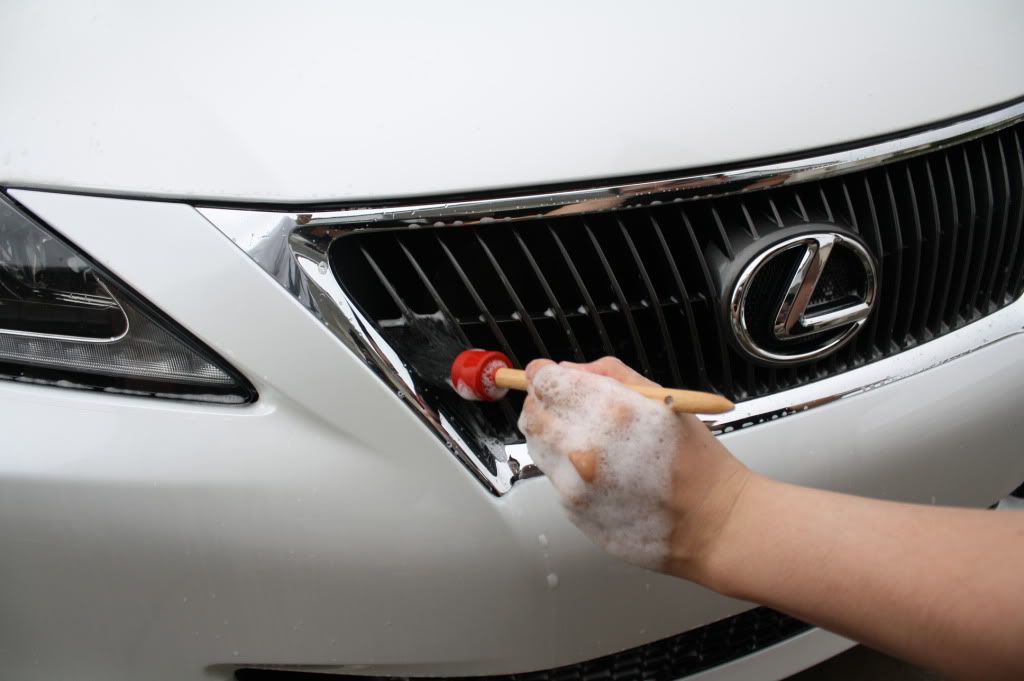
Lets begin! We began with spraying the wheel wells with Chemical Guy's Grime Reaper at a 5:1 dilution and the wheels with Autogylm's Custom Wheel Cleaner.
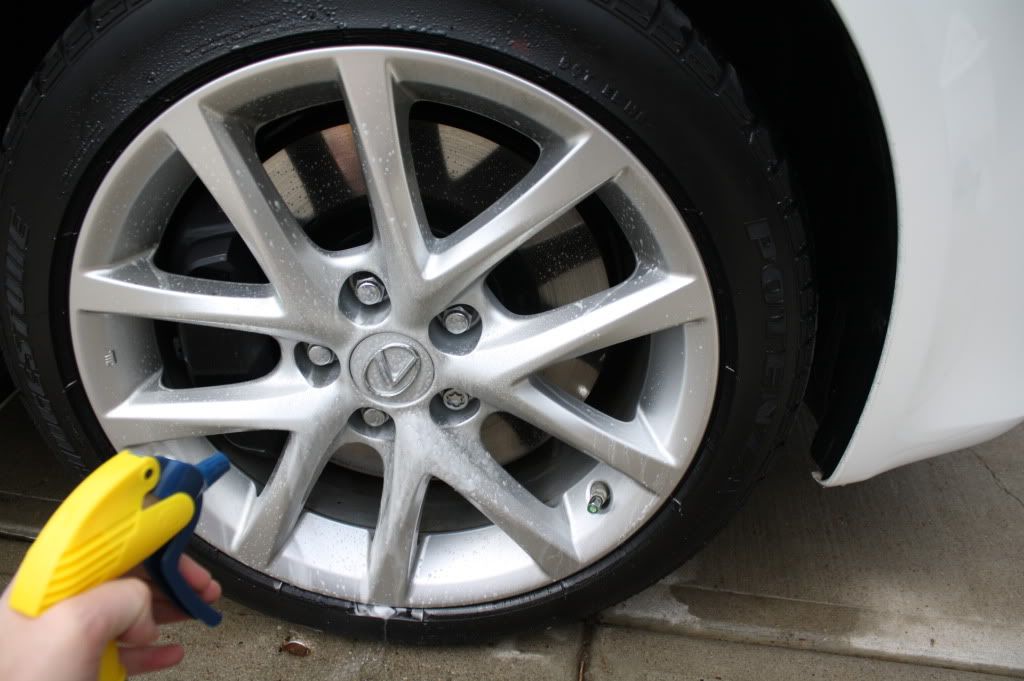
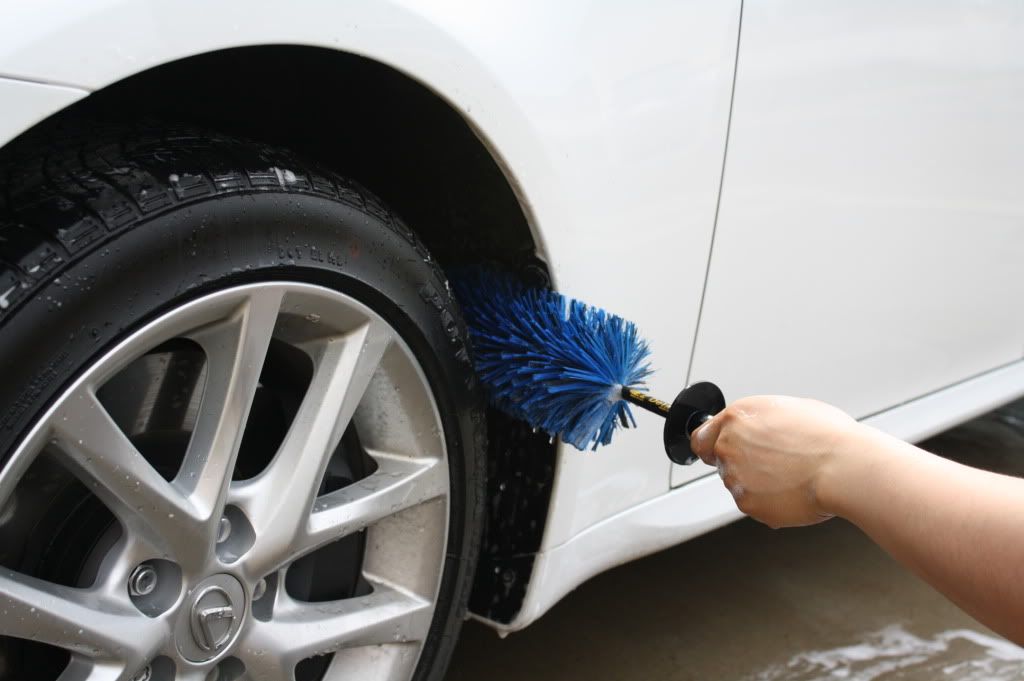
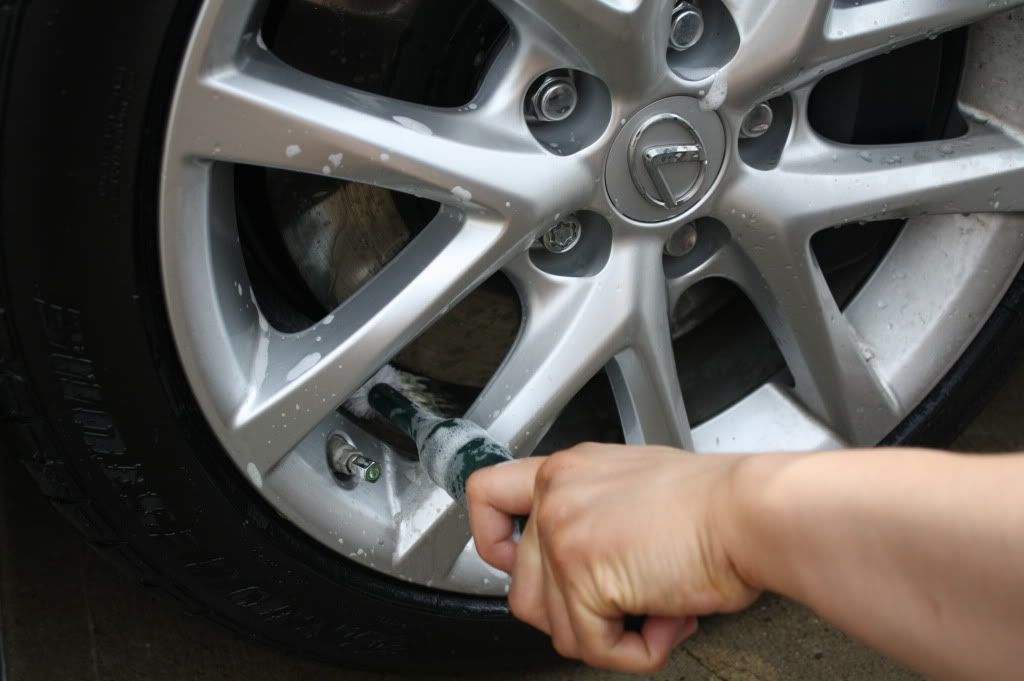
Using a EZ Detailing brush and Swissvax brushes we had at it:
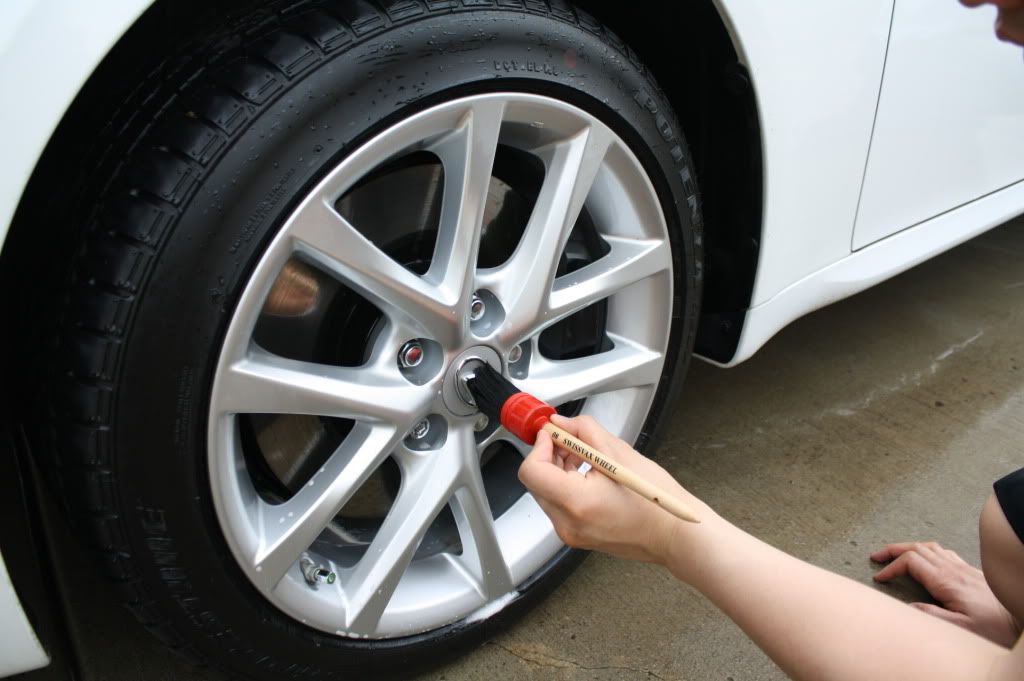
Clean!

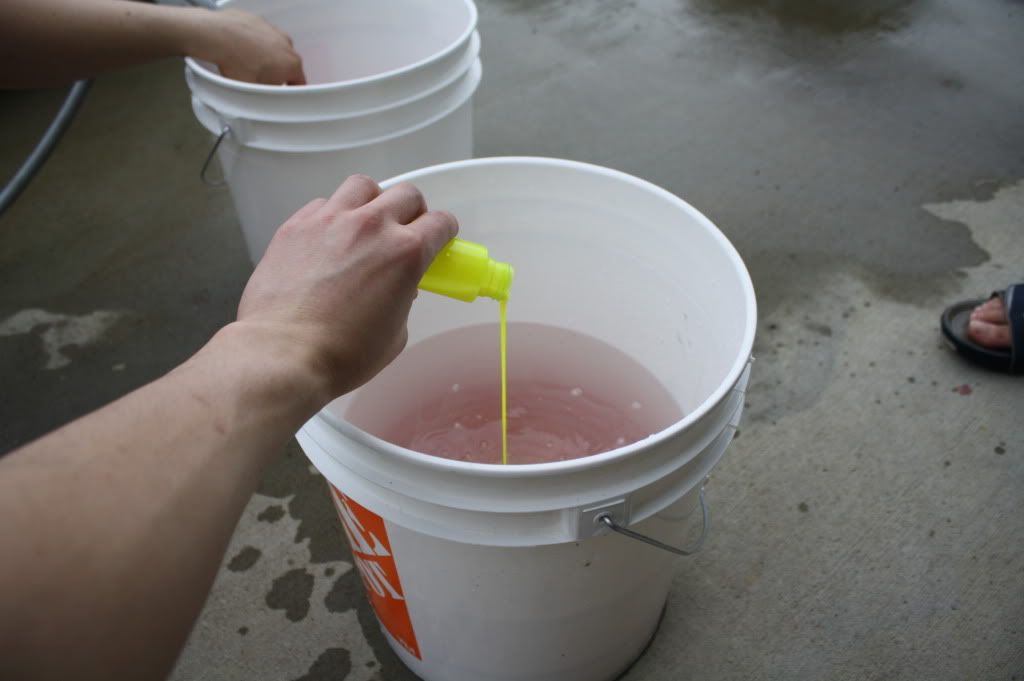
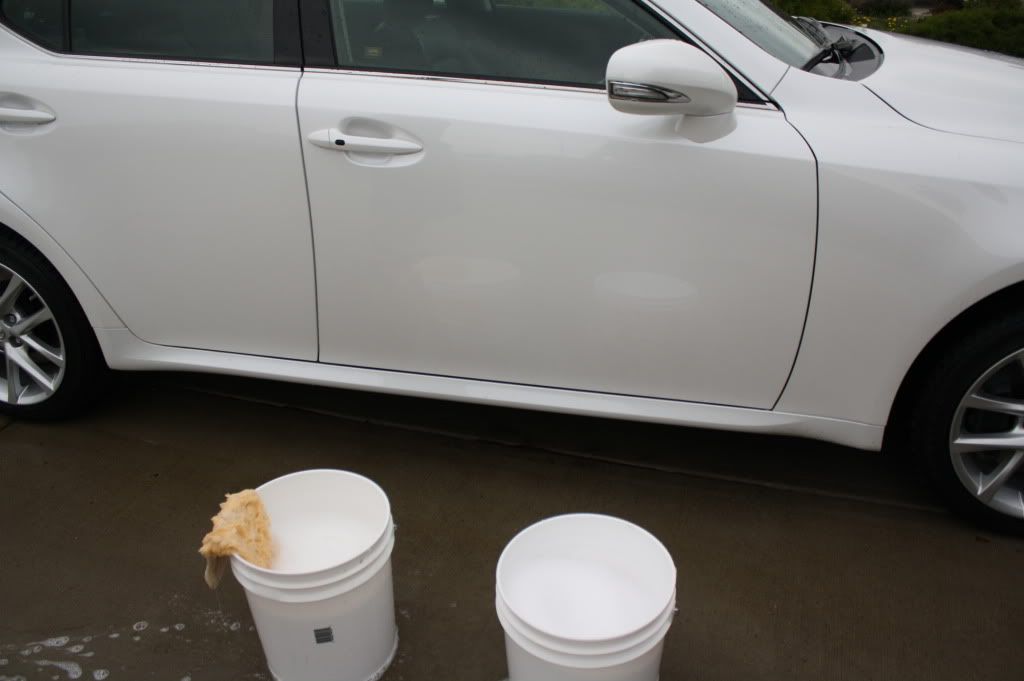
On to the body we used the two bucket method with Chemical Guy's Citrus Wash n Gloss.
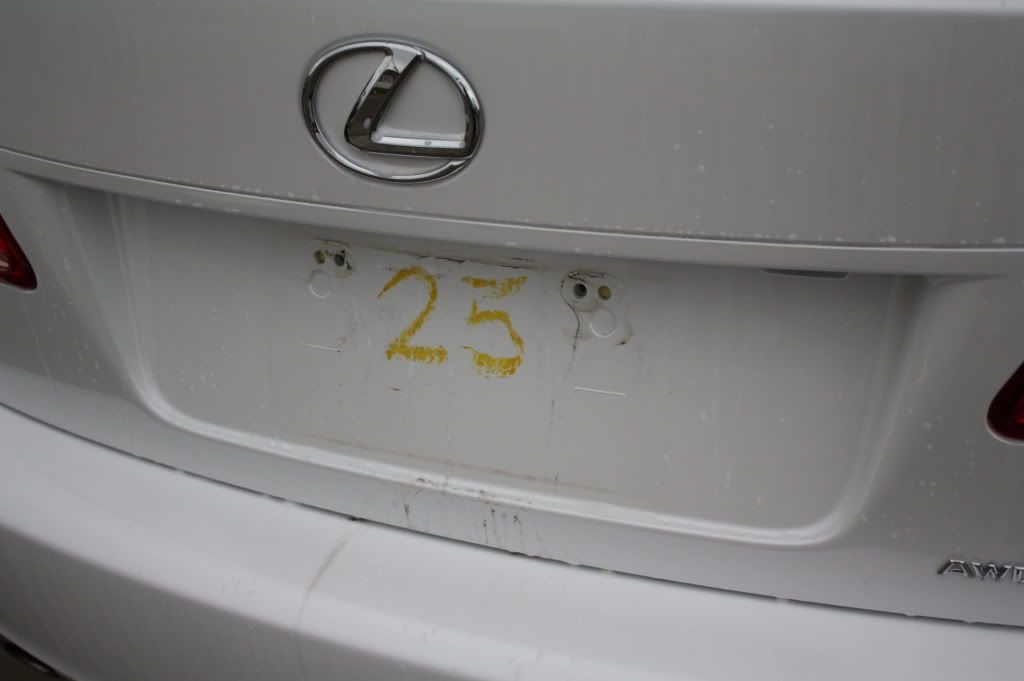
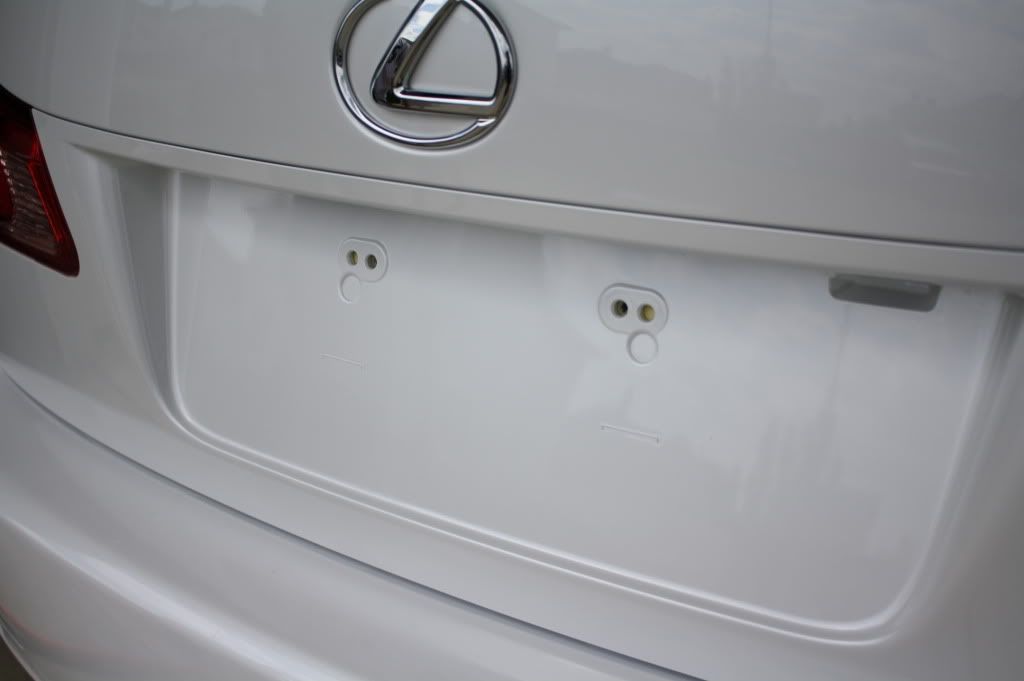
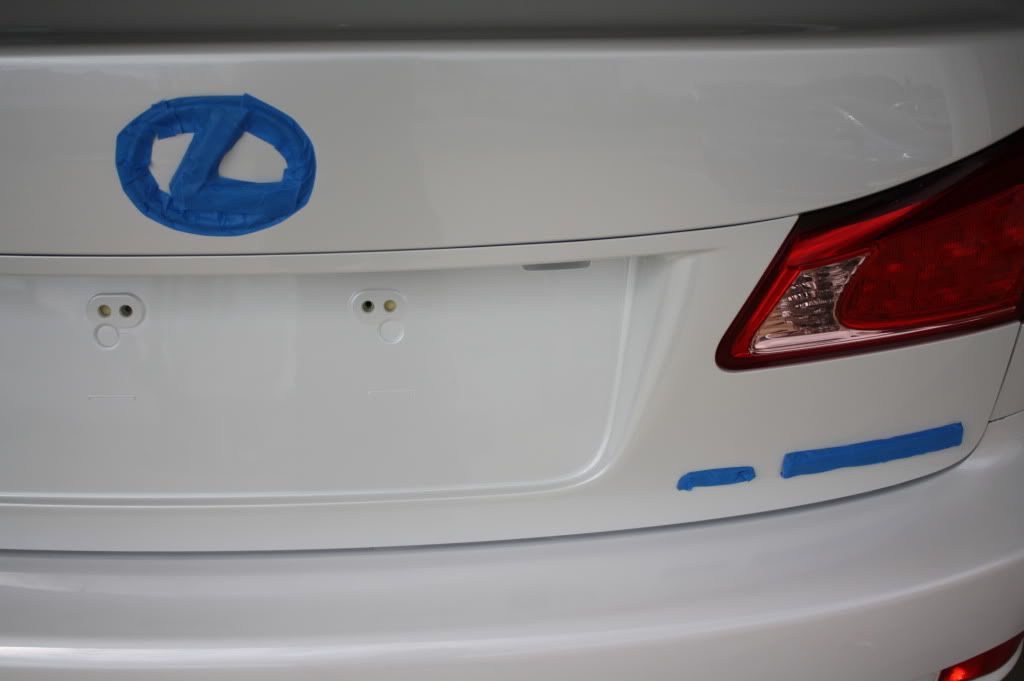
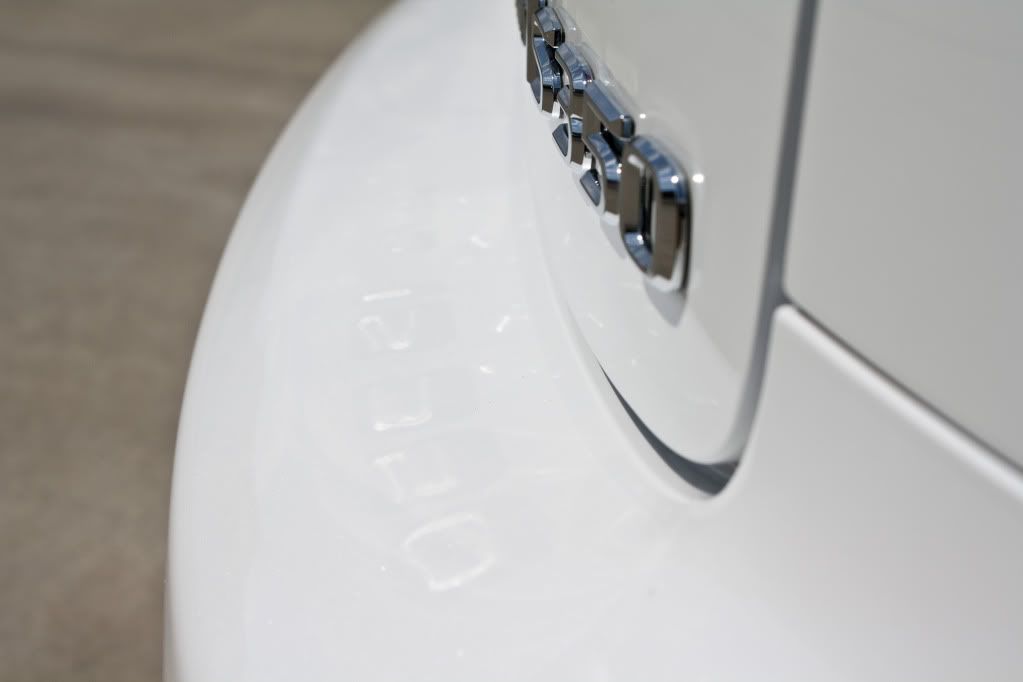
Took off the license plate and we saw this: Yikes!
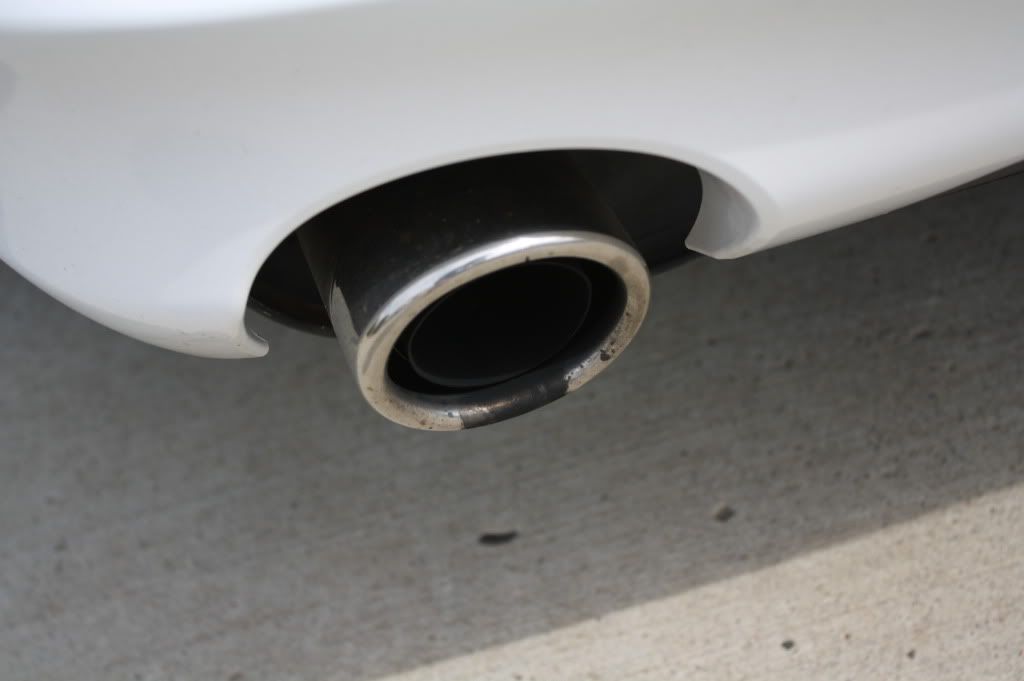
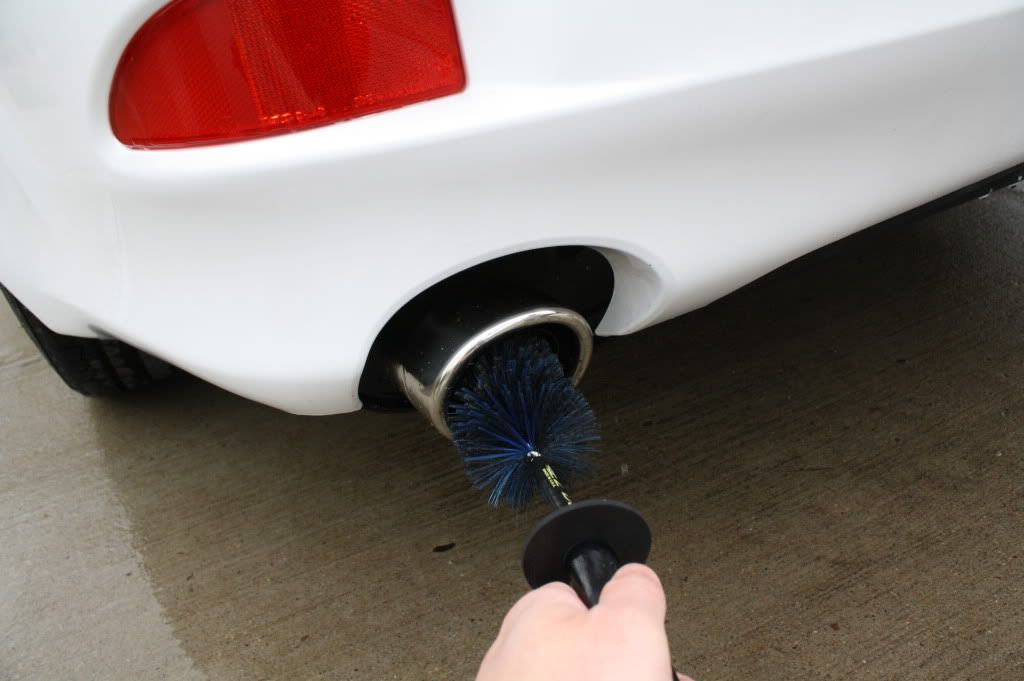
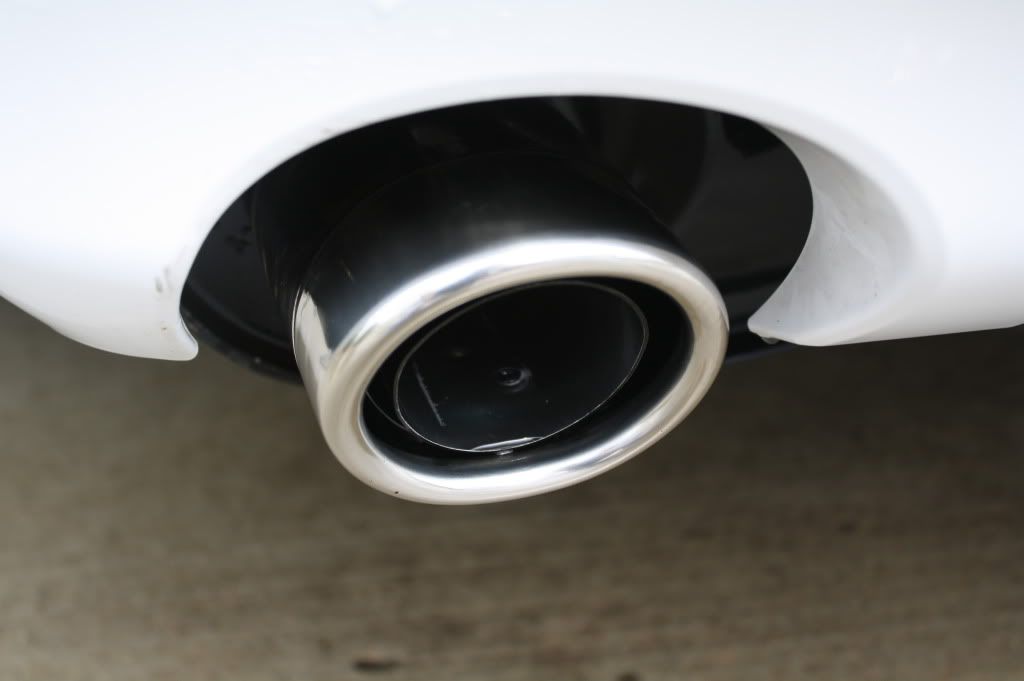
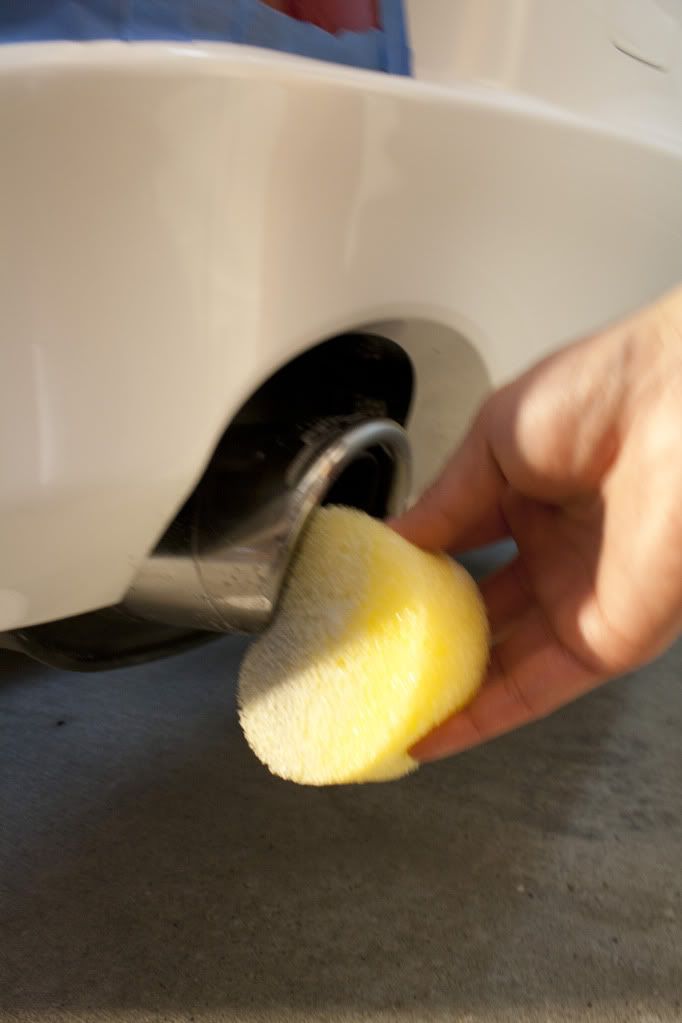
Exhaust tips were cleaned using Grime Reaper at a 5:1 dilution and a EZ Detailing brush was used in addition to detailing steel wool:
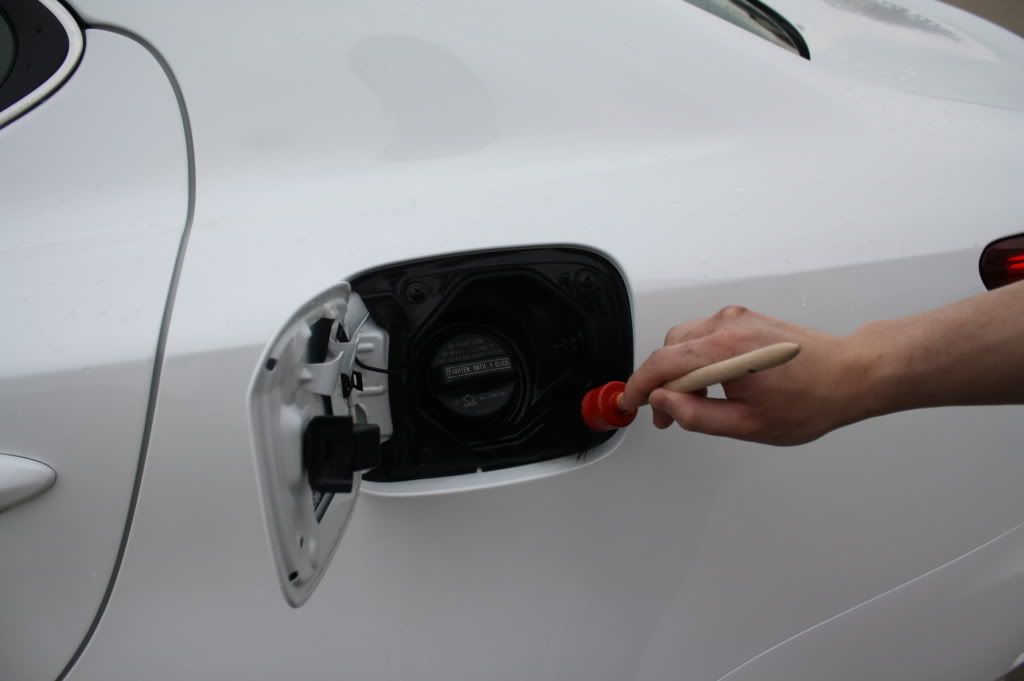
More cleaning:
Remember the picture earlier of what we found after the removal of the license plate?
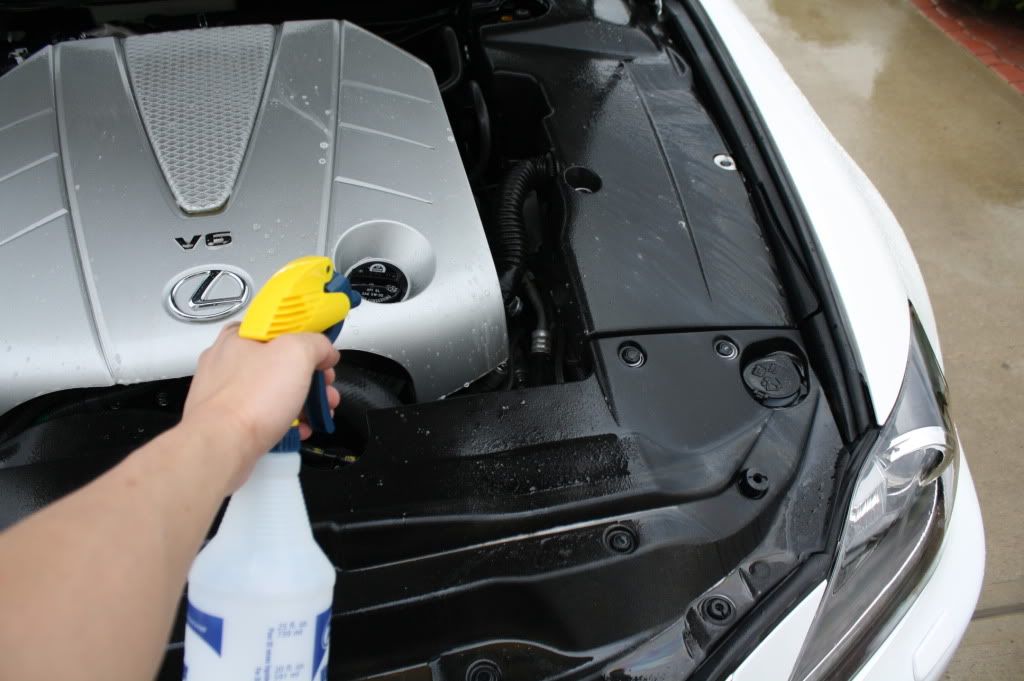
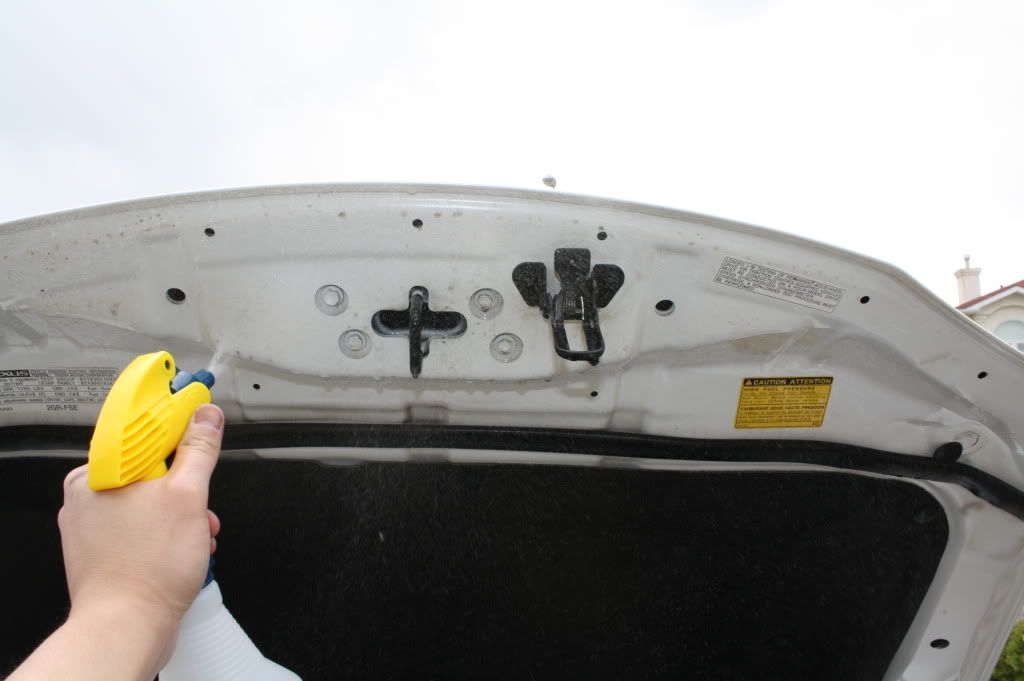
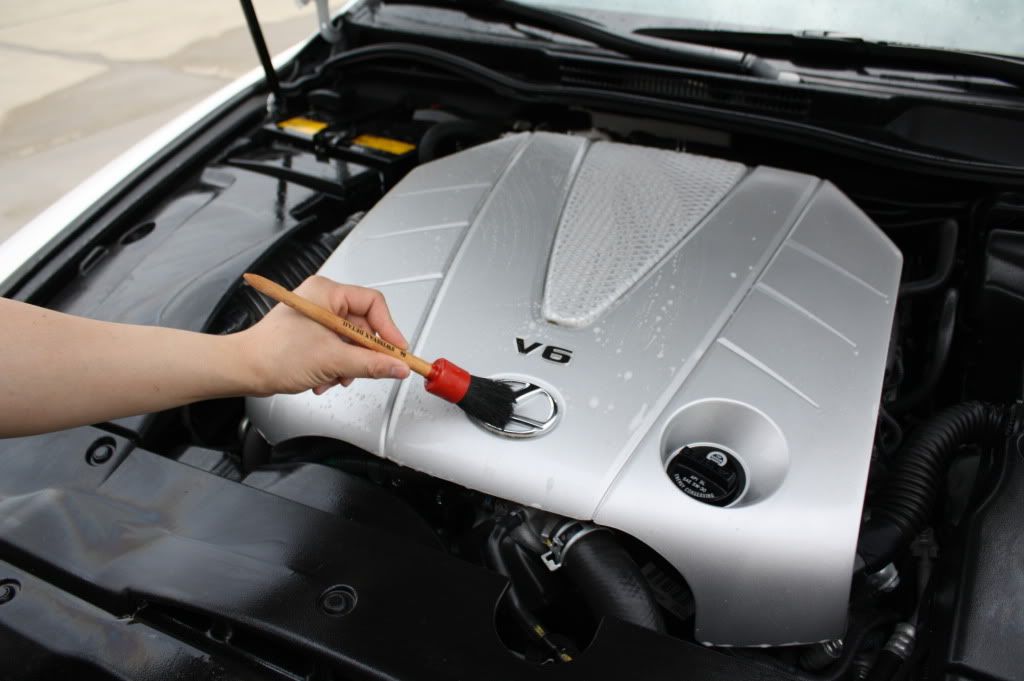
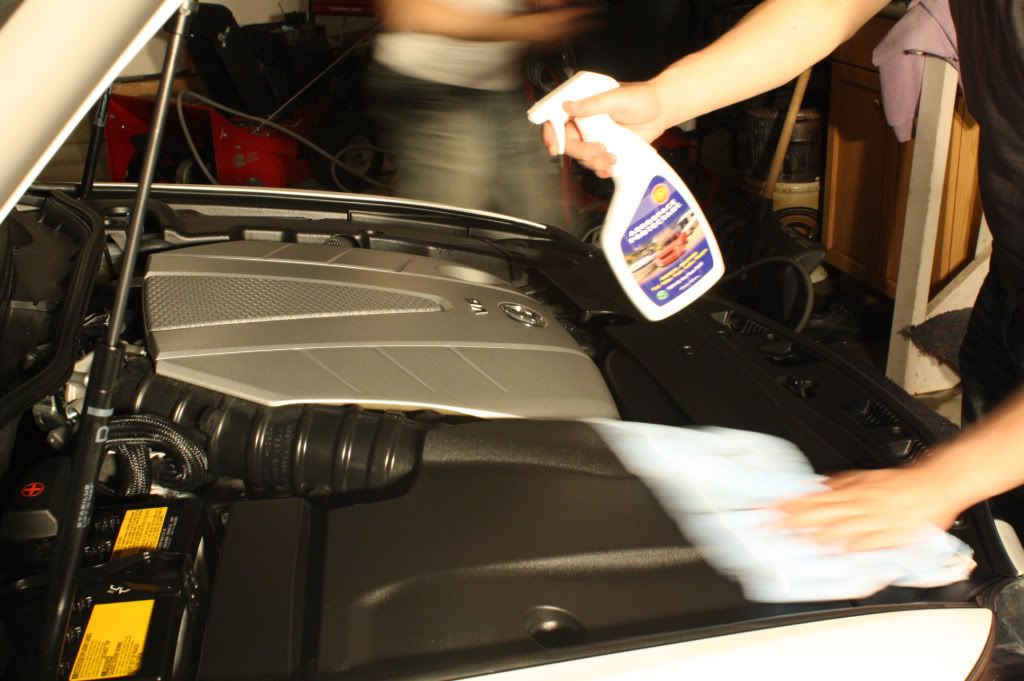
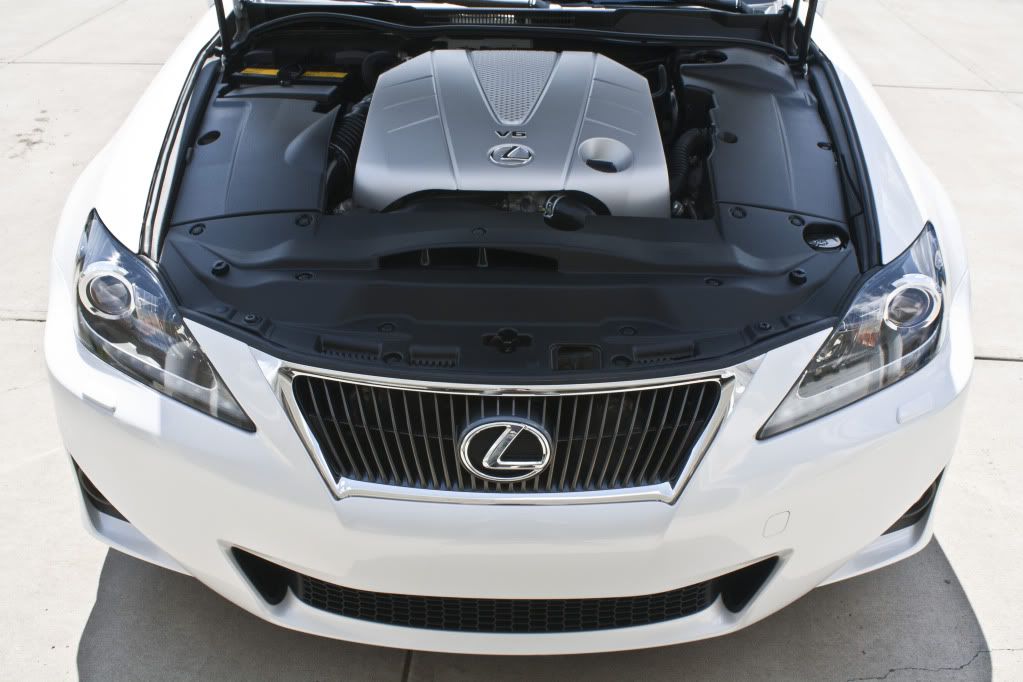
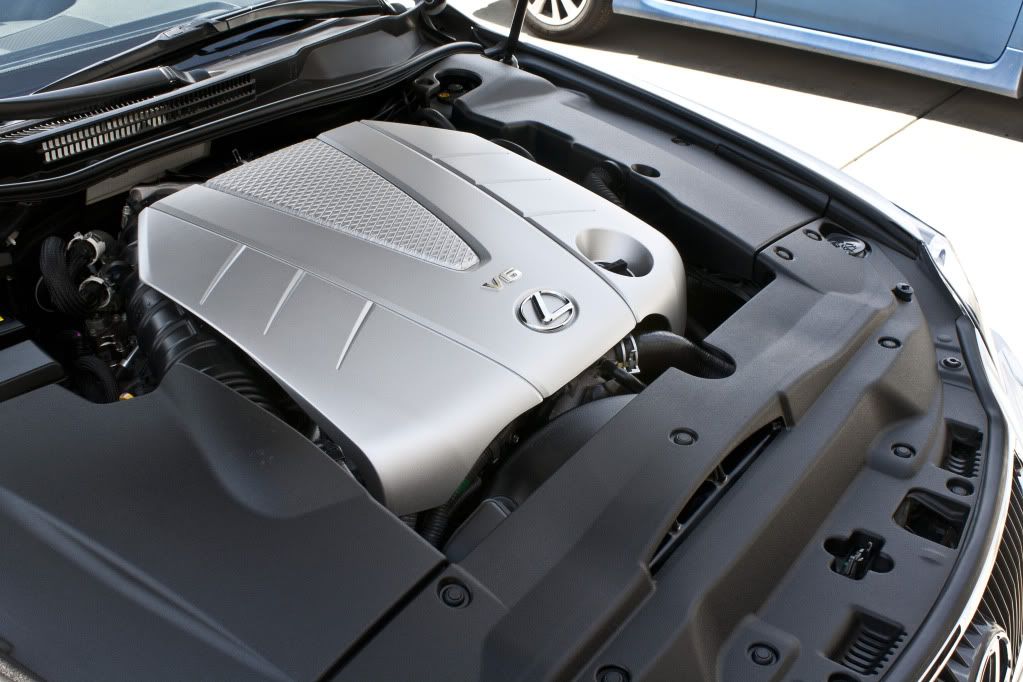
Engine bay was in good shape so we sprayed with a more dilute 8:1 Grime Reaper and scrubbed as well:
Clean:
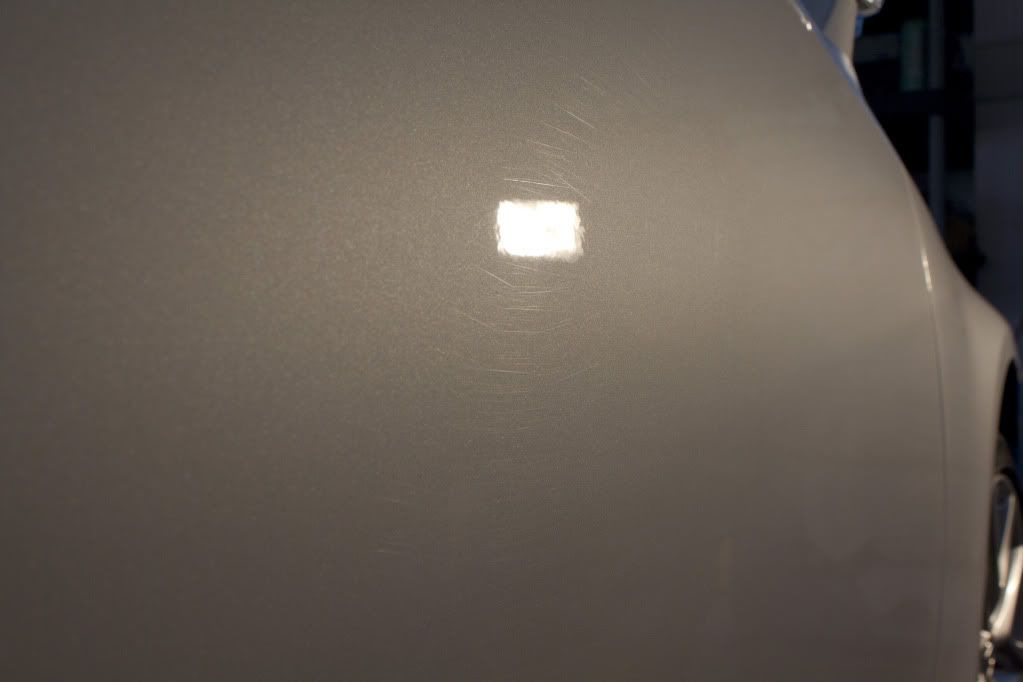
After the wash we bring it in for some claying:
Pretty good shape:

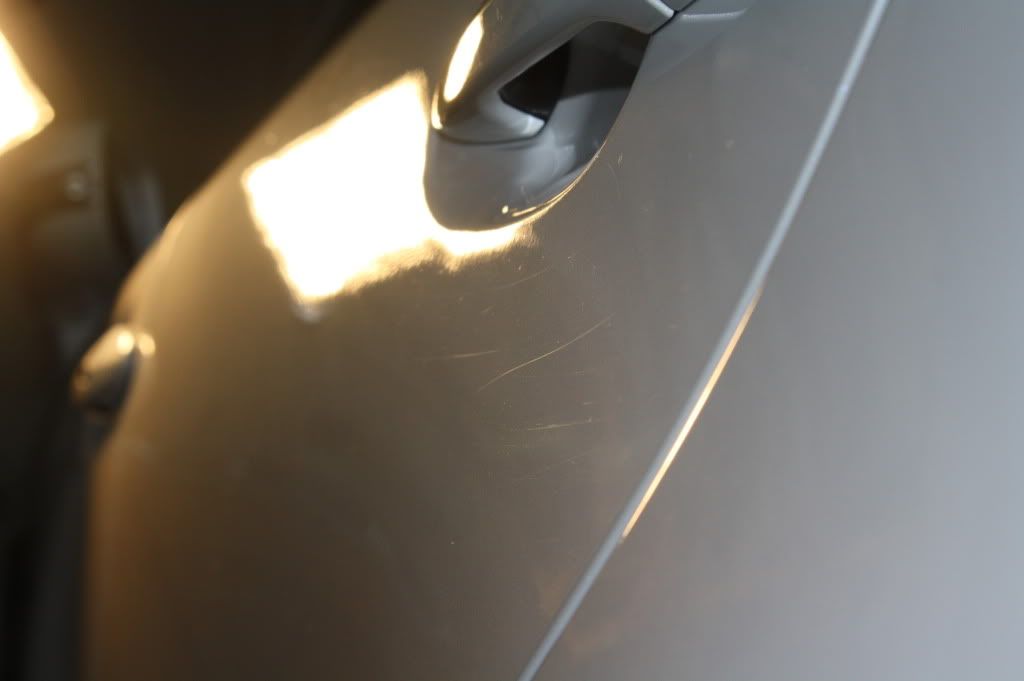
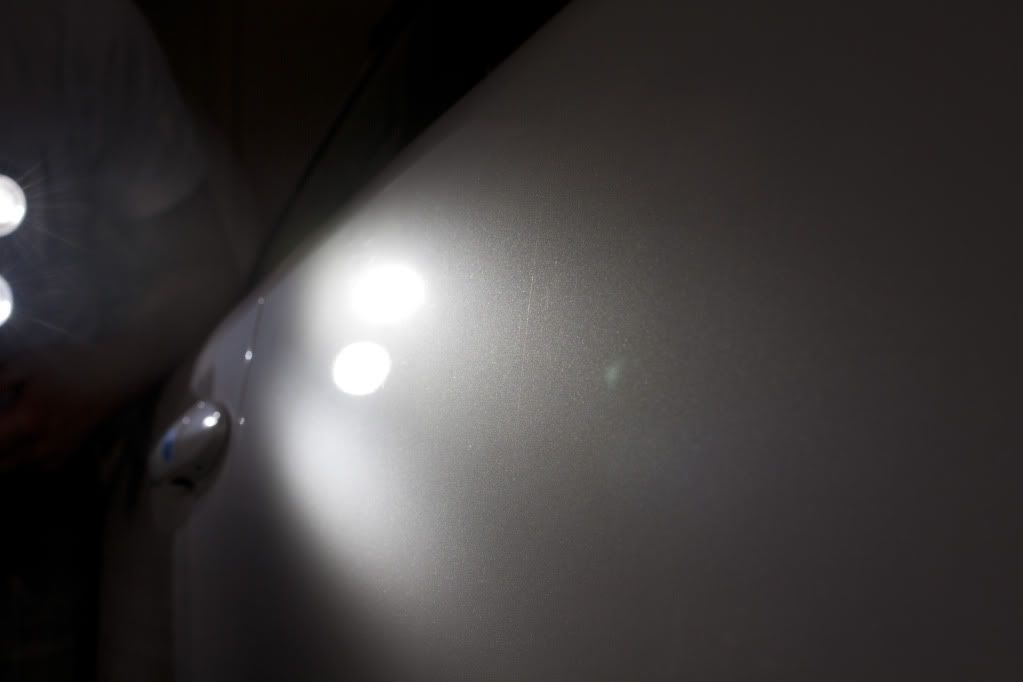
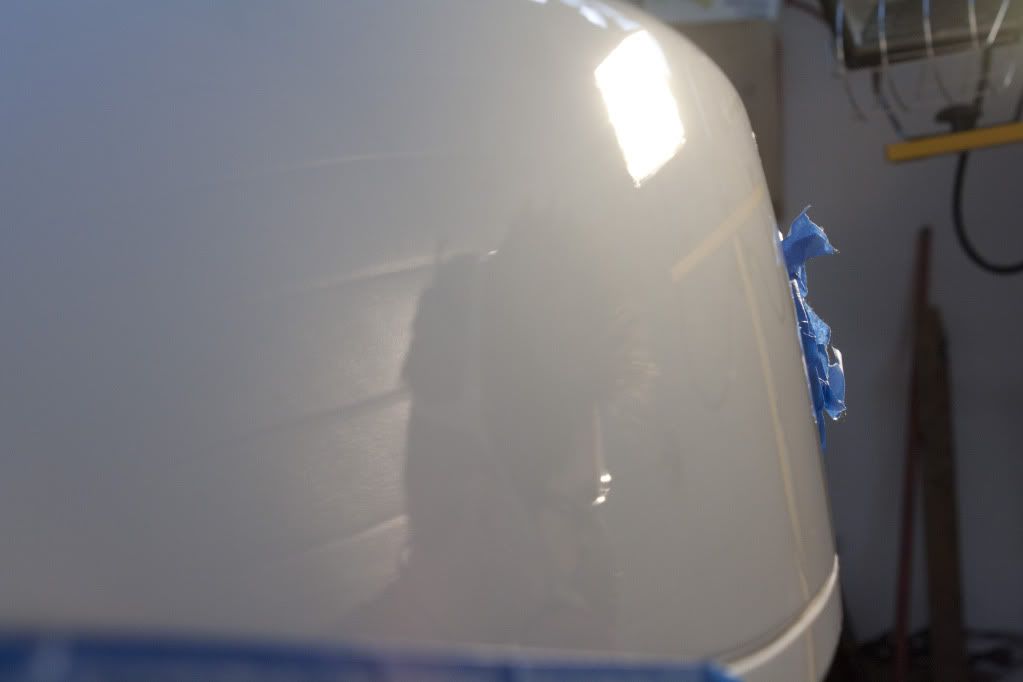
Initial impressions of the paintwork, not good for a vehicle 6 months old!

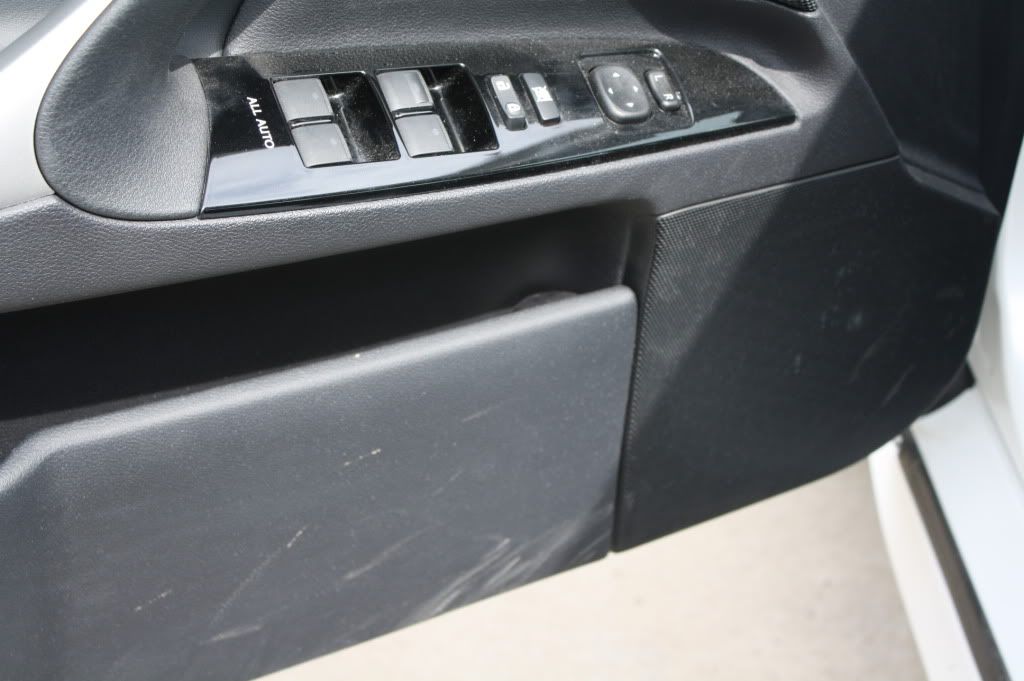
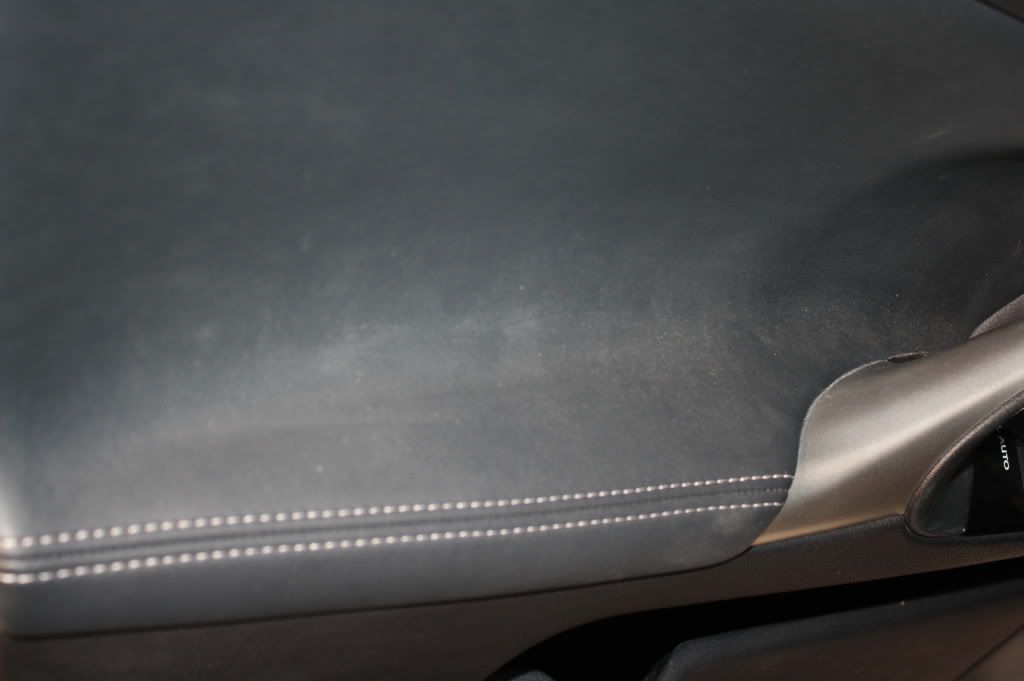
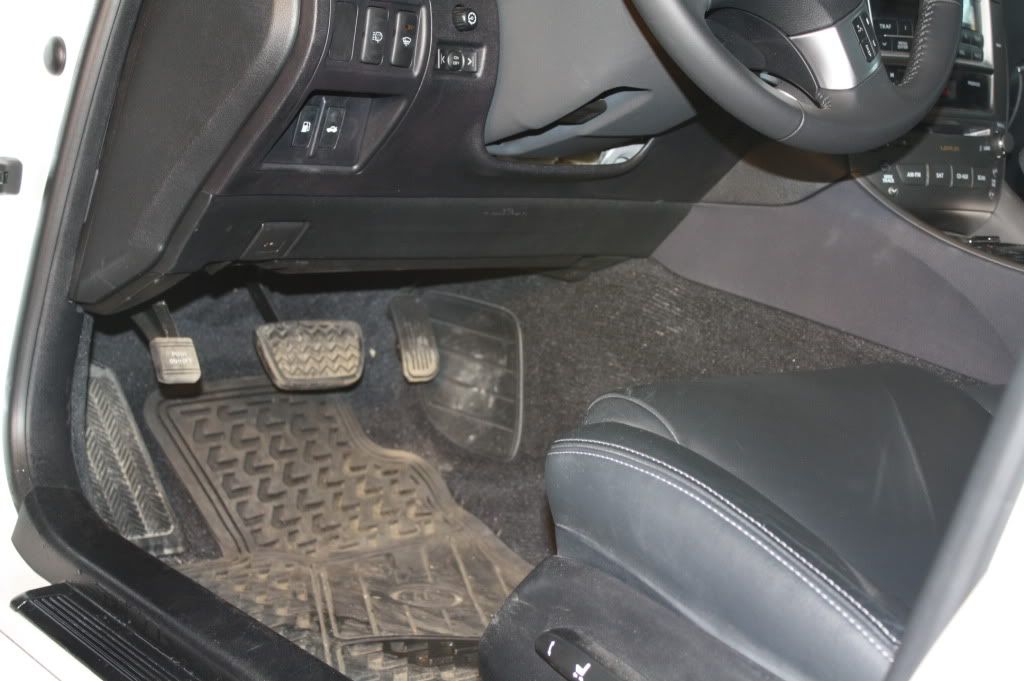
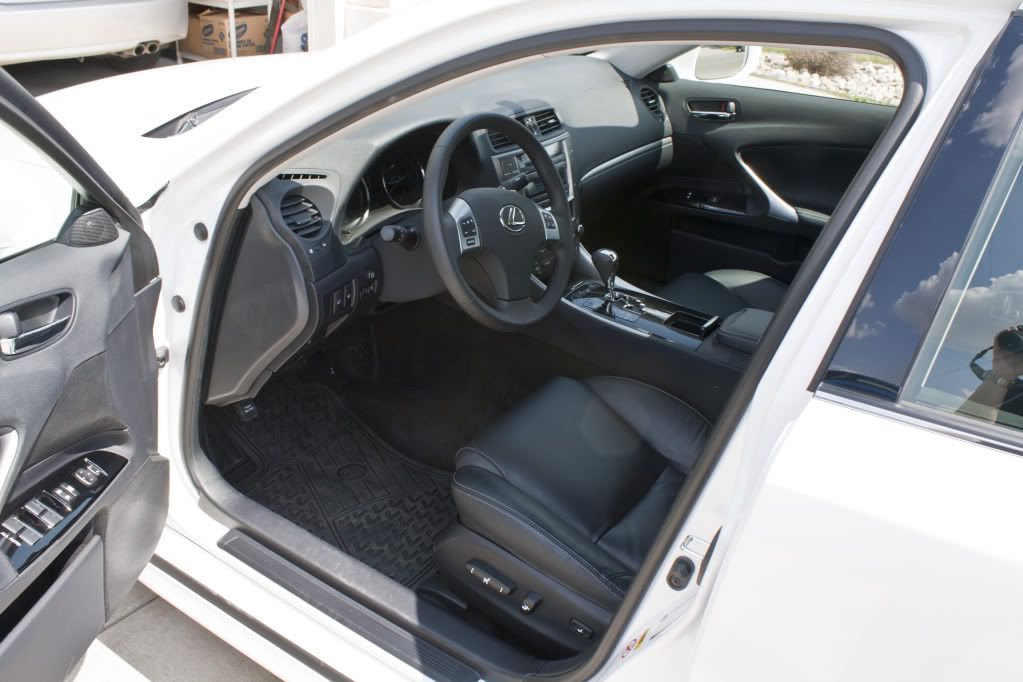
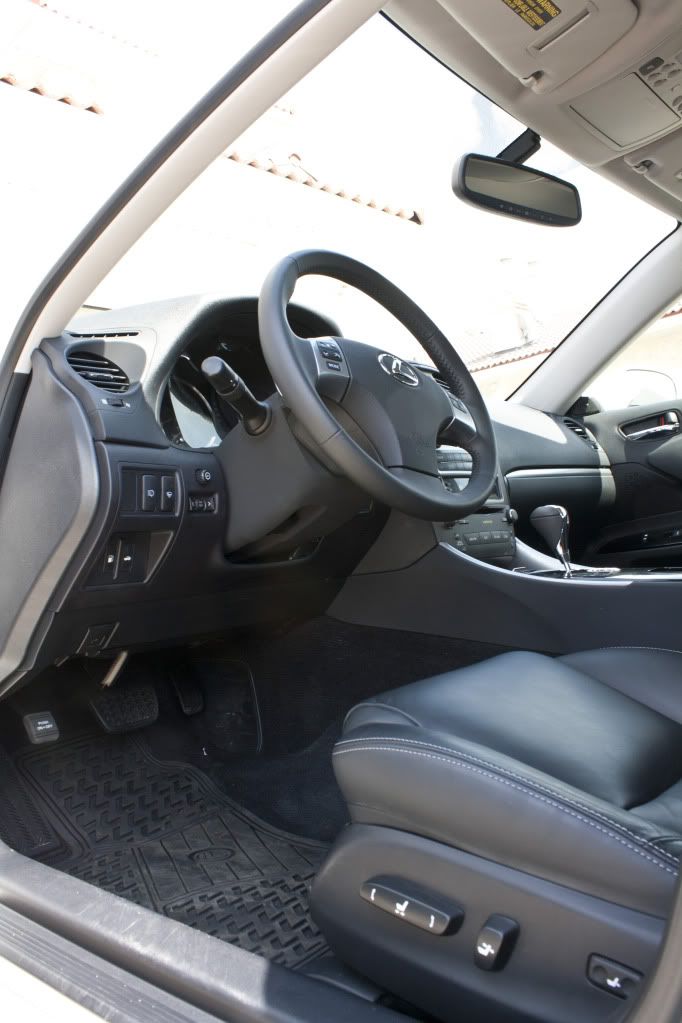
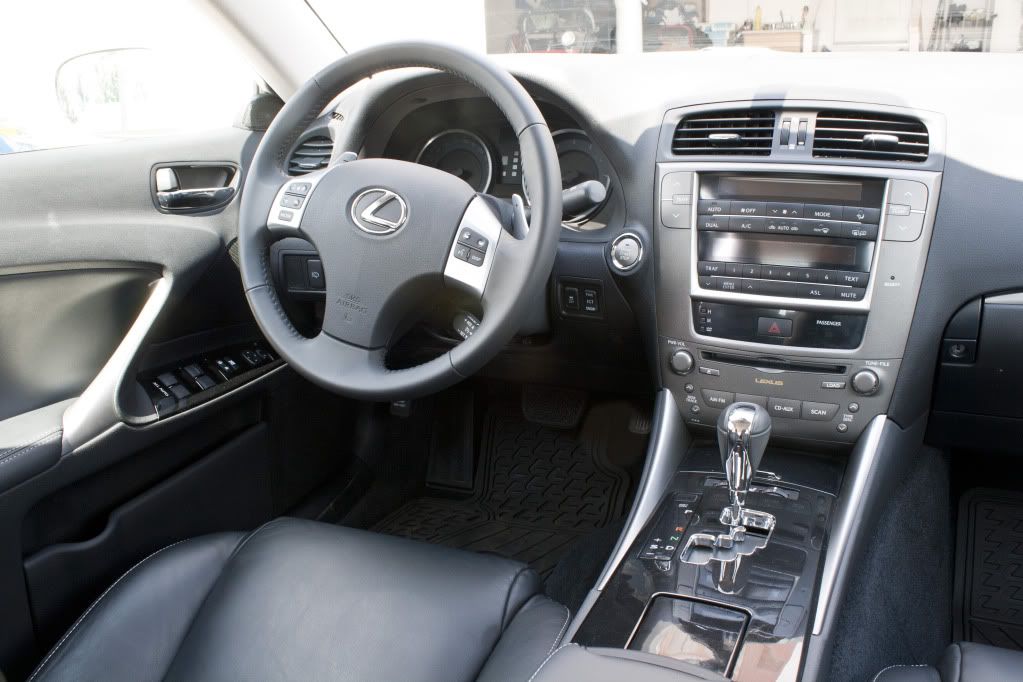
Interior needs some work:
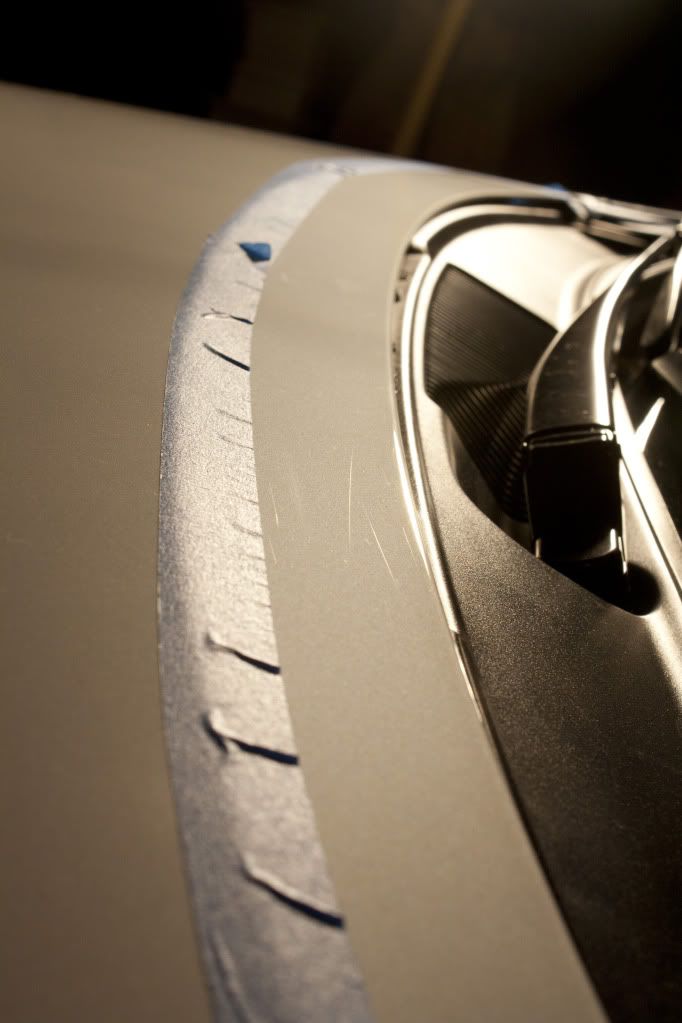
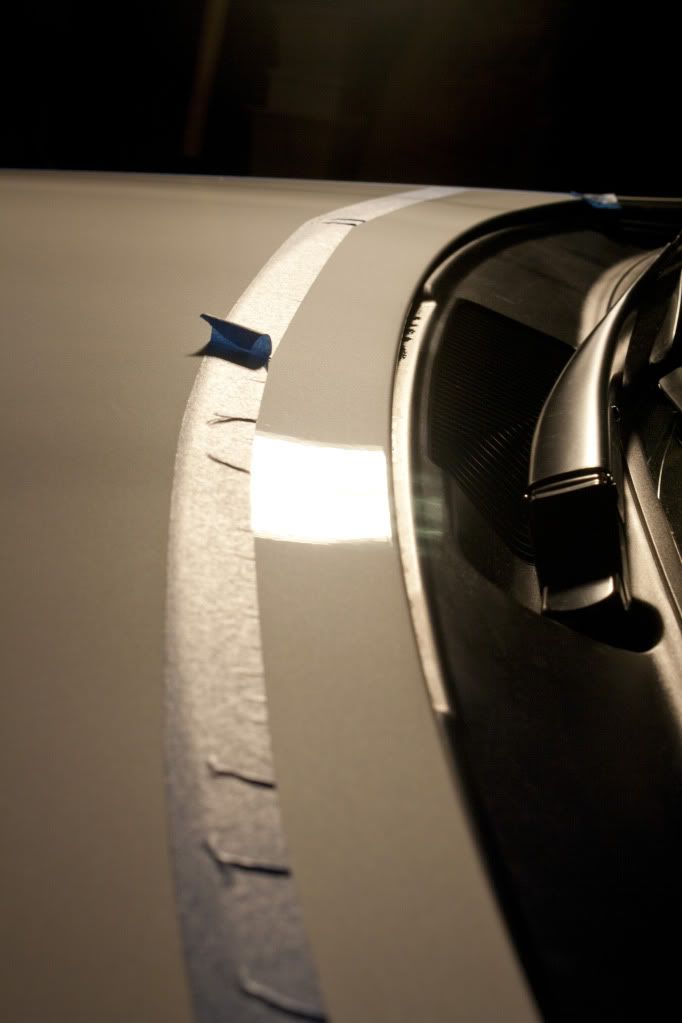
We began taping the car in preparation for the paint correction ahead:

Very messy Vince!

Here is my contribution, Vince was annoyed at the amount of time I spent on this:
While Vince continued to tape off areas I began on the interior.
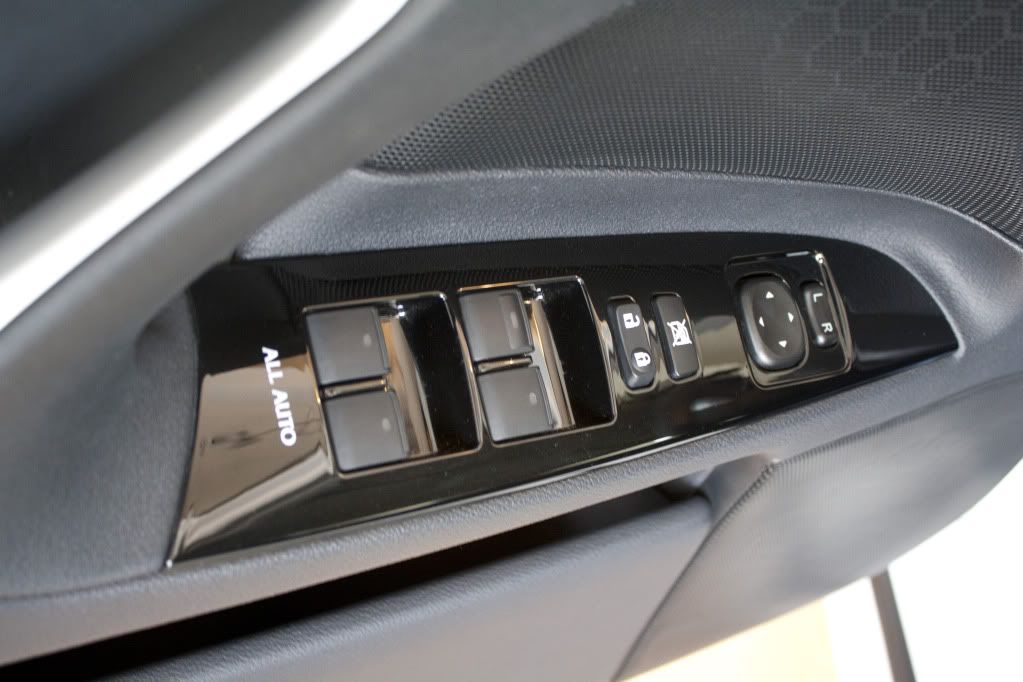
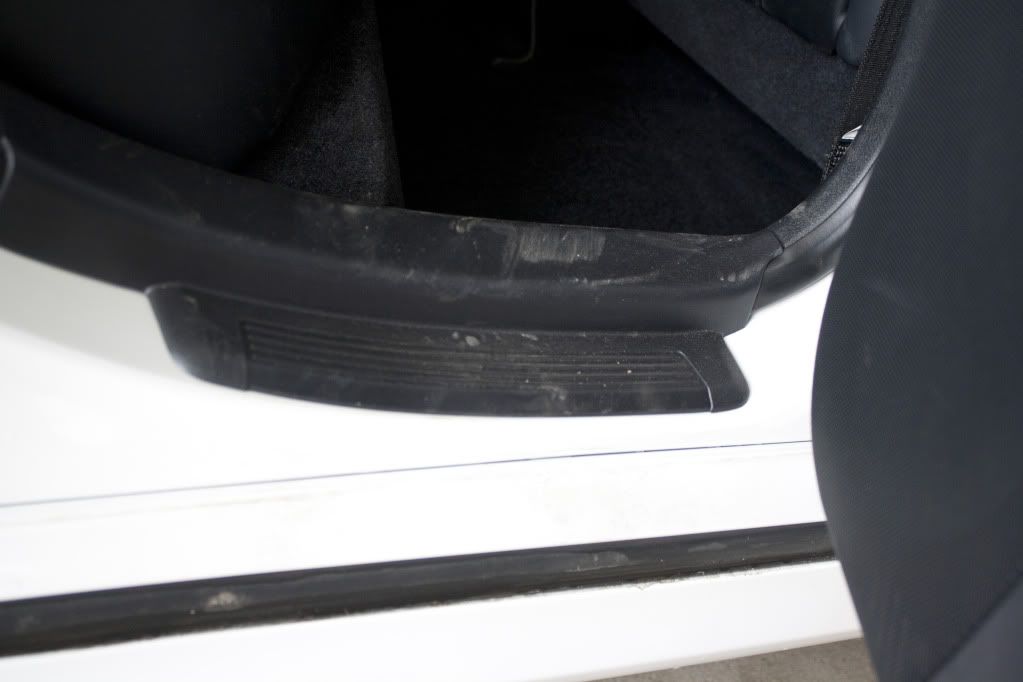
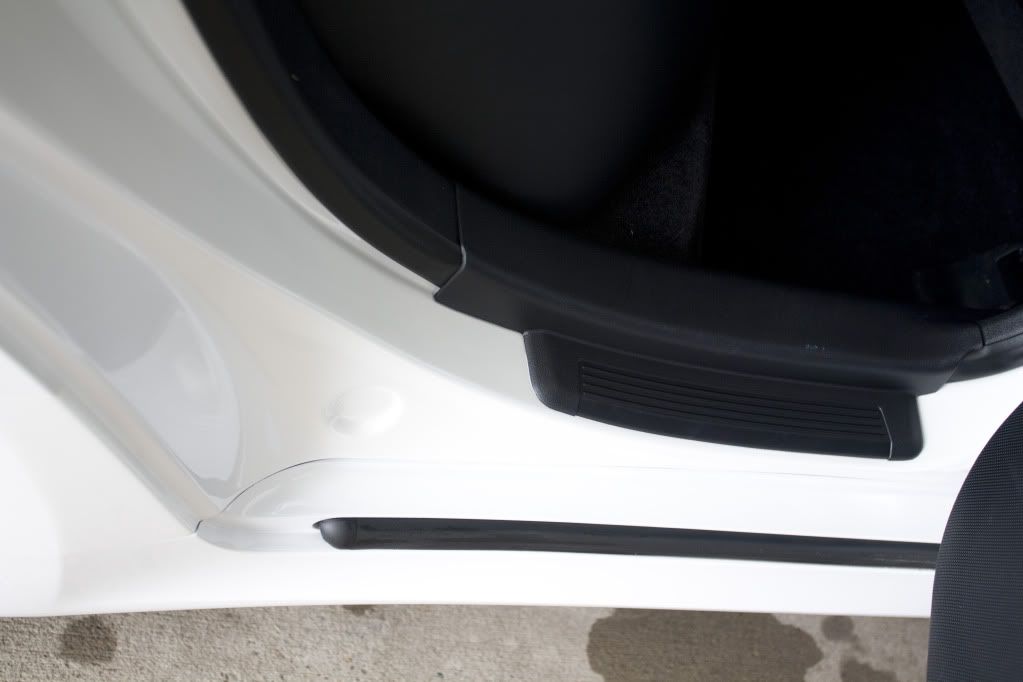
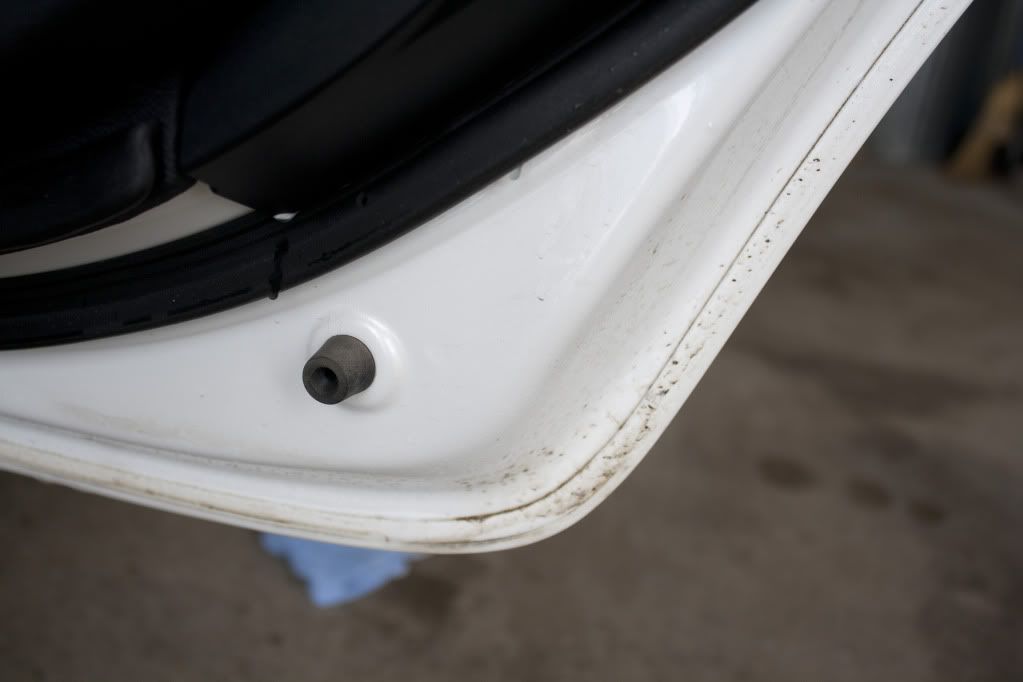
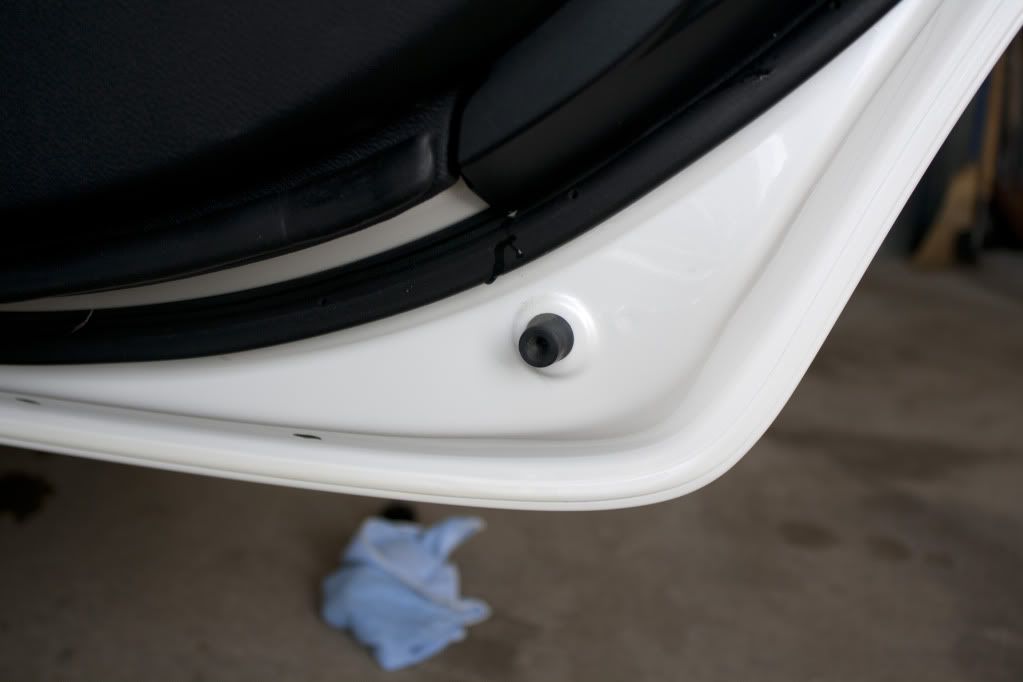
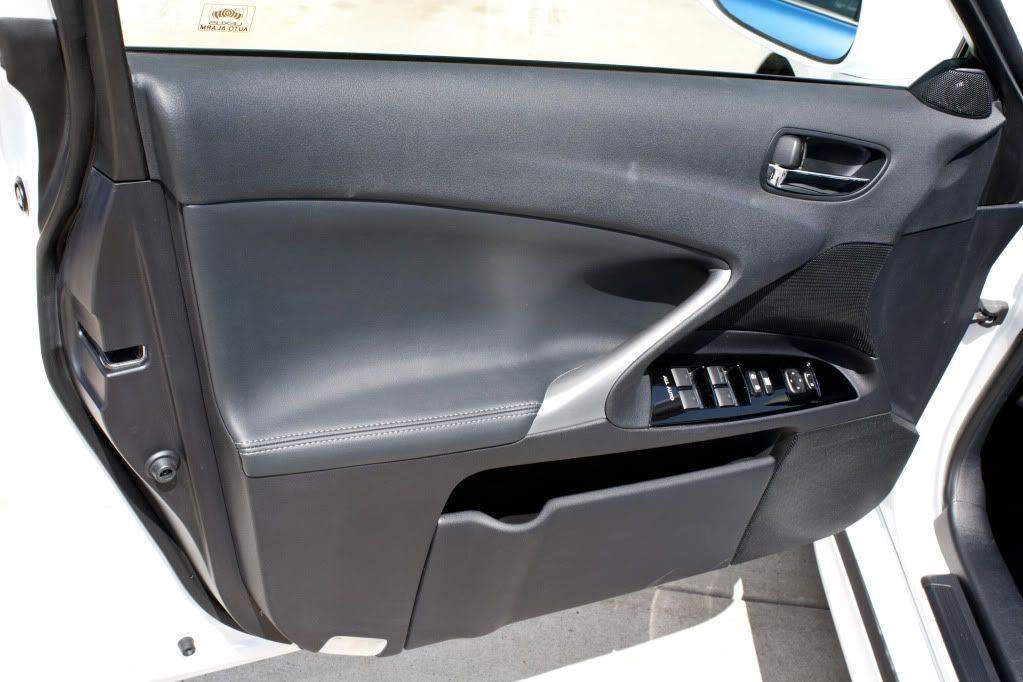
CG Green Clean was used for the plastic trim and door jams:

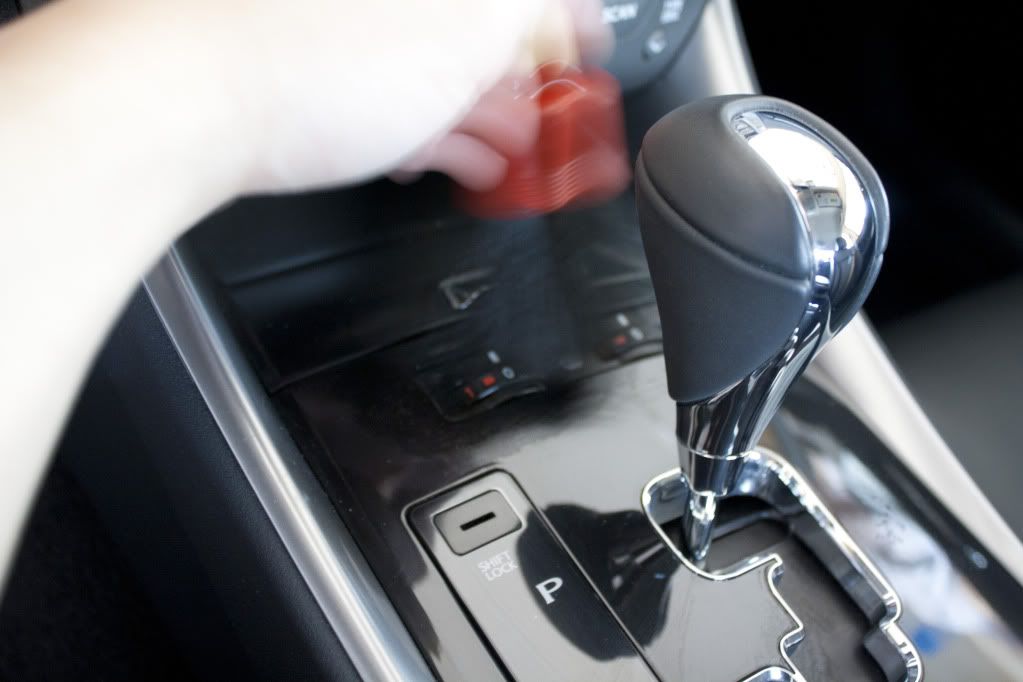
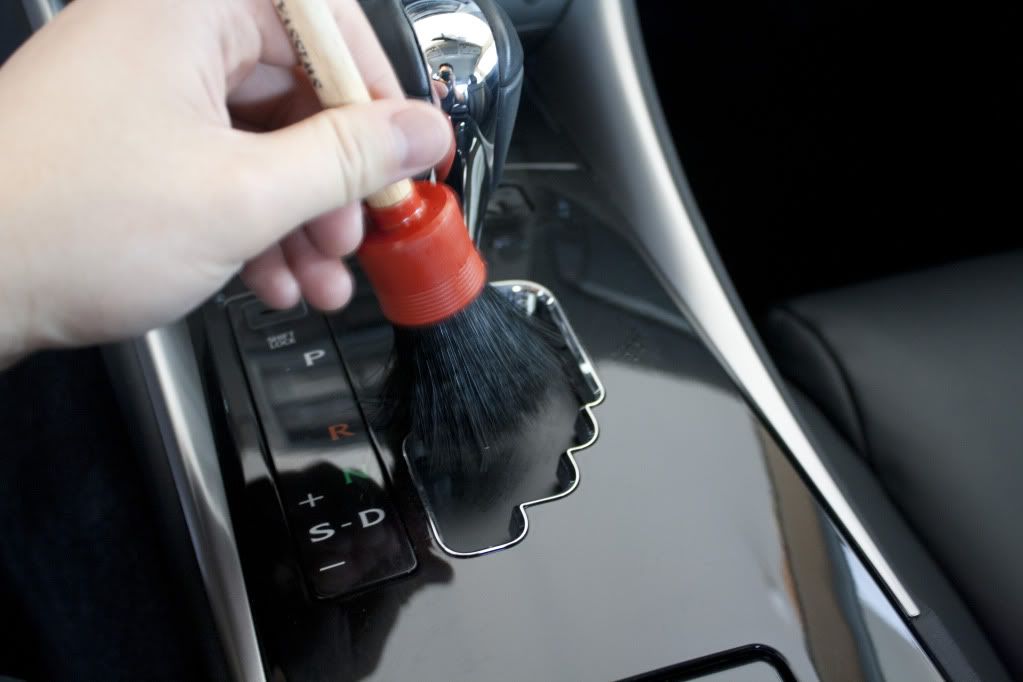
Swissvax brushes worked great!
Leatherique Prestine Clean was used on the seats:
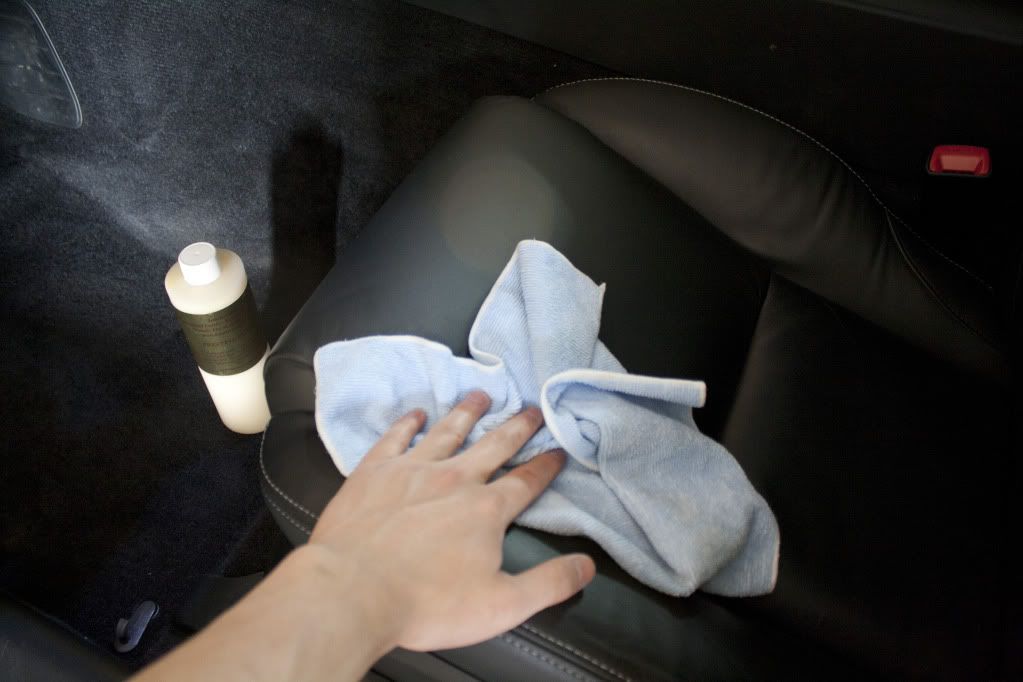
Before:
After:
Before:
After:
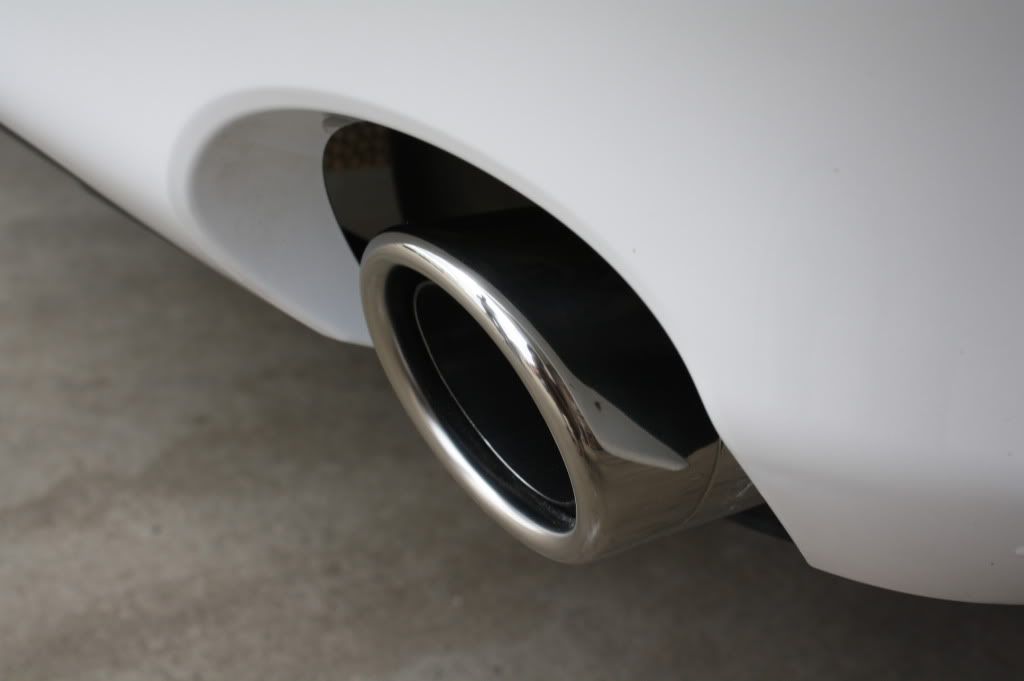
Exhaust tip cleaned using P21s Metal Polish:
Finnished product:
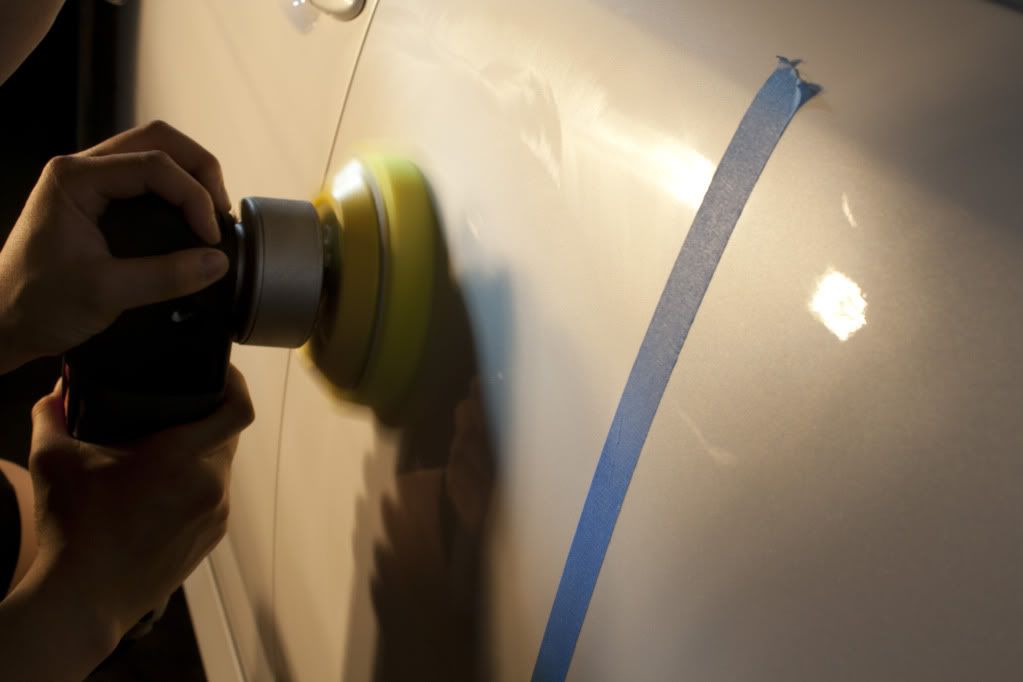
On to the correction. The owner opted for a single stage correction, we first tried Menzerna Power Finnish on a light cutting green pad. After 4 passes we did not get the correction we were looking for as the paint proved to be on the hard side, so we attempted with a heavier cutting Yellow pad:
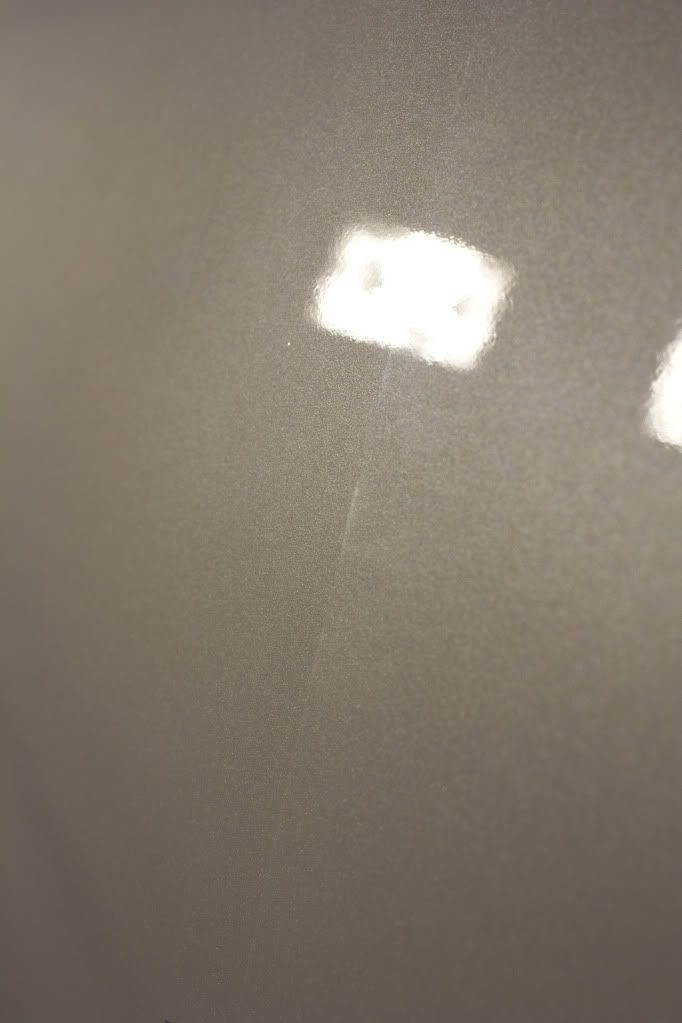
The test:
50/50 to ensure clarity and the finnish of the polish+pad combo:
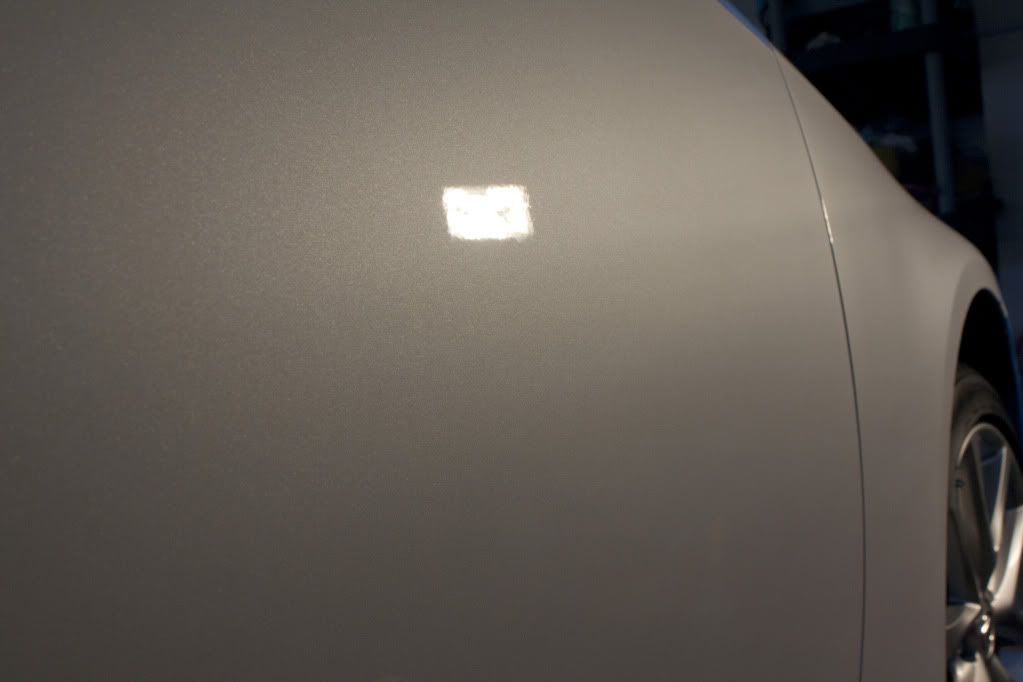
Happy with the results we continued on:
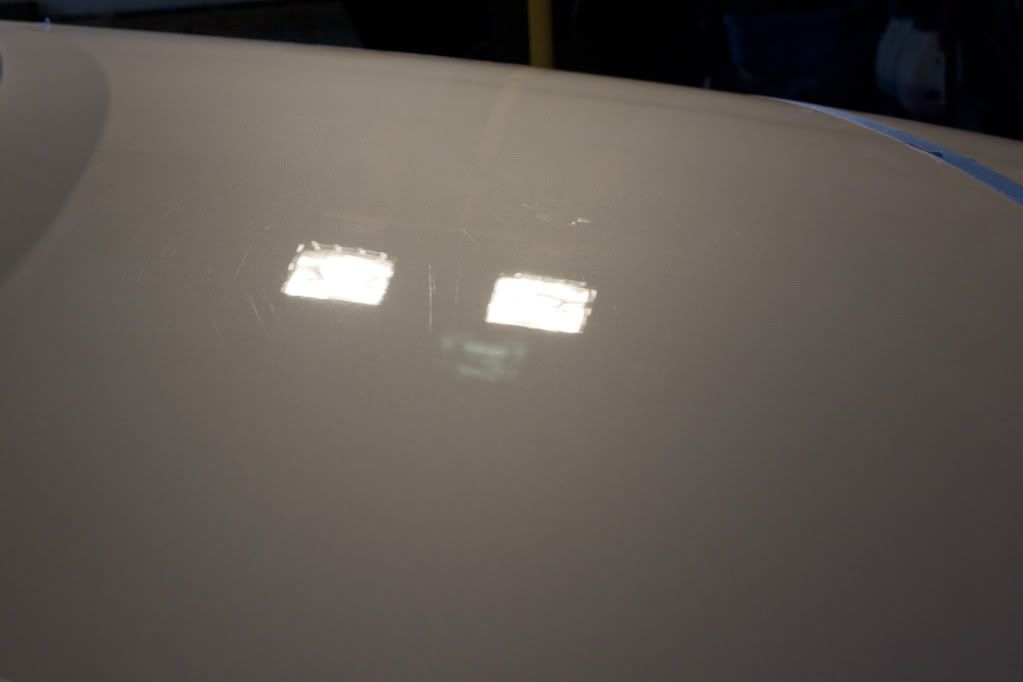
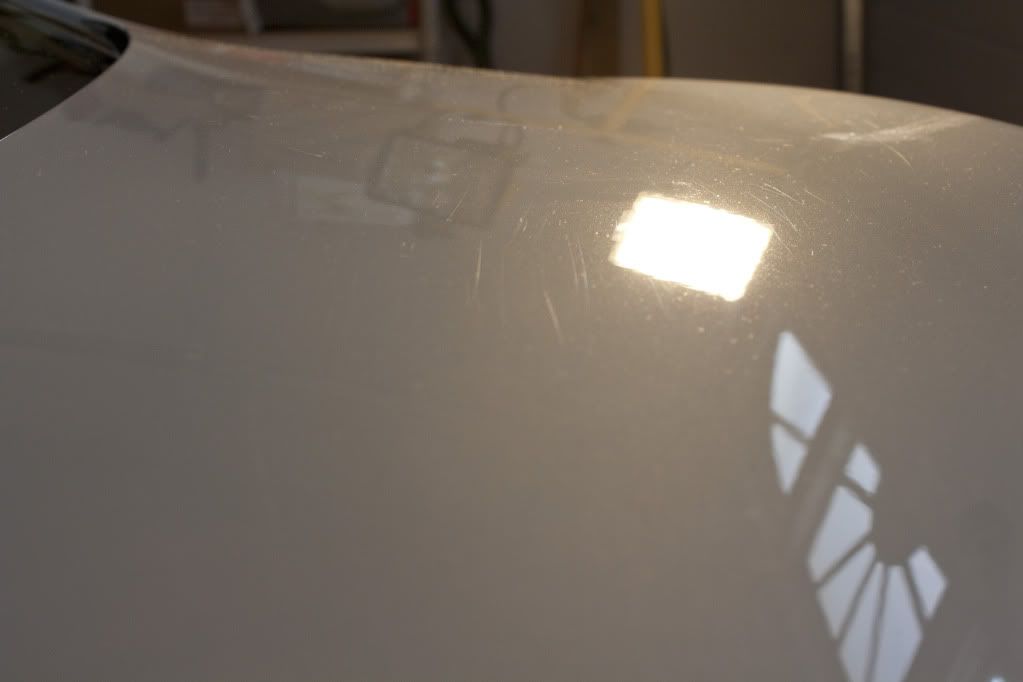
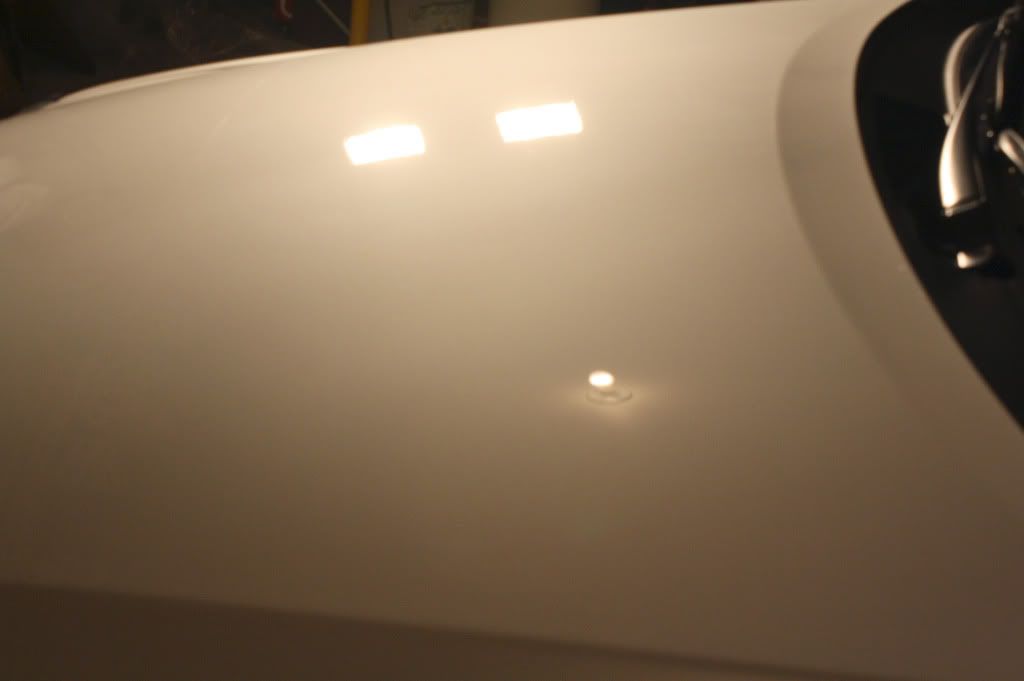
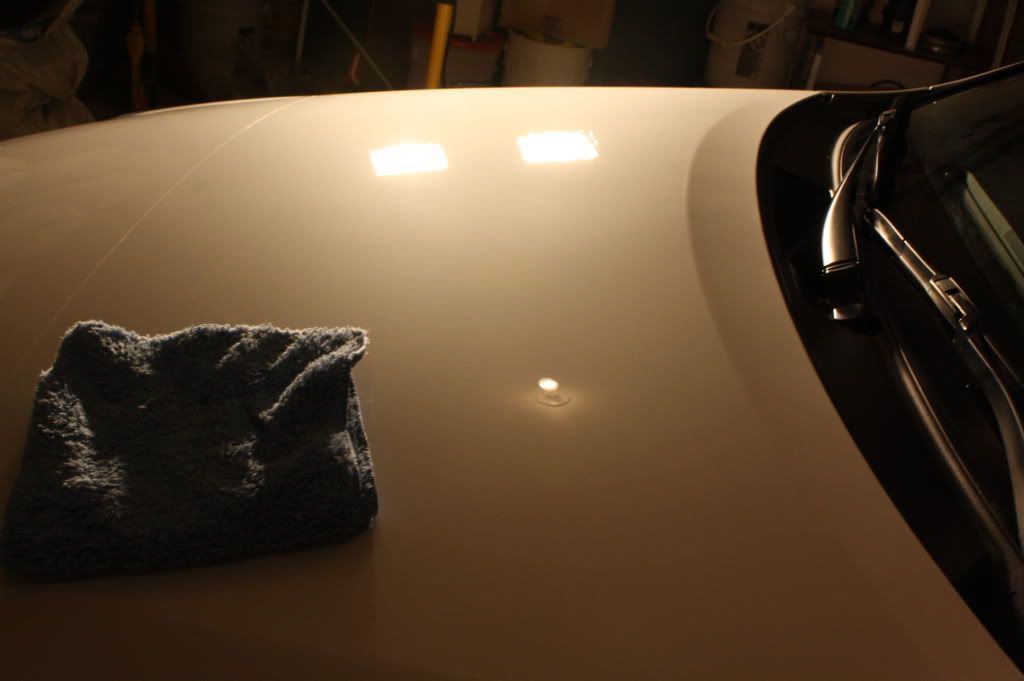
Hood Before:
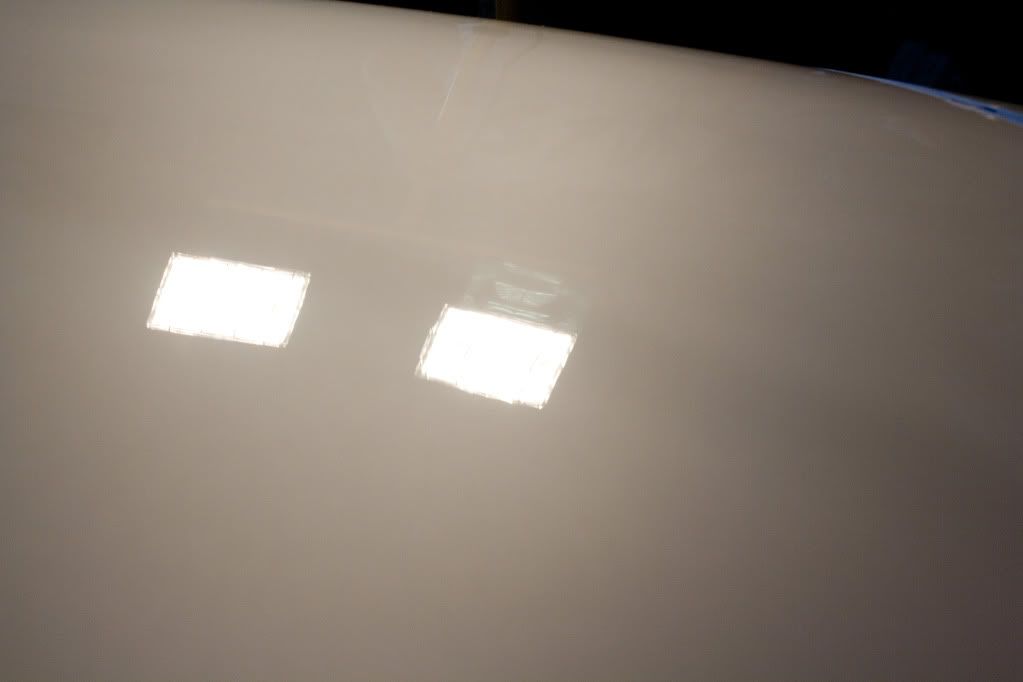
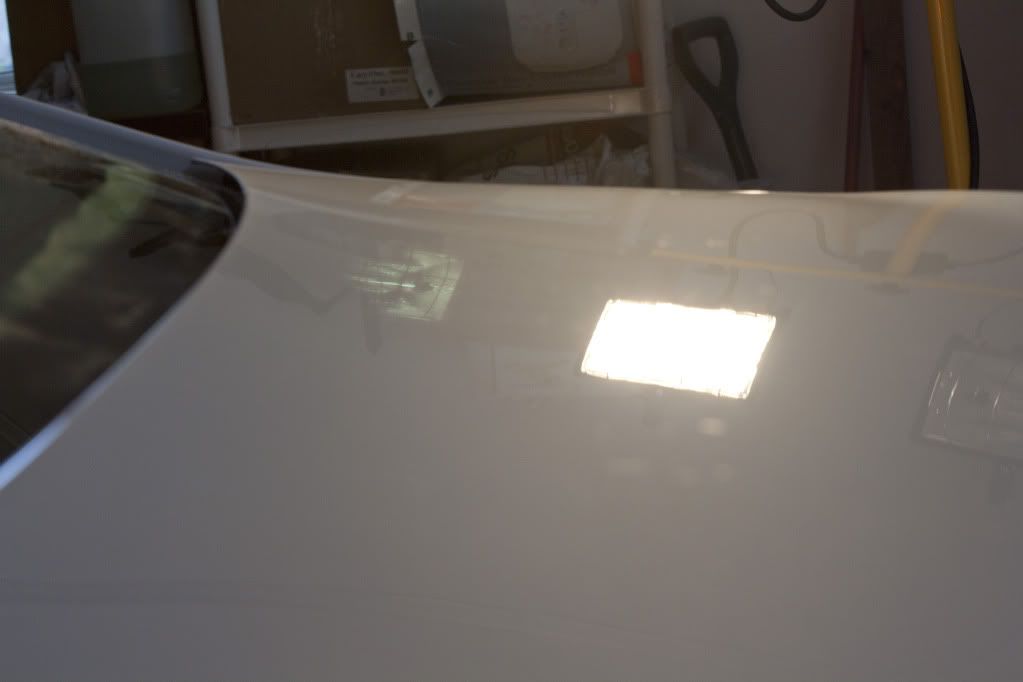
After:
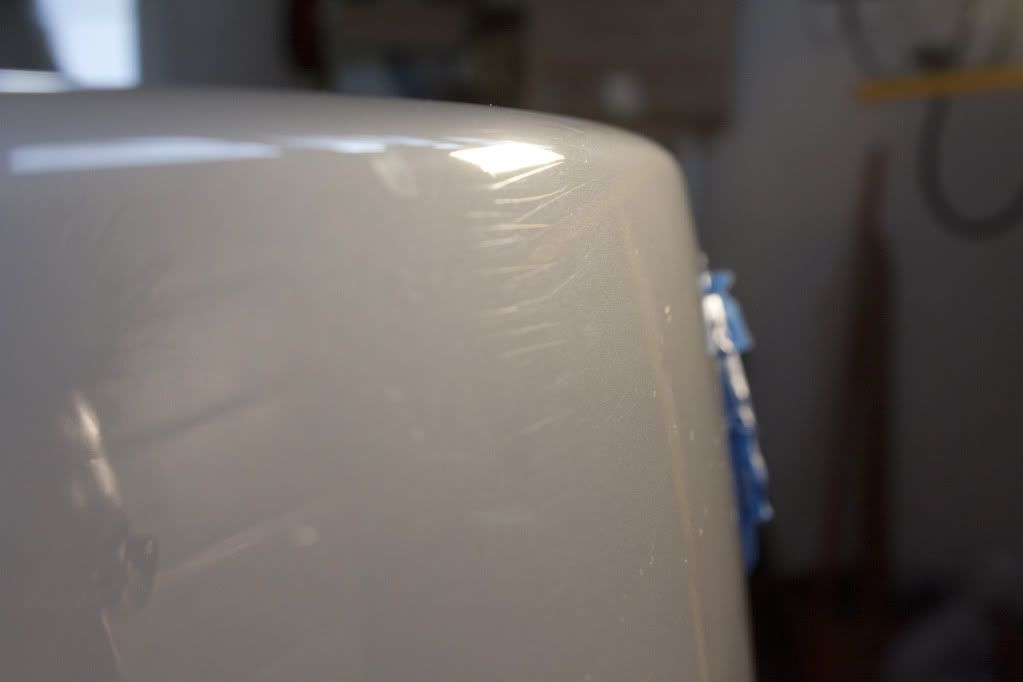
Before:
After:
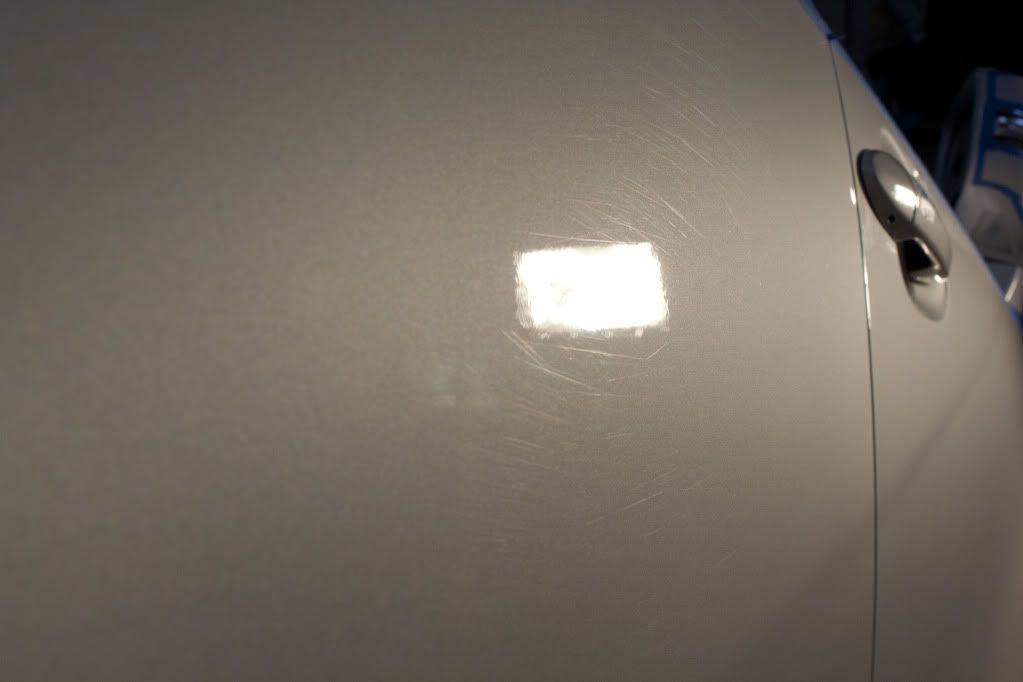
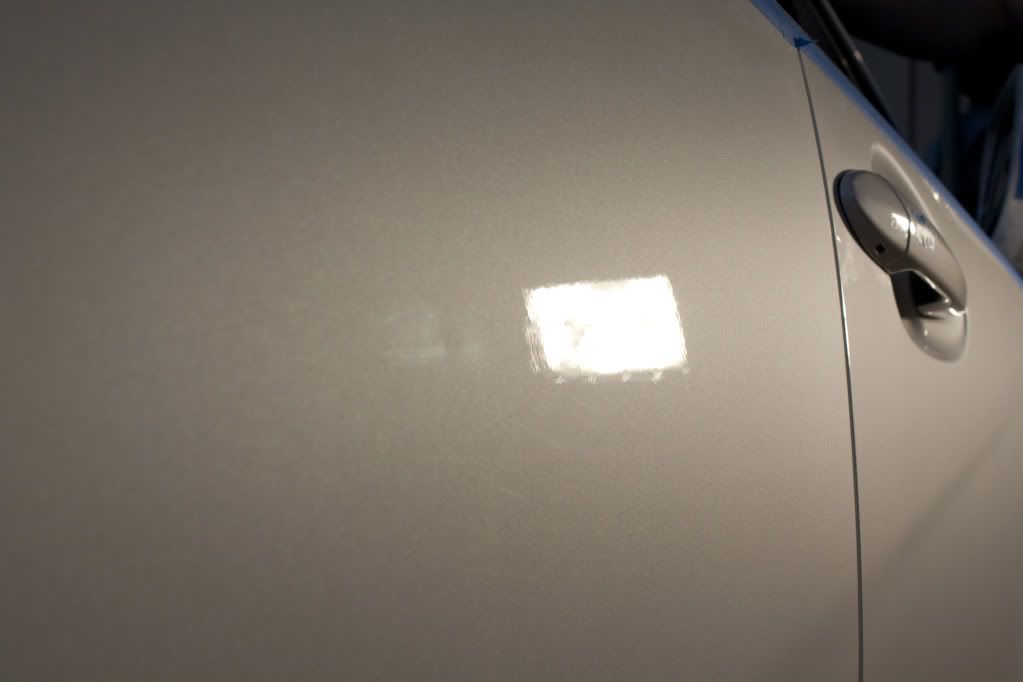
Front Passenger door Before:
After:
Rear passenger before:
After:
Trunk before:
After:
Before:
After:
With all of the body panels done, we moved onto the plastics:
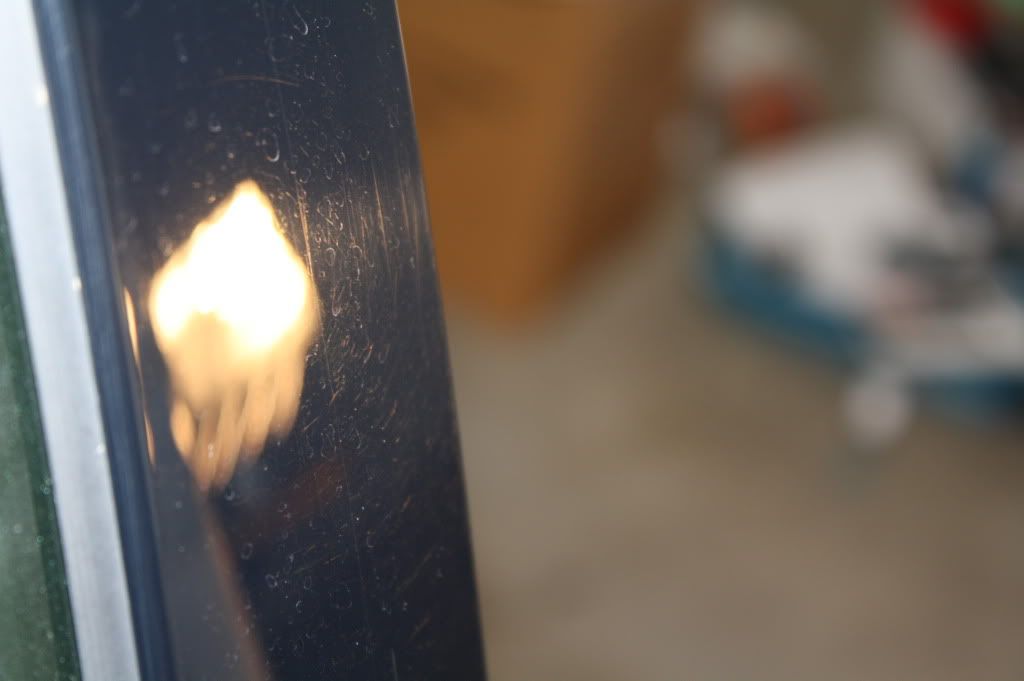
Door Pillars before:
After:
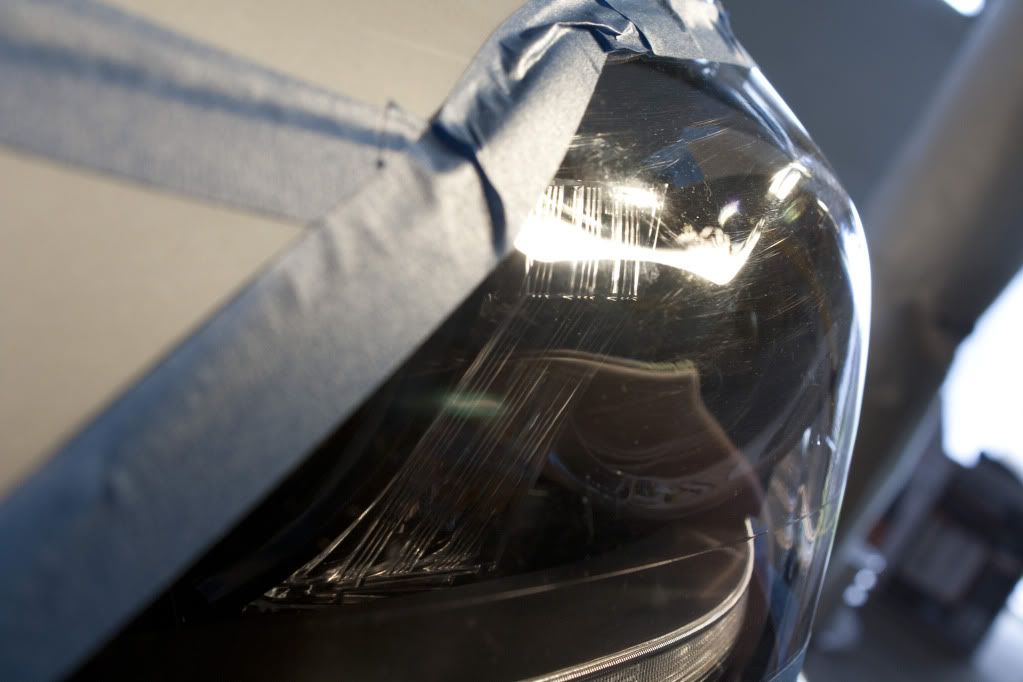
Headlights:

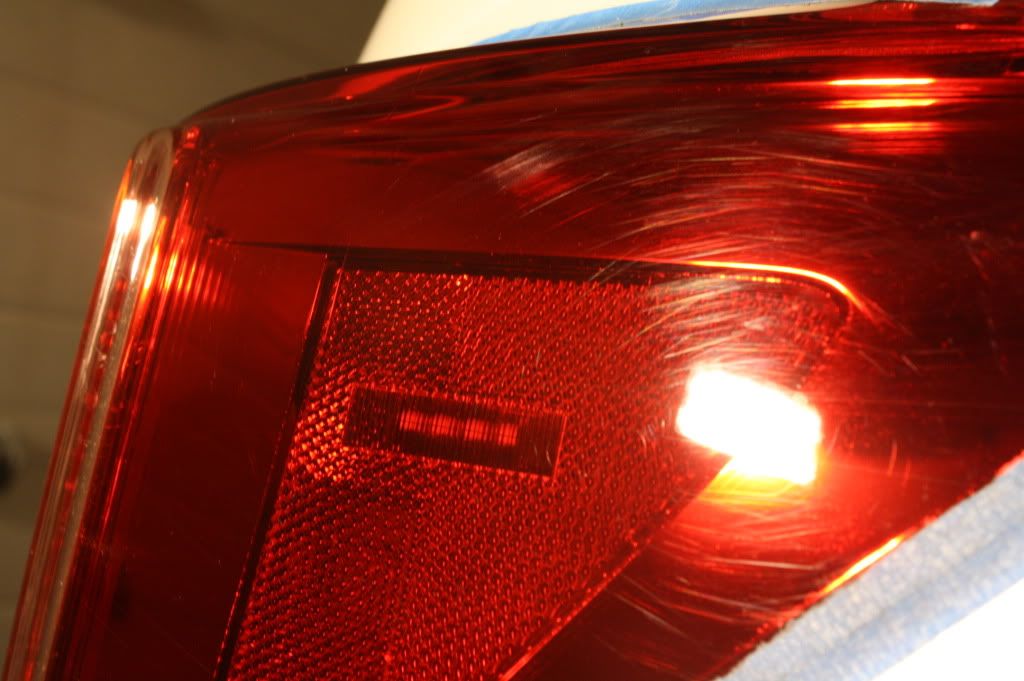
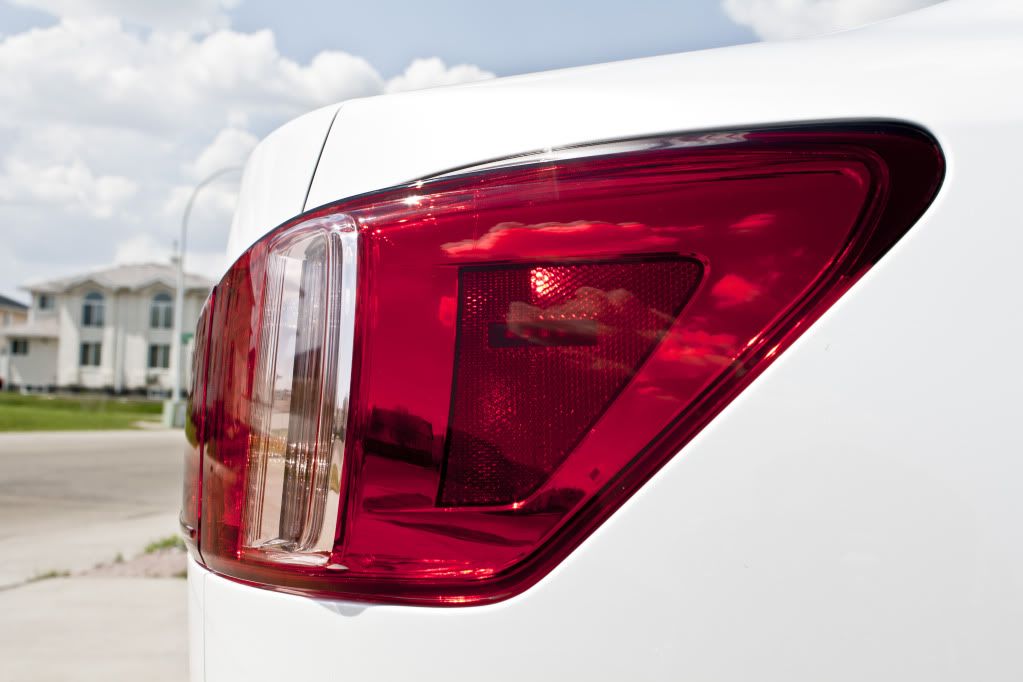
Taillights before:
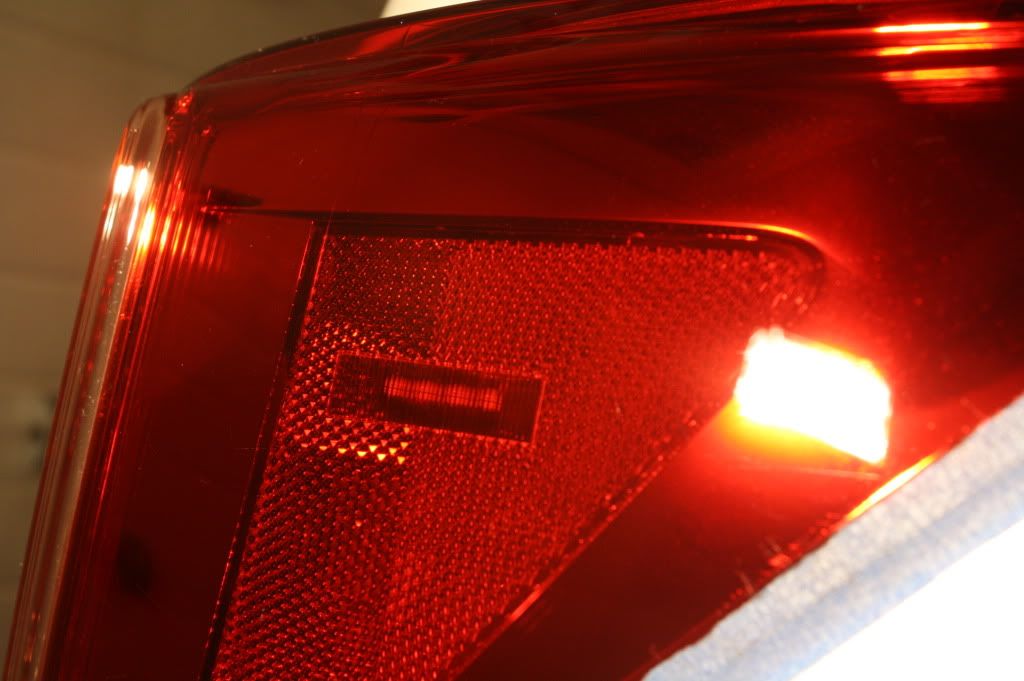
After:
After the paint corrections we washed again with CG Citrus wash+Gloss to remove all polishes and any tape residue, we were approaching midnight:
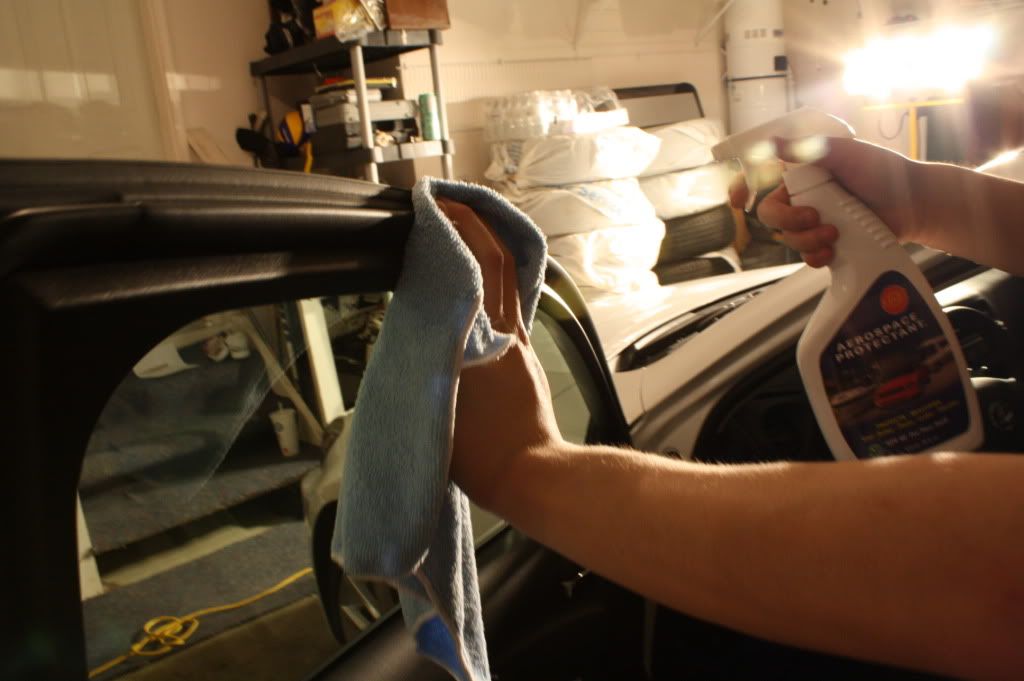
Engine bay and door seals were treated with Aerospace 303:
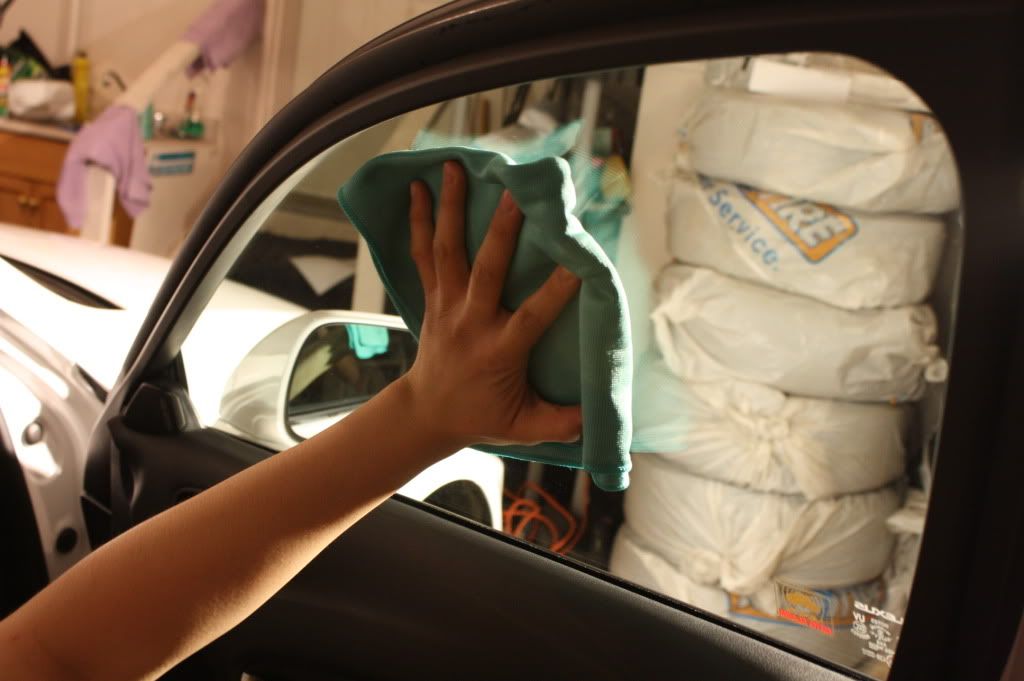
Windows cleaned:
Final step was BlackFire Wet Diamond:

Buffed off:
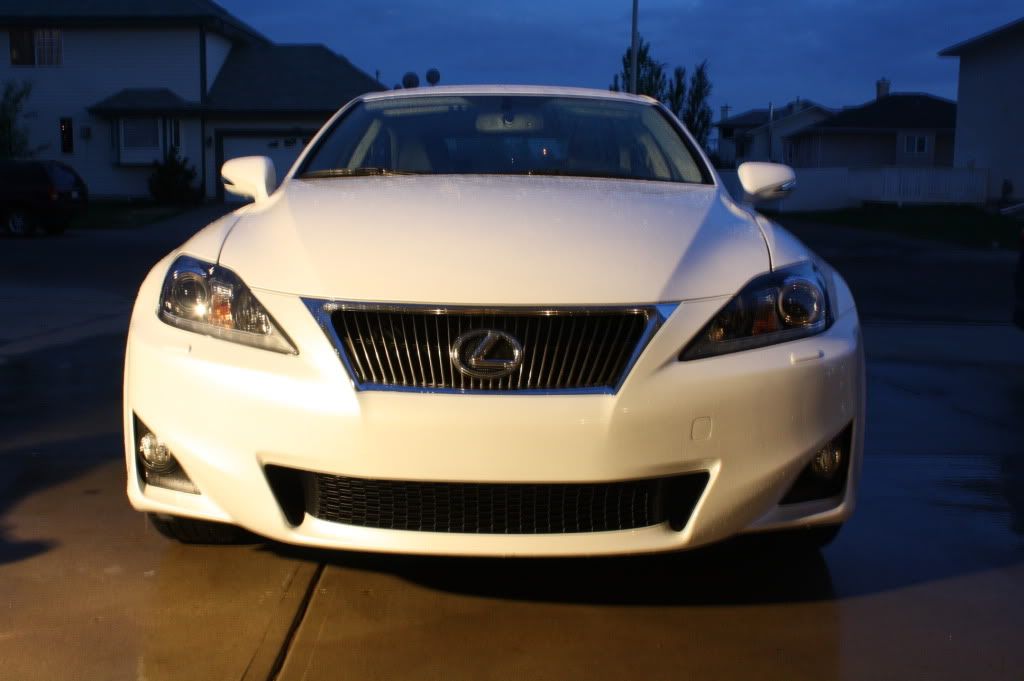
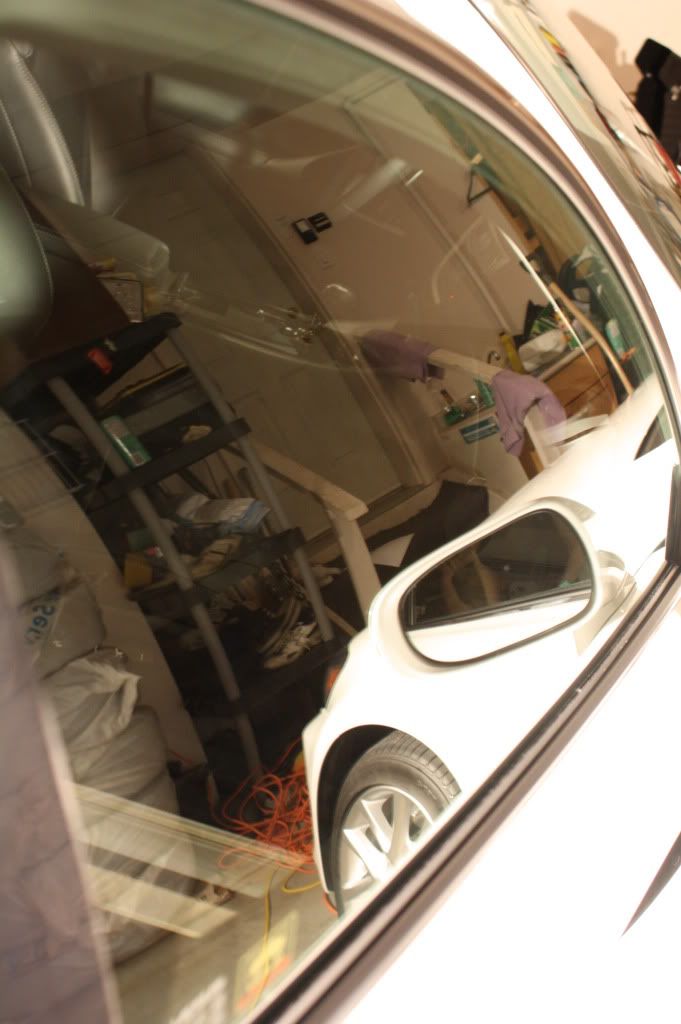
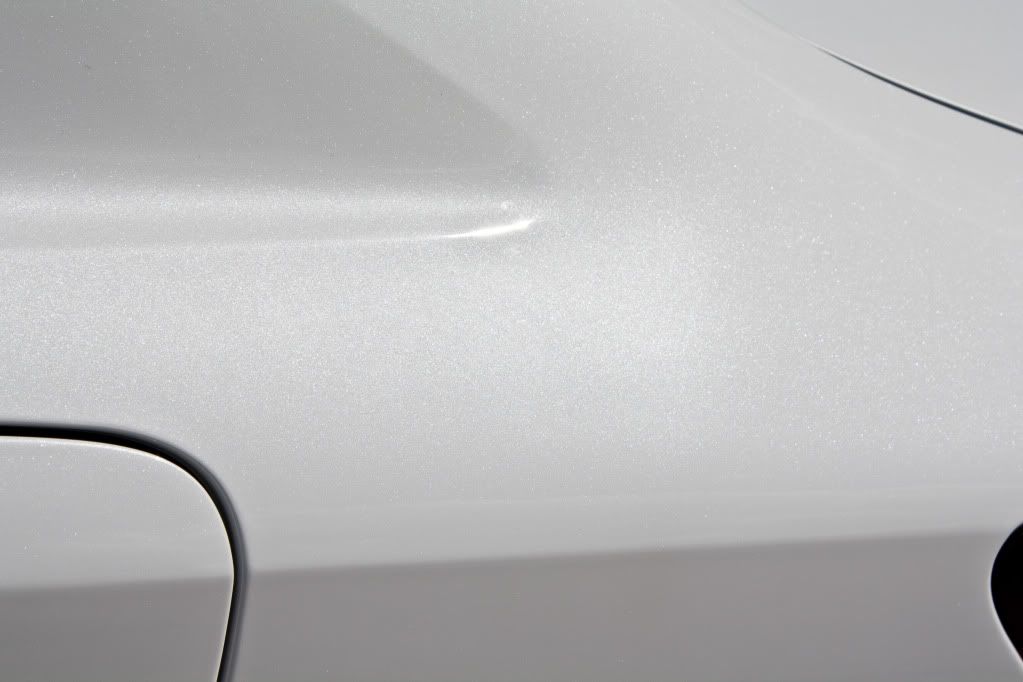
The next morning we took it out for a quick photoshoot:
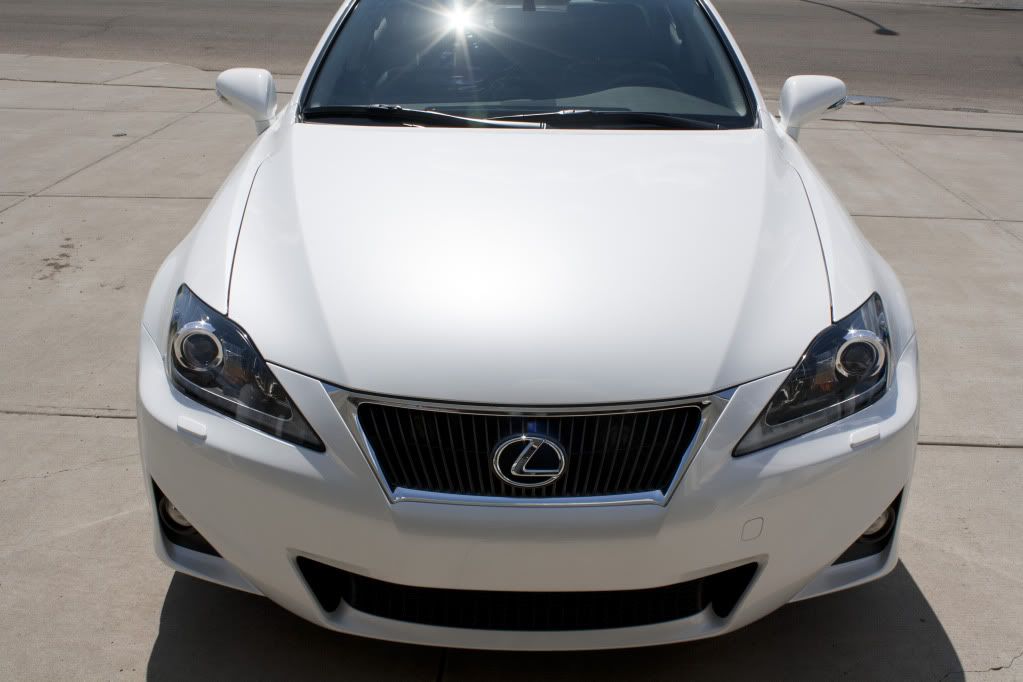
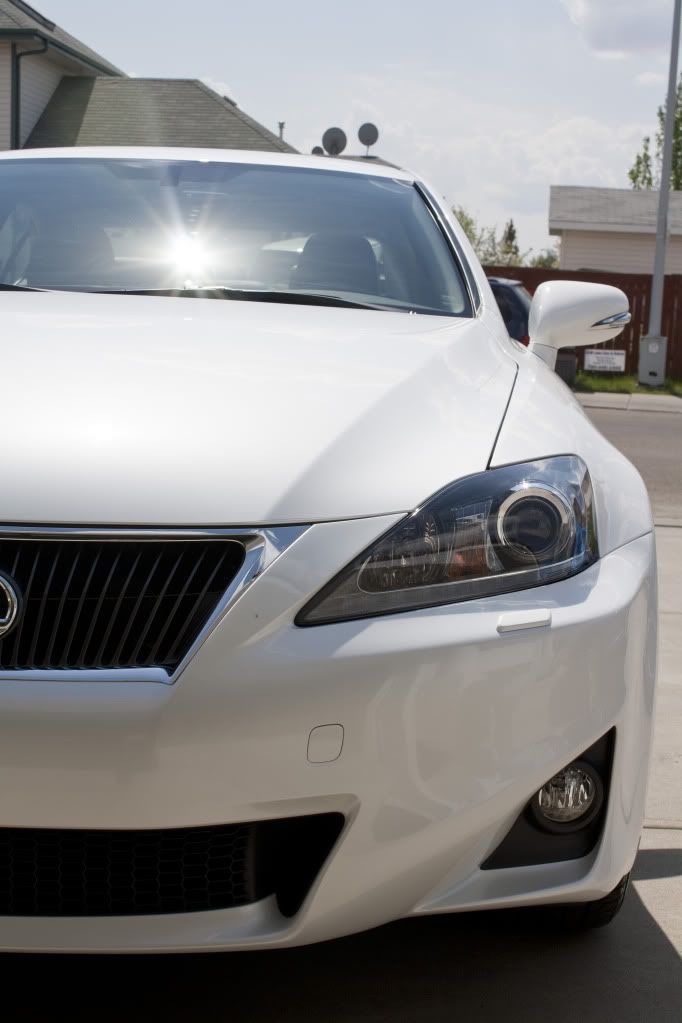
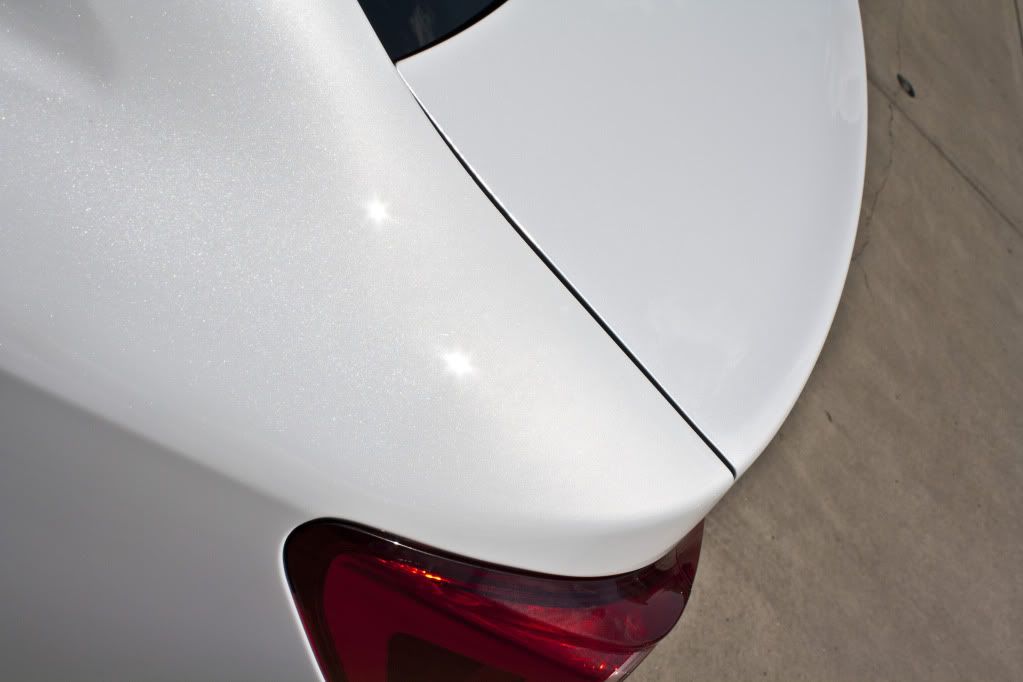
The reflection was amazing!
The flakes on Lexus' Starfire Pearl is truely unique:
Hope you guys enjoyed this lengthy read! We have plans to detail a BMW E60 and a E46 M3 very soon. Later on my personal vehicle a 98 Integra GSR in Starlight Black Pearl and v|nsan|ty's 07 TL Type S in Kinetic Blue.
Thanks!
Me and v|nsan|ty began to document our detailing work. Here's our first write up that I was in charge of.
The subject:
Total Time: 10 hours
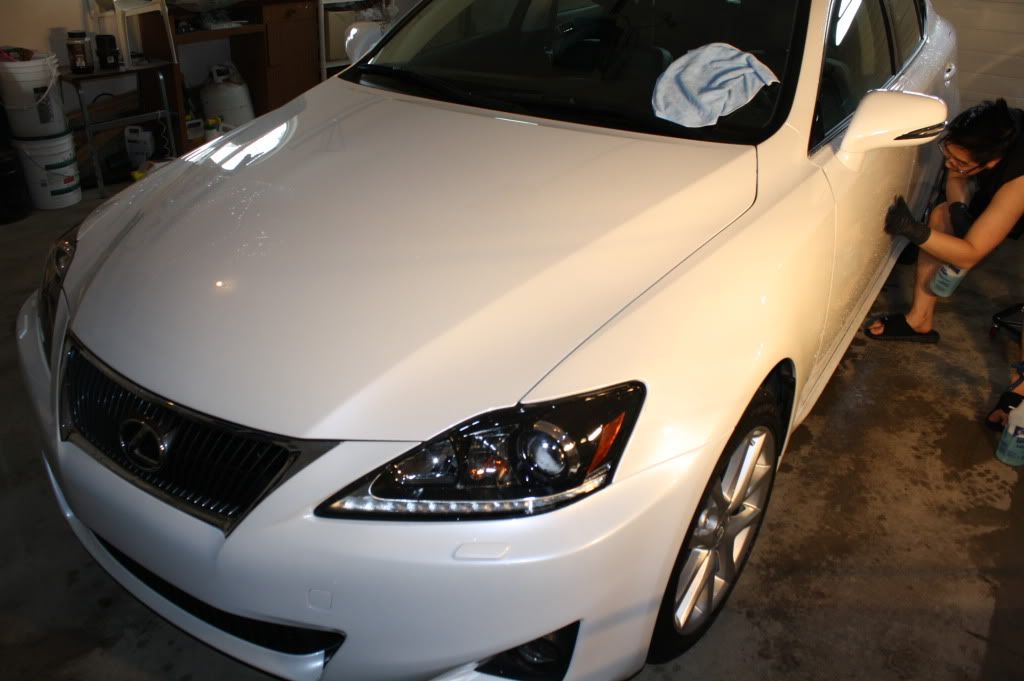
Our friend has taken delivery of this 2011 IS350 in Starfire Pearl just 6 months ago in the middle of winter here in Edmonton, Alberta. V|nsan|ty and I knew this was going to be more than just a quick detail job as it has faced our harsh winters and the dealership fiasco with no protection. Here's a quick look at the car before a wash:
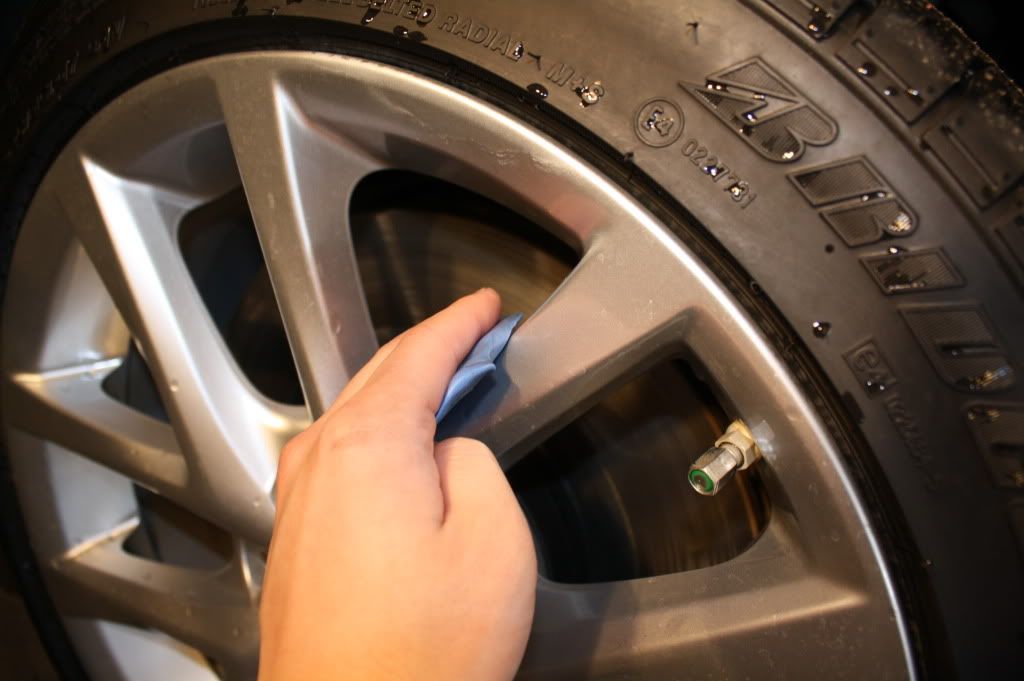
Lets begin! We began with spraying the wheel wells with Chemical Guy's Grime Reaper at a 5:1 dilution and the wheels with Autogylm's Custom Wheel Cleaner.
Using a EZ Detailing brush and Swissvax brushes we had at it:
Clean!
On to the body we used the two bucket method with Chemical Guy's Citrus Wash n Gloss.
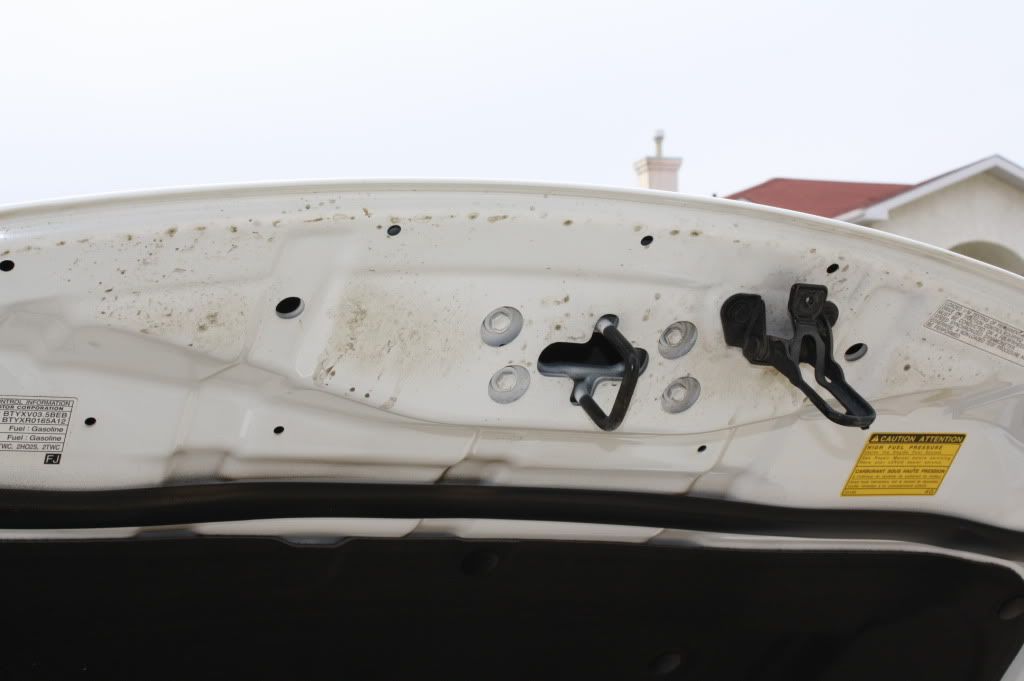
Took off the license plate and we saw this: Yikes!
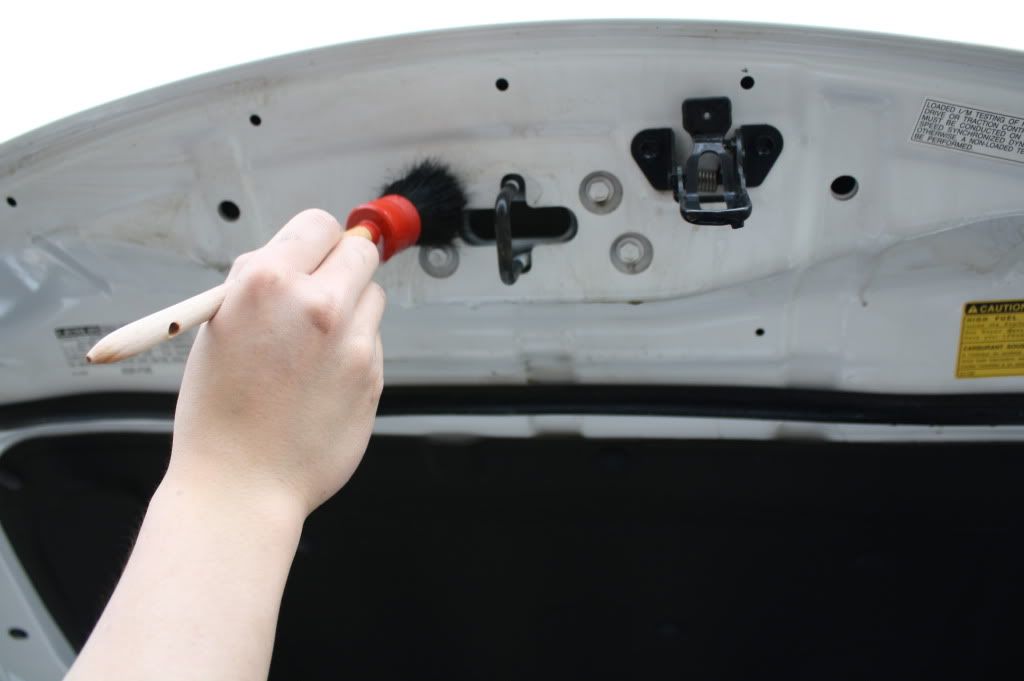
Exhaust tips were cleaned using Grime Reaper at a 5:1 dilution and a EZ Detailing brush was used in addition to detailing steel wool:
More cleaning:
Remember the picture earlier of what we found after the removal of the license plate?
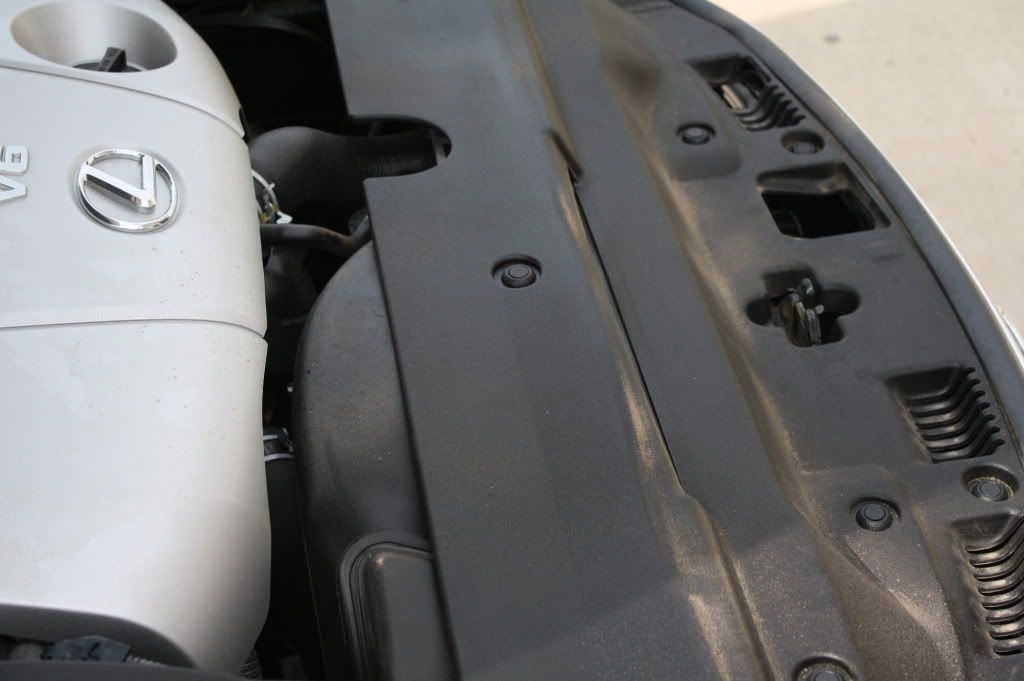
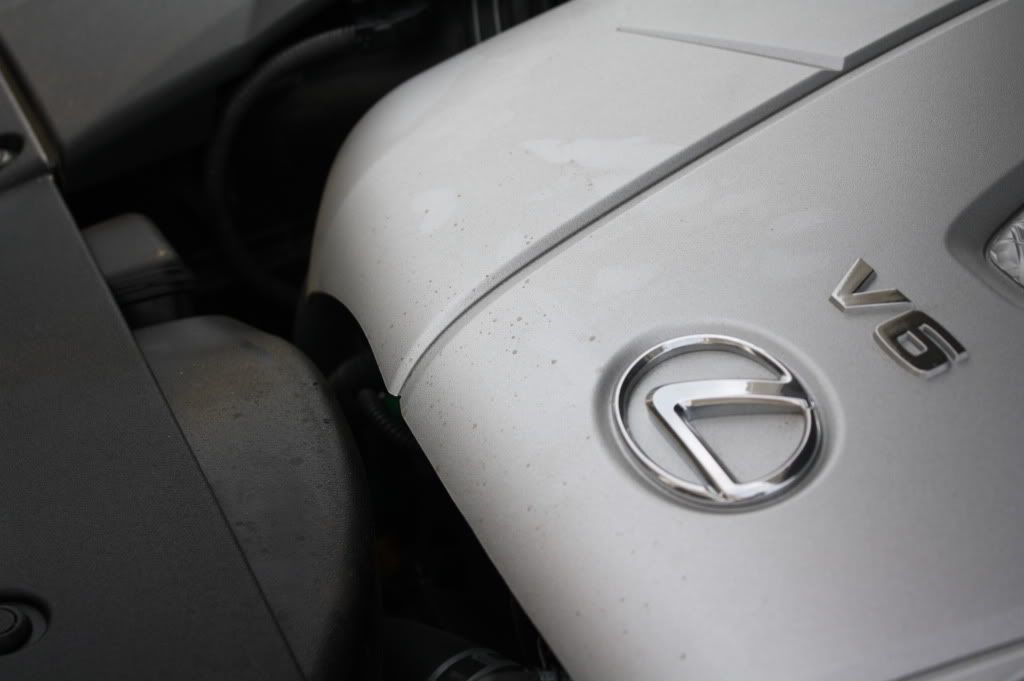
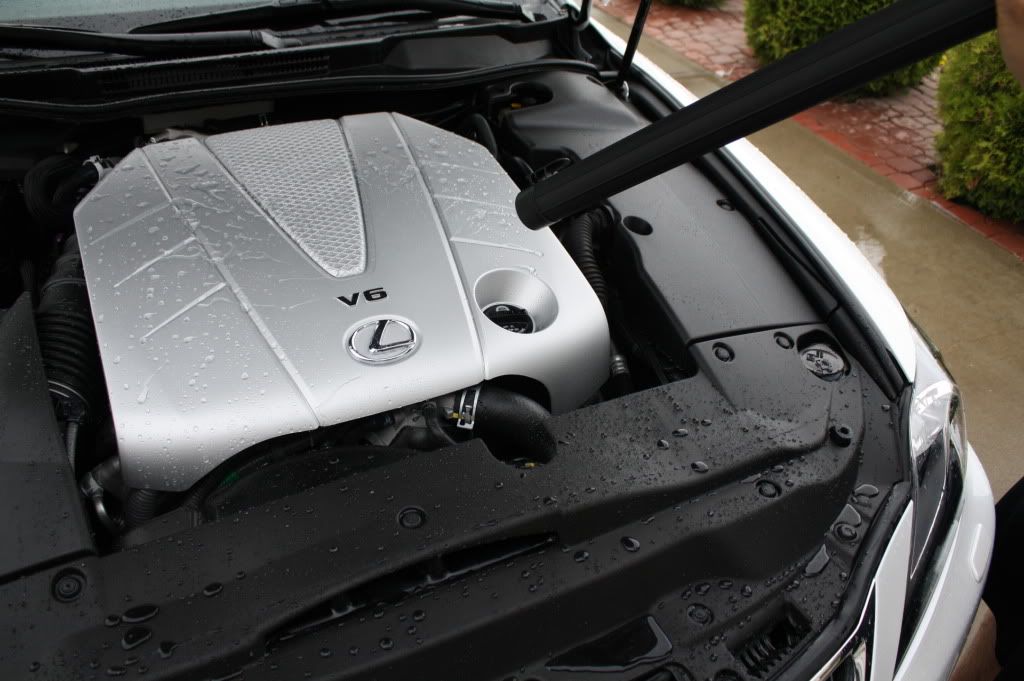
Engine bay was in good shape so we sprayed with a more dilute 8:1 Grime Reaper and scrubbed as well:
Clean:
After the wash we bring it in for some claying:
Pretty good shape:
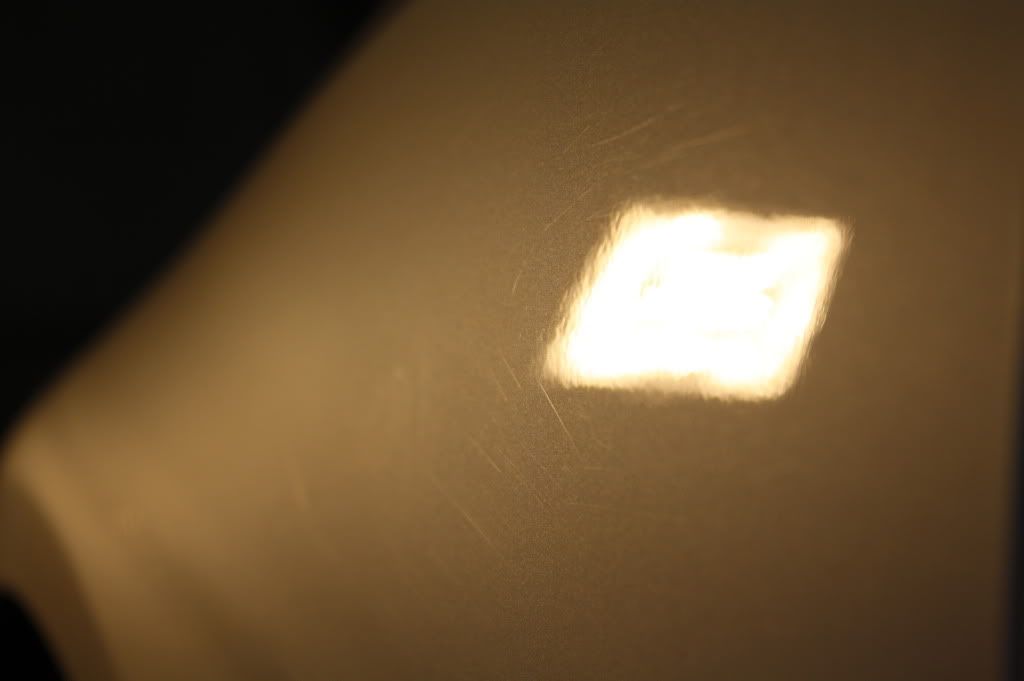
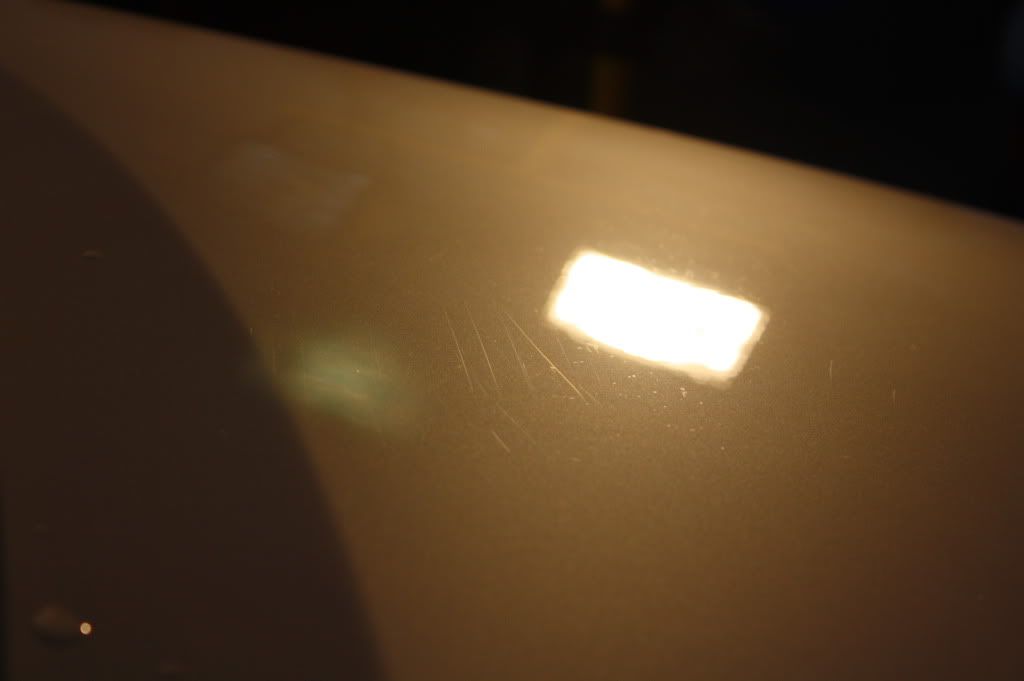
Initial impressions of the paintwork, not good for a vehicle 6 months old!
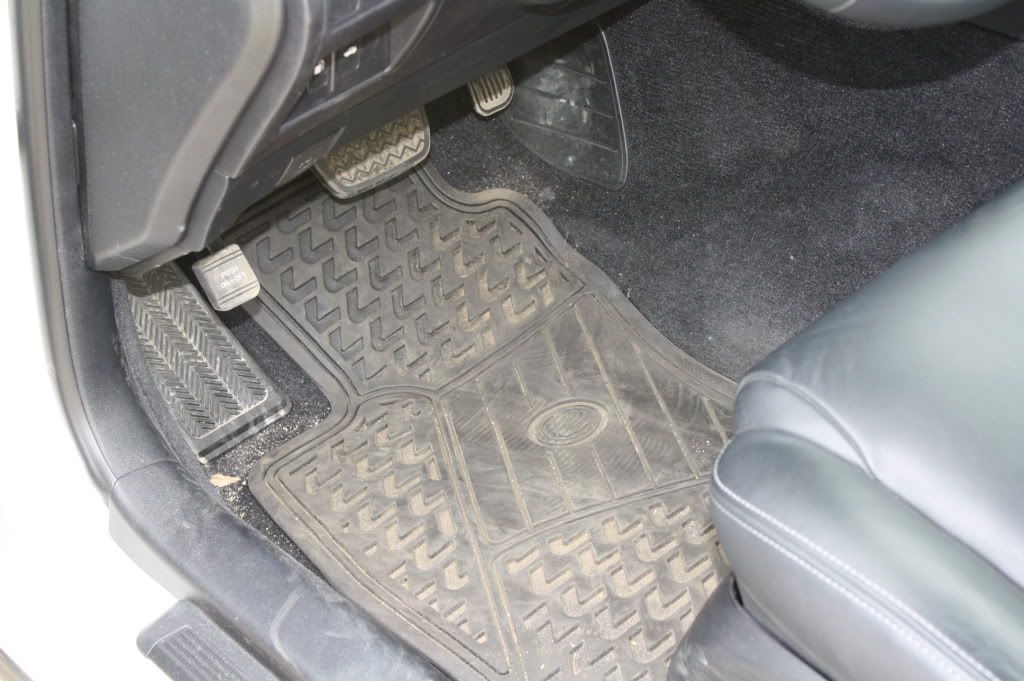
Interior needs some work:
We began taping the car in preparation for the paint correction ahead:
Very messy Vince!
Here is my contribution, Vince was annoyed at the amount of time I spent on this:
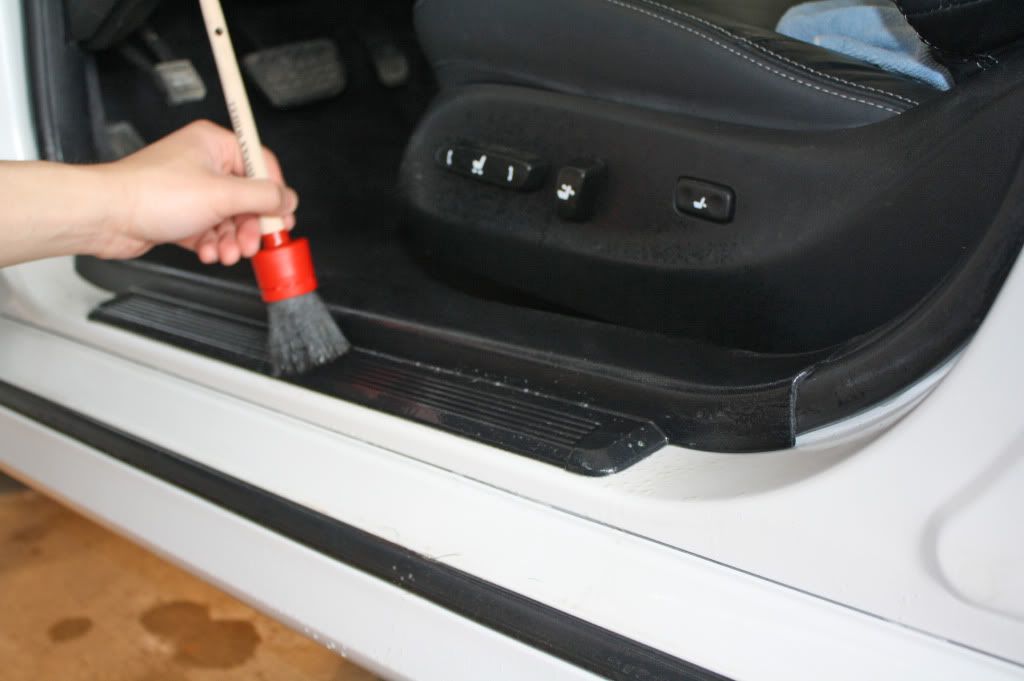
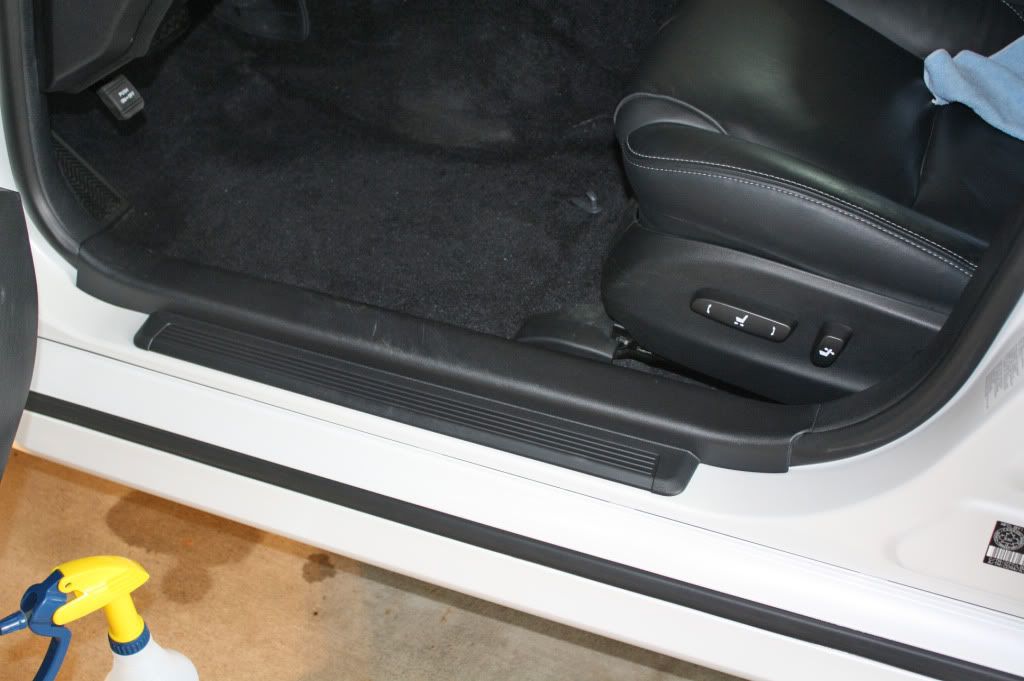
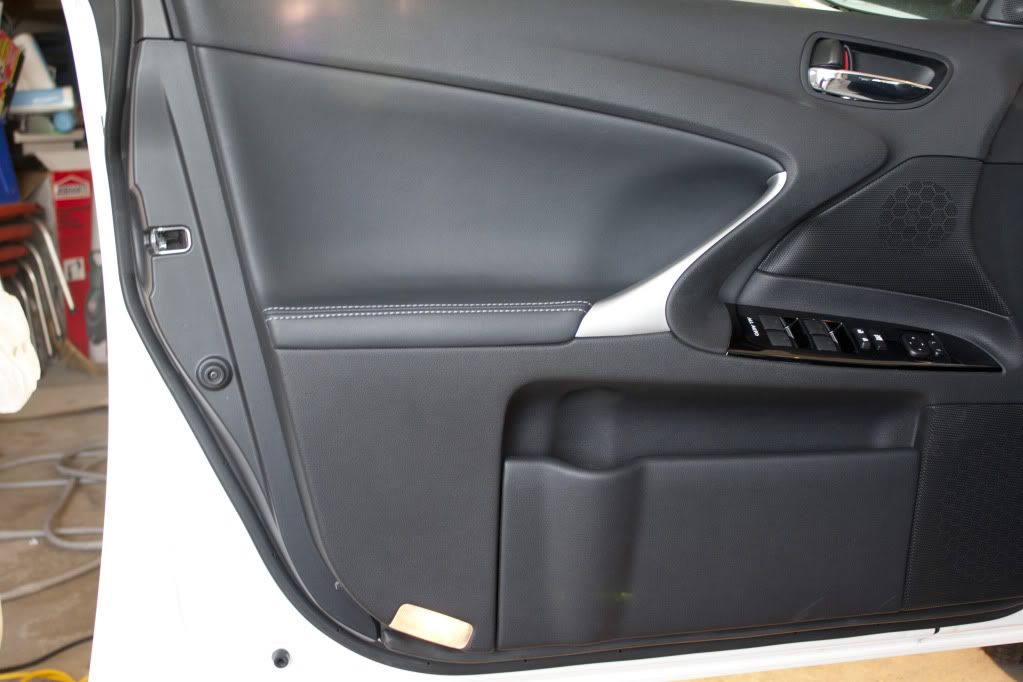
While Vince continued to tape off areas I began on the interior.
CG Green Clean was used for the plastic trim and door jams:
Swissvax brushes worked great!
Leatherique Prestine Clean was used on the seats:
Before:
After:
Before:
After:
Exhaust tip cleaned using P21s Metal Polish:
Finnished product:
On to the correction. The owner opted for a single stage correction, we first tried Menzerna Power Finnish on a light cutting green pad. After 4 passes we did not get the correction we were looking for as the paint proved to be on the hard side, so we attempted with a heavier cutting Yellow pad:
The test:
50/50 to ensure clarity and the finnish of the polish+pad combo:
Happy with the results we continued on:
Hood Before:
After:
Before:
After:
Front Passenger door Before:
After:
Rear passenger before:
After:
Trunk before:
After:
Before:
After:
With all of the body panels done, we moved onto the plastics:
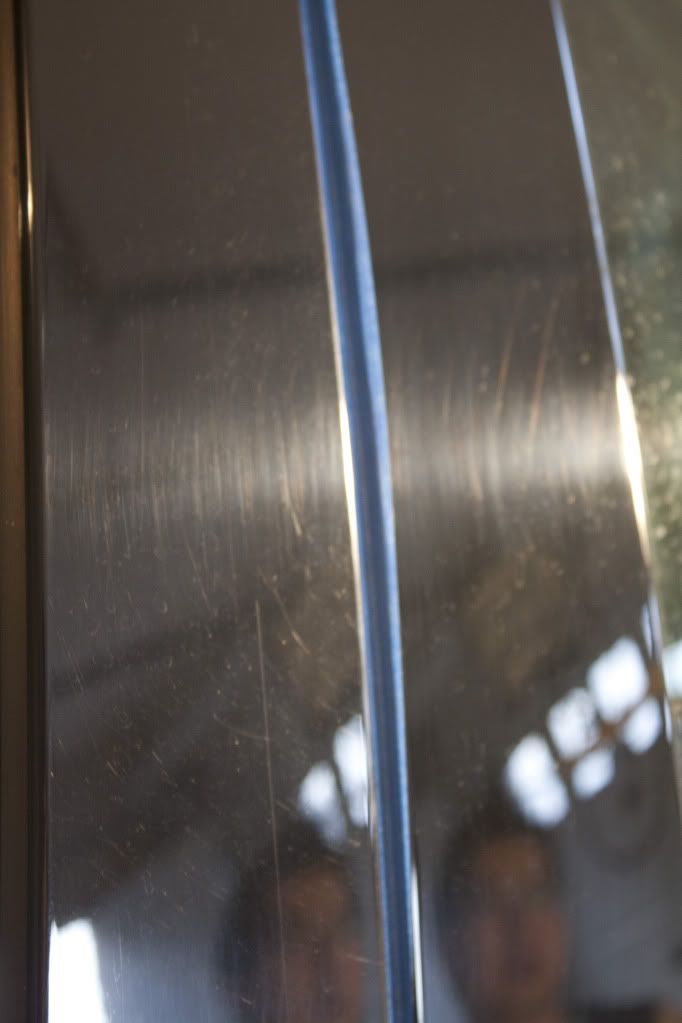
Door Pillars before:
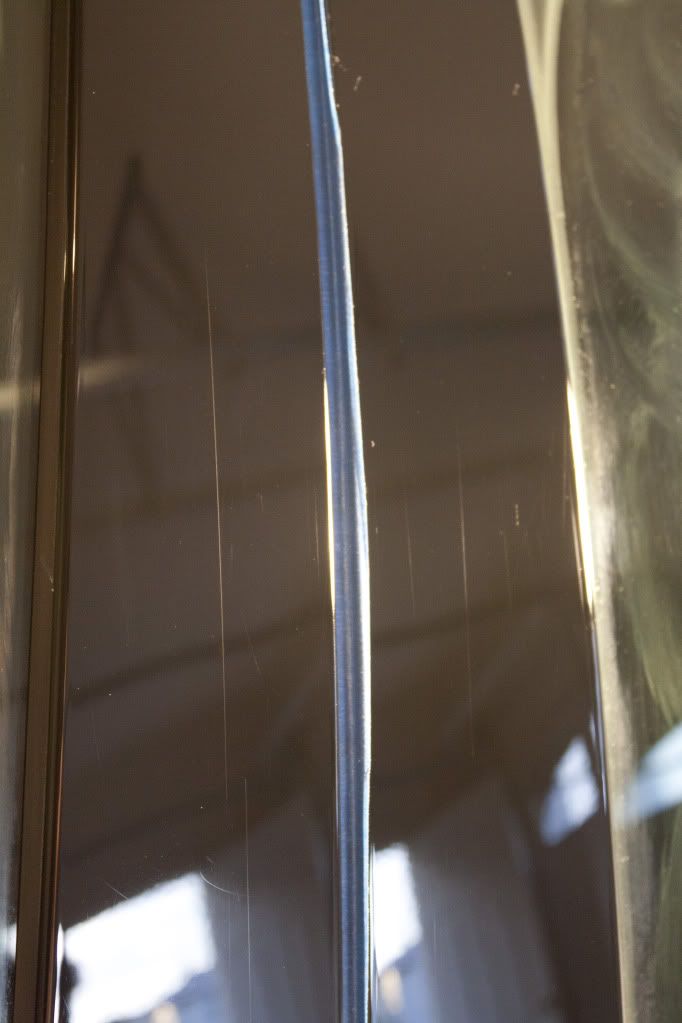
After:
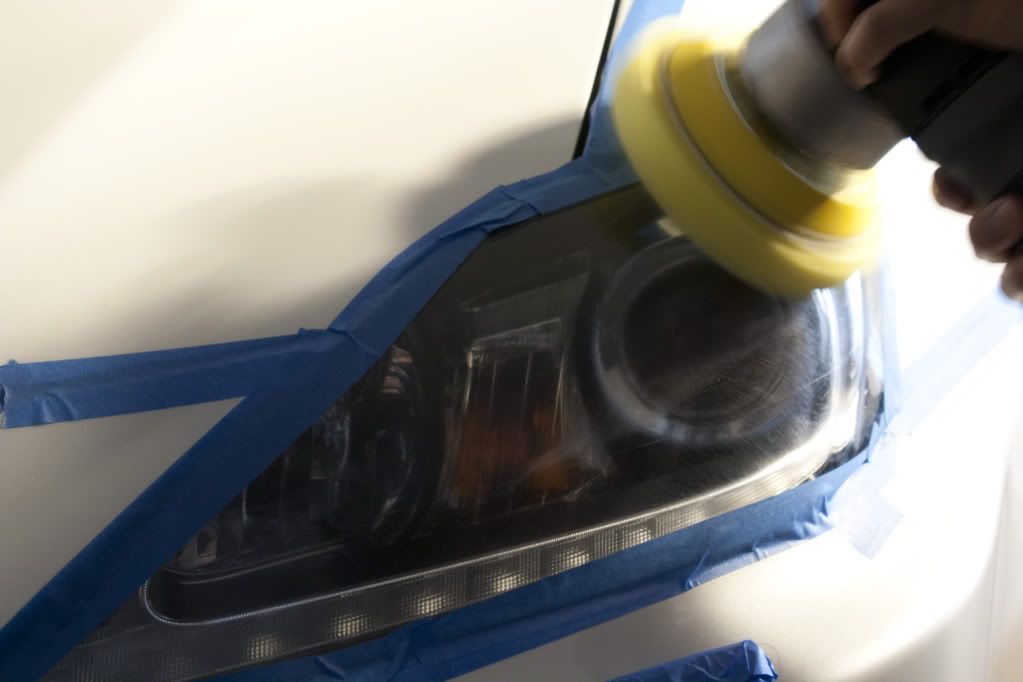
Headlights:
Taillights before:
After:
After the paint corrections we washed again with CG Citrus wash+Gloss to remove all polishes and any tape residue, we were approaching midnight:
Engine bay and door seals were treated with Aerospace 303:
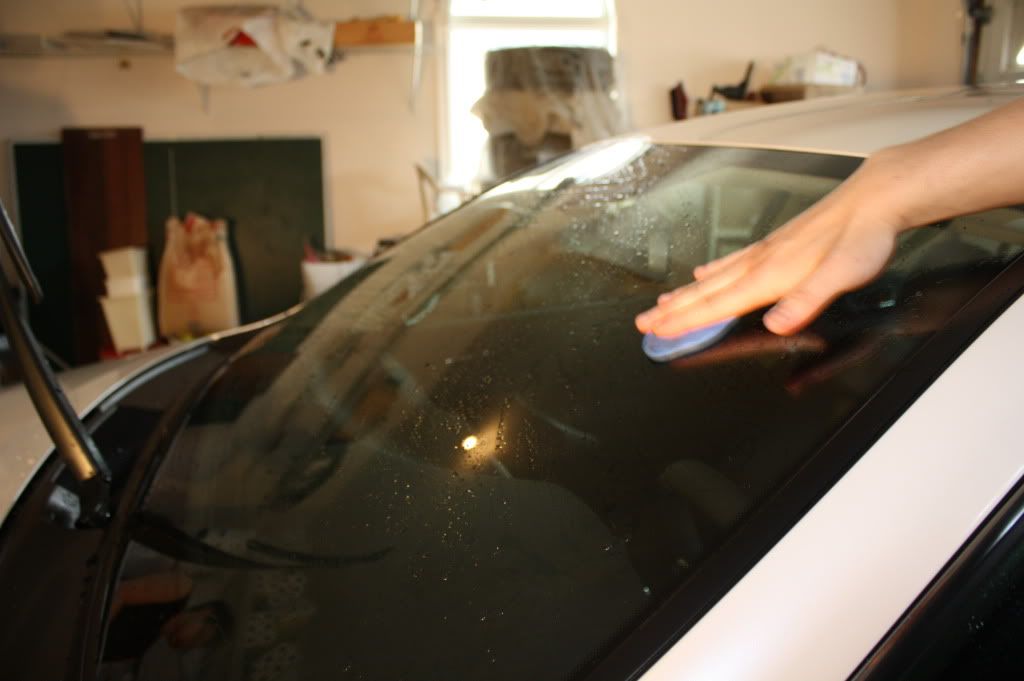
Windows cleaned:
Final step was BlackFire Wet Diamond:
Buffed off:
The next morning we took it out for a quick photoshoot:
The reflection was amazing!
The flakes on Lexus' Starfire Pearl is truely unique:
Hope you guys enjoyed this lengthy read! We have plans to detail a BMW E60 and a E46 M3 very soon. Later on my personal vehicle a 98 Integra GSR in Starlight Black Pearl and v|nsan|ty's 07 TL Type S in Kinetic Blue.
Thanks!
 05-22-2011, 09:30 PM
#2
Burning Brakes
you had the headlights picture ordering backwards. at first i was confused because the headlights were clean already but then you scroll down and it shows the scratched up one lol. and i thought you made it worse haha
05-22-2011, 09:44 PM
#4
Team Owner
iTrader: (2)
Join Date: Jan 2008
Location: Kansas City, MO (Overland Park, KS)
Posts: 36,545
Received 6,470 Likes
on
5,162 Posts
Dude, very well done-congrats! You really brought the Lexus back to life.
.
LESS THAN ONE MONTH AWAY!
2011 National AcuraZine Meet-Kansas City-June 12, 2011
Sign Up and Details Here!
2011 National AcuraZine Meet-Kansas City-June 12, 2011
Sign Up and Details Here!
.
05-22-2011, 09:53 PM
#5
I'm a thrill seeker in my
Nice work guys. Great results, great products
I did my two stage polish spring detail on the TL this week. 2 long days of work with some satisfying results. All ready for another year of looking sexy and fresh.
I did my two stage polish spring detail on the TL this week. 2 long days of work with some satisfying results. All ready for another year of looking sexy and fresh.
05-22-2011, 10:26 PM
#7
Pro
Thread Starter
Thanks Ricky. Yeah we should definitely have a meet soon. Did you install the vinyl roof yet?
Thanks
Trending Topics
05-23-2011, 01:49 AM
#10
Needs more Lemon Pledge
Nice stuff!
05-23-2011, 02:25 AM
#11
Your Friendly Canadian
Join Date: Dec 2007
Location: Toronto, Ontario
Age: 31
Posts: 17,431
Received 1,485 Likes
on
1,049 Posts
You scared me with the headlight pictures too!Looks fantastic, hope to see more of your work in the future!


 05-23-2011, 06:49 PM
#18
Pro
Thread Starter
Thanks for all the warm feedback guys
Yeah same polish for the whole car.
LOL thanks for pointing that out. Looks like we missed that
LOL thanks for pointing that out. Looks like we missed that

Thread
Thread Starter
Forum
Replies
Last Post
MrHeeltoe
1G TSX Tires, Wheels, & Suspension
20
02-23-2023 01:54 PM
ITSJESTER
4G TL Audio, Bluetooth, Electronics & Navigation
17
12-06-2018 02:29 AM
detailersdomain
Wash & Wax
3
10-09-2015 10:13 PM
MrHeeltoe
2G TSX Tires, Wheels & Suspension
3
09-29-2015 10:43 PM
MrHeeltoe
3G TL Tires, Wheels & Suspension
0
09-28-2015 05:43 PM