
Painting Engine Covers
 07-13-2009, 12:25 PM
#1
Three Wheelin'
Thread Starter
Join Date: Jul 2005
Location: Central NJ
Age: 39
Posts: 1,435
Likes: 0
Received 0 Likes
on
0 Posts
Painting Engine Covers
Didn't happen to see a DIY on how to paint engine covers, so I thought I'd make one to help out anyone who wanted to do the same thing.
Disclaimer: mod at your own risk. I am not responsible for any messed up engine covers.
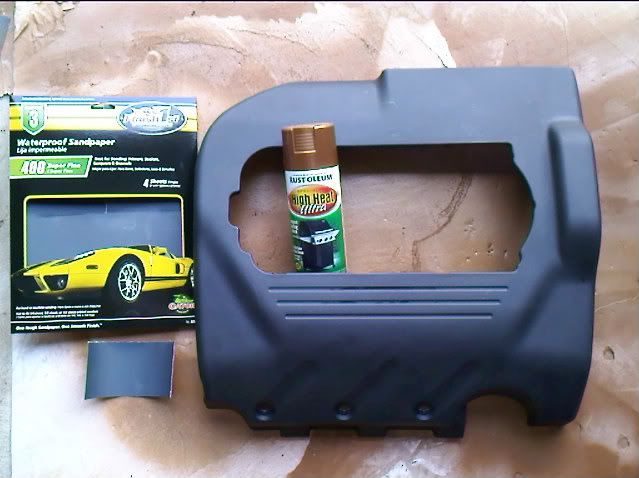
Step 1: Go to your local Home Depot, Lowe's, Pepboys, etc and pick up 300-500 grit sand paper and 1-2 cans of high temp paint spray (# of cans is dependent on how many pieces you're going to be painting).
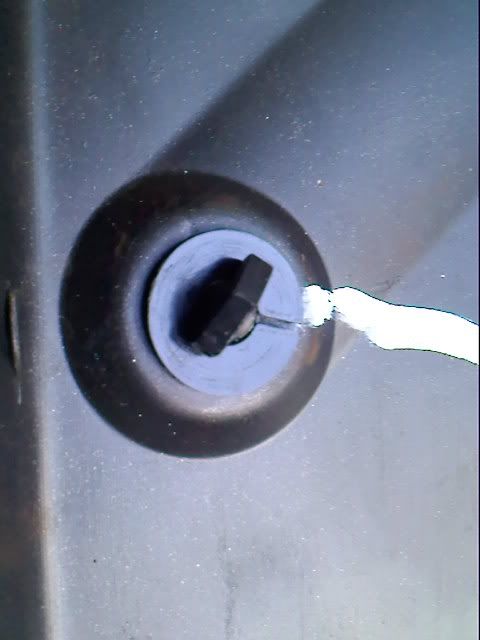
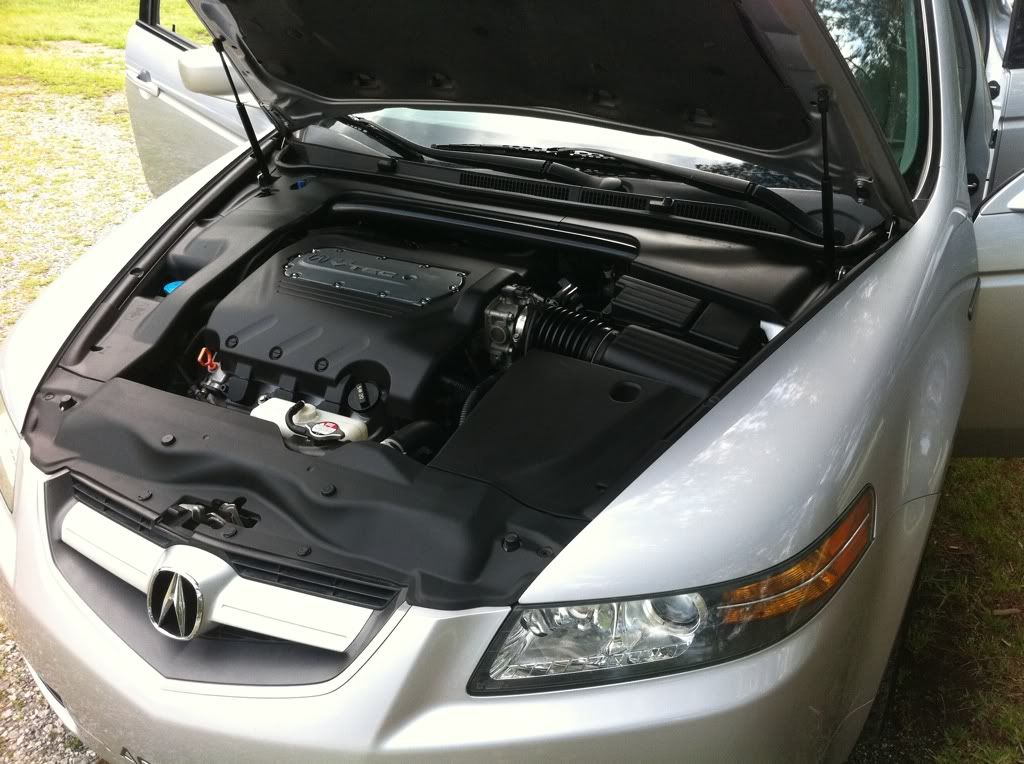
Step 2a: Take off the covers that you want to paint. The cover that sits right on top of the engine has little plastic pins that have clips behind them. I chose not the paint those, so I took them off. Just remove the clips, and the pins come right out.
Step 2b: Wash them down. I just used soap, water, a large brush, and a toothbrush for the small "nooks." Hose them down and dry them off.
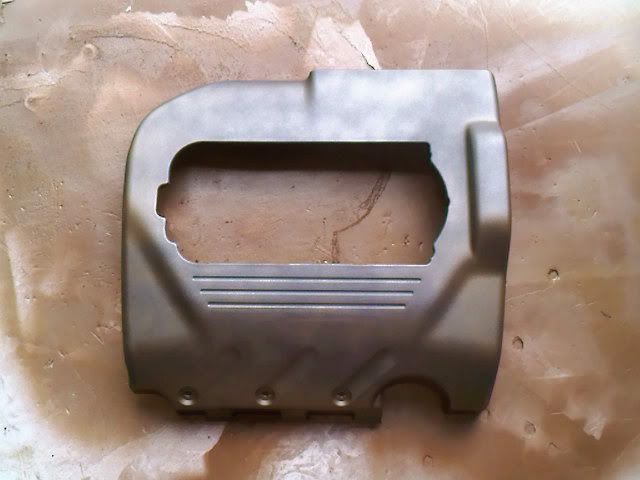
Step 3: Take the sandpaper and start sanding down the covers. You don't need to put a lot of pressure when sanding. Just a light scuffing will do. The point of lightly scuffing the covers is to give it a better texture for the paint to bind to.
1/2 sanded: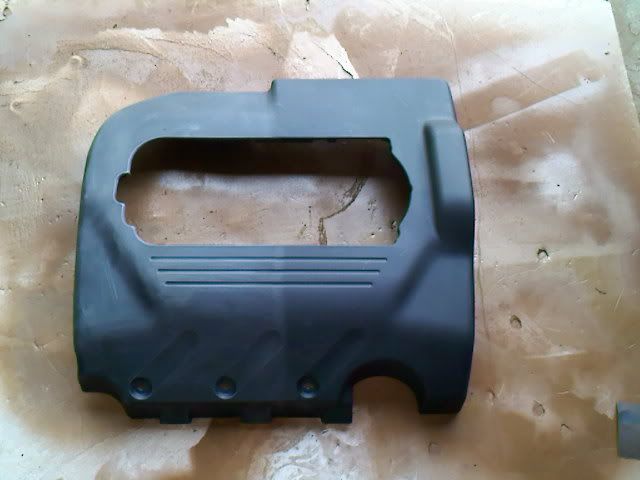
fully sanded: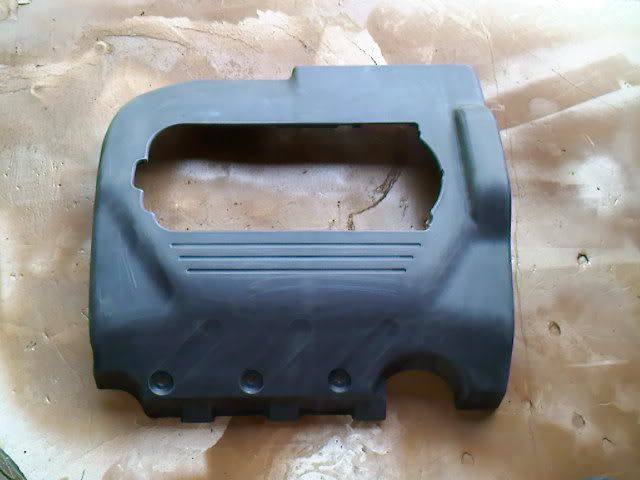
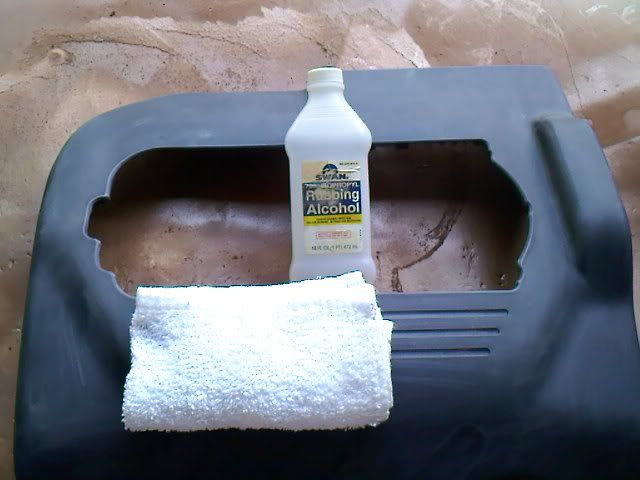
Step 4: Wipe down the covers with a wet towel, degreaser, or alcohol. I chose alcohol because it dried much faster.
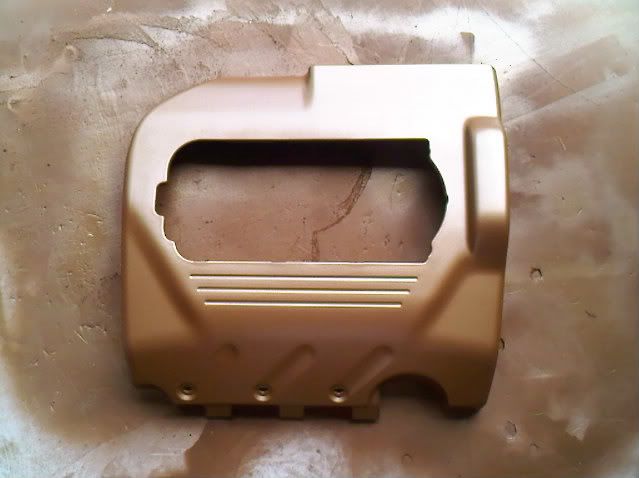
Step 5: Shake up your paint can and start spraying! Stay about 5-8" away from the covers and give it a light coat. You should still see some black after the 1st coat.
Step 6: Give the 1st coat a few minutes to dry before putting on the next few layers. I gave it about 3-4 coats before leaving the covers to dry for 24 hours. If you wish to stop here, I would add 2-3 more coats to give it a deeper gloss/look, then skip to Step 10
Steps 7-9 are not necessary, but in my opinion, give the paint a much nicer finish.
Step 7: Take your newly painted covers and resand them! I used the same 400 grit paper just to give the paint a light very light scuff.
Step 8: Wipe down the covers again using water or rubbing alcohol. (I left out degreaser here b/c I wasn't sure if it would strip the paint).
Step 9: Respray the covers again. I put a good 3-5 coats this time around. Let dry as per directed on the spray can. My directions said 1 hour, but I let it dry for another 24 hours. I also left the covers in the sun to let the paint cure faster.
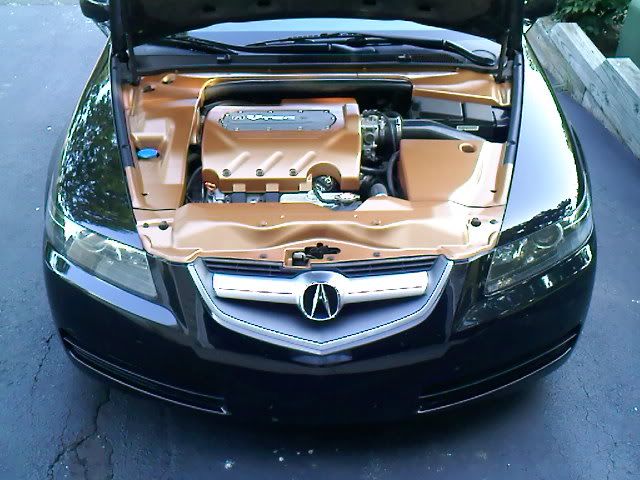
Step 10: Snap the engine covers back on, and admire your work.
Hope this helps!
Disclaimer: mod at your own risk. I am not responsible for any messed up engine covers.
Step 1: Go to your local Home Depot, Lowe's, Pepboys, etc and pick up 300-500 grit sand paper and 1-2 cans of high temp paint spray (# of cans is dependent on how many pieces you're going to be painting).
Step 2a: Take off the covers that you want to paint. The cover that sits right on top of the engine has little plastic pins that have clips behind them. I chose not the paint those, so I took them off. Just remove the clips, and the pins come right out.
Step 2b: Wash them down. I just used soap, water, a large brush, and a toothbrush for the small "nooks." Hose them down and dry them off.
Step 3: Take the sandpaper and start sanding down the covers. You don't need to put a lot of pressure when sanding. Just a light scuffing will do. The point of lightly scuffing the covers is to give it a better texture for the paint to bind to.
1/2 sanded:
fully sanded:
Step 4: Wipe down the covers with a wet towel, degreaser, or alcohol. I chose alcohol because it dried much faster.
Step 5: Shake up your paint can and start spraying! Stay about 5-8" away from the covers and give it a light coat. You should still see some black after the 1st coat.
Step 6: Give the 1st coat a few minutes to dry before putting on the next few layers. I gave it about 3-4 coats before leaving the covers to dry for 24 hours. If you wish to stop here, I would add 2-3 more coats to give it a deeper gloss/look, then skip to Step 10
Steps 7-9 are not necessary, but in my opinion, give the paint a much nicer finish.
Step 7: Take your newly painted covers and resand them! I used the same 400 grit paper just to give the paint a light very light scuff.
Step 8: Wipe down the covers again using water or rubbing alcohol. (I left out degreaser here b/c I wasn't sure if it would strip the paint).
Step 9: Respray the covers again. I put a good 3-5 coats this time around. Let dry as per directed on the spray can. My directions said 1 hour, but I let it dry for another 24 hours. I also left the covers in the sun to let the paint cure faster.
Step 10: Snap the engine covers back on, and admire your work.
Hope this helps!
 07-13-2009, 01:00 PM
#4
Three Wheelin'
Thread Starter
Join Date: Jul 2005
Location: Central NJ
Age: 39
Posts: 1,435
Likes: 0
Received 0 Likes
on
0 Posts
Thanks!
Well, I didn't want to match the body color because I thought it would look boring, so I opted for a brighter color.
My 1st thought was to go red, but it just stood out WAY to much against the black. I settled on the bronze/gold scheme because I've always been a fan of bronze/gold on black.
Well, I didn't want to match the body color because I thought it would look boring, so I opted for a brighter color.
My 1st thought was to go red, but it just stood out WAY to much against the black. I settled on the bronze/gold scheme because I've always been a fan of bronze/gold on black.
07-13-2009, 01:49 PM
#6
Not bad.
I would sand more than just "scuffing" for the prep. It makes the finished paint look smooth and shiny. I sanded mine down until it was smooth to the touch, then primed, wet sanded and painted them.
If you knock your finish down with wet 1000 grit and spray on a clear coat it would look even better.
Trending Topics
07-13-2009, 02:28 PM
#9
Three Wheelin'
damn,...i've been contemplating this ever since I got the TL. I'm just not sure what color to use. I was able to paint the covers in my Audi but, it seems like a brain teaser with a black car.
maybe a dark blue or something
that bronze is gorgeous looking!!!!!!!
maybe a dark blue or something
that bronze is gorgeous looking!!!!!!!
07-13-2009, 03:56 PM
#12
Three Wheelin'
Thread Starter
Join Date: Jul 2005
Location: Central NJ
Age: 39
Posts: 1,435
Likes: 0
Received 0 Likes
on
0 Posts
Not bad.
I would sand more than just "scuffing" for the prep. It makes the finished paint look smooth and shiny. I sanded mine down until it was smooth to the touch, then primed, wet sanded and painted them.
If you knock your finish down with wet 1000 grit and spray on a clear coat it would look even better.
I would sand more than just "scuffing" for the prep. It makes the finished paint look smooth and shiny. I sanded mine down until it was smooth to the touch, then primed, wet sanded and painted them.
If you knock your finish down with wet 1000 grit and spray on a clear coat it would look even better.
Thanks for all the complements!
07-13-2009, 04:20 PM
#14
Team Owner
iTrader: (2)
Join Date: Jan 2008
Location: Kansas City, MO (Overland Park, KS)
Posts: 36,545
Received 6,470 Likes
on
5,162 Posts
Well done Lax! I want to do this too-I have to decide what color to do the pieces in.
07-14-2009, 01:04 AM
#16
Instructor
Join Date: Mar 2008
Location: Norse Dakohta, Yah
Age: 35
Posts: 118
Likes: 0
Received 0 Likes
on
0 Posts
Very nice! I saw this thread today and decided I'd finally found a use for the spare can of silver engine enamel I had lying around. Will post pics when I'm done for the silver covers on SSM look 
07-14-2009, 09:43 AM
#19
Instructor
Join Date: Mar 2008
Location: Norse Dakohta, Yah
Age: 35
Posts: 118
Likes: 0
Received 0 Likes
on
0 Posts
^ lol the way I figure, if I hate it when I'm done I don't have to look at it all the time anyways But if it's an awesome effect, I'll pop the thing @ every opportunity 
But if it's an awesome effect, I'll pop the thing @ every opportunity
07-14-2009, 11:12 AM
#20
Instructor
Join Date: Mar 2008
Location: Norse Dakohta, Yah
Age: 35
Posts: 118
Likes: 0
Received 0 Likes
on
0 Posts
This might be a bit off topic, but does anyone know the best way to prep the intake manifold cover for painting? I can't get a clear idea from searching... Is it really necessary to use paint remover or is sanding necessary? Is primer a good idea too?
07-14-2009, 11:38 AM
#21
how many can of spray paint do you need for just the engine cover about 3-5 coats...also after sanding did you just spray paint it? and what kind of clear coat can you buy at stores for this mod?
07-14-2009, 04:42 PM
#23
Three Wheelin'
Thread Starter
Join Date: Jul 2005
Location: Central NJ
Age: 39
Posts: 1,435
Likes: 0
Received 0 Likes
on
0 Posts
After sanding, I just sprayed it. Some people prefer to use a primer. I didn't feel it was necessary.
I would suggest a high temperature resistant clear coat. Also, you would have to sand the painted cover with about 1500-2000 grit before clear coating.
07-14-2009, 05:02 PM
#24
Moderator
iTrader: (3)
Dang that looks great!
I've been planning on doing this for a while but never got around to it. This is a great example of DIY
I've been planning on doing this for a while but never got around to it. This is a great example of DIY
07-14-2009, 08:10 PM
#25
1 is more than enough for just the engine cover doing 3-5 coats. I used 2 cans to do the pieces in my pictures. And this was with about 6-7 coats each.
After sanding, I just sprayed it. Some people prefer to use a primer. I didn't feel it was necessary.
I would suggest a high temperature resistant clear coat. Also, you would have to sand the painted cover with about 1500-2000 grit before clear coating.
After sanding, I just sprayed it. Some people prefer to use a primer. I didn't feel it was necessary.
I would suggest a high temperature resistant clear coat. Also, you would have to sand the painted cover with about 1500-2000 grit before clear coating.
 07-14-2009, 09:33 PM
#27
Three Wheelin'
Thread Starter
Join Date: Jul 2005
Location: Central NJ
Age: 39
Posts: 1,435
Likes: 0
Received 0 Likes
on
0 Posts
07-15-2009, 02:57 PM
#28
Modding my TL in
Join Date: Jun 2005
Location: Chicago SW Burbs
Age: 52
Posts: 317
Likes: 0
Received 1 Like
on
1 Post
Very good write up. I've done this in the past on my car.
Now with the IM spacer mod AND using the engine cover (my custom way) - it is situated to close to the hood = hot paint melting.
New covers on order.
Now with the IM spacer mod AND using the engine cover (my custom way) - it is situated to close to the hood = hot paint melting.
New covers on order.
 05-07-2011, 12:03 PM
#32
I Like turtles
iTrader: (4)
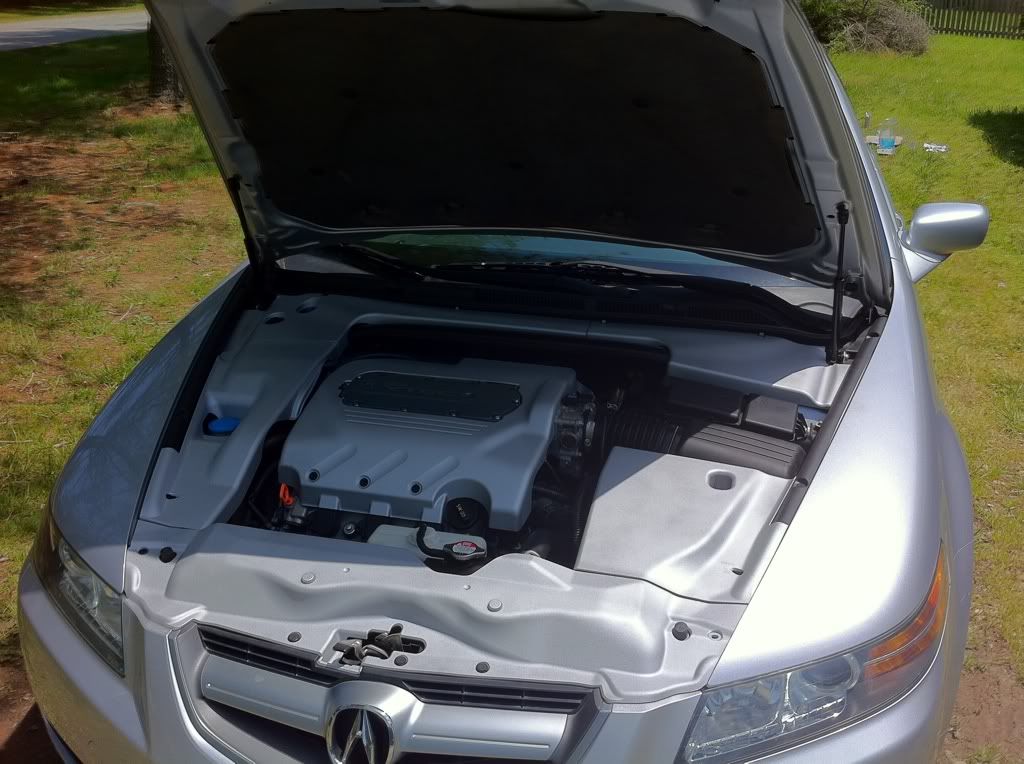
Basically the same thing here, was lazy at the time to do the small black pieces on the sides
Old picture
After about an 3-4 hours time
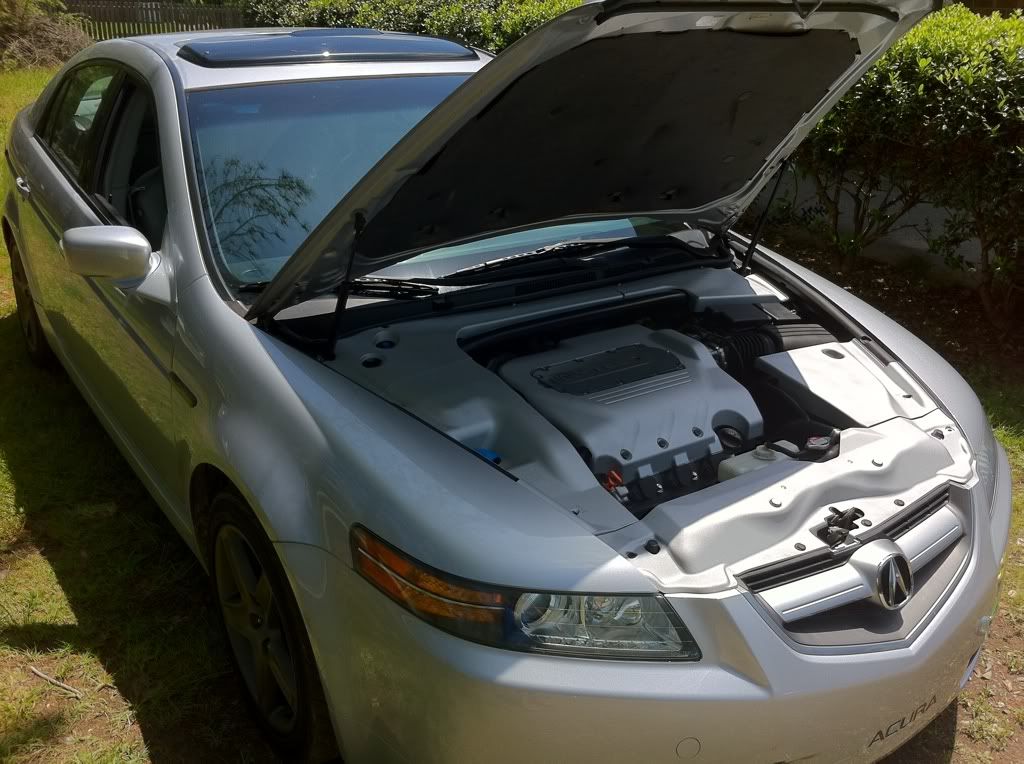
Old picture
After about an 3-4 hours time
Last edited by GeeteeDan; 05-07-2011 at 12:06 PM.
05-07-2011, 12:23 PM
#33
Race Director
iTrader: (8)
 05-07-2011, 10:44 PM
#36
Team Owner
iTrader: (2)
Join Date: Jan 2008
Location: Kansas City, MO (Overland Park, KS)
Posts: 36,545
Received 6,470 Likes
on
5,162 Posts
Nice work Dan. I did the same thing-I made my engine cover red.
2011 National AcuraZine Meet-Kansas City-June 12, 2011-Details Here!
.
2011 National AcuraZine Meet-Kansas City-June 12, 2011-Details Here!
.
05-07-2011, 11:30 PM
#38
