P/S Pump Rebuild - Priming and Bearing Question
#1
Fearless DIY Guy
Thread Starter
iTrader: (2)
P/S Pump Rebuild - Priming and Bearing Question
I'm planning on tackling this in a week or two, and there are a few questions I could use some help with...
(1) I'm planning on replacing the bearing since I'm in there; does the bearing easily slide off of the drive shaft or does force need to be used for removal?
(2) The OEM scans call for seating the pump seal by driving a socket along the outer housing of the bearing; I'm seeing people drive the seal in with a socket. Does the shaft/bearing assembly simply seat by hand or is this an interference fit that requires to be mechanically seated?
(3) Is the system self-priming? I presume the fill cap should be left open to vent.
Thanks, all.
#2
(1) It will likely fall apart from being so brittle and you'll think you're hurting it, remove all of the black hardened rubber and any innards that fall out. Just be careful not to score the sides of the pump. I'd use a chopstick or something non metallic to pry it out.
(2) No mechanical pressure required, it goes in easily. I removed and took mine out a few times.
(3) See below, you'll want to do a flush while you're at it. Make sure when you bleed the reservoir and rack that the hose extension you use is tight, it's worth spending the $5 in hose to not spray it everywhere. It will make a god awful noise, but it's OK.
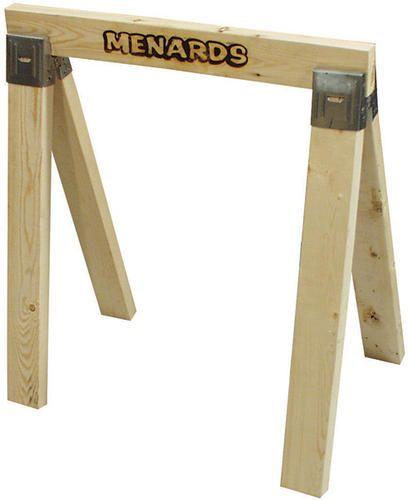
(Bonus) The hardest part will be the pulley bolt, I'd suggest a vice or clamp to a sawhorse, that's what I did to finally get it off.
Reman PS Pump Guide --> https://acurazine.com/forums/third-generation-tl-2004-2008-93/power-steering-pump-932562/#post15473697
Last edited by MonkeyTrucker; 08-10-2015 at 11:23 PM.
The following users liked this post:
DeathMetal (08-11-2015)
#3
Fearless DIY Guy
Thread Starter
iTrader: (2)
Thanks!!! I change the fluid out every 60k or so, and yes - not only does it make a god-awful noise, it smells TERRIBLE.
One other quick question - I've seen a few conventions for removing the pulley nut (Impact & foot; screw driver & socket wrench; pulley tool) which do you recommend?
One other quick question - I've seen a few conventions for removing the pulley nut (Impact & foot; screw driver & socket wrench; pulley tool) which do you recommend?
#4
Thanks!!! I change the fluid out every 60k or so, and yes - not only does it make a god-awful noise, it smells TERRIBLE.
One other quick question - I've seen a few conventions for removing the pulley nut (Impact & foot; screw driver & socket wrench; pulley tool) which do you recommend?
One other quick question - I've seen a few conventions for removing the pulley nut (Impact & foot; screw driver & socket wrench; pulley tool) which do you recommend?
My advice, don't try the impact wrench, it's a waste of time. I broke a high quality driver bit using a top of the line 20v Dewalt Brushless impact driver/wrench.
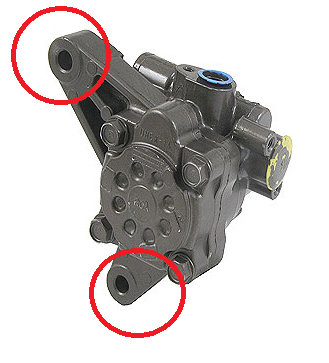
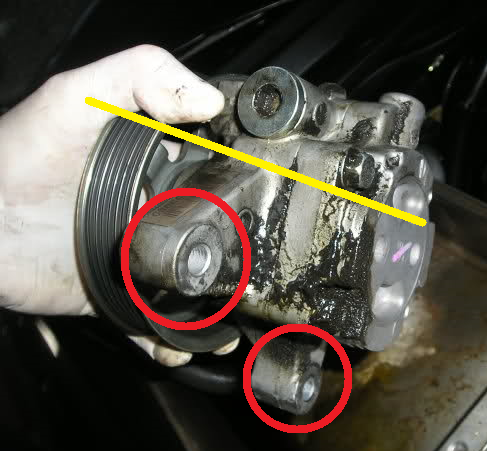
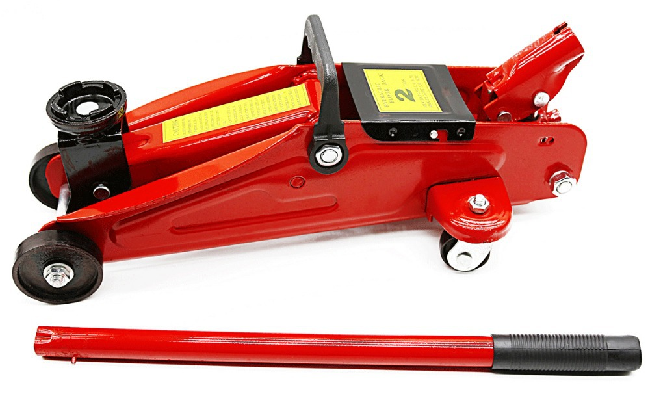
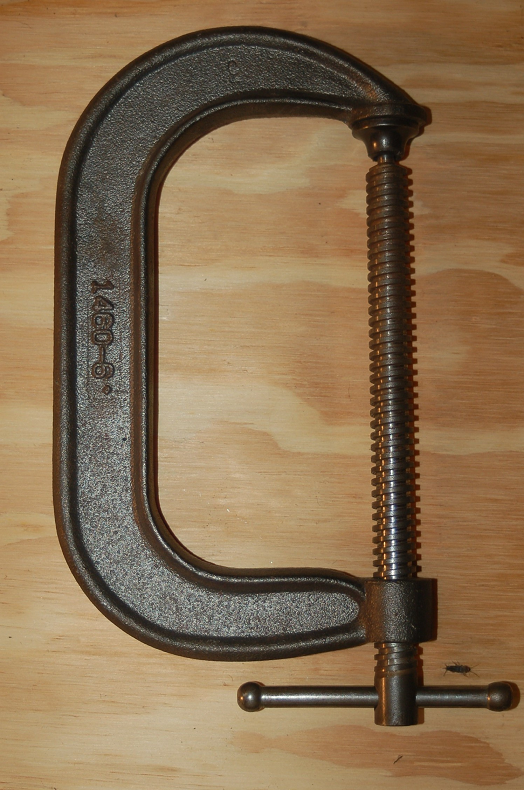
Avoid the 1.5 hr headache I dealt with, and do the following. Use a simple threaded, large c-clamp to tighten either red circled mounting points seen below to a wooden sawhorse, or even a 2x4. Place something like a hydraulic jack handle through the eye of the pulley (yellow line in image below), then use a cheater / breaker bar and you'll have it off in minutes if not seconds.
The body of the PS Pump will catch against the wood, the larger diameter rod (hydraulic jack handle) catches, and allows ALL of your exertion to be on the bolt. A screwdriver as a "rod" is too skinny and allows too much play.
It worked on first try for me, sorry I didn't reply sooner

This technique will also assist in removing the hex-bolt for that related gasket, less the obvious need to ensure the pulley stays stationary. All of this advice also allows you to better apply the proper and true torque when tightening everything back up. All of the torque specs are provided in the document above.
Good luck! You can do it!
Reference images below:
Last edited by MonkeyTrucker; 08-14-2015 at 07:46 PM.
The following users liked this post:
DeathMetal (08-15-2015)
#5
Fearless DIY Guy
Thread Starter
iTrader: (2)
MAN, that was an awesome reply - thank you many times over for the images and the level of detail! I've a bench-top vise which should fit the bill for this approach.
Thanks again! I'll be tackling this next Friday or Saturday (friends in town this week); I'll let you know how I made out!
Thanks again! I'll be tackling this next Friday or Saturday (friends in town this week); I'll let you know how I made out!
#6
Moderator
iTrader: (7)
the Impact driver method is easier. There shouldn't be anything breaking if you are using good tools. I got that pulley nut off like nothing, I just stuck a strong screwdriver through the hole and the impact driver got it off in seconds. I used a 1/2" craftsman electric impact driver with a 6 point socket. None of those small impact drivers with the quick detach bits, I've broken those before.
Last edited by paperboy42190; 08-16-2015 at 05:45 AM.
#7
Fearless DIY Guy
Thread Starter
iTrader: (2)
the Impact driver method is easier. There shouldn't be anything breaking if you are using good tools. I got that pulley nut off like nothing, I just stuck a strong screwdriver through the hole and the impact driver got it off in seconds. I used a 1/2" craftsman electric impact driver with a 6 point socket. None of those small impact drivers with the quick detach bits, I've broken those before.
Thread
Thread Starter
Forum
Replies
Last Post
Skirmich
2G TL (1999-2003)
37
09-15-2015 06:41 PM


