When you click on links to various merchants on this site and make a purchase, this can result in this site earning a commission. Affiliate programs and affiliations include, but are not limited to, the eBay Partner Network.
Introduction
Last weekend, I completed a long overdue paint restoration on my 2005 NBP Acura TL. I wanted to create this post and share with you some of the products, tips, and tricks that I used. Like many vehicle owners with NBP paint, swirls and spiderweb scratches are a pain in the butt to remove and, if not treated properly, will return within a short period of time. I've mixed and matched various polishes and pads from 3M, Meguiars, Chemical Guys... you name it. After several less-than-satisfactory paint restoration attempts, I was becoming annoyed. I'm by no means a professional, but I like to think that I know a thing or two about detailing with a Porter Cable. I was trying to figure out what the best combination of polishes, pads, waxes, sealants, etc. would produce the best results.Then, I came across the following article from about seven years ago:
This article is a 4 part series written by Todd Cooperider, specifically giving instructions for restoring the Honda NBP paint. To make things even better, Todd owns a 2007 Acura TL Type S and uses that vehicle for testing most of his products. You can rest assured, that this dude knows what he is talking about. A client came to him asking him to fully detail his 2006 Acura TL. Todd outlines each and every step from first wash to final wipe down of how to properly detail a TL. I read this article and learned so many unique tips and tricks that I never knew before. He really helped me understand all of the things I was doing wrong, even during my weekly car washes. I highly recommend reading the article in full.
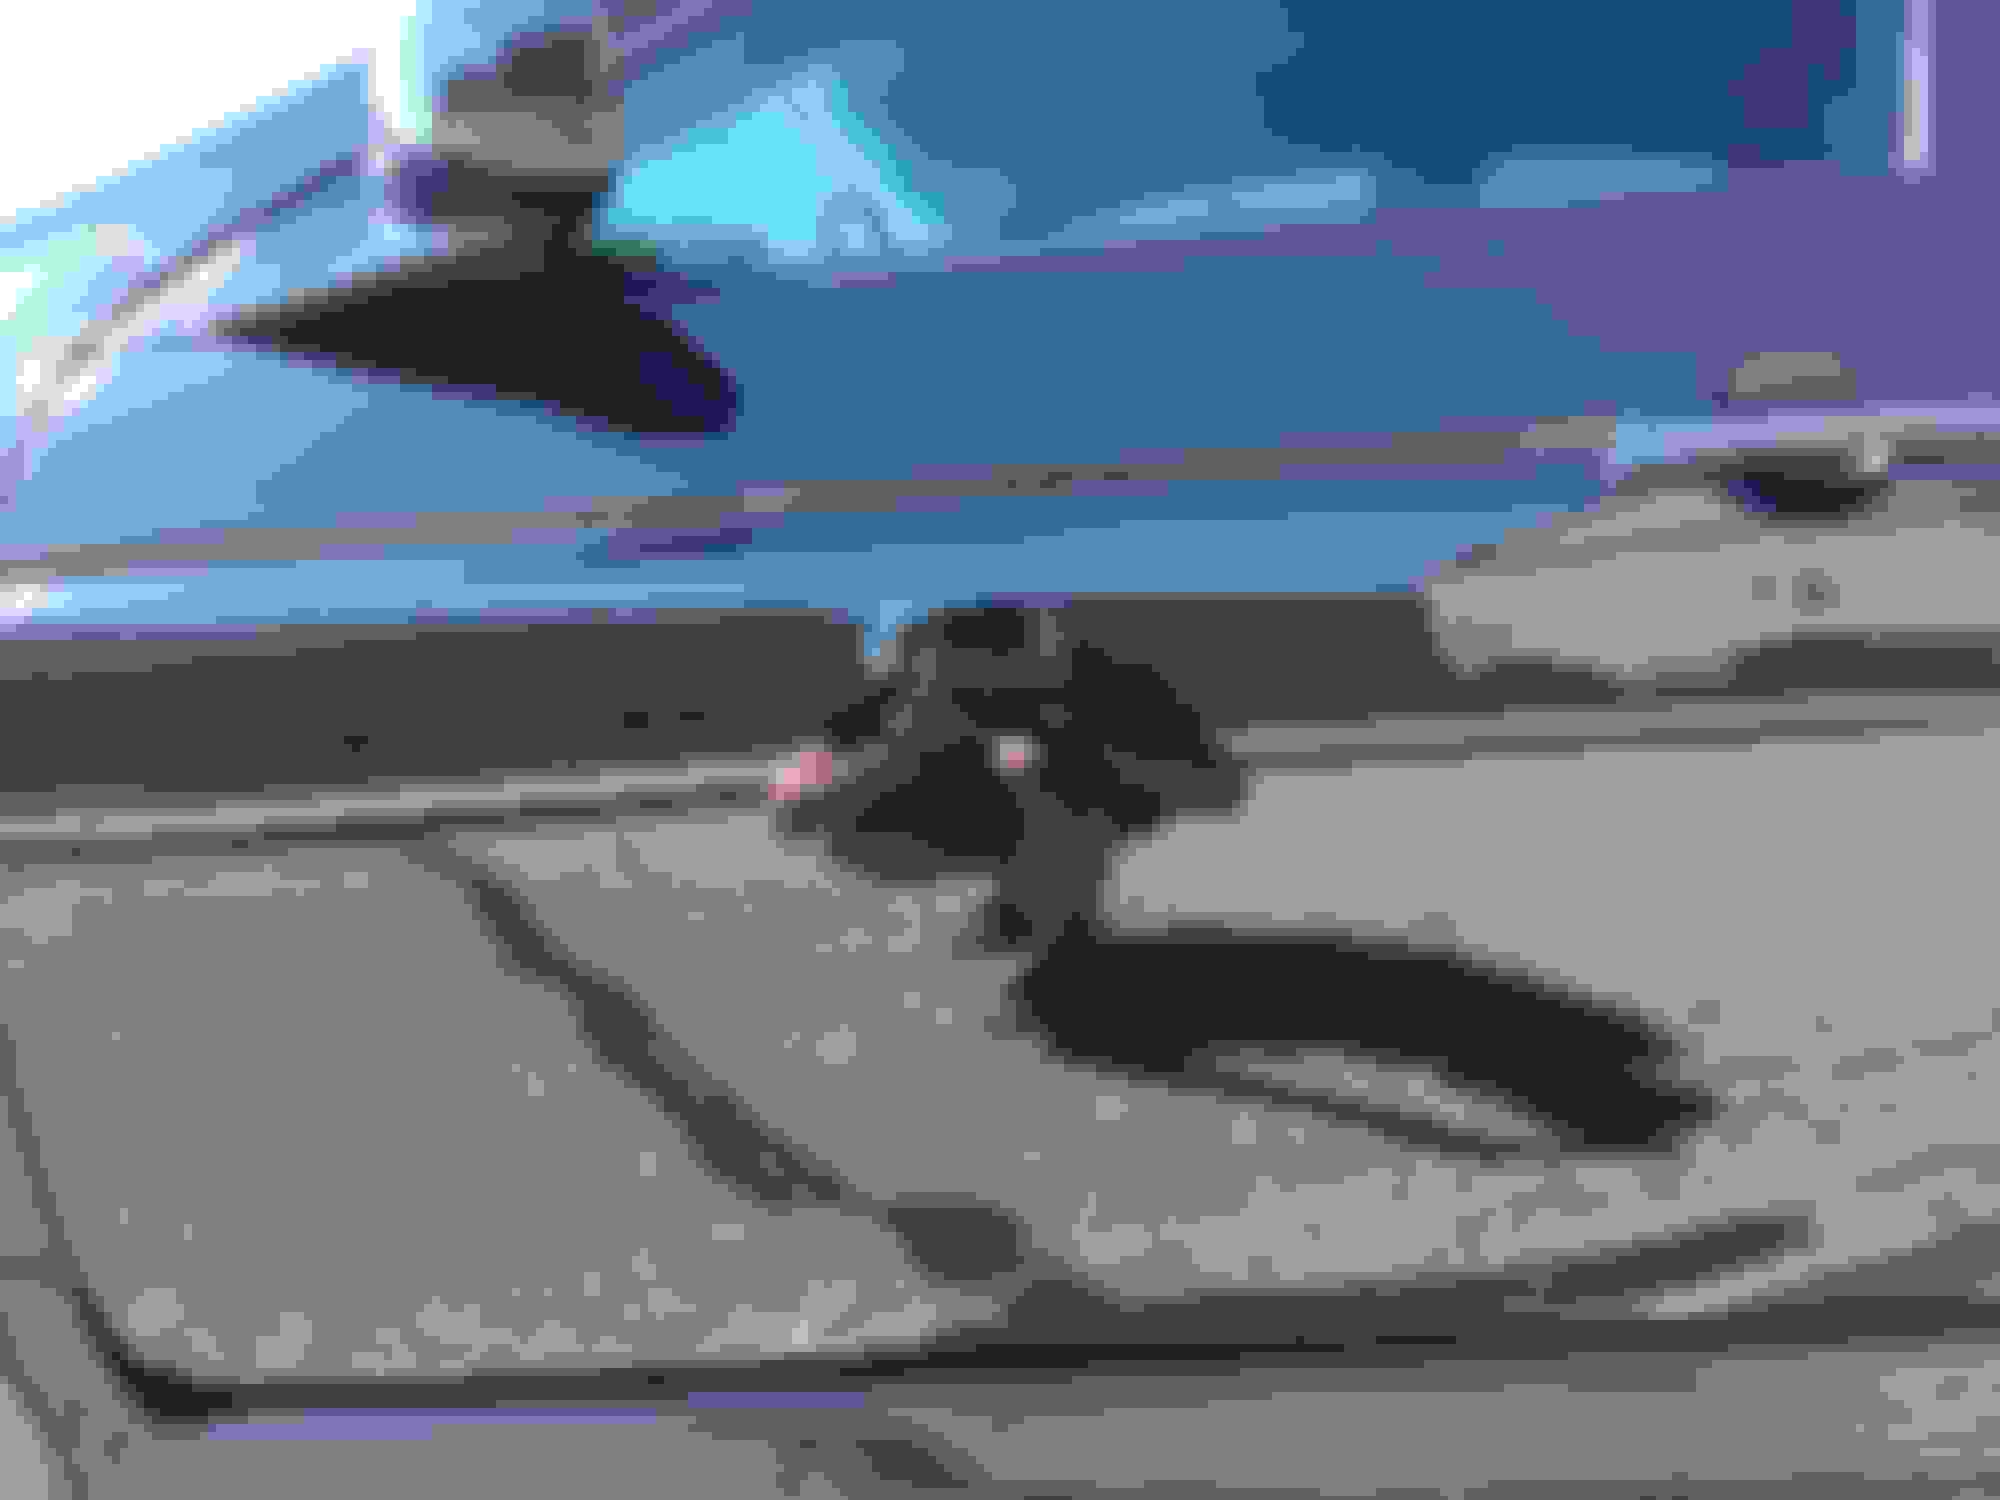
Before
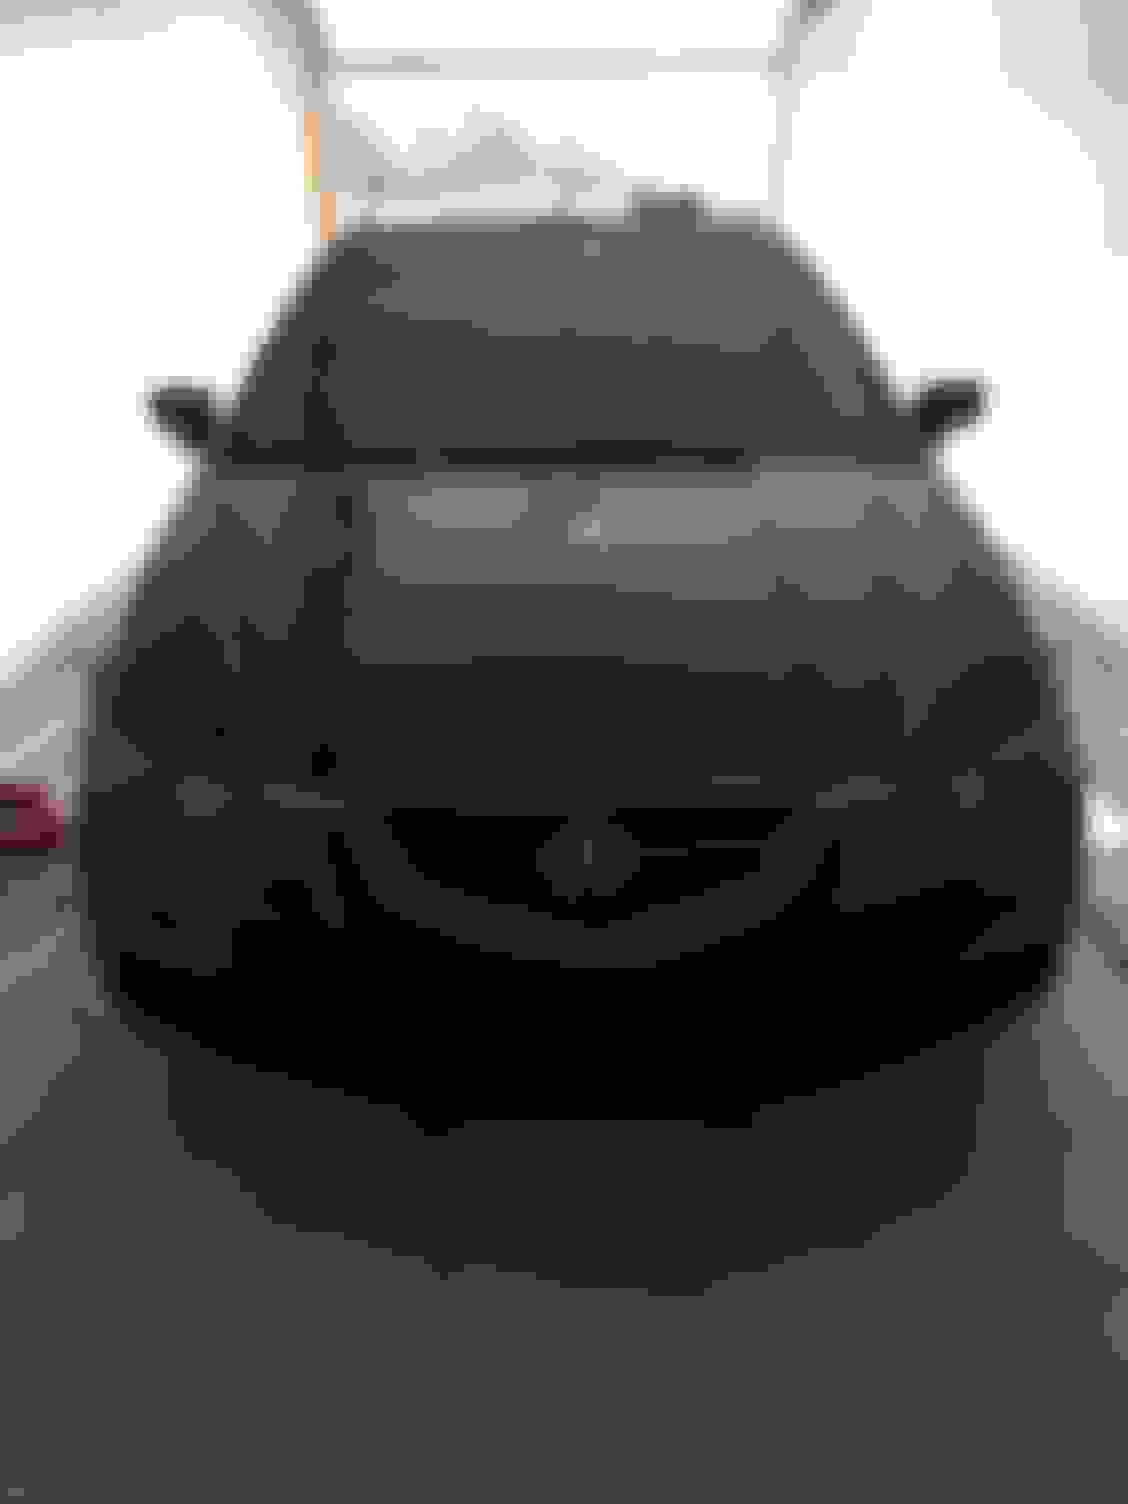
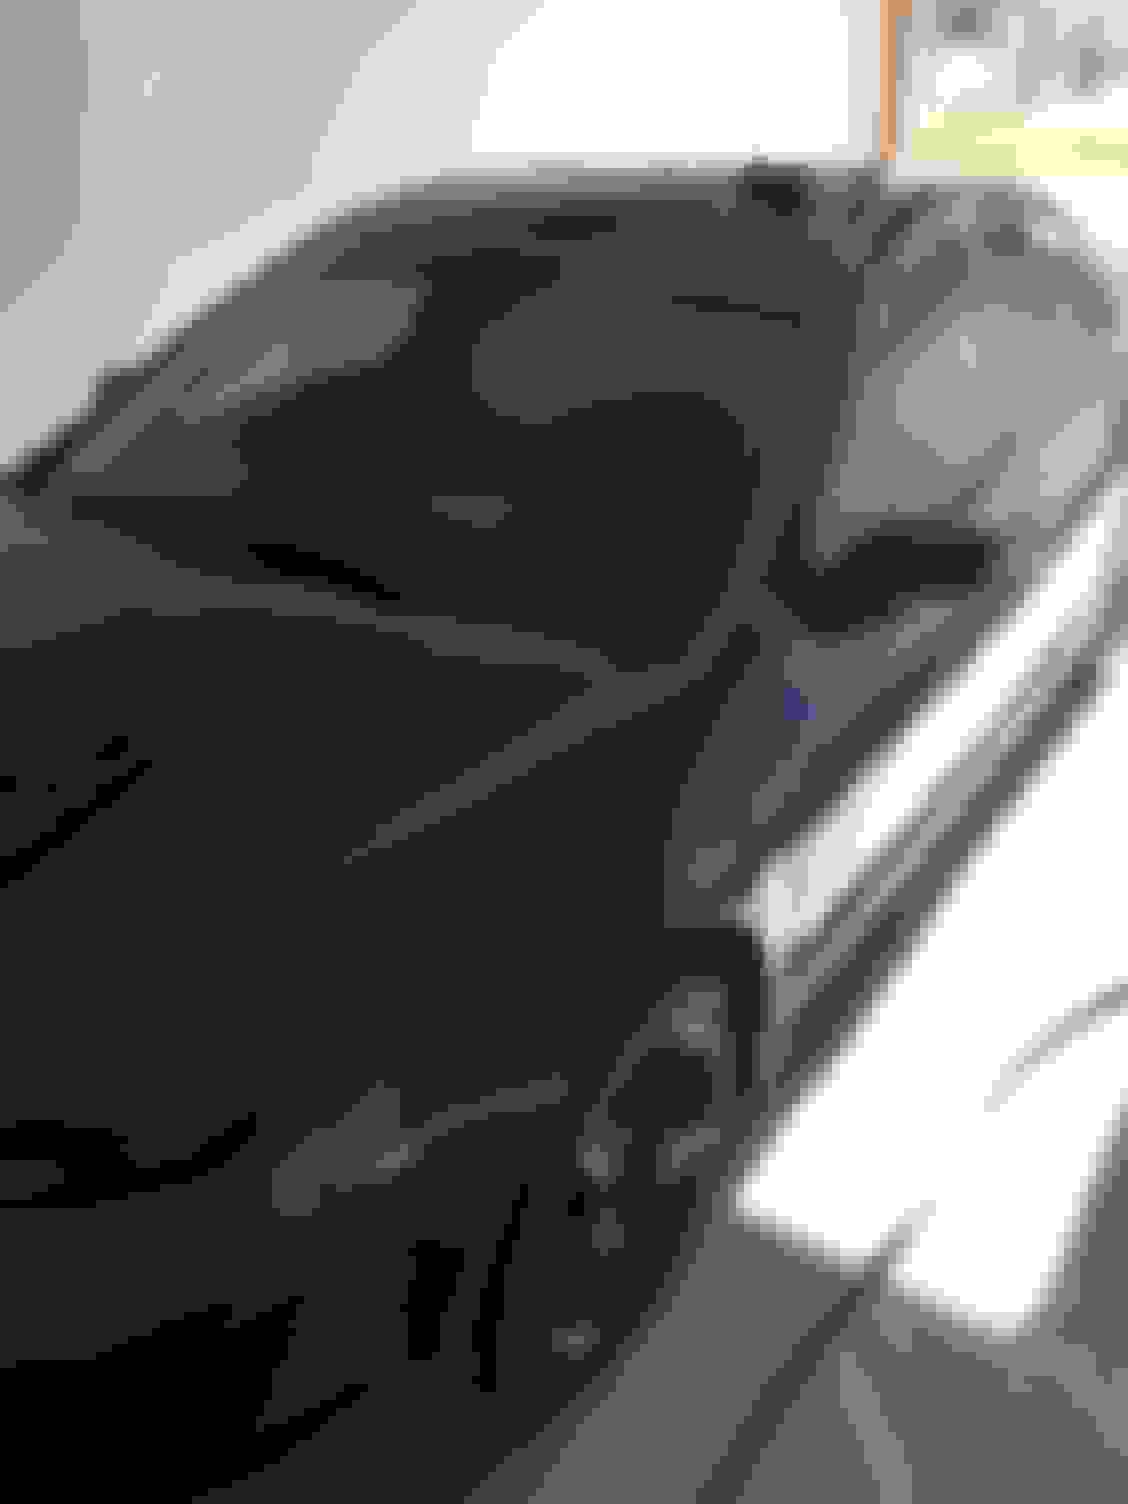
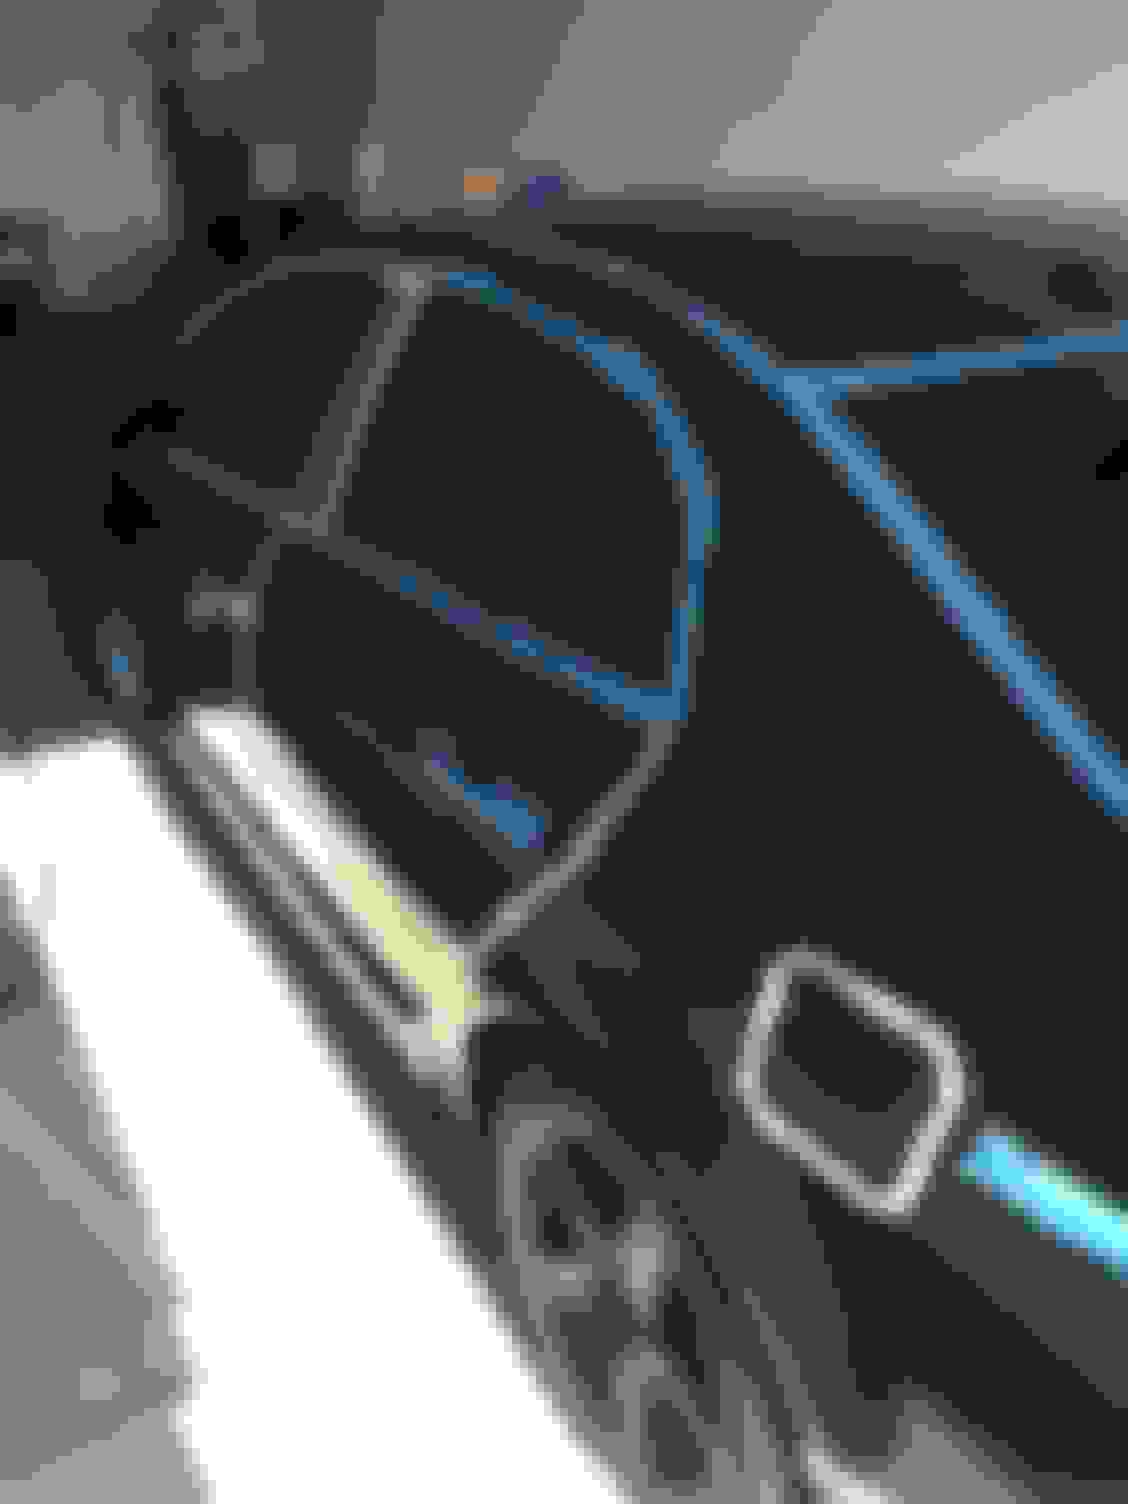
Here are a few hood pictures, outlining how my paint looked before I completed the full detail. Notice all of the spiderwebbing that occurred.
Wash & Clay Bar
After a thorough wash, I clay barred my vehicle using the Poorboy's World Spray and Wipe and DetailedImage clay bar (I ordered most of my detailing supplies through DetailedImage and these two items were a free gift with my order). DetailedImage's prices were within a spitting distance of Amazon, so I didn't even bother shopping around too much.
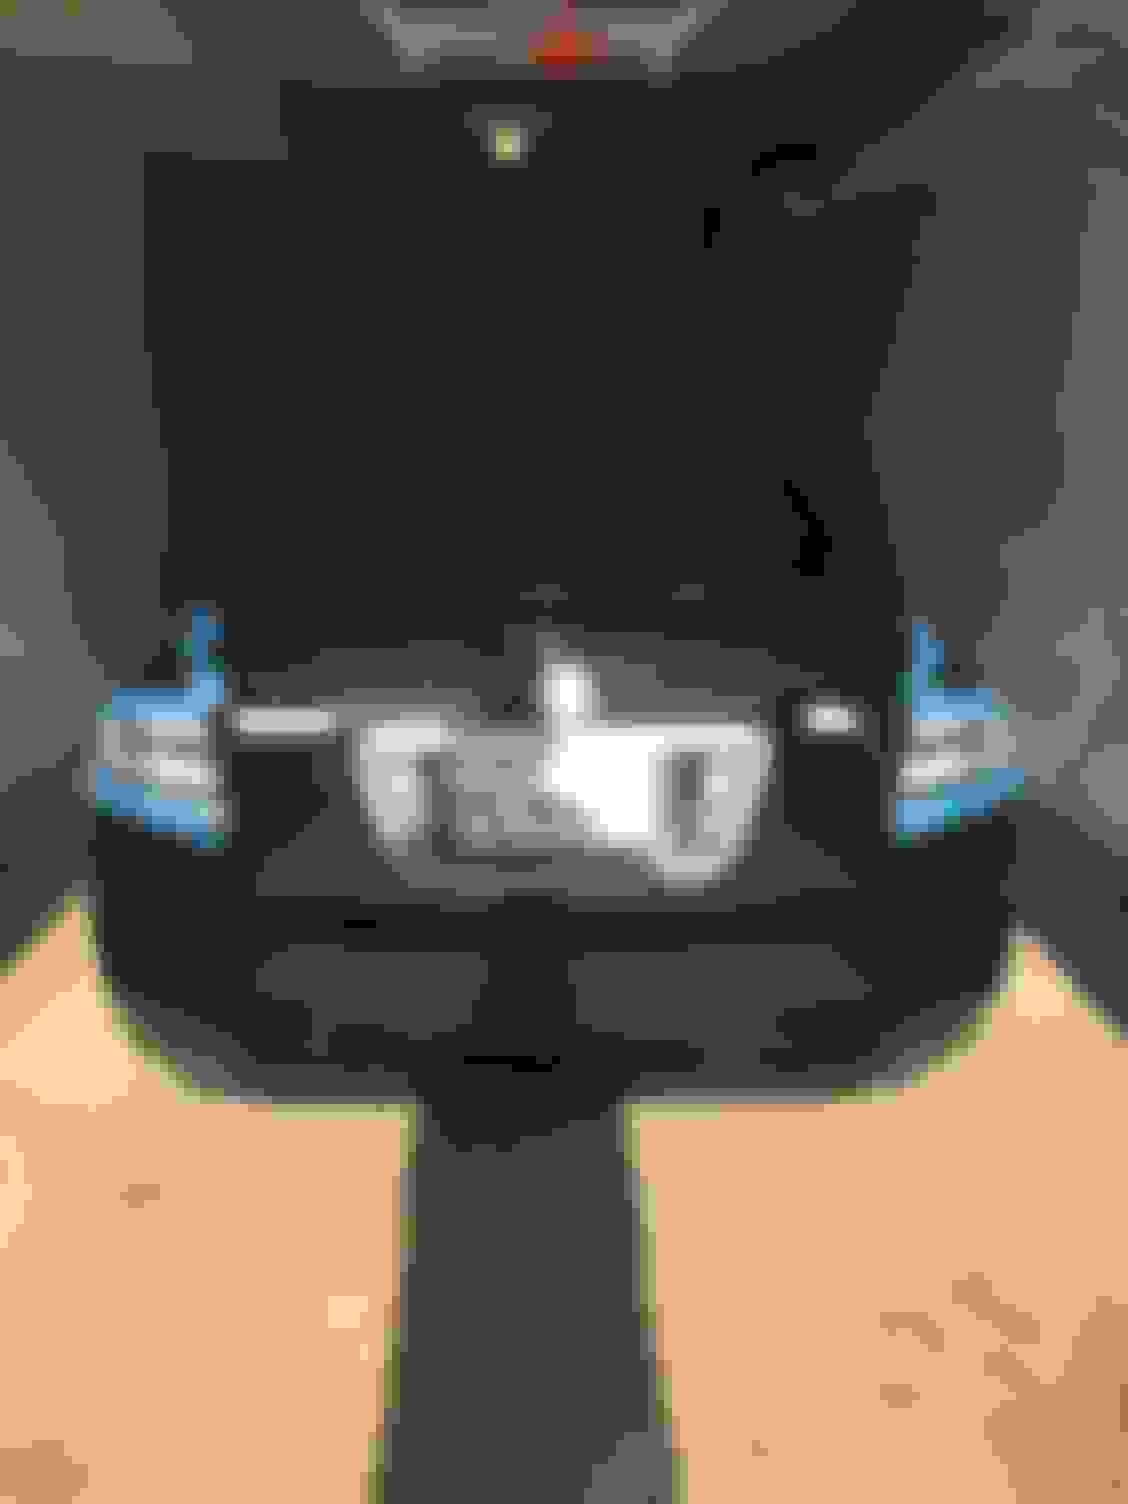
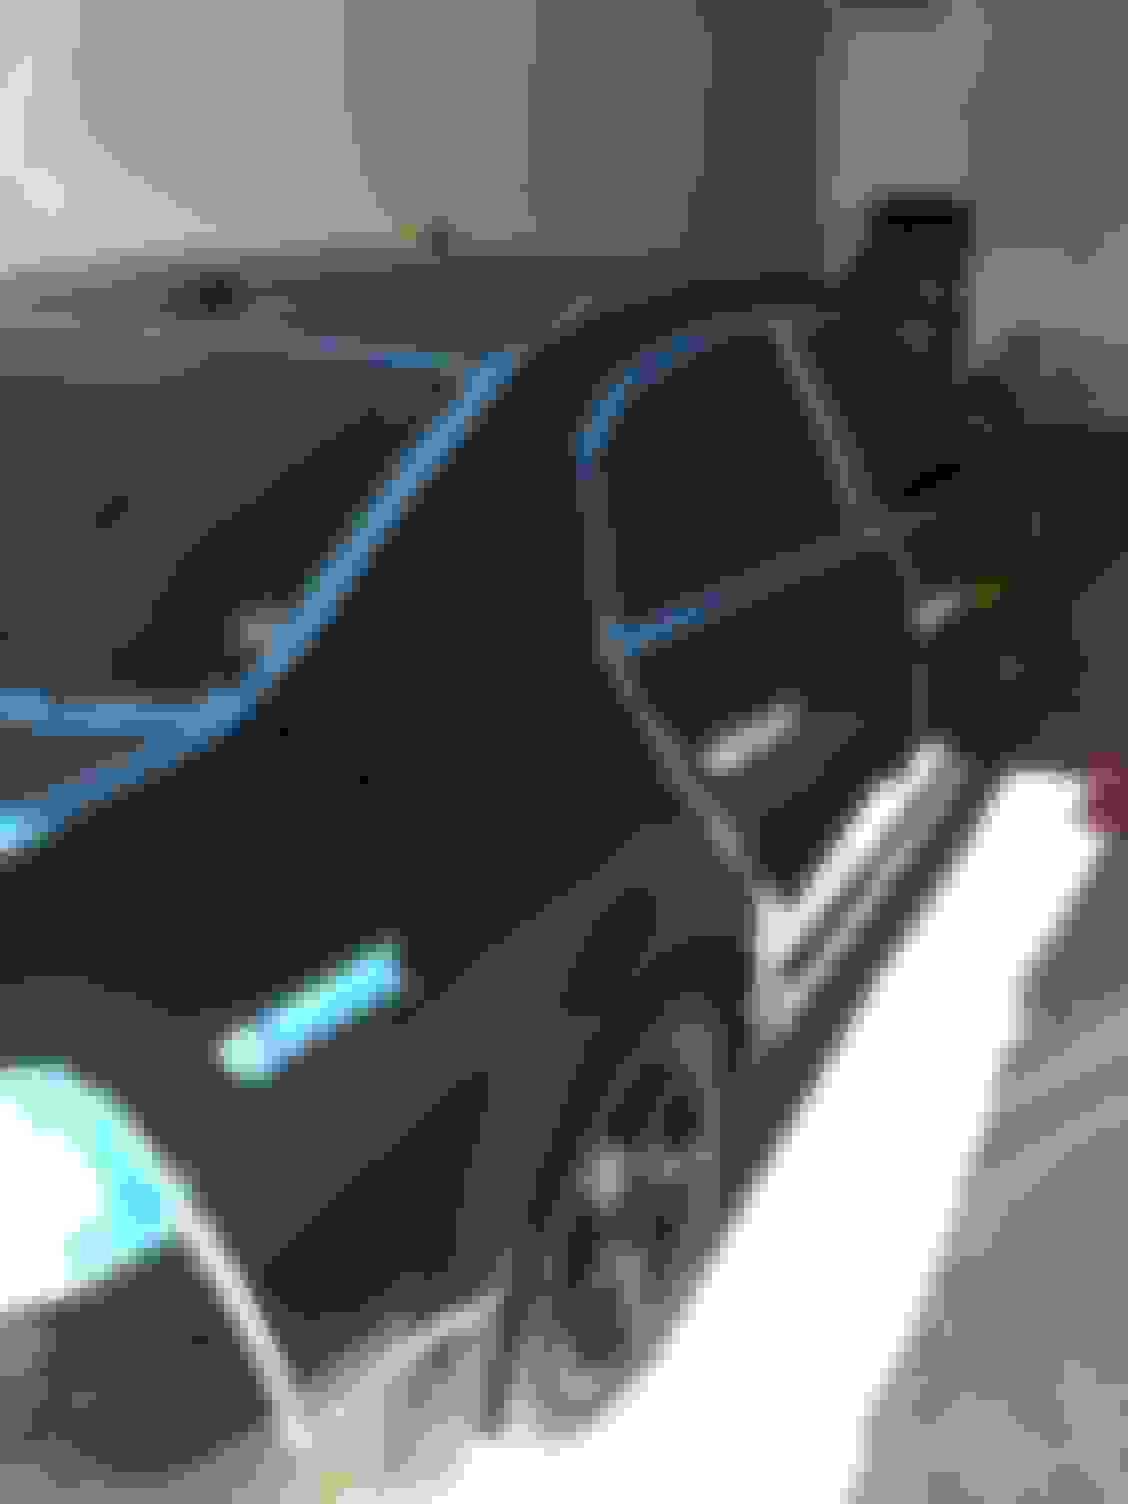
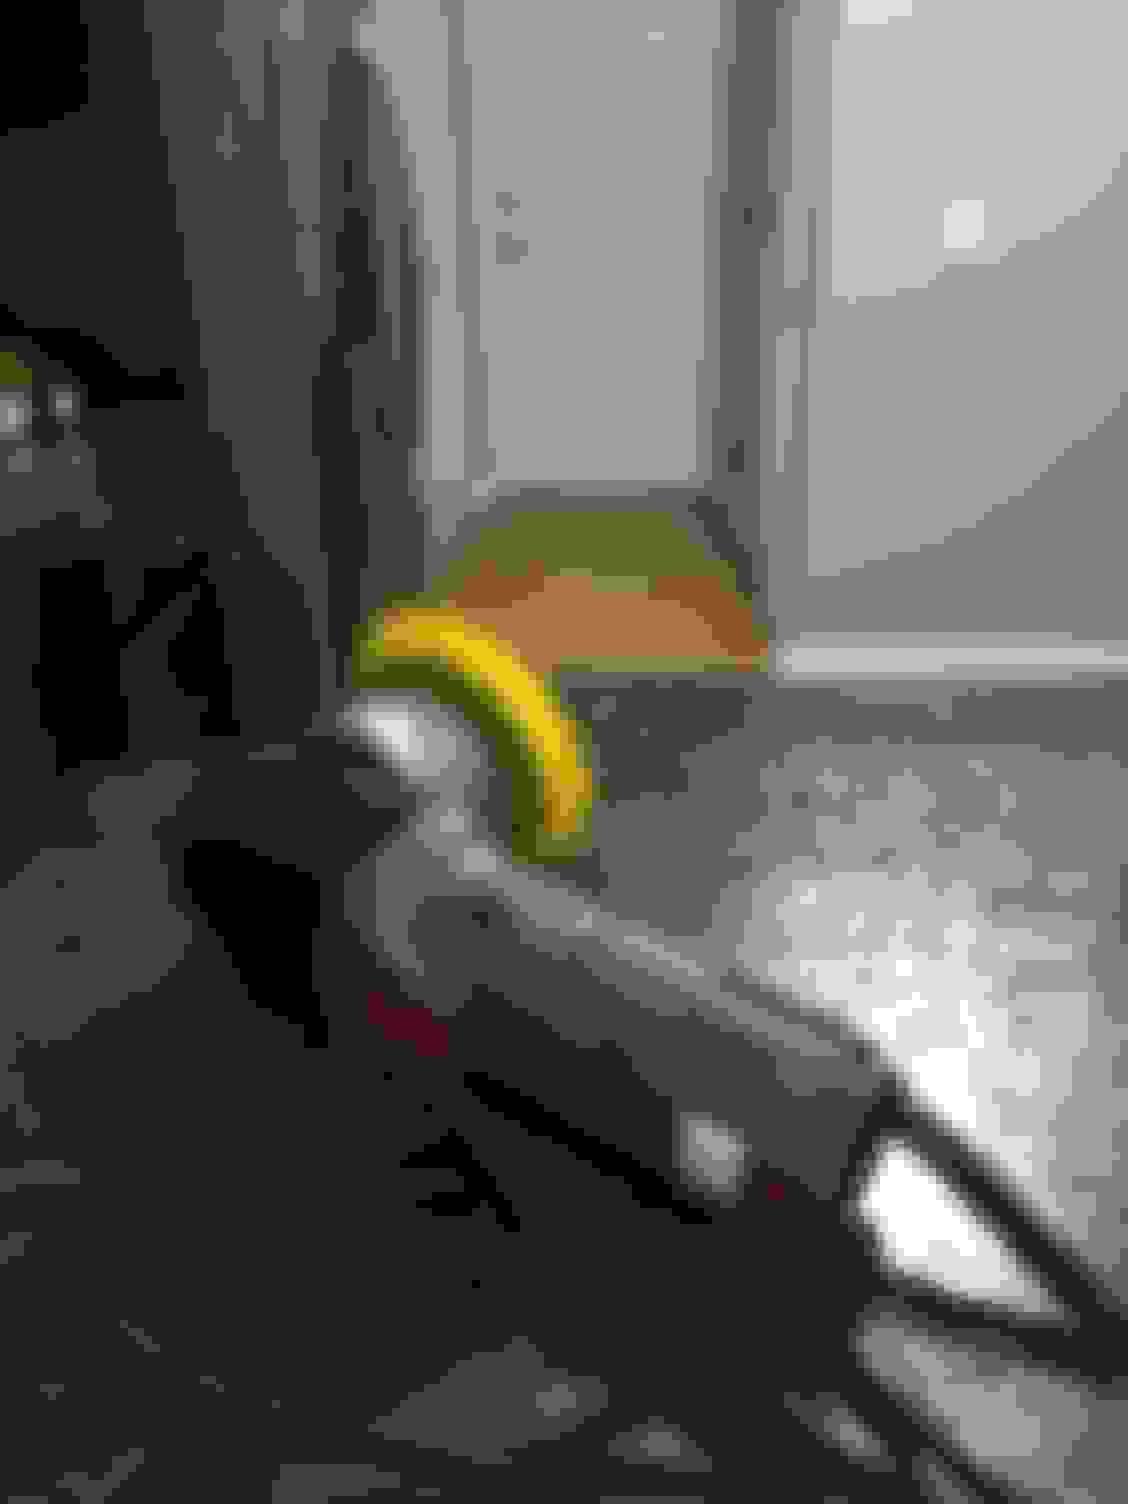
Taping
After clay barring, I made sure to prepare my TL for machine polishing by taping off all of the exposed seams and areas that I didn't want to stain. After detailing once without taping, you'll realize how important this really is. I highly recommend not skipping this step.
Polishing
After I finished taping, I had to call it a day. I started late in the afternoon and had other plans in the evening. So, I covered the entire vehicle with a bed sheet and picked up the detailing again bright and early on Saturday morning. For my polishing, I used my Porter Cable 7424XP and Lake Country backing plate.
1st Stage Polish: For this step, I used Menzerna Medium Cut Polish and an Orange Lake Country polishing pad as recommended by Todd in his article. I bought the purple wool pad too, but did not actually have to use it.
2nd Stage Polish: For this step, I used Menzerna Super Finish Plus and a Blue Lake Country polishing pad as recommended by Todd in his article. I used the White Lake Country Pad on the door pillars. You can read about this in Todd's article as well.
The Menzerna Super Finish Plus is used to really jewel the paint and give it that extra "pop". I learned that it is important to start slow, speed up the polisher, and then really slow down the polisher and just graze over the paint surface to finish it off. If not done properly, you will be left with halograms like non other. This is the mistake that I did during my last detail. I completed a test section first and then brought my car into the direct sunlight to inspect for any marring or halograms. The sunlight is vastly different than the spot light used in a garage, so I took my time and checked my progress frequently.
Sealing
Historically, I have always used wax. I tried a mix and match of different brands and never really found one that I fell in love with. As recommended by Todd, I thought that I would give Opti-Seal a try. Needless to say, I fell in love with it. Its super quick and easy to use and leaves a perfect gloss finish.
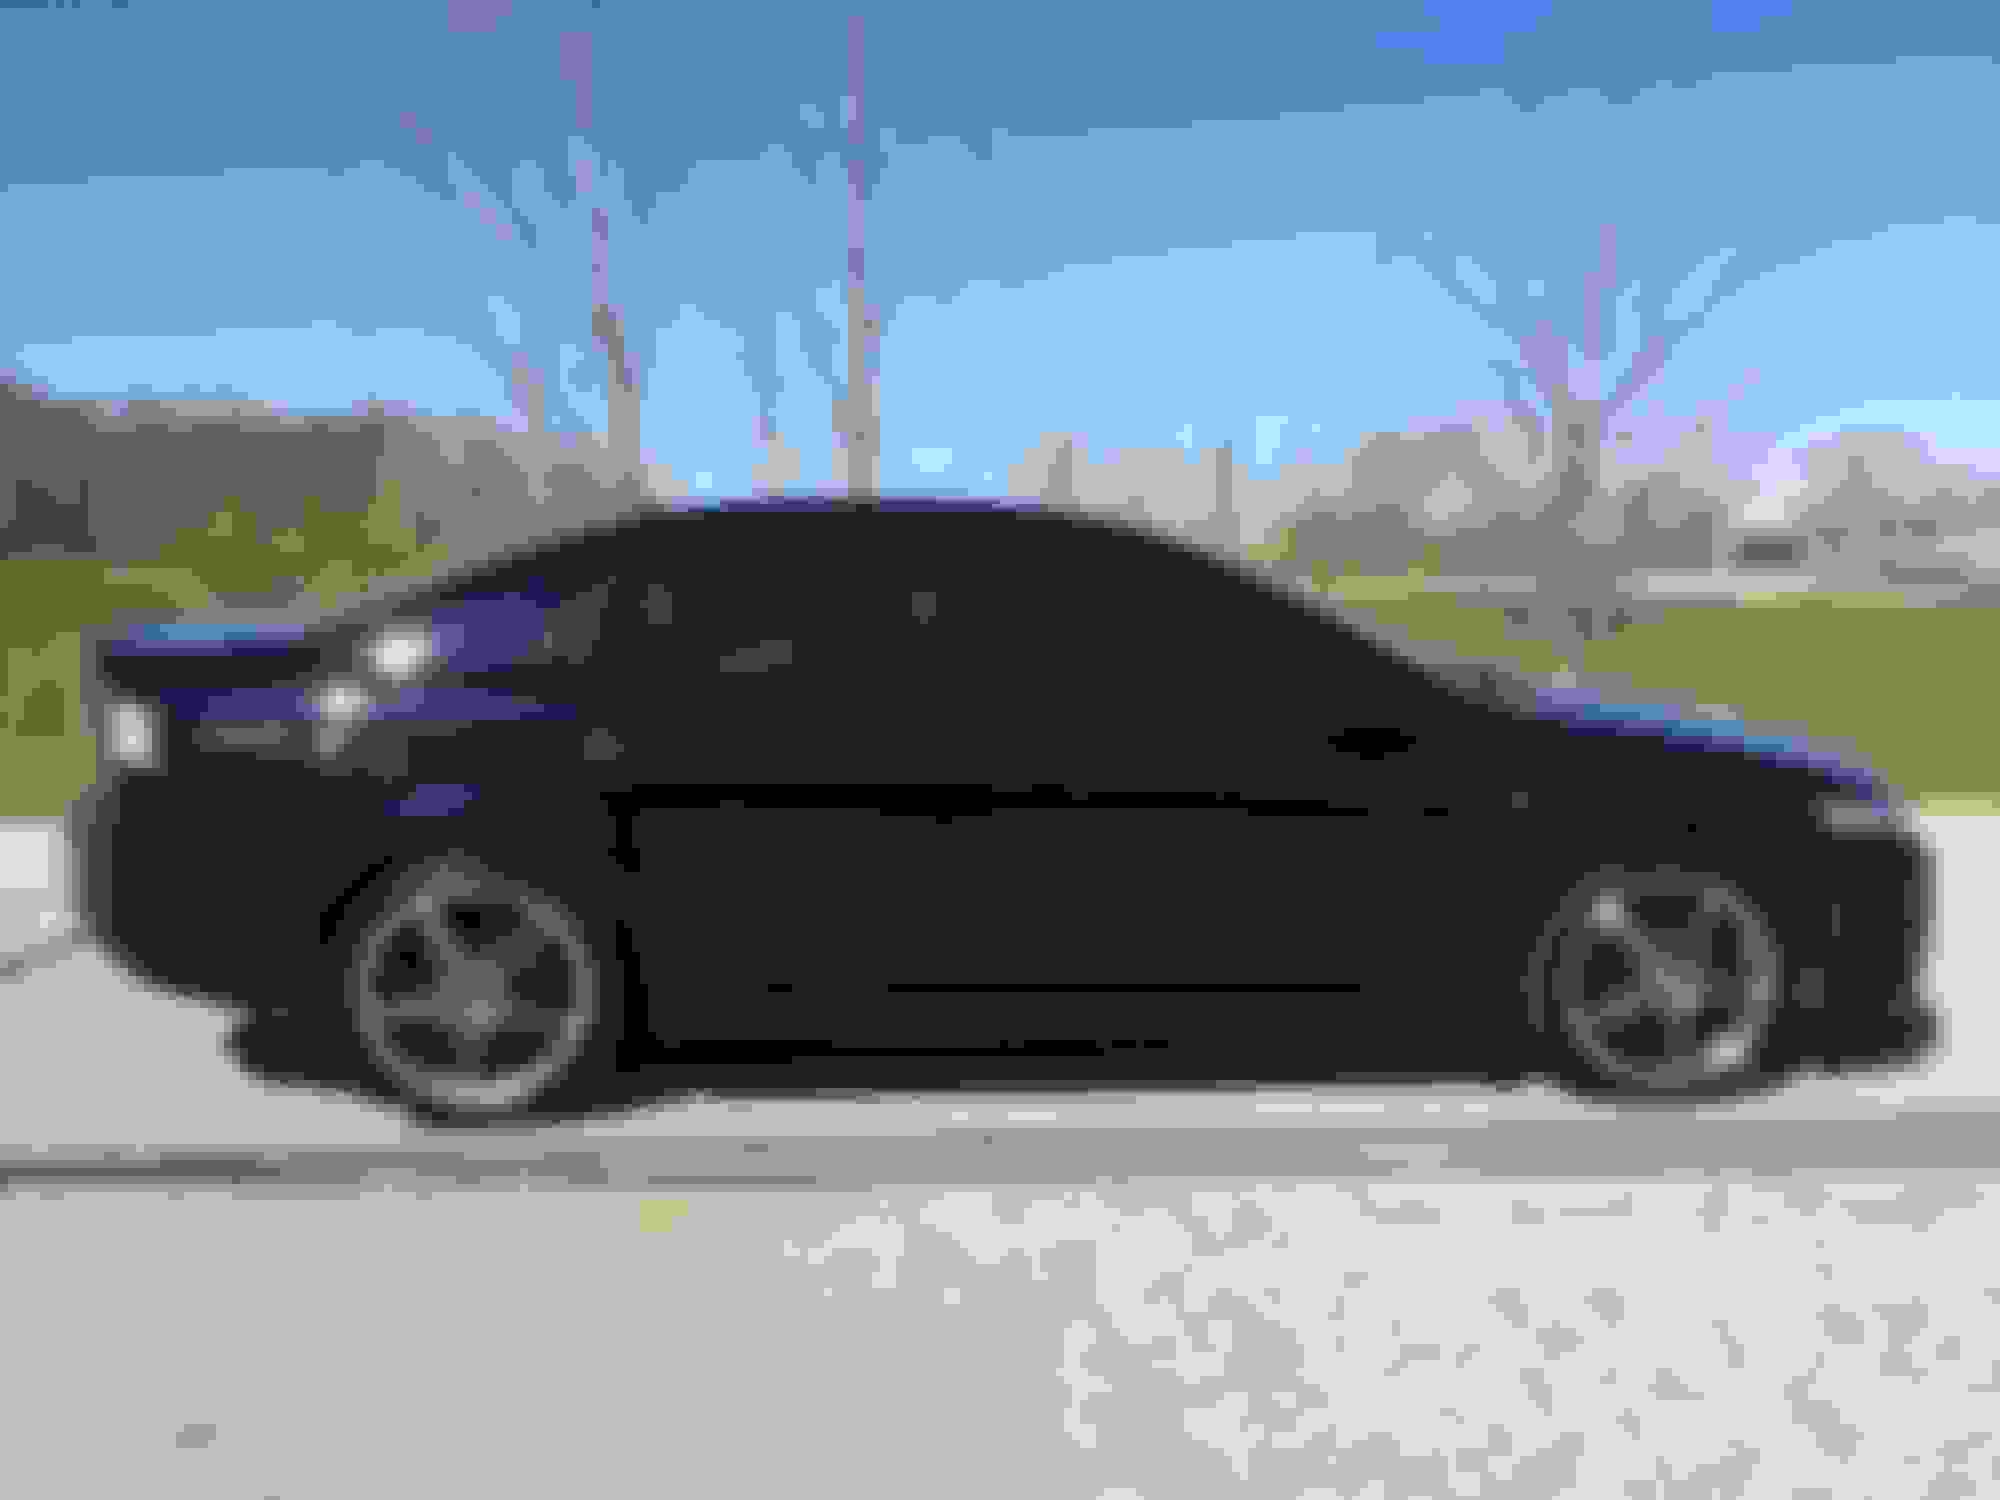
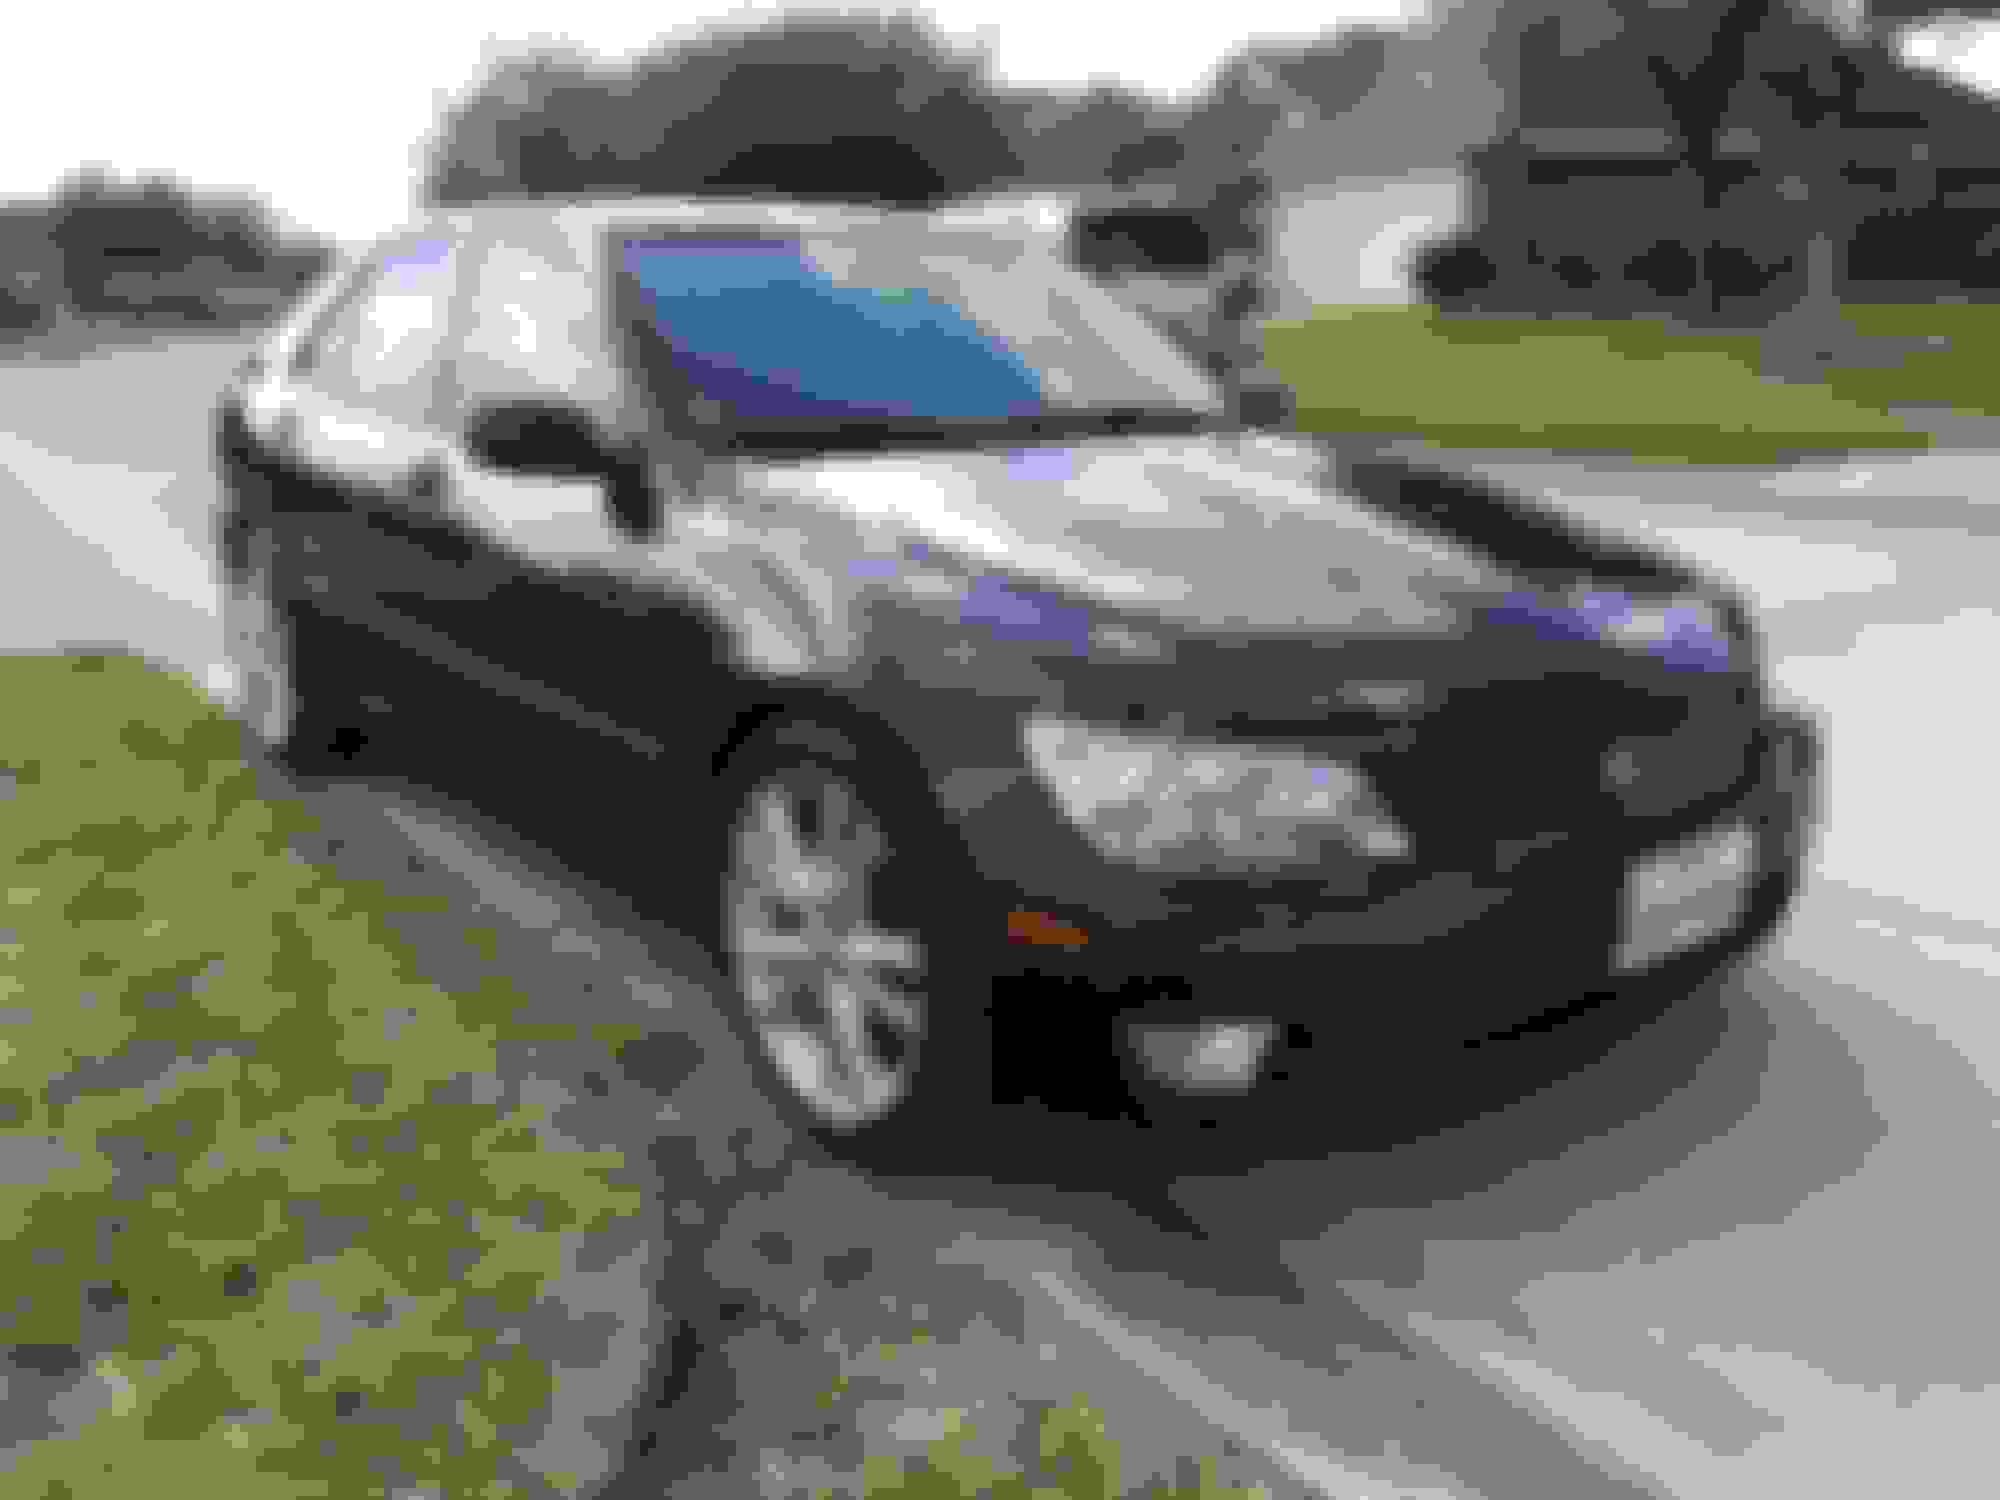
Final Product
After it was all said and done, I logged about 18 hours from start to finish (About 1.5 hours of that time was spent cleaning and installing my summer wheels). I was incredibly exhausted, but it was definitely worth it. I successfully removed all of my spider webs, marring, and dullness. The end result was incredible. I couldn't believe that I actually completed this detail myself. I was extremely skeptical at first, but I felt very proud of the end results. Needless to say, Todd's recommendations were awesome and I think I found my "go-to" products for as long as I keep my NBP TL. Here are a few photos showing my results. Profile Shot Driver Side Door Panel Hood Money Shot
awesome thread and perfect timing for me! thank you for linking that detailer guy, it really answers a lot of questions as i was just about to start getting into machine polishing my TL and my wife's MDX.
i've always been obsessive with the cleanliness of my car and for years have researched products and always bought and tried a variety of them. i've always wanted a machine to polish with but was scared about messing up my paint. recently i did a lot of research on machines and during a flash sale got a great deal on a torq 10fx which is good for beginners as well so that sold me.
i am planning on doing my sister's very beat up kia next weekend as my practice car and then the weekend after i'll start on my TL so this was perfect timing. here are the products i have bought and lined up for my "upgraded" detailing hobby:
foam cannon with DP foaming soap (already had and been using this)
nano skin foam fine grade for claying
nano skin glide lube
torq 10fx polisher
jescar correcting compound on a lake country orange ccs pad
jescar micro finishing polish on a lake country white ccs pad
wolfgang deep gloss paint sealant on a black pad
collinite 845 by hand (should i do this by machine also?)
i recently purchased the jescar after amazing reviews and talk about it online and i feel it will allow me to keep my inventory low for personal use but have awesome results.
i'm glad you put up tape pics and that there were tape examples in the linked thread, this is one item i was still unsure about how to tape but this really clarifies a lot, thanks! i didn't realize i had to tape all the seams too!
there's also a great detailing forum on facebook called "detailing 101 by autogeek", lot of great tips from good people in there
your results came out great and i'm hoping mine do too (even though our cars are white and less noticeable, they still have many swirls). if you don't mind maybe i can add my before and after pics here along with my experience
OP - I dont want to turn this into a detailing thread for you and im impressed by your results but do you really see a benefit with the foam cannon? Ive resisted buying one for a while as I dont get the value/purpose.
I think that the real purposes and added functionality of foam guns is that it provides additional lubrication to loosen/remove the heavy dirt and debris during the pre-soak. This will keep the person washing the car from further agitating the vehicle's paint. A foamy pre-soak with a foam gun will hypothetically reduce one of the main causes of swirling and scratching, which occurs from loose dirt and debris from getting caught in your wash mit. With that said, we could sit here and debate this all day. I personally did not follow this step during my wash. Maybe I should have mentioned that more clearly in my original post. I followed Todd's polishing/sealing steps almost to the T. However, I did not use a foam cannon. I did however make sure to do a solid 3-5 minute rinse with my hose prior to washing. I always make sure to take the hose nozzle an really rinse down some of the trouble areas like the wheel wells, under the bumpers side skirts, etc. I recently started using 3 wash buckets as well, like Todd recommended. Keeping my wash mit as clean as possible has always been my goal, but now I make sure not use my "good" wash mit on my wheels.
If anyone else would like to provide insight, regarding foam cannons, feel free.
A lot of people I see asking about the foam cannons are always mentioning the PRICE of one. Chemical Guys has theirs for around $95. Personally I felt that was too much for what you get. I purchased one off of amazon for a fraction of the cost. I also believe Rockstar uses the same one I purchased and he even recommended getting it too. I recently acquired a pressure washer from moving a friend this past weekend so I am excited to try it out. Here is the one I purchased,
awesome thread and perfect timing for me! thank you for linking that detailer guy, it really answers a lot of questions as i was just about to start getting into machine polishing my TL and my wife's MDX.
i've always been obsessive with the cleanliness of my car and for years have researched products and always bought and tried a variety of them. i've always wanted a machine to polish with but was scared about messing up my paint. recently i did a lot of research on machines and during a flash sale got a great deal on a torq 10fx which is good for beginners as well so that sold me.
i am planning on doing my sister's very beat up kia next weekend as my practice car and then the weekend after i'll start on my TL so this was perfect timing. here are the products i have bought and lined up for my "upgraded" detailing hobby:
foam cannon with DP foaming soap (already had and been using this)
nano skin foam fine grade for claying
nano skin glide lube
torq 10fx polisher
jescar correcting compound on a lake country orange ccs pad
jescar micro finishing polish on a lake country white ccs pad
wolfgang deep gloss paint sealant on a black pad
collinite 845 by hand (should i do this by machine also?)
i recently purchased the jescar after amazing reviews and talk about it online and i feel it will allow me to keep my inventory low for personal use but have awesome results.
i'm glad you put up tape pics and that there were tape examples in the linked thread, this is one item i was still unsure about how to tape but this really clarifies a lot, thanks! i didn't realize i had to tape all the seams too!
there's also a great detailing forum on facebook called "detailing 101 by autogeek", lot of great tips from good people in there
your results came out great and i'm hoping mine do too (even though our cars are white and less noticeable, they still have many swirls). if you don't mind maybe i can add my before and after pics here along with my experience
I wouldn't worry too much about messing up the paint with a Dual Action polisher. I recommend watching some of Larry Kosilla's (AmmoNYC on YouTube) videos and see his methods. Those are what I try and replicate when I am doing paint correction on my car.
I haven't heard about the jescar compounds and polishes, so you'll have to let me know how those are.
I would make sure to follow your last polishing step with an IPA wipe down to get the oils from the compound and polish off of the car so the sealant adheres the best it can. You can also get in the panel gaps with it to clean up any left over dust if you decide not to tape them off. Q-tips would be handy for the small little spaces.
Originally Posted by 08KBP_VA
OP - I dont want to turn this into a detailing thread for you and im impressed by your results but do you really see a benefit with the foam cannon? Ive resisted buying one for a while as I dont get the value/purpose.
The purpose of the foam cannon is exactly as wusty and Breezy pointed out. It's a great way to get the loose contaminants off the car before ever touching it with a wash mitt. Basically you lessen the chances of rubbing dirt and grime into the paint which causes the micro swirls that you see in wusty's first couple pictures.
Wow nice work! I would definitely do this awesomeness as well but I change cars every 2-3 years to make this not worth while for me. Amazing results however.
That's one of the things that kept me from buying a black tl-s, the spider webbing on the paint it's really noticeable on black and it gets dirty faster well it's noticeable
I agree. This is my second black vehicle and the NPB is by far one of the softest and most difficult paints to maintain. However, it's hard to beat the look of the blue flake when it really pops. Obviously, there are pros and cons with every color. This is no surprise.
well done, a black car after polished and properly seal looks stunning. I used my IS300 for pratice the Type S and RL is next on the list.
you sir have two of my most desired cars.....fell in love with the is300 years ago....before I bought my TL, the is300 was all I wanted.
how do you divide your time between your two TL's and the lexus? lol
I wouldn't worry too much about messing up the paint with a Dual Action polisher. I recommend watching some of Larry Kosilla's (AmmoNYC on YouTube) videos and see his methods. Those are what I try and replicate when I am doing paint correction on my car.
I haven't heard about the jescar compounds and polishes, so you'll have to let me know how those are.
I would make sure to follow your last polishing step with an IPA wipe down to get the oils from the compound and polish off of the car so the sealant adheres the best it can. You can also get in the panel gaps with it to clean up any left over dust if you decide not to tape them off. Q-tips would be handy for the small little spaces.
The purpose of the foam cannon is exactly as wusty and Breezy pointed out. It's a great way to get the loose contaminants off the car before ever touching it with a wash mitt. Basically you lessen the chances of rubbing dirt and grime into the paint which causes the micro swirls that you see in wusty's first couple pictures.
So you use the foam cannon, let it sit then rinse off? No agitation of the foam on this pass thats for the next pass?
So you use the foam cannon, let it sit then rinse off? No agitation of the foam on this pass thats for the next pass?
Right, the goal of the foam cannon is to get some soap on the car and have it pick up some of the loose, top level dirt on the paint. Then you want to hose all that soap off before you move to washing the car. I then use the two bucket method for washing the car.
The two bucket method w/ Grit Guards are also a huge key in keeping dirt you have removed from the paint from transferring back onto the paint. The Grit Guards help catch dirt that you have taken off of one panel and trap it at the bottom of your bucket.
Another tip and trick I have always used is to start with the wheels and tires first. I have a 3rd bucket for washing them. I then go top to bottom when washing the car, as most of the dirt is going to be on the bumpers and lower half of the car. Plus, if you work from top to bottom, you prevent working over another part of the car and potentially creating more work for yourself.
BTW, great job wusty! Black paint looks so good when it's swirl free! It's just so rare to see black paint that has been taken care of. Ever since I got into detailing, I don't think I've seen a black car that wasn't swirl city.
Swirls in the paint just seem to be something most people don't notice or don't care about. Paint correction was one of the first things I did to my TL when I got it. It's hard to keep my car as clean as I would like because it's always outside though. The pains of living in an apartment complex are real.
+1 to all of the above. Those are all processes that I have started to follow as well. Many detailers will also recommend that you use a separate sponge and/or wash mit for your wheels as well as one for your bumpers and side skirts.
3 Wash Buckets (1 Designated for Wheels, 1 for Washing Solution, 1 for Rinsing)
3 Grit Guards
2-3 Wash Mits (1 for Whees, 1 for Bumpers and Side Skirts, 1 for Remainder of Vehicle)
And Thanks for the kind words.I completely understand your frustrations. I just moved into a new Condo less than a month ago. This is the first time that I will be able to keep my TL in a garage. I'm getting married in 3 weeks. Luckily there's room for her car too. Otherwise, I'd have to tell her that her 2005 Chevy Cobalt is getting the shaft. #SorryNotSorry
you sir have two of my most desired cars.....fell in love with the is300 years ago....before I bought my TL, the is300 was all I wanted.
how do you divide your time between your two TL's and the lexus? lol
I just sold the Lexus a week ago, the driveway looks ridiculous.
2 Acura TL, 1 RL, 1 GS350 and 1 LS460.
At one point I was able to compare between FWD vs RWD and SH-AWD.
A lot of people I see asking about the foam cannons are always mentioning the PRICE of one. Chemical Guys has theirs for around $95. Personally I felt that was too much for what you get. I purchased one off of amazon for a fraction of the cost. I also believe Rockstar uses the same one I purchased and he even recommended getting it too. I recently acquired a pressure washer from moving a friend this past weekend so I am excited to try it out. Here is the one I purchased, https://www.amazon.com/gp/product/B0...?ie=UTF8&psc=1.
I bought this foam cannon awhile back and its great for about $16. Loosens up the the dirt and such. Depending on pressure washer, you might need additional fittings. If you have the sun joe, you will need to really pull in the adapter to make it work.
I had 3 NBP Honda car and the paint seem like they are falling in the same pattern. The paint seem to be soft where they can easily get correction with minimal aggressive material however this also its weakness where scratch and swirl will be back once you hand wash (Yes I do use high pressure rinse and two bucket method to hand wash) and swirl is back again. I did a paint correction on a 08 Lexus LS460 and dam speaking of hard paint.
Well, based on the looks of your post, it looks like you're happy with the results lol. I see you used a Porter Cable. Did you also use the polish and sealant recommended products as outlined in the article? If so, it would be great to have a few people share pictures of their cars in a few months to see how the results are holding up.
The steps I completed were:
- wash/dry
- claybar
- wash/dry
- swirl remover
- wax
- glaze
(all Meguiars products that I accumulated over the years... don't recall the cut number though)

 04-29-2017, 01:00 AM


 I hate seeing cars with horrible paint. I had a full paint correction done soon after I bought my last two vehicles.


