
LOG: Repairing a cracked bumper cover
 05-29-2016, 12:43 AM
#1
Fearless DIY Guy
Thread Starter
iTrader: (2)
LOG: Repairing a cracked bumper cover
About two years ago I was driving to work when a batshit crazy turkey decided that the precisely opportune time to cross the road was about a few hundred feet from impact with my vehicle. This left me with three options:
(1) Dump to the shoulder. No dice; no should existed.
(2) Slam on the breaks. Forget it. I was running about 40mph and there was a line of cars trailing me
(3) Bail to the opposite lane. Same traffic pattern as above.
So I let the cruise control remain constant. He made it half-way in front of my car and made a fleeting attempt to jump, which resulted in him rolling up my windsheild and nailing the car in the other lane.
So it's been about a year since the event, and since I'm going to hold on to the TL for well above to 200k mark, I decided it's time to restore the front end.
My plan is to restore the current bumper to new condition and sell on the BM, but I wanted to share the journey. NOTE: I have a new, wrapped bumper, grille, and fogs in the garage...had I known the repair was going to go THIS well so far, I could have saved $400. Lesson learned.
Let's do the walk-around
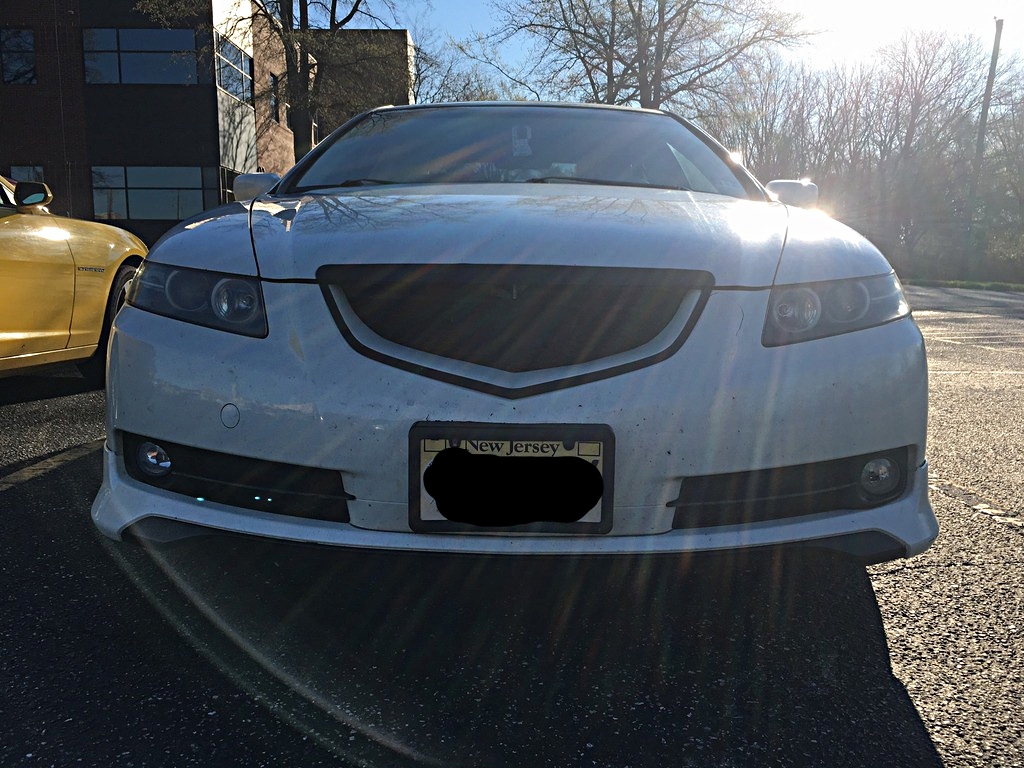
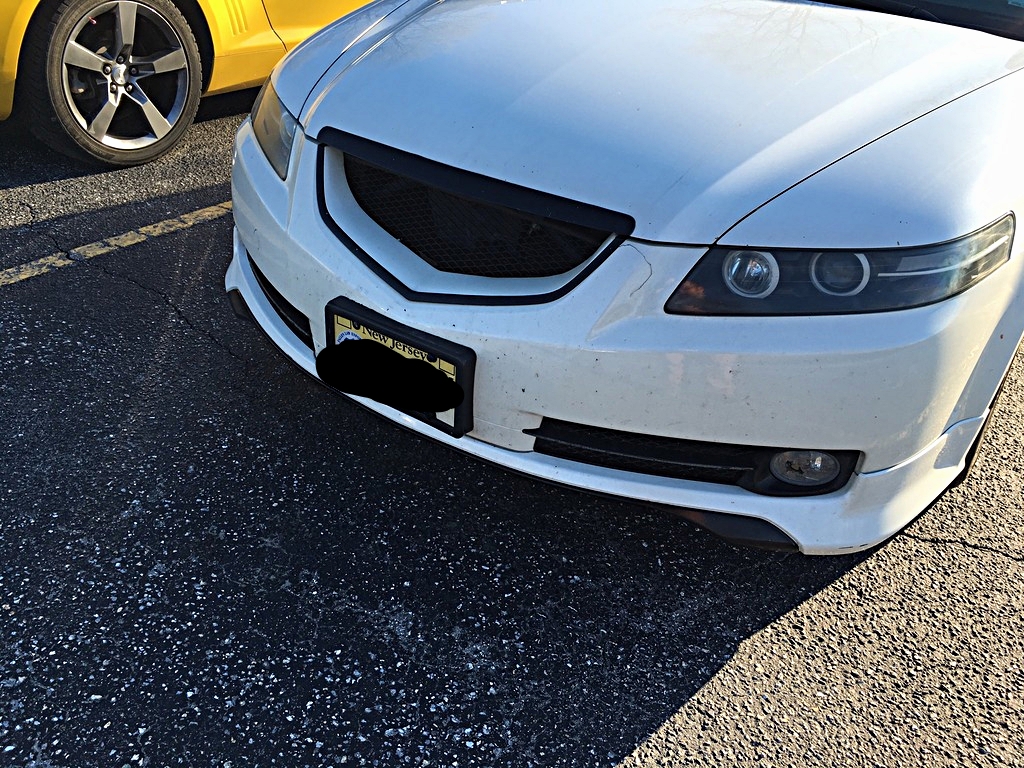

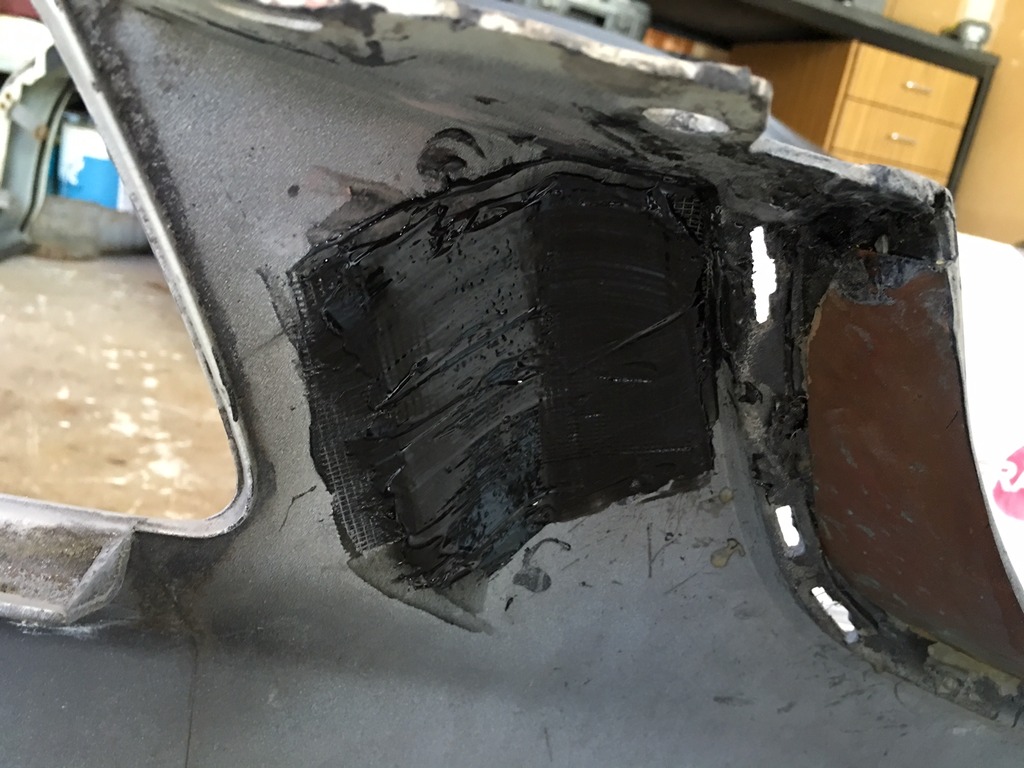
So clearly we can see where the point of impact was. I am using a 3M 2-part plastic bumper repair epoxy to re-weld the seam, which has thus far proven to be highly dimensionally stable considering how the sharks-mouth mod has held for over 3 years. Here's the initial result
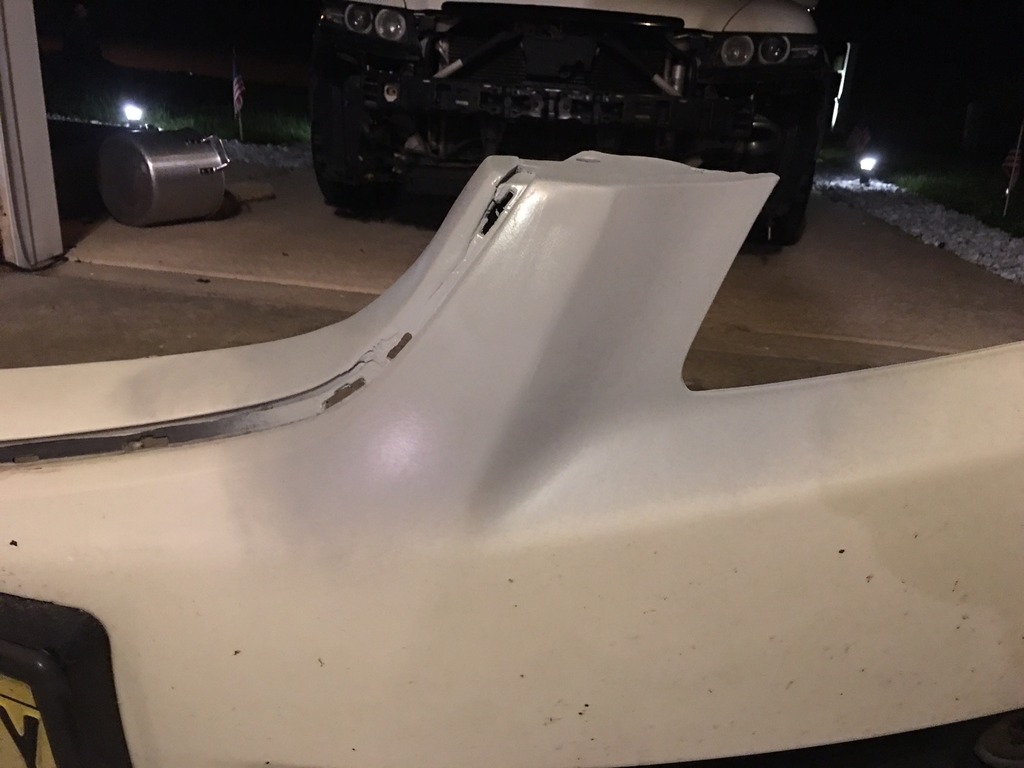
Still had some high-spots and one small valley, which was resolved with glazing putty. Here's the repair of the crack.
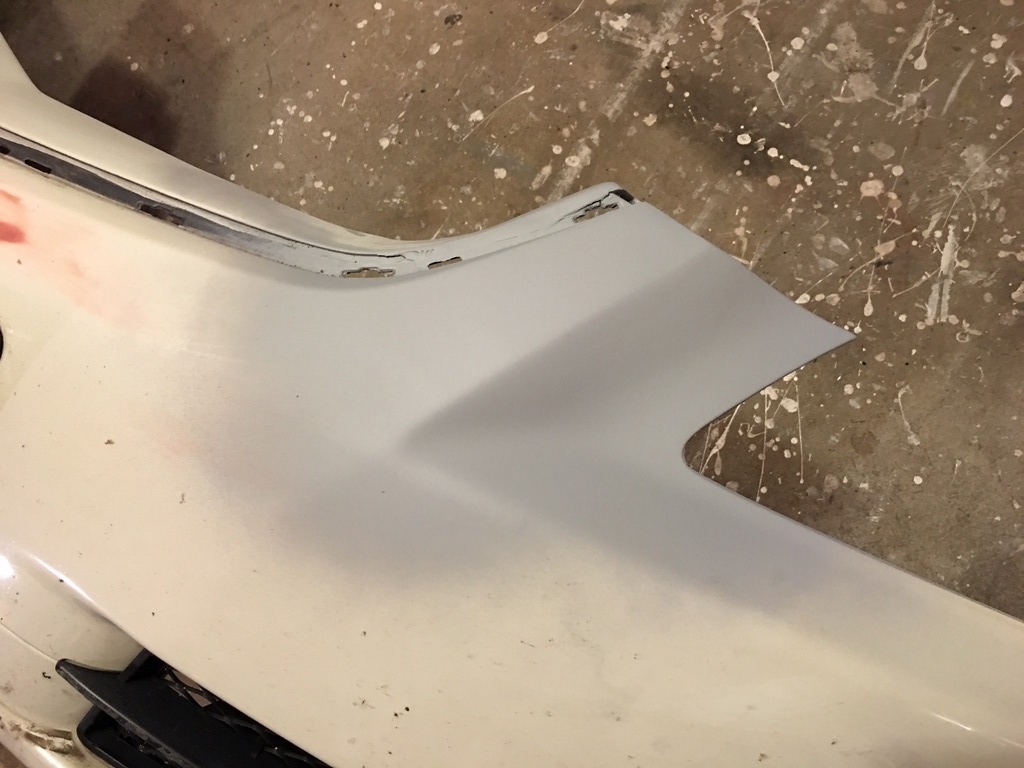
All in all, not a bad start. I'll post some more pics up as I can get to this.
(1) Dump to the shoulder. No dice; no should existed.
(2) Slam on the breaks. Forget it. I was running about 40mph and there was a line of cars trailing me
(3) Bail to the opposite lane. Same traffic pattern as above.
So I let the cruise control remain constant. He made it half-way in front of my car and made a fleeting attempt to jump, which resulted in him rolling up my windsheild and nailing the car in the other lane.
So it's been about a year since the event, and since I'm going to hold on to the TL for well above to 200k mark, I decided it's time to restore the front end.
My plan is to restore the current bumper to new condition and sell on the BM, but I wanted to share the journey. NOTE: I have a new, wrapped bumper, grille, and fogs in the garage...had I known the repair was going to go THIS well so far, I could have saved $400. Lesson learned.
Let's do the walk-around
So clearly we can see where the point of impact was. I am using a 3M 2-part plastic bumper repair epoxy to re-weld the seam, which has thus far proven to be highly dimensionally stable considering how the sharks-mouth mod has held for over 3 years. Here's the initial result
Still had some high-spots and one small valley, which was resolved with glazing putty. Here's the repair of the crack.
All in all, not a bad start. I'll post some more pics up as I can get to this.
 05-29-2016, 12:48 AM
#2
Rev High; Drive Happy
iTrader: (2)
Join Date: Feb 2008
Location: Scarborough, Ontario
Age: 34
Posts: 4,074
Received 398 Likes
on
332 Posts
did you do the backside as well?
and did the crack reach into the grill area? I'm assuming so since you've got some of that epoxy stuff in that area.
looks like it's doing a pretty good job. i'm quite impressed!
and did the crack reach into the grill area? I'm assuming so since you've got some of that epoxy stuff in that area.
looks like it's doing a pretty good job. i'm quite impressed!
05-29-2016, 01:07 AM
#3
Fearless DIY Guy
Thread Starter
iTrader: (2)
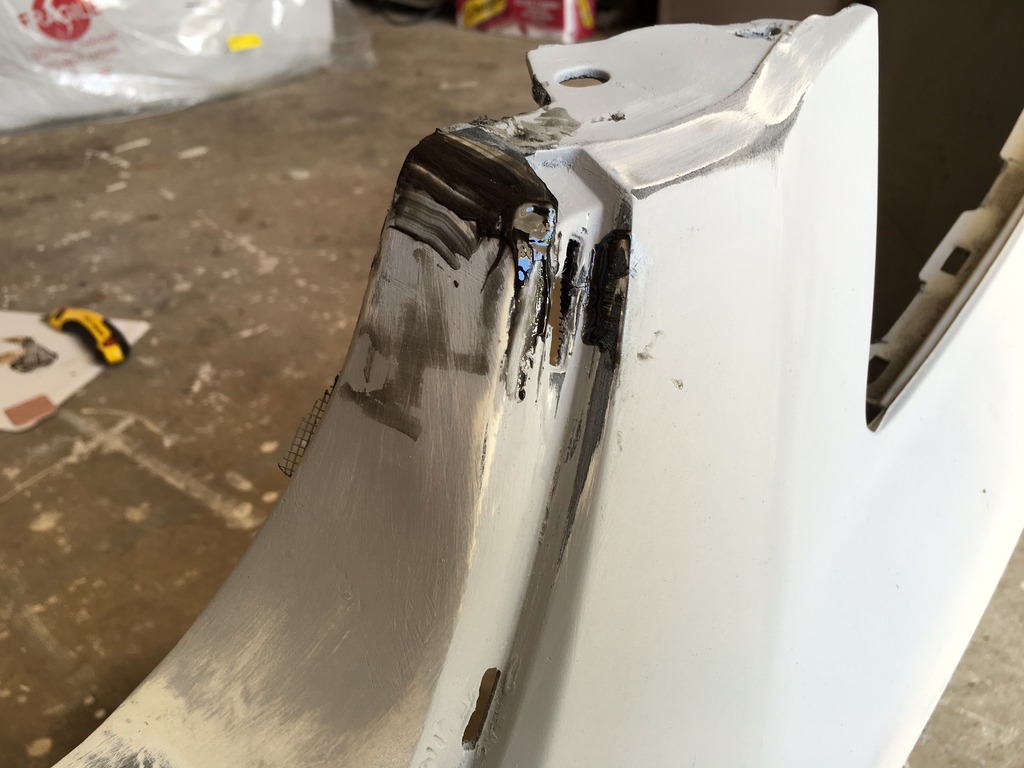
Good call, I forgot about that - yes, I'll get some pics of that tomorrow. The rear side was reinforced with mesh tape and a heavy lay-up of epoxy (close to half an ounce) distributed over a very wide area to ensure the repair provides more than adequate integrity.
No damage, surprisingly enough, occurred to the grill recess.
 05-29-2016, 10:37 PM
#5
Fearless DIY Guy
Thread Starter
iTrader: (2)
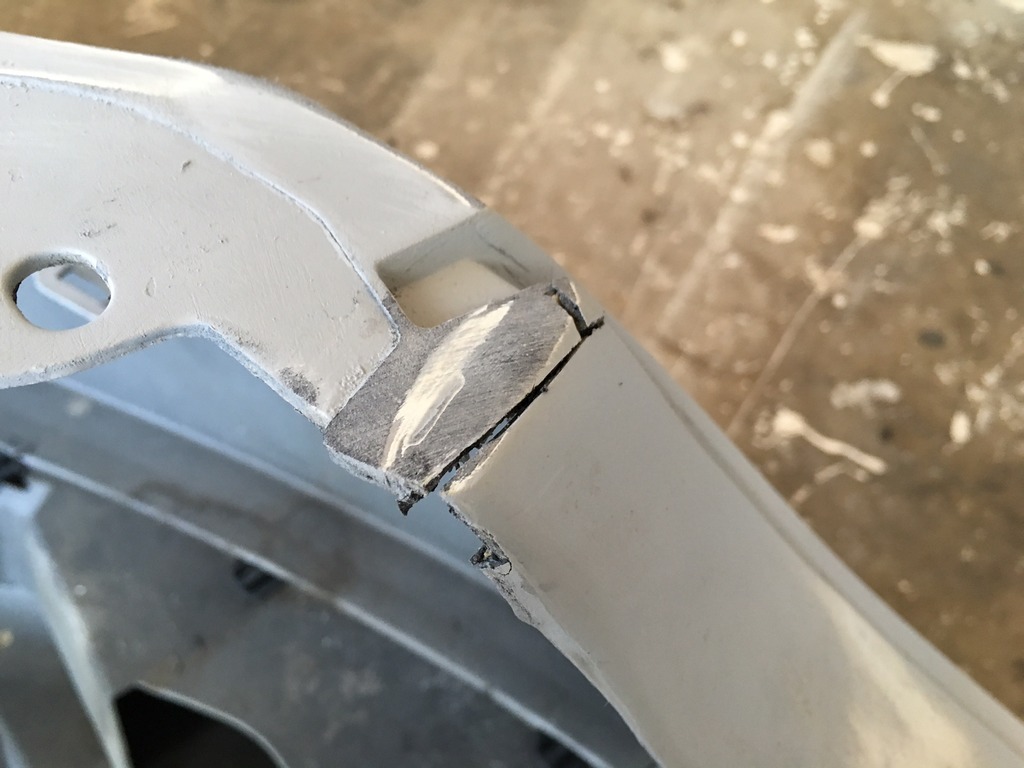
So in taking my time with this, I noticed the start of a stress-crack in the grille area as well. Rats. Again, same approach - mesh reinforcement to the back and fill on the top.
05-29-2016, 10:39 PM
#6
Fearless DIY Guy
Thread Starter
iTrader: (2)
That'll wrap things up for the next few weeks. Starting next week I'll be focusing on the new bumper. This will require new Accord fogs and fabrication of the 'Sharksmouth' mod, followed by a trip to the booth and installation. Once that's done I can put full steam in to this and put her up on the BM.
Anyone looking for a primed bumper with the sharksmouth mod and accord fogs will be in luck
Anyone looking for a primed bumper with the sharksmouth mod and accord fogs will be in luck
Trending Topics
05-30-2016, 09:06 PM
#9
Fearless DIY Guy
Thread Starter
iTrader: (2)
Not this one. I'll have my new one shot but this one will only be primed and wetsanded to 3000-grit before heading to market.

Thread
Thread Starter
Forum
Replies
Last Post